I want to share a small, but significant improvement to the authentication process for using Veeam REST APIs with Postman thanks to recent changes in the Postman app. Allow me to turn your attention to Postman’s Vault feature, located in the app’s bottom toolbar.
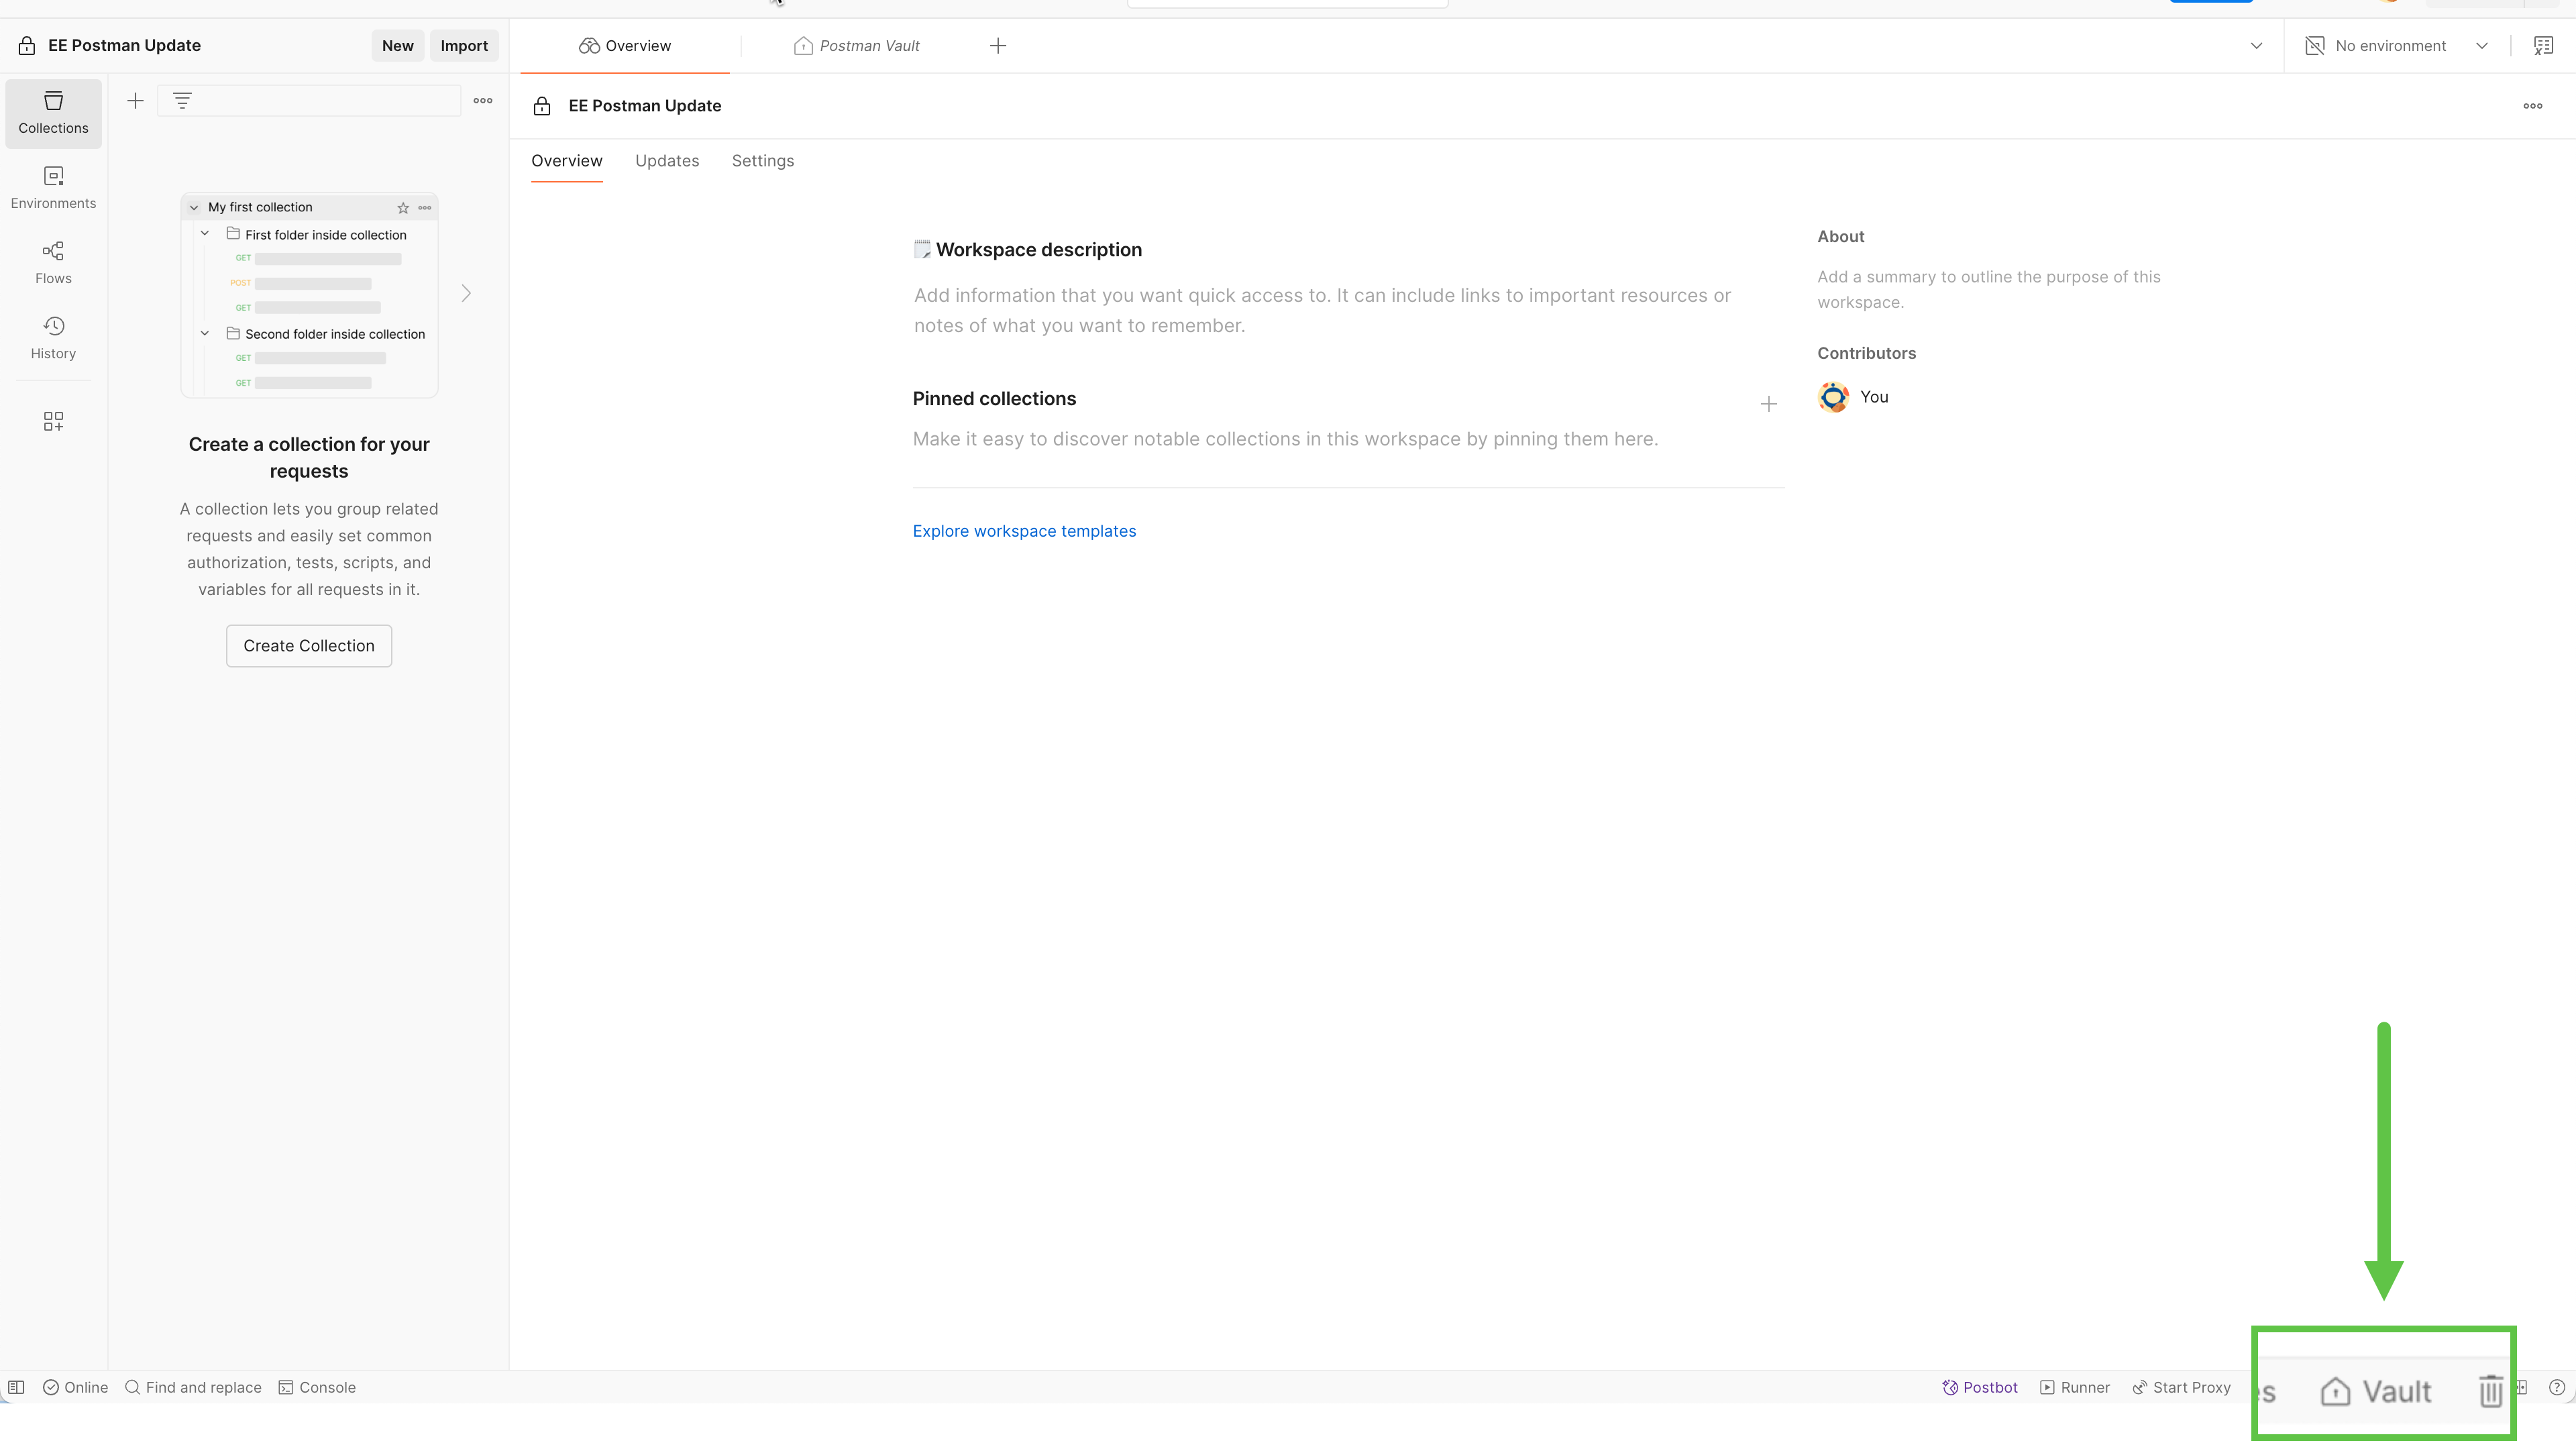
Using Postman Vault, which stores and encrypts your secrets locally on your system and does not sync them anywhere, we can enhance the security of how access tokens are handled within the Postman client and streamline the process of getting up and running with Veeam REST APIs. Let’s dive in. (FYI, I’m using the latest version of Veeam Backup & Replication, 12.3.1.)
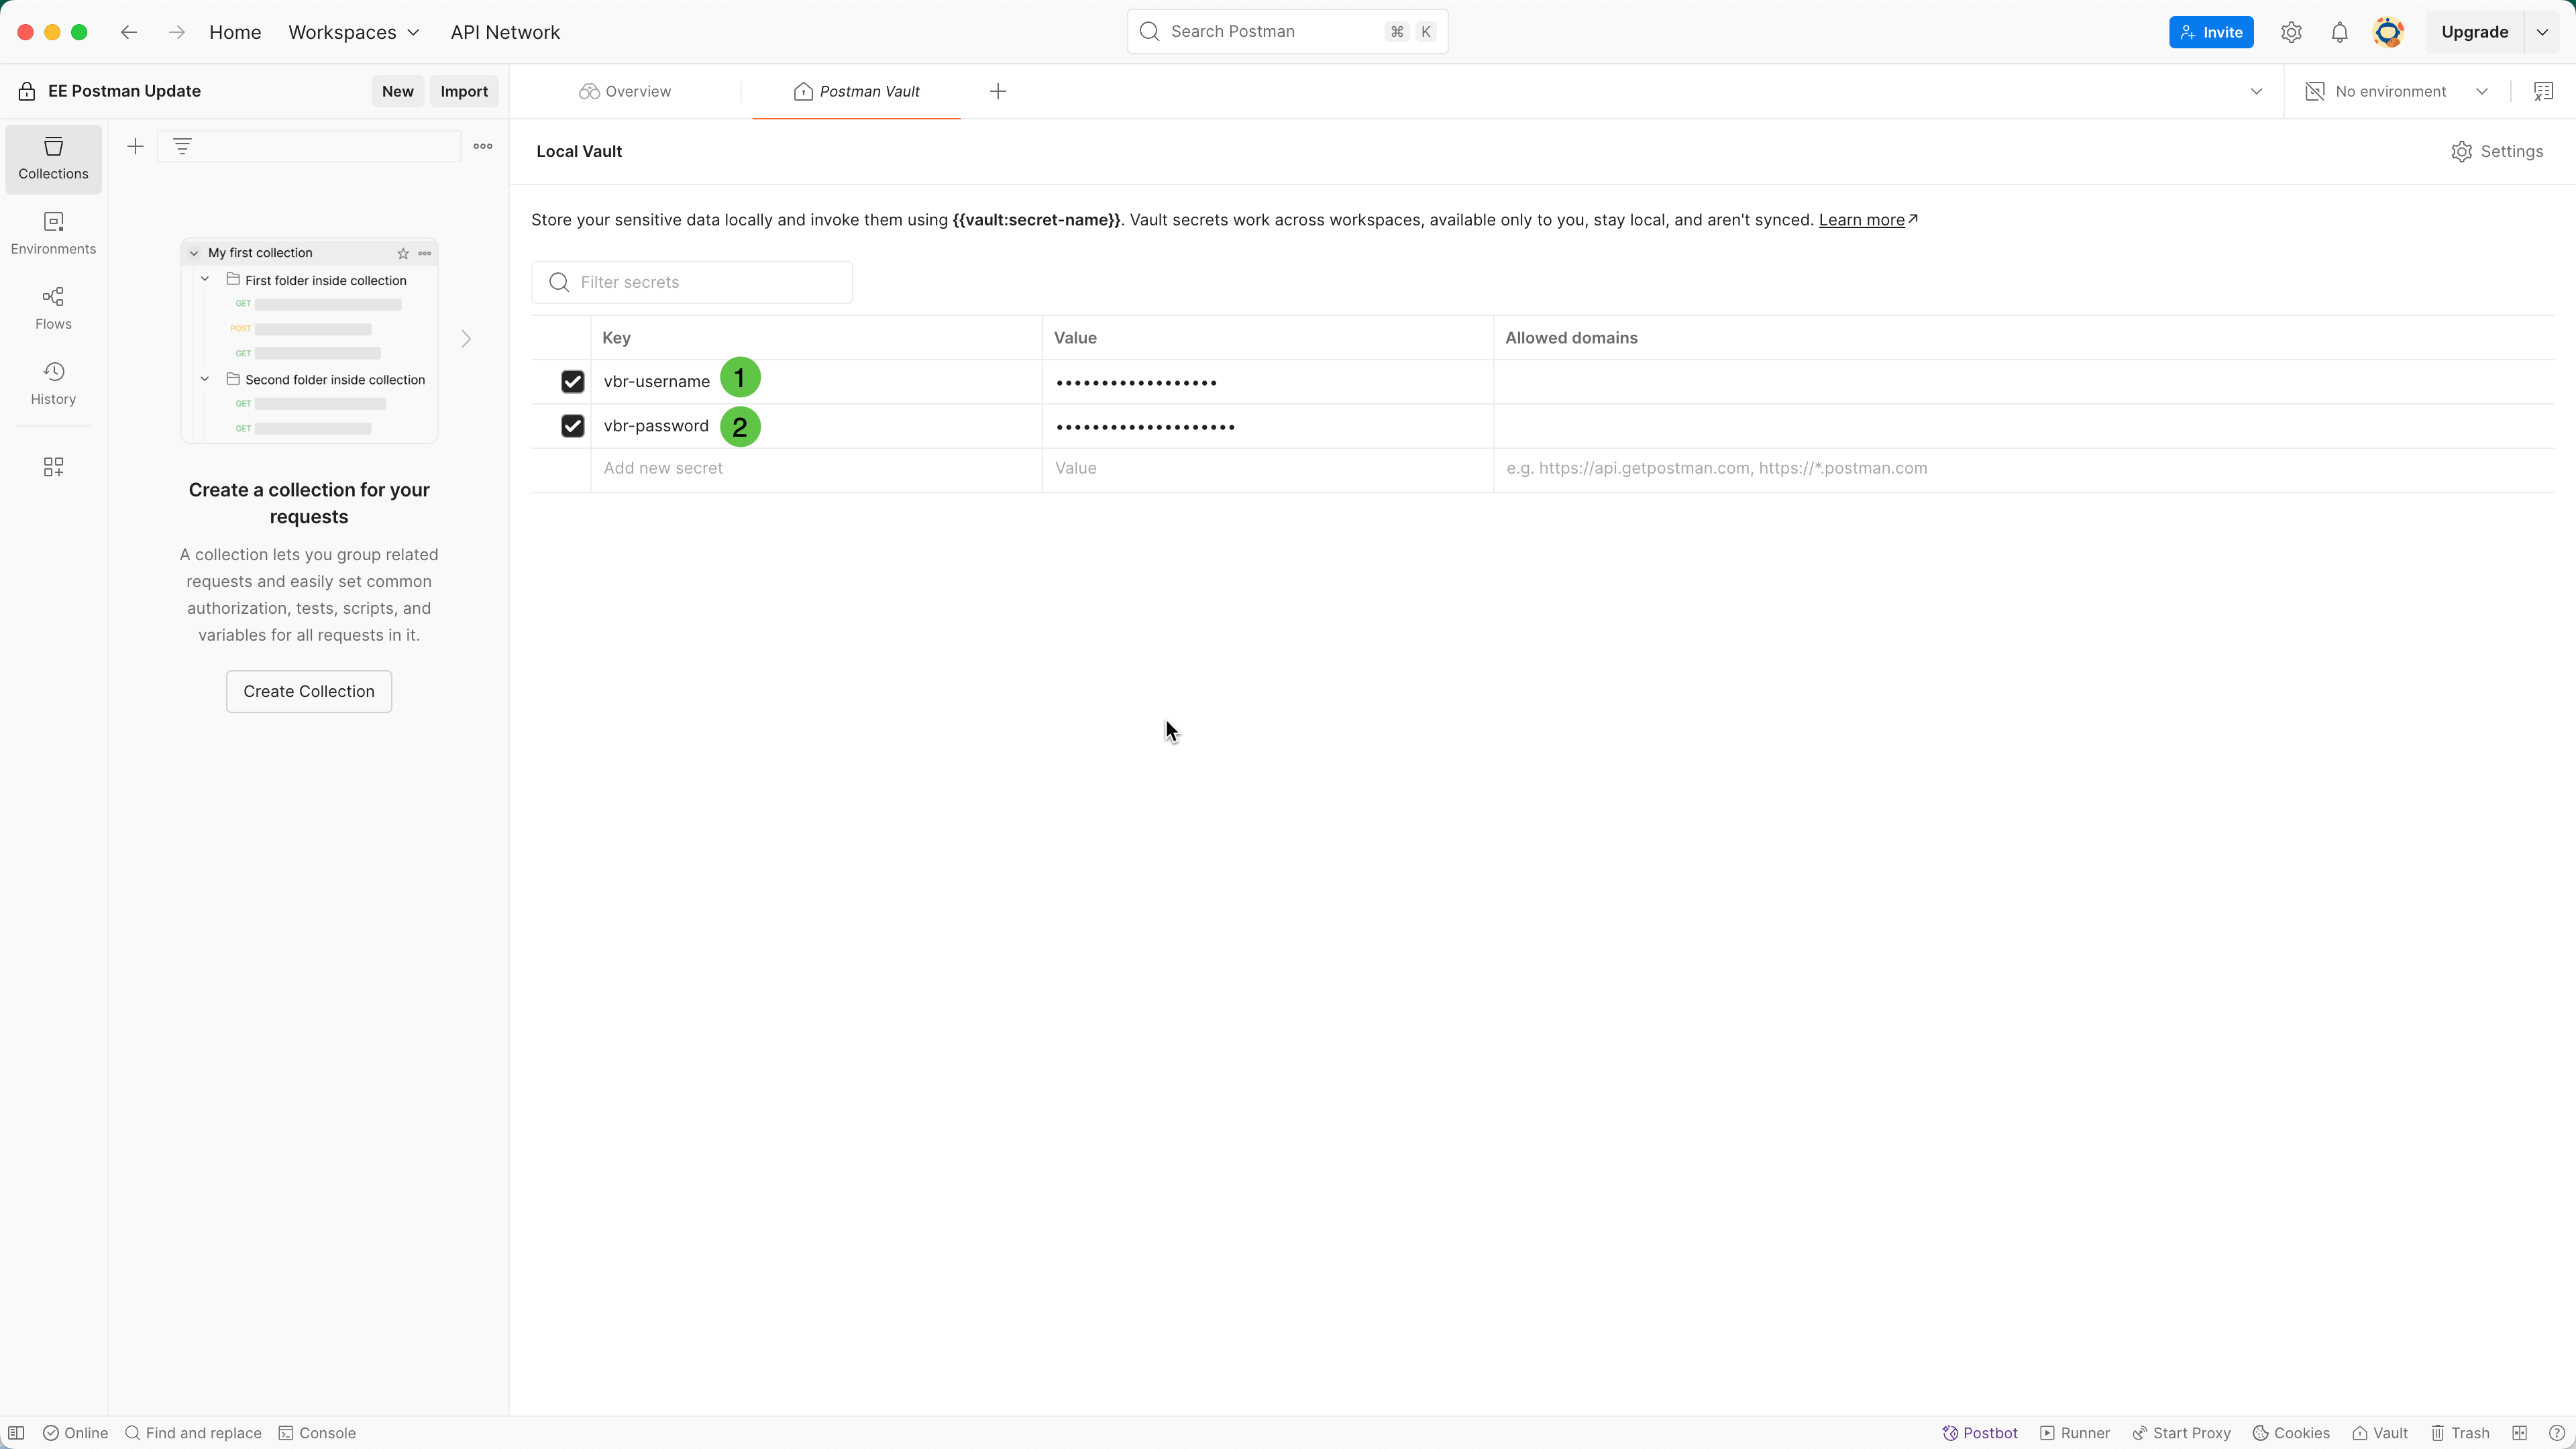
Select Vault from the bottom toolbar, and you’ll see a familiar key/value interface to set up your secrets. Let’s use the Vault to store our VBR username and password that we’ll use to authenticate with the REST API.
Set up two key-value pairs, vbr-username and vbr-password, and put the username and password for the VBR service account in the respective value fields for each.
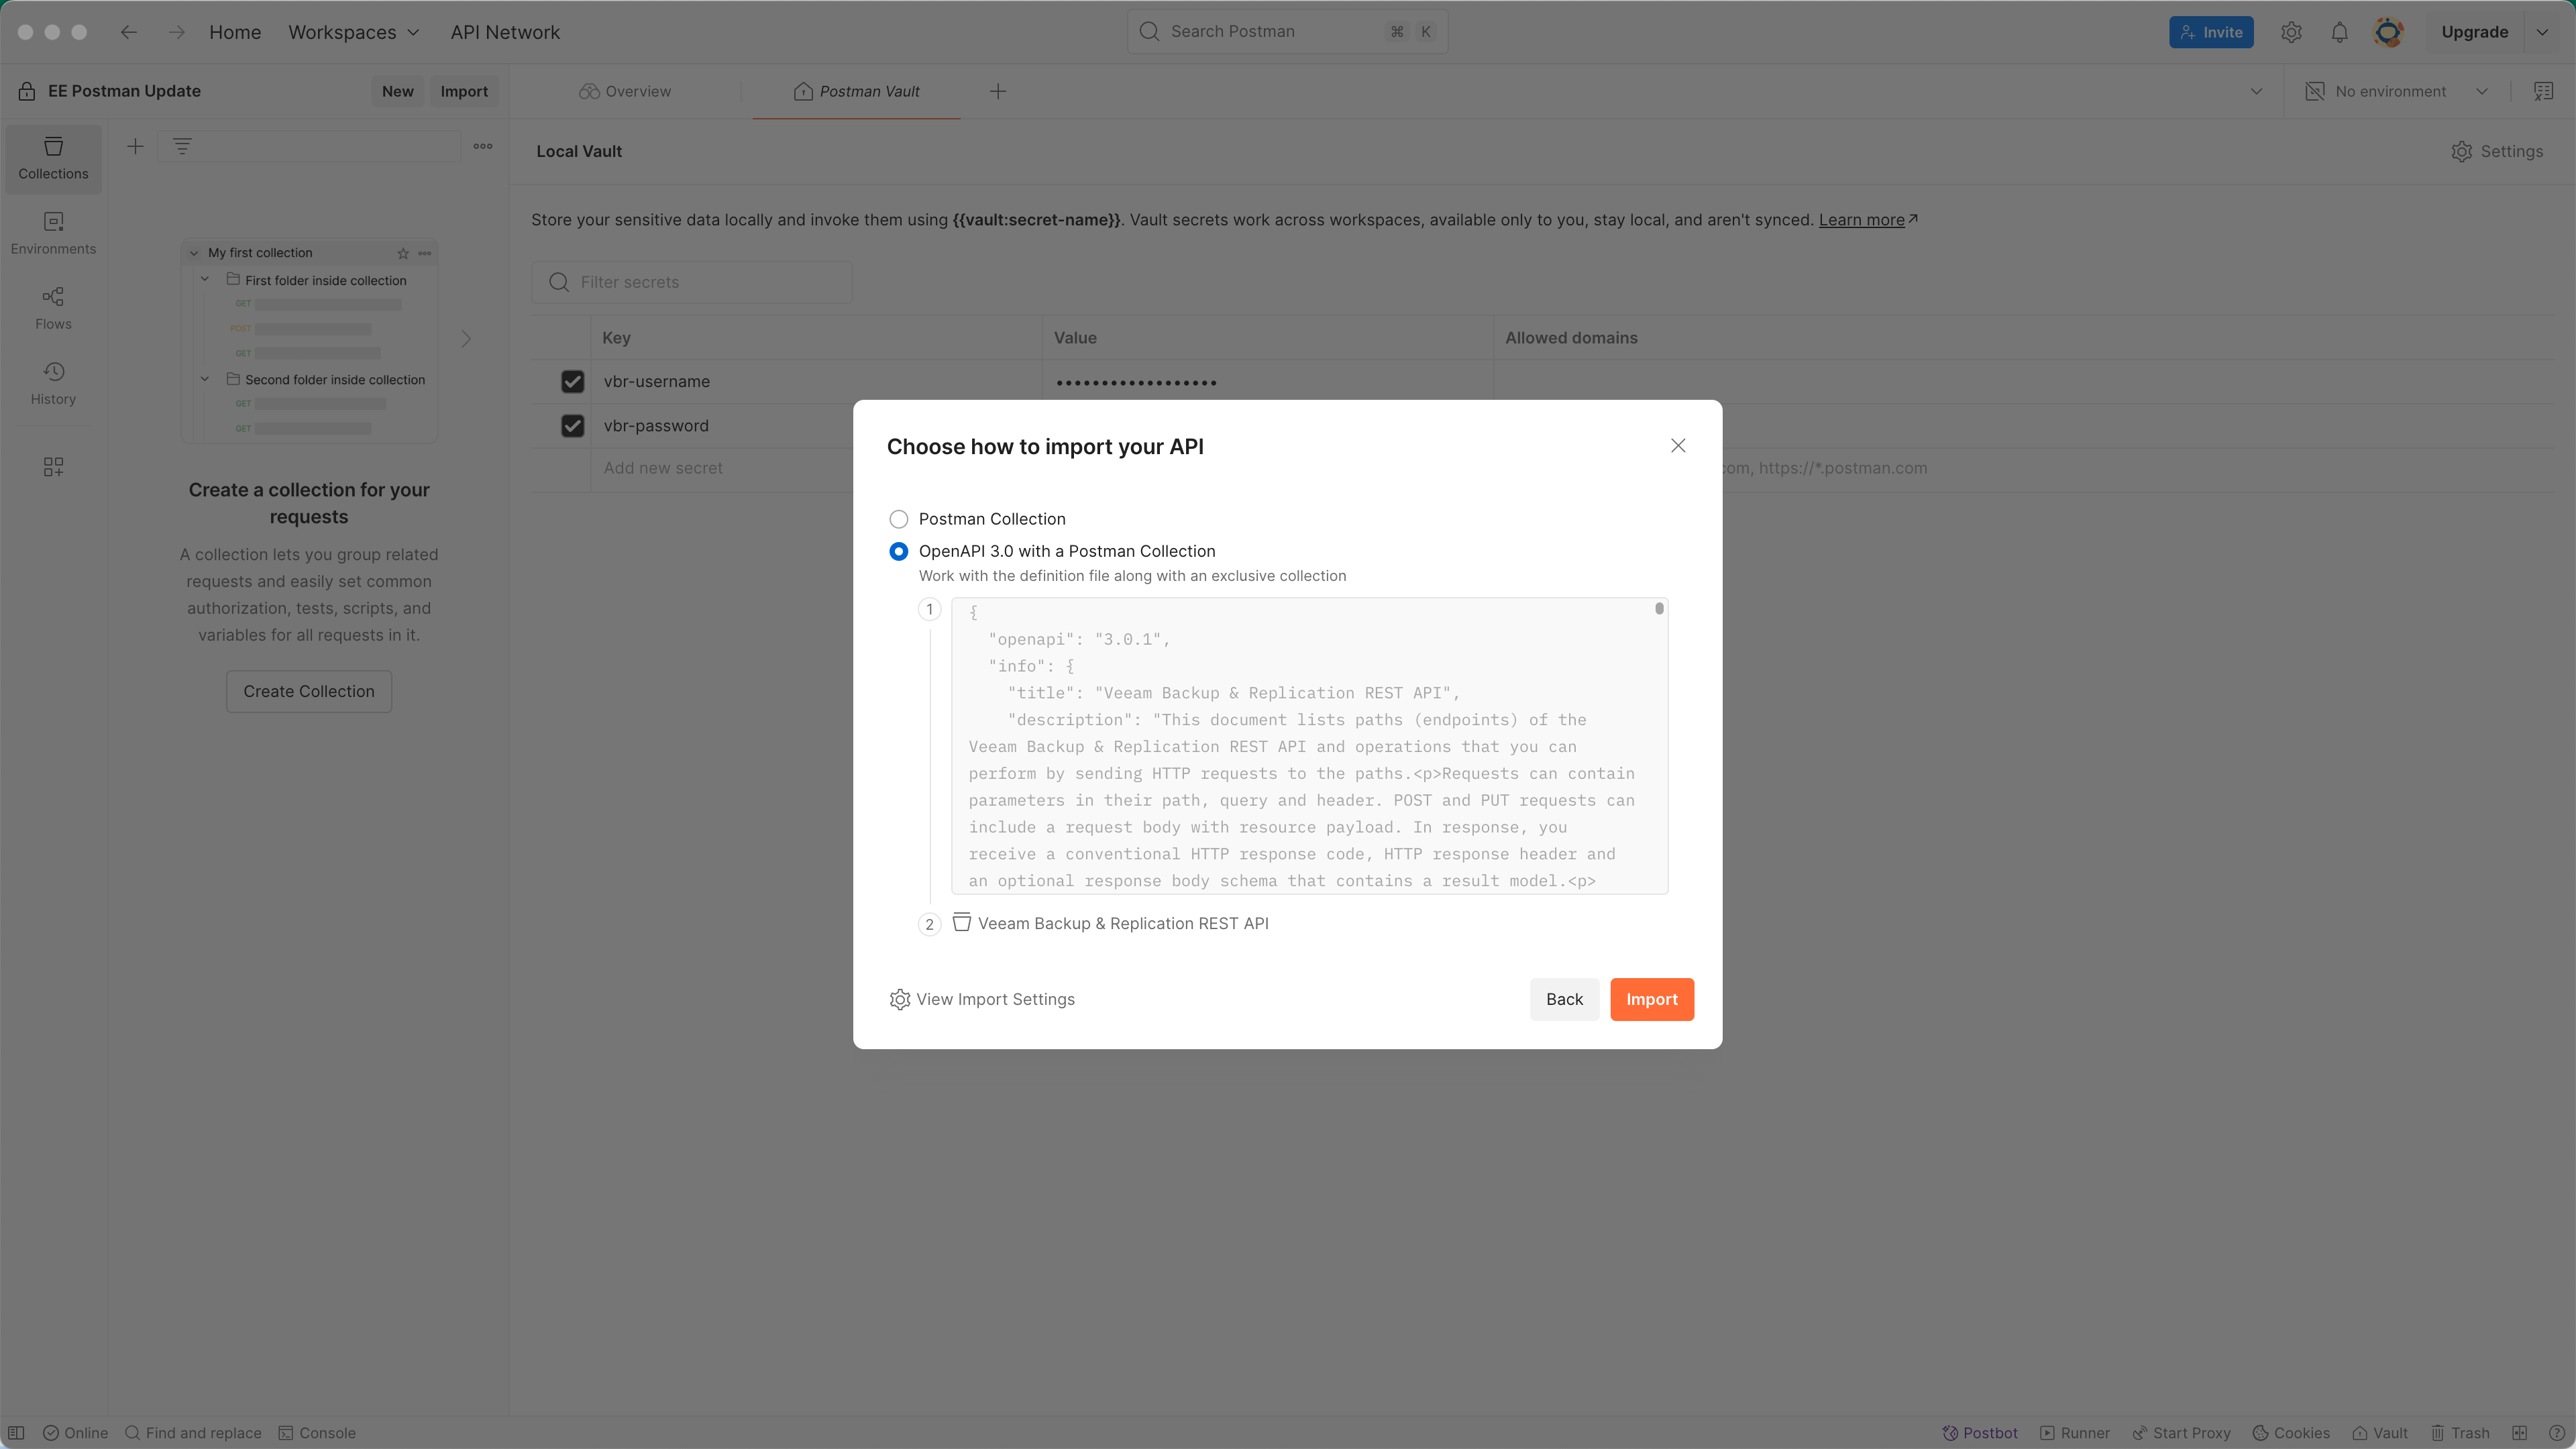
If you haven’t done so already, or if you’re starting from a new workspace like I am in the example, import the VBR Swagger specification into Postman. For more instructions on how to do this, check out the previous post on this topic.
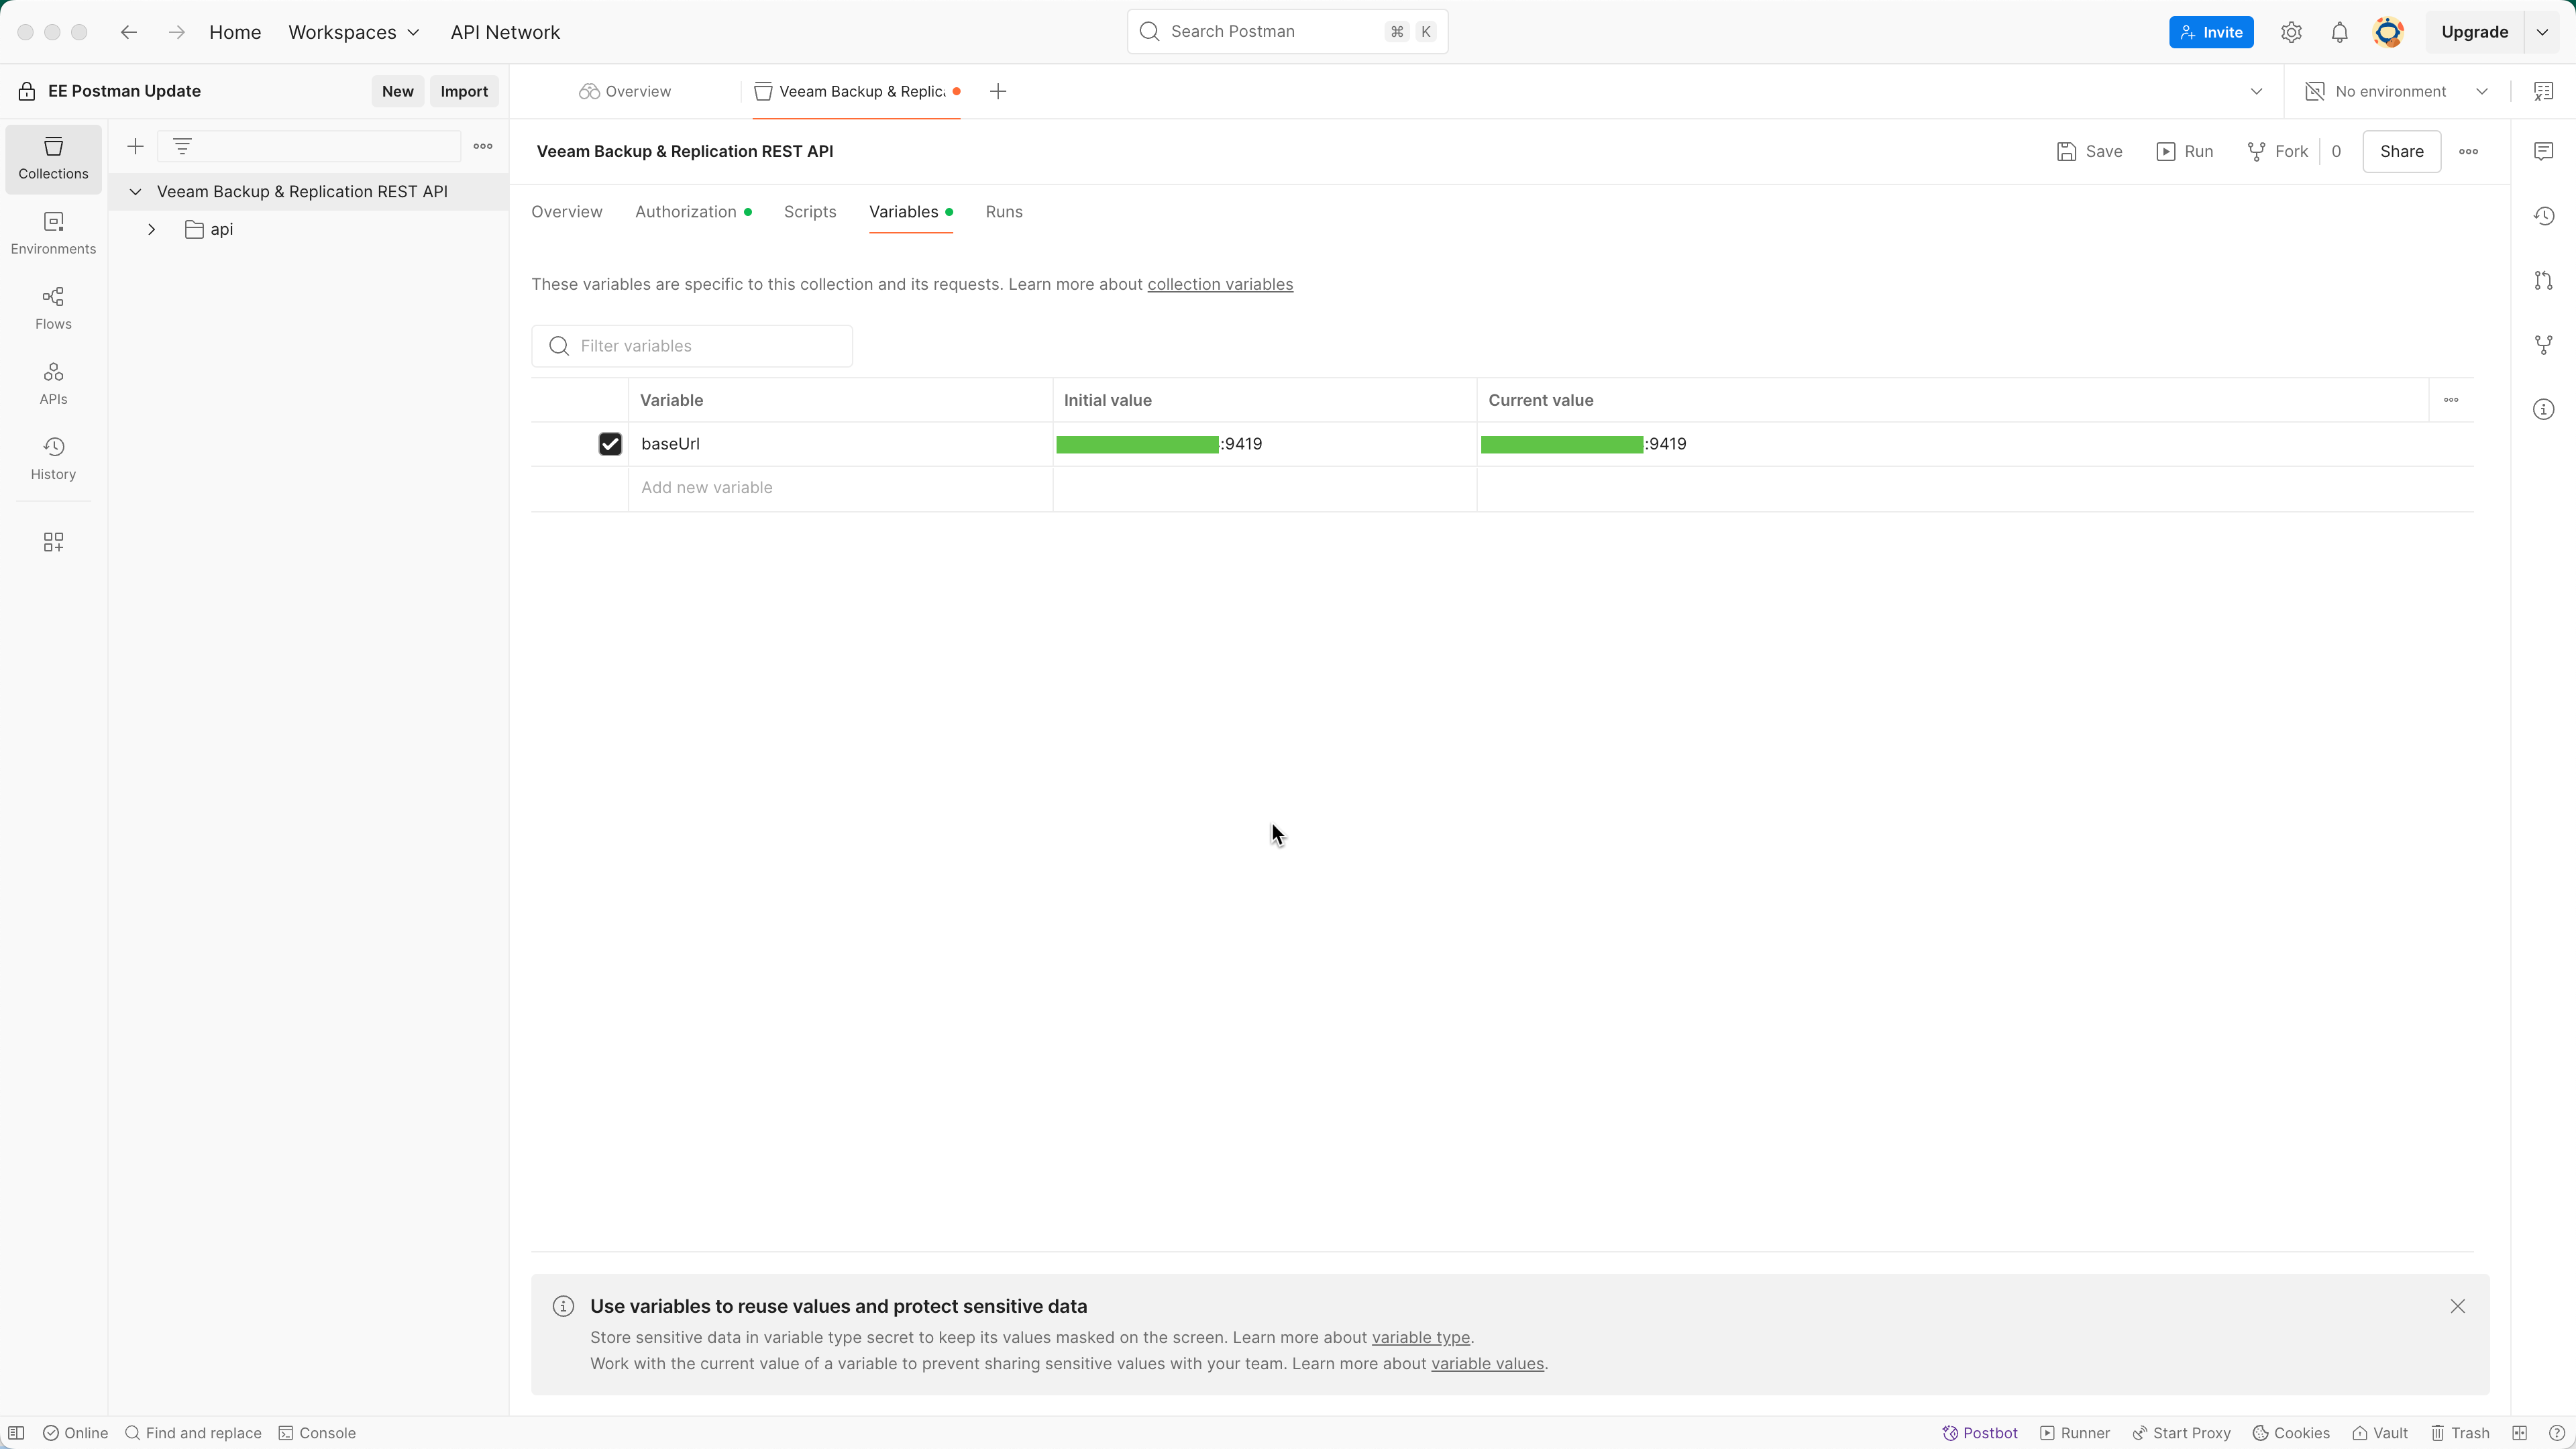
Once the API has been imported, select Collections on the left menu, then select the top-level item for the API collection, “Veeam Backup & Replication REST API” by default. Select the Variables tab for the collection, and here we’ll set the baseUrl variable to match our VBR server’s IP address. Be sure to specify the 9419 port on the end of the URL. When you’re done, you should have something that looks like https://10.15.20.25:9419. Click the Save button at top right when you’re done.
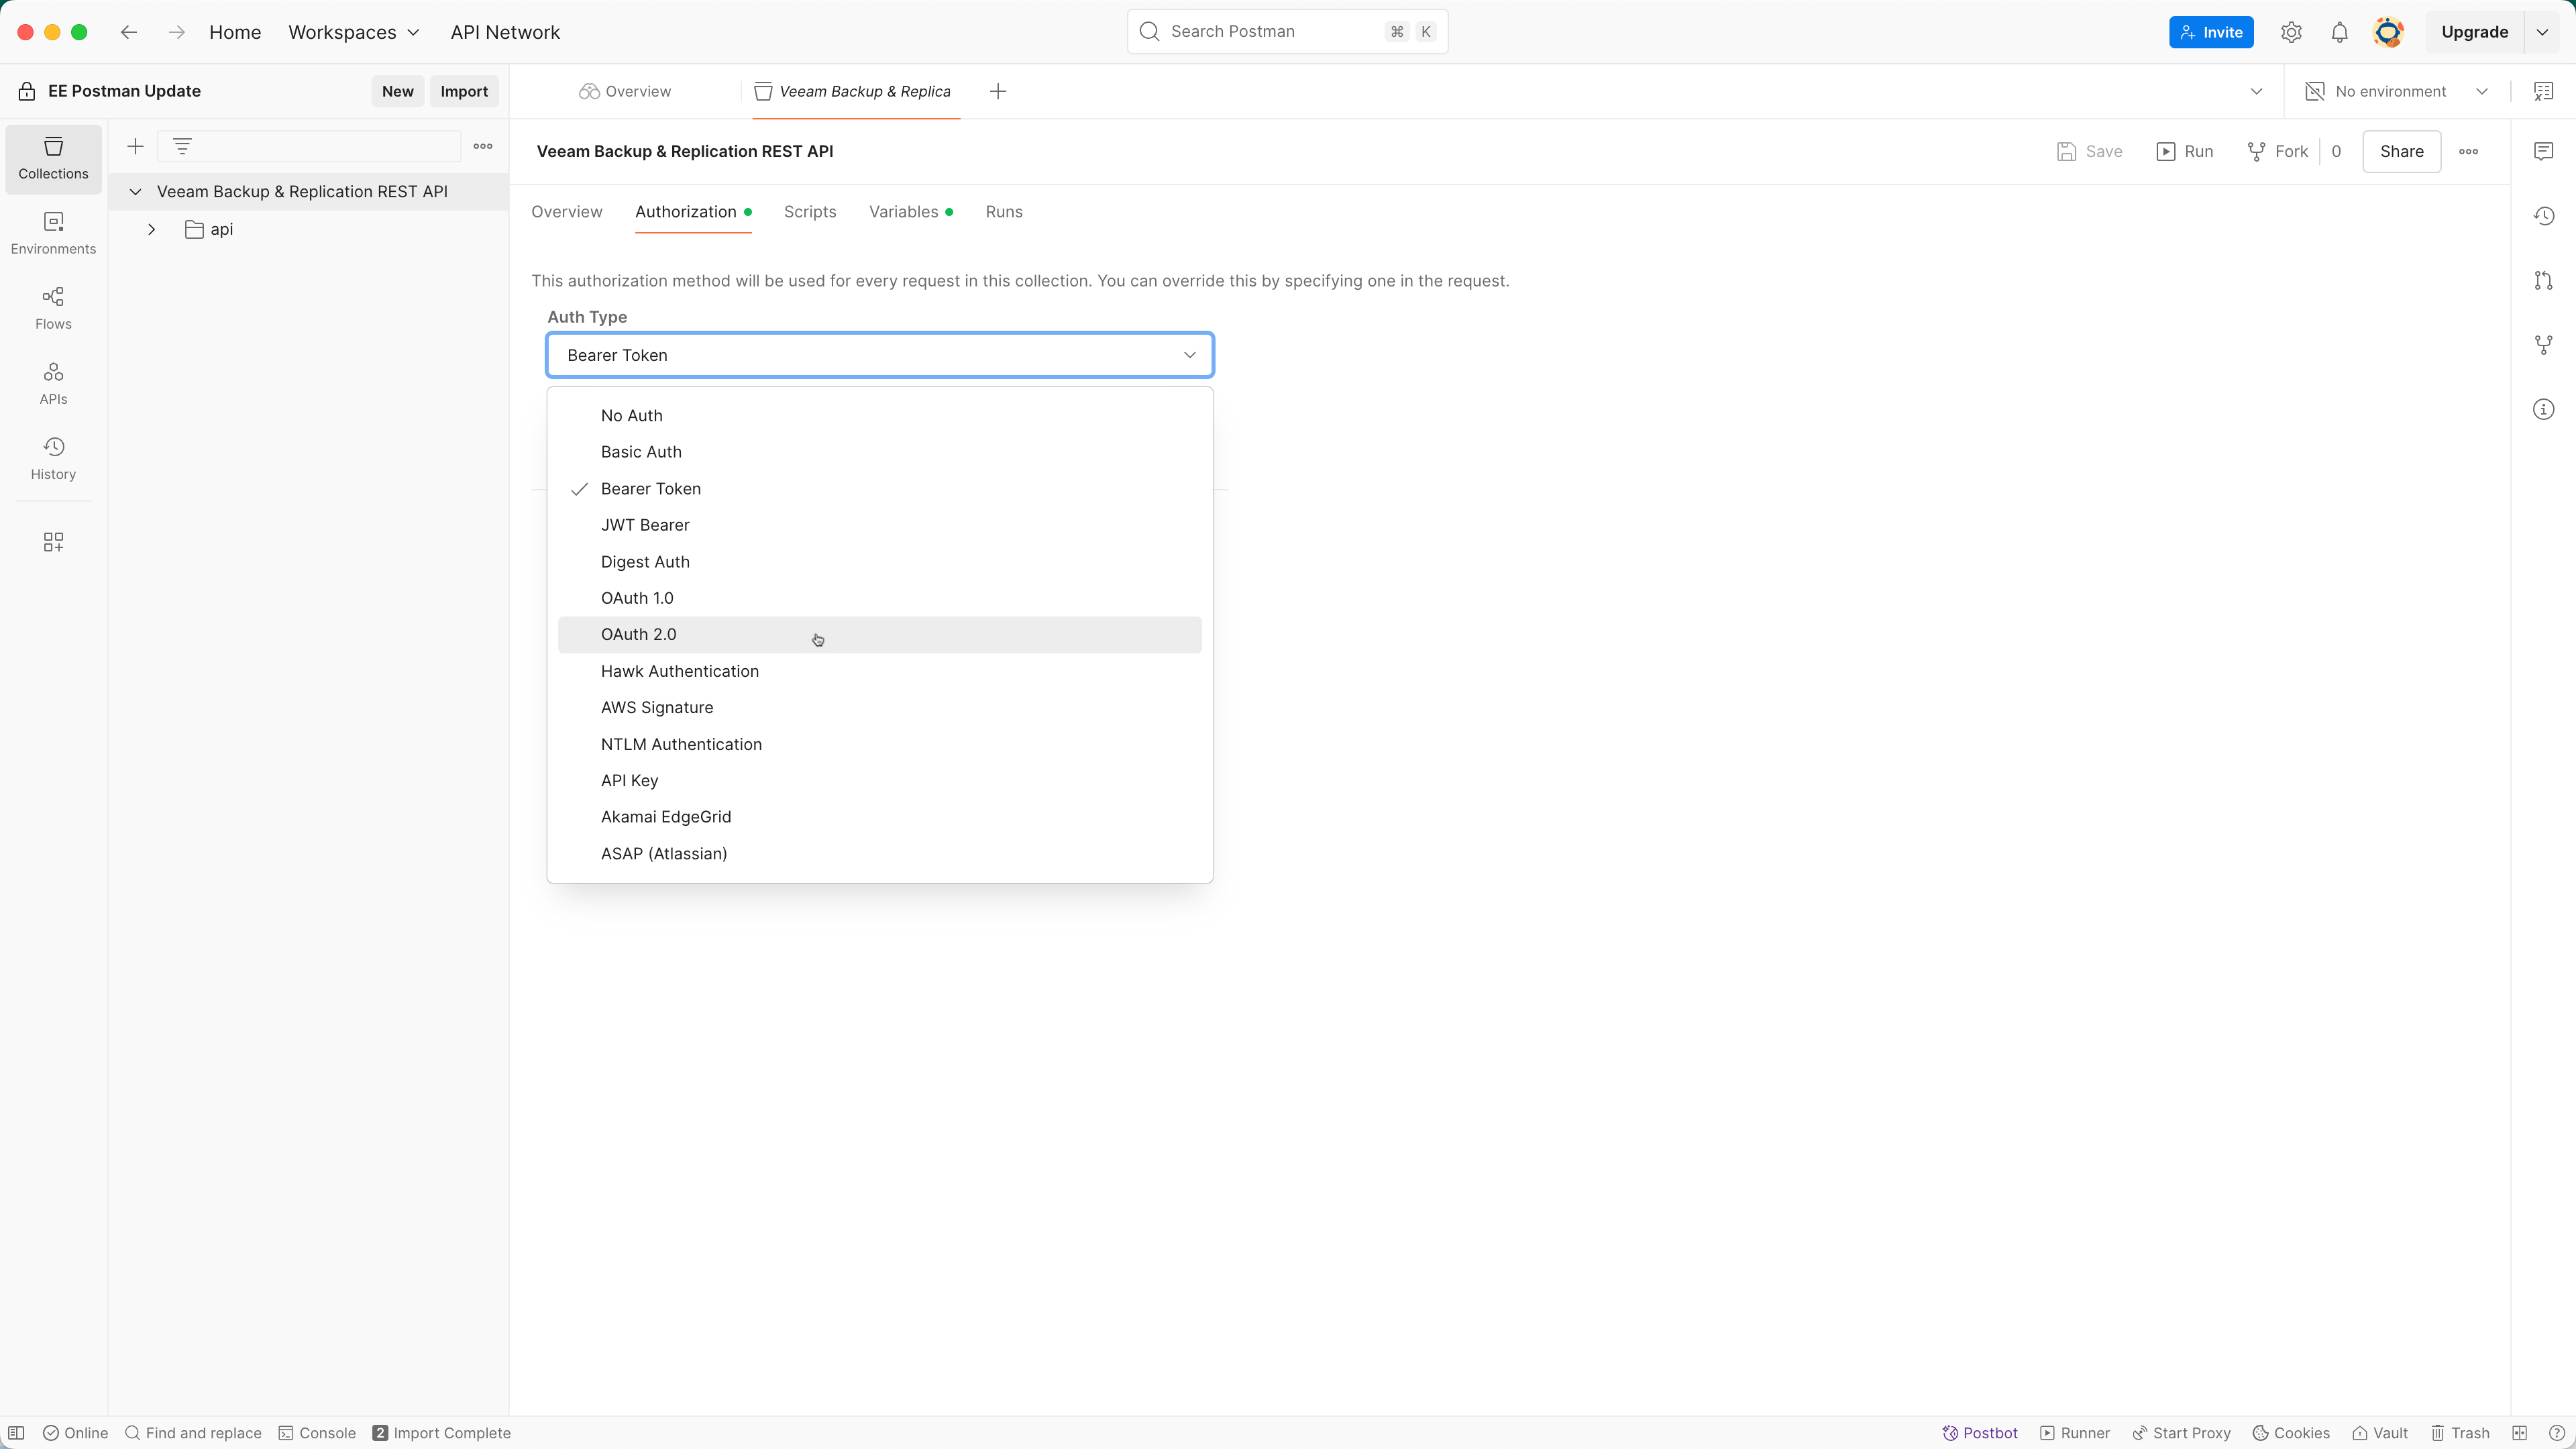
Now select the authorization tab for the collection. In the auth type dropdown, you’ll see a lot of options, including OAuth 2.0. Select OAuth 2.0.
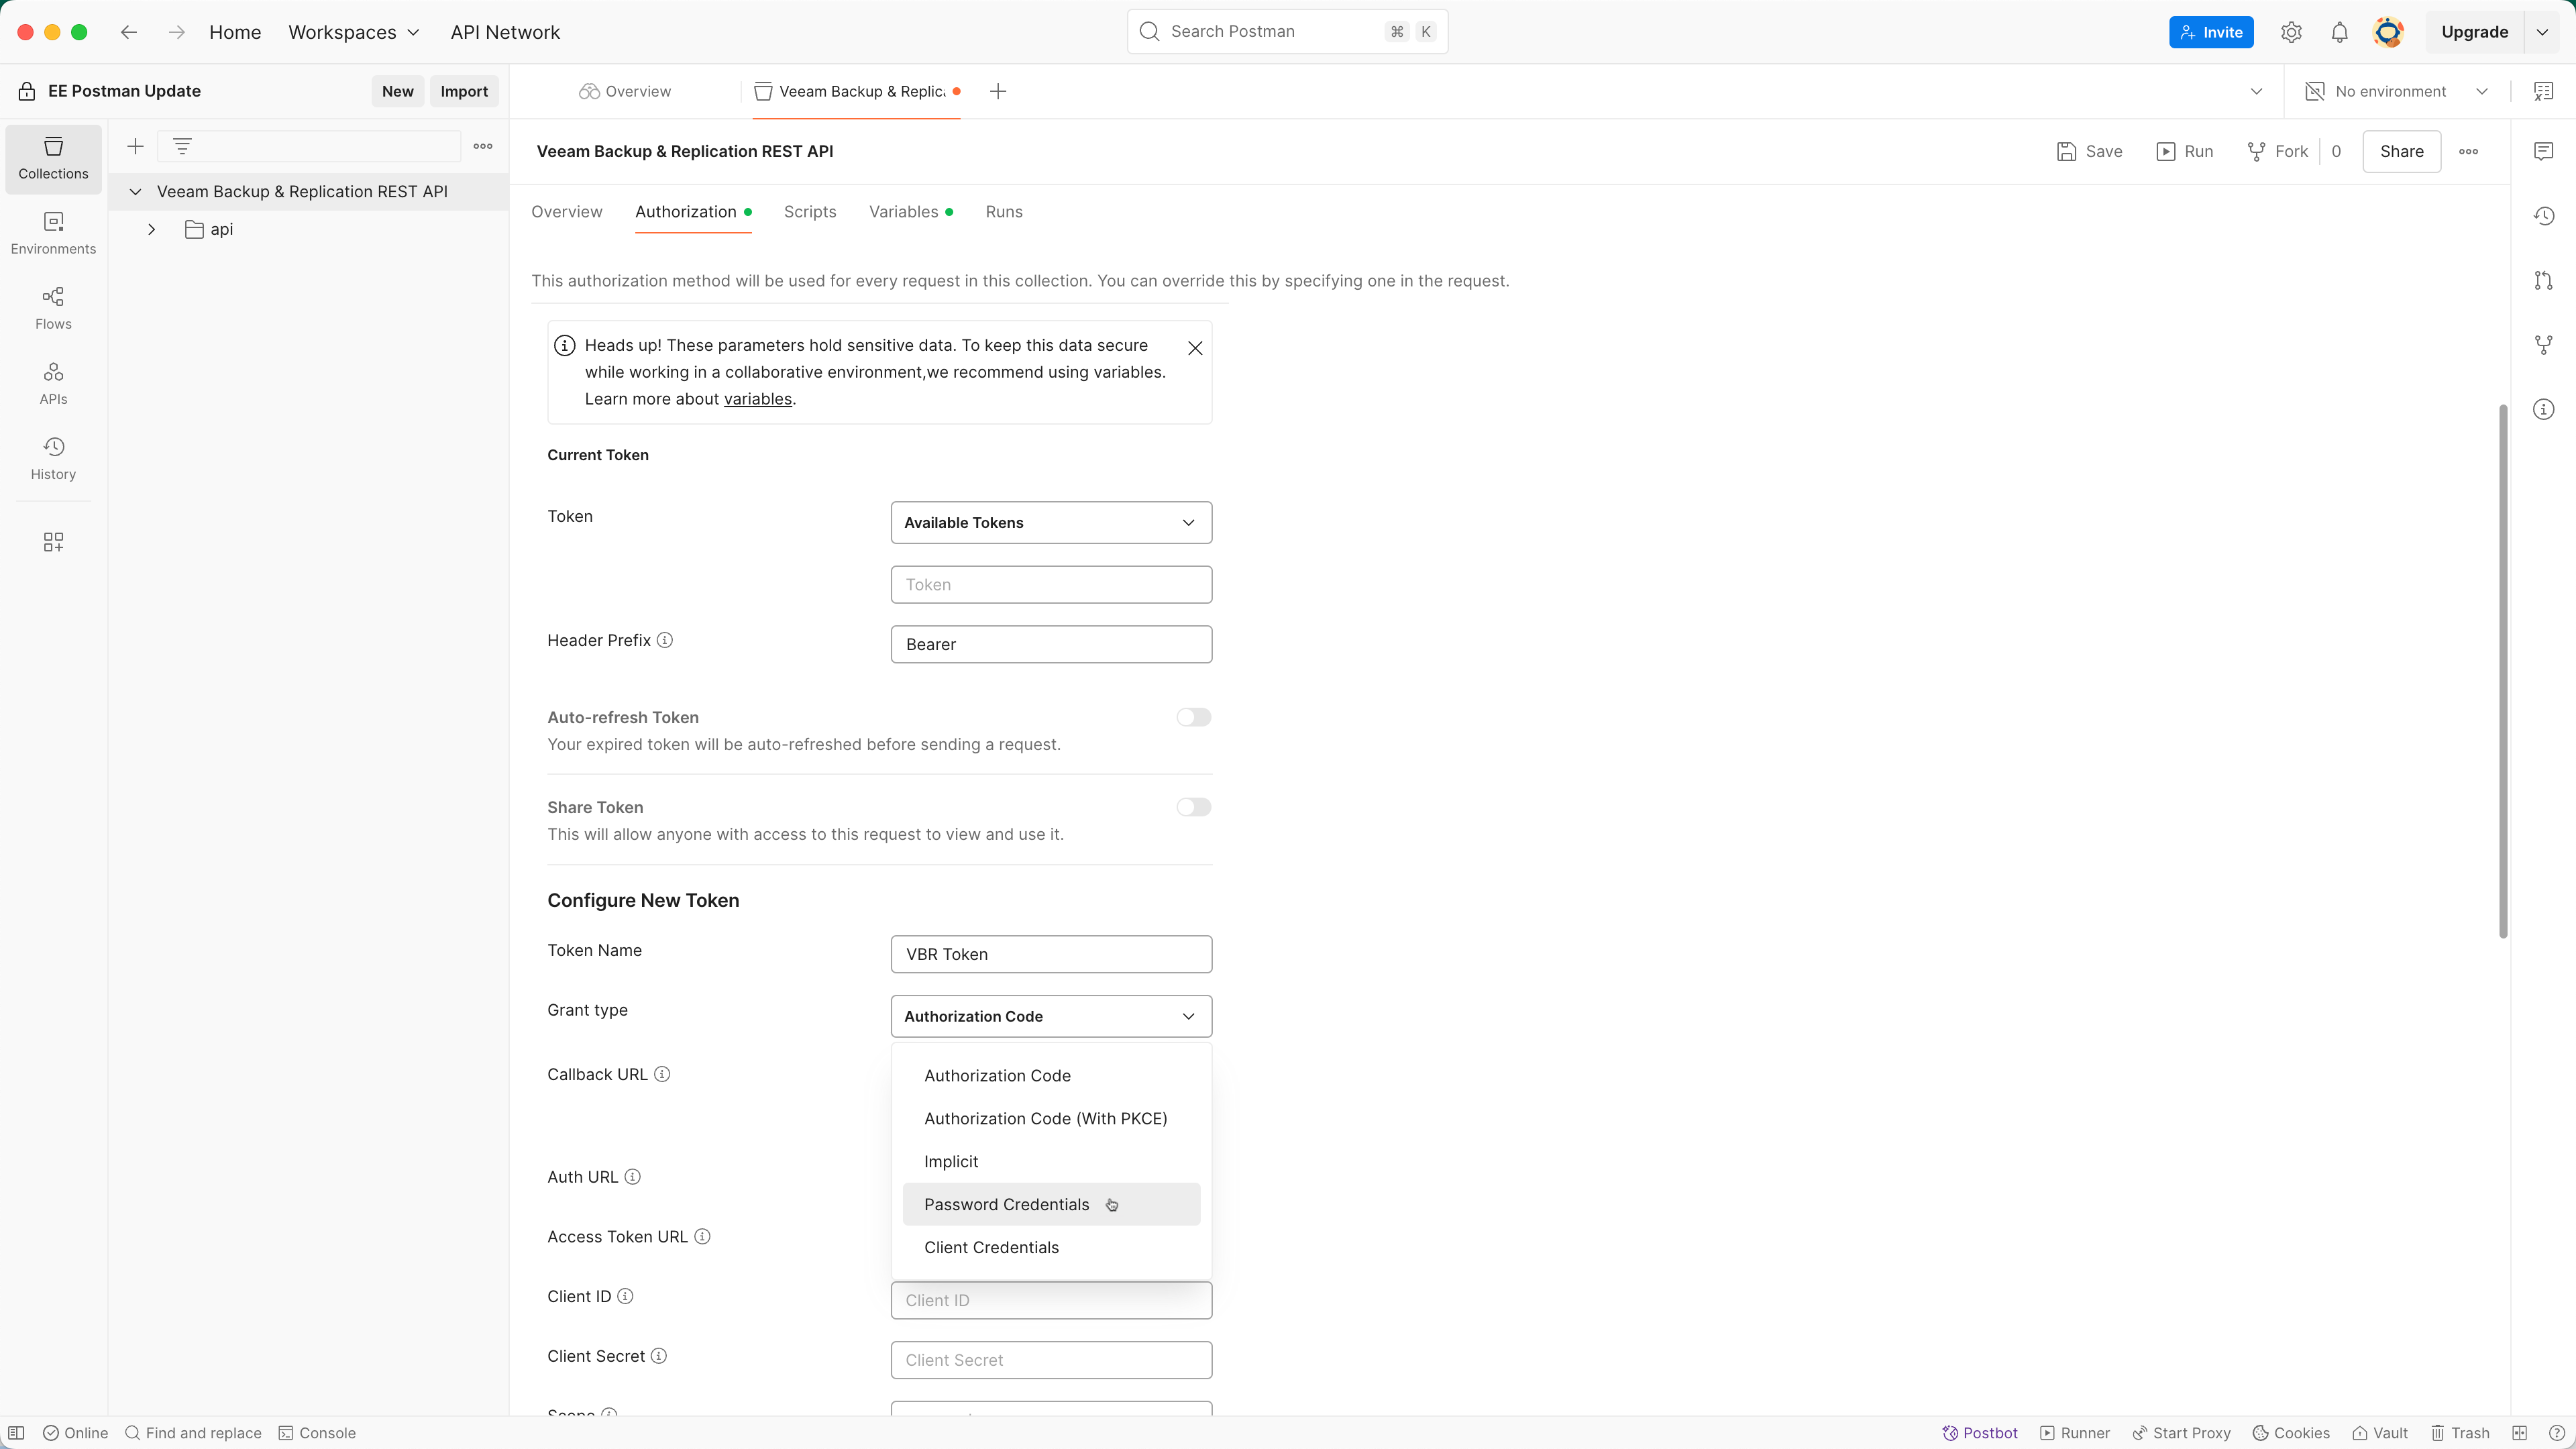
A few things to do here. Ensure the Header Prefix shows “Bearer”. Next, in the token name field, specify a name you want to assign your token. In the example I’ve put “VBR Token,” but you can call it anything you like. On the Grant type dropdown, select Password Credentials.
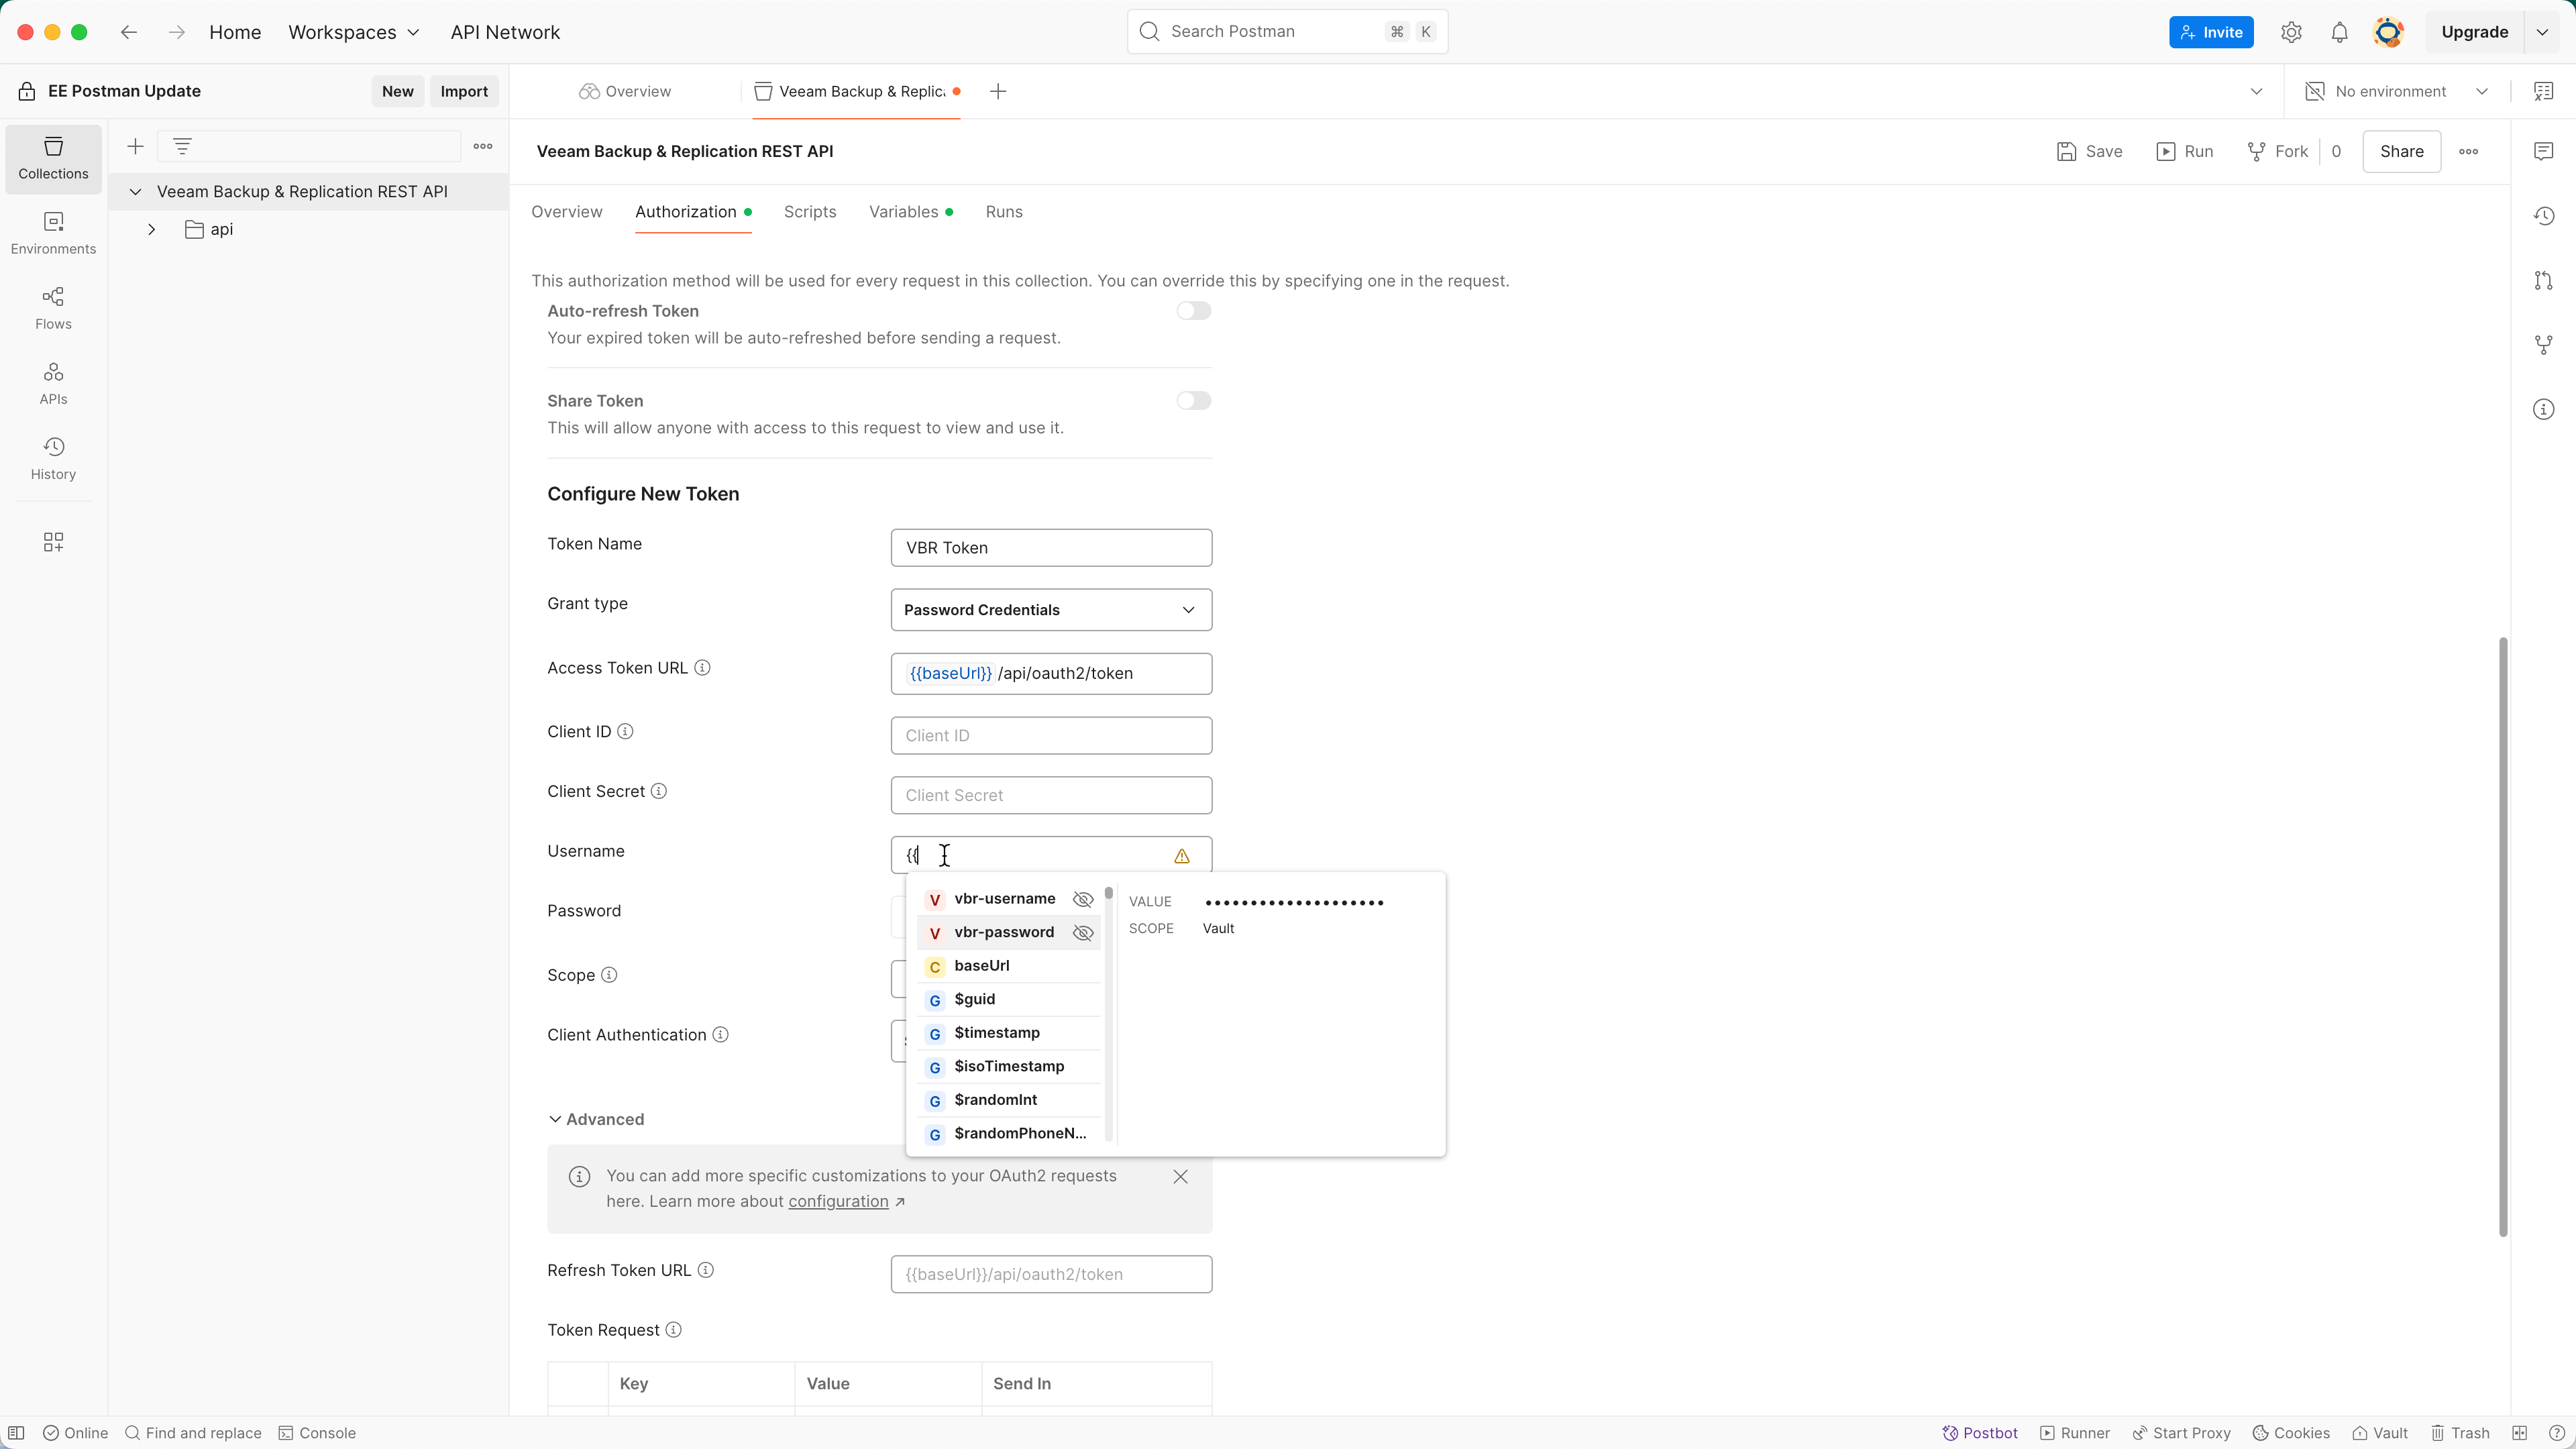
A few additional fields will open up with this option, and this is where our newly created secrets in the Vault come into play as well as the baseUrl variable.
In the Access Token URL field, put the following: {{baseUrl}}/api/oauth2/token. The double braces reference the baseUrl variable we set on the collection. The /api/oauth2/token component appends the token endpoint to the baseUrl, giving the application the full URL to call for an access token request.
Now we need to give it the actual credentials. Similar to the braces that reference the baseUrl variable, we’ll put another set of double braces in the Username and Password fields and this time specify {{vault:vbr-username}} for Username and {{vault:vbr-password}} for Password. As shown, Postman will offer an auto-fill menu when you start typing the braces as well.
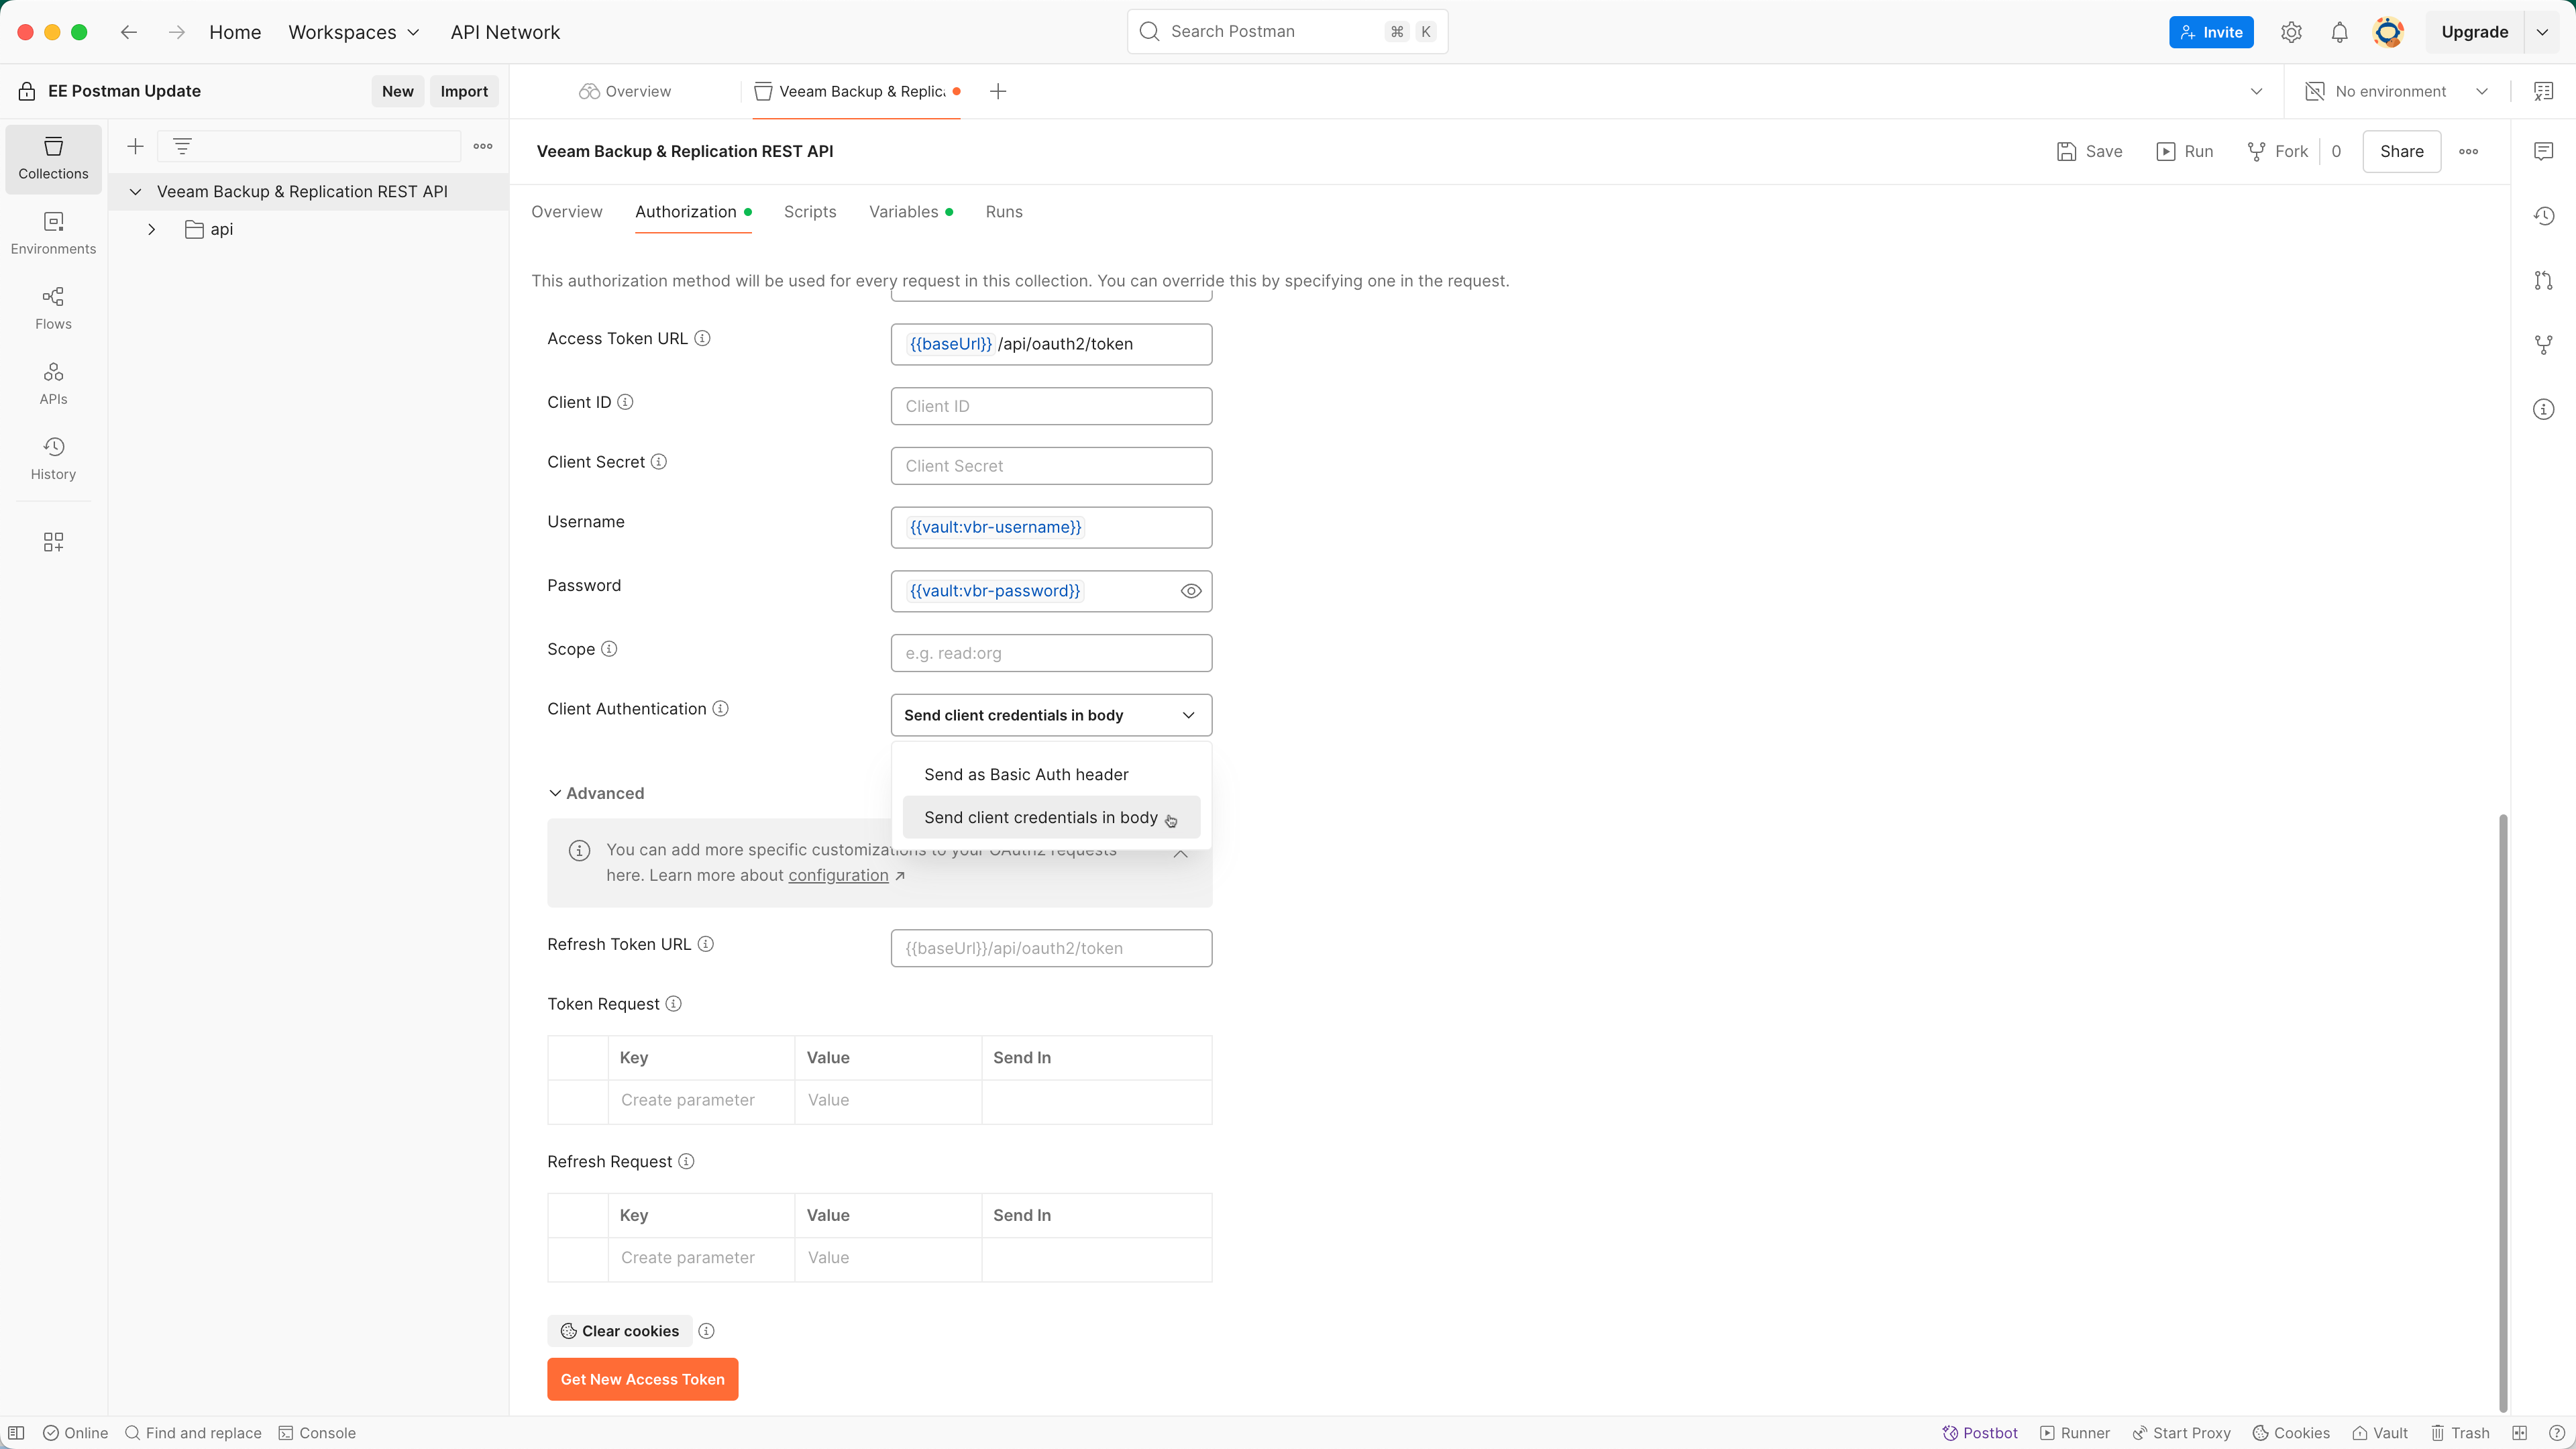
You’ll need to click the eye icon in the password field to show the password value so that you can put in the reference to the vault item, {{vault:vbr-password}}.
With the credentials done, we need to finish framing up the auth request to match VBR’s requirements. For Client Authentication, select Send client credentials in body from the dropdown menu.
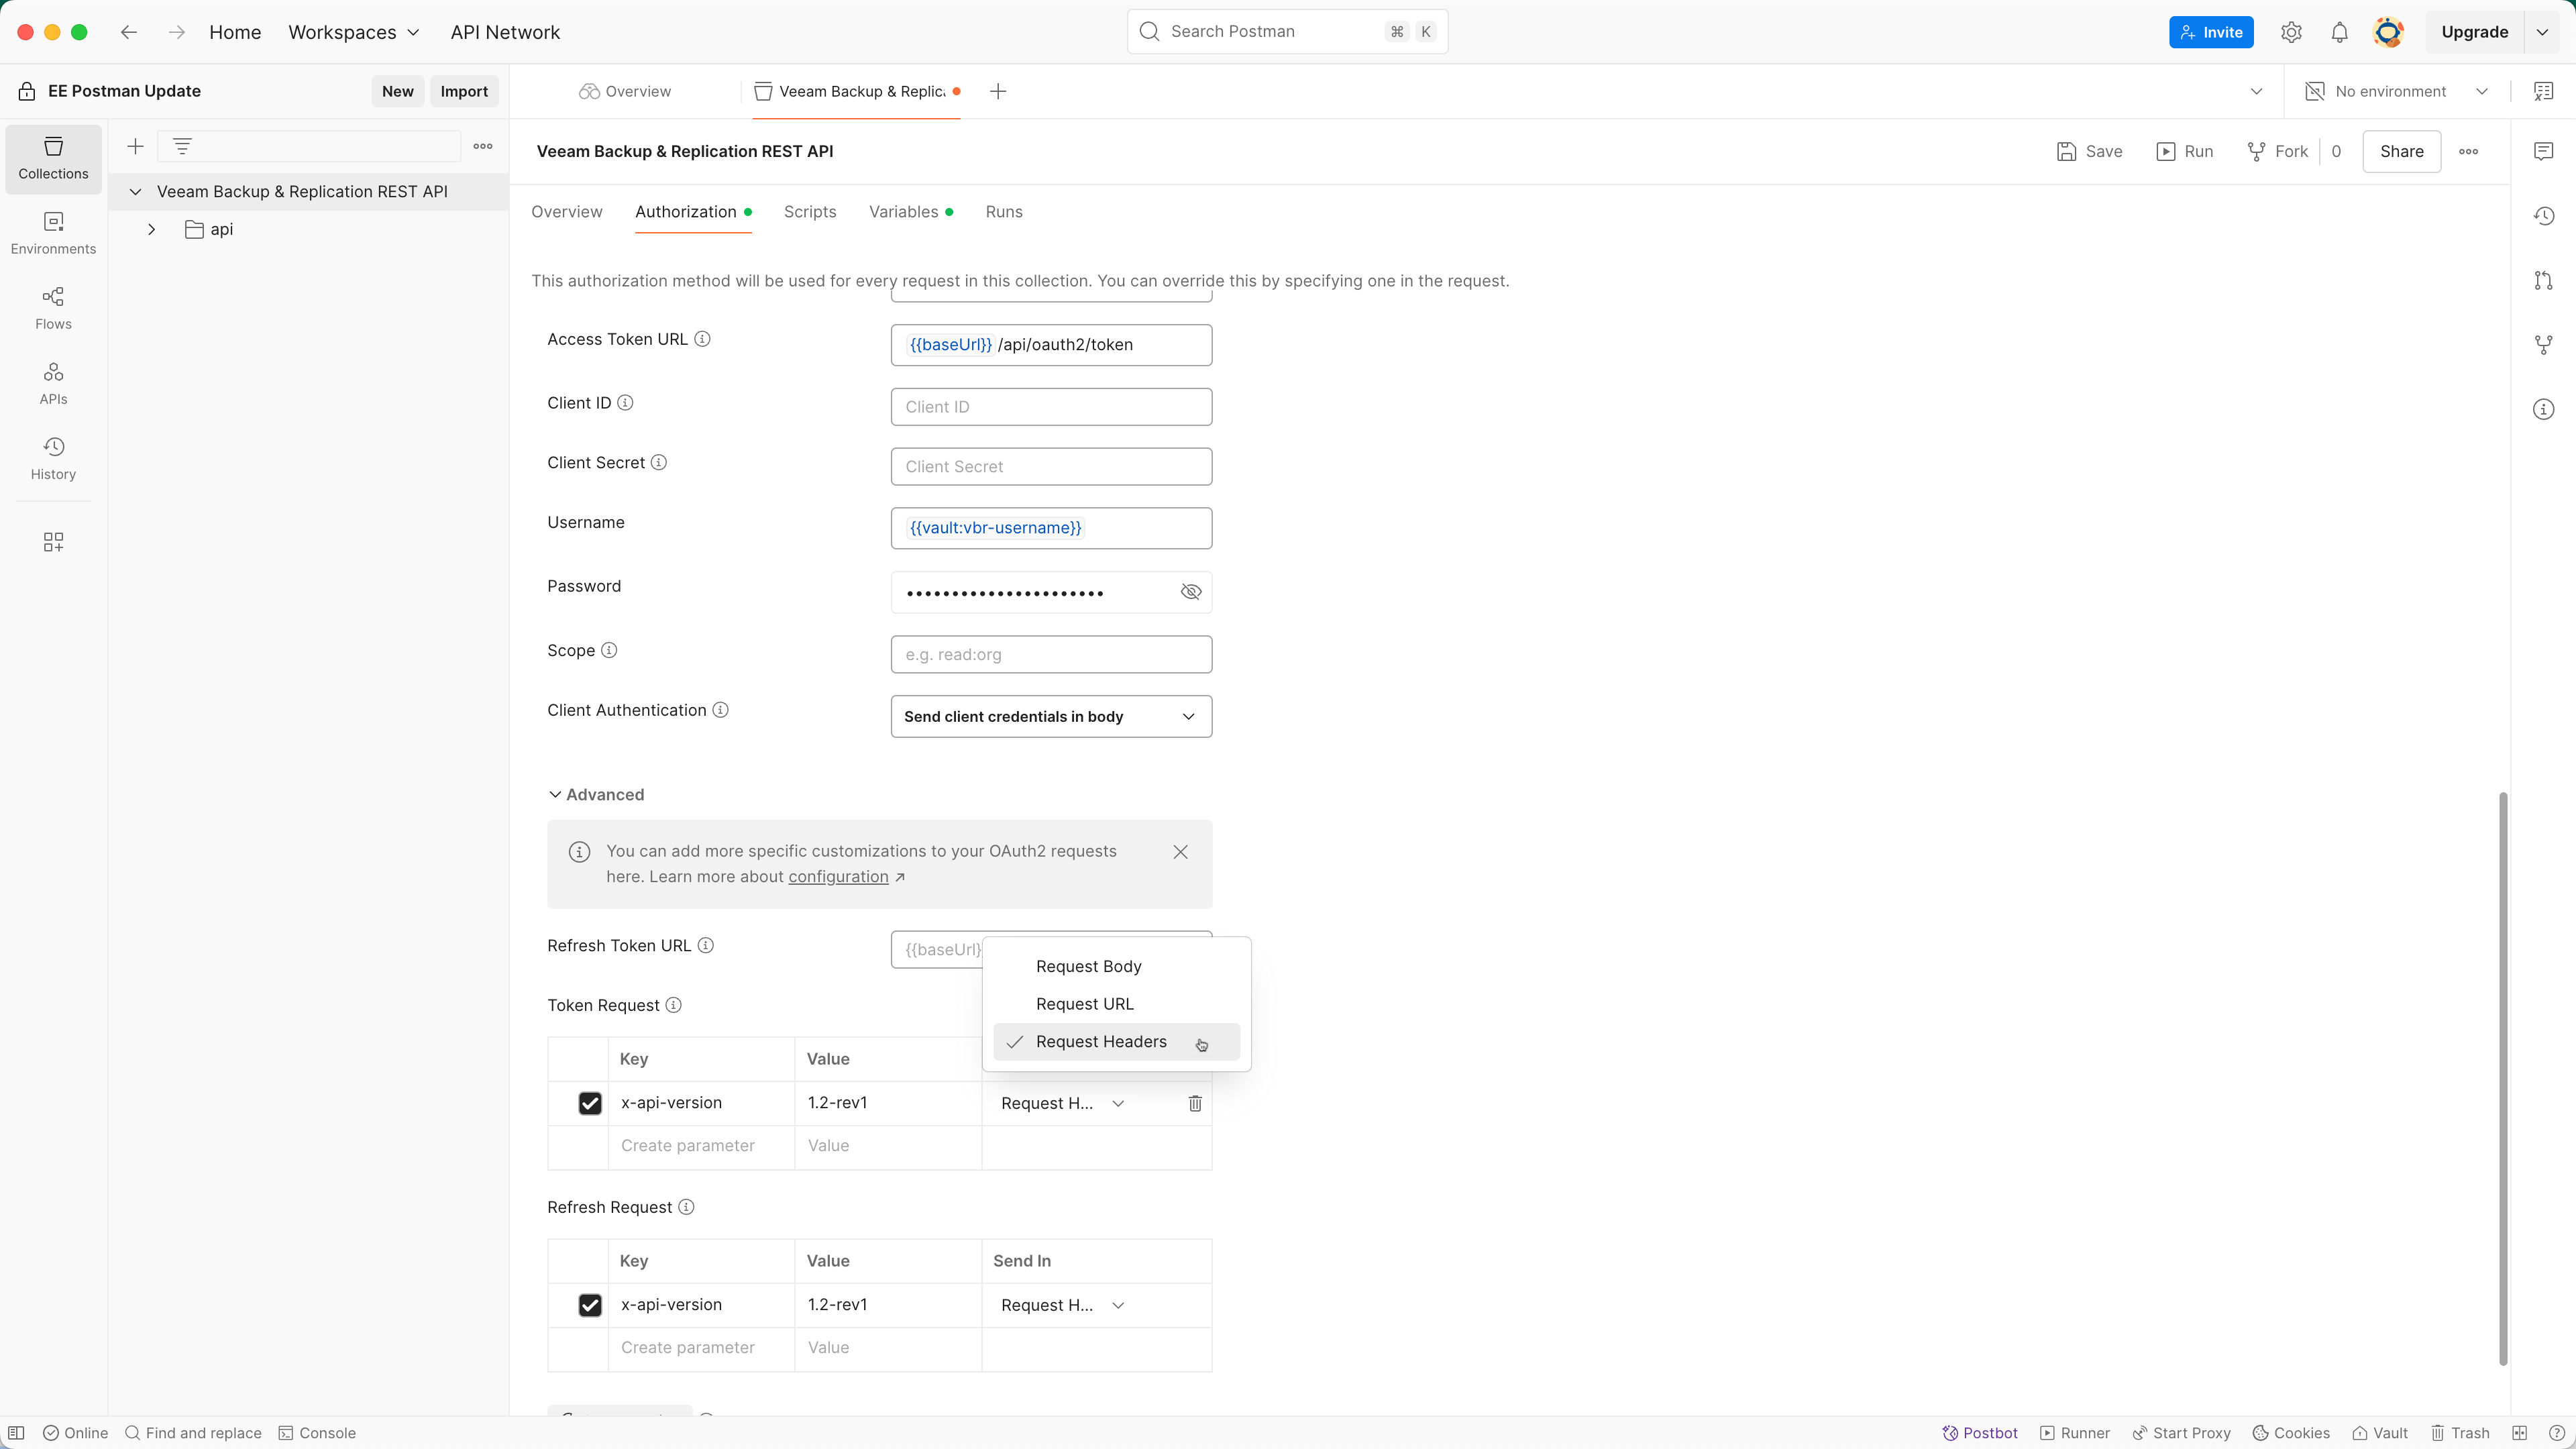
Now in the Token Request and Refresh Request tables, set in each table one key-value pair for the REST API version. Since we’re using the latest VBR version in this example (12.3.1), the REST API version is 1.2-rev1. For the key, put x-api-version, and value, 1.2-rev1. Make sure to do the same for the Refresh Request table as well. Finally, in the Send In dropdown menu, select Request Headers to specify where this data will be sent within the request.
Click Save in the top right to save your changes to the Authorization settings for the API collection. Now it’s time to give it a test.
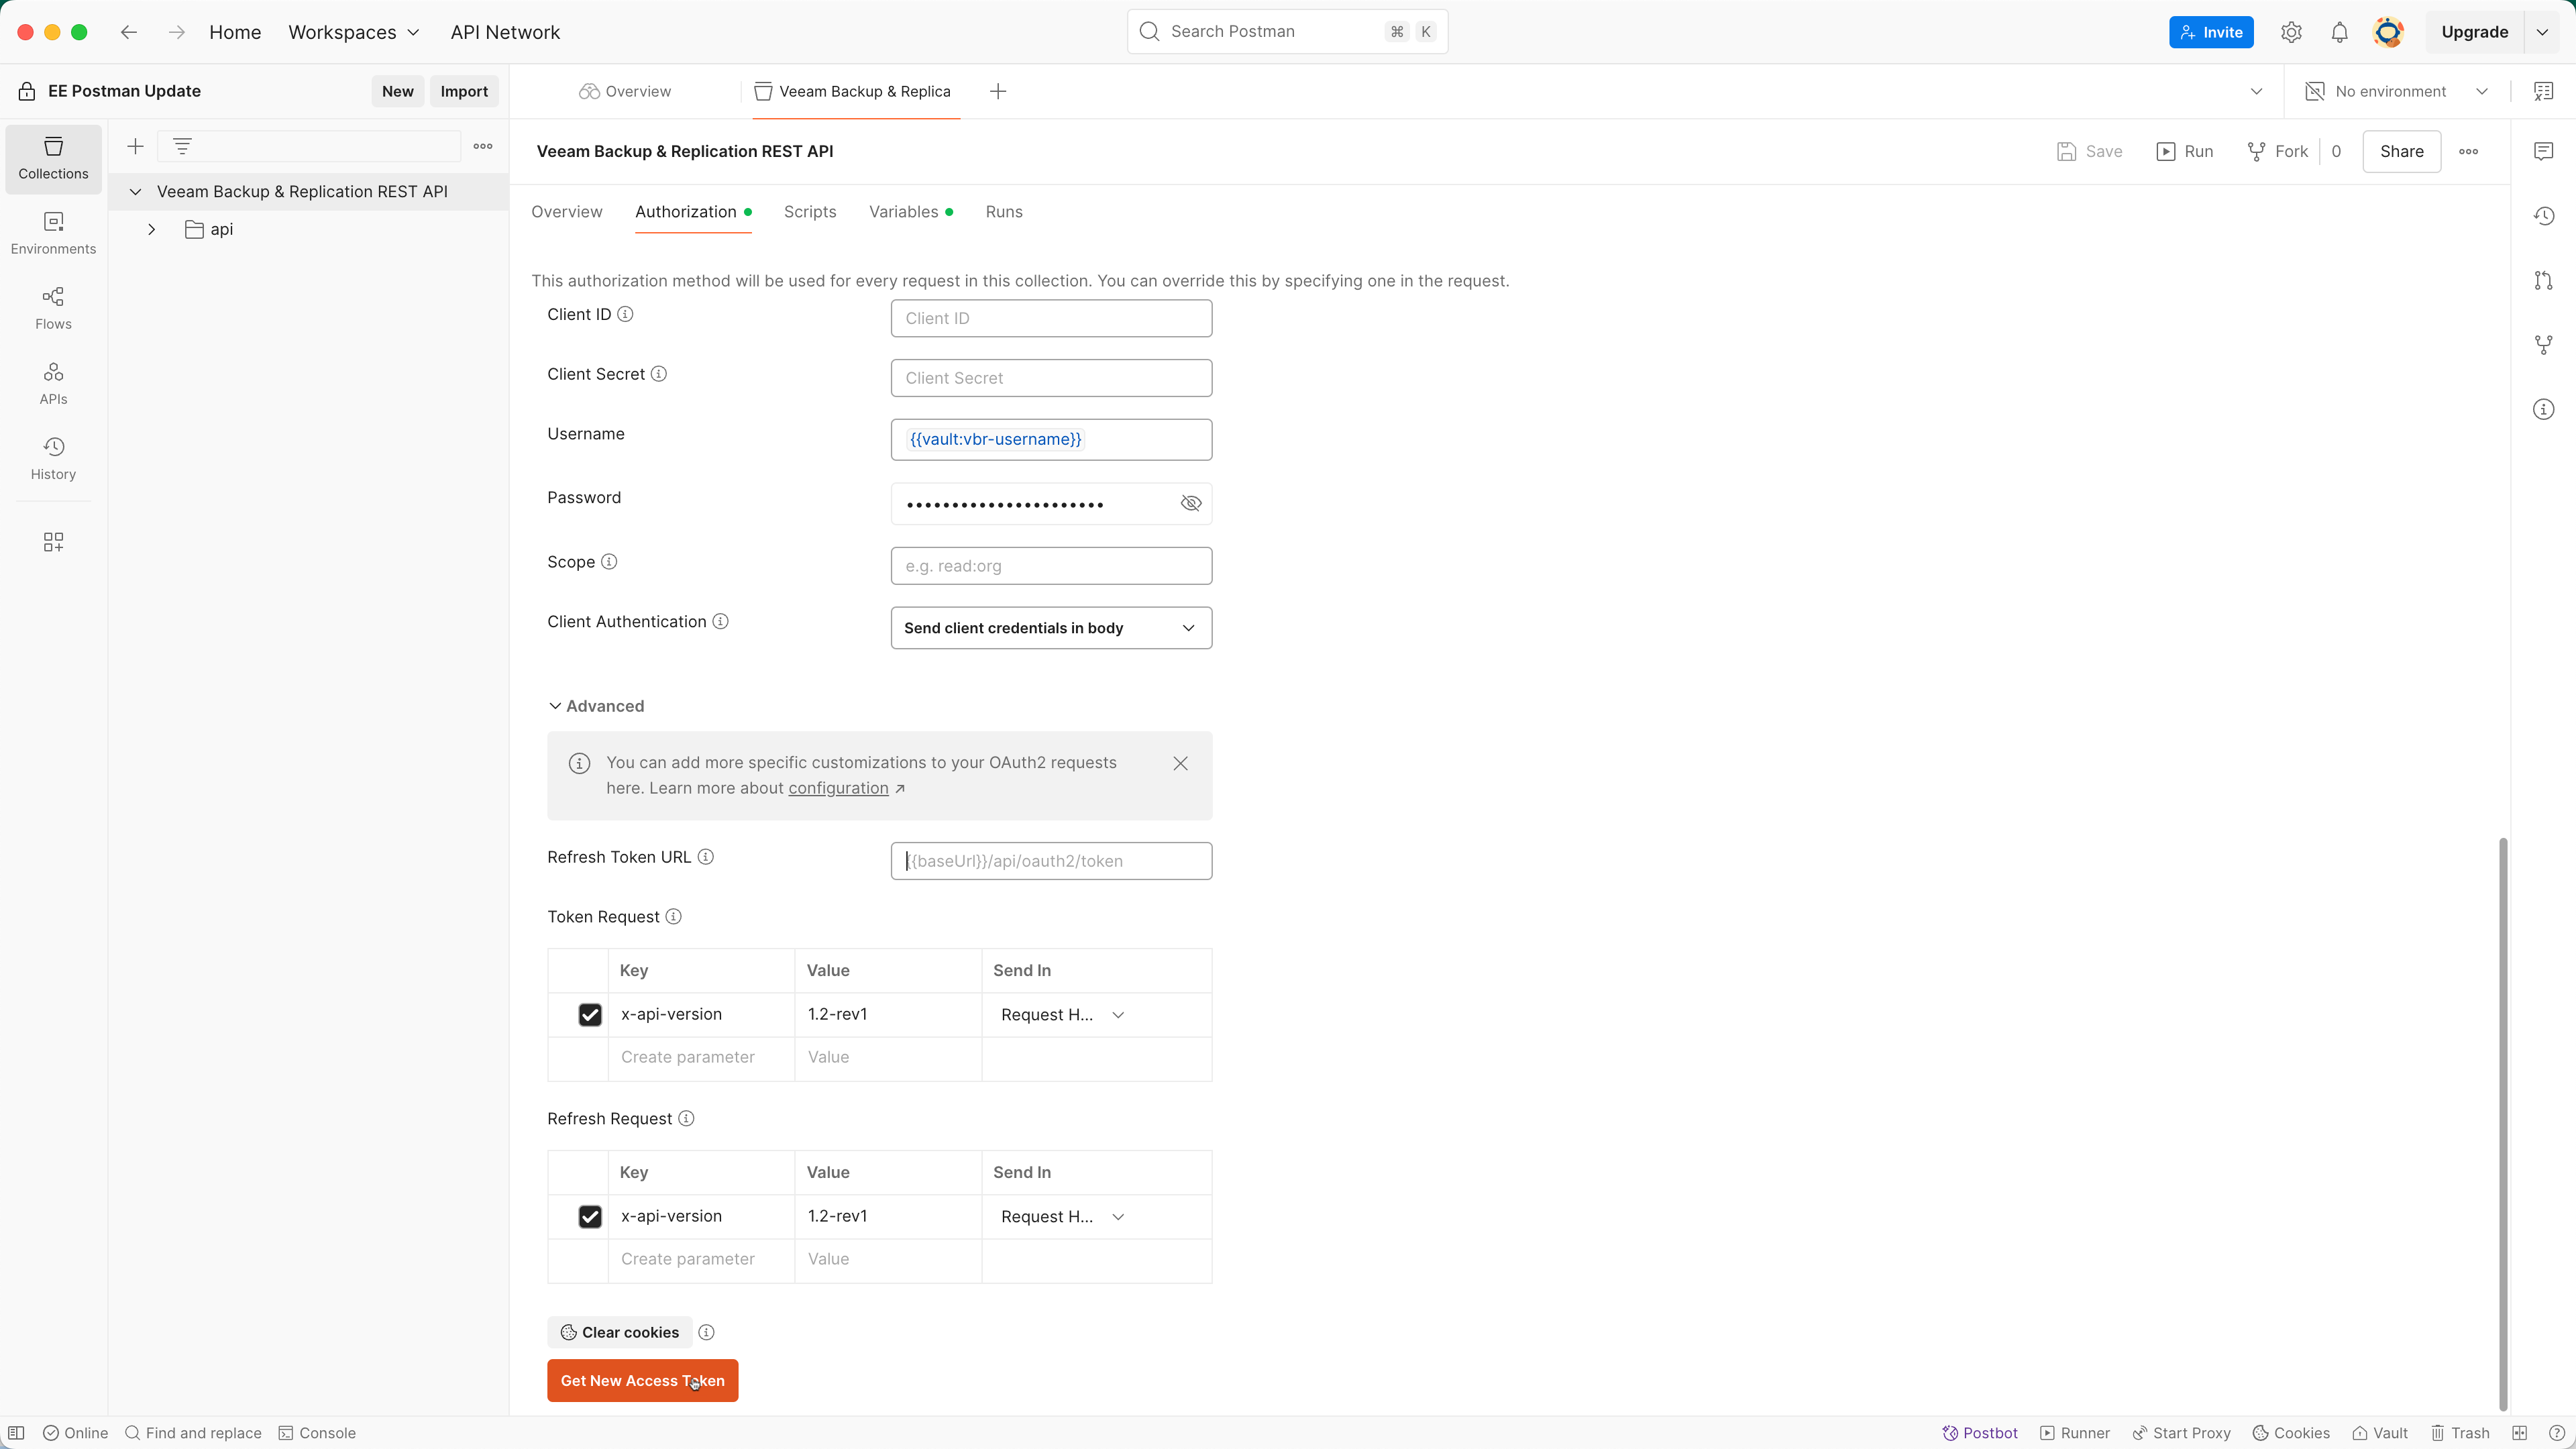
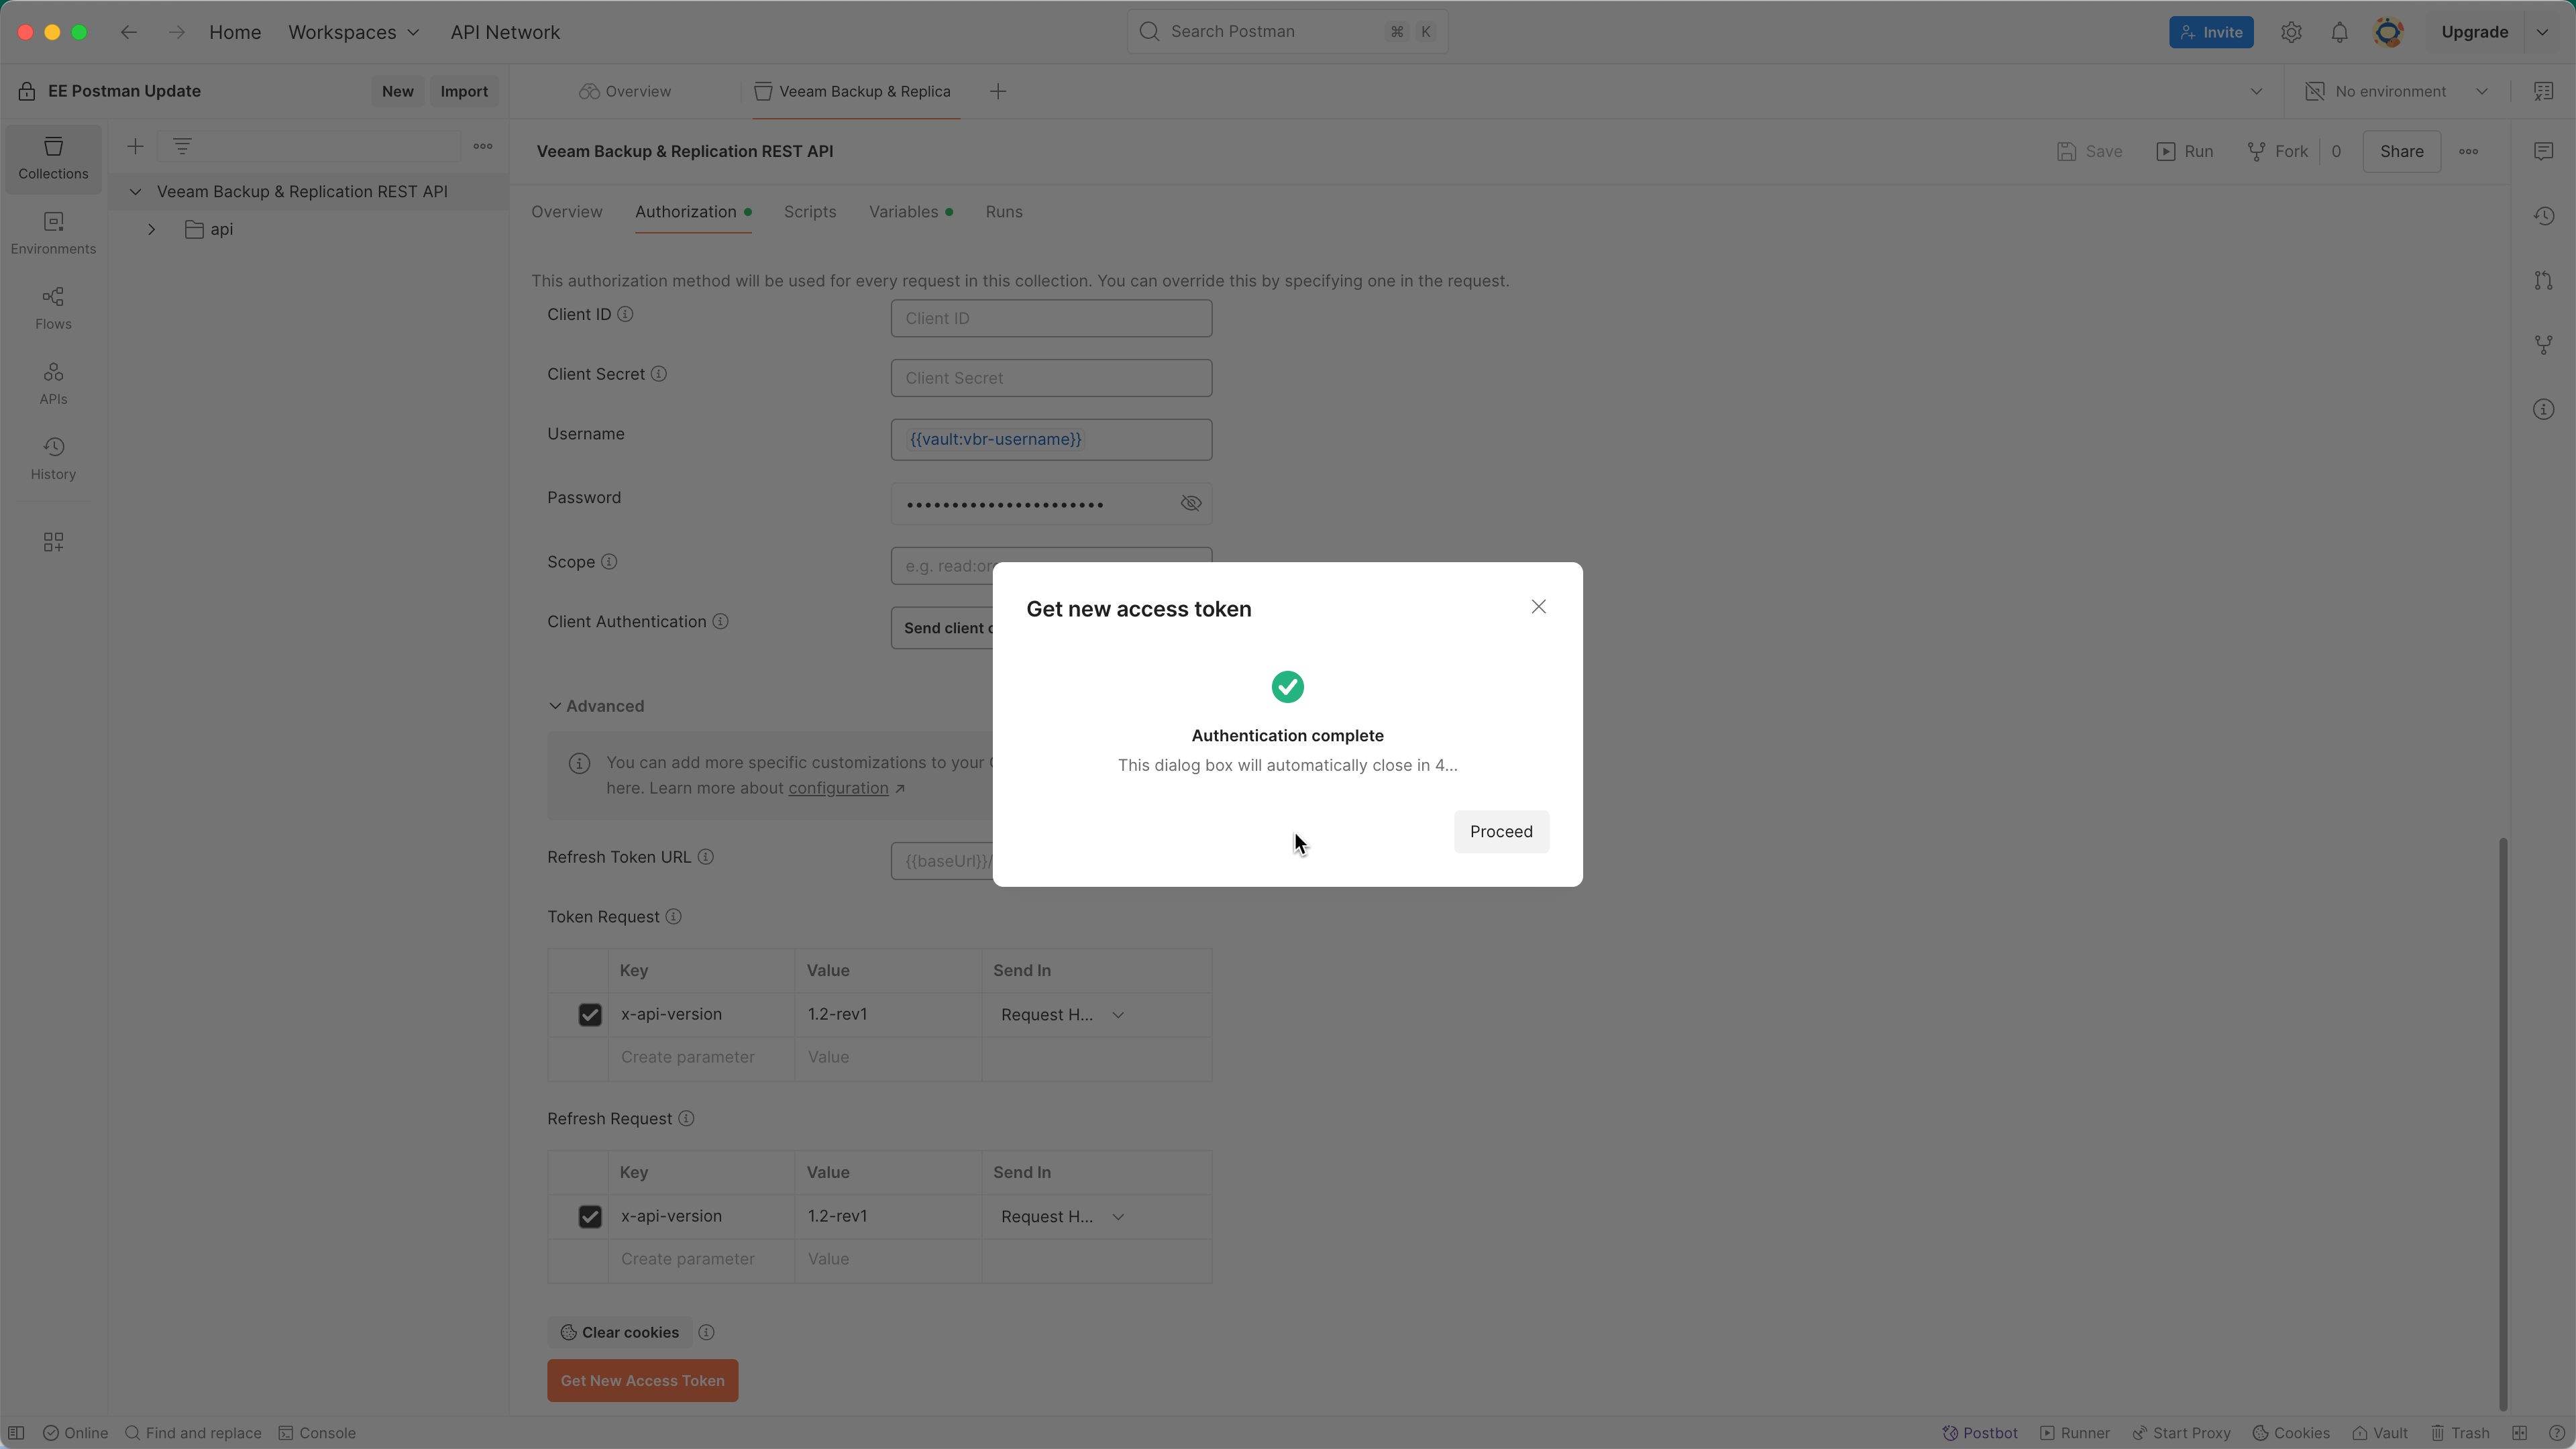
At the bottom of the Authorization window, click Get New Access Token. With everything in place, including network access to your VBR server’s REST interface, you should see a nice green check mark and “Authentication complete”. Wait for the window to close automatically or select Proceed.
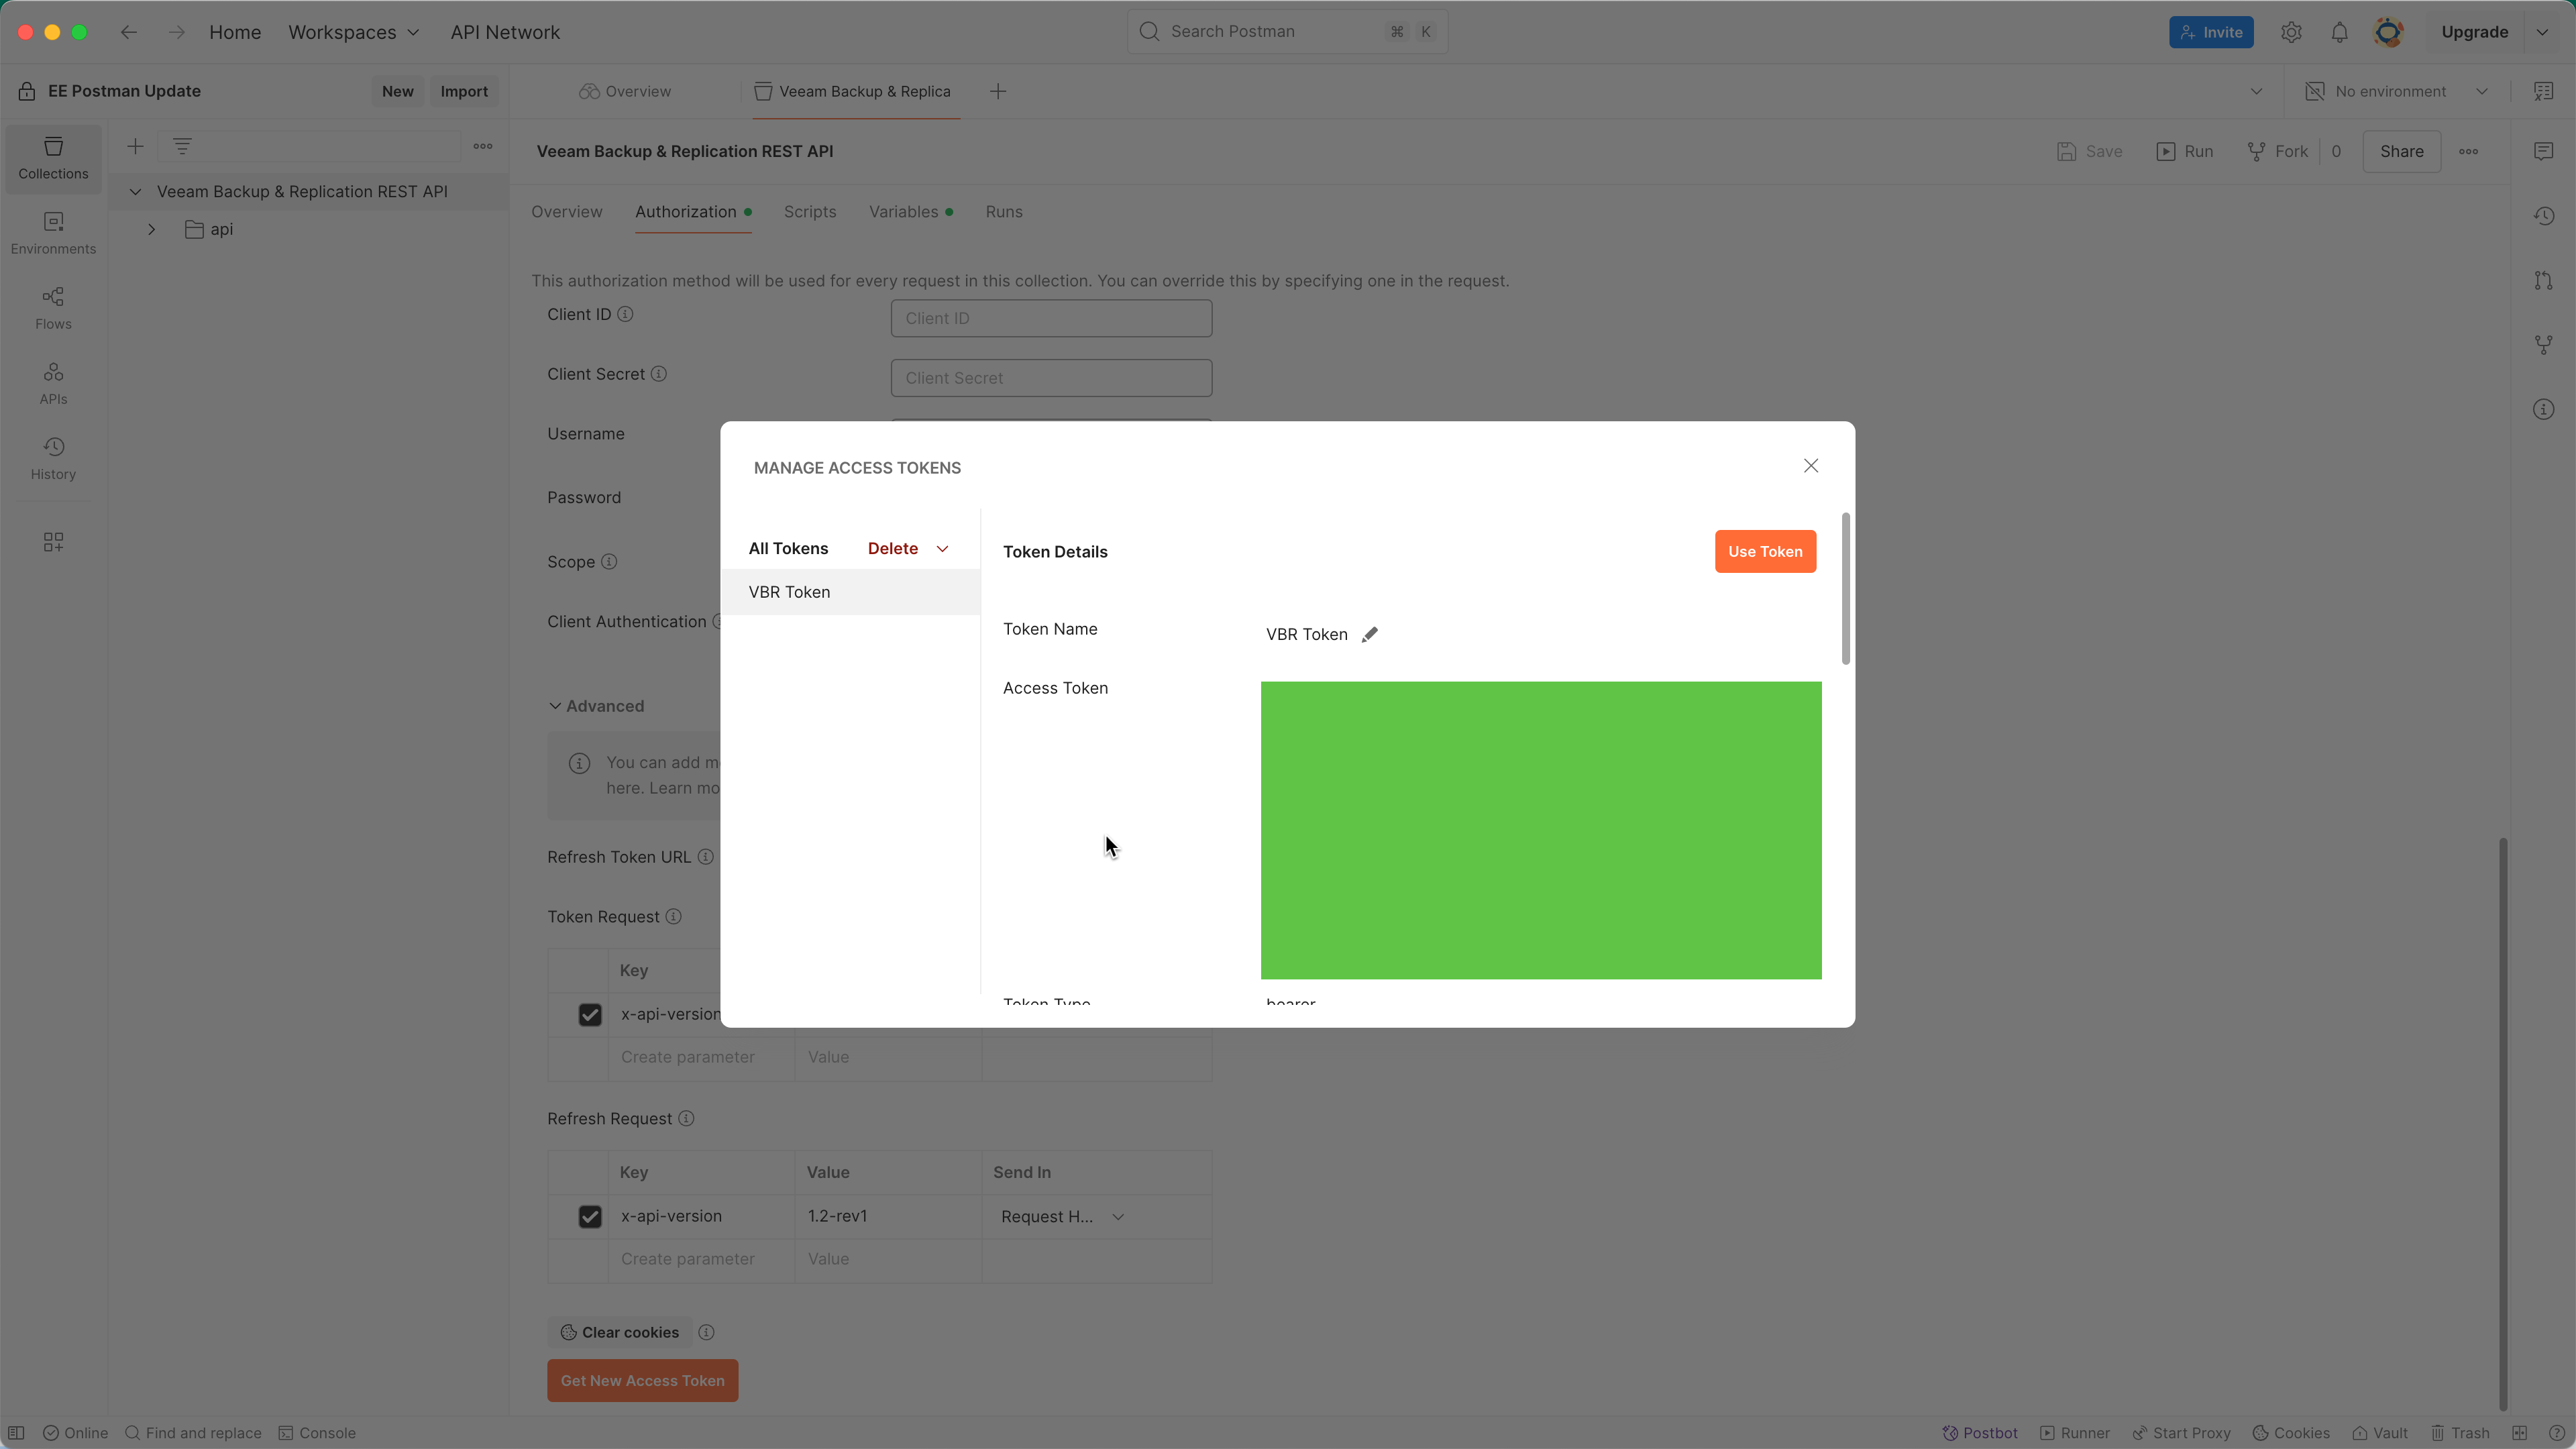
Here you’ll see the details of your access and refresh tokens. Select the Use Token button to save the access token to the collection.
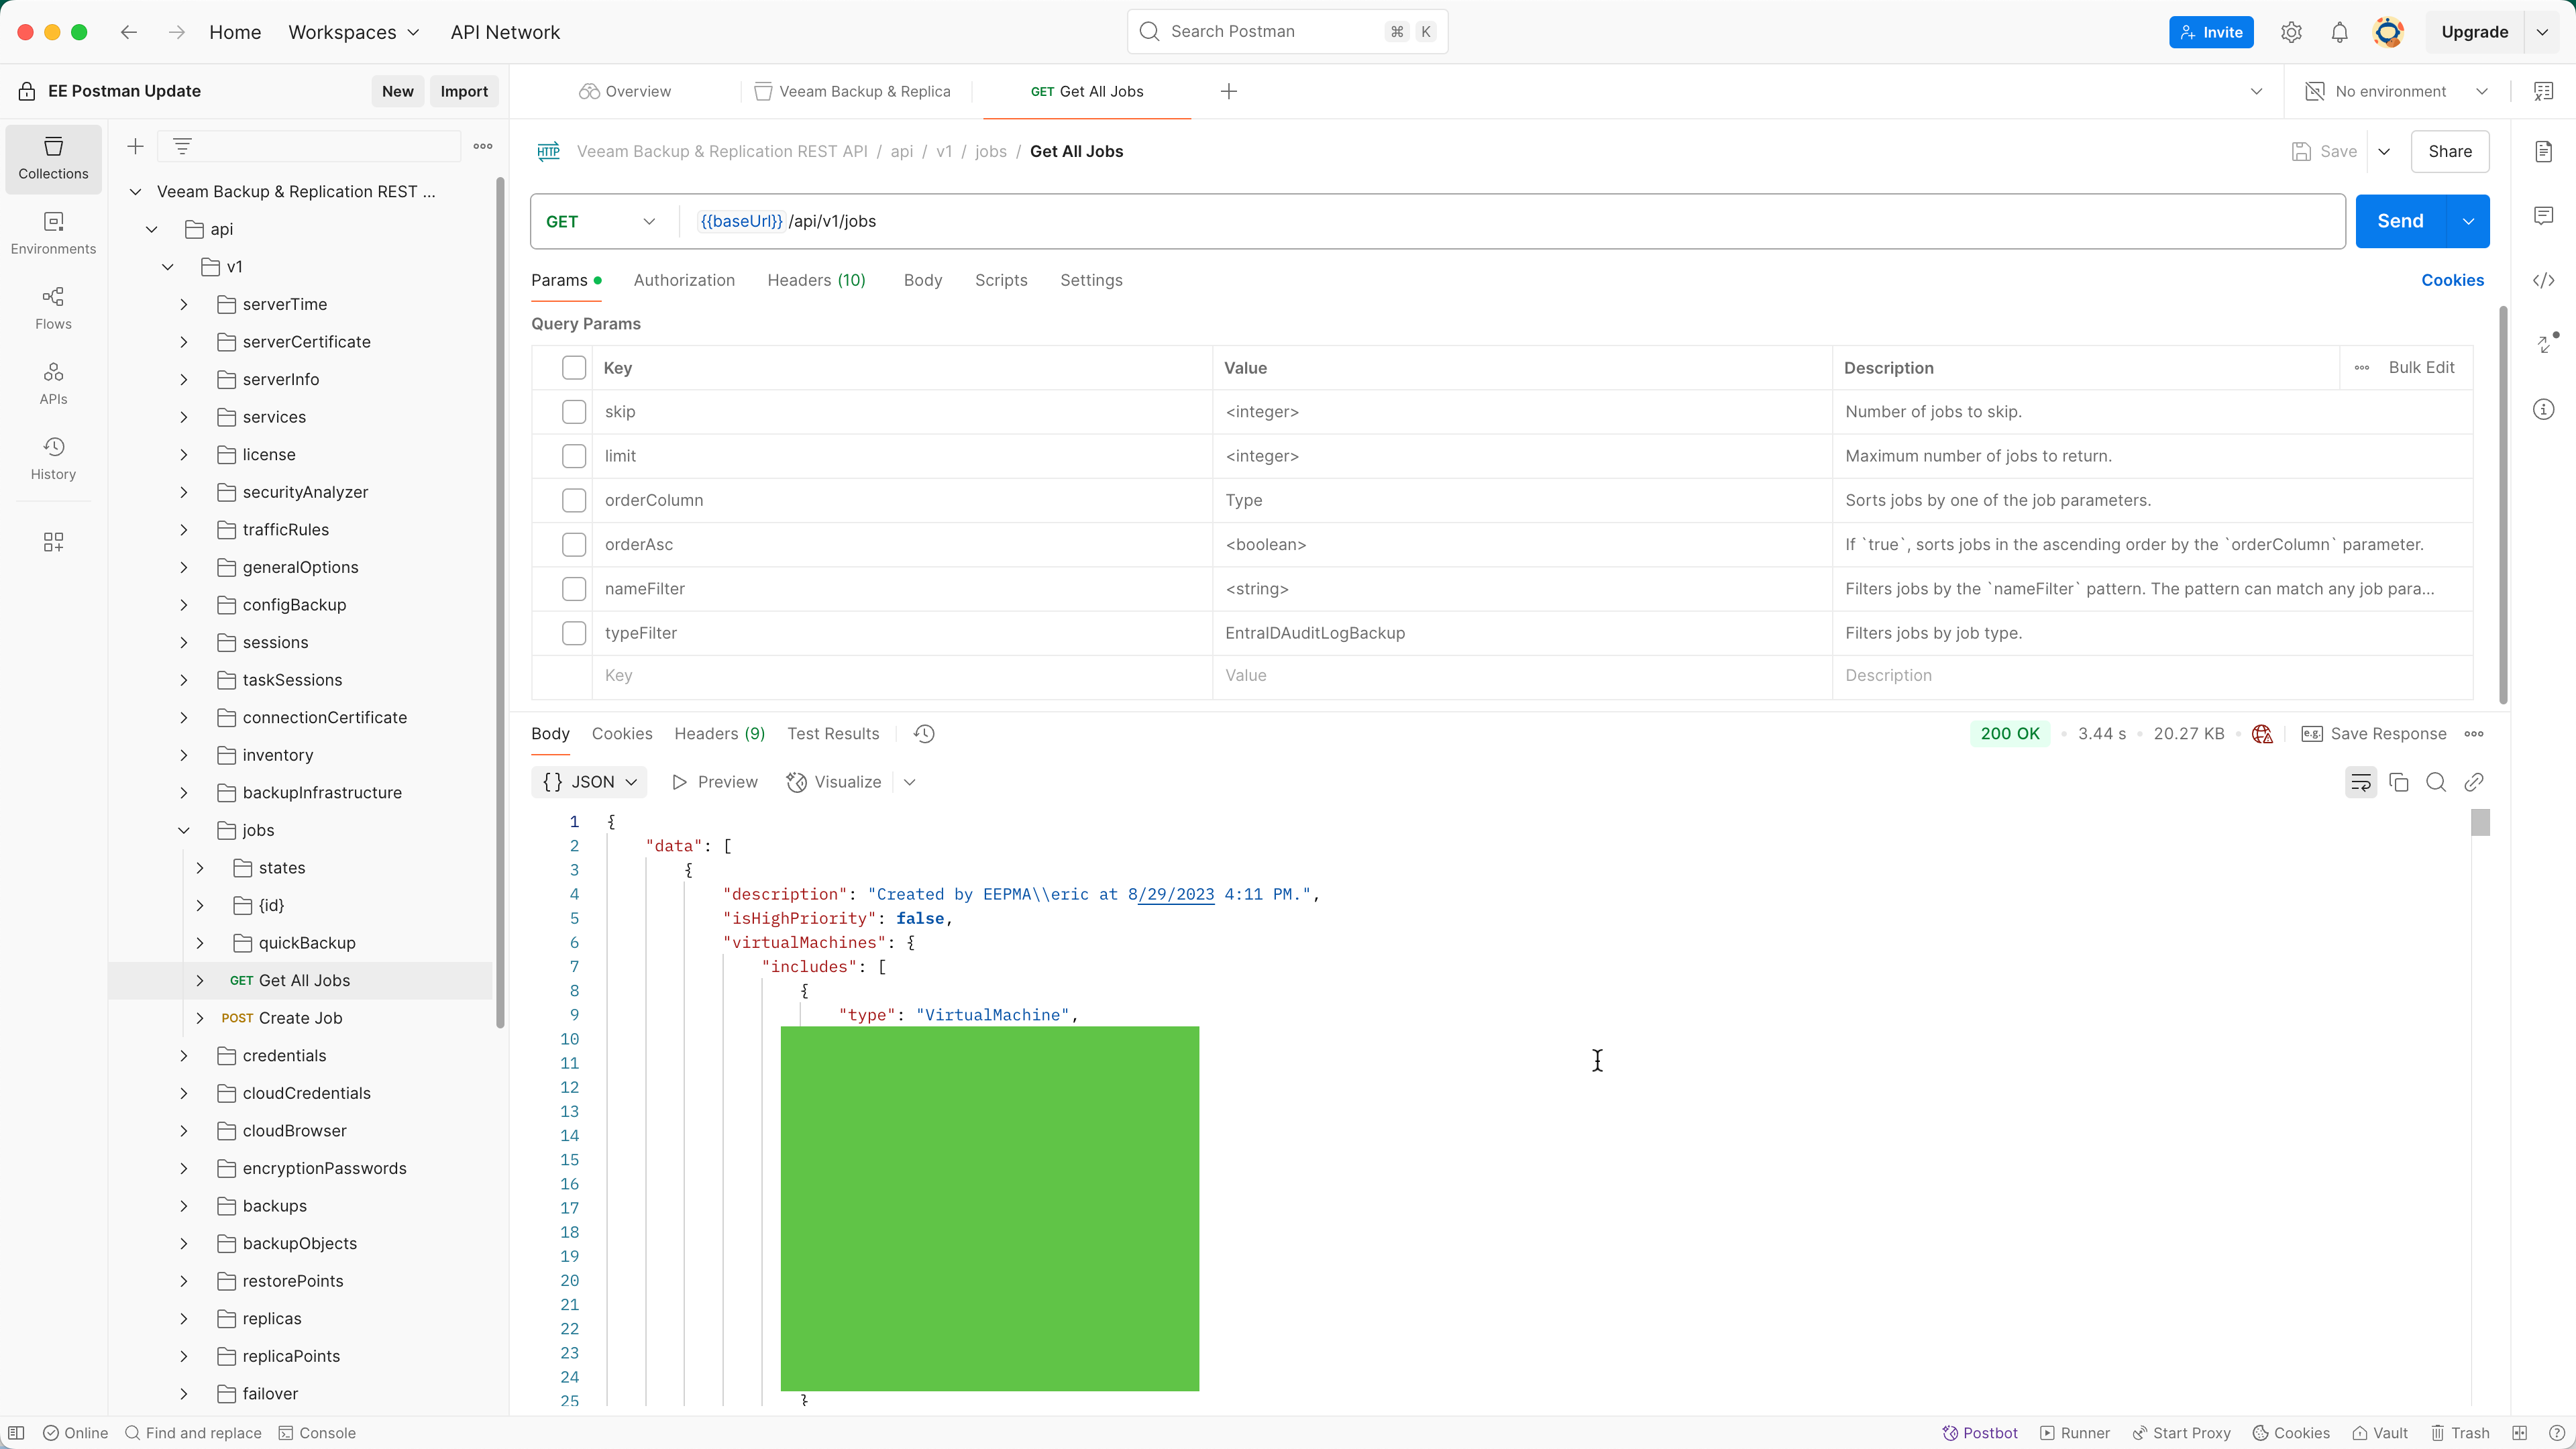
Now hop over to an endpoint, set your parameters, and send your request(s). Since all endpoints are set to inherit auth from parent by default, and our auth was set at the root node, we can easily and securely interact with all endpoints in the collection.
Enjoy, Veeam Community!

