

In this post, I will explain how to protect Azure File Share with Veeam Backup for Azure.
Veeam Backup for Azure backs up Azure File Share using Azure's native snapshots and creates a catalog of the folders and files within the share to facilitate the restore process.
Prerequisites and Limitations
It is always important to validate the prerequisites and limitations before creating backups for supported products. In the case of Azure File Share, the following points should be noted:
- NFS Azure File Share backup is not supported.
- If the file share is removed from Azure, the snapshots will be automatically removed, along with the backups created by Veeam.
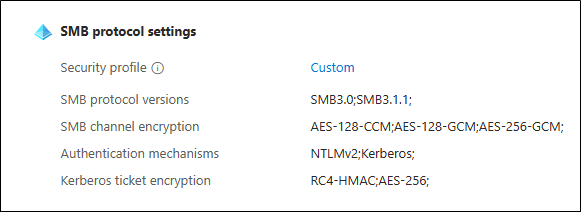
- To use Indexing, Veeam Backup for Azure utilizes SMB v3 and NTLM v2, so these authentication types need to be enabled on the share.
- The Indexing functionality is only available in the paid versions of Veeam Backup for Azure. It is not available in the free version.
- Due to Azure limitations, the maximum number of snapshots for an Azure File Share is 200 snapshots.
Creating the Policy
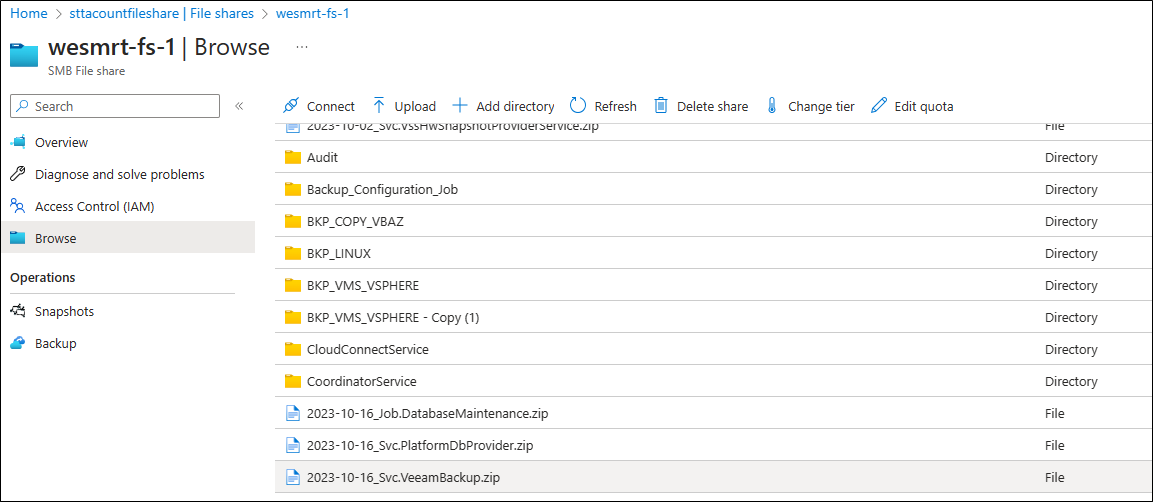
To simulate the policy, I created a File Share in a Storage Account in Azure. In this File Share, I have around 2GB of data with some folders and files, as shown in the image below:
The File Share already has SMBv3 and NTLMv2 enabled to make Indexing possible:
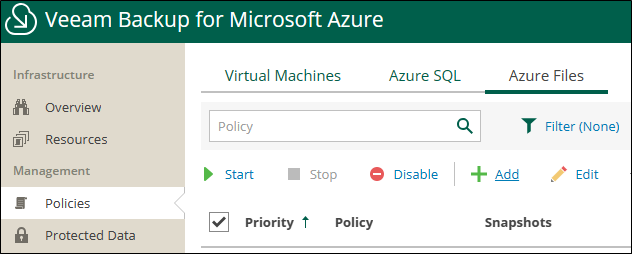
In the Veeam Backup for Azure console, click on "Add" in the Azure Files section under Policies:
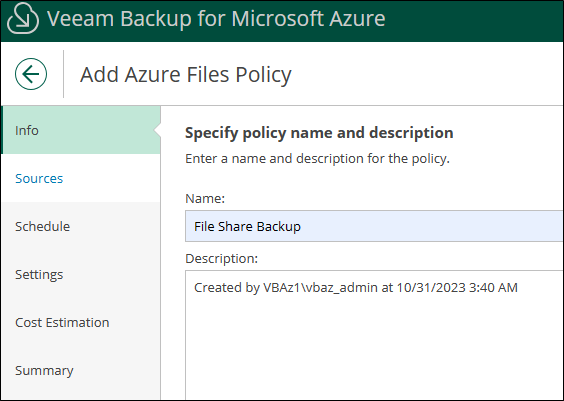
Choose a name and description for the Policy:
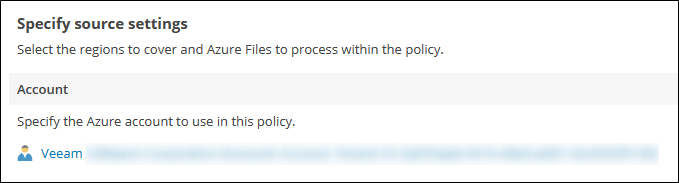
In the "Account" section, choose the account that has access to the Azure File Share:
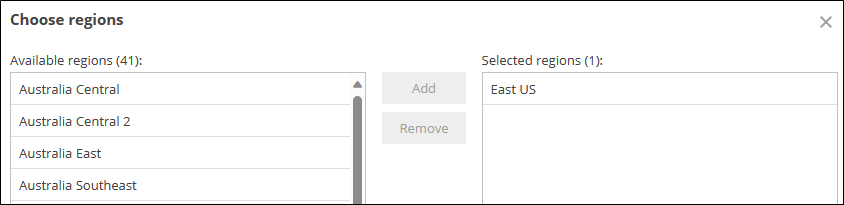
In "Region," select the region where the Azure File Share is located:
In "Resources," select the File Share and add it to the list of protected resources. If it doesn't appear in the list, click "Browse to select a target from the global list."
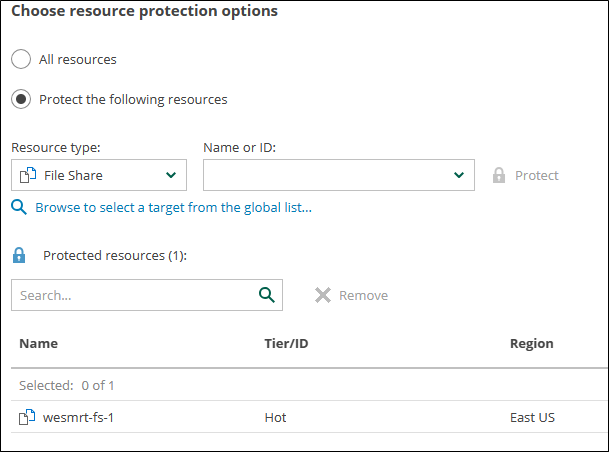
Check the "Enable indexing" option to create the index during the execution of the Policy.

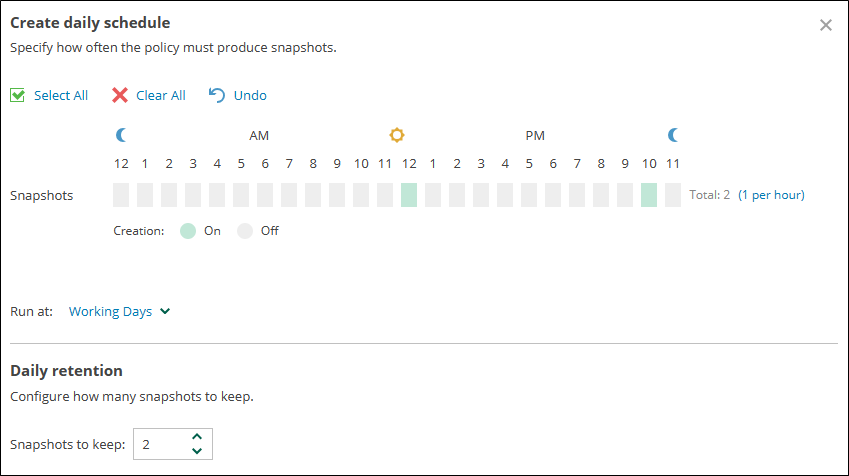
Enable the desired retention type (Daily, Weekly, or Monthly). You can enable all of them to create different schedules.
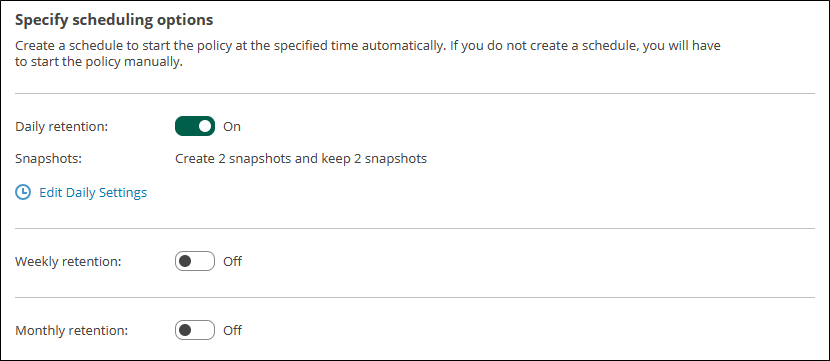
When editing the schedule, you can define the time and days when the policy will run. This is also where you define the number of snapshots to retain.
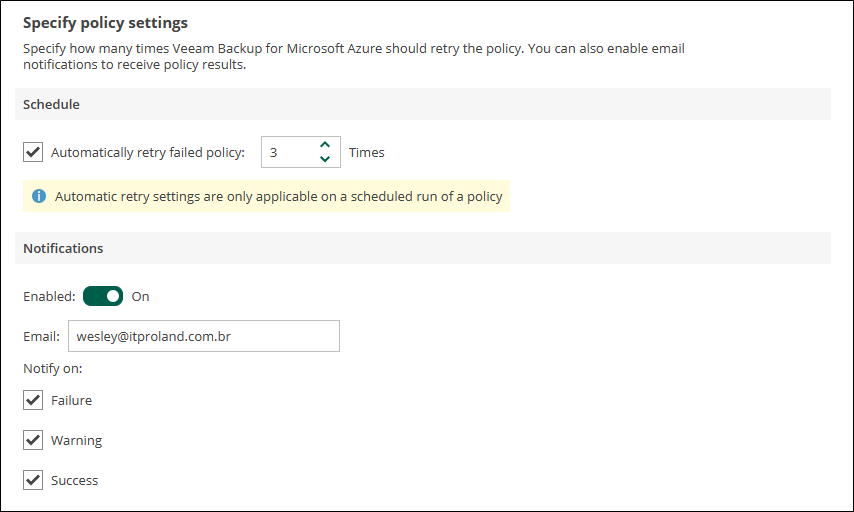
In the "Settings" section, you can configure notifications and the number of retry attempts the Policy will make in case of failure.
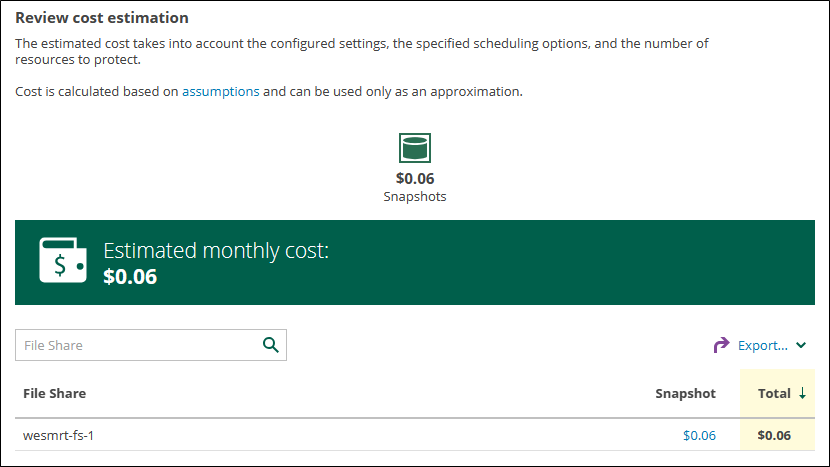
At the end, you will get a cost estimate for the Policy based on the chosen schedule and retention settings.
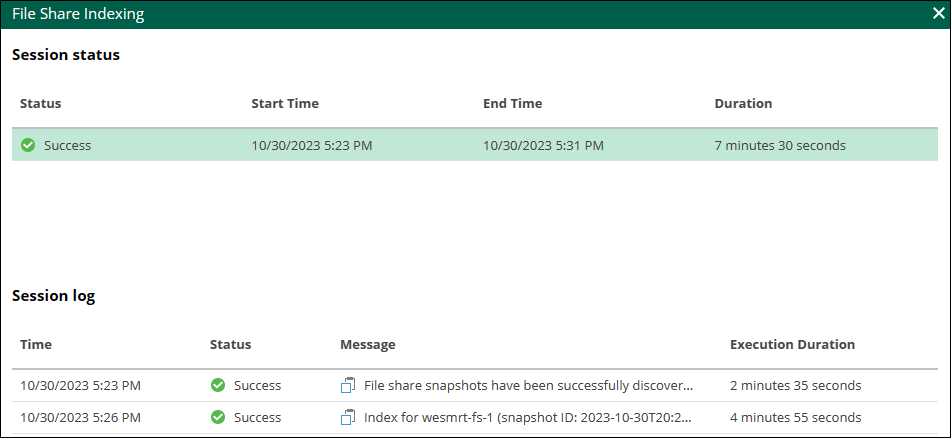
When you run the Policy, you will see that a Snapshot is created first.
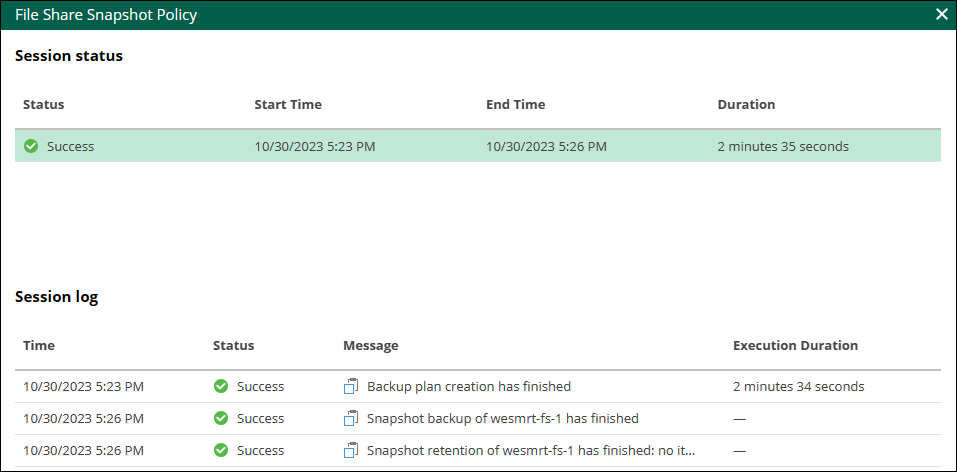
Next, the Indexing process begins, where a Worker is created to mount the File Share based on the snapshot and then scan the entire folder and file structure to create the index.
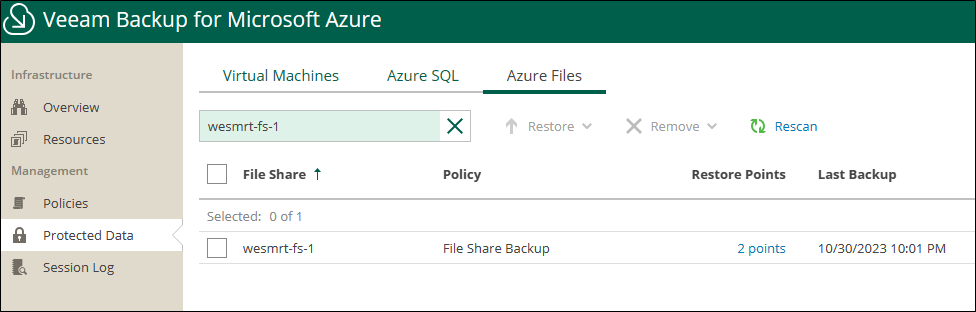
Once the Policy is finished, you can see the Restore Point created and ready for restore in the "Protected Data" section.
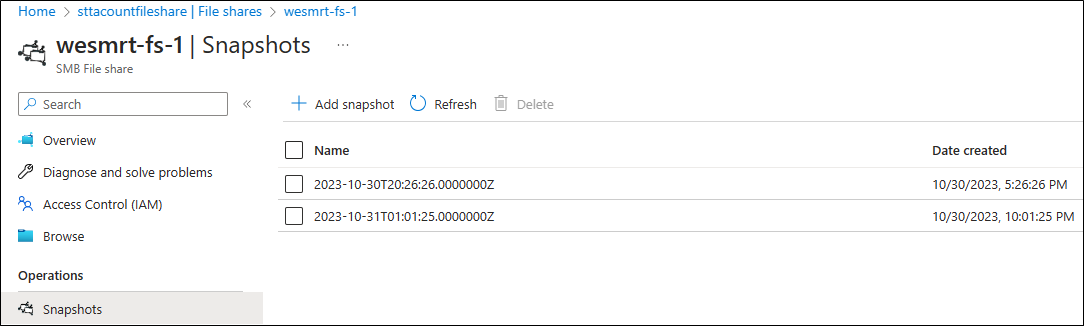
In the Snapshots section of the Azure File Share in the Azure Portal, you can also view the created snapshots.
For more information on how Azure File Share backup works, you can access the following links:


