

After about 18 months of many XCP-ng users making their voices heard on the Veeam Forums requesting Veeam to add Backup support, Veeam listened and has finally granted our request!...at least from a preliminary standpoint. As a member of the Veeam100 Community, I was one of several approached about a month ago to perform an early Veeam XCP-ng Plugin BETA test, so I'm quite thrilled Veeam took feedback from us early BETA testers and modified the Plugin code to create a viable working Backup product for Public BETA testing. I was given the ok by Veeam to share my testing and thoughts on this Public BETA, thus this article 👌🏻
In this post I'll share with the Community how to get the XCP-ng Veeam Plugin installed and configured so you can start backing up your XCP-ng VMs. For those who aren't entirely familiar with XCP-ng, I created a couple of posts talking about the XCP-ng hypervisor and its history, how to install it, and then how to get your new XO/XCP-ng environment configured and ready for VM hosting. You can review each of those posts here and here, respectively.
XCP-ng Plugin Install
For the Public BETA, there is no Plugin installation needed. Veeam provided the Plugin within the Veeam Backup install ISO so as not to have users mistakingly install the Plugin within their production Veeam environments. So yes…to use the Public BETA, you have to install a new VBR environment. Goes without saying…you should do this when testing any BETA product anyway 😉 I assume the final Plugin product will be a separate installer as it was with the private BETA, at least as long as there's a Windows-based VBR install. I'm sure it..along with all Plugins, will be incorporated into the VSA when that hits full steam. Or, Veeam will just have a way to install Plugins in the VSA. Anyway, for now…since the Plugins are a separate installer, I'll briefly go over how I installed it for the private BETA build, and it of course is quite intuitive. Just run the executable to begin installation and click Next.
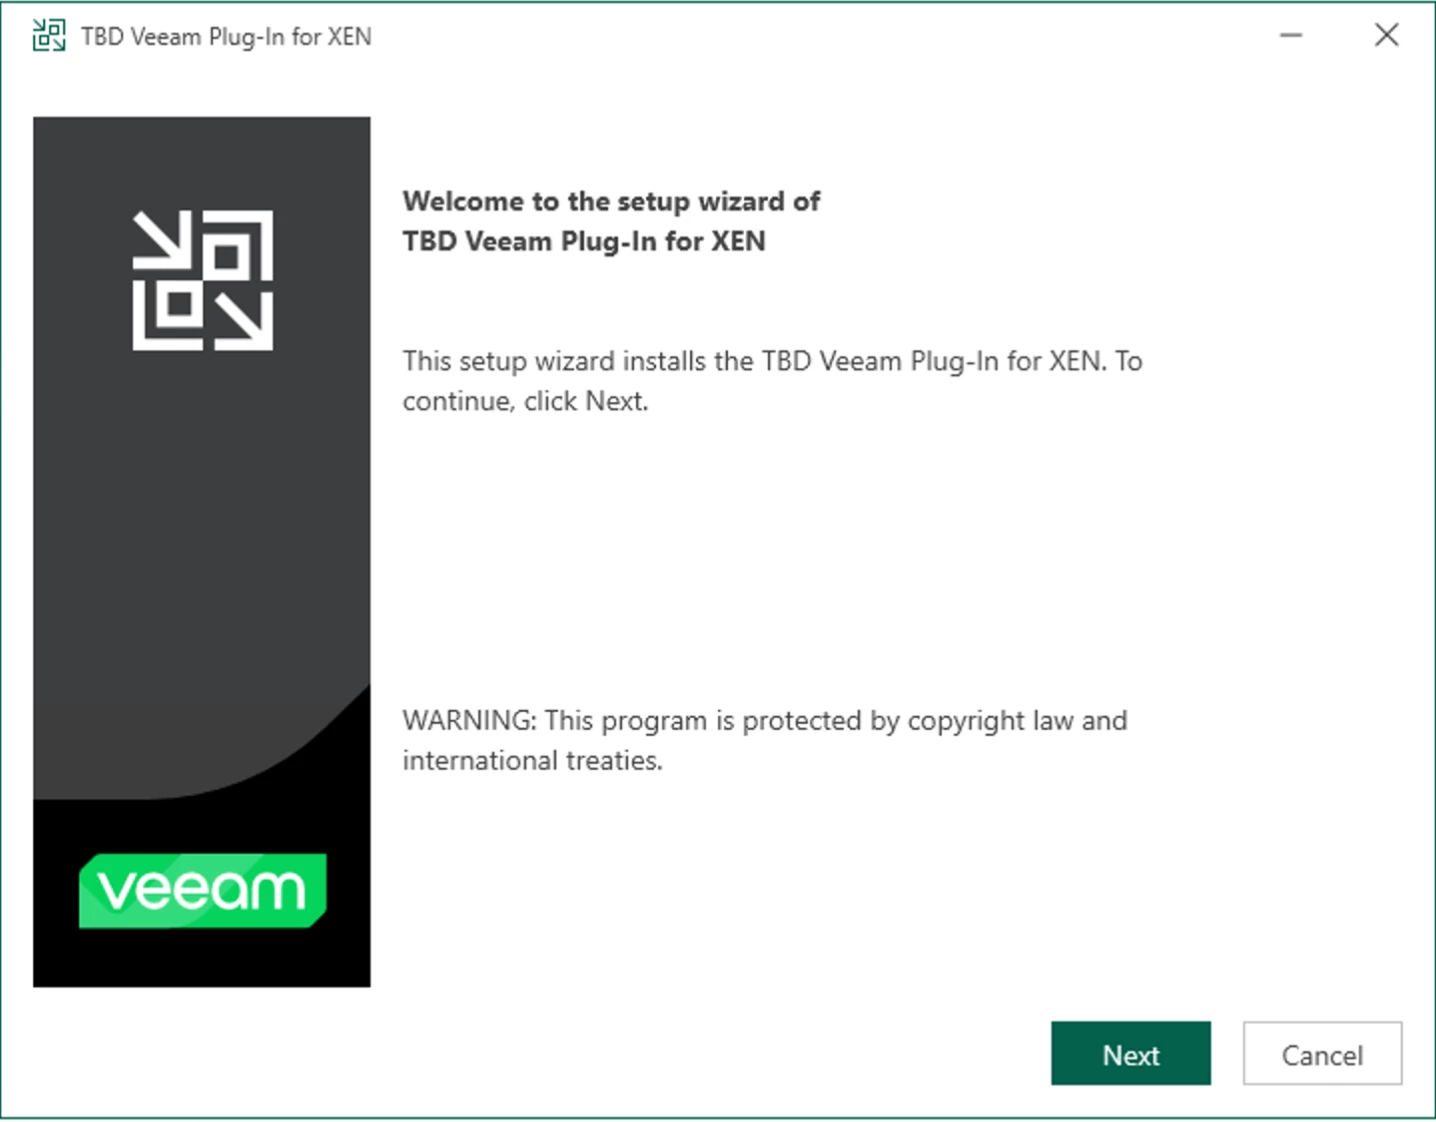
The image shown above was taken with the initial BETA, so come GA the Plugin name will probably not be "XEN" but instead XCP-ng as is shown in the Public BETA. Where does the name come from? If you've been following my XCP-ng posts here on the Community Hub, I shared in my 1st post a brief history of the origin of the XCP-ng name. The XCP-ng hypervisor is sourced from Xen Server. A derivative hypervisor to come from Xen Server was XCP → Xen Cloud Platform. Vates took over this hypervisor and began their own development and named it XCP-ng (ng = next generation).
After clicking Next on the initial install screen, review the Plugin installation folder location, then click Install. Click the Finish button when it completes. All done!
Add XCP-ng to Veeam
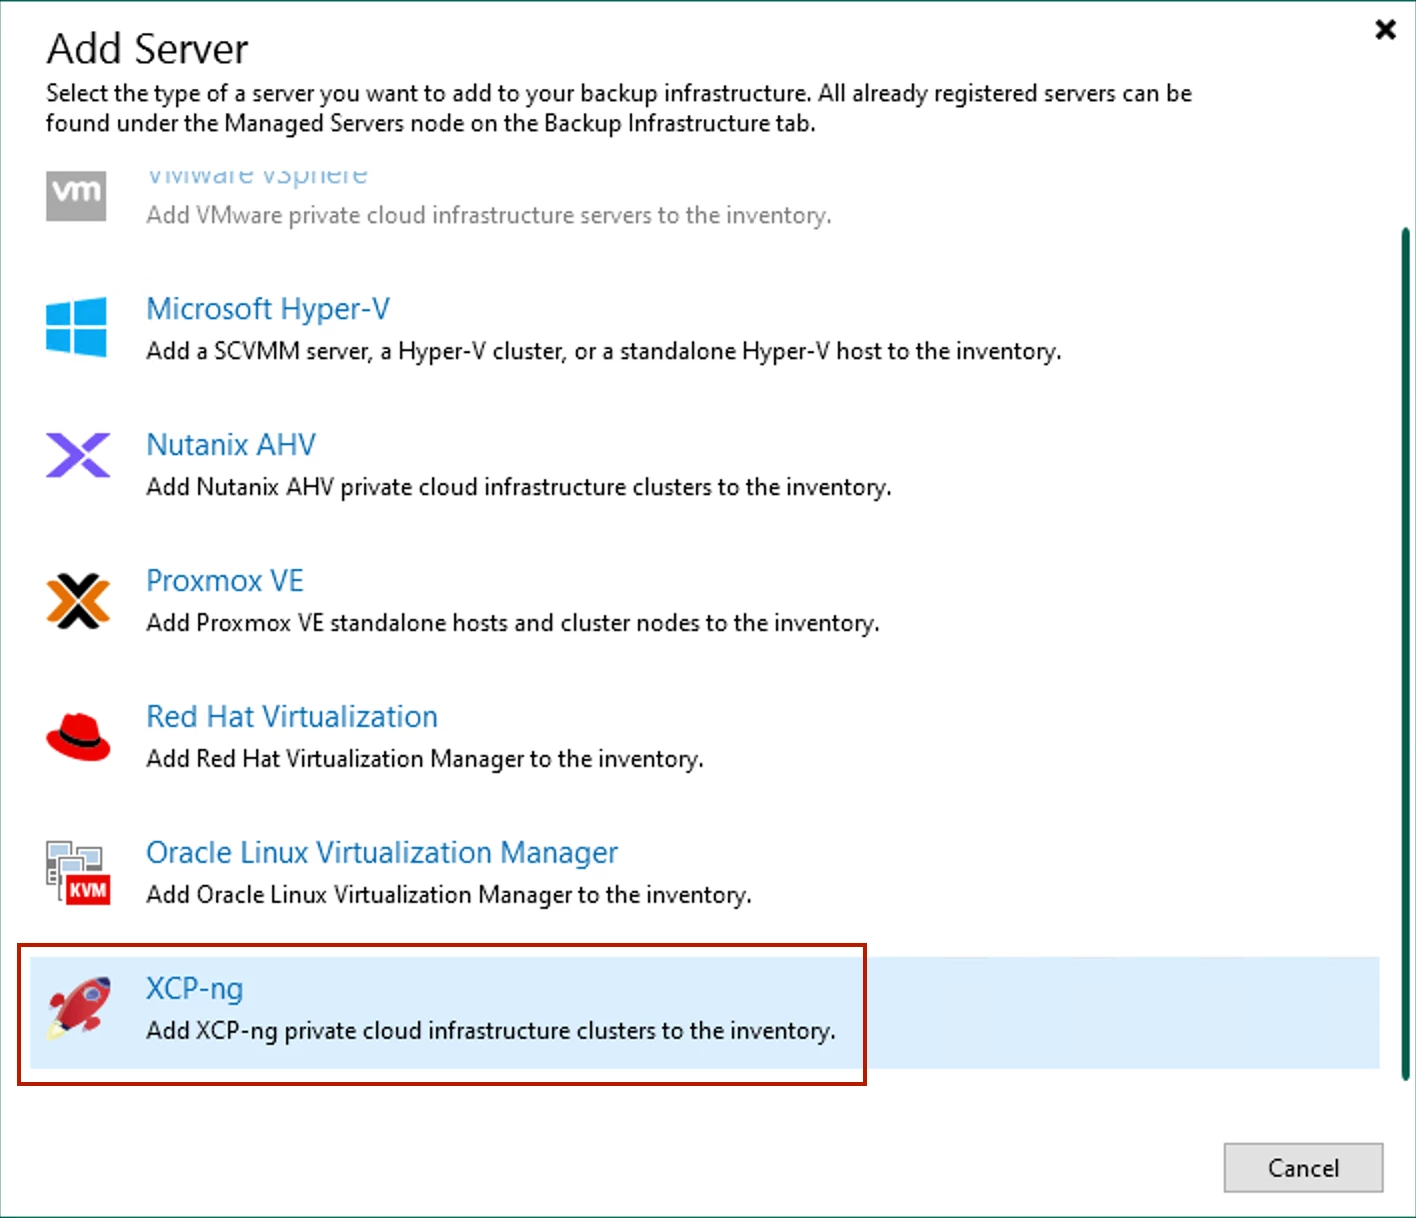
Now what's needed is to add your XCP-ng environment to Veeam. In the Veeam Console, go to the Backup Infrastructure node > Add Server. Select Virtualization Platforms, then choose the XCP-ng option:
An add XCP-ng wizard will then display, similar to how you add any hypervisor to Veeam. Add the requested Host information and credentials. For those familiar with the XCP-ng hypervisor and how best to centrally manage it, you would think the information you need to enter here would be the central management tool Xen Orchestra (XO), similar to adding VMware's vCenter Server. Unfortunately, currently doing so is unsupported. To add your XCP-ng environment you need to add all XO Pool Master Hosts you have in XO. I hope Veeam can enhance this product in the future so you only need to add one entity – XO, instead of each and every XO Pool Master Host you have.
Once you enter the proper Host information, you'll receive the traditional certificate message:
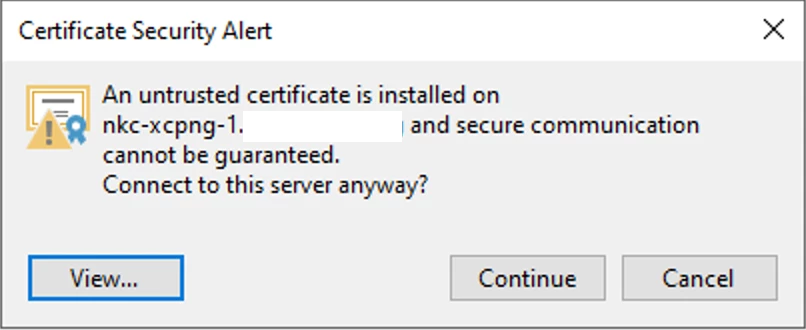
Click the Continue button. After you've completed the wizard, you'll receive a message whether you want to create a Worker VM or not. A worker VM here is analogous to using a VM as a VMware Proxy for hotadd. And this is similar behavior Veeam requires for other hypervisors they support, e.g. Proxmox.
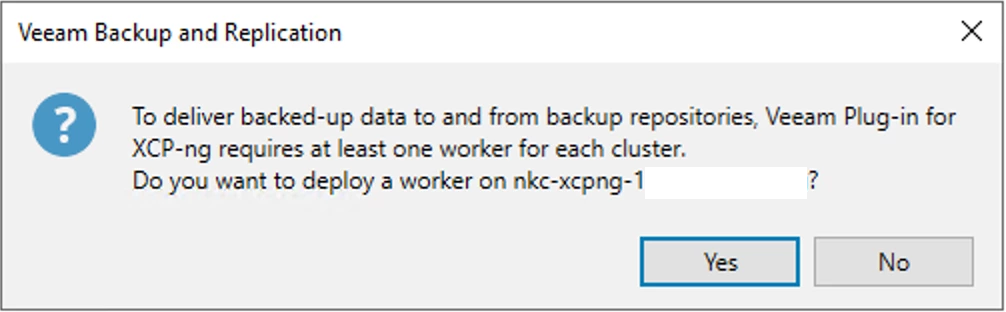
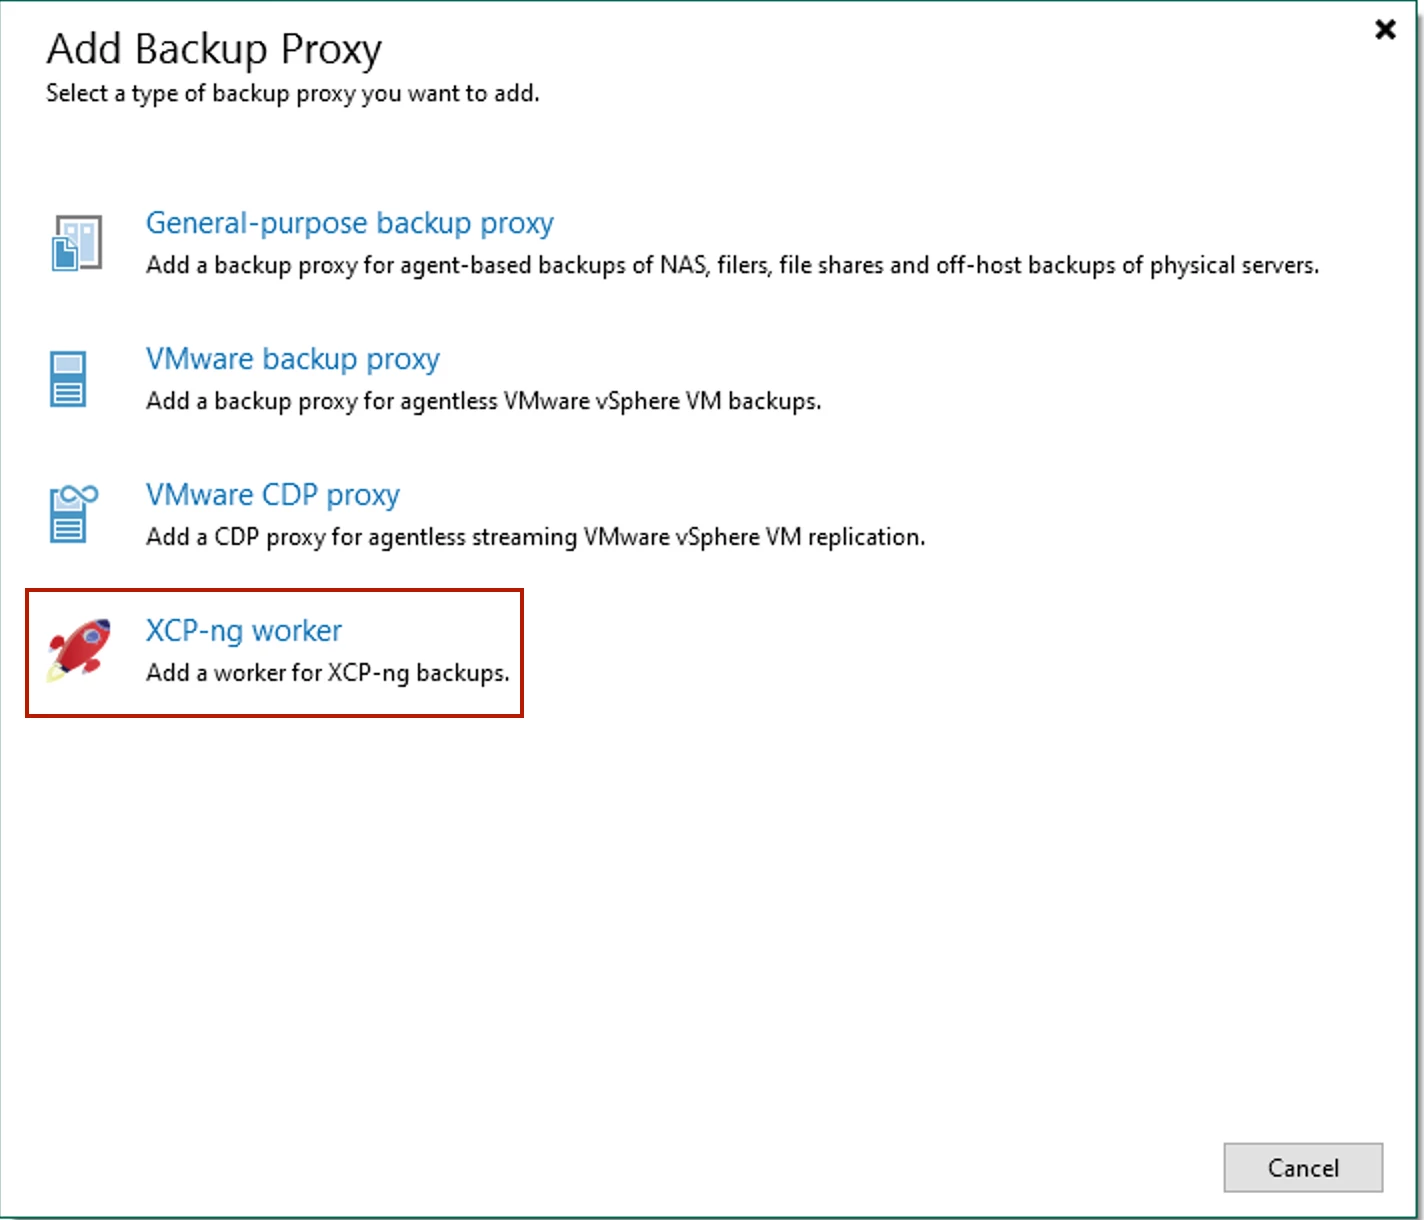
Though you don't need to add a Worker VM now, I recommend doing so... click Yes here. An add Worker VM wizard will display. NOTE: If you do select No, you can later add a Worker VM from the Backup Inventory node > Backup Proxies section by clicking Add Proxy and select XCP-ng worker as shown below:
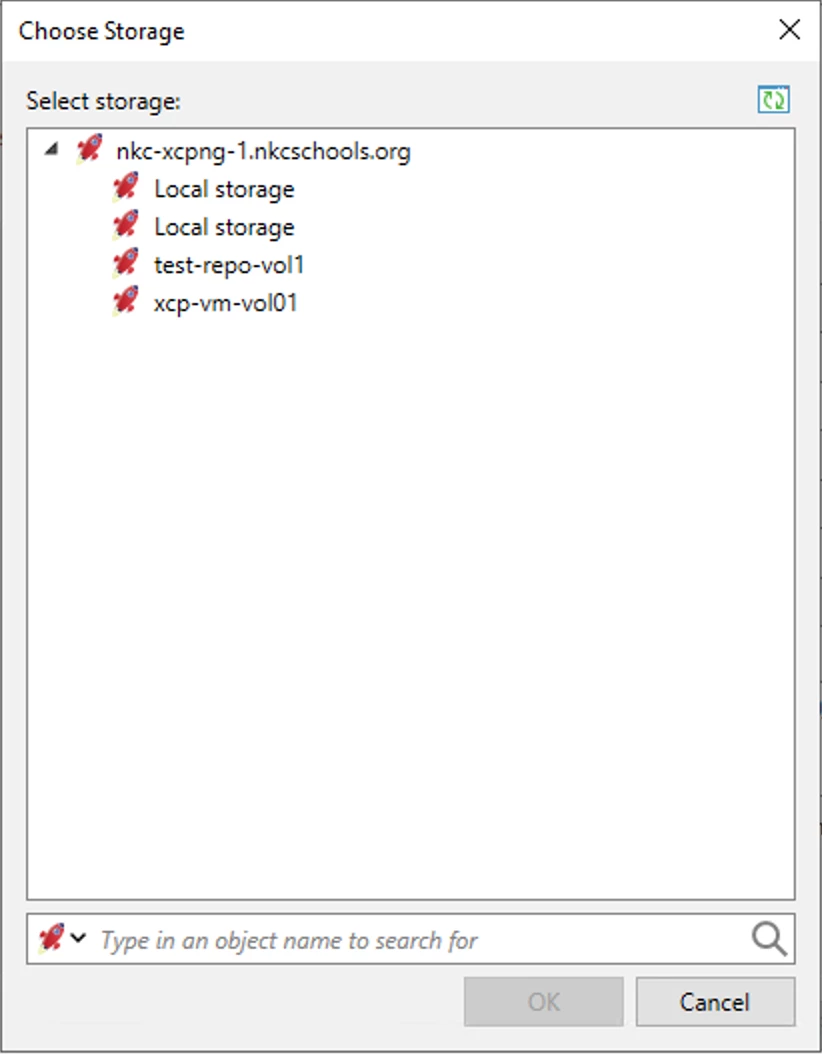
Configure and enter the requested info in the add Worker wizard. The Cluster will autopopulate with the "Cluster" (Pool Master) Host you just added, but you're able to click the Choose button if, for example, you're performing a manual Worker add. Click the Storage button to choose which storage location seen by the Cluster Host you'd like to place the Worker VM on; then click the drop-down to select the Host you want the Worker VM to reside on. Veeam recommends adding a Worker VM to each Host in a Pool, but in my testing, this was not needed..at least regarding Job performance. I do recommend doing so for redundancy purposes though. Interestingly, you can't control what Worker a Job uses (similar to the Proxmox Plugin), so I do have questions & curiosity how Plugin Backup Job logic works with regards to choosing Worker VMs for backups.
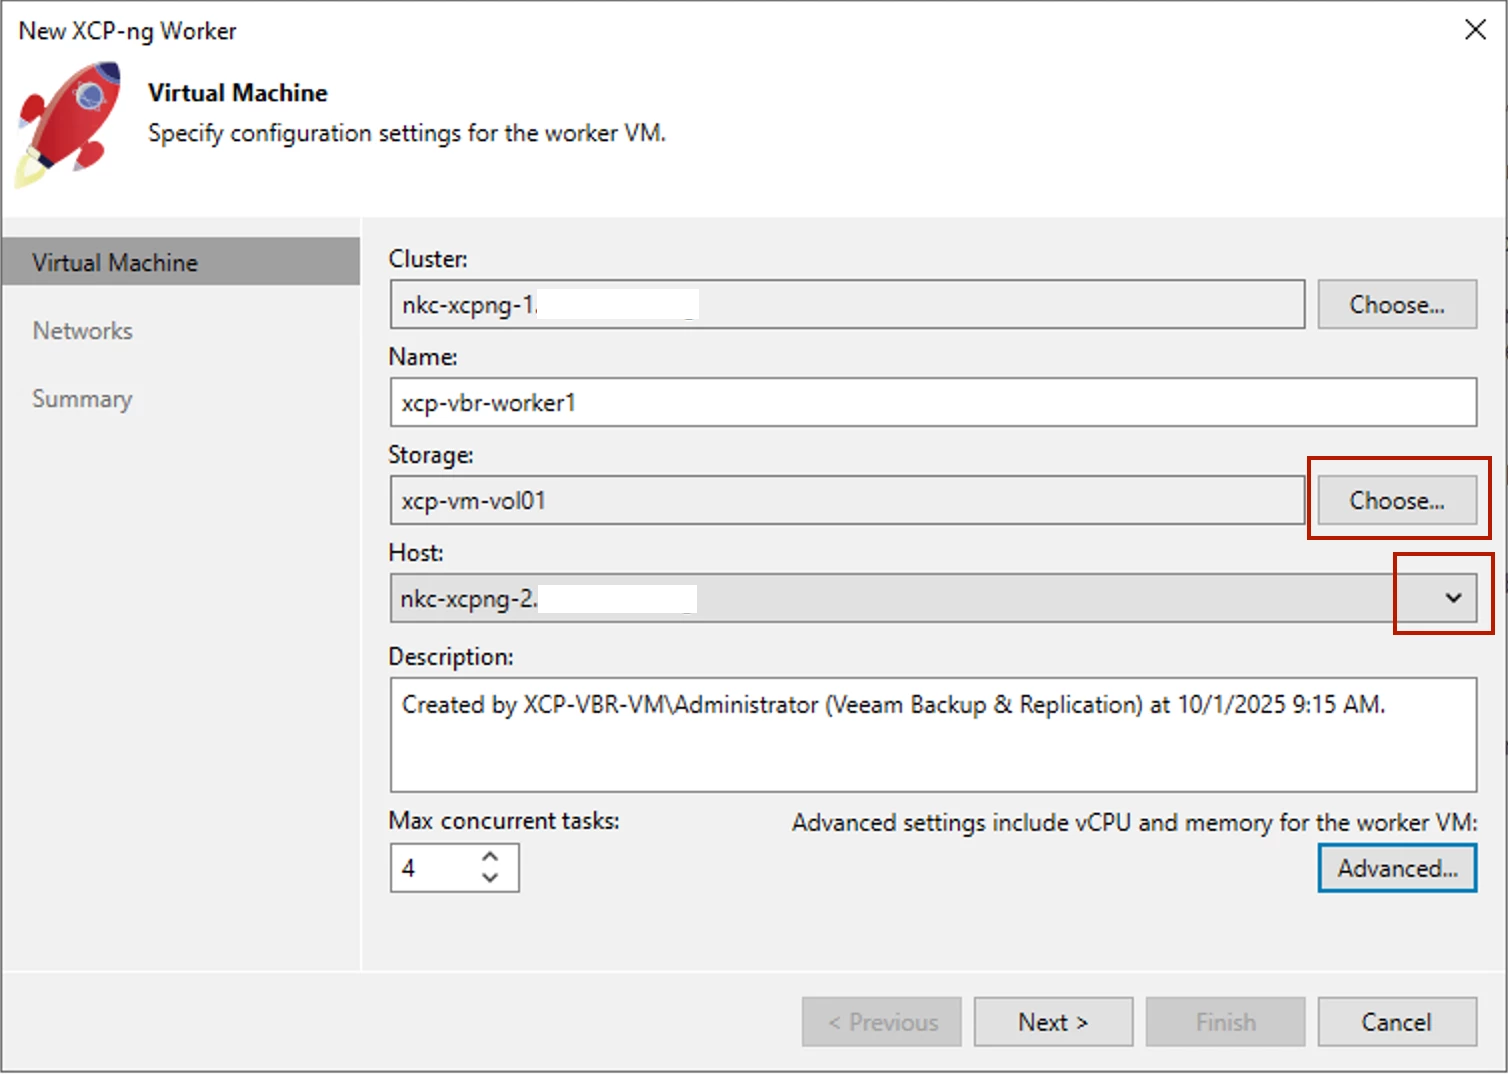
Take special note of the Advanced button. The settings here allow you to modify Worker VM vCPU and memory settings. Unless suggested by Support, I don't recommend changing these settings as Veeam determines what's optimal. When you've entered and chosen all required options on the 1st screen, click Next to configure the Network and, optionally, enter an IP address (if not using DHCP) the Worker VM will use to communicate with Veeam.
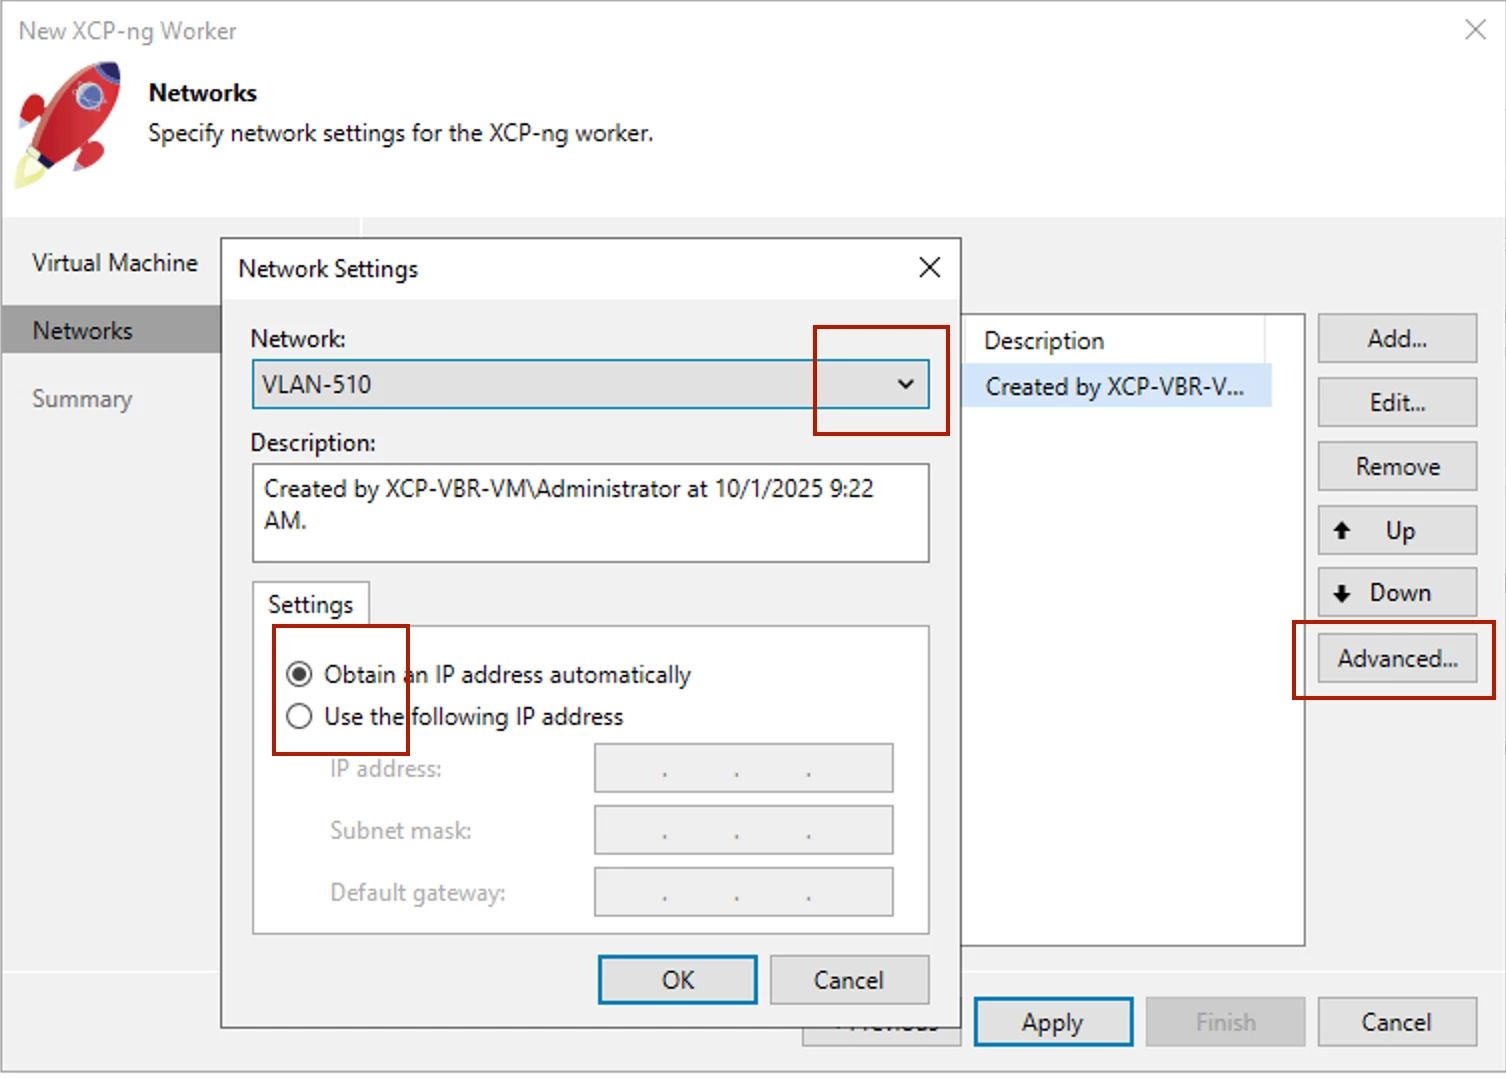
After you've selected the appropriate VM network, click Apply then Finish to complete the wizard. Veeam will then take several minutes (about 4mins in my testing) to setup and test out the Worker VM configurations. After it completes, the Worker VM(s) are powered off and retained in your XCP-ng environment until needed & used by Veeam. You should then be ready to start creating XCP-ng Backup Jobs.
Creating a XCP-ng Backup Job
YAY!...we have everything installed, setup, and ready to go! Now let's put it to use for the purpose we've gotten to this point for – backing up our XCP-ng VMs.
I won't go into explicit detail here. If you've followed me along on this XCP-ng journey thus far, then two things → 1. you have familiarity with XO & XCP-ng, and 2. you (hopefully) know how to create a Veeam Backup Job. What I will share here is more about functionality, as well as considerations and limitations of the XCP-ng Plugin you should be aware of. Most of these (if not all) will be similar to other hypervisor Plugins Veeam supports (e.g. Proxmox VE, KVM, etc). Also, if you read the Forums post from Pavel where you got the Plugin download info from, you should then be aware of the limitations/considerations I'll be sharing below. But, it's still good to review them so you're fully aware Veeam Plugins don't have some of the advanced features and functionality the more mature hypervisors have that Veeam supports (VMware and Hyper-V).
Below are 2 screenshots of the Backup Job wizard and the Job History, just for reference though:

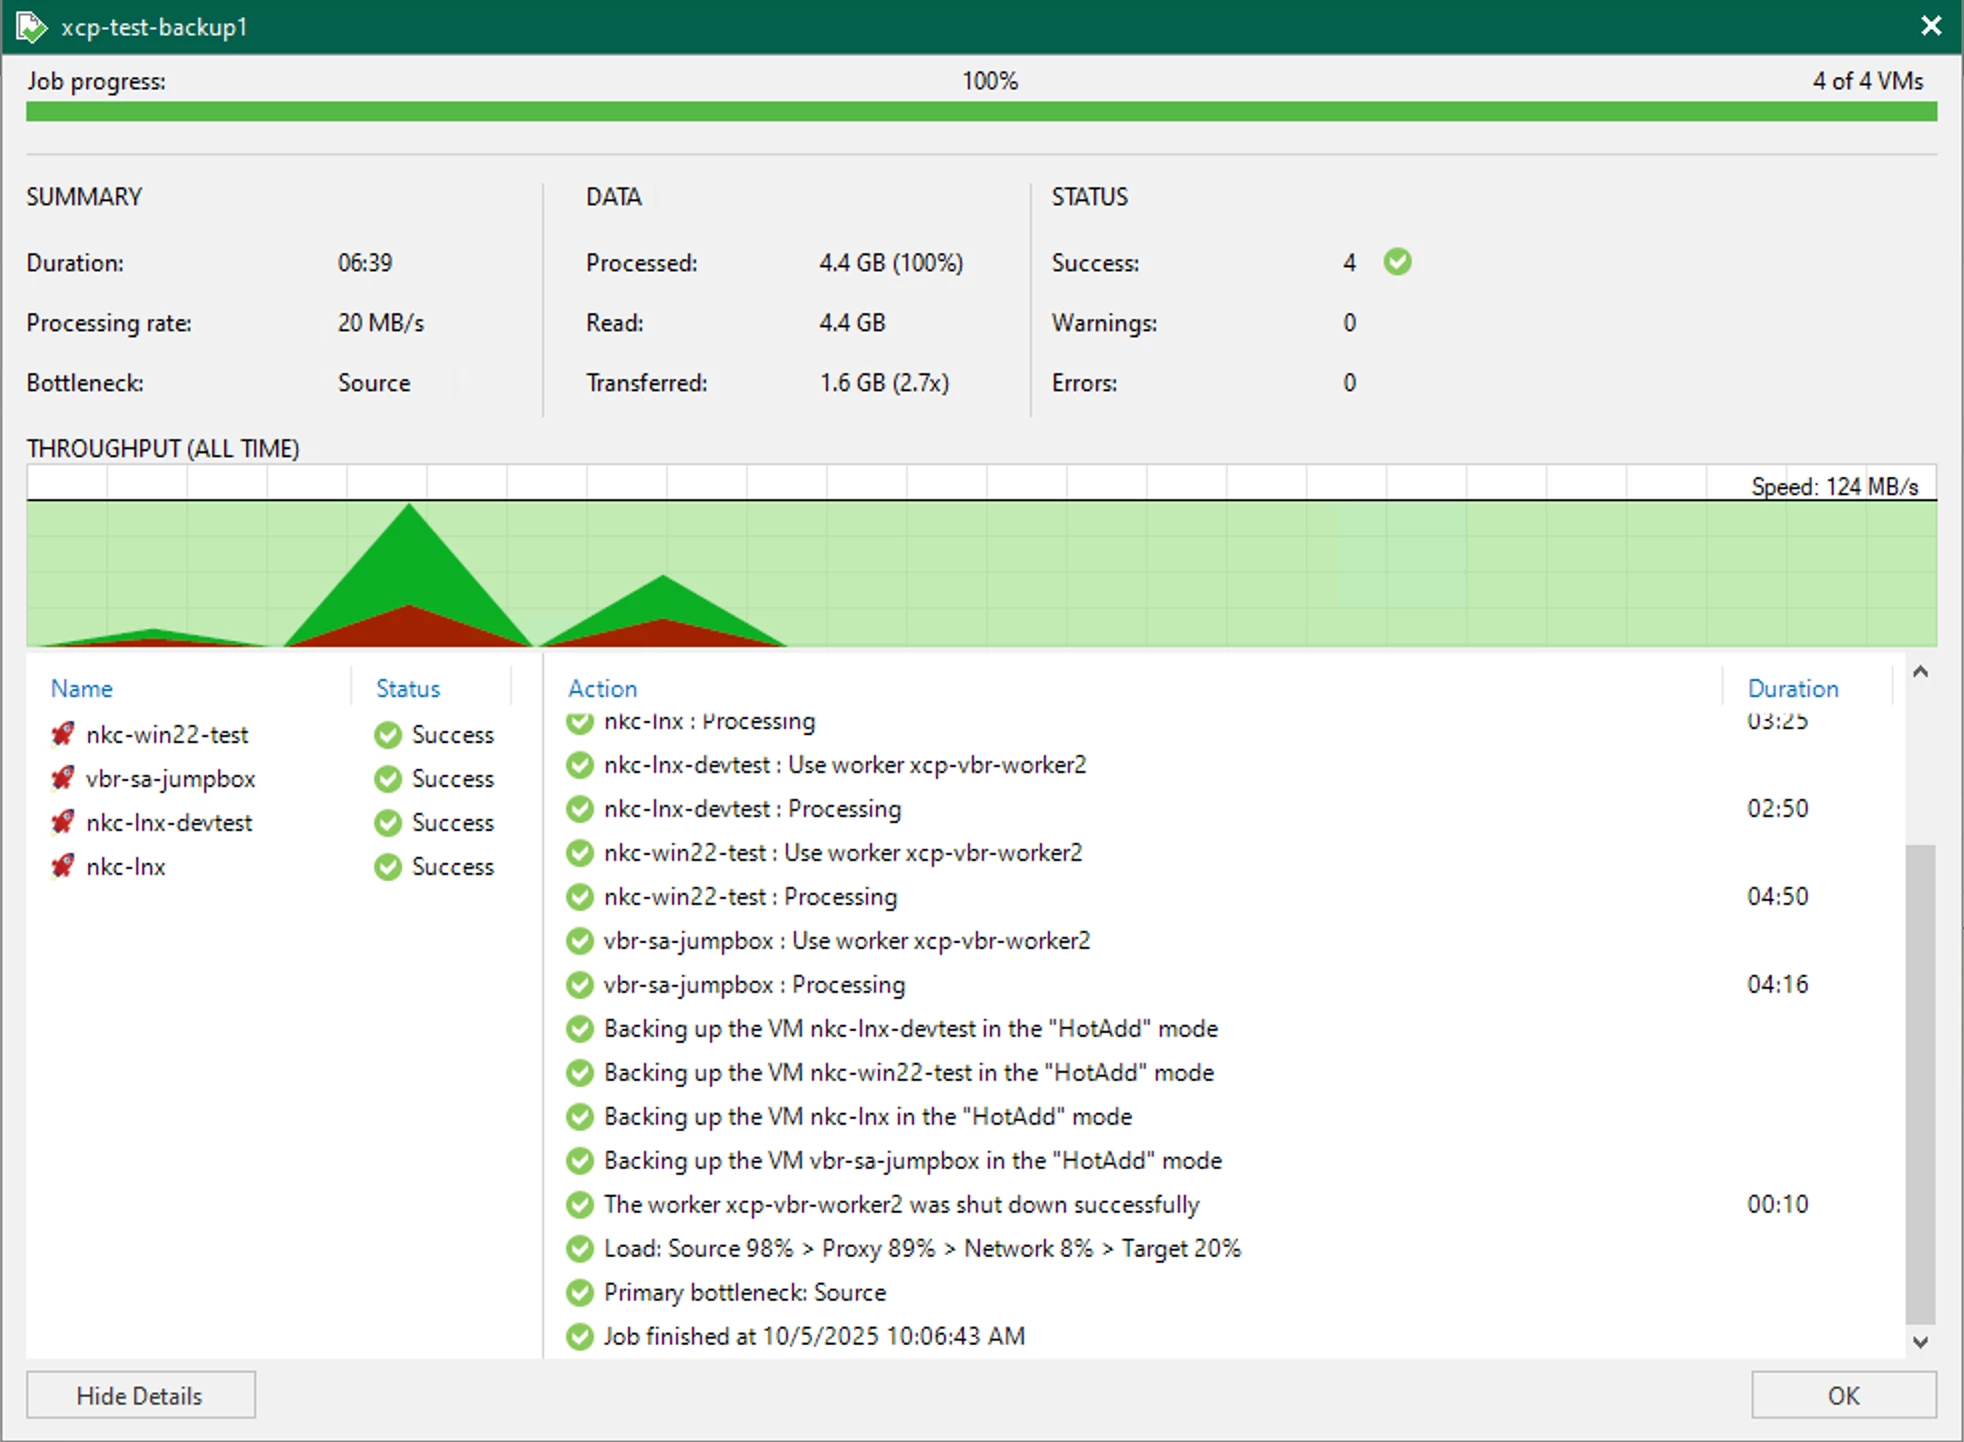
I know the Job throughput doesn't look that great but 1. these are small test VMs so, 2. the Job is completed in a matter of mins (6'ish, to be exact) so processing rate doesn't get too high. Initial run rate approached almost 500MB/s, so the Worker VMs do pretty well.
Backup Job Considerations
- When configuring a XCP-ng Backup Job, the only Sourcess Veeam currently supports are individual VMs or VMs & VM Tags
- Storage Maintenance
- Inline Deduplication, Exclude Swap File Blocks, and Exclude Deleted File Blocks are not supported
- Application-Aware Image Processing (AAIP) is not supported
- VM or VM Disk exclusions are not supported
- No granularity/explicit Worker VM assignment capability in Jobs
- There is no option to remove data from the Veeam Configuration Database if needed; instead (& this is suggested in the VMW User Guide as well), just delete a VM from disk
- There is currently no option to encrypt XCP-ng backups. Hopefully this will be added in subsequent Plugin versions
- In my testing, after performing an Entire VM Restore, the Backup Job could no longer find the restored VM, I assume due to not restoring the VM’s previous GUID. For the Backup Job to again be successful, you have to remove the VM, then re-add it (restored one). Yes, the Job will then create a new Full. I have been contacted by Veeam PMs who say this will be resolved in GA 🙌🏻
-
For troubleshooting, the log directory for XCP-ng Backups is located at:
C:\ProgramData\Veeam\Backup\Plugins\XEN\Backup\<job-name-folder>\<vm-folder> -
Currently, Veeam Replication is not supported. I hope this function gets added in a future version 🙏🏻
Performing a XCP-ng VM Restore
Restore Operations Considerations
- Instant VM and VM Disk Recovery to XCP-ng is not supported, but is supported to VMware, Hyper-V, and Nutanix AHV
- Restore Entire VM is supported not only to XCP-ng, but also to Nutanix AHV, KVM, and Proxmox VE
- You can Publish XCP-ng VM Disks to any XCP-ng VM able to read contents of the disk. The VM Disk gets mounted to a VM in read-only mode
- AAIP is not supported, as stated in the Backup section above, but you are able to perform an Application Items Restore of → Active Directory, Microsoft Exchange, Microsoft Sharepoint, Microsoft SQL Server workloads for Windows; and PostgreSQL and Mongo DB workloads for Linux; Oracle workloads can be restored for both Windows and Linux. But keep in mind, they will only be crash-consistent due to the AAIP limitation
- For troubleshooting, the log directory for XCP-ng Restores is located at:
C:\ProgramData\Veeam\Backup\Plugins\XEN\Restore\<vm-name-folder>
And that's all there is to Backing up and Restoring XCP-ng VMs. If you're a SMB shop and looking for hypervisor alternatives, and really love using Veeam, XCP-ng now may be just the virtualization solution you're looking for to transition away from VMware. Why don't you take this new XCP-ng Plugin for a spin and see if it does all you need it to? I'd really like to hear what your experience is like using it. If you do try it out, leave a comment below and let me know your thoughts.
Happy testing!

