
Hi everyone,
I built the Veeam Software Appliance ISO Automation Tool to automate and standardize the customization of Veeam Appliance ISOs, streamlining enterprise deployments and making it easy for anyone in the Veeam community to achieve unattended, highly reproducible installations using just PowerShell and a configuration file.
https://github.com/BaptisteTellier/autodeploy/
What: Advanced ISO Customization Automation
This script is designed for customizing Veeam Software Appliance ISO files in an automated, enterprise-ready manner. It integrates JSON configuration loading, Veeam unattended answer file(Password, MFA etc..), networking, VBR customization, futur VCSP integration, robust error logging, and both in-place and out-of-place ISO modification capabilities—all from Windows via PowerShell and WSL.
Why: Reproducibility, Security, and Efficiency
Manually customizing appliance is time-consuming, error-prone, and nearly impossible to keep consistent across environments. With this tool, I wanted to make complex deployments as simple as editing a config file and running a one-liner. Using JSON ensures every deployment is consistent, all changes are auditable, and security (such as MFA, strong passwords) is baked in from the start. Optional features like VBR customization syslog/server config add operational observability right out of the box.
Disclaimer : Before you edit your ISO
Installing additional Linux packages, third-party applications, or changing OS settings (other than those that can be controlled via the Veeam Host Management Console) on the Veeam Appliances is not supported. Veeam Customer Support cannot provide technical support for appliances with unsupported modifications due to their unpredictable impact on the appliance's security, stability, and performance.
How: Step-by-Step to Use the Script
1. Prerequisites
-
Windows 10/11 or Server 2016+ with PowerShell 5.1+.
-
WSL (preferably Ubuntu because i tested it 😄 or Debian) installed and accessible.
-
At least 14GB free disk for ISO work, minimum 4GB RAM.
-
PowerShell execution policy permitting script runs.
-
xorrisoinstalled in WSL. Usesudo apt-get install xorriso(for RHEL/Fedora:sudo yum install xorriso). -
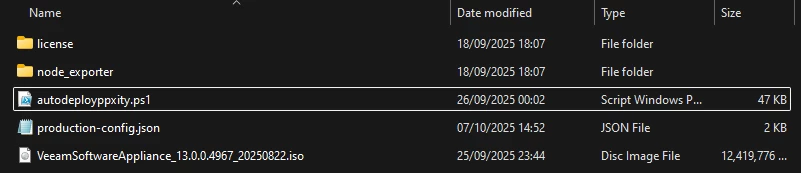
Place the original Veeam Appliance ISO, the PowerShell script, and a JSON config file in the same folder.
2. Setting Up Your JSON Configuration
Prepare a JSON config file (or use the provided example from the repo), specifying details like:
-
The source ISO filename.
-
Output ISO name (if not, script auto-names it _customized).
-
Whether to customize out-of-place or in-place (with optional backup).
-
Networking (DHCP/static, IP, DNS).
-
Timezone, keyboard layout, and hostname.
-
Passwords and MFA configuration for both the Veeam Admin and Security Officer accounts.
-
NTP server settings
-
(Optional and unsupported) Node_exporter deployment offline and online
-
(Optional) VCSP connection details (for v13.0.1+).
-
(Optional) VBR customization with license install and syslog
Example config block:
{
  "SourceISO": "VeeamSoftwareAppliance_13.0.0.4967_20250822.iso",
  "OutputISO": "",
  "InPlace": false,
  "CreateBackup": true,
  "CleanupCFGFiles": false,
  "CFGOnly": false,
  "GrubTimeout": 15,
  "KeyboardLayout": "fr",
  "Timezone": "Europe/Paris",
  "Hostname": "veeam-backup",
  "UseDHCP": false,
  "StaticIP": "192.168.1.166",
  "Subnet": "255.255.255.0",
  "Gateway": "192.168.1.1",
  "DNSServers": ["192.168.1.64", "8.8.8.4", "8.8.8.8"],
  "VeeamAdminPassword": "123q123Q123!123",
  "VeeamAdminMfaSecretKey": "JBSWY3DPEHPK3PXP",
  "VeeamAdminIsMfaEnabled": "false",
  "VeeamSoPassword": "123w123W123!123",
  "VeeamSoMfaSecretKey": "JBSWY3DPEHPK3PXP",
  "VeeamSoIsMfaEnabled": "true",
  "VeeamSoRecoveryToken": "12345678-90ab-cdef-1234-567890abcdef",
  "VeeamSoIsEnabled": "true",
  "NtpServer": "time.nist.gov",
  "NtpRunSync": "true",
  "NodeExporter": false,
  "NodeExporterDNF": false,
  "LicenseVBRTune": false,
  "LicenseFile": "Veeam-100instances-entplus-monitoring-nfr.lic",
  "SyslogServer": "172.17.53.28",
  "VCSPConnection": false,
  "VCSPUrl": "",
  "VCSPLogin": "",
  "VCSPPassword": ""
}
3. Running the Automation Script
Navigate to the script directory and run:
.\autodeployppxity.ps1 -ConfigFile "your-config.json" -
The script will read your config, validate settings (including network and password complexity), and customize the ISO as per the specifications.
-
By default, it works out-of-place—creating a new ISO. For in-place editing, set
InPlacetotrueand optionally enableCreateBackup.
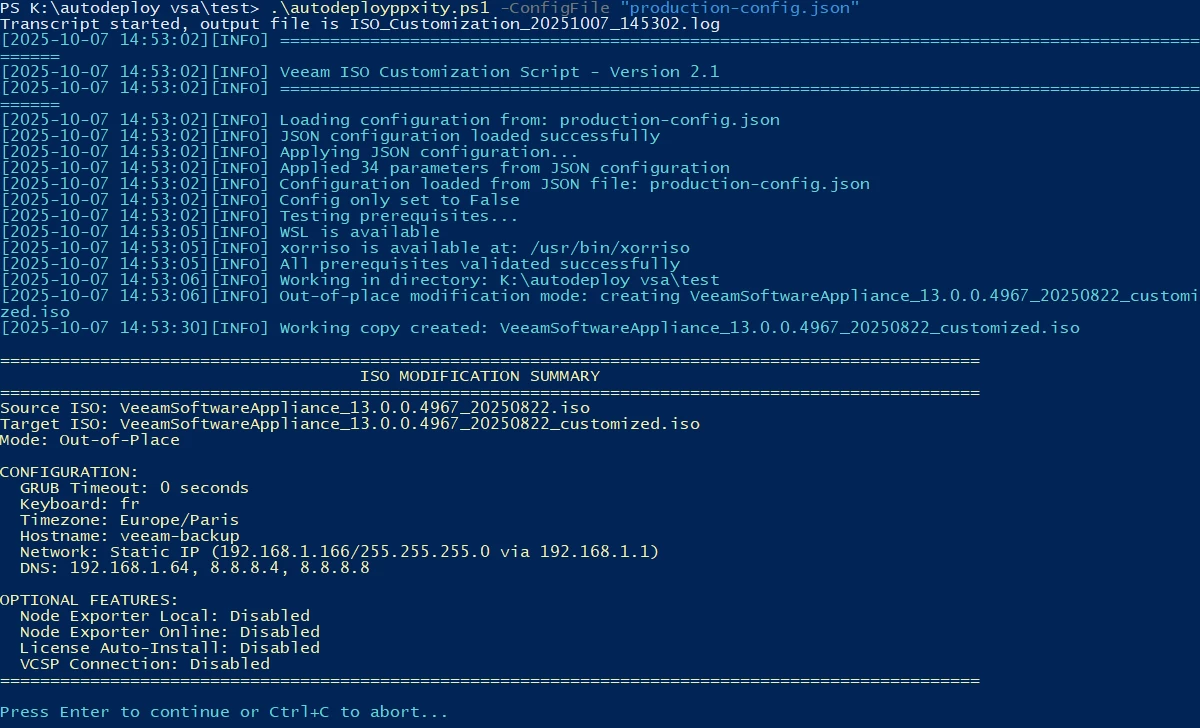
If the summary is correct, it will run edit the ISO :

5. Advanced Features and Troubleshooting
-
See Github
6. Security and Validation
- The passwords for the veeamadmin and veeamso account must meet the following requirements:
- 15 characters minimum
- 1 upper case character
- 1 lower case character
- 1 numeric character
- 1 special character
- No more than 3 characters of the same class in a row. For example, you cannot use more than 3 lowercase or 3 numerical characters in sequence
- The passwords for the veeamadmin and veeamso accounts must be different
NTP Configuration
- To avoid timing issues with multifactor authentication, it is recommended to set ntp.runSync=true.
MFA requirements
- The multifactor authentication secret key must be specified as a 16 digit, Base32-encoded string.
- The recovery token must be specified using hexadecimal values — 0, 1, 2, 3, 4, 5, 6, 7, 8, 9, A, B, C, D, E, F. Note that you can generate an appropriate string with the New-Guid cmdlet in Microsoft PowerShell.
Security Officer Account
- The SO account provides service-level access separate from the administrative account for improved security separation
Optional
- Use provided PowerShell one-liners to generate MFA or recovery tokens if needed.
-
All file placement (ISO, script, config, node_exporter bins, license) must be in the script directory—do not use paths!
By using this tool, my process to customize and securely deploy Veeam appliances with enterprise-ready settings is now a matter of a few minutes, not hours, and the results are fully auditable, reproducible, and hardened for production use. Give it a try, and if it helps in your Veeam automation journey, I invite you to contribute or provide feedback through GitHub issues!
Cheers !