If you're running a Nutanix AHV environment and want to back up your virtual machines using Veeam Backup & Replication, you're in the right place. This step-by-step guide shows how to:!-->
!-->
- Add your Nutanix AHV cluster to the Veeam console
- Configure AHV backup proxies (Workers)
- Create reliable backup jobs
- Restore virtual machines and files with confidence!-->!-->!-->!-->
!-->
Whether you're working in a test lab or a full production environment, this guide will help you protect your workloads efficiently.
Step 1: Add Nutanix AHV to Veeam Infrastructure
- Open the Veeam Backup & Replication Console
- Navigate to:
Backup Infrastructure > Add Server > Nutanix AHV
!-->

- Enter the required details:
- IP address or FQDN of Prism Central or Prism Element
- Credentials with administrative access
!-->

!-->

- Veeam automatically detects the Nutanix cluster
- You'll be prompted to deploy or link the Veeam AHV Backup Proxy Appliance
!-->


Step 2: Configure AHV Backup Proxies!-->
!-->
!-->!-->
!-->
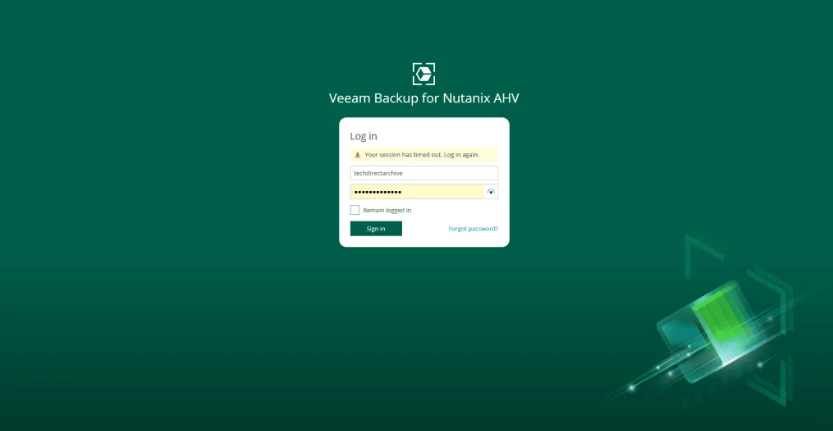
After adding the AHV cluster, access the Veeam AHV Web Console to configure your Worker Nodes:
!-->
What Are Workers?
!-->
Workers are internal proxy components that offload and manage the actual data movement from AHV to the Veeam repository. Each worker handles a portion of backup or restore jobs. Distributing them improves performance and parallelism.
!-->
!-->
How to Configure:
!-->
!-->

!-->
!-->

!-->

!-->

!-->
!-->!-->
Step 3: Create Backup Jobs for Nutanix AHV VMs
!-->
To create your first backup job:
!-->!-->!-->
!-->
!-->
!-->
!-->
!-->
!-->

!-->

!-->!-->
Step 4: Restore Nutanix AHV VMs with Veeam
!-->
Depending on your recovery needs, Veeam offers flexible restore options:
!-->
Full VM Restore
!-->
!-->
!-->
!-->

!-->

!-->
File-Level Restore
!-->
!-->
!-->
!-->

!-->

!-->

!-->
Application-Item Restore
!-->
!-->
!-->

!-->

!-->!-->
Final Thoughts
!-->
Integrating Nutanix AHV with Veeam Backup & Replication provides robust protection and flexibility for modern virtual environments. By properly configuring your proxies, backup jobs, and retention policies, you ensure fast, reliable restores—and peace of mind.
!-->
If you found this guide useful, feel free to share, leave a comment, or ask your questions below. Let’s keep your data safe and your infrastructure resilient!
!-->
- Go to the
Configurationtab - Define Worker node settings:
- IP range and subnet
- Network interfaces (ensure access to Nutanix and Veeam repo)
- Max number of concurrent tasks
- Host affinity !-->!-->!-->!-->
- Distribute Workers across Nutanix AHV hosts for high availability and load balancing
- Open the Veeam AHV Web Console
- Go to
Backup Jobs > Create Job - Configure:
- Job name
- Snapshot only – for fast recovery, lower storage impact
- Backup only – for offloading to external repositories
- Snapshot + Backup – recommended for both fast local and off-site recovery !-->!-->!-->!-->
- VM selection (manually or using tags/groups from Prism)
- Schedule and retention policy
- Backup repository (defined in Veeam B&R)
- From the AHV Web Console:
Restore > Full VM - Select restore point
- Restore to original or alternate location (e.g., VMware vSphere). Yes, it's possible! You can restore Nutanix AHV VMs to VMware or Hyper-V using Veeam's Cross-Platform Restore capabilities.This is particularly useful for migration, testing, or disaster recovery scenario.
- Go to Veeam B&R Console:
Restore > Guest Files - Supports Windows and Linux file systems
- Granular recovery without restoring entire VM
- Use Veeam Explorers from the Veeam B&R Console
- Restore SQL Server databases, Active Directory objects, Exchange items, etc.!-->!-->!-->!-->!-->!-->!-->!-->
!-->
!-->
!-->
!-->

