For my post last week I had installed Harvester from Suse nested in a Proxmox VM.
I must admit I that I was so taken with it that I decided to get it going on bare metal.
Mind you the bare metal that lives in my basement generally are poor old desktops that worked night and day probably on excel spreadsheets or on atrociously boring financial PowerPoint presentations. Nevertheless perhaps they too dreamed one day of using their computational power for a real good cause! 😀
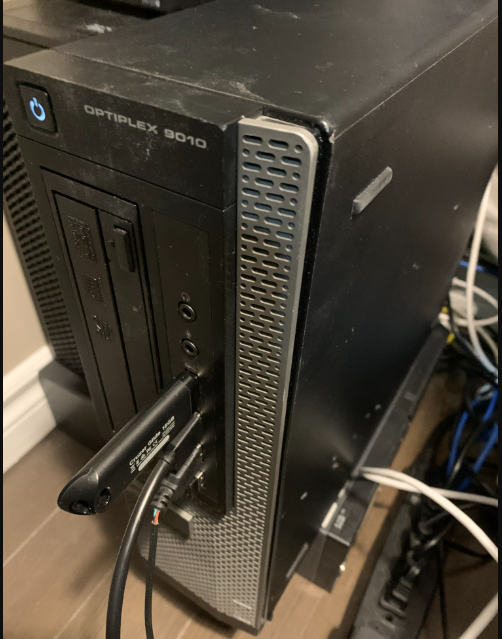
However I digress. My bare metal server is actually a beefed up Optiplex dell which was purchased on some amazon green Thursday sale or something like that.
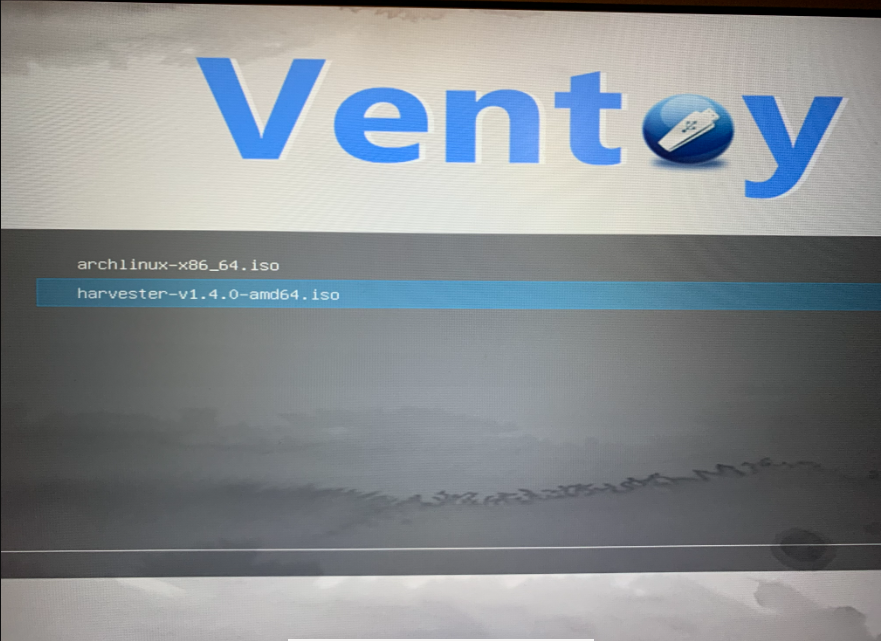
First things first, I boot off of my Ventoy Flash and choose Harvester
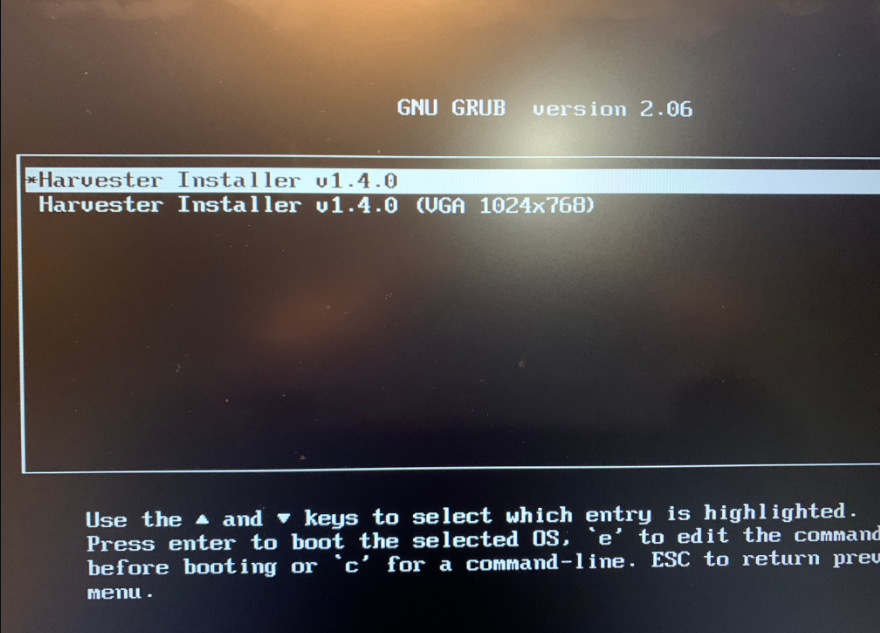
Next press enter again to start the installation:
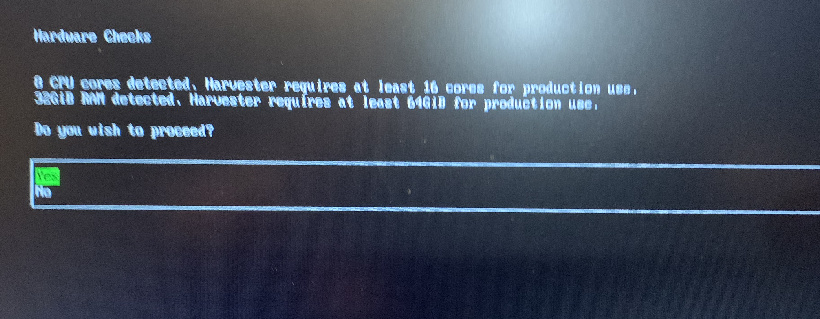
I will ignore the hardware checks, after all this is a lab:
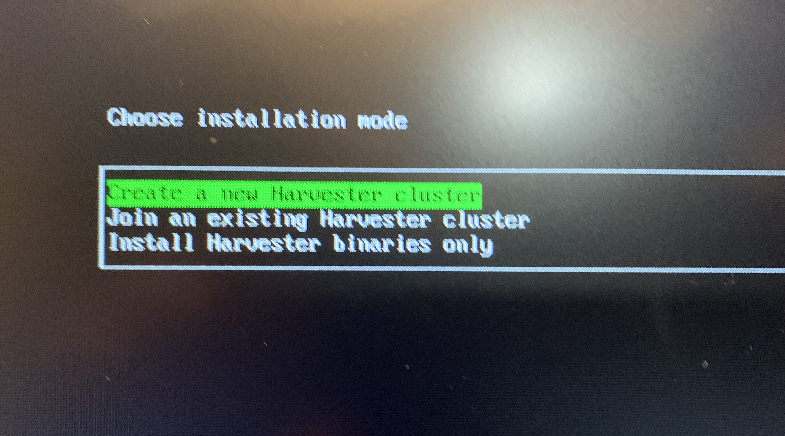
I will create a new Harvester cluster. (My apologies for the photo quality, first time I am living off the camera and not screenshots).
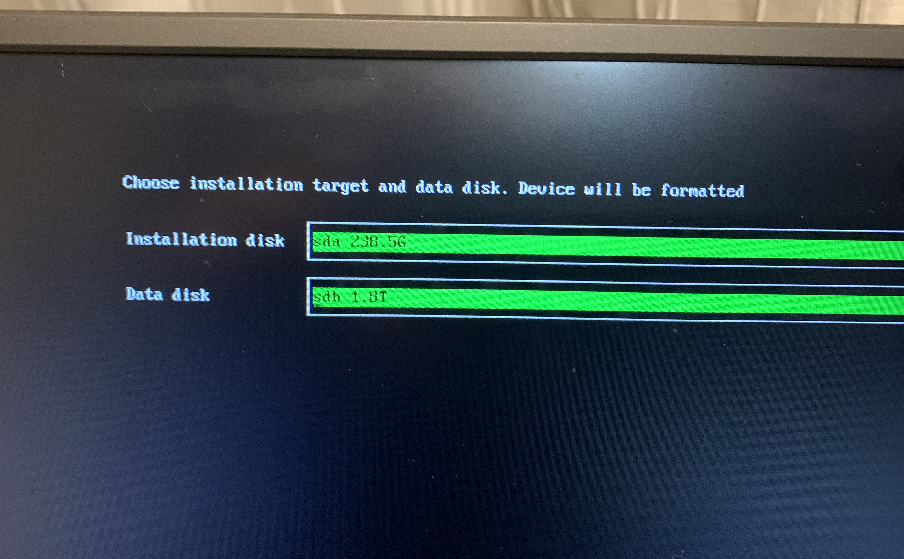
I had an old external 2TB drive hanging around collecting dust and after figuring out how to free it from its plastic cage replaced the 500GB drive that came with this Optiplex. I now have 238 SSD for the installation disk and a 2TB drive for the data drive:
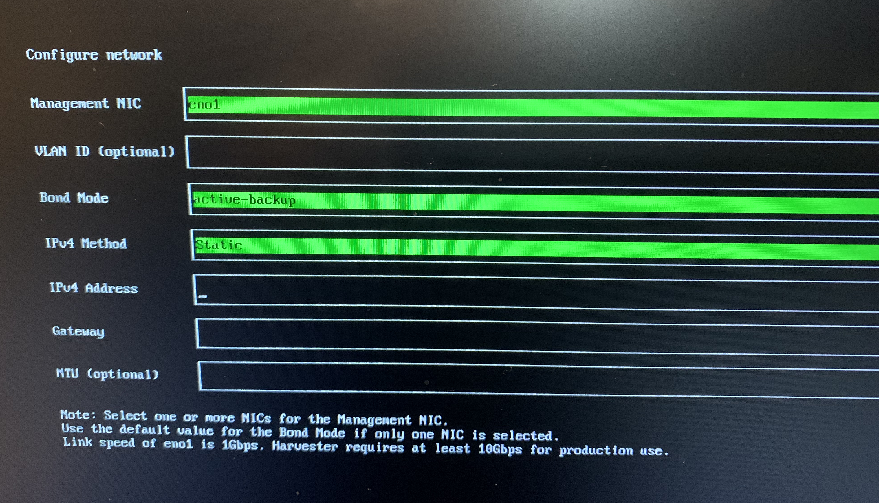
Next comes networking. Again I am going to keep this simple since I only have the one Nic:
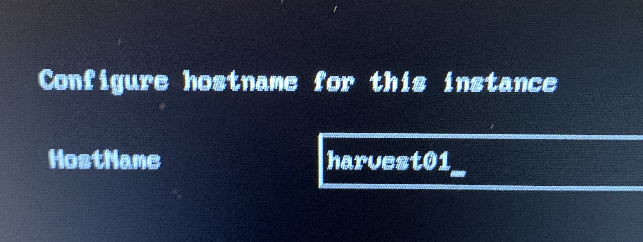
When it comes to the hostname I don’t get fance:
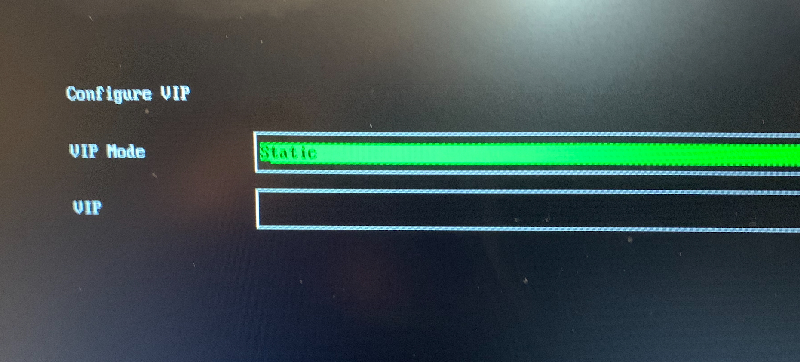
After setting a password and hitting next on some non relevant screens I come to the cluster VIP (virtual Ip address):
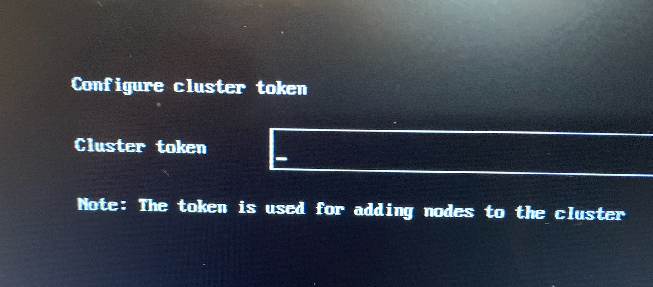
You will also have to setup a cluster token for if and when you want to join more nodes:
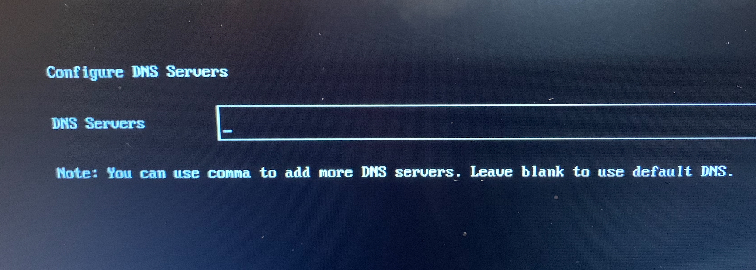
Time for DNS:
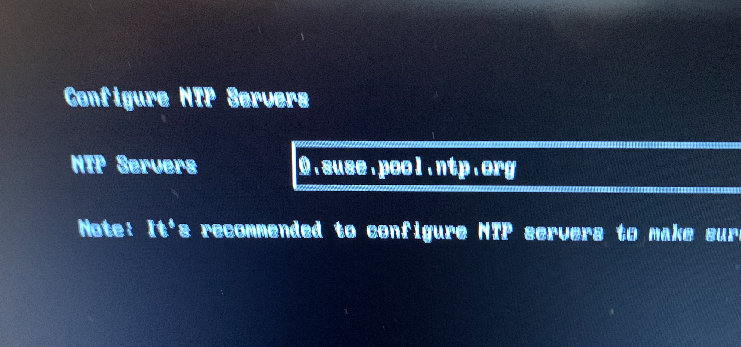
Choose a NTP server:
Confirm your settings:
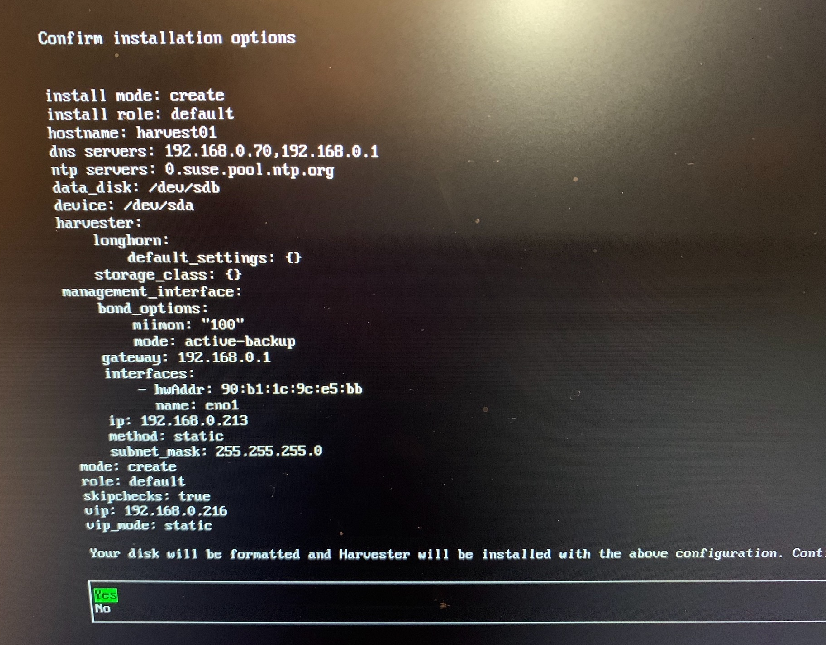
After a short while you should be face with this screen, Harvester is well on its way to getting you a Kubernetes cluster that can run VMs ready:
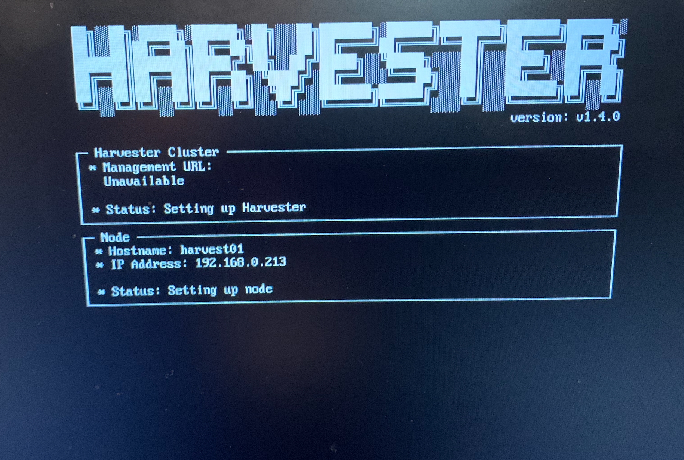
Finally we should see this:
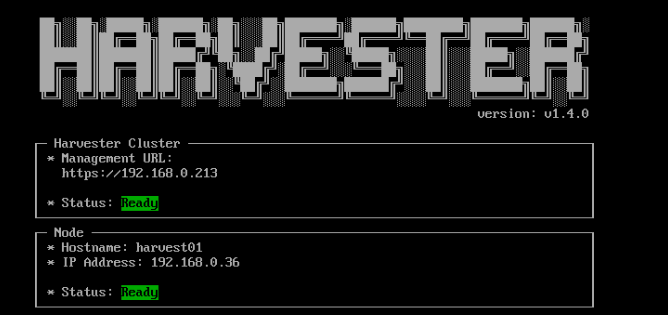
There is also a web ui. You need to login as admin and the first time you login you must set a password. The web ui is a mixed world of Kubernetes and Virtualization!
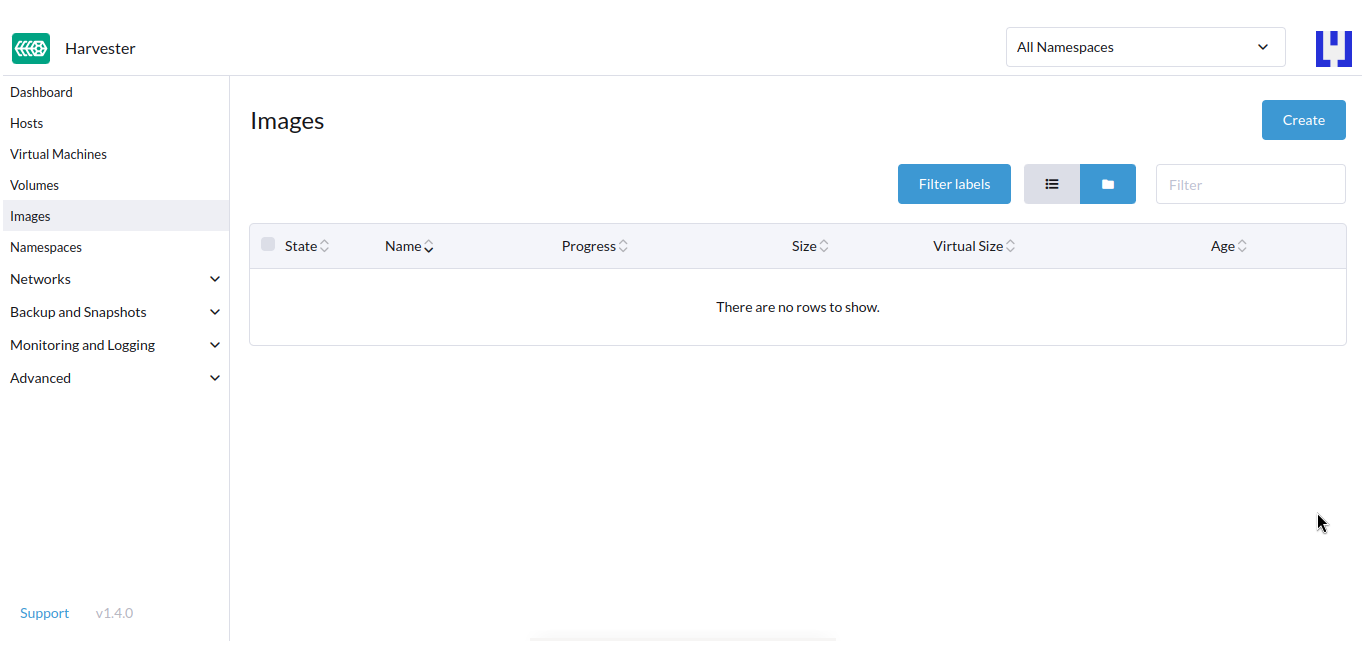
I will create my first Harvester vm, debian. To mount an ISO into a vm you need to add it as an image:
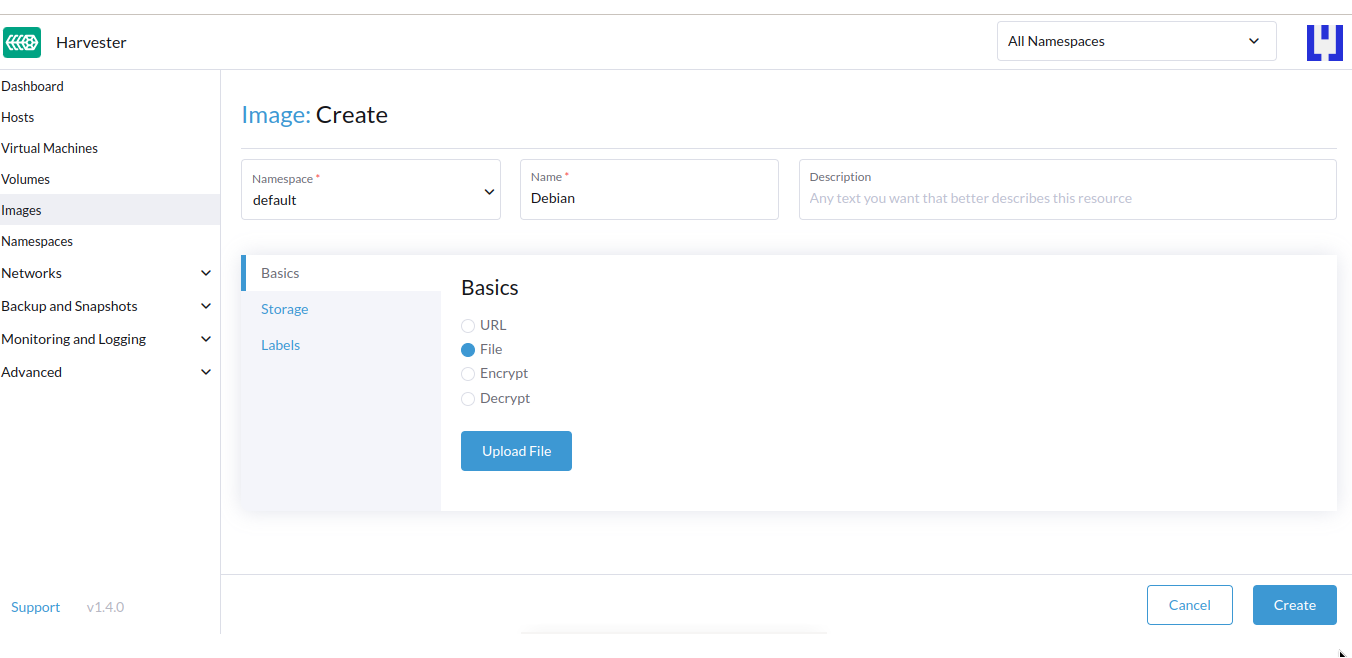
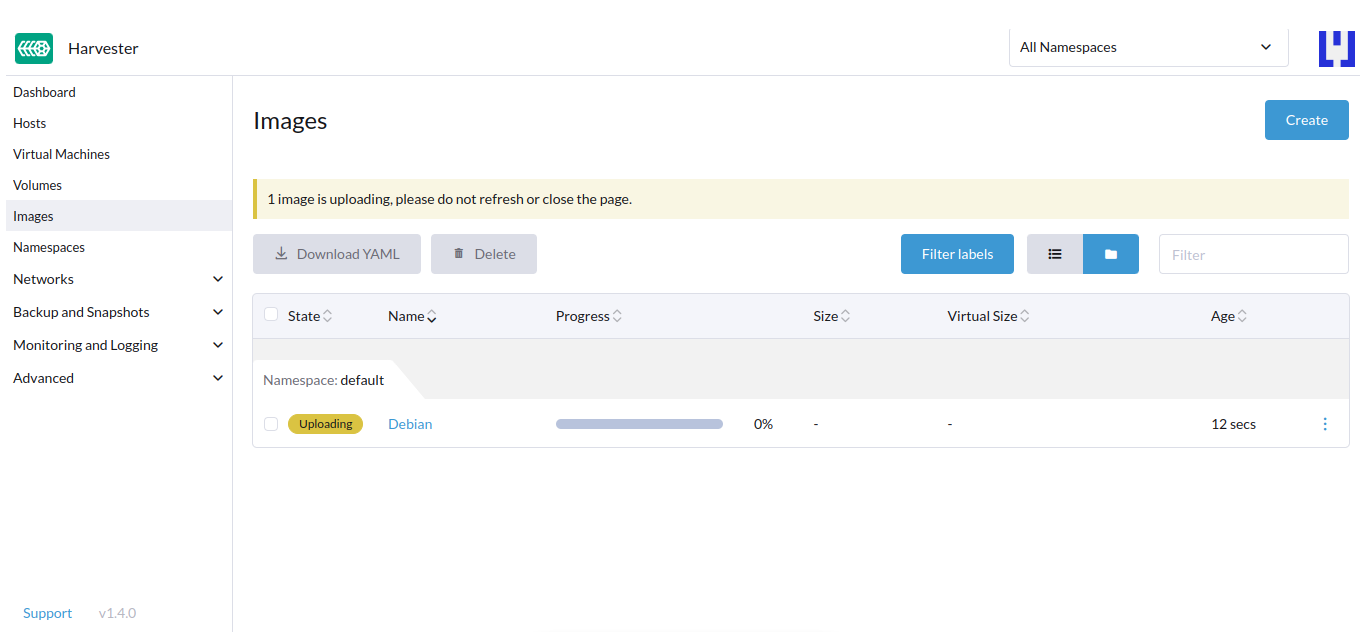
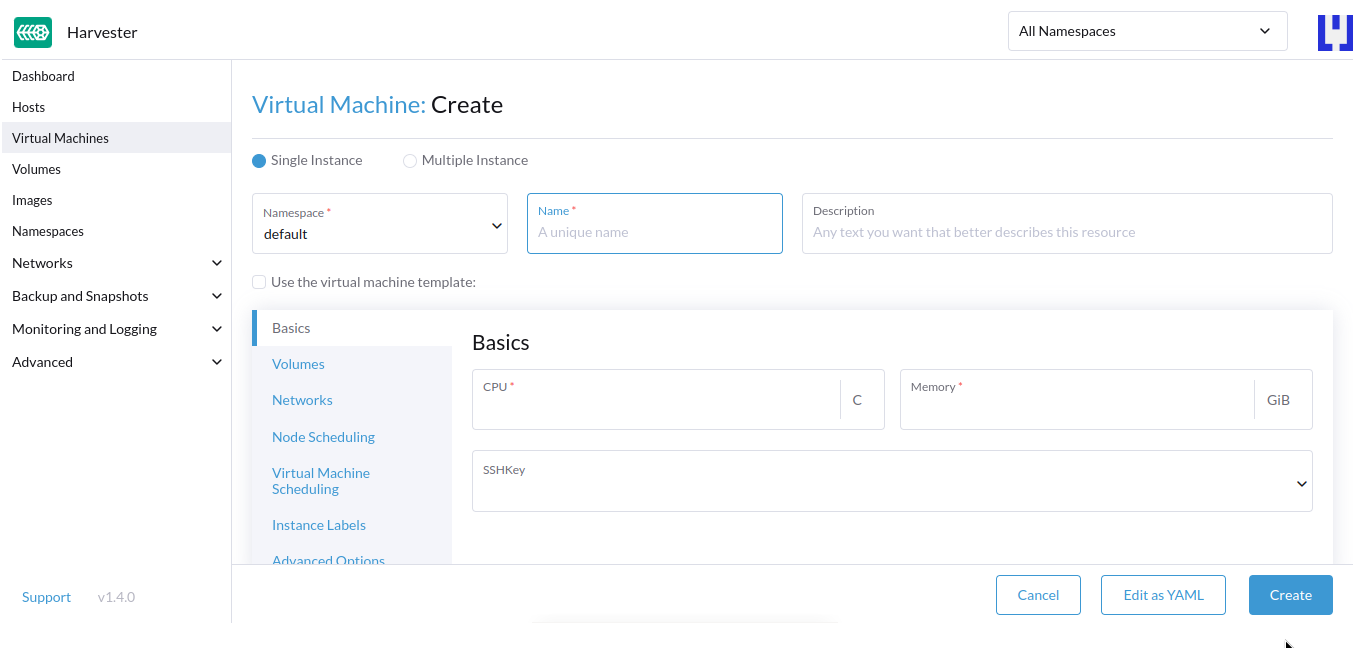
After uploading the iso and in that manner creating a new image, I go to Virtual Machines and press create. Here the usual resource allocation takes place:
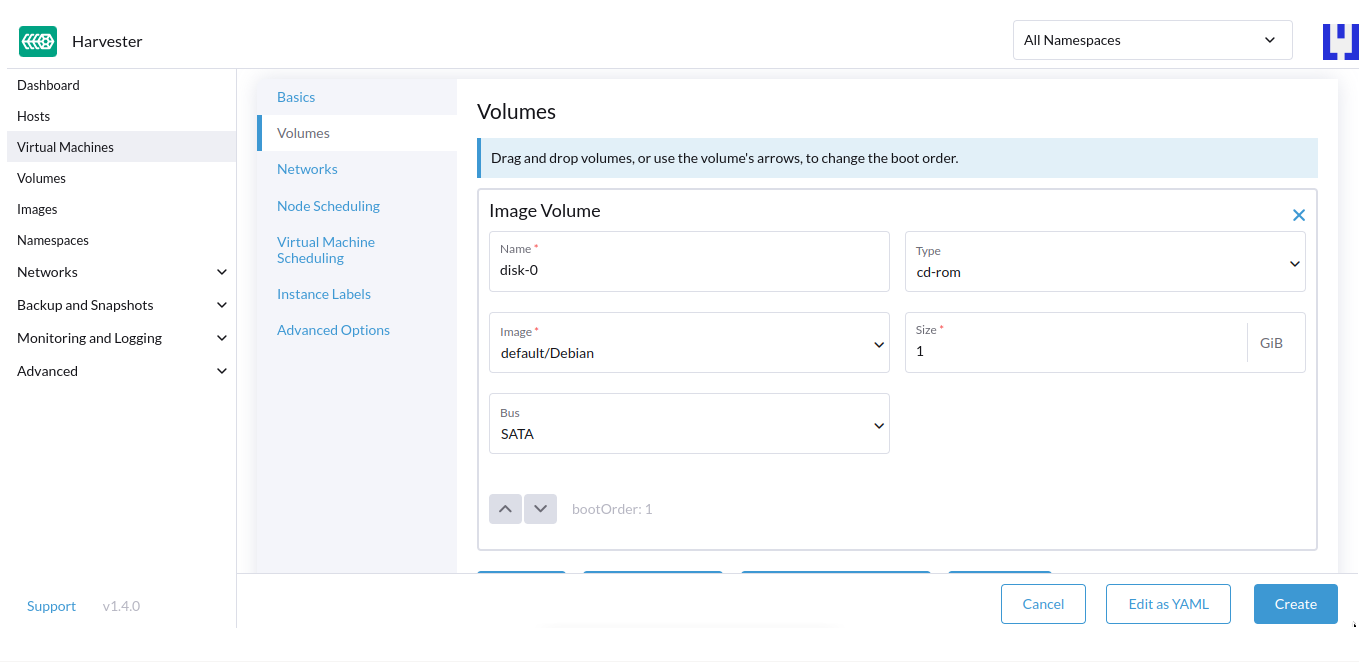
On the volumes tab I will choose my debian ISO and then add a volume to be the vm’s disk:
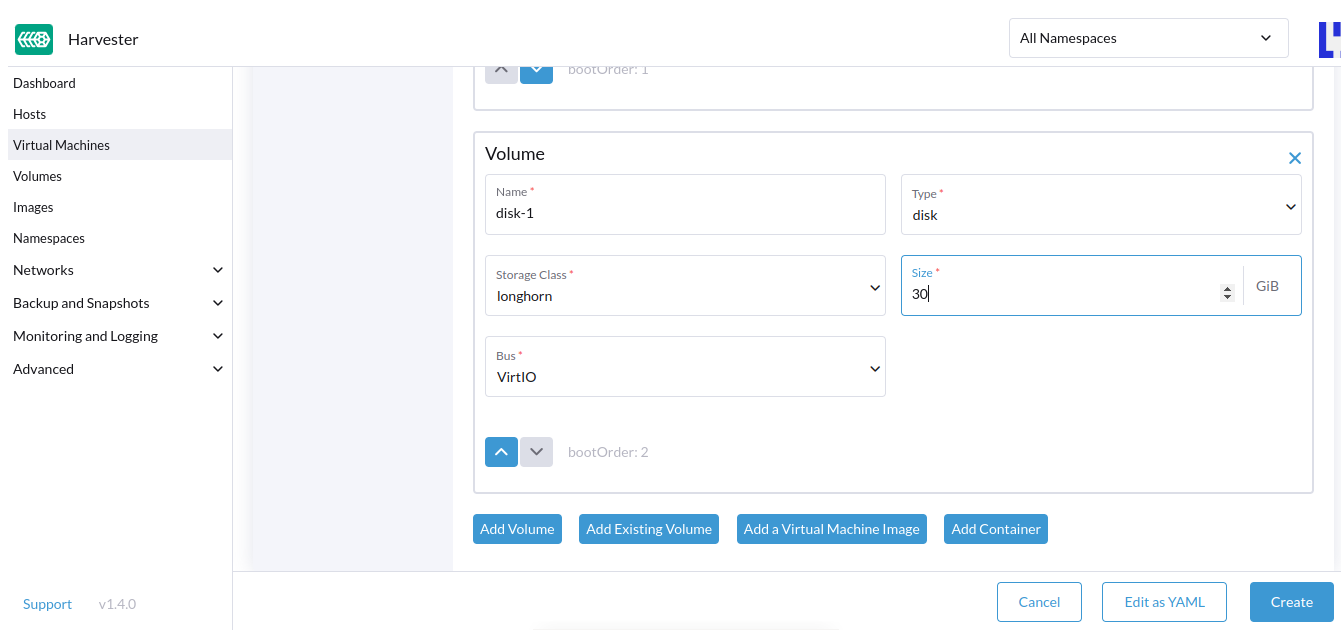
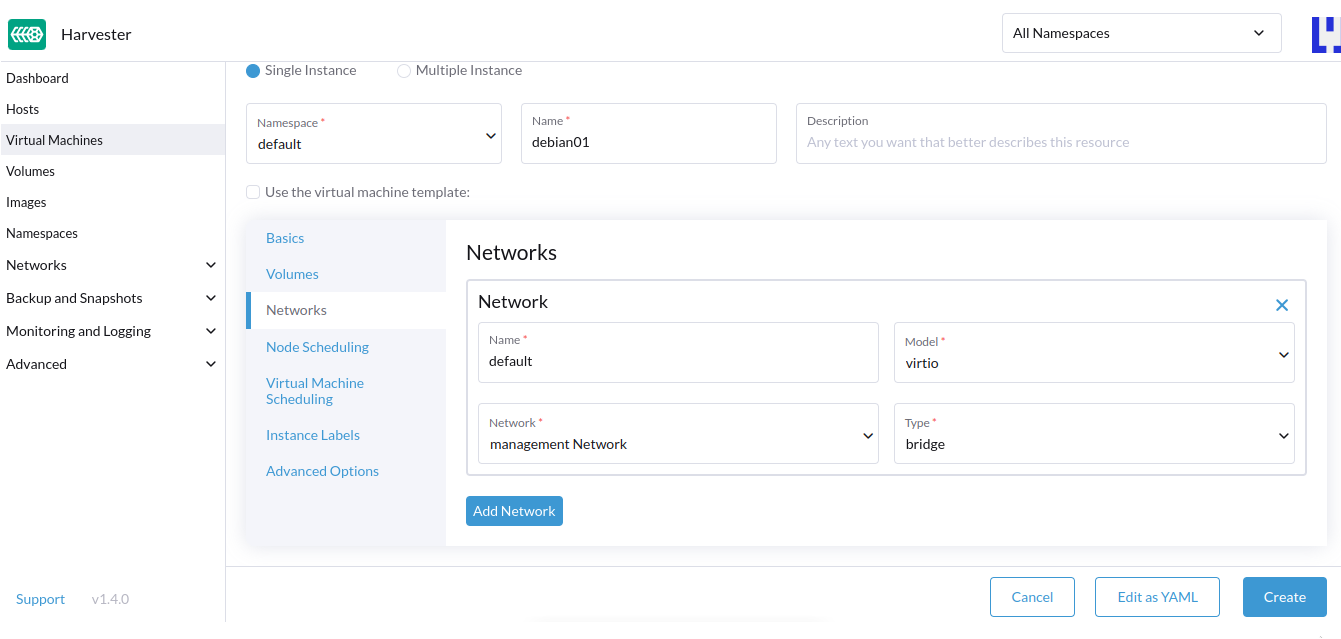
For networking I will create a bridge and use my only management network:
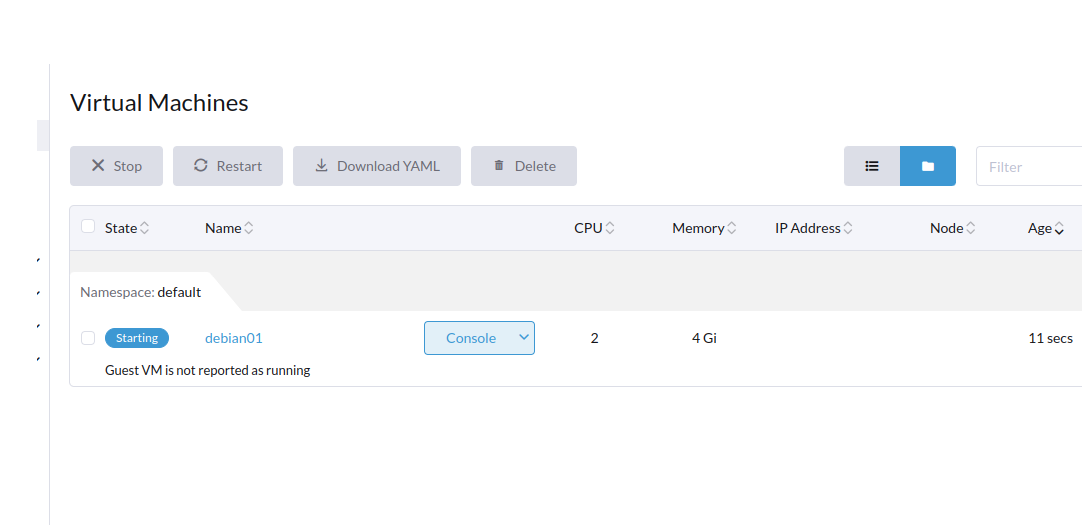
Off it goes:
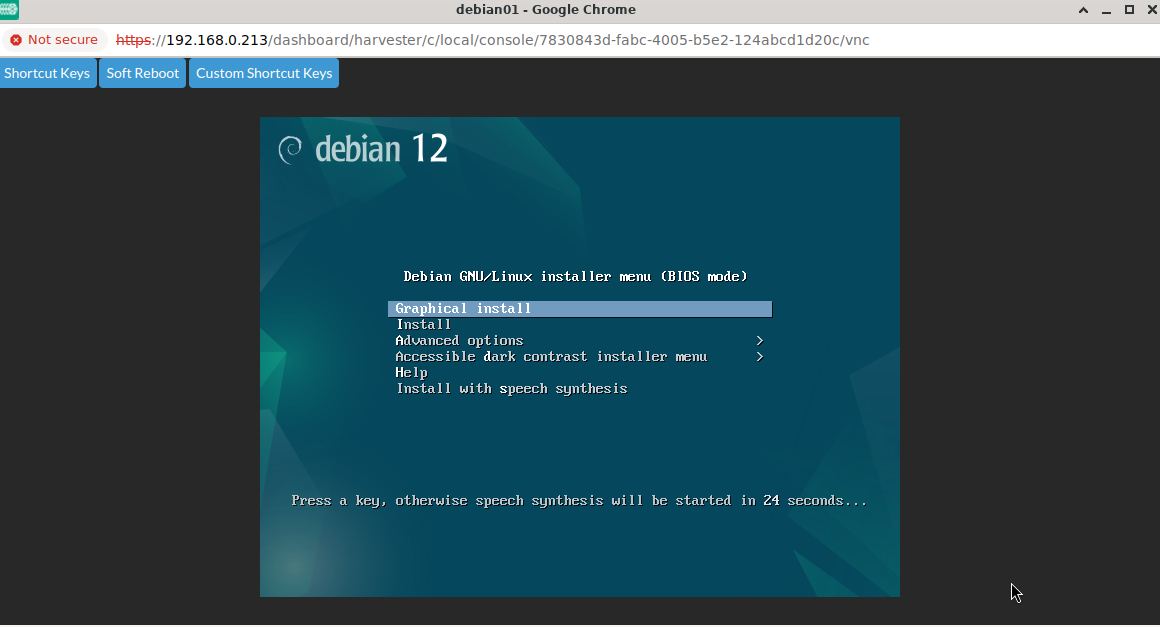
Now to go to the web console to see what is happening:
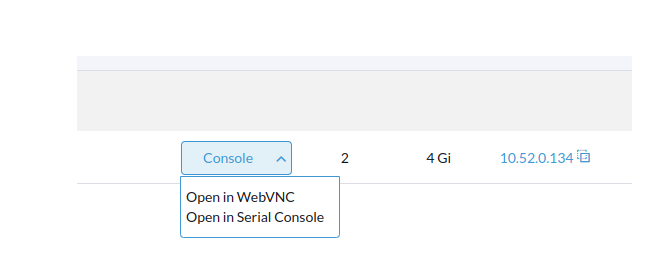
Good to go:
I will finish the installation and then you know what comes next!
Yes Kasten will backup this VM!

