

FLR You are a Star!
The release of Kasten 8.5 brought with it some fantastic new features. After a small hiatus from posting due to galactic circumstances beyond my control :), I am now back in the game!
Today we will go over Kasten 8.5 container file level recovery, yes you heard it right, recovering files from inside of a container.
For this demo I have my go to Kubernetes distribution k3s with an nginx pod and 1gb pvc attached to the latter.

This pvc is mounted at /usr/share/nginx/html inside of the pod.

Let's exec into the pod and take a look at what is there:
k exec -n nginx task-pv-pod -it -- shcd /usr/share/nginx/htmlI have text file at that location with the original name Geoff.txt (that helps not get confused)
Let's add a few more files for fun:
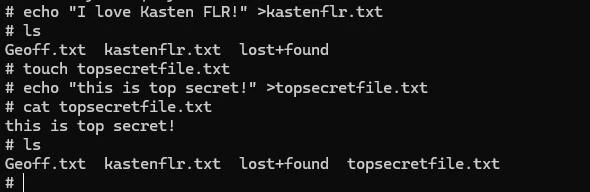
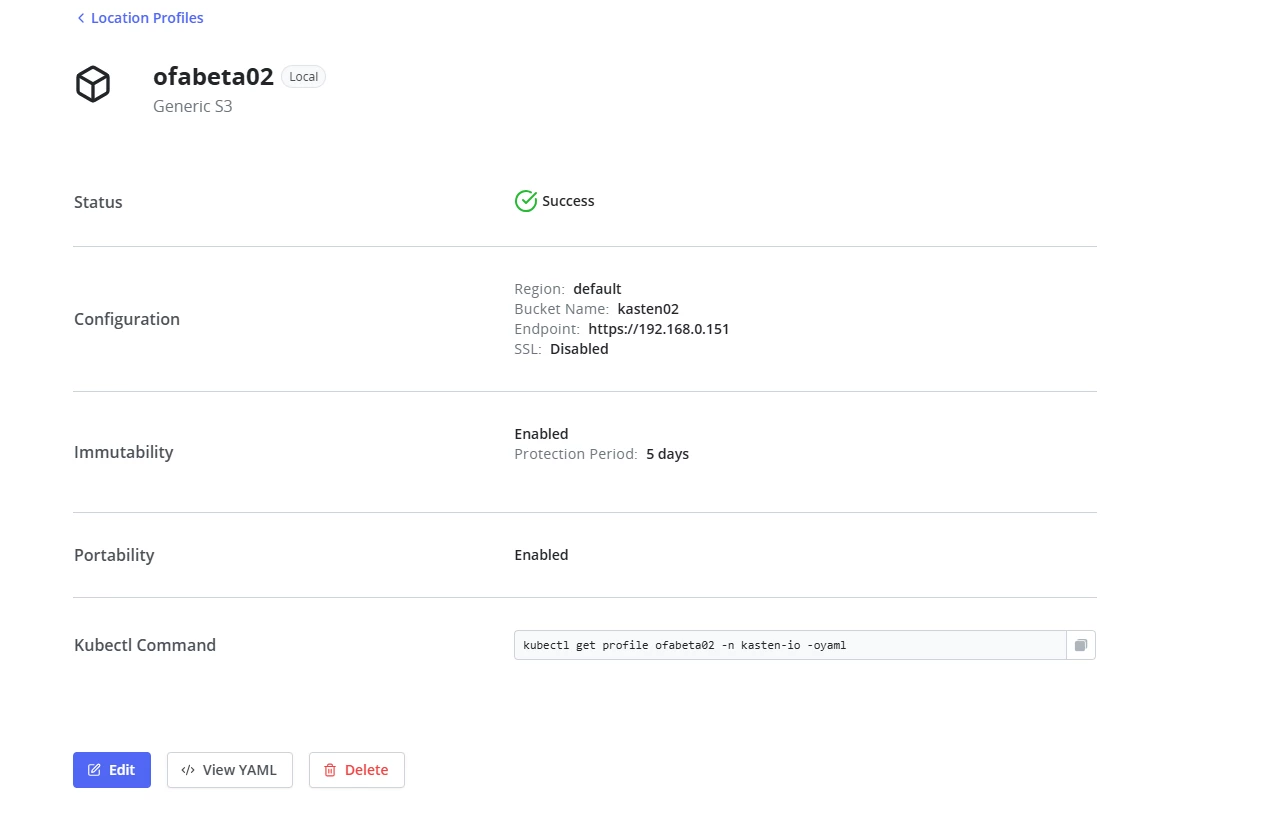
Now time for backup. If I want to be safe from ransomware then where should I send my exported snapshots? Yes to immutable storage!
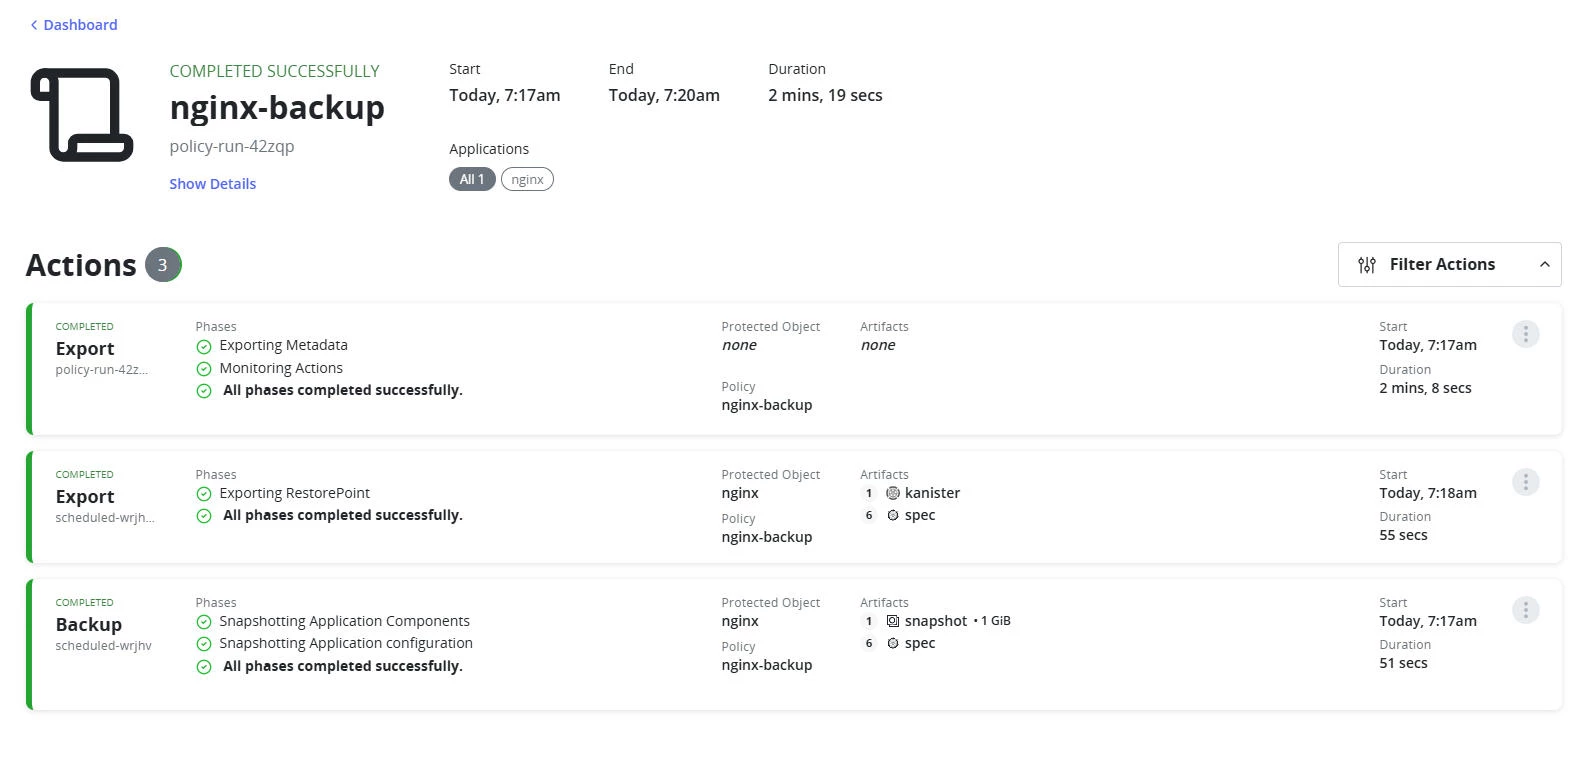
Time to run the backup:
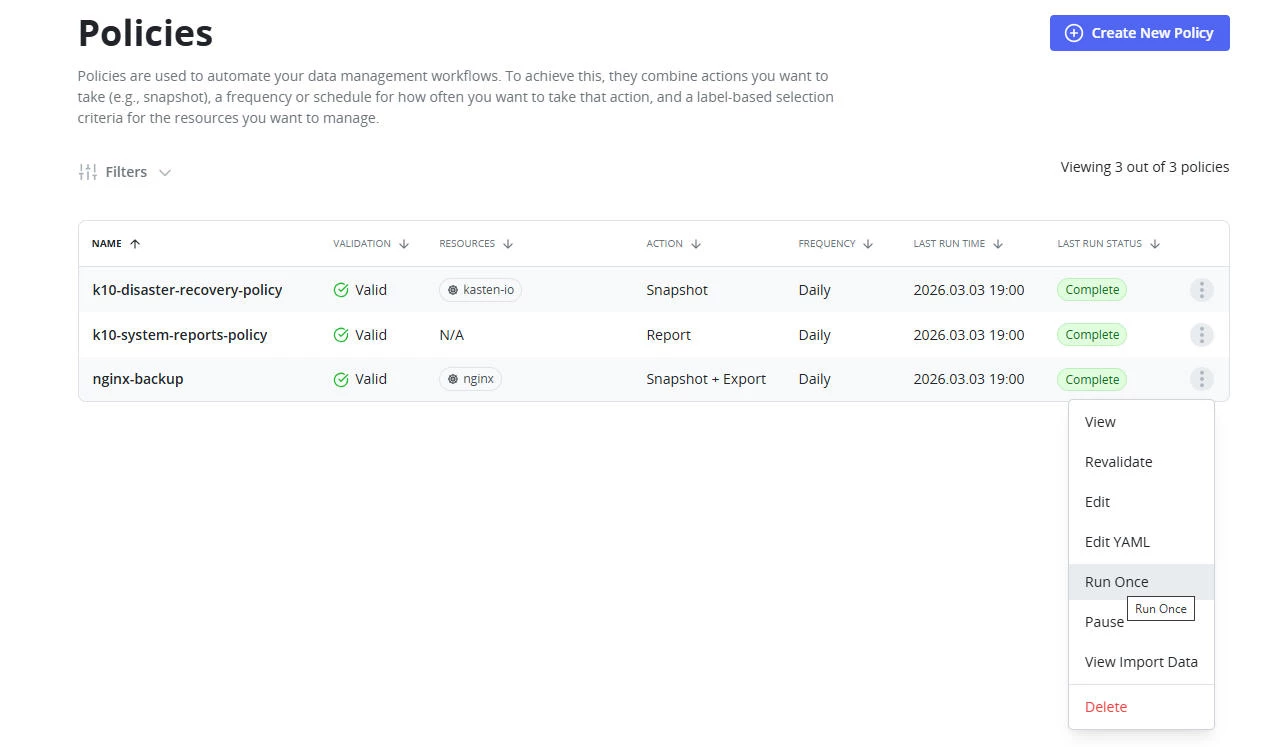
Its Kasten so the backup was successful!
THE FUN BEGINS!
At this point in time FLR is done through the CLI. I for one love to show off in front of my bosses when doing this as cli stuff makes them think I am a real wizard! No mouse clicking, only keyboard ticking!
First we need to get a list of our restore points:
Don't tell anyone but I am quite lazy and don't like to type, so the first thing that I always do when dealing with a new Kubernetes resource is to look for a short name if it has one, so for example instead of typing out deployment you can run this command to find the short name:
kubectl api-resources | grep restorepoint
Unfortunately restorepoints does not have one yet:
kubectl api-resources | grep restorepoint
Let's find out what exported restorepoints we have and use the last one to recover some files:
k get restorepoints -n nginx -l k10.kasten.io/exportProfile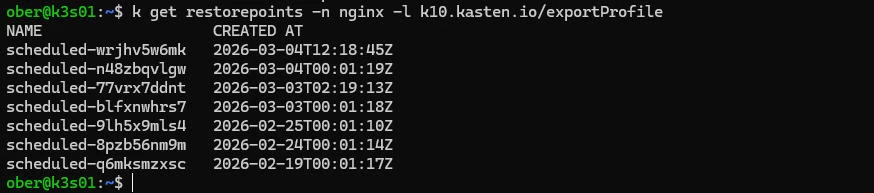
We will use the latest restore point. We need to create a file recovery session yaml. Tip: create one and save the yaml file, that way the next time that you need to recover you can simply make changes in the file and reuse.
The key element in the file is to choose which restore point to leverage. You also need to add your public ssh key since the recovery will be performed via sftp:
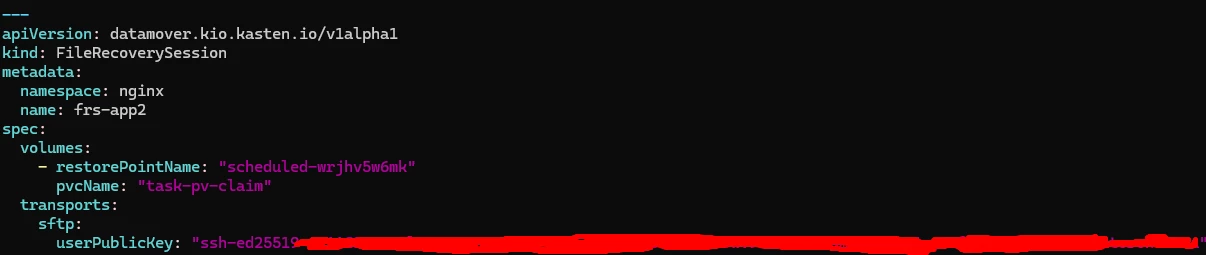
Now we create the Filerecoverysession which will mount the exported pvc:
k apply -f frs.yaml
We need to wait until the status is Ready:

To connect successfully I need to get some information about the filerecoverysession:

k get frs -n nginx -oyaml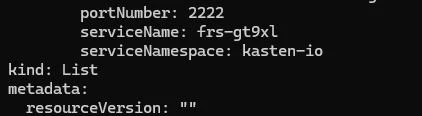
I want to recover these files to my laptop in WSL so I will port forward this service on address 0.0.0.0 so that I can connect:
k port-forward svc/frs-gt9xl -n kasten-io 2222:2222 --address 0.0.0.0Note the service name that we got from the frs:

Let's see if this works! Back on my Windows laptop in a windows subsystem for linux bash terminal:
sftp -i ~/.ssh/id_ed25519 -P 2222 -o StrictHostKeyChecking=no root@k3s01Woo wee!

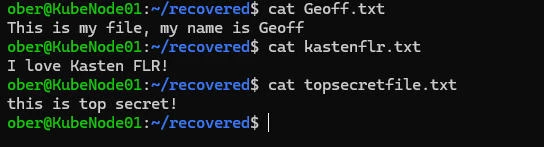
Time to find our files:
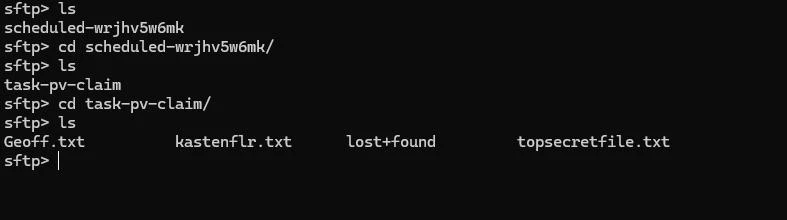
Recover now!


My files are back!
File Level recovery has arrived for containers in Kasten!
But Geoff what about files from Kubevirt virtual machines? Tune in next time for more Kasten Kleverness for that answer!


