

I created this guide a two months ago when VBR 13.0 was release, but only in portuguese in my blog, so I thought I could translate and post here too. :)
With the new version 13 of Veeam Backup & Replication, in addition to the new Linux version, new features have also emerged. One of them is the ability to perform Instant Recovery directly to Azure. In previous versions, it was only possible to perform Instant Recovery to vSphere, Hyper-V, or Nutanix, but now we can also restore backups using the Instant Recovery process to Azure.
Prerequisites and Limitations
As always, there are a few prerequisites for IR to Azure to function correctly. These are:
- The types of backups supported by IR for Azure are:
- vSphere backups;
- Hyper-V backups;
- Backups of VMs or Physical Machines created with Veeam Agent for Windows or Linux;
- Nutanix Backups
- EC2 backups created by Veeam Backup for AWS
- Azure VM backups created by Veeam Backup for Azure
- Promox VE backups.
- Backups must be stored in an Azure repository. Supported types are:
- Veeam Data Cloud Vault;
- Microsoft Azure Blob Storage;
- External repository containing backups created by Veeam Backup for Azure.
- To restore Windows workloads, pay attention to:
- The operating system must have a BIOS type that includes Windows Updates from March 2025 or later; otherwise, Windows will not start.
- Domain Controller IR is not supported;
- To restore Linux workloads, pay attention to:
- Veeam recommends that dracut , mkinitrd , or initramfs be installed before performing a restore; otherwise, the system will not boot.
- The distribution needs to have the iSCSI initiator installed. For Debian, Ubuntu, and Sustain, the required package is open-iscsi . For RHEL and other Red Hat-based distributions, the required package is iscsi-initiator-utils .
Several steps in the Instant Recovery process for Azure involve creating the VM and objects in Azure, so we will use the Azure Compute Account to execute everything on Azure side. Before starting the process, it is necessary to add an Azure Compute Account to VBR. I will not cover these steps in this tutorial, but the User Guide provides a step-by-step guide on how to create one: Microsoft Azure Compute Accounts – User Guide
The remaining recommendations can be found in: Considerations and Limitations – User Guide
Important: the steps shown below were all performed using the Windows console of VBR v13. In the current version (v13.0.1) it is not possible to execute the steps via the new Web UI yet.
Creating the Helper Appliance Template
During Instant Recovery for Azure, a Helper Appliance is used to read the data from the Azure repository and mount the disks for the VM being restored. A Windows Helper Appliance is used when restoring a Windows VM, and a Linux Helper Appliance is used when restoring a Linux VM.
To accelerate this process, templates are created and published to the Azure Compute Gallery . First, two VMs are created in Azure for each operating system, and then images based on each VM are created and stored in the Azure Compute Gallery. Finally, these VMs are removed, and only the image is stored.
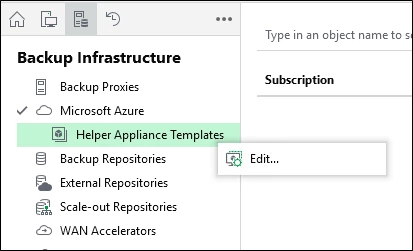
To begin creating the templates, go to Backup Infrastructure > Helper Appliance Templates > Edit:
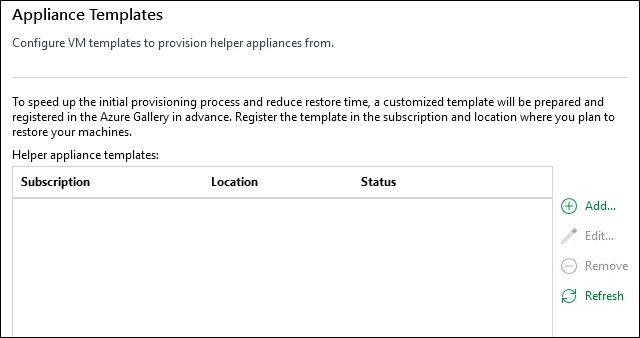
Click Add to begin:
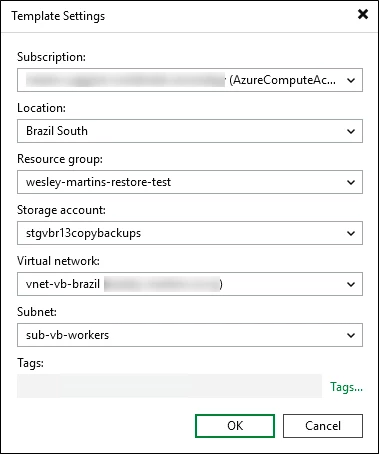
In Template Settings, you need to choose the Subscription, Region, Resource Group, Storage Account, Virtual Network, and Subnet for the template. As I explained, a VM is created first, and then an image is created from the VM. Finally, these VMs are removed, and only the images will remain stored in the chosen resource group. The created VM will be of type Standard_D4lds_v5 , so verify that the chosen region supports this type of VM.
It's possible to instruct VBR to create these resources automatically, but I always recommend creating them first in Azure using the naming conventions you already use.
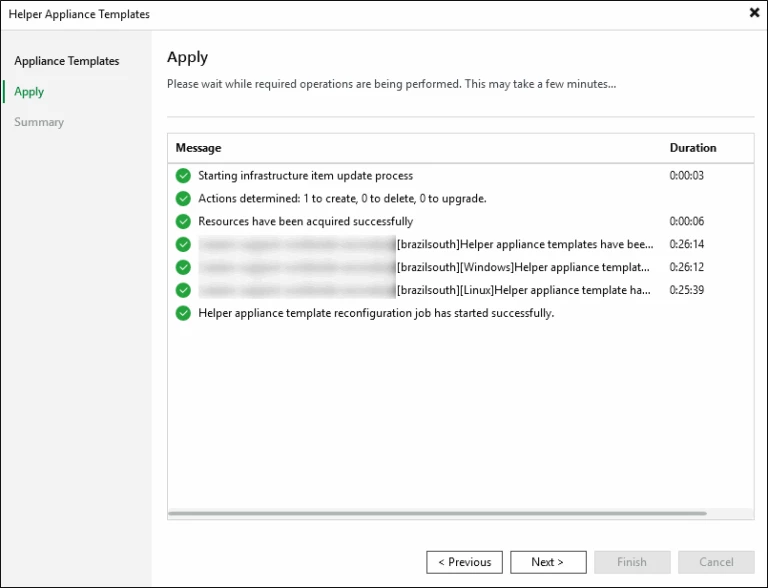
After adding the templates, we just need to proceed to the next step and wait for them to be created.
This step takes about 30 minutes, so please be patient and don't cancel. Any errors or problems will be shown on this screen.
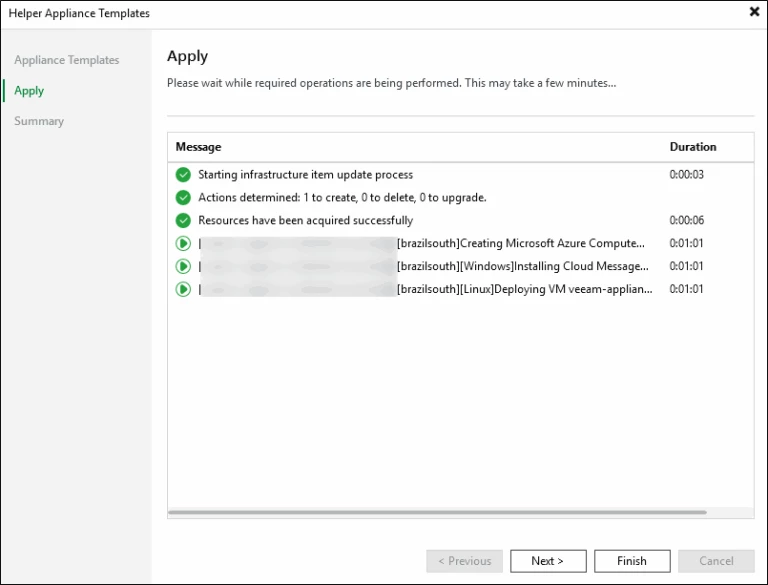
Once created, we can click Next and Finish.
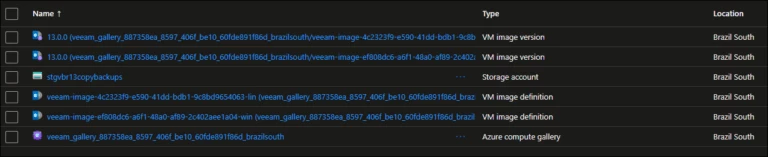
In an Azure storage account, it will look similar to the example below:
Running Instant Recovery
Now that we have the Helper Appliance Templates ready, we can start the IR from a backup to Azure.
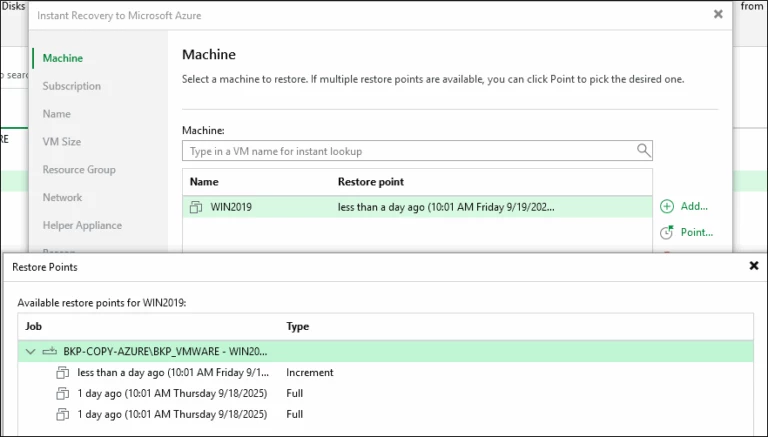
In my lab, I have copies of the backups using a repository in Azure, so I can use them to perform Instant Recovery. I will select the backup of a Windows Server 2019 VM for the test and choose the Instant Recovery > Microsoft Azure option.

By default, the last available restore point will be shown, but by clicking on "Point" you can choose the desired restore point if it is not the last one.
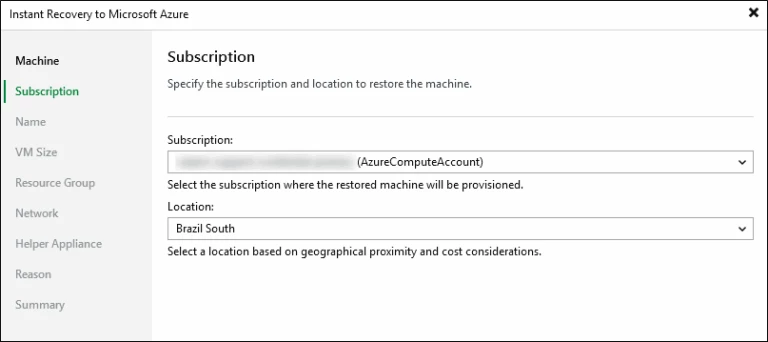
Choose the subscription and region where the VM will be created.
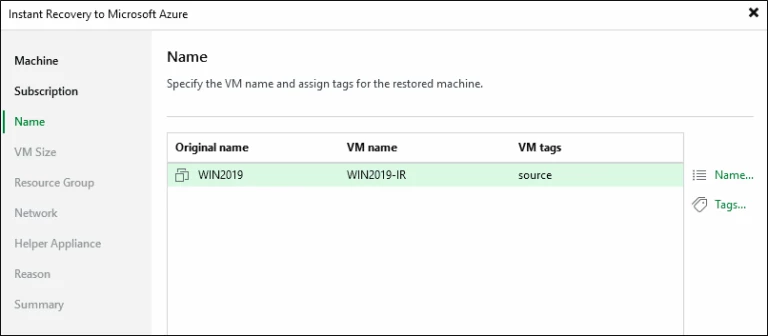
In the Name field, we can modify the name of the VM that will be created in Azure, as well as add tags if necessary.
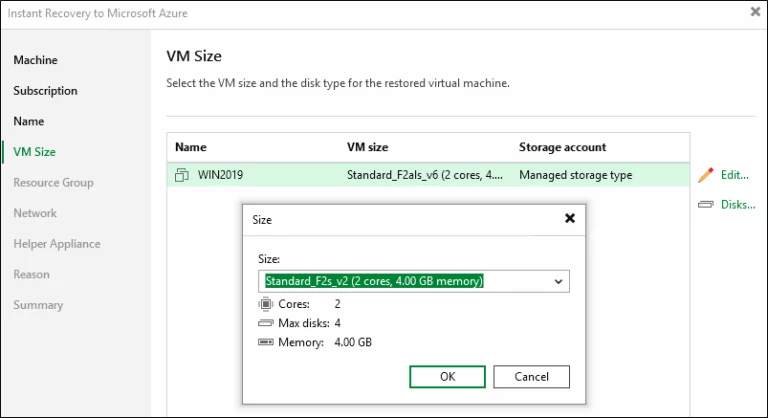
By default, a VM type with the same amount of vCPU/RAM as the source VM will be selected, but it is possible to modify the type.
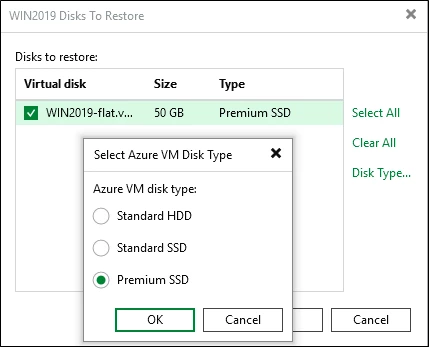
It's also possible to change the VM's disk type. Keep in mind that IR for Azure doesn't support creating Ultra Disks, so only the options below are available:
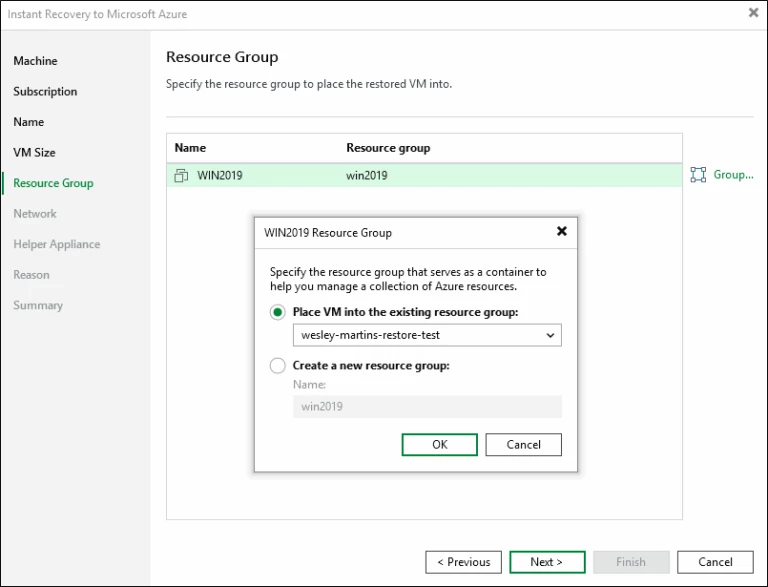
Choose the Resource Group where the VM and its objects will be created.
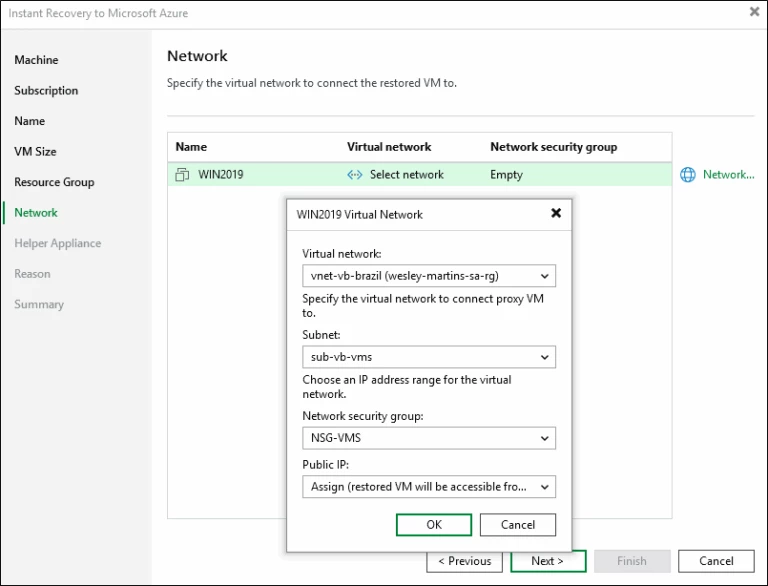
In the Network section, we must choose the Virtual Network, Subnet, NSG, and whether we will allocate a Public IP address for the VM in Azure.
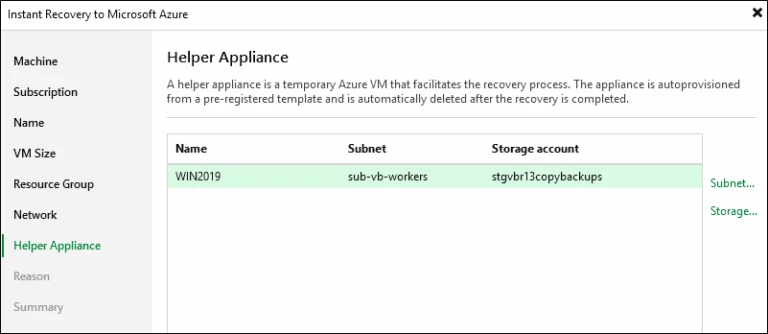
In Helper Appliance, we need to choose the Subnet where the Helper Appliance will be created, as well as the storage account. Remember that the Helper Appliance will be created and then removed when the restore is finished.
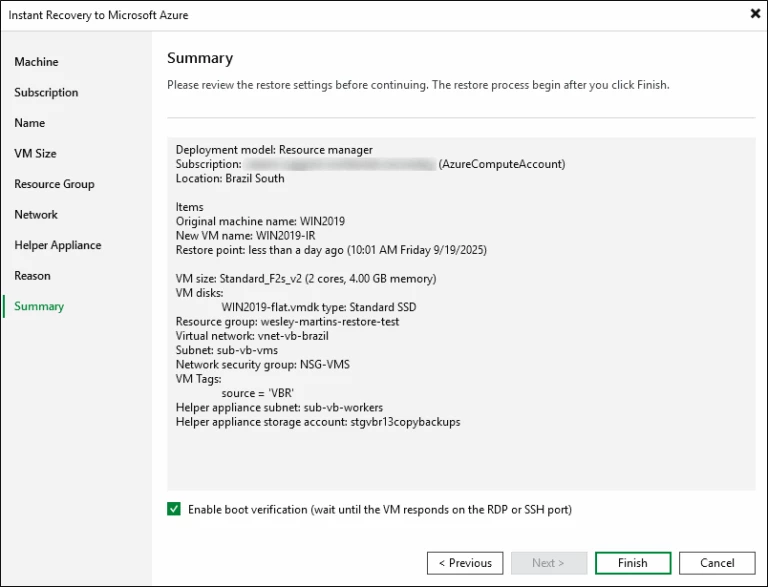
In Summary, we will have a summary of all the chosen options, and we can also select the option to verify if the VM started correctly by attempting to connect via RDP or SSH. If you choose this option, make sure that the Network Security Group rules associated with the restored VM have access rules for RDP/SSH.
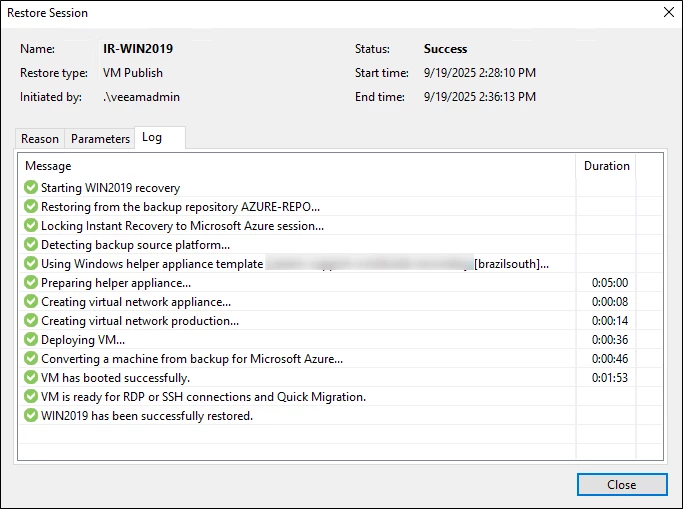
Instant Recovery will start by creating the Helper Appliance based on the existing image, and then it will create the VM and mount the disks based on the chosen restore point. This process is fast regardless of the size of the VM being restored because we do not restore the data; we only mount the disk from the data in the repository.
In Azure, we'll see that the VM has been created and is accessible, as is the Helper Appliance.
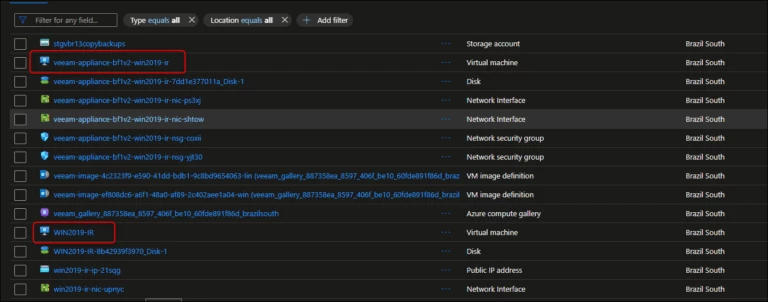
Until we finalize the Instant Recovery, the Helper Appliance continues to exist because it's being used to read the backup data and mount the disks on the restored VM. We cannot leave the Instant Recovery in this state; it's necessary to migrate to production or stop the IR and discard the restore. Ideally, we should validate that the data is correct and then choose between finalizing the restore or discarding it. The discard option can be very useful in Disaster Recovery testing scenarios to validate if the VM will start correctly in Azure.
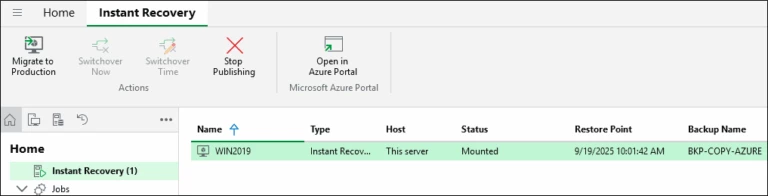
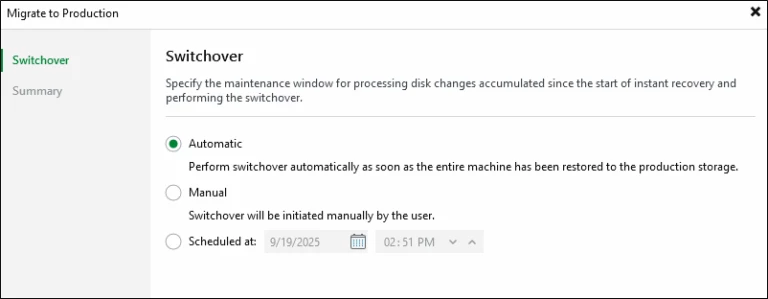
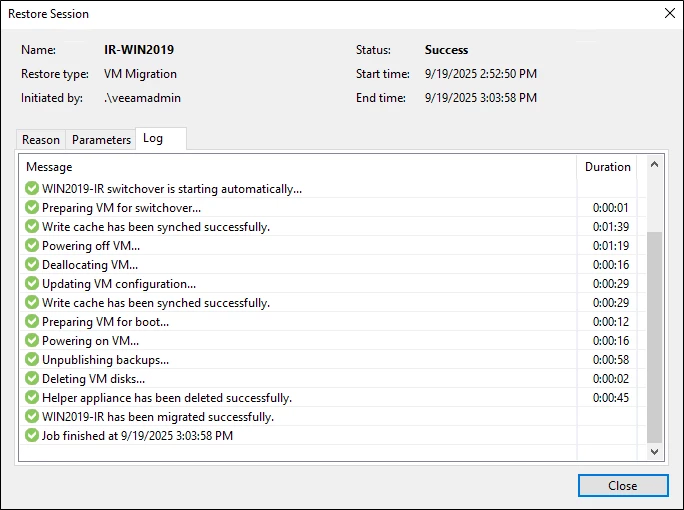
In this example, I'll migrate to production, which will effectively restore the data from the backup and then remove the Helper Appliance to finalize the restore. We can run the Switchover automatically or schedule it to be done on a specific date and time.
Wait for the process to finish to verify if the VM is accessible in Azure. This step, depending on the size of the VM, can take a while because it involves restoring the data.
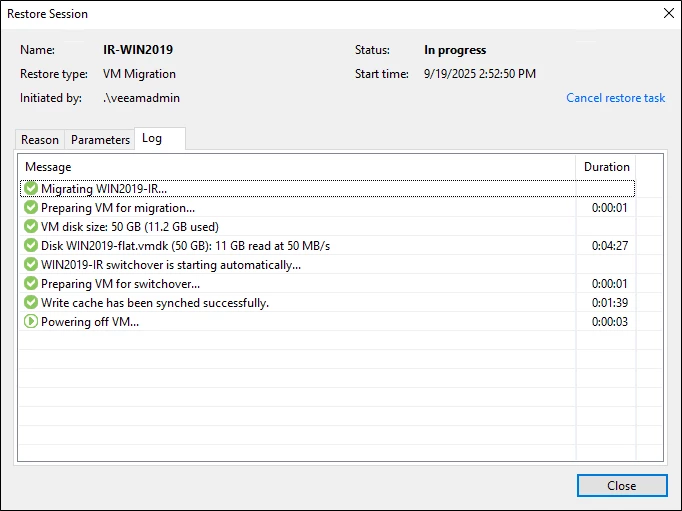
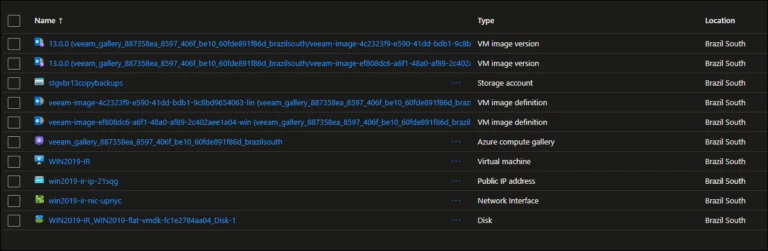
Upon completion, we will see in Azure that we now only have the restored VM and the Helper Appliance has been removed, leaving only the Azure Compute Gallery images for a future restore.
For more details about Instant Recovery for Azure, please visit the links below:

