Hello guys!
It’s possible to use Modern Authentication for E-mail Notifications in Veeam Public Cloud products, but we need a few additional steps outside the product, so I thought it’s a good idea show how to perform the steps needed to use Microsoft 365 with Modern Authentication to send Email Notifications.
In this guide, I will demonstrate the process using Veeam Backup for Azure, but all the steps are the same for Veeam Backup for AWS and Veeam Backup for Google Cloud.
1) In Settings - Email we can find the section to enable the notifications:
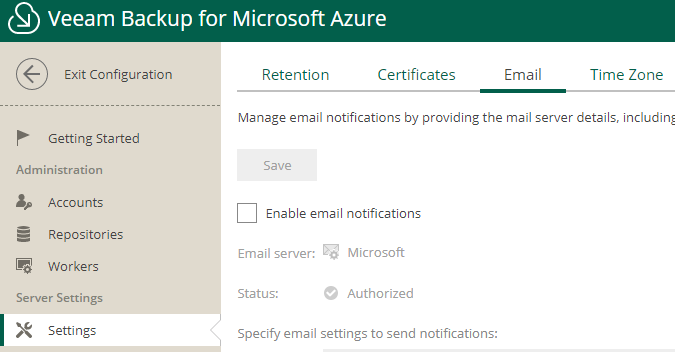
2) Click on “Enable email notifications” to open the Email Server Settings.
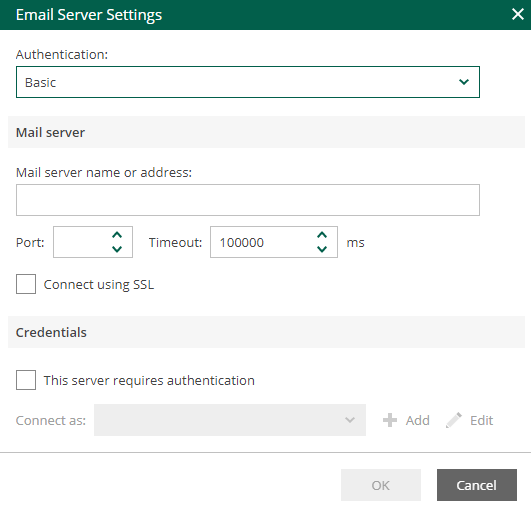
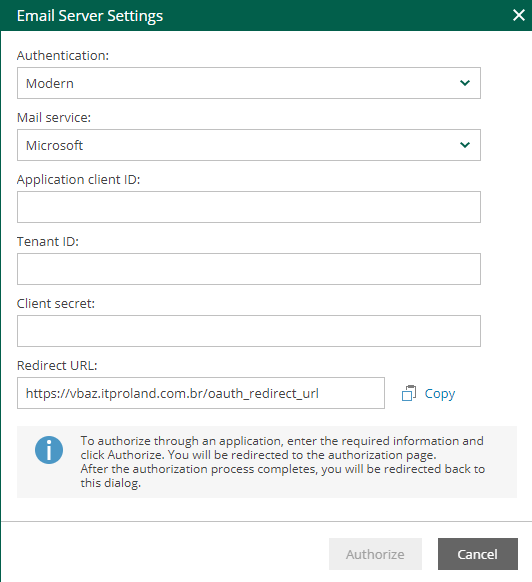
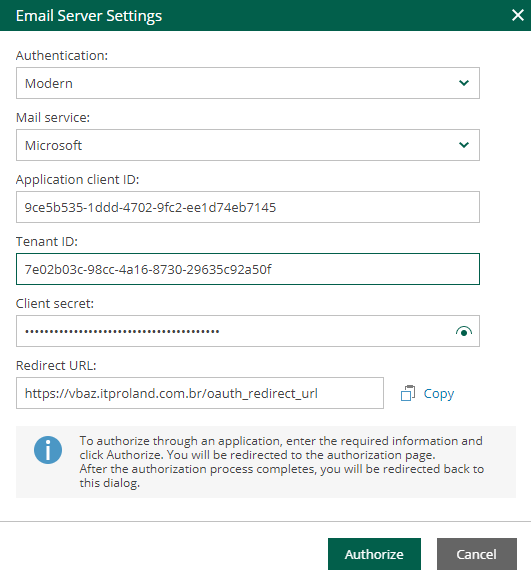
3) We have to change to Modern on “AUthentication” field and to “Microsoft” to “Mail service”:
4) Now we need to create an Application in the Microsoft 365 tenant to authorize the appliance to authenticate and send e-mails.
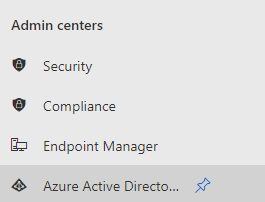
In the Microsoft 365 Admin Center we have to go to the Azure Active Directory:
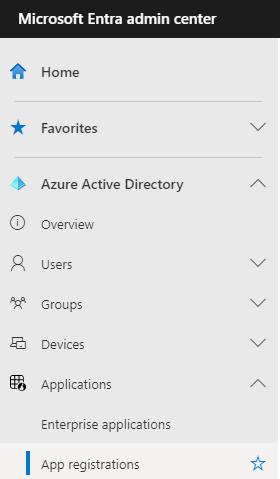
5) You will be redirected to the “Microsoft Entra Admin Center”.
From there we have to choose the “App Registrations” option:
6) Let’s create a new App by choosing the “New registration” option:

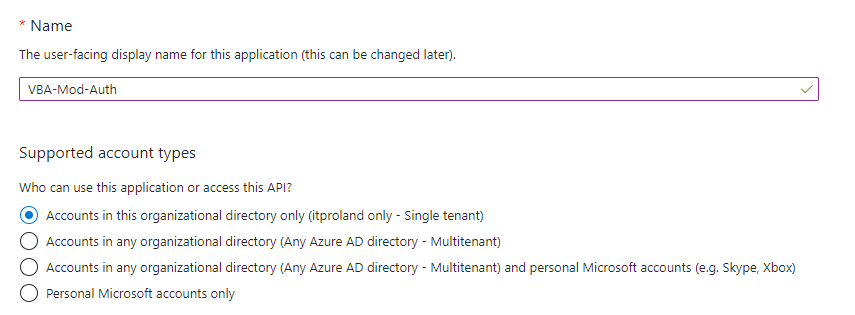
7) Choose a name for the App, choose the first option for Supported Accounts:
8) On Redirect URL we have to choose “Web” and past the Redirect URL from the Email Server Settings on Veeam Backup for Azure console:

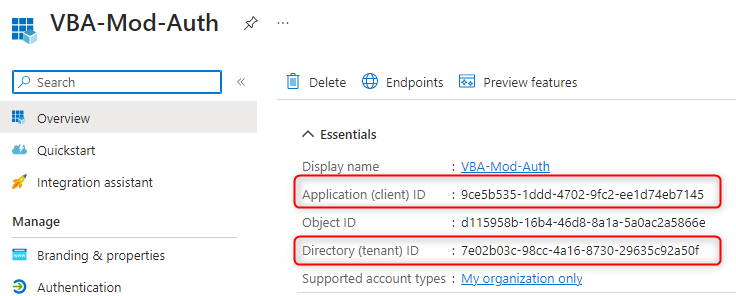
9) Now we have to copy the Application client ID and the Tenant ID to use on the Veeam Backup for Azure:
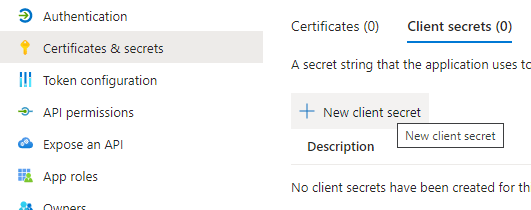
10) We also need to create a secret to be able to use this new application.
Go to Certificates & secrets and choose the “New client secret” option:
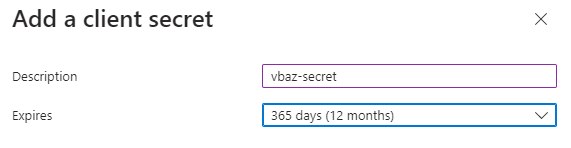
11) Choose a name for the secret and when it expires:
12) Now we have to copy the client secret. We will be able to see this value just this time, so it’s important to store the secret.

13) Back to Veeam Backup for Azure, let’s paste all the information needed and click on Authorize:
14) A new tab will open asking for authenticate. Use an account that has Owner permissions on the Microsoft 365 tenant.
Select the “Consent on behalf of your organization” option and click on Accept.

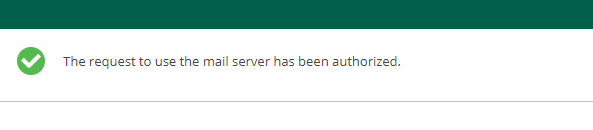
15) You should see a message like the below:
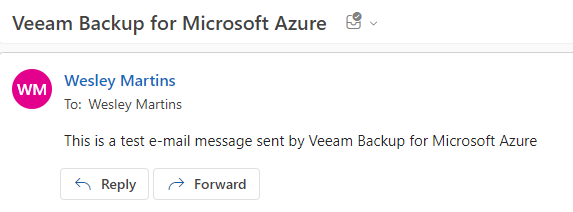
16) Now you can test the e-mail using a e-mail from your organization:
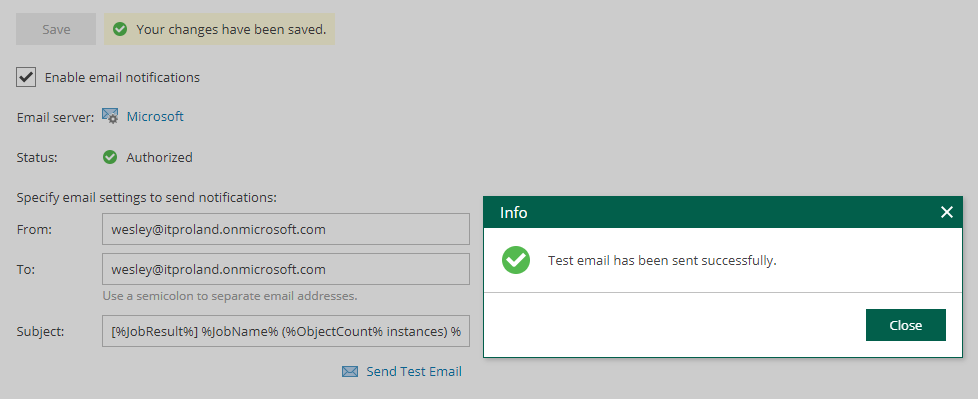
17) You should receive an e-mail like this one: