Hello everyone, I'm continuing my exploration of Veeam v13. Today, I'm sharing with you a presentation of the Web UI and the thick client.
In this first section, we will cover:
- Configuring a component via the WebUI
- Configuring a component via the thick client
- Configuring a backup job from the WebUI
- Performing a restore from the WebUI
Enjoy the read!
Find my previous article here :
1. Veeam Software Appliance WEB UI / Console
⚠️ Reminder: We are testing a beta version here. Some features are still missing, incomplete, or may not be included in the final release.
Deployment: In this Beta version, to deploy V13 as a virtual machine, the following prerequisites are required:
- Two hard drives of at least 256 GB each are mandatory.
- I have allocated 4 vCPUs and 16 GB of vRAM.
- Rocky Linux is used as the OS type, as this is what Veeam uses here. A paravirtualized SCSI adapter will be used by default.
Additional Information:
- The design of the WebUI interface is 80% complete.
- The thick client interface is 95% complete.
1.1 CONFIGURATION THROUGH THE WEB INTERFACE
Let’s now explore the new management interface for this new appliance in Web mode
You will notice that it is possible to download the traditional console from this interface. (We will come back to this later).
Interestingly, MFA was not requested this time… (It will be necessary to enable it.)
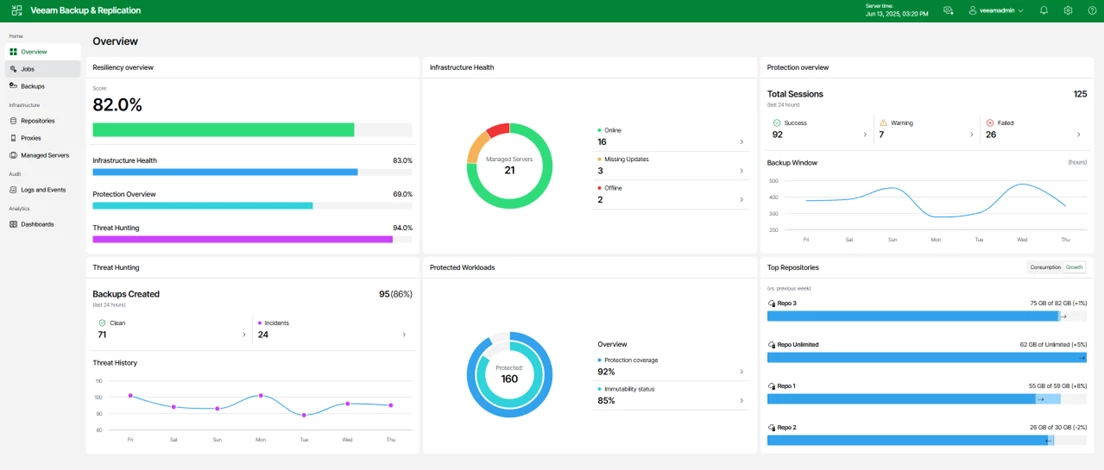
The Beta version provides a pre-filled dashboard with fake data, in order to give an overview of the information that will be available.
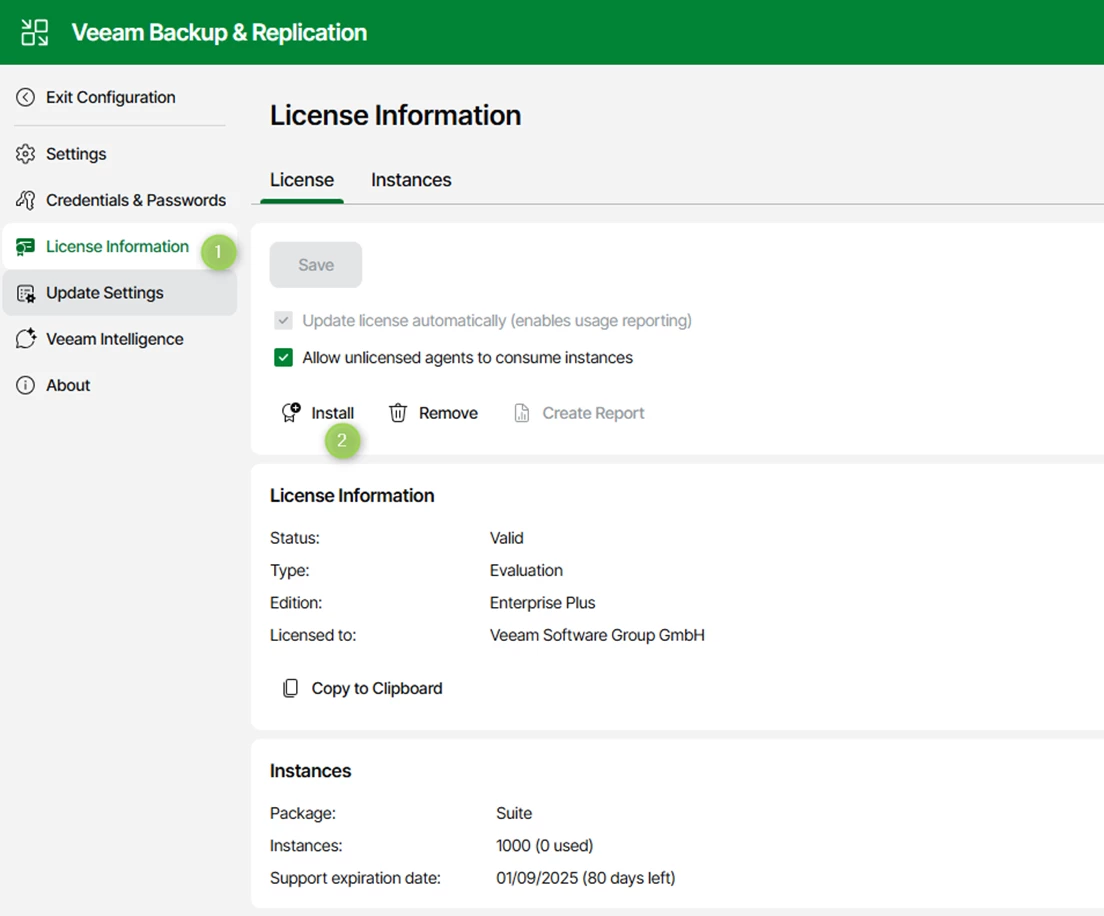
The first step is to install the Veeam license.
This is very straightforward: simply go to the Configuration section,

select the License menu, and install the appropriate license file.
1.2 ADDING COMPONENTS WEBUI
Let’s now proceed with adding the initial components.
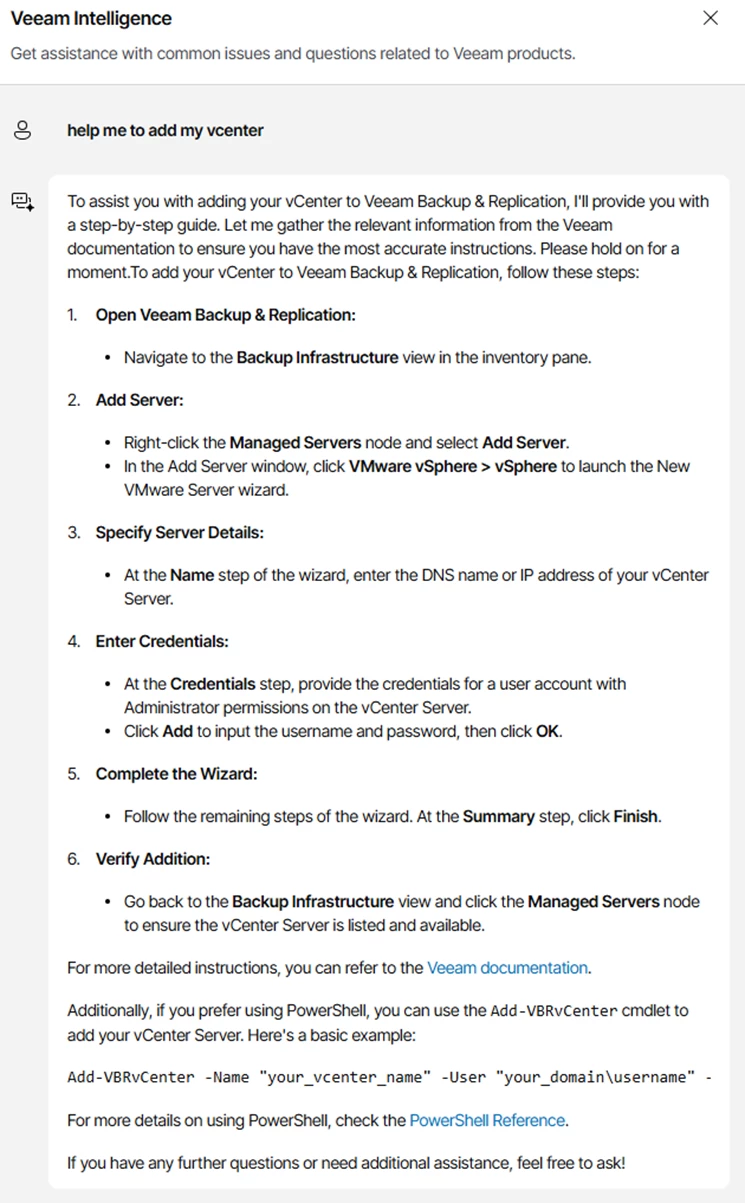
I took the opportunity to test the Veeam Intelligence feature — an embedded LLM model within VBR — to find out how to add vCenter.
As with any model, you simply need to ask for what you need:
"Help me to add my vCenter"
You’ll then receive a step-by-step procedure for integrating your vCenter, along with the corresponding PowerShell commands.
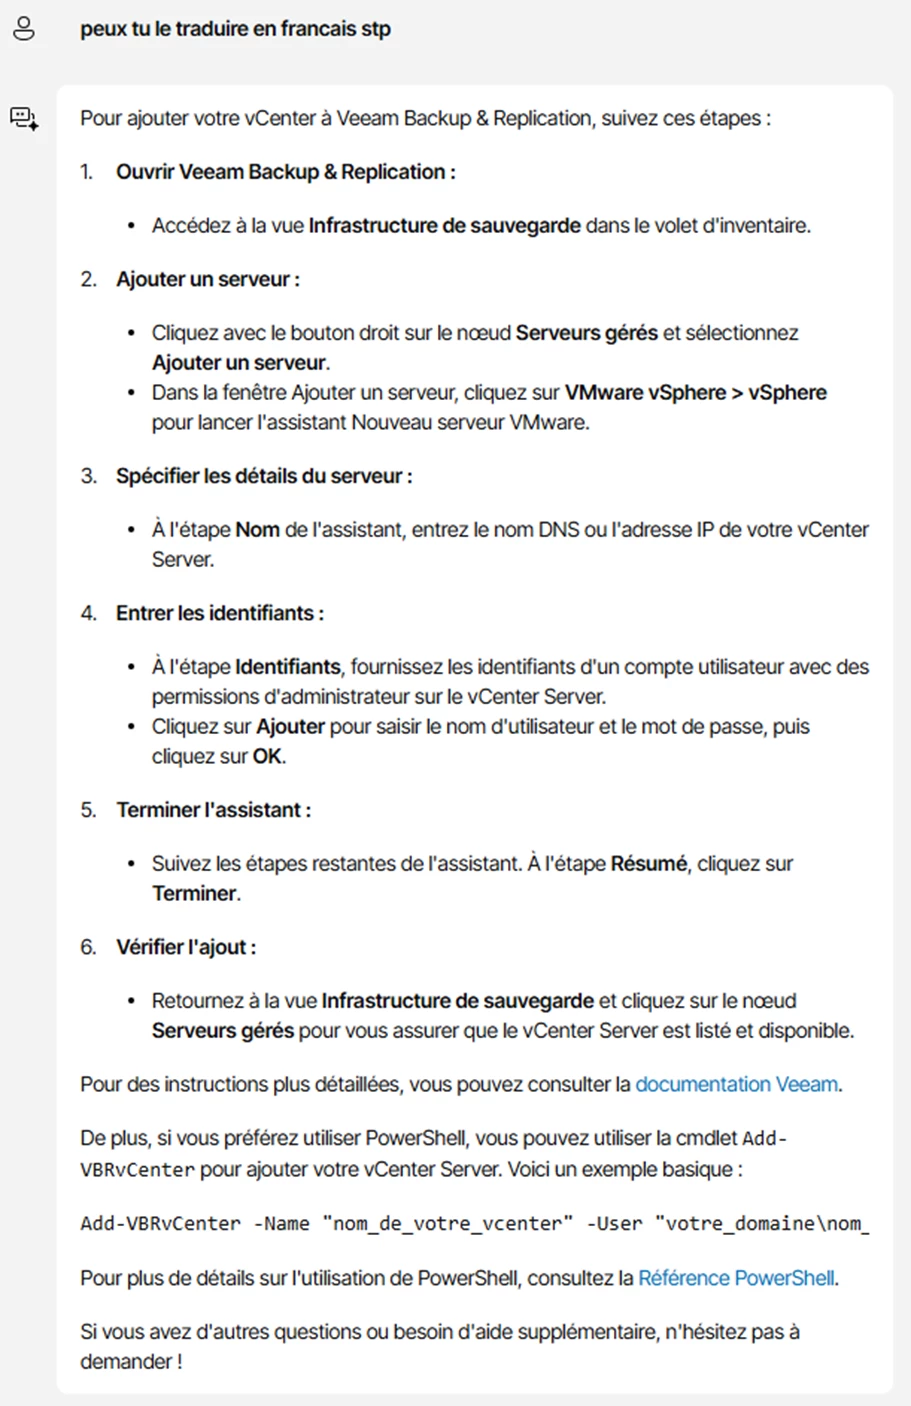
Possibility to request a translation
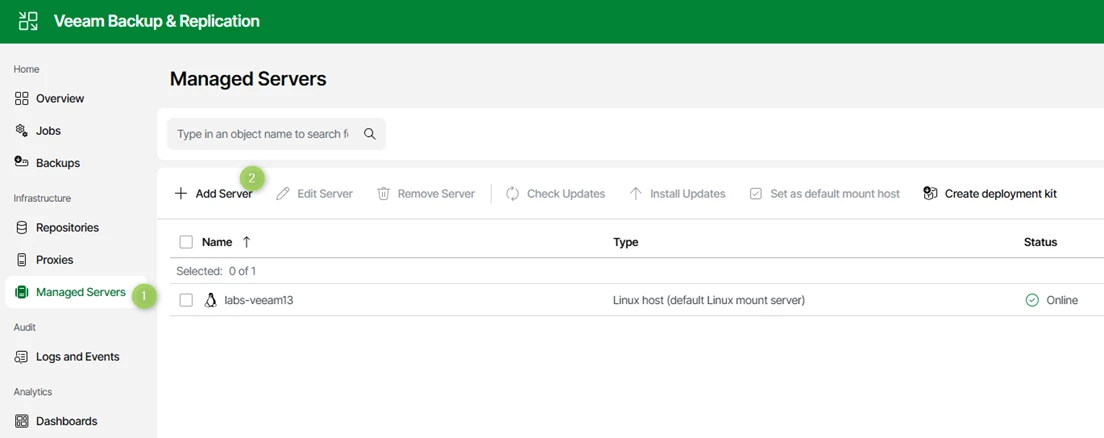
Adding the vCenter involves performing the same steps as usual.
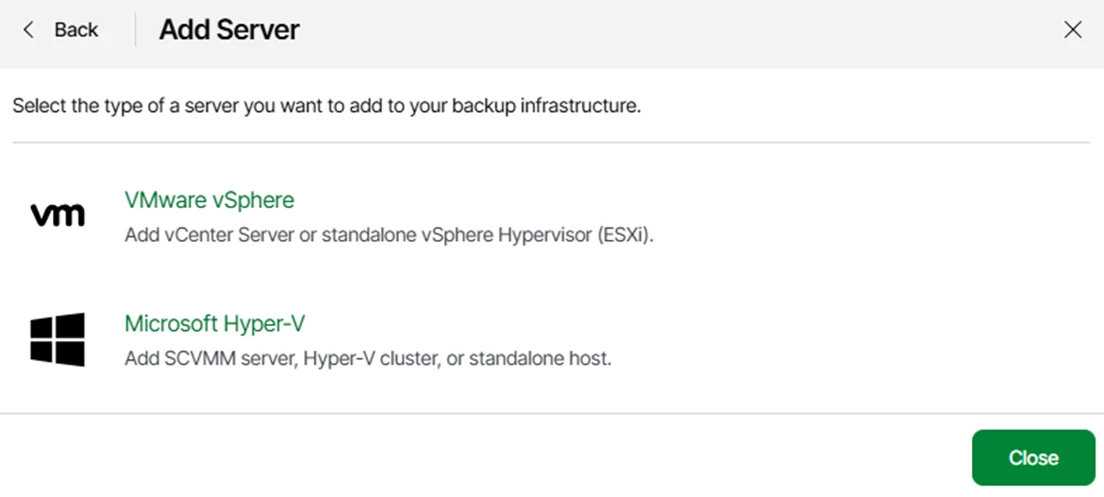
Go to the Managed Servers menu, then select Add Server.
Select Virtualization Platforms.
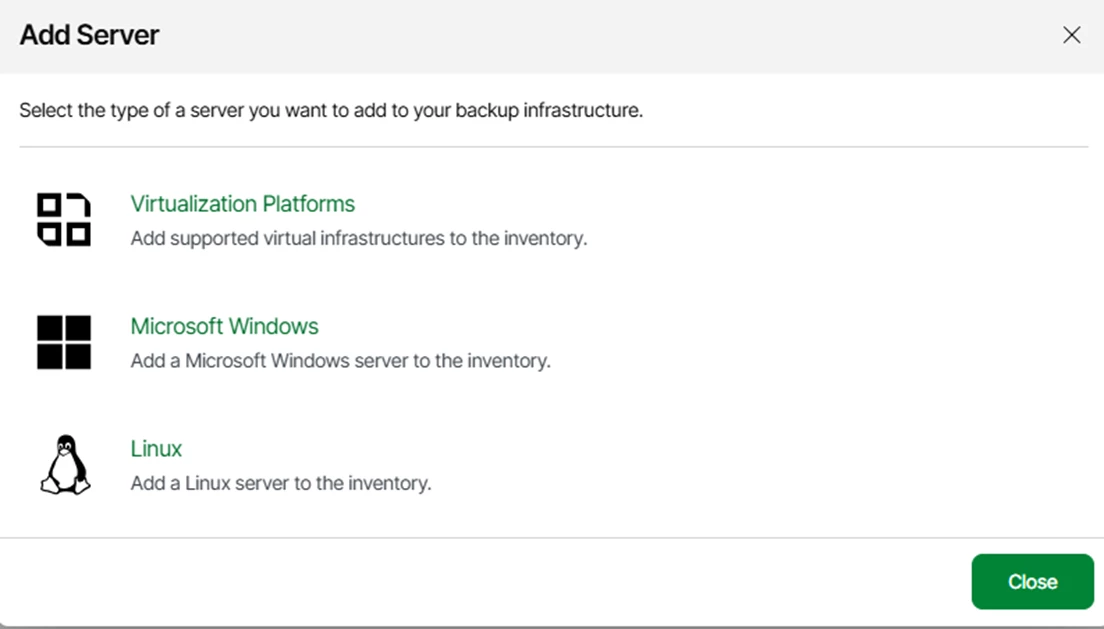
Then select VMware vSphere in my case.
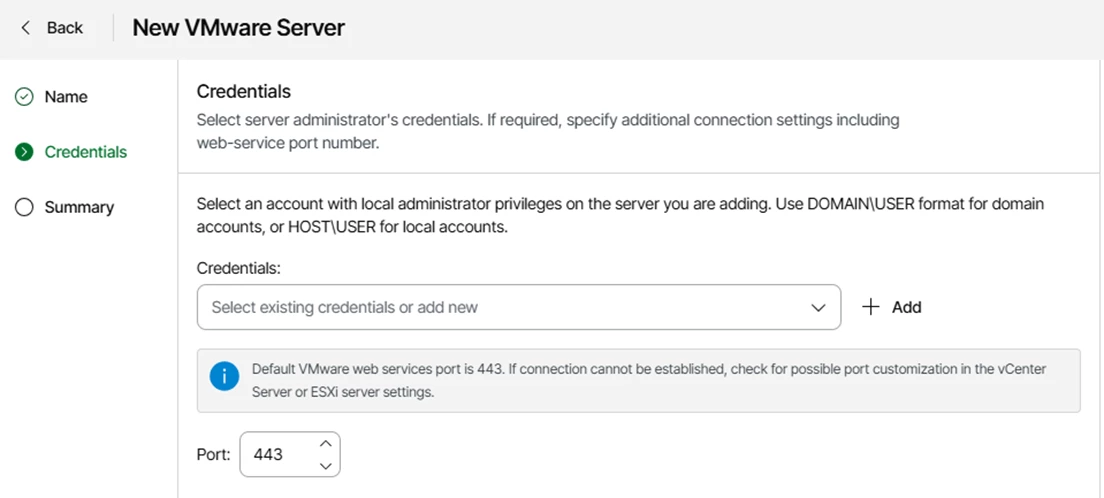
Enter the DNS name or IP address of your vCenter.

Add the login account — I recommend creating a dedicated service account with only the necessary permissions.
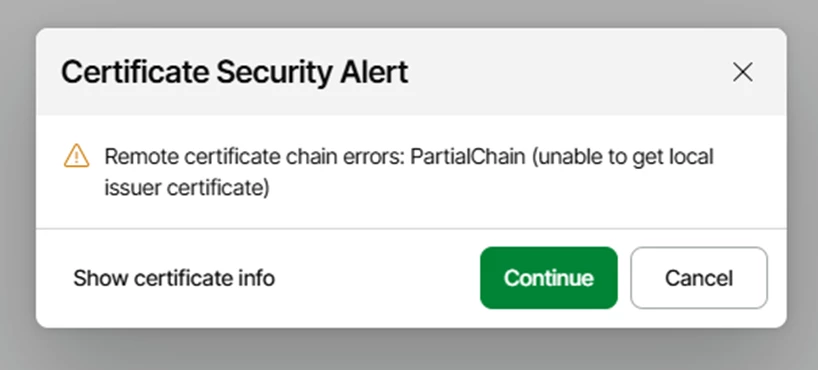
Approve the certificate if required
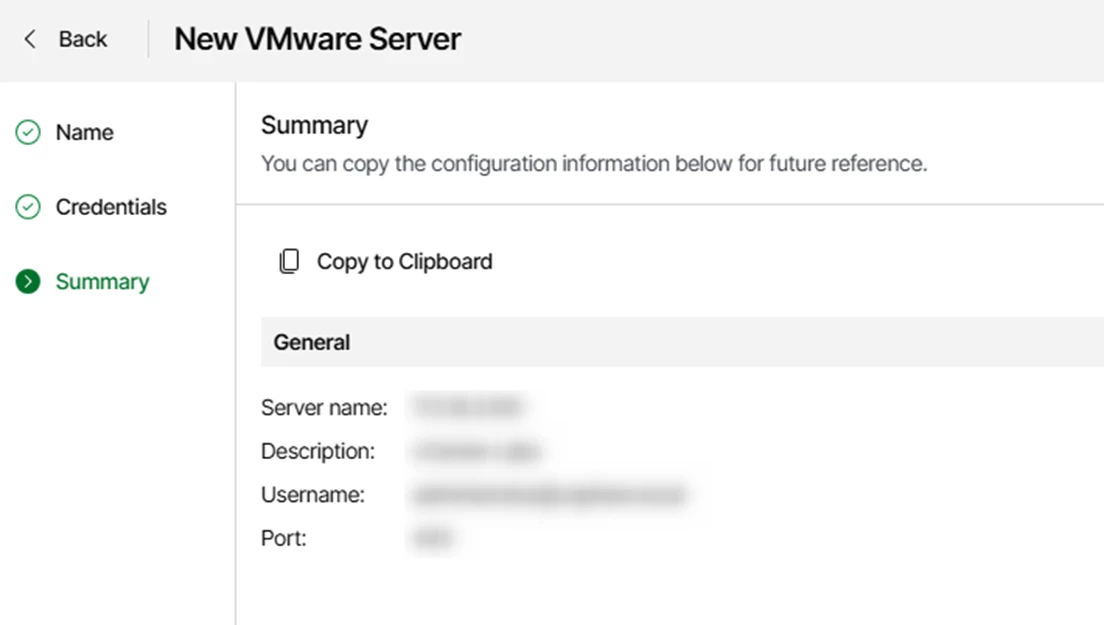
If everything goes well, you’ll get a summary of your configuration. You can confirm by clicking Finish.
Let’s now add a first repository. In my case, I want to add an S3 bucket hosted on an OOTBI appliance.
In the Beta version, it is not possible to add an S3-type repository. Therefore, we will use the thick client console.
1.3 CONFIGURATION VIA THE NEW THICK CLIENT CONSOLE
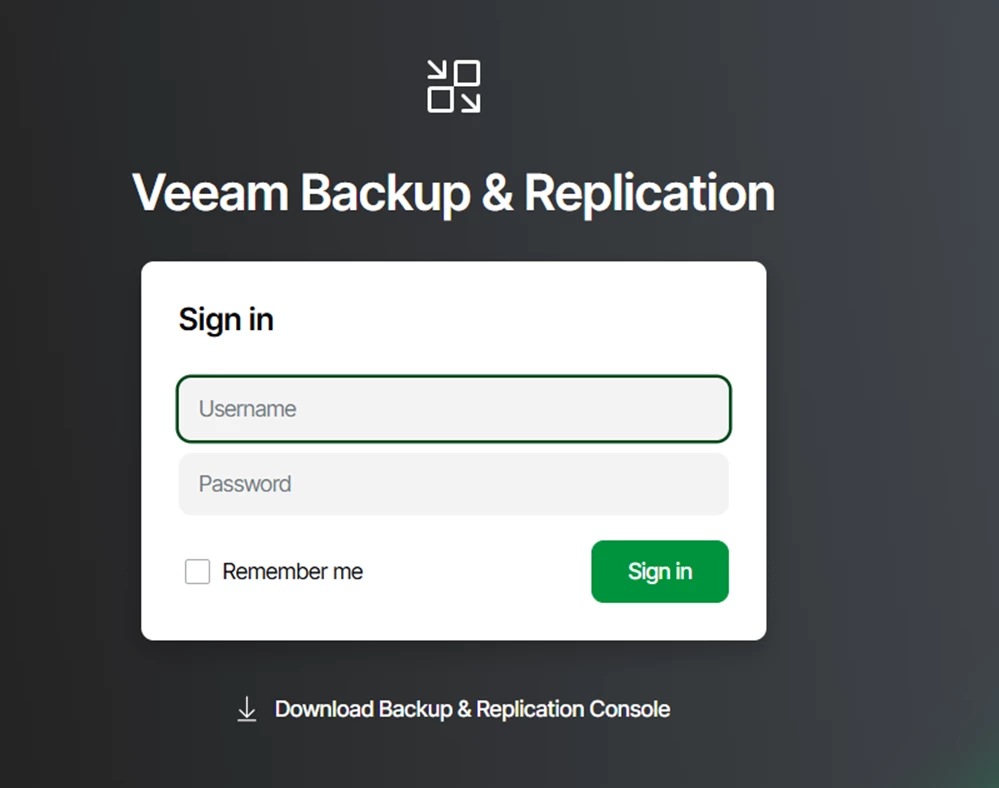
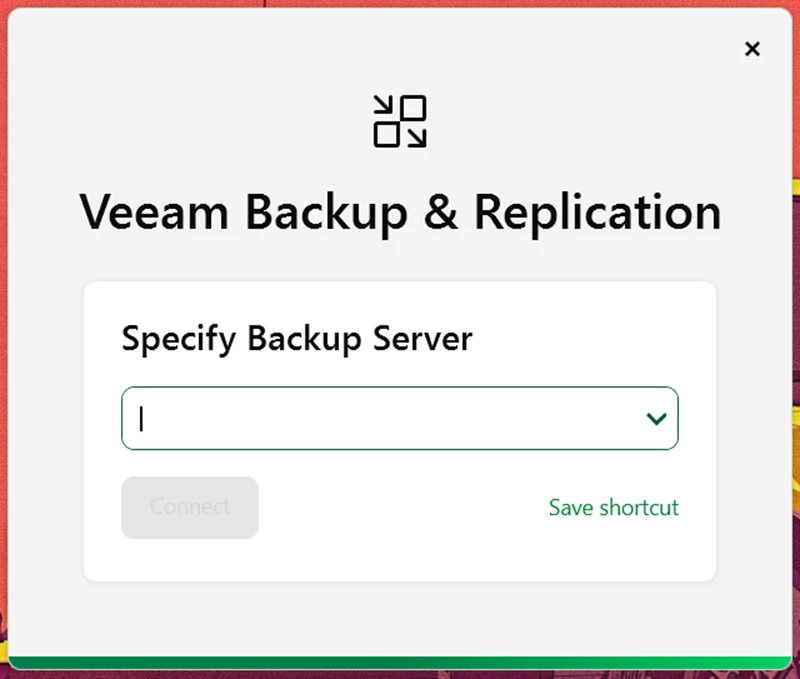
First you have to download and install the console on your computer or a management server. You need to enter the server name or IP address, along with the access credentials.
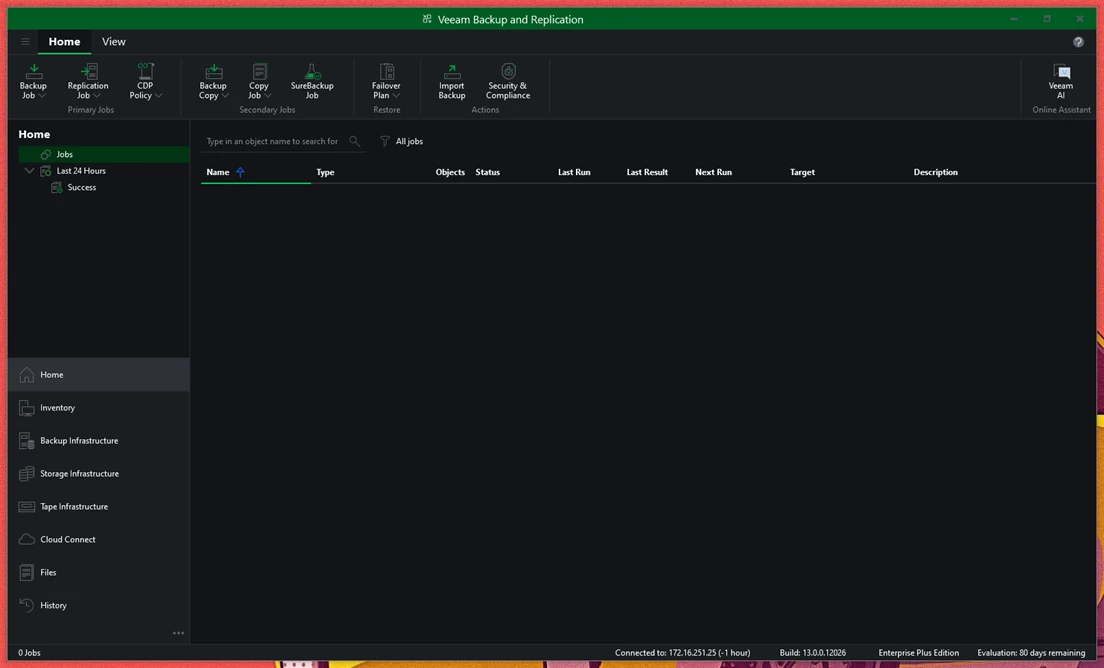
Once connected, you’ll see the console with its new design, which I find quite well executed.
For VBR users, the familiar shortcuts are still available.
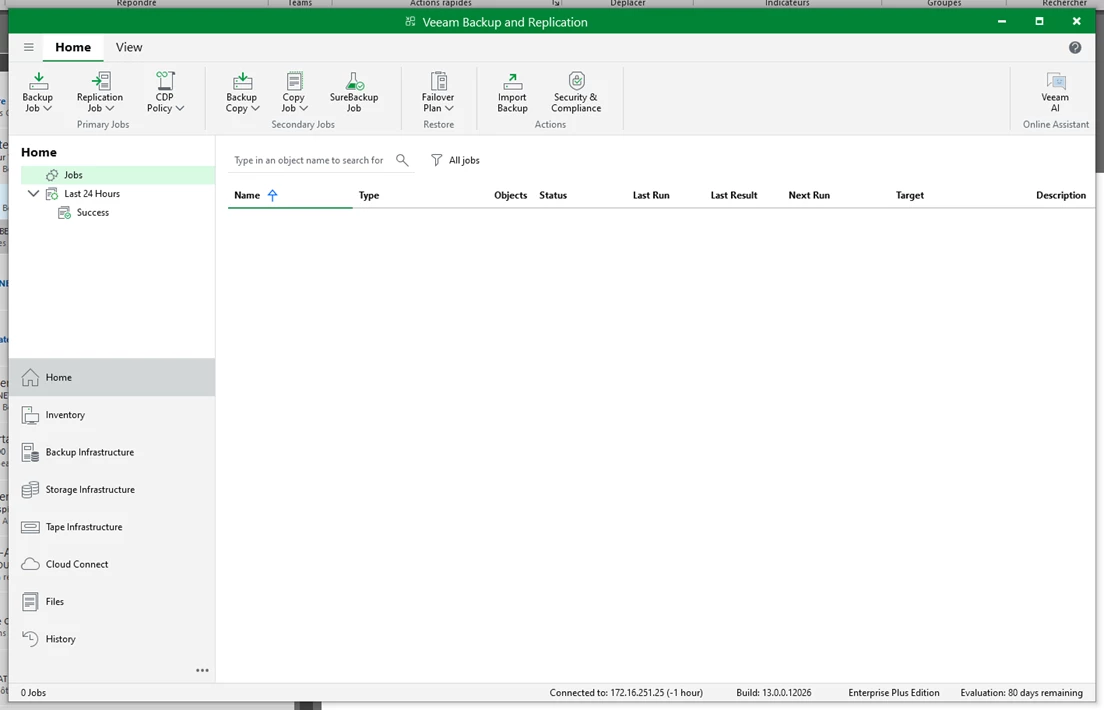
One feature that stands out: Dark Mode.
Since my vCenter has already been added, I now need a repository to store my backups.
The procedure remains the same as before. In my case, I want to add an Object First repository.
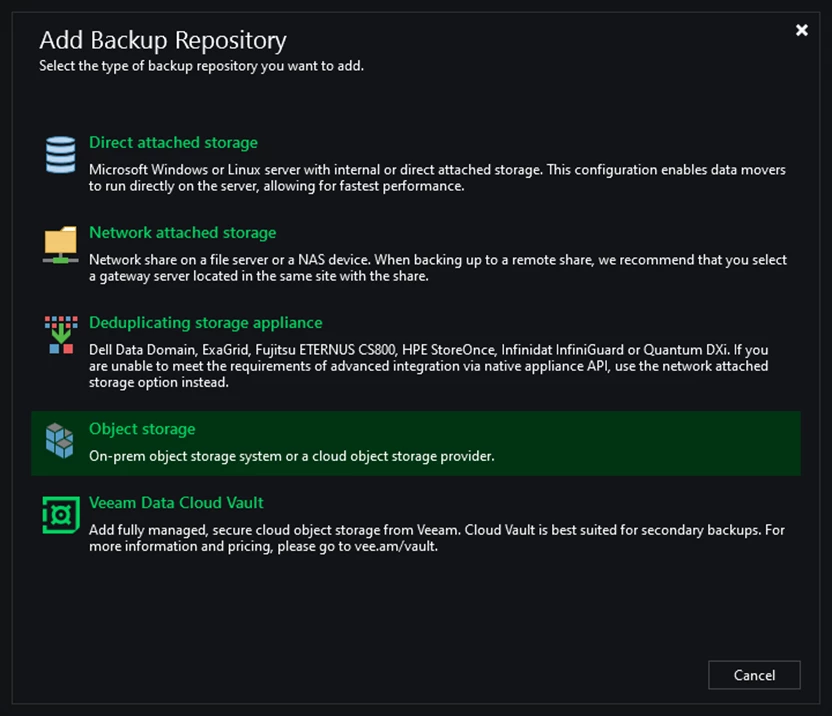
Select S3 Compatible
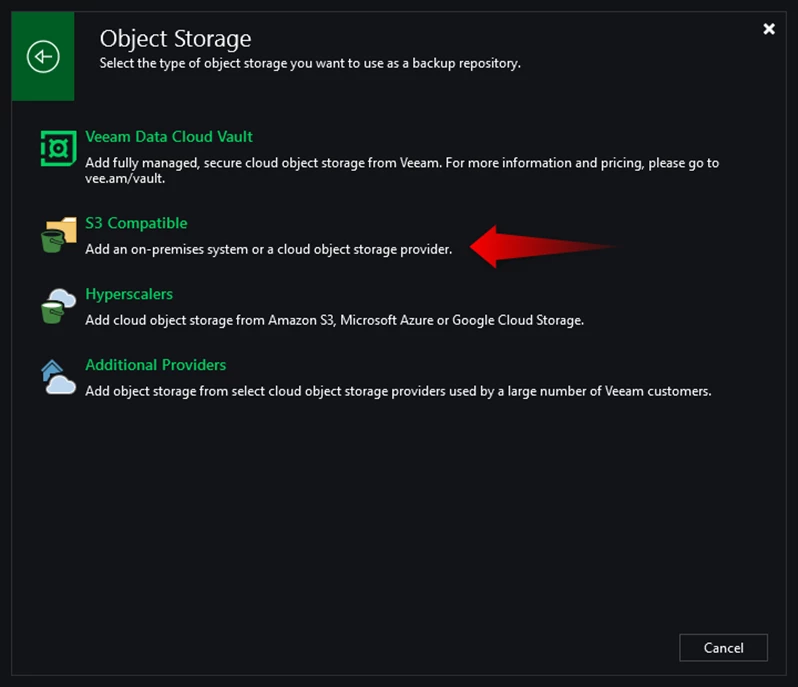
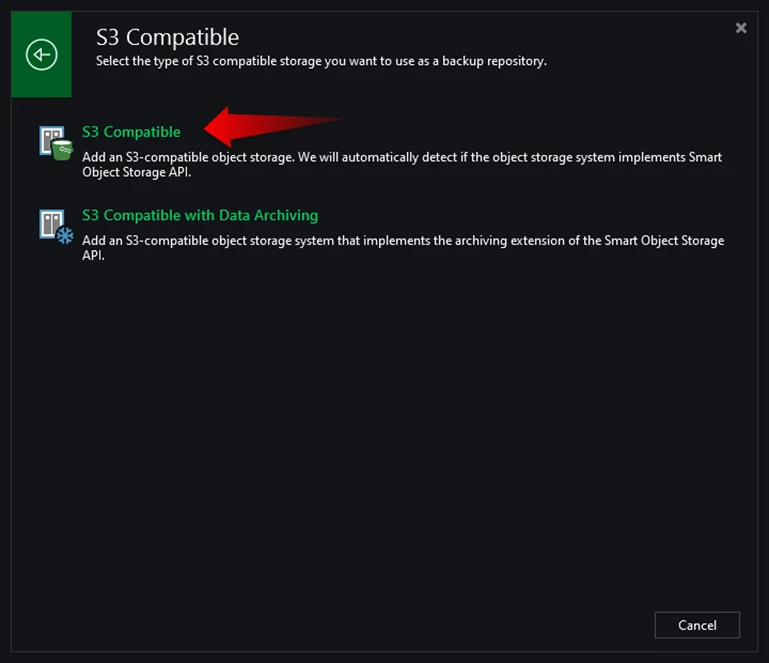
Then again, choose S3 Compatible
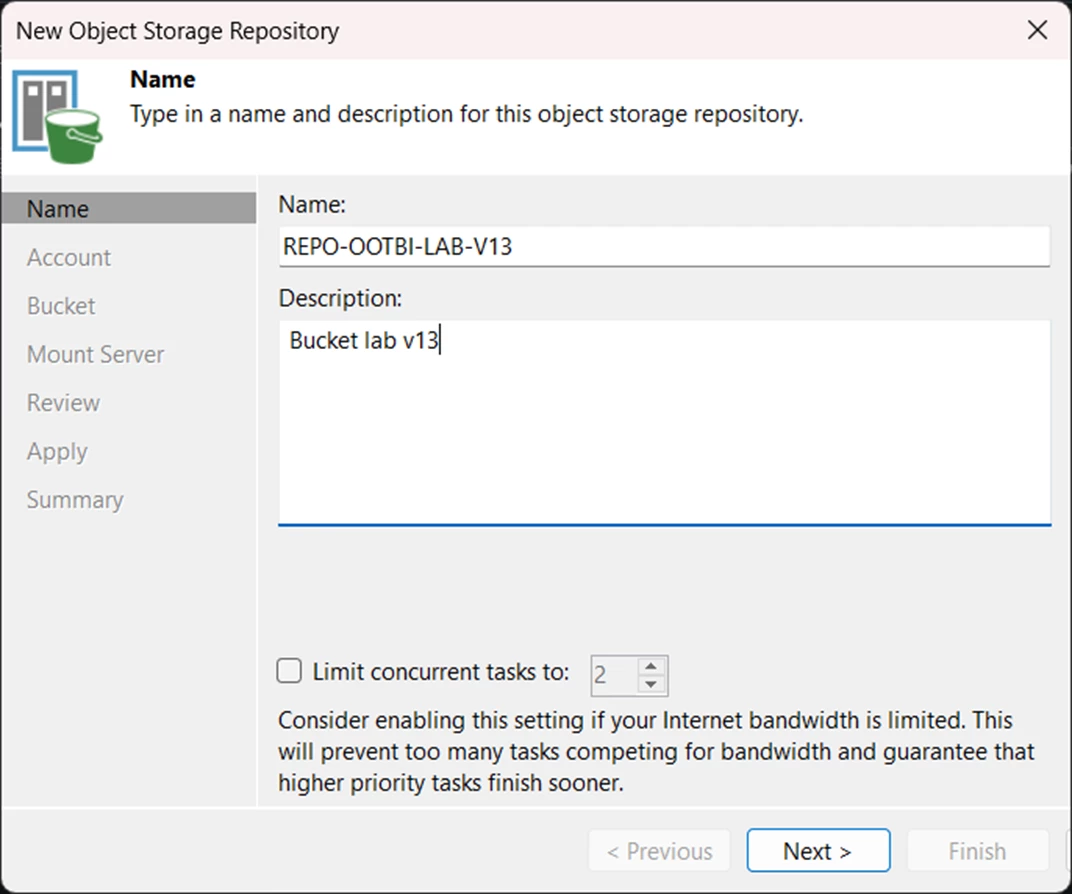
Assign a name to your repository
Enter the name of your OOTBI appliance and the access credentials
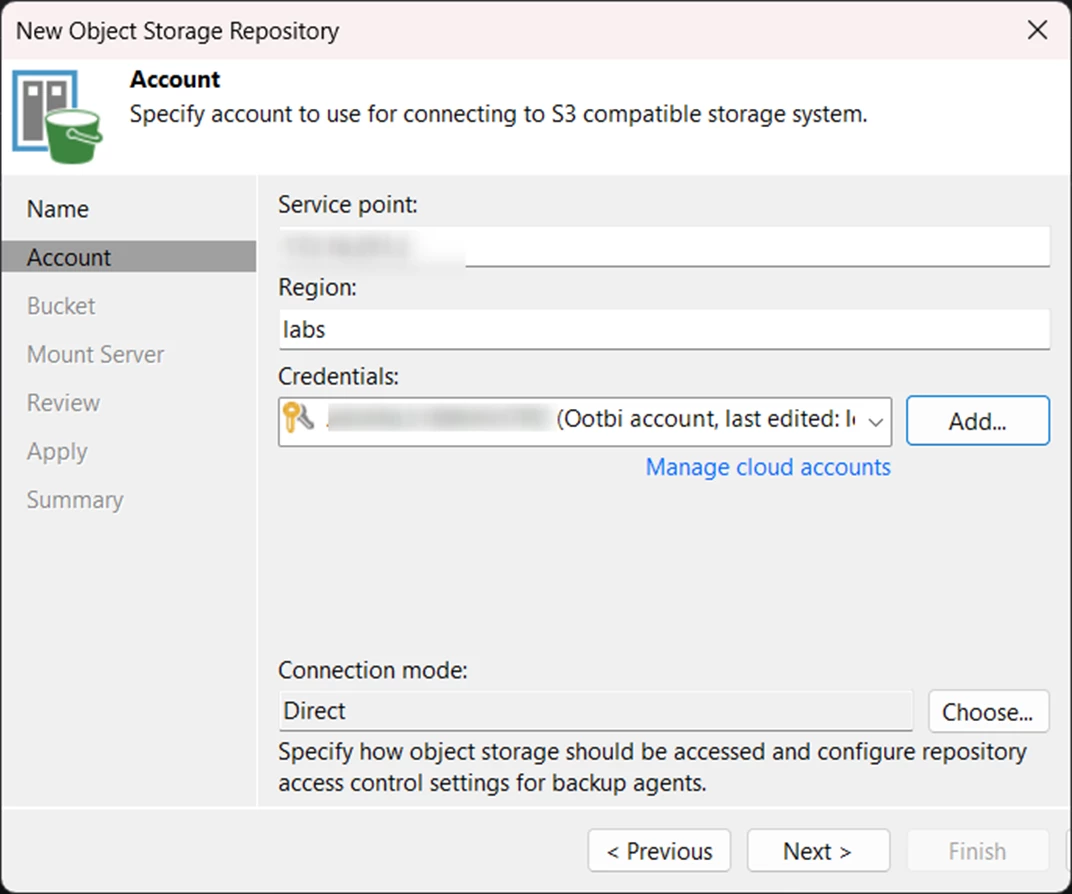
Select the previously created bucket and create a folder where the backups will be stored

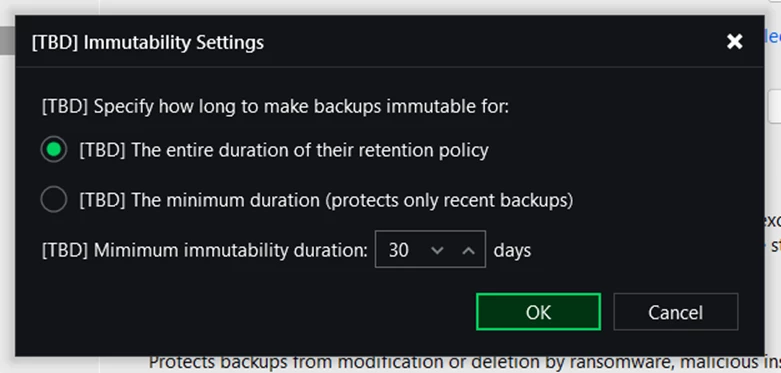
Enable the immutability option — and as a new feature, you now have two choices for the immutability duration:
Protect the entire chain by default for the duration of the retention policy or define a minimum duration.
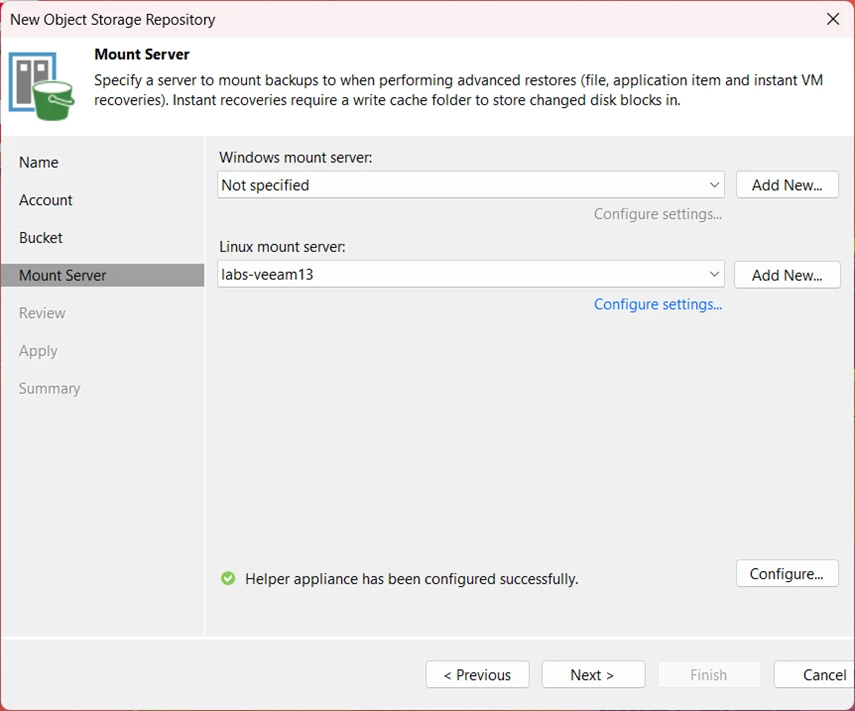
Next, we need to select our Mount Server — a new feature allows you to choose between a Linux or Windows machine.
Universal FLR and configurable mount server allow an FLR for a Windows machine via Linux mount server.
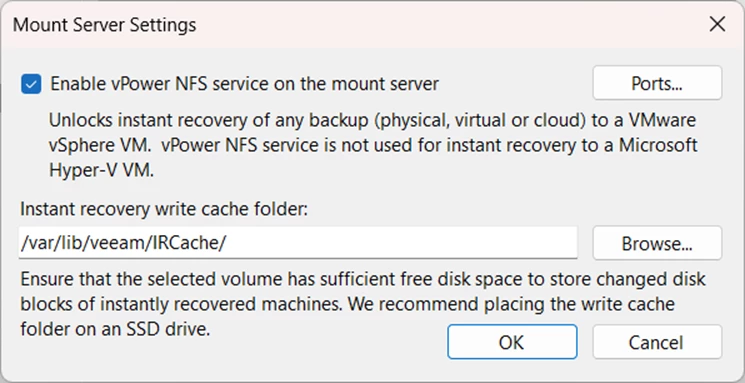
In the Advanced Options, you can specify the destination folder for the IRCache.
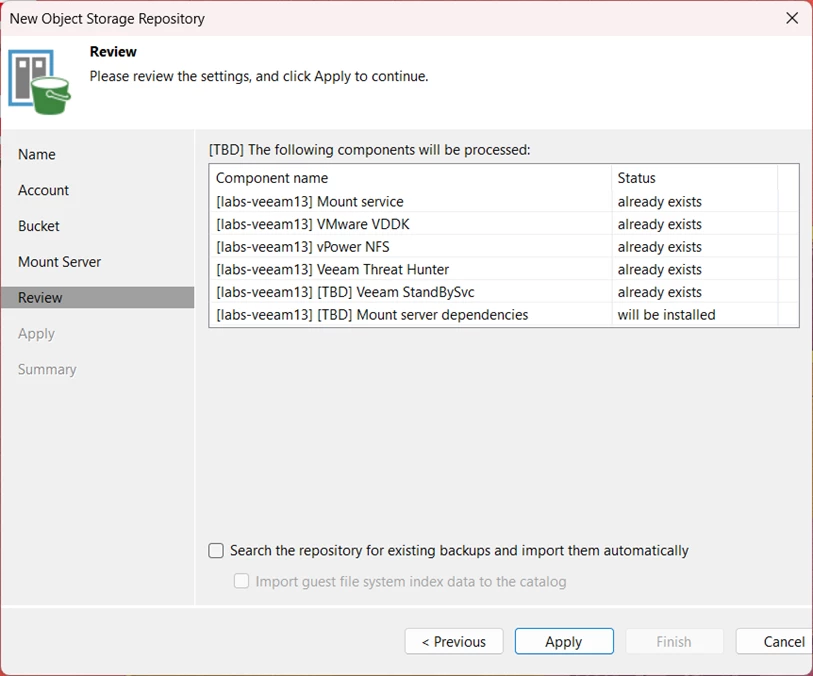
Once the creation is complete, we’ll create our first backup job from the Web interface.
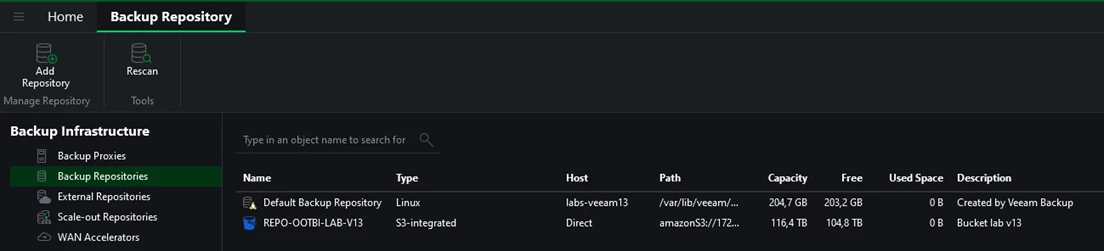
On the Web console side, I can confirm that my Smart Object S3 storage is correctly displayed.
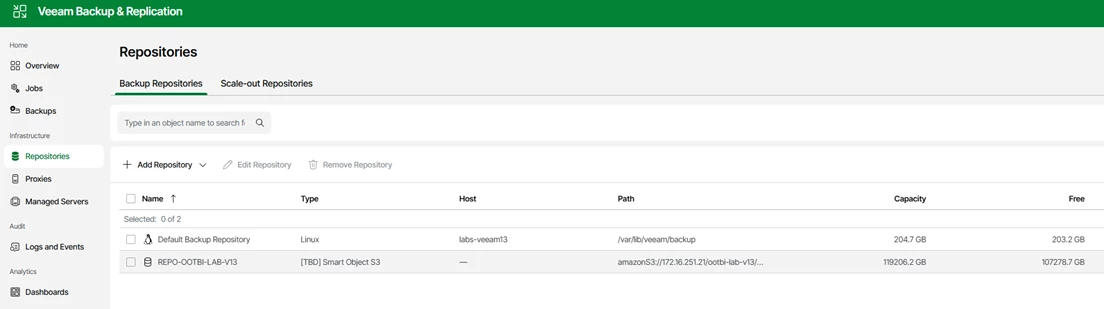
Let’s go back to the WebUI to create the backup job,
1.4 BACKUP JOB FROM THE WEBUI
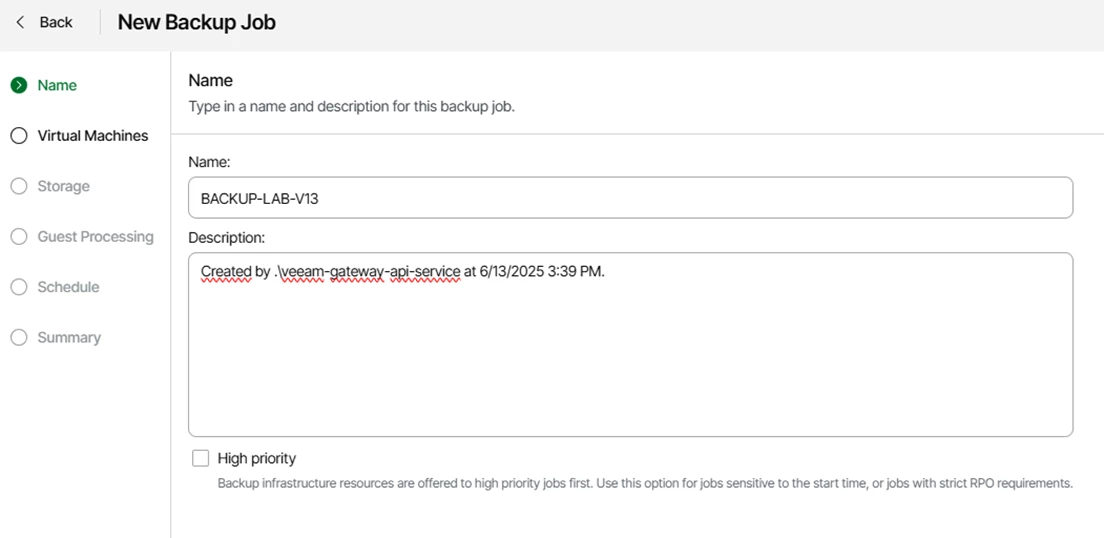
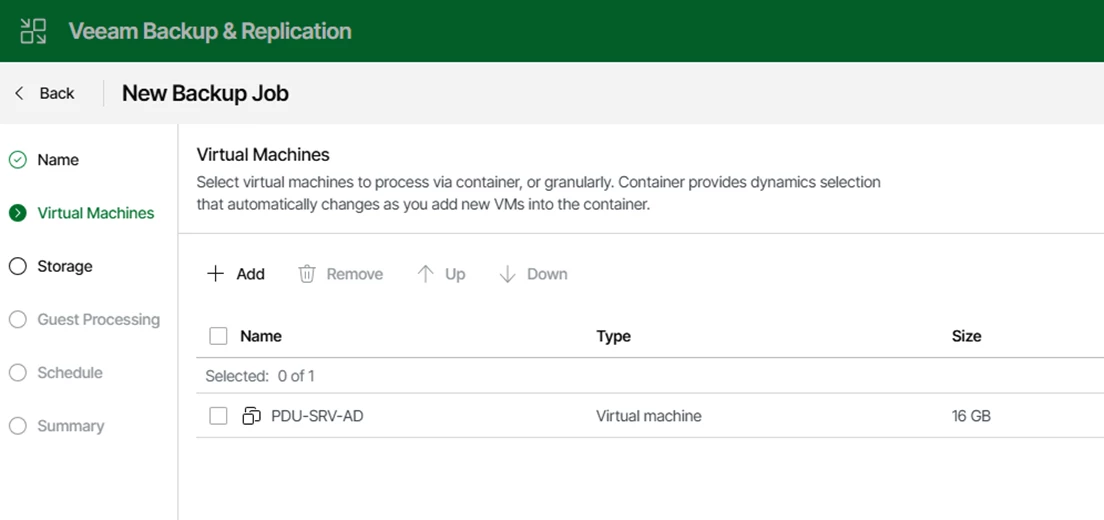
Go to the Jobs menu and select Add.
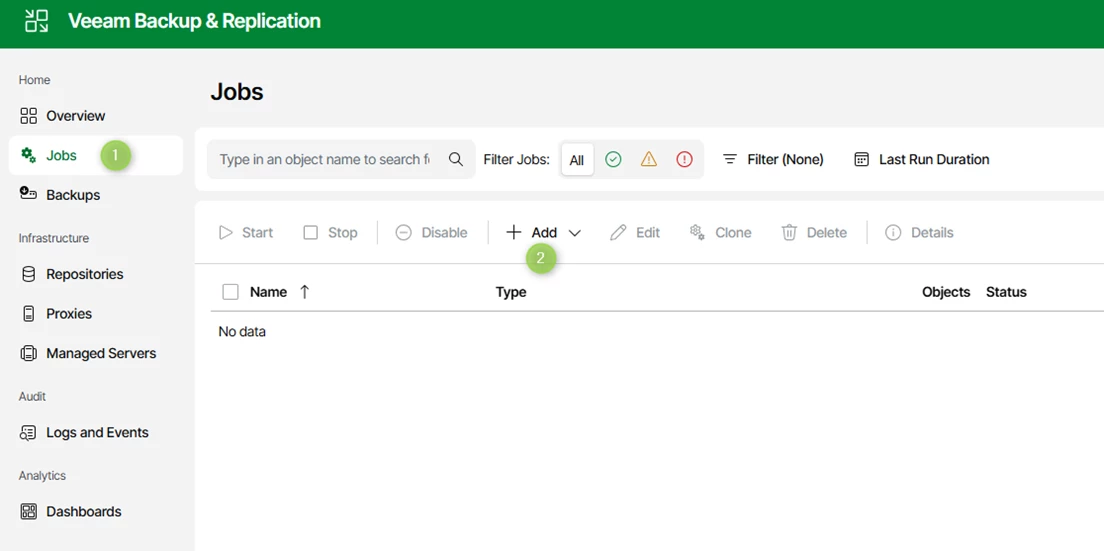
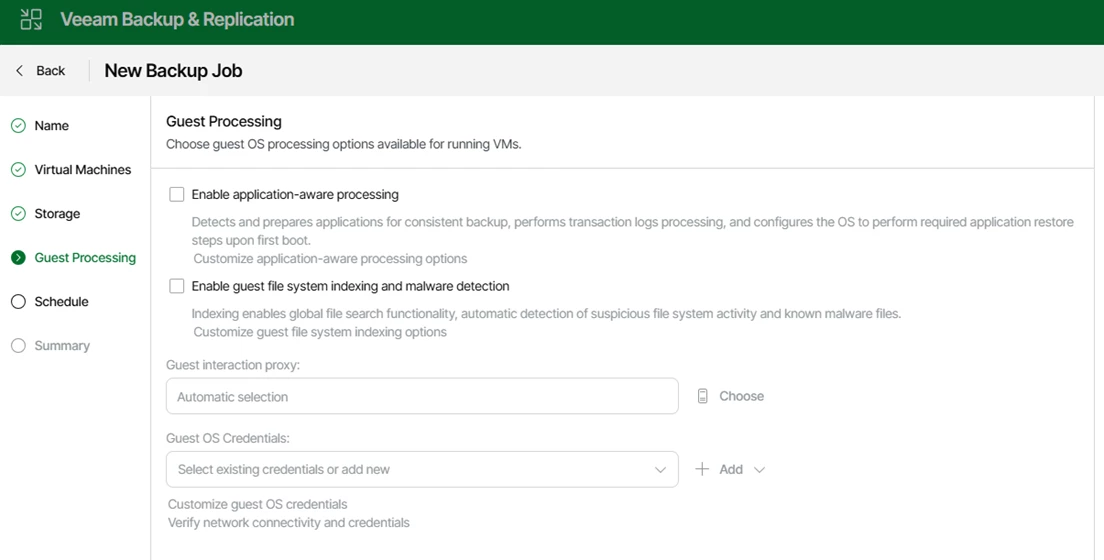
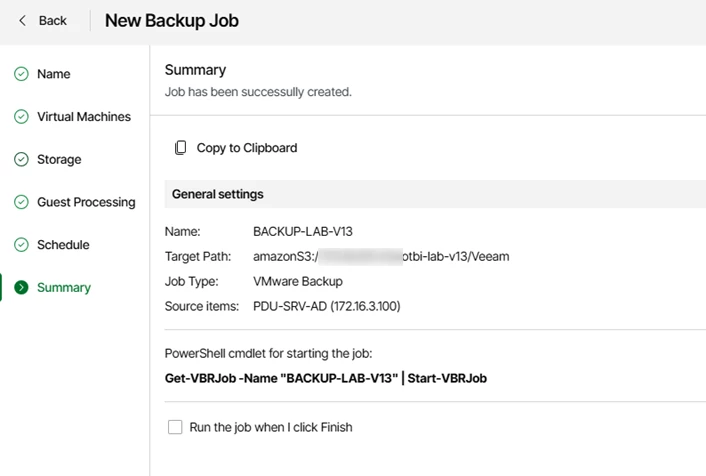
Let’s go through the configuration options: the first steps are the sames as usual
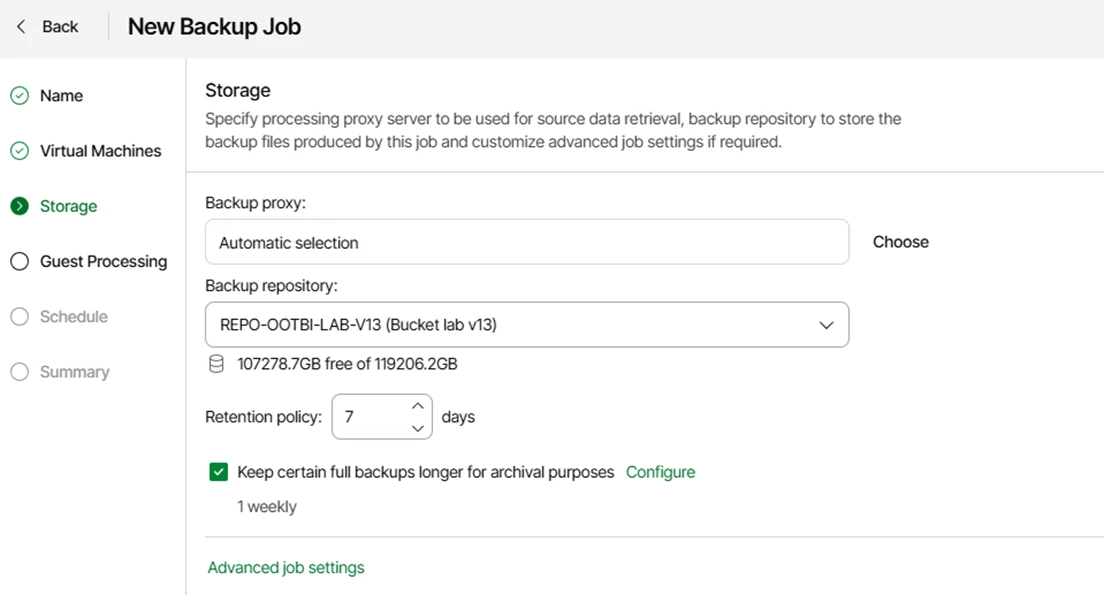
In the Advanced Options, the usual settings are available (note that the Reverse Incremental mode is no longer present).
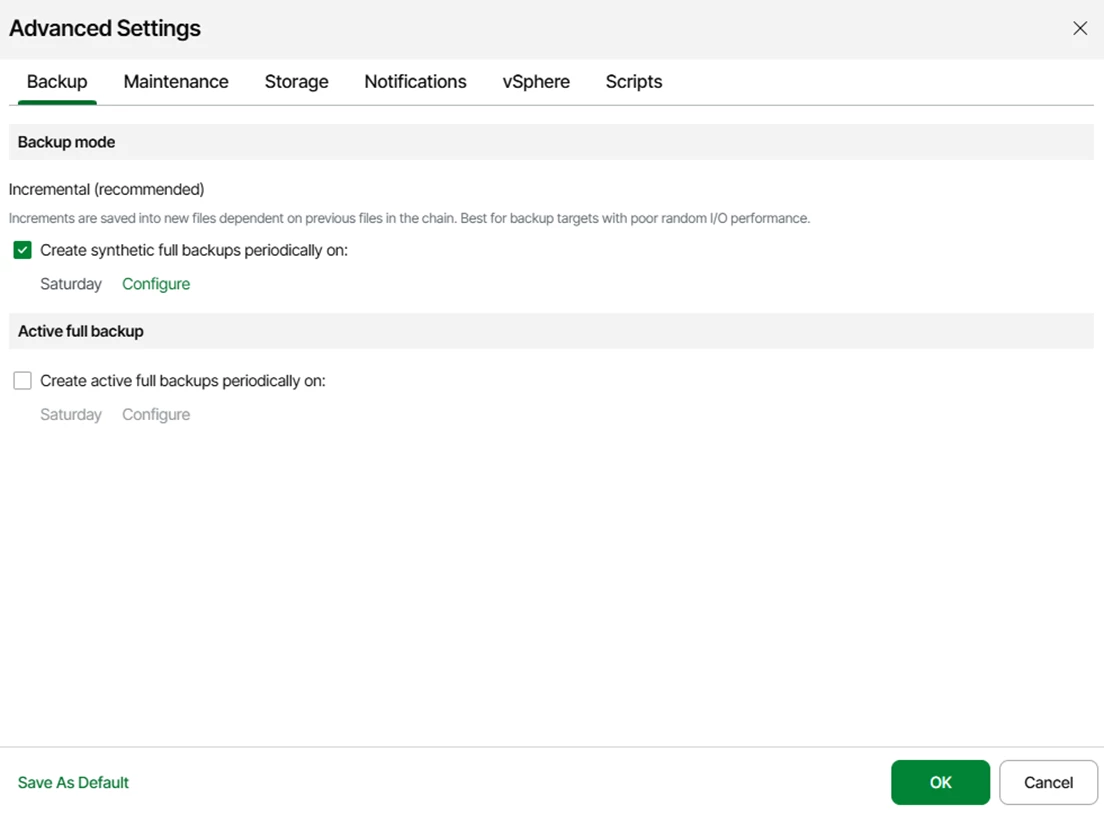
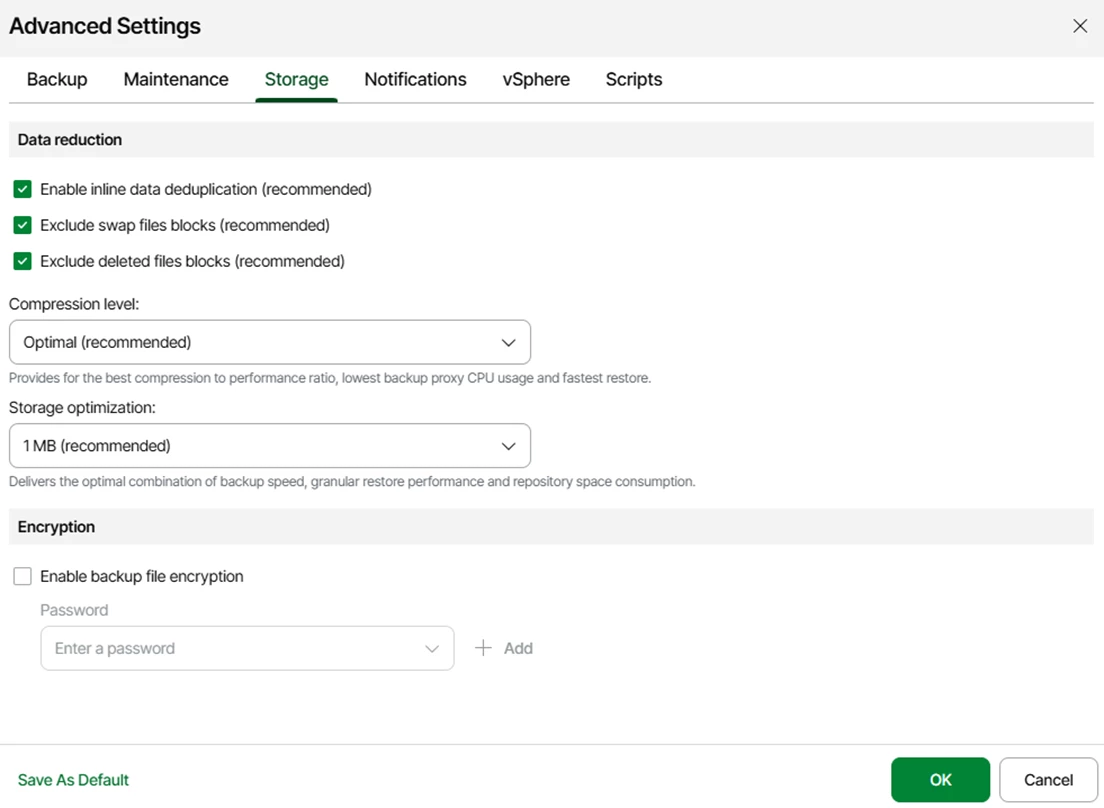
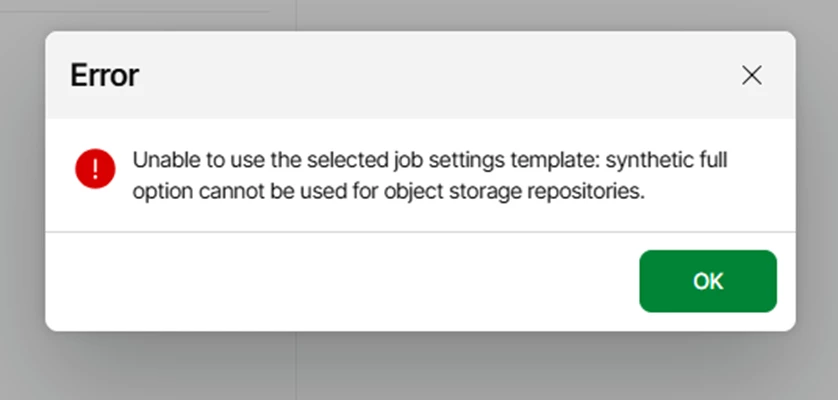
⚠️ Be aware: if you leave the Synthetic Full option enabled by default with S3 storage, this is not supported — an error message will prompt you to correct it.
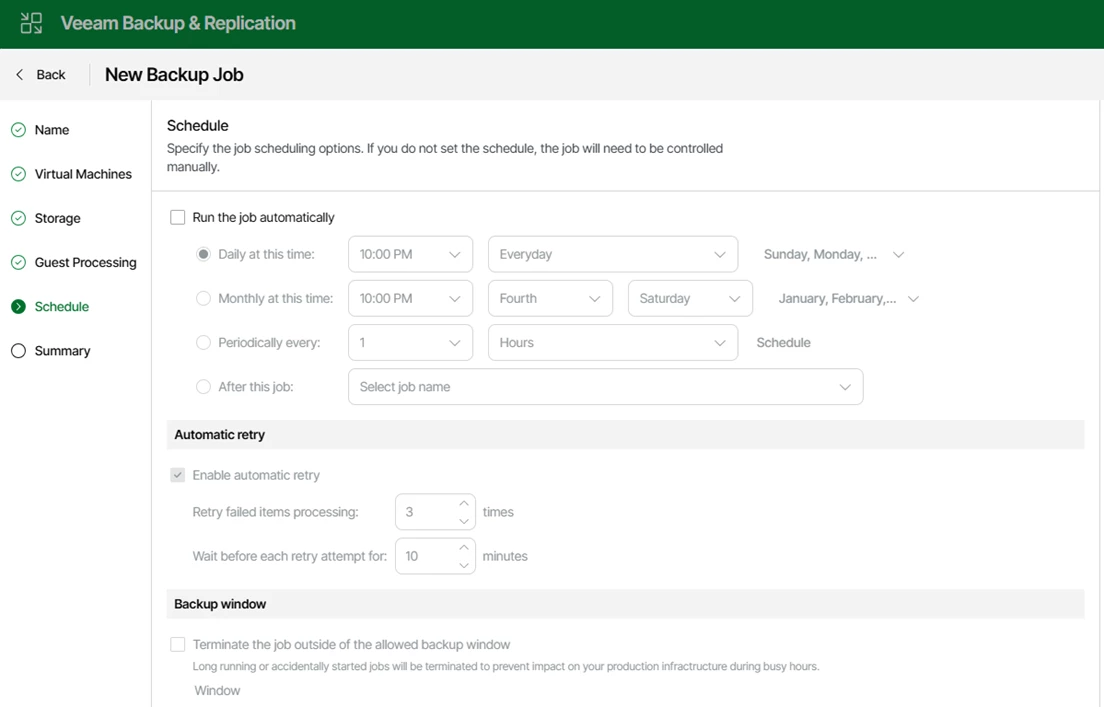
The rest of the configuration follows the standard process.
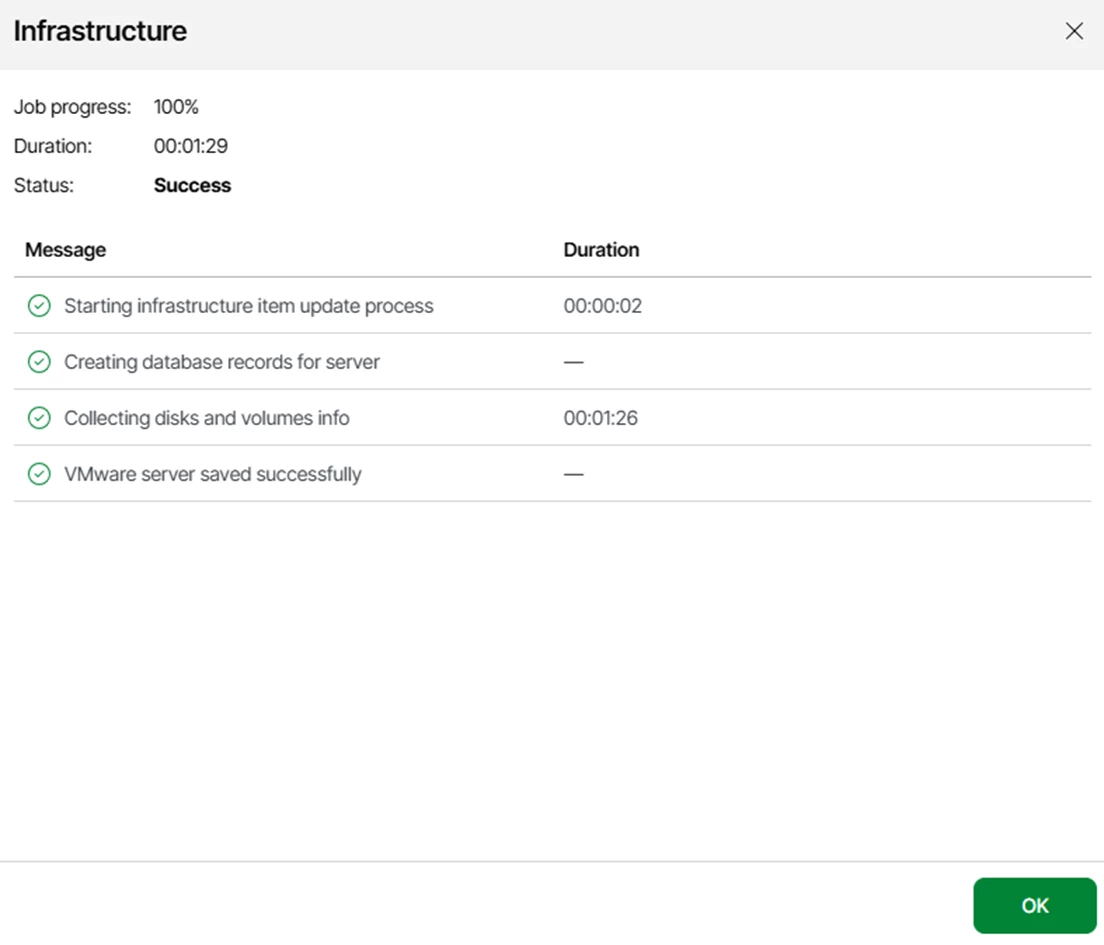
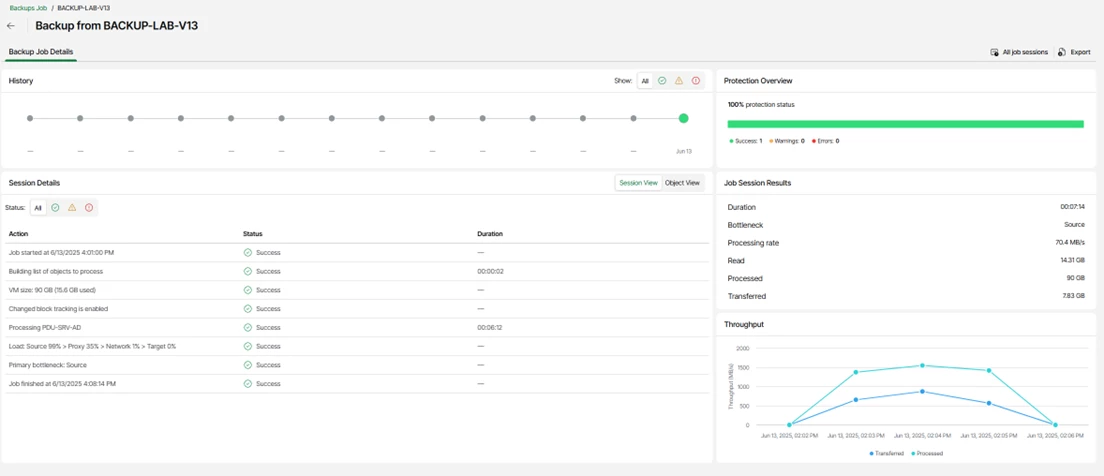
You can get more details about the job execution by clicking the Details button.
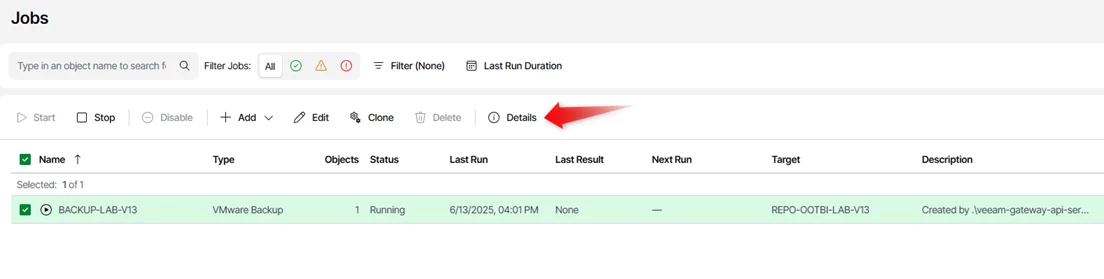
This provides a detailed view of the processing, with the ability to apply filters directly.
In this Beta version, it is not yet possible to create other types of jobs via the Web interface.
However, it is possible to perform restorations directly from the Web interface.
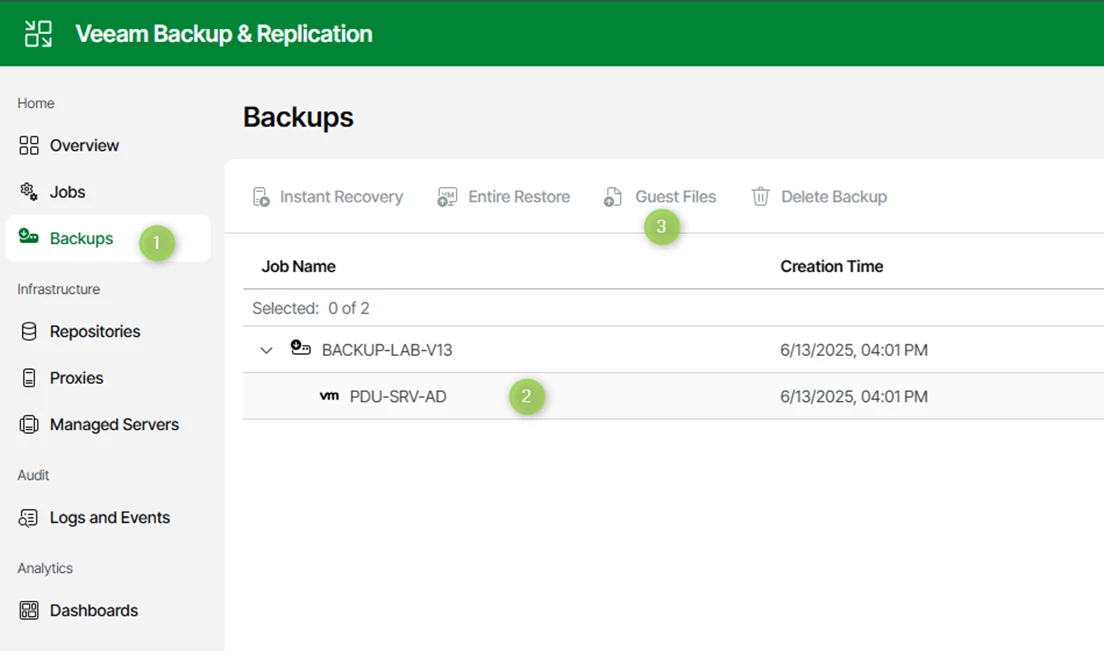
1.5 RESTORE FROM THE WEBUI
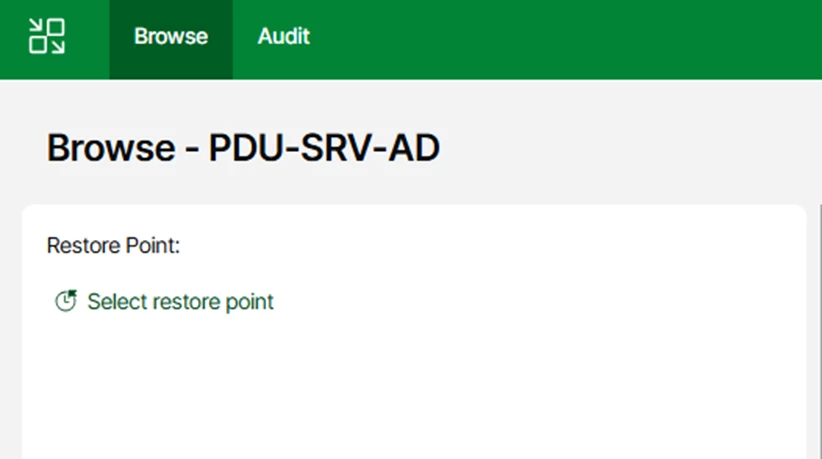
To do this, go to the Backups menu, select the desired VM, and choose the appropriate restore method.
Guest File Restore Test
I will restore a file from a Windows machine using a Linux Mount Server.
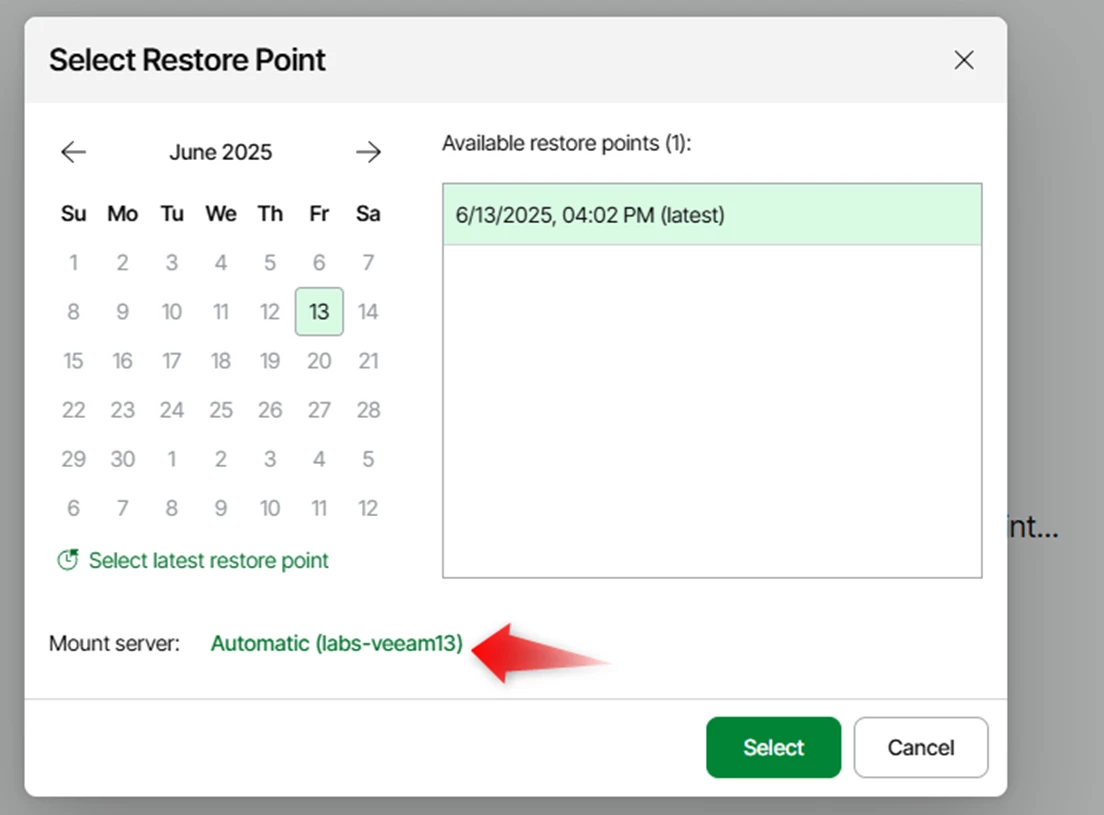
A new tab opens — the first step is to select the desired restore point.
By default, the latest restore point is selected.
It is also possible to choose the Mount Server.
With version 13, the Universal FLR feature is introduced: it is now possible to perform FLR (File-Level Recovery) of a Windows machine from a Linux Mount Server!
You can then browse the file tree to locate the desired file.
You can either restore the file directly to the server or download it.
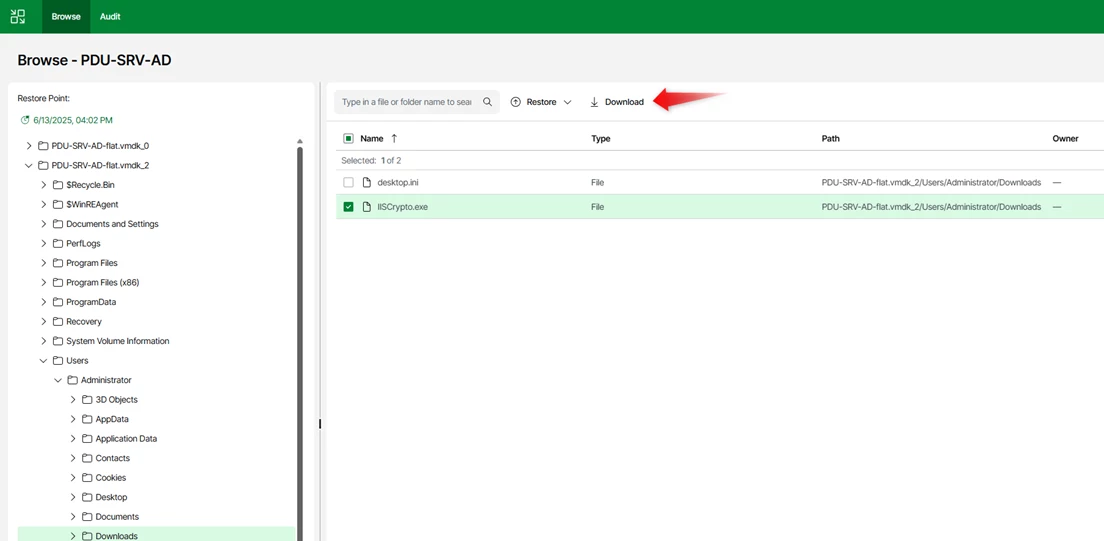
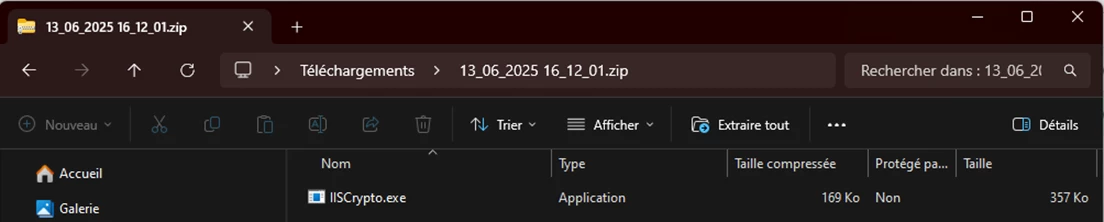
If you choose to download it, a ZIP file is generated containing the selected file.
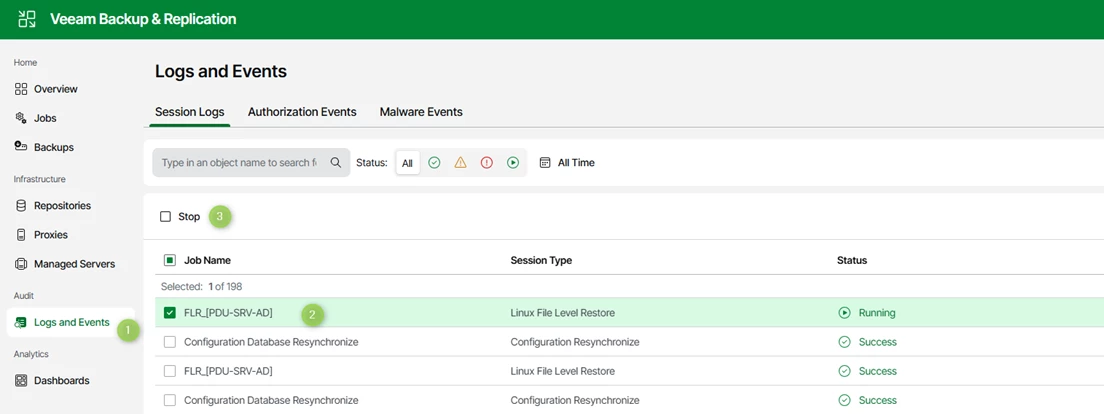
In the Audit tab, you’ll find a log of all actions performed.

However, when closing the restore tab, it appears necessary to manually stop the active session.
I haven’t tested whether the session times out automatically after a certain period.
To stop the session, go to the Logs and Events tab and click Stop.