
Hands-On with Scale Computing
At Veeam on, Scale hinted to me they were at the event for a reason. As we are a large user of Veeam, this excited me as there is no chance of my installing VM’s I can’t backup. Things have progressed quickly in this area since and I’ll be testing these features out in the near future.
Hypervisors have been such a hot topic this past year, with lots of discussion around cost, complexity, and future direction. I have been testing all options as the future is still unknown and there are a lot of new options available.
Scale demoed how you could run a highly available cluster on just a few Intel NUCs, compact, inexpensive hardware that still delivers solid performance. That got me thinking: could this work in my environment too?
I wanted to see firsthand how their platform performs, and I was especially curious about their Fleet Manager Platform, which makes it easier to manage multiple clusters from a single dashboard.
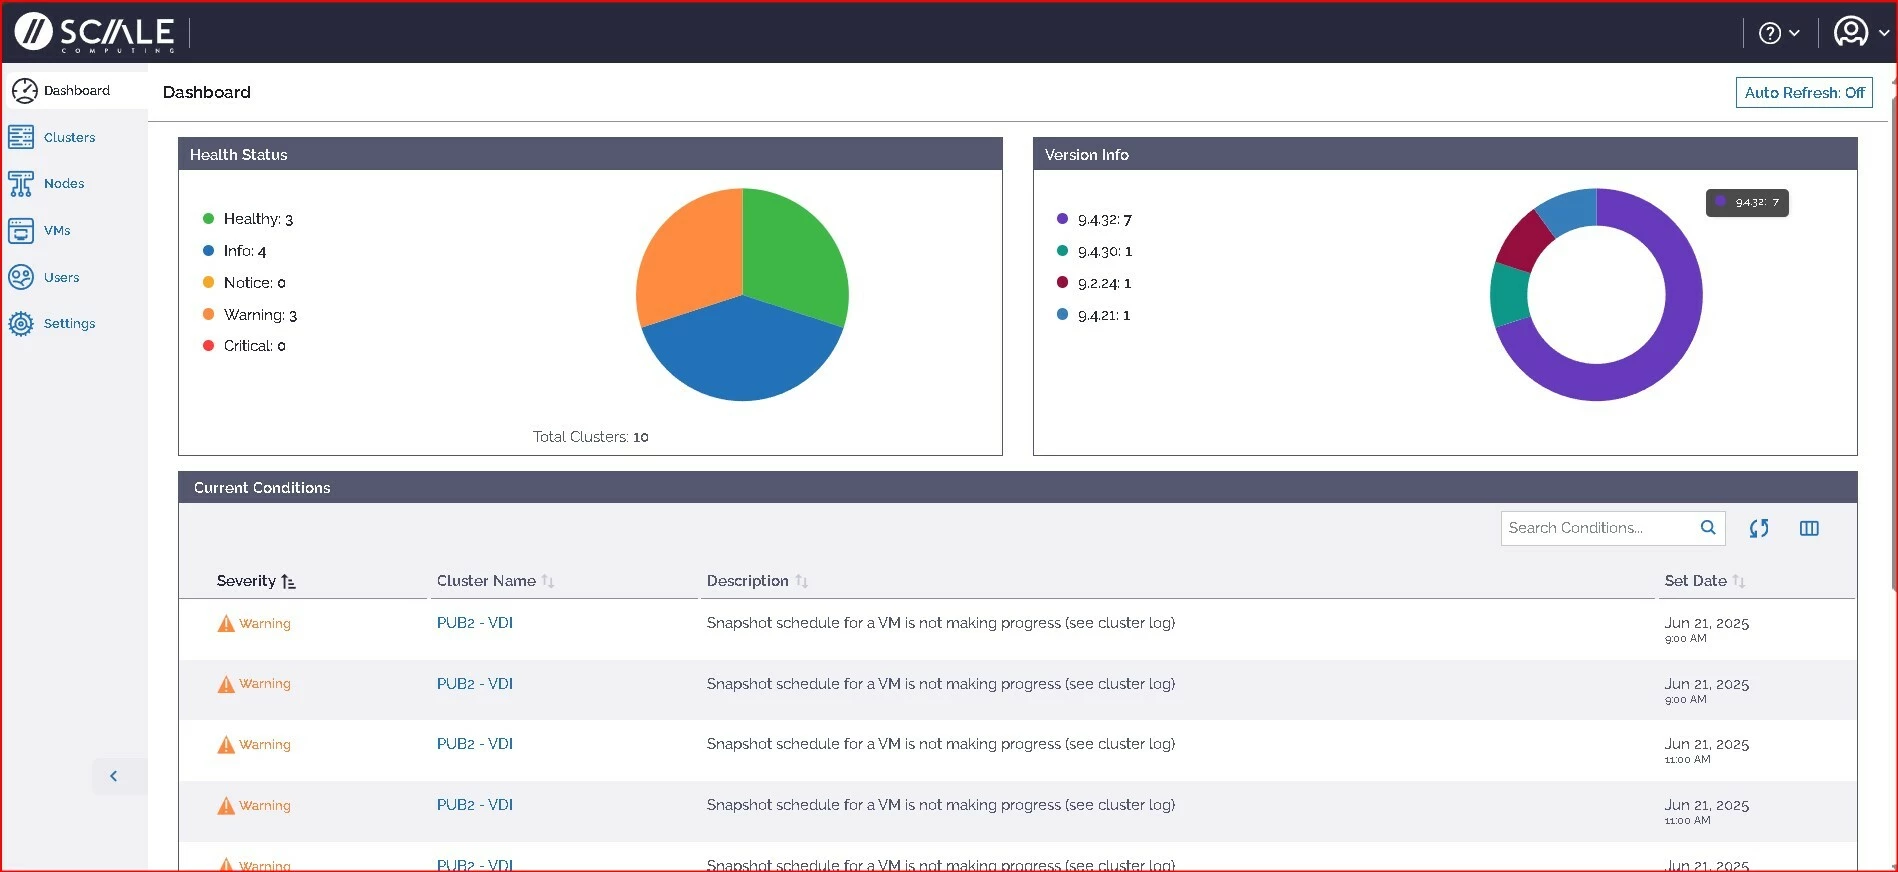
Fleet Manager Dashboard
The Dashboard is your launchpad. From here you can see the overall health, current software versions, and any active issues across all clusters.
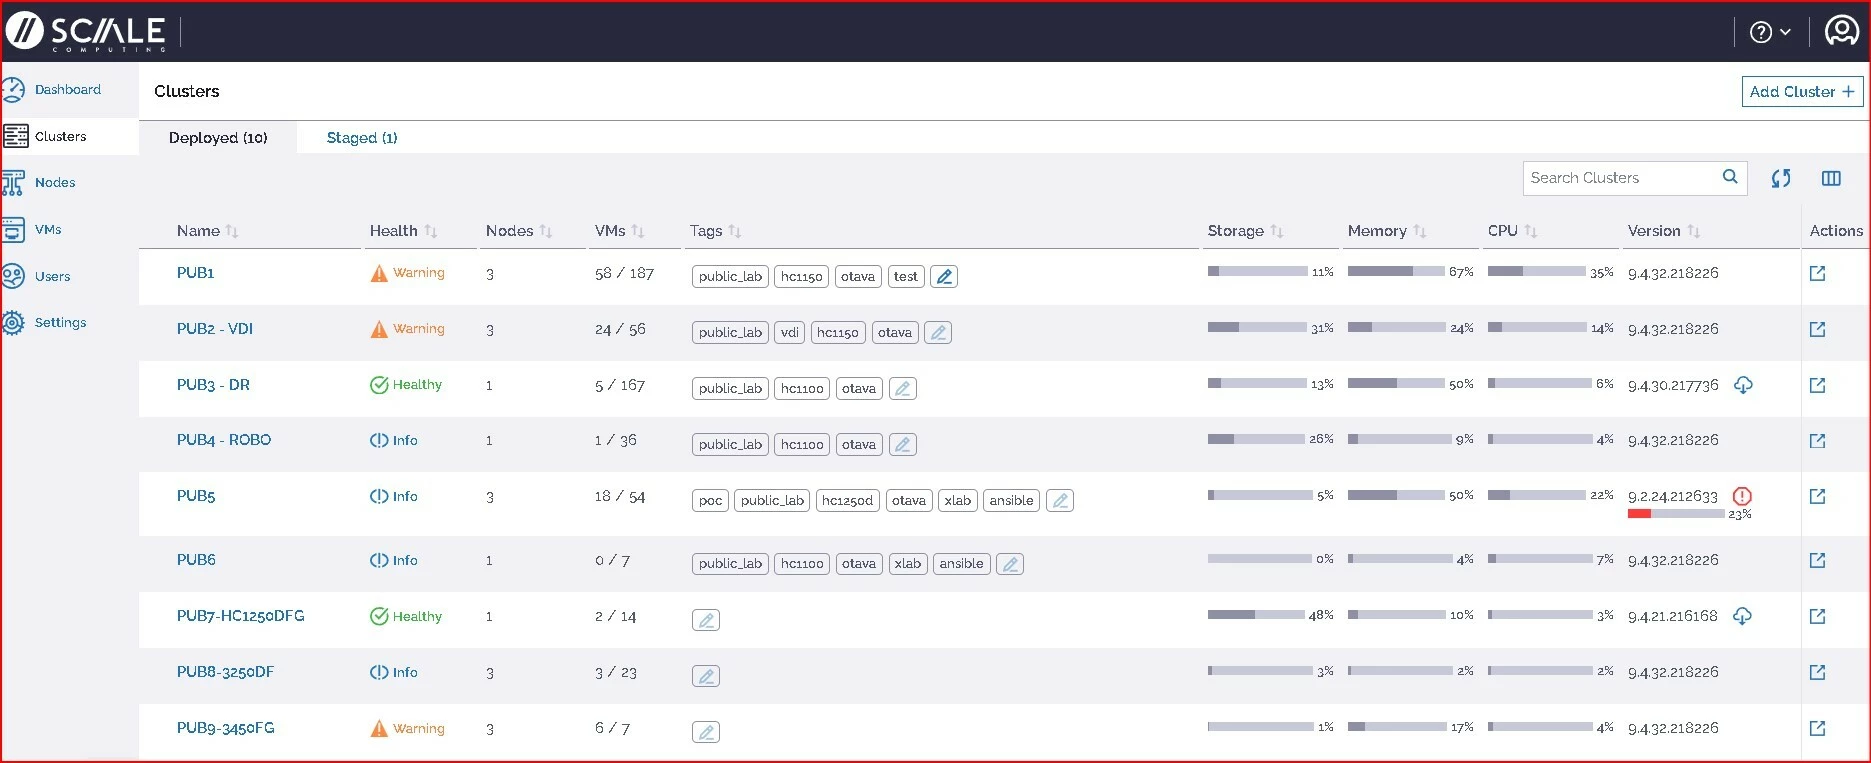
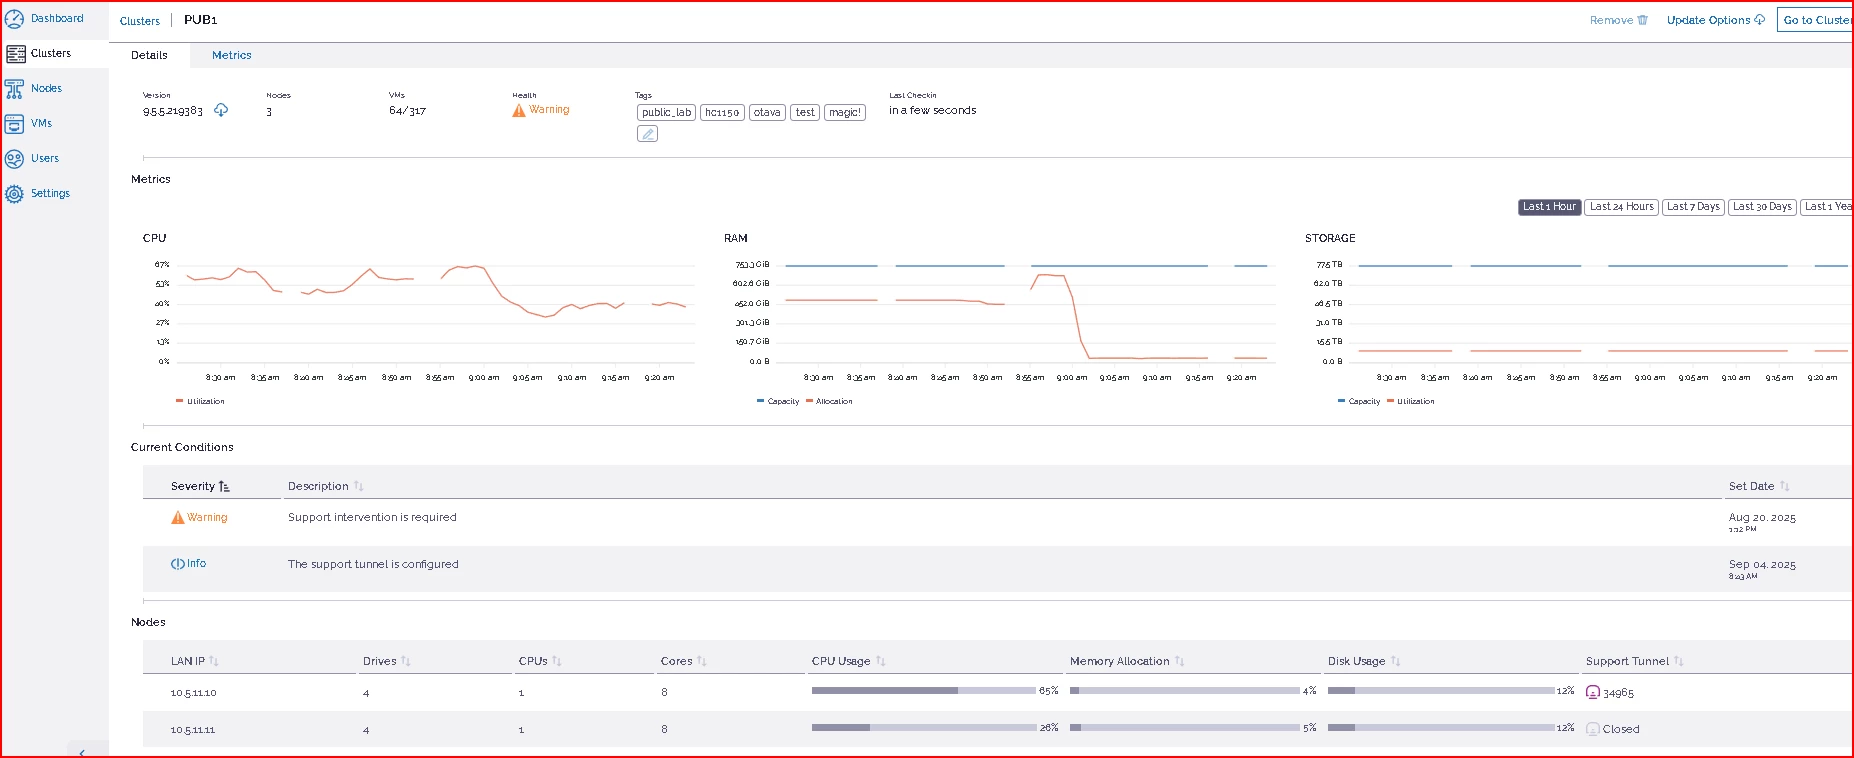
Click into the Cluster View, and you’ll get a detailed look at each environment: resources, workloads, and health status. You can dive even deeper into historical data or jump straight into cluster actions.
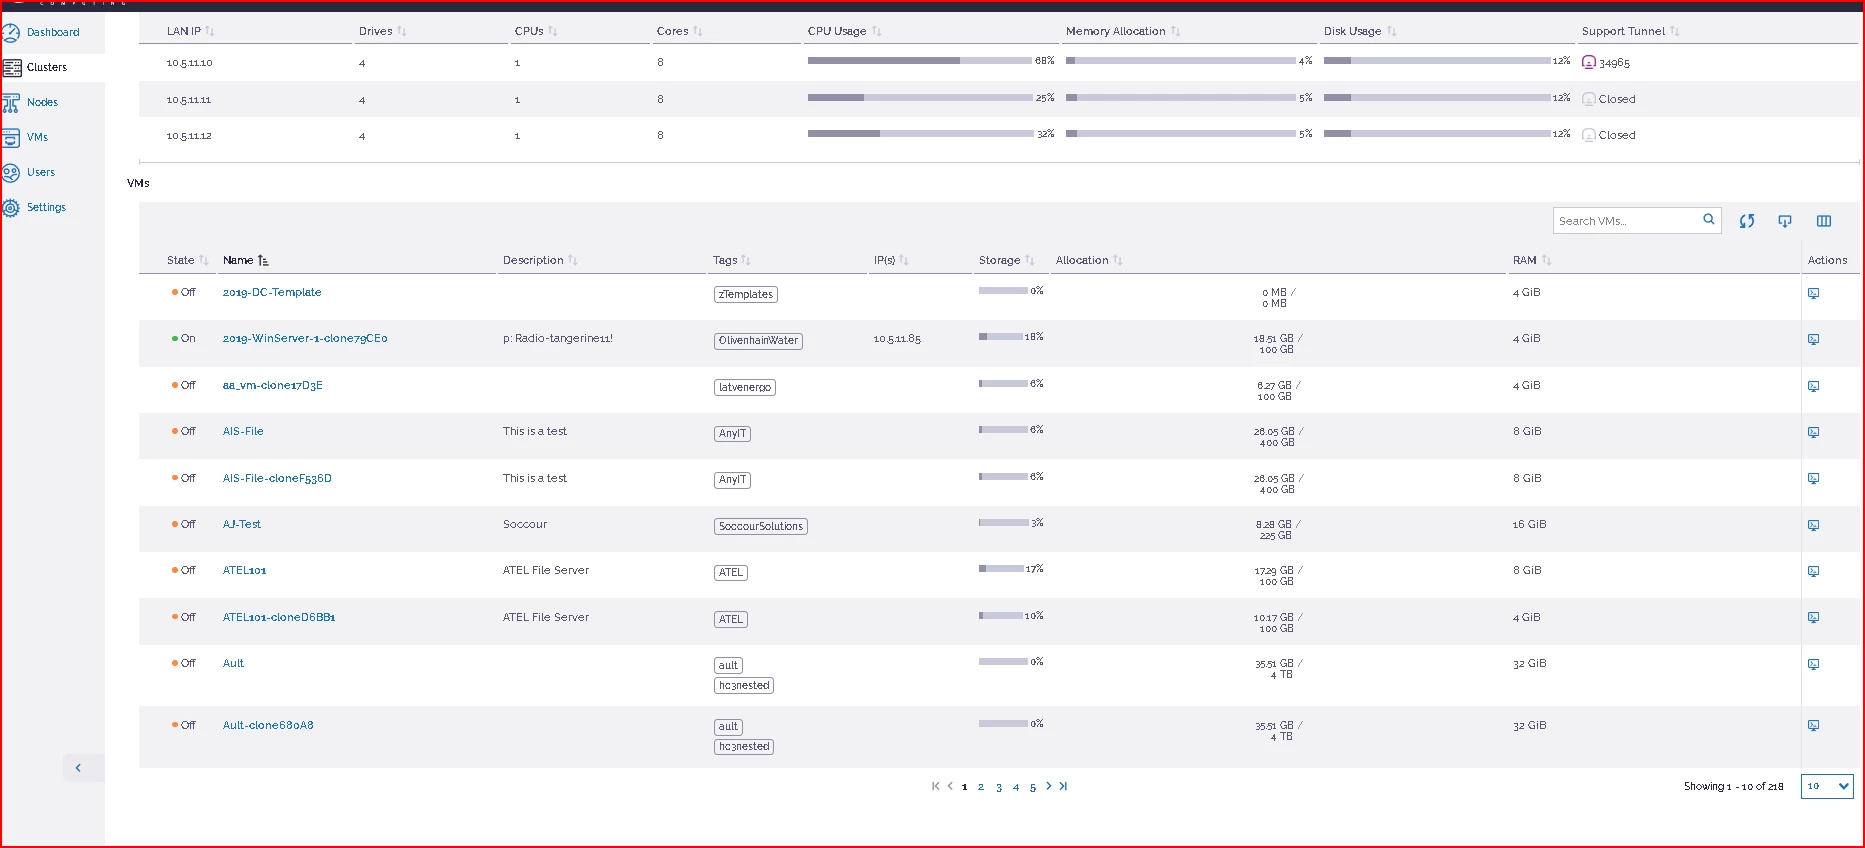
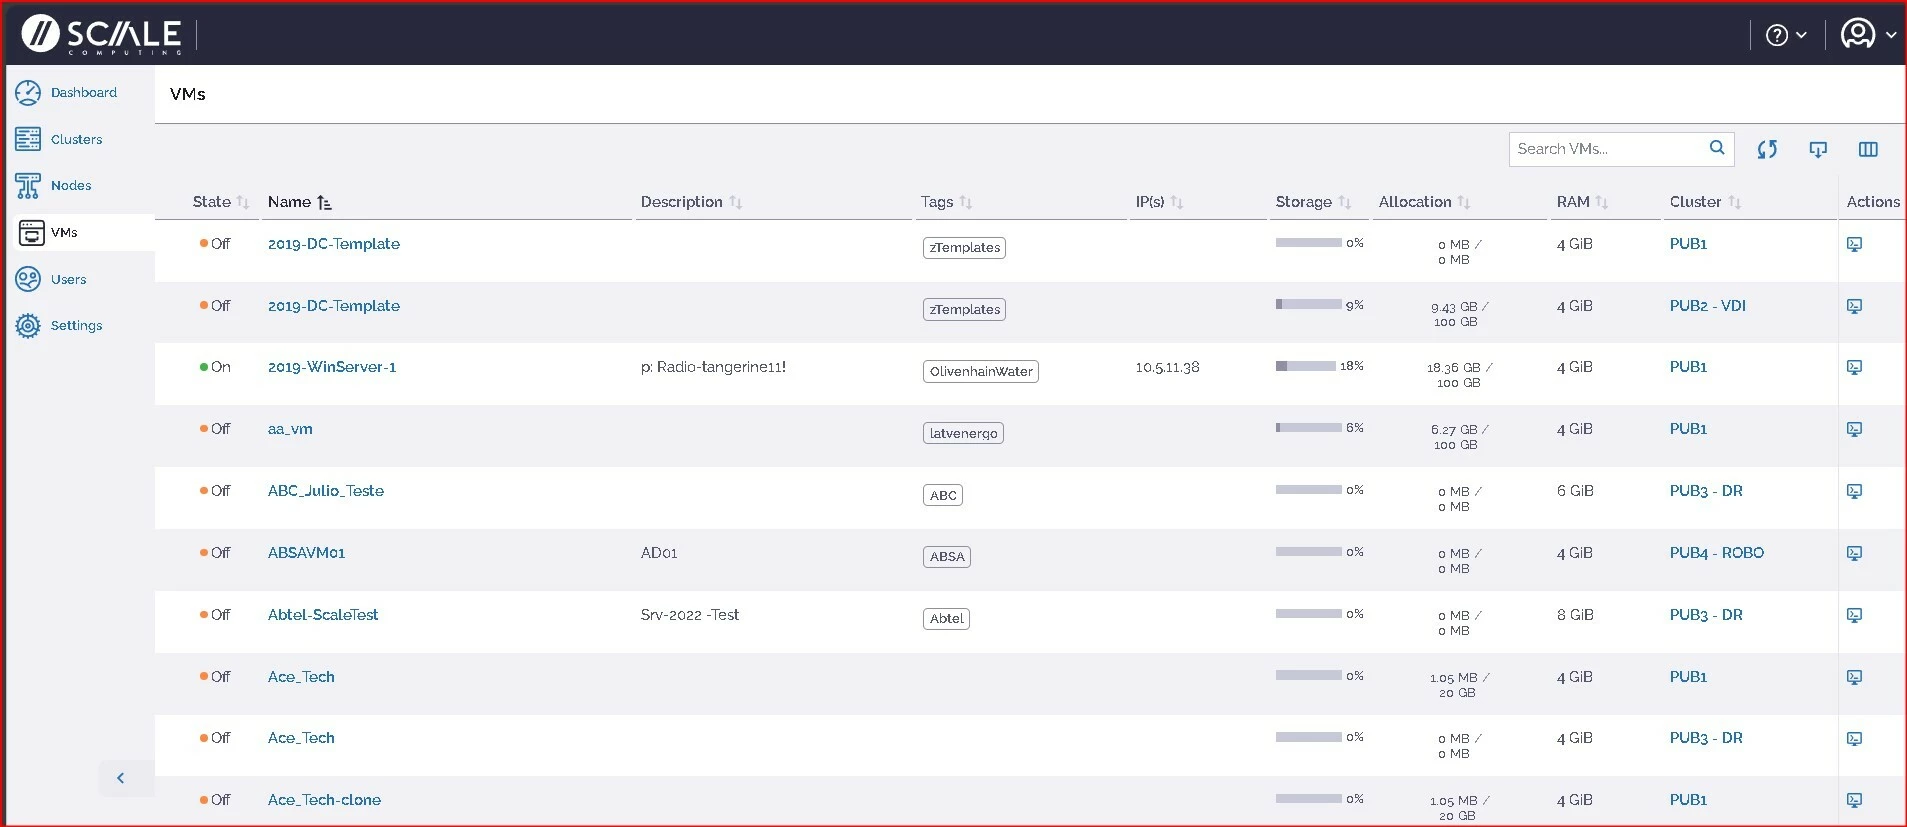
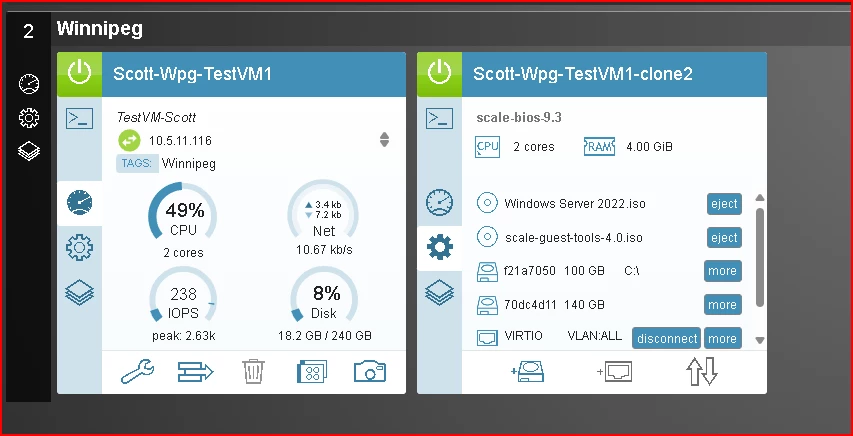
There’s also a VMs tab on the left, giving you quick visibility into workloads and allowing you to drill into specific VMs when needed.
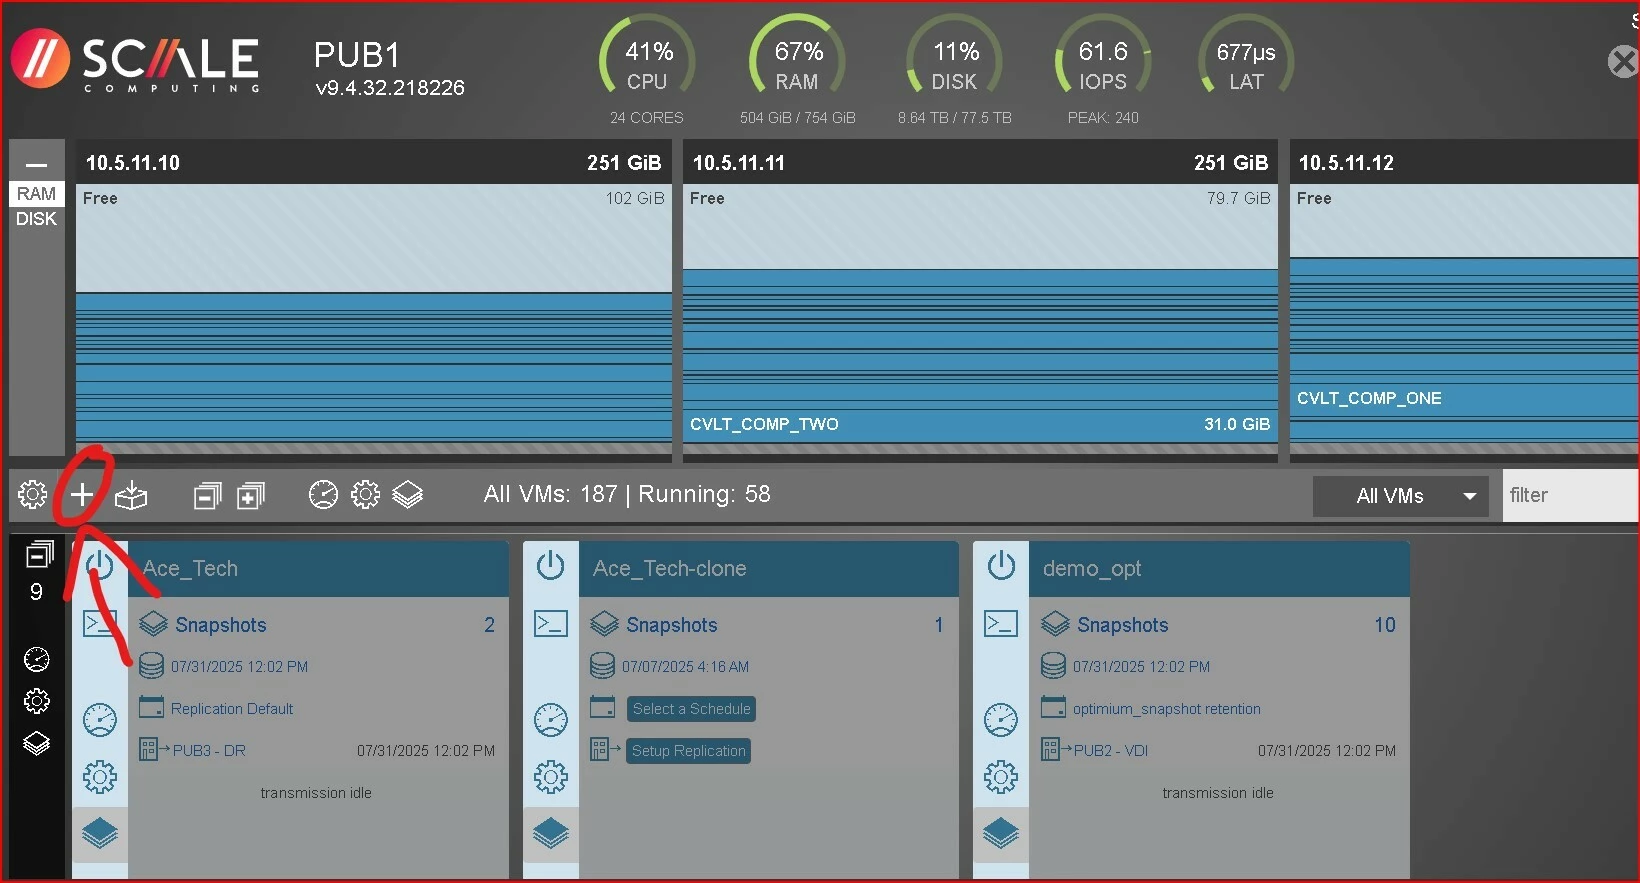
One of the first things you’ll want to do is crate a VM, I was pretty happy with how simple it is using Scale.
First step, we navigate to the Pod, or “cluster” as we are so used to calling them, and click on the “+” on the main screen.
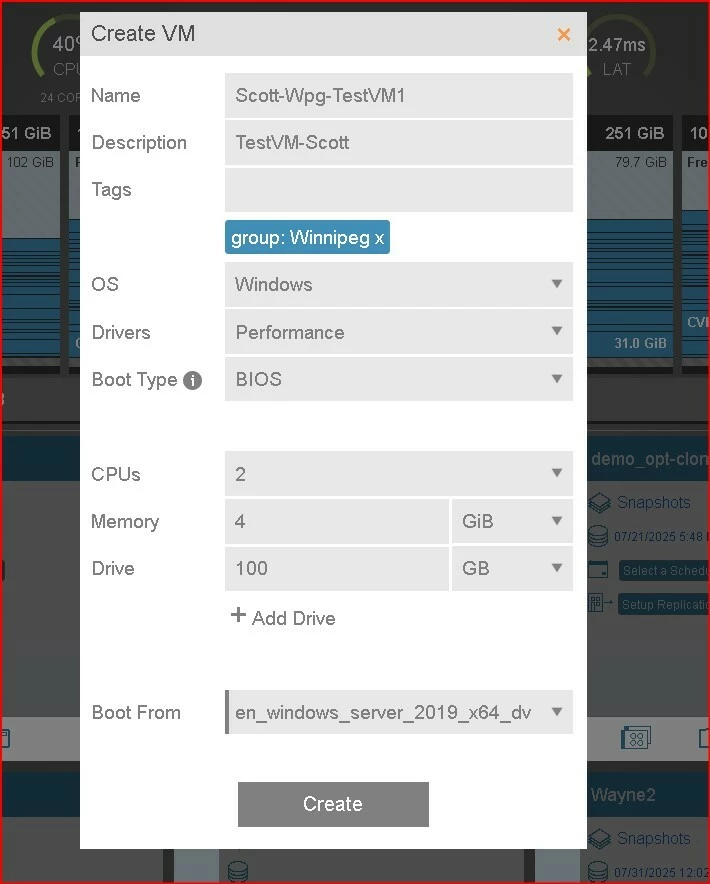
Choose your OS, Drivers, Boot type, name, and add some tags to make your life simple, I created a small VM with just a few steps.. You can select your boot disk on the same menu.
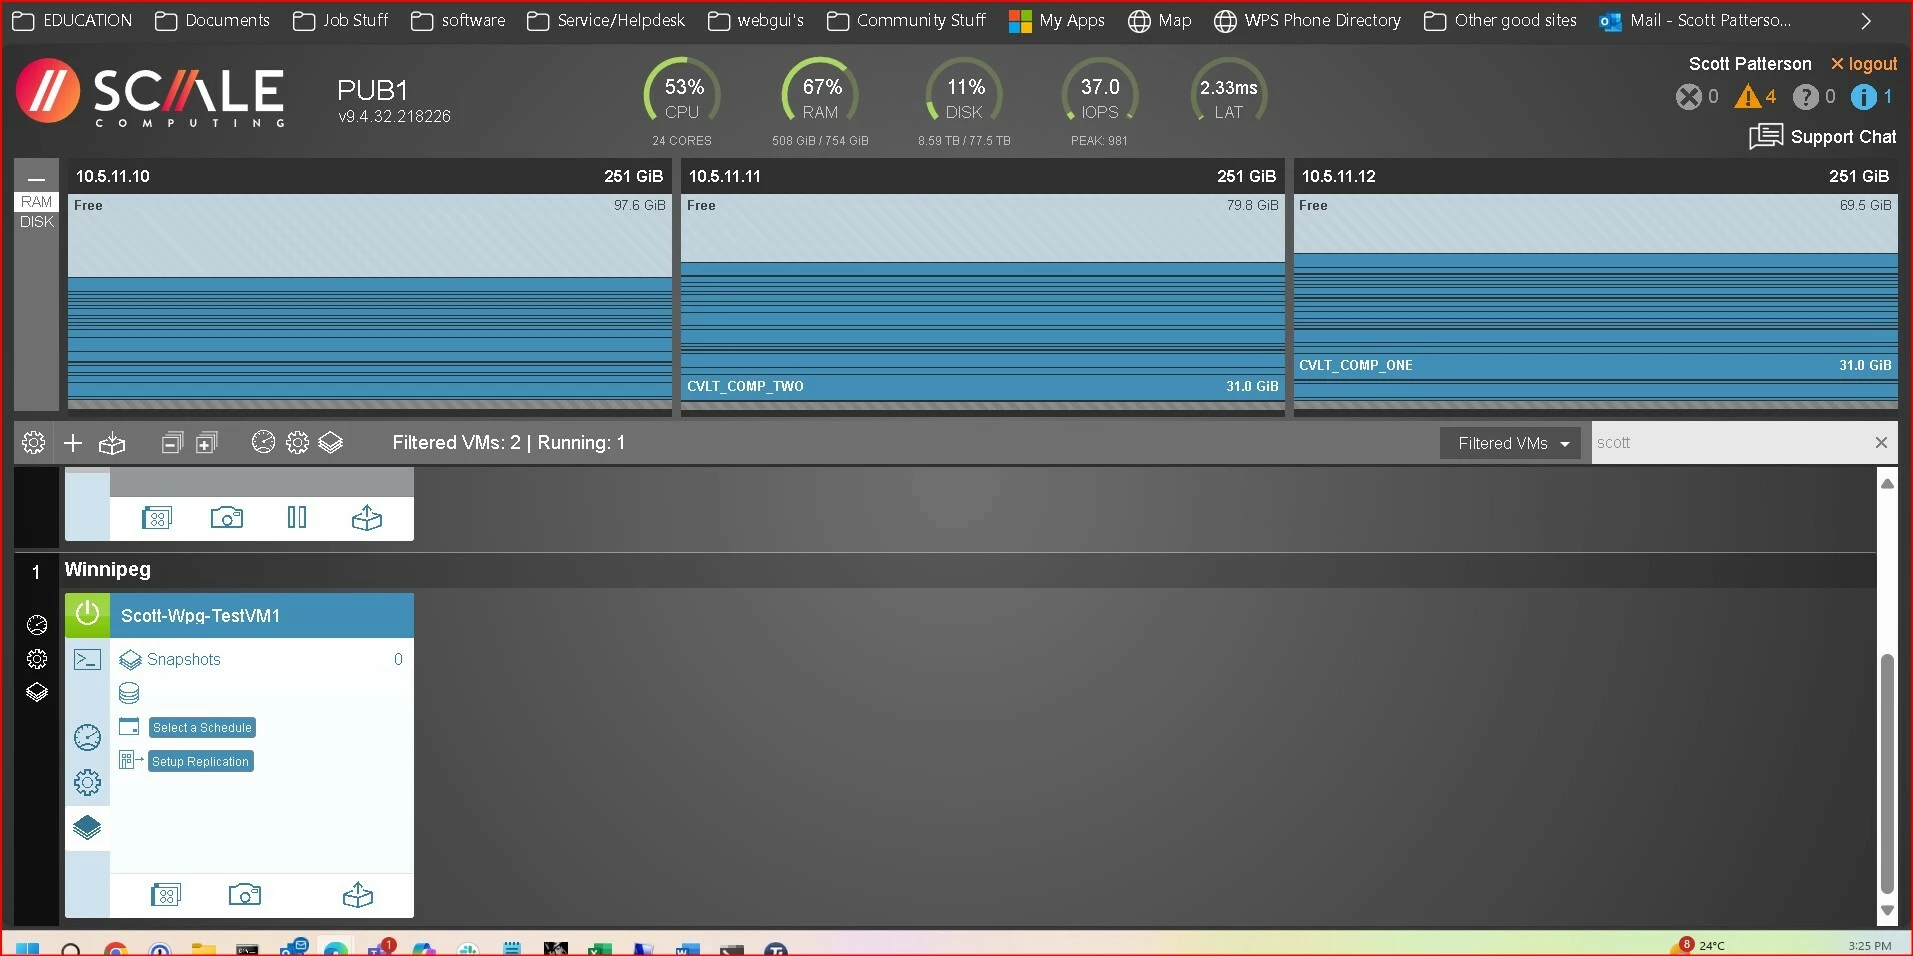
That’s it. You’ll see the VM appear on the main screen. On the right-hand side, filters and search make it easy to jump between pods, hosts, or individual VMs. I really liked the tagging system as it makes organization painless.
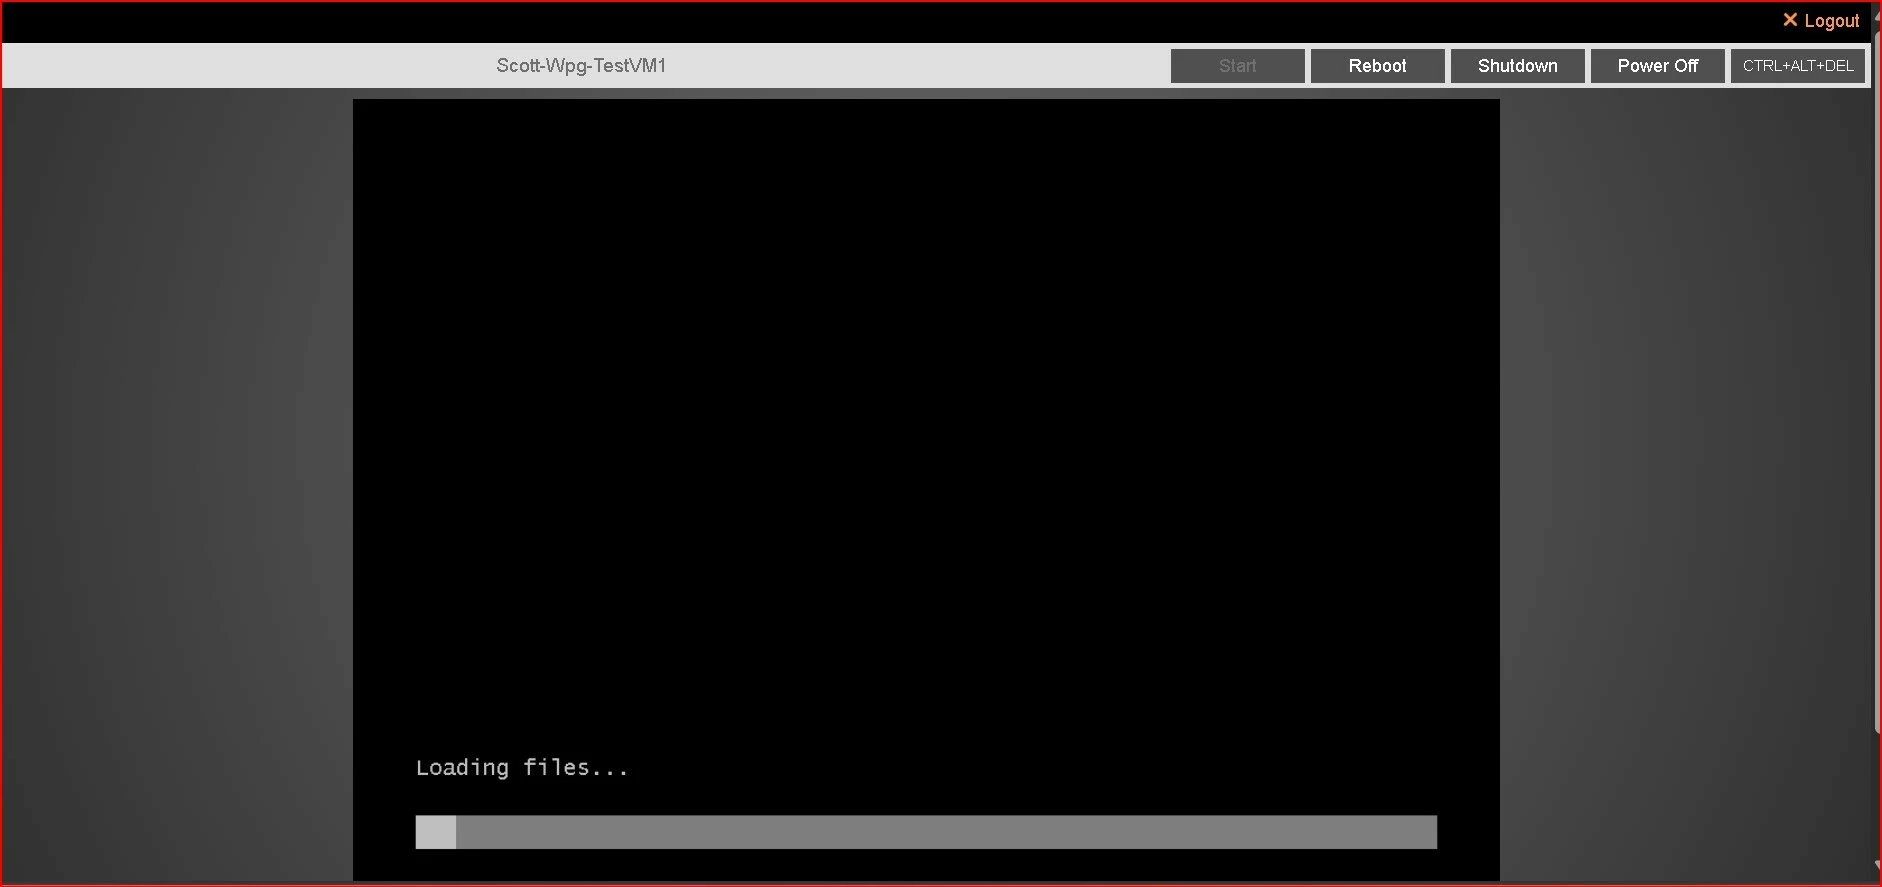
Once the VM is created, power it on, open the console, and the experience feels instantly familiar.
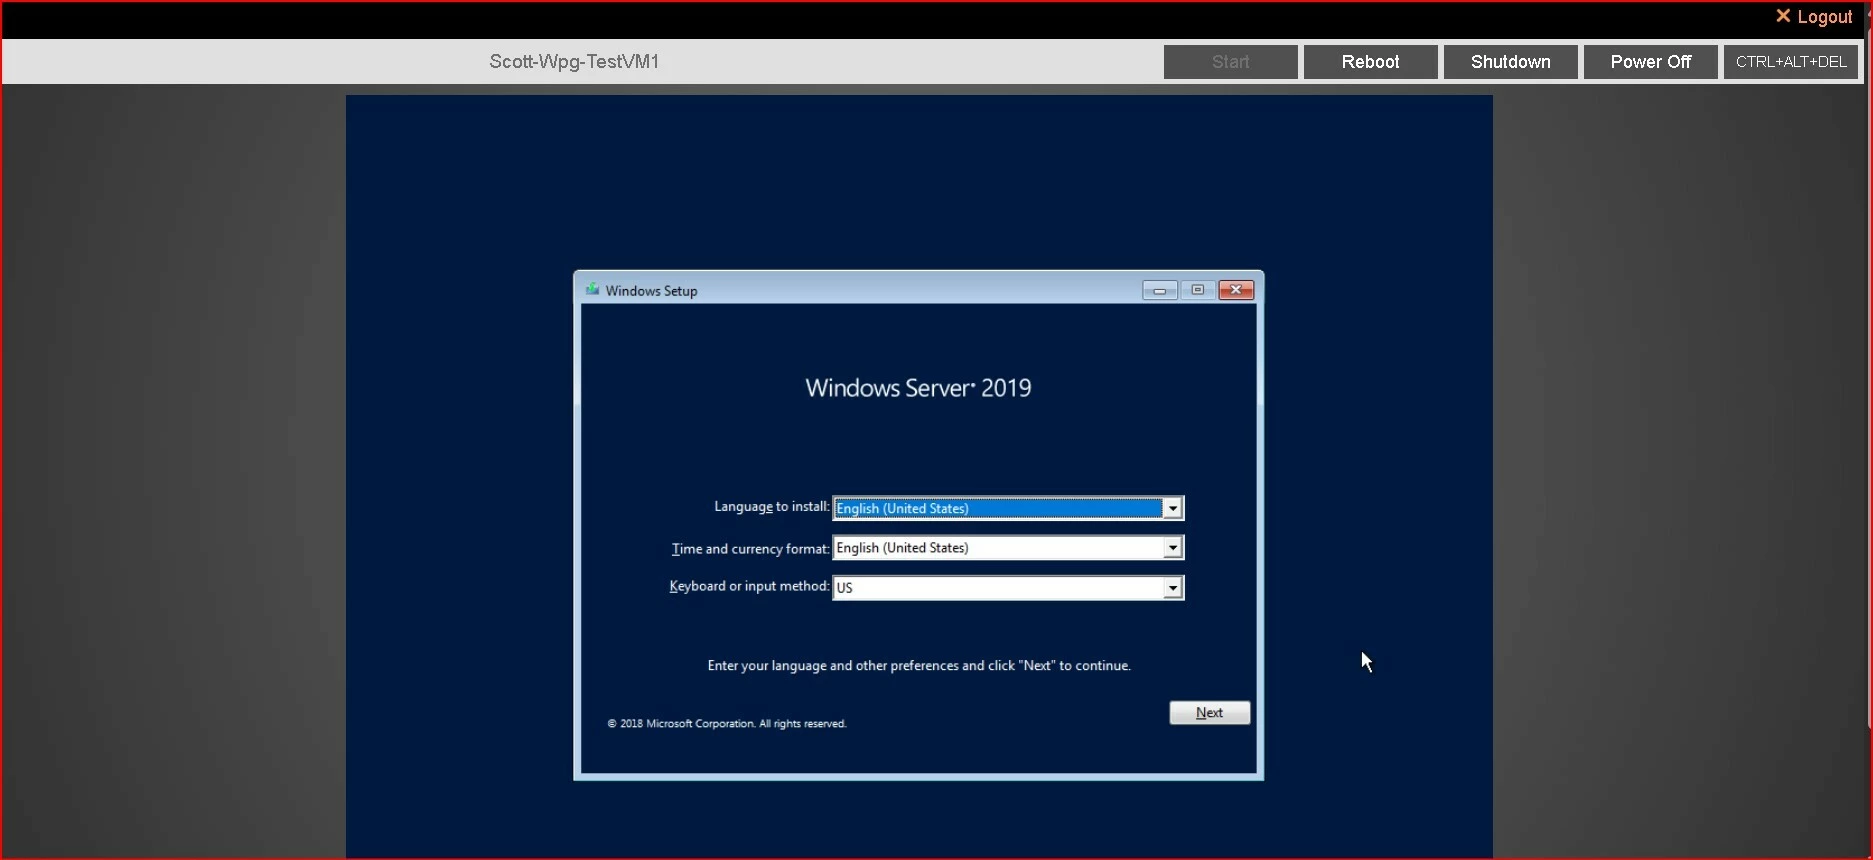
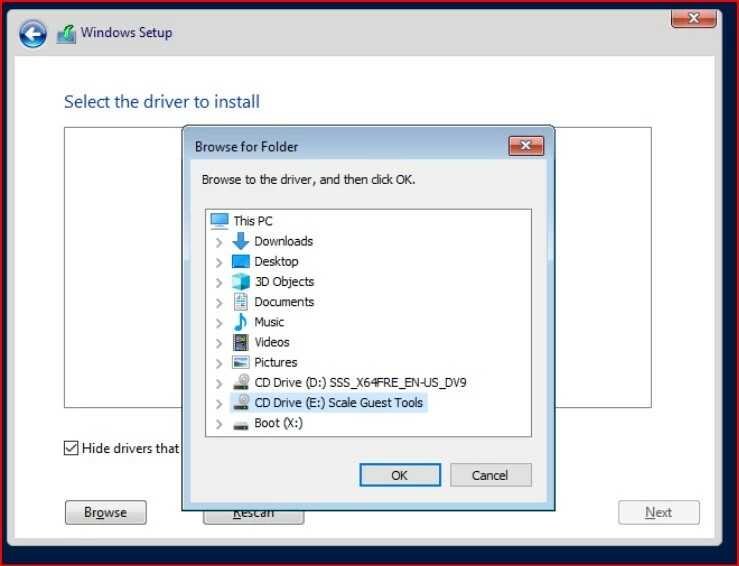
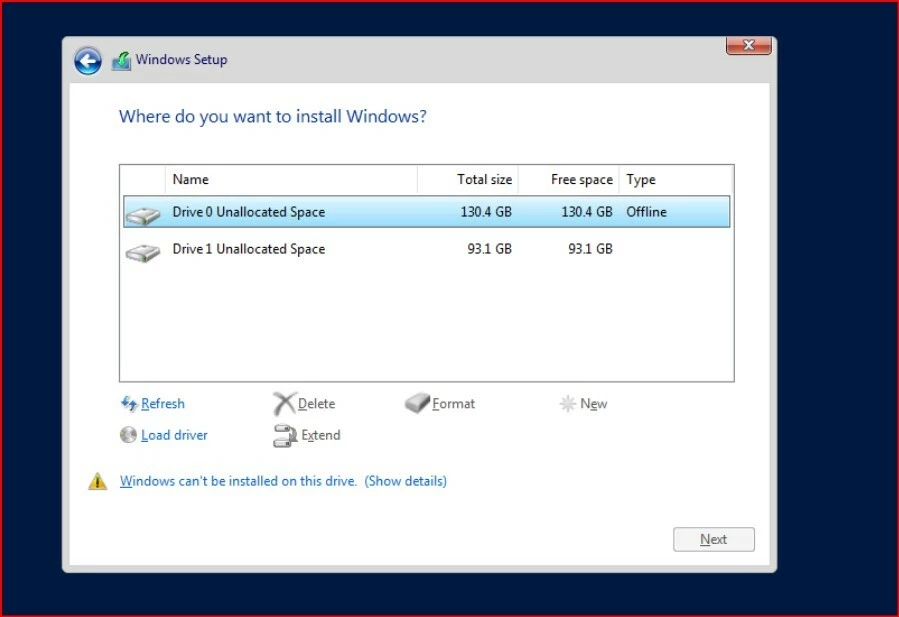
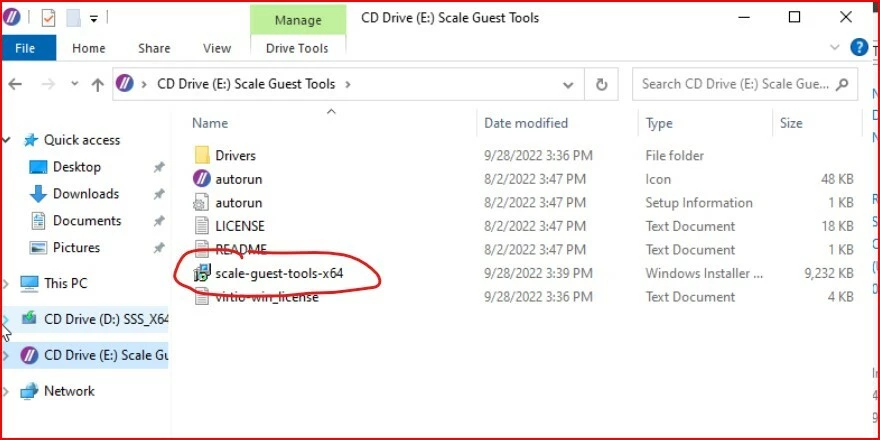
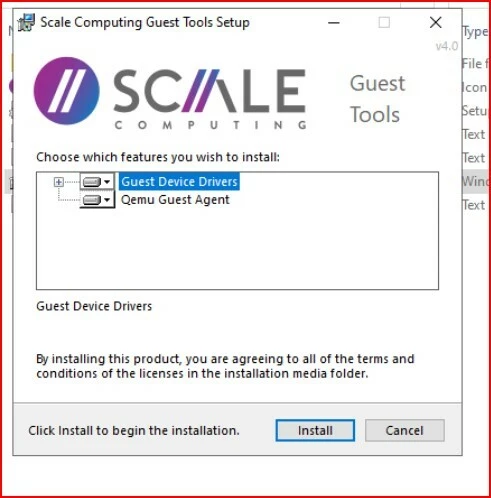
If you’re installing Windows, don’t forget to load the Scale drivers during setup so your storage volumes show up correctly. After logging into the OS, install the guest tools package to improve performance and enable deeper integration—similar to VMware Tools or Hyper-V Guest Services.
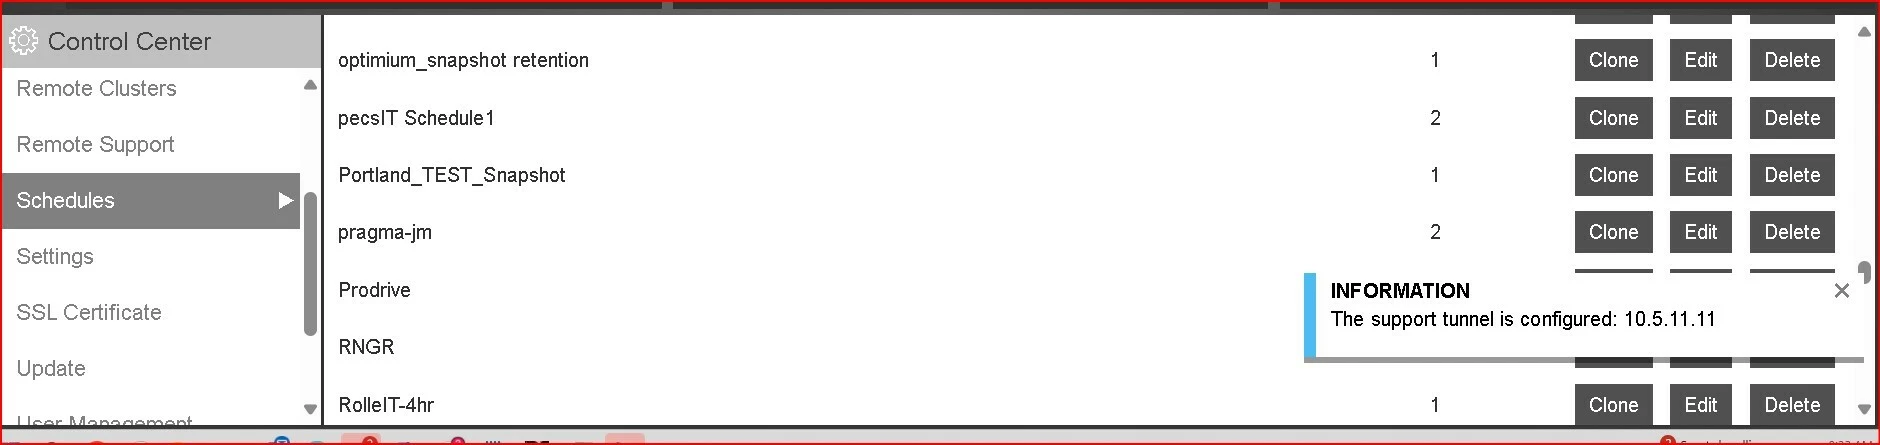
There are some other features Scale have, that keep things really simple. There isn’t a ton of settings you can, or should change, and on the left there are very clear titles on the options. You can create schedules for snapshots, allow remote support, or preform updates with just a few clicks.
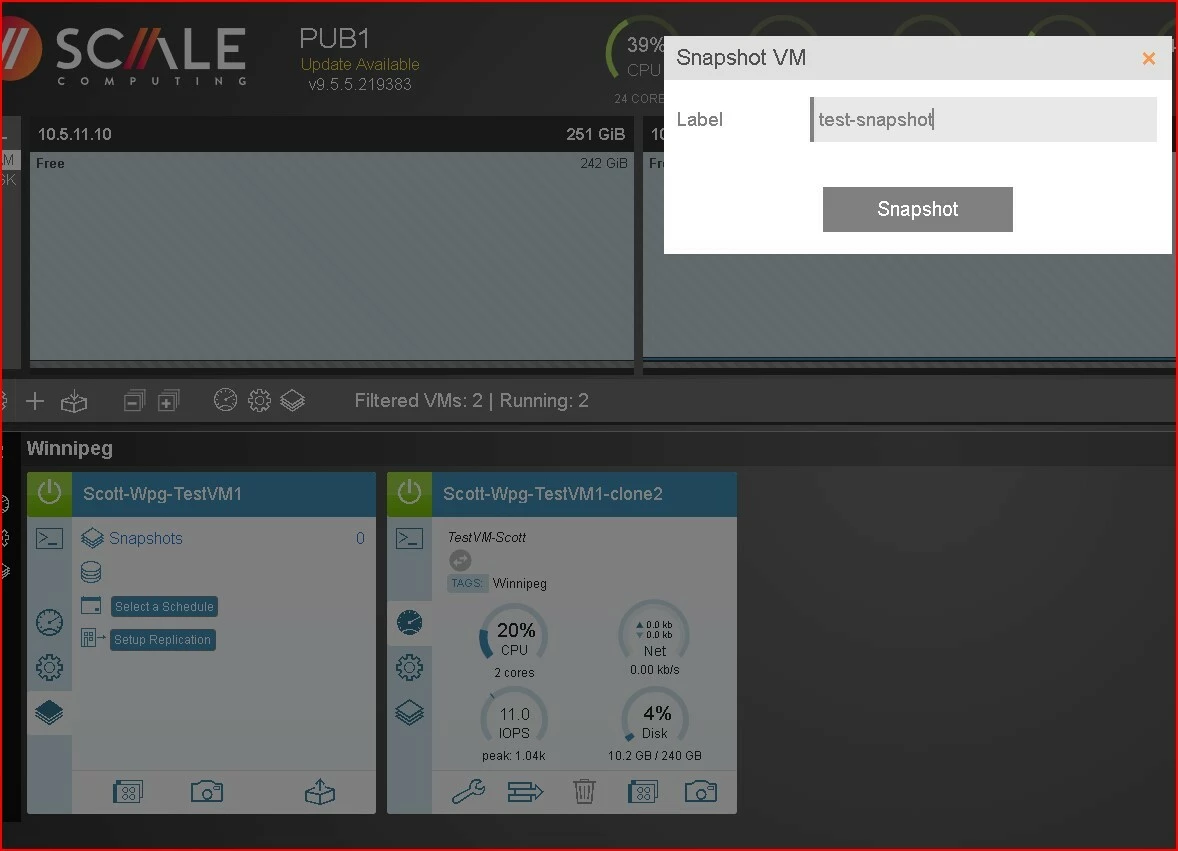
It’s also one click on the windows in the bottom to create a snapshot. Once you type the name and click Snapshot, you are done!
Depending on your view on the left, (Summery, Devices, and snapshots), you also get different menu options on the bottom. On the right you see the option for settings, moving or deleteing and on the left the option to export the VM.
Final Thoughts
I was genuinely impressed with how quickly I was able to get things running. Performance felt solid even on minimal hardware, and while I did miss some enterprise features like a distributed switch, I could still configure VLANs directly when adding NICs.
What excites me most is the potential. Scale might be a newer player, but that also gives them the flexibility to innovate and expand features rapidly. For organizations that want cost-effective, highly available virtualization without the overhead of larger platforms, Scale is absolutely worth a look.


