



There’s always a bit of excitement when a new Veeam beta drops. Since I spend much of my time in the lab evaluating new features and demoing to customers, I was eager to get my hands on Veeam Backup & Replication 13.1 Beta and see what it had to offer.
Instead of just reading through the release notes, I approached this the same way I would a customer proof of concept. I started with a clean installation, built out a realistic backup environment, configured the solution, tested the new features, and looked for anything unexpected along the way.
In this article, I’ll walk you through my entire lab experience—from deployment and configuration to testing the latest functionality and sharing my observations.
My Lab Environment
For this deployment I used:
- VMware vSphere running on VxRail
- Veeam Backup & Replication 13.1 Beta OVF
- Hardened Linux Repository
- Object Storage repository
- Domain Controller
- SQL Server VM
- Windows File Server
The goal wasn't just installing Veeam—it was validating an end-to-end backup and recovery workflow.
Step 1 – Deploying the Beta
Installation was straightforward and followed the familiar Veeam installation process.
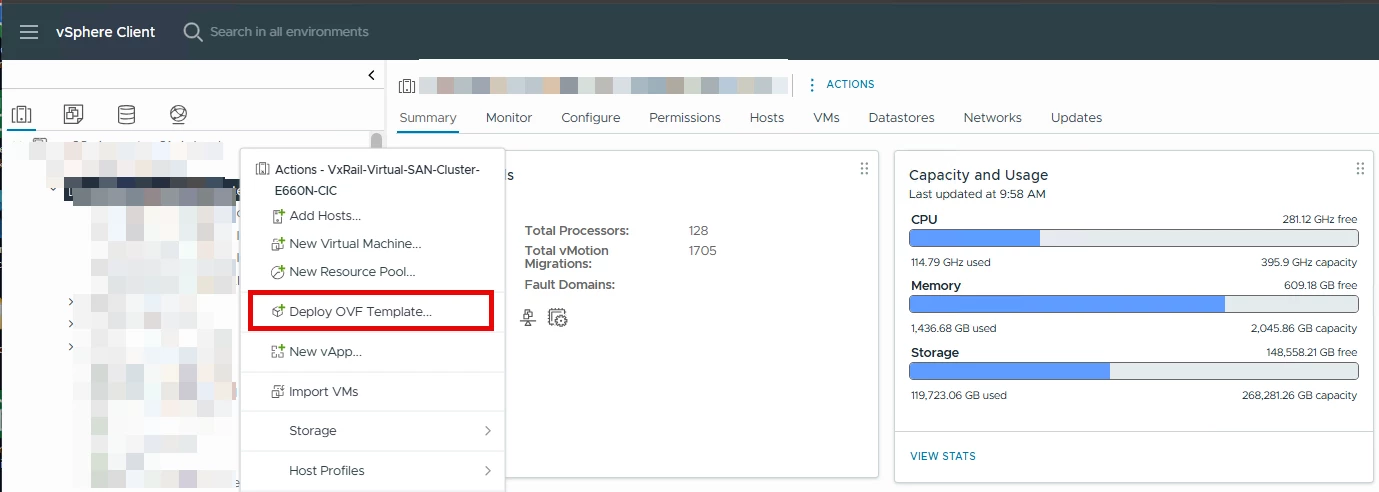
After deploying the OVF file:
Deploy the OVF
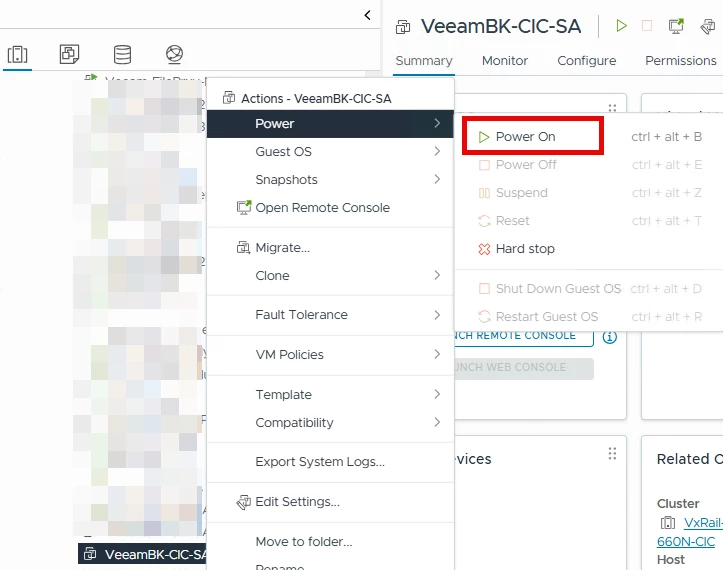
Once completed Power On the Veeam B&R OVF
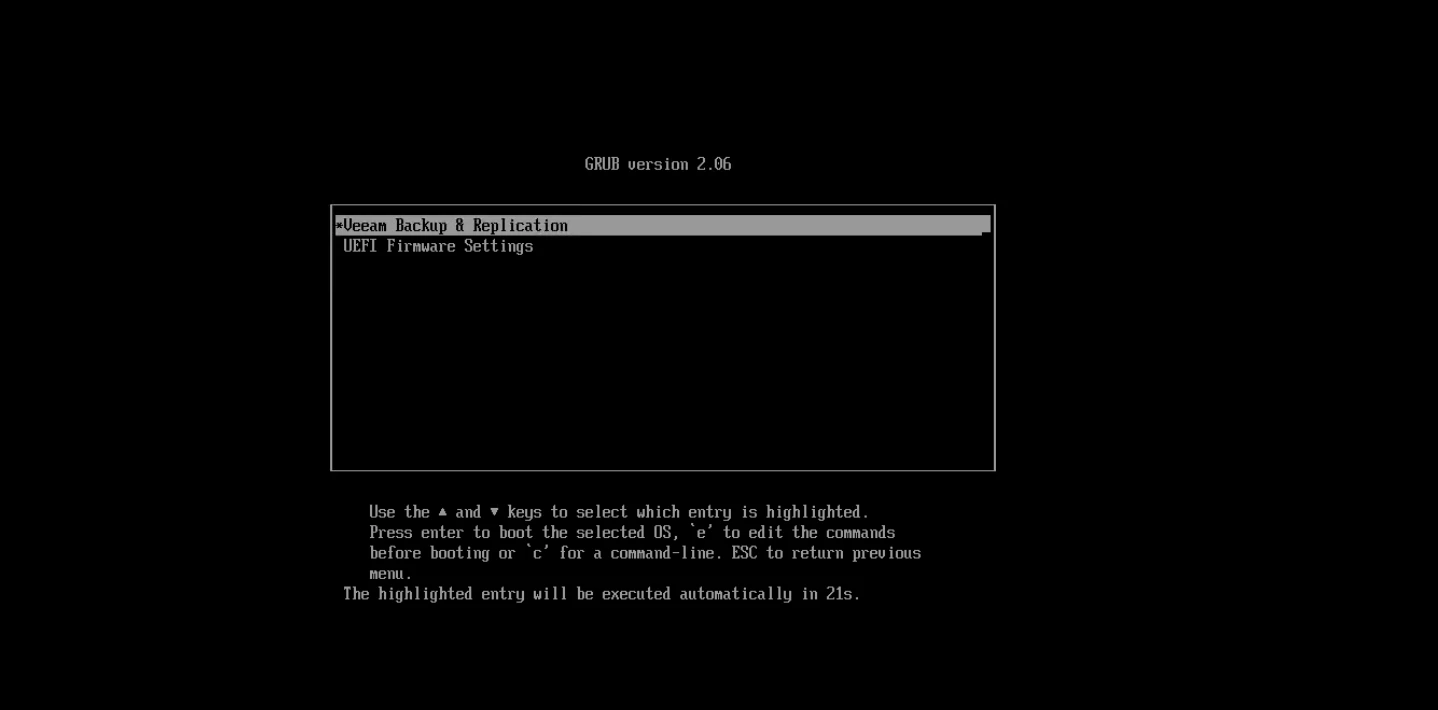
Select Veeam Backup & Replication
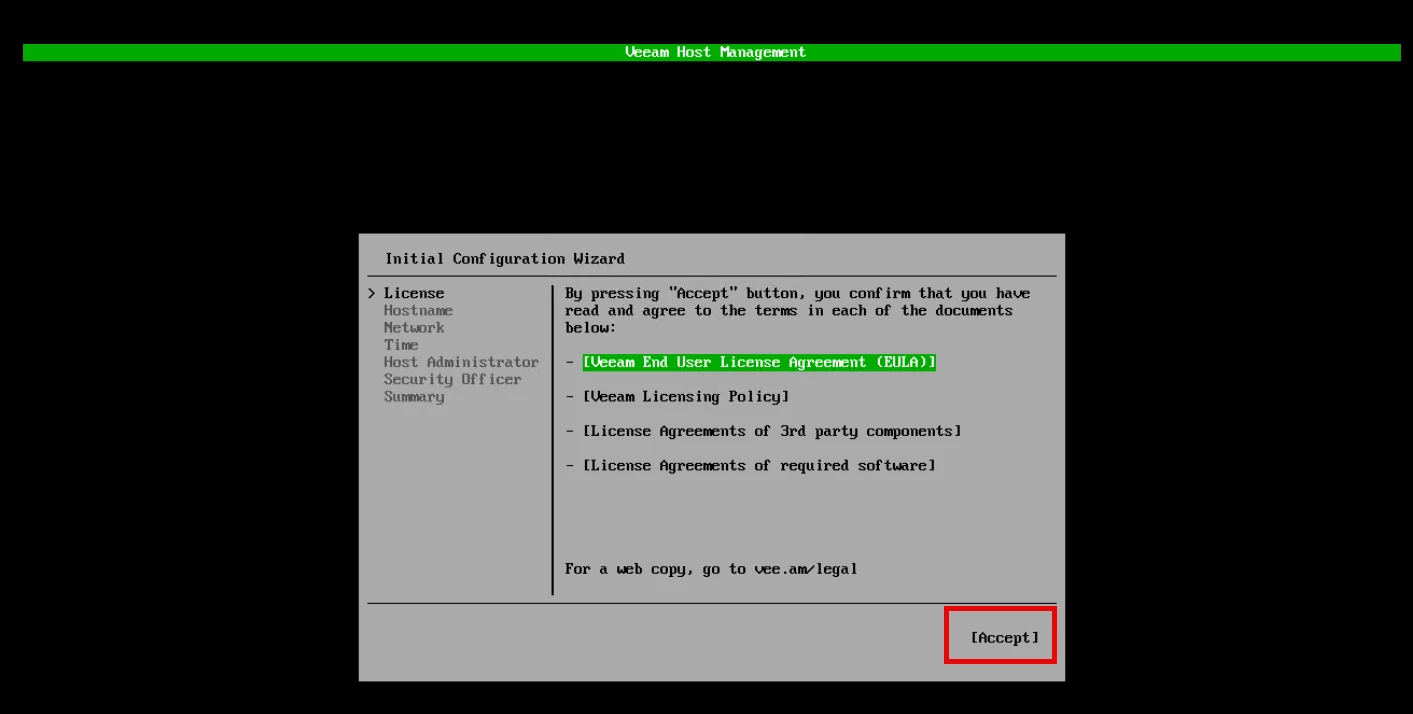
Accept the License Agreement
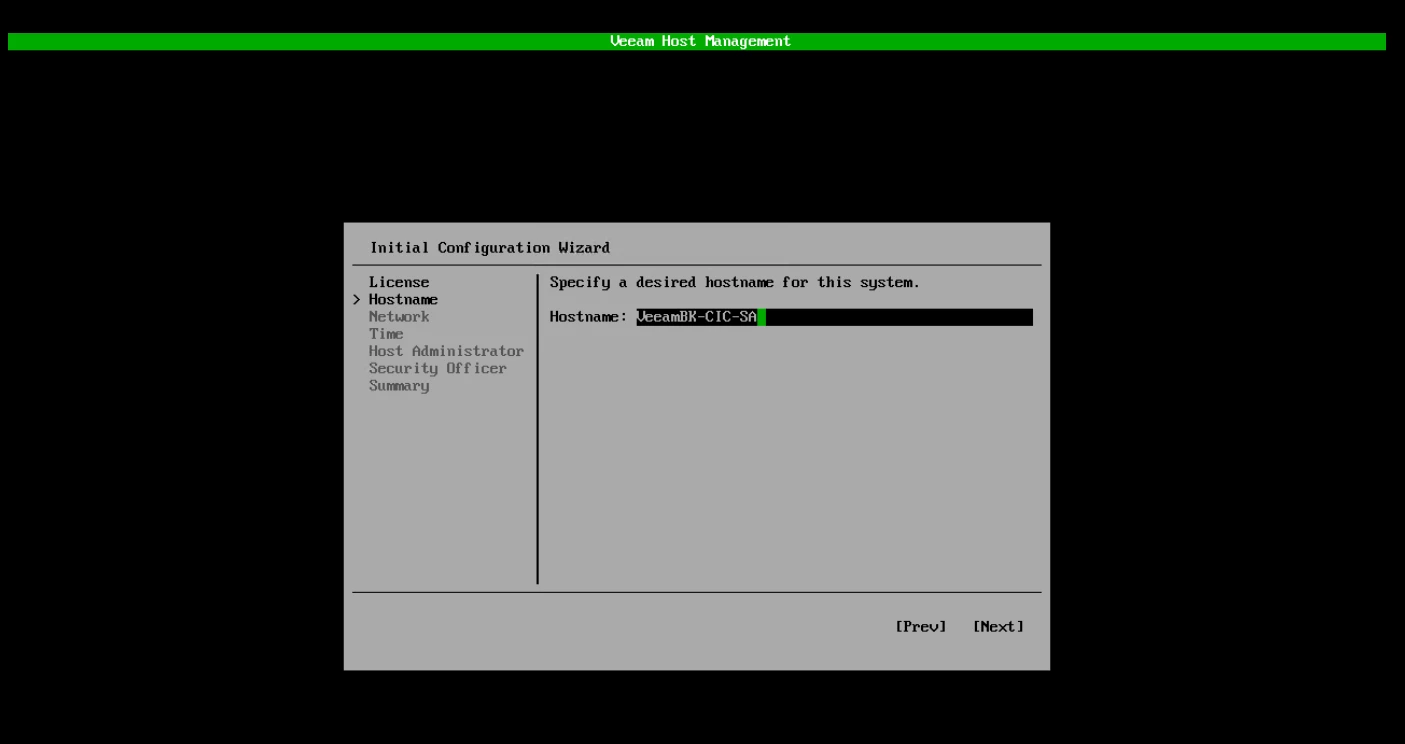
Enter the hostname of the Veeam Backup server
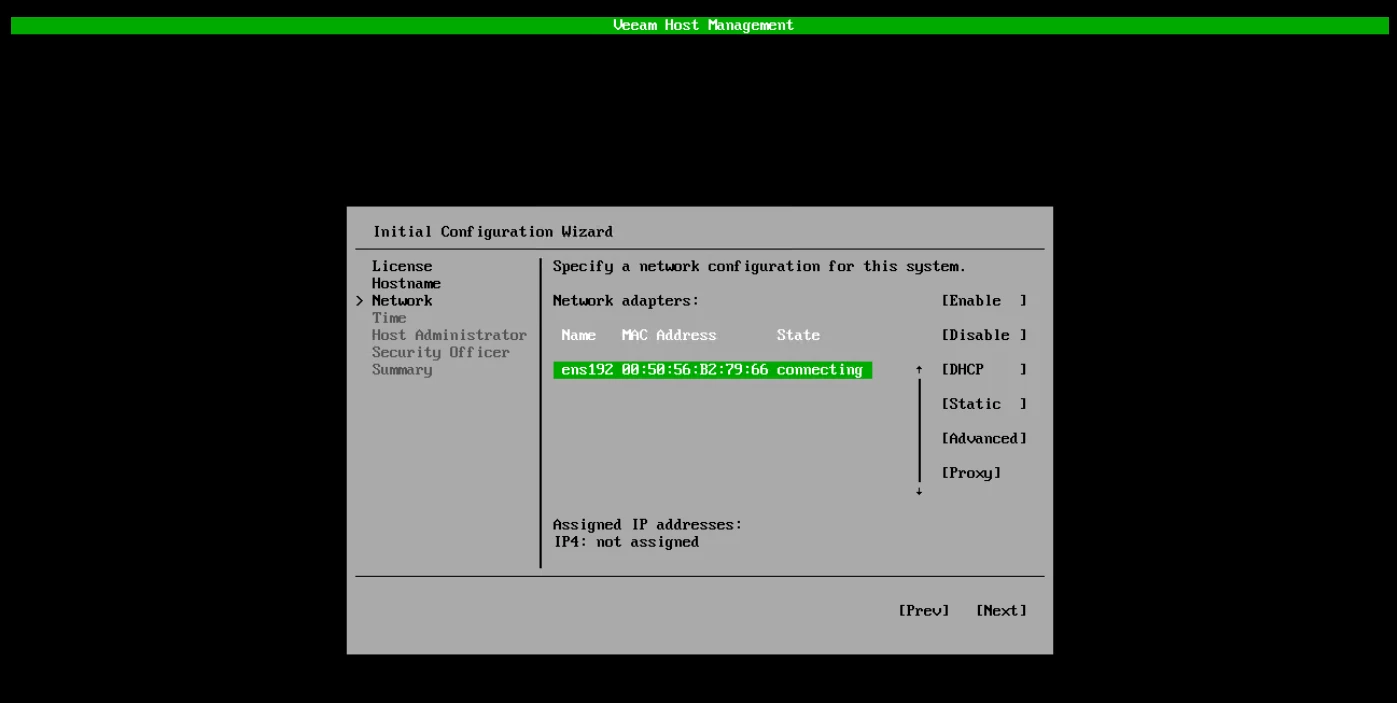
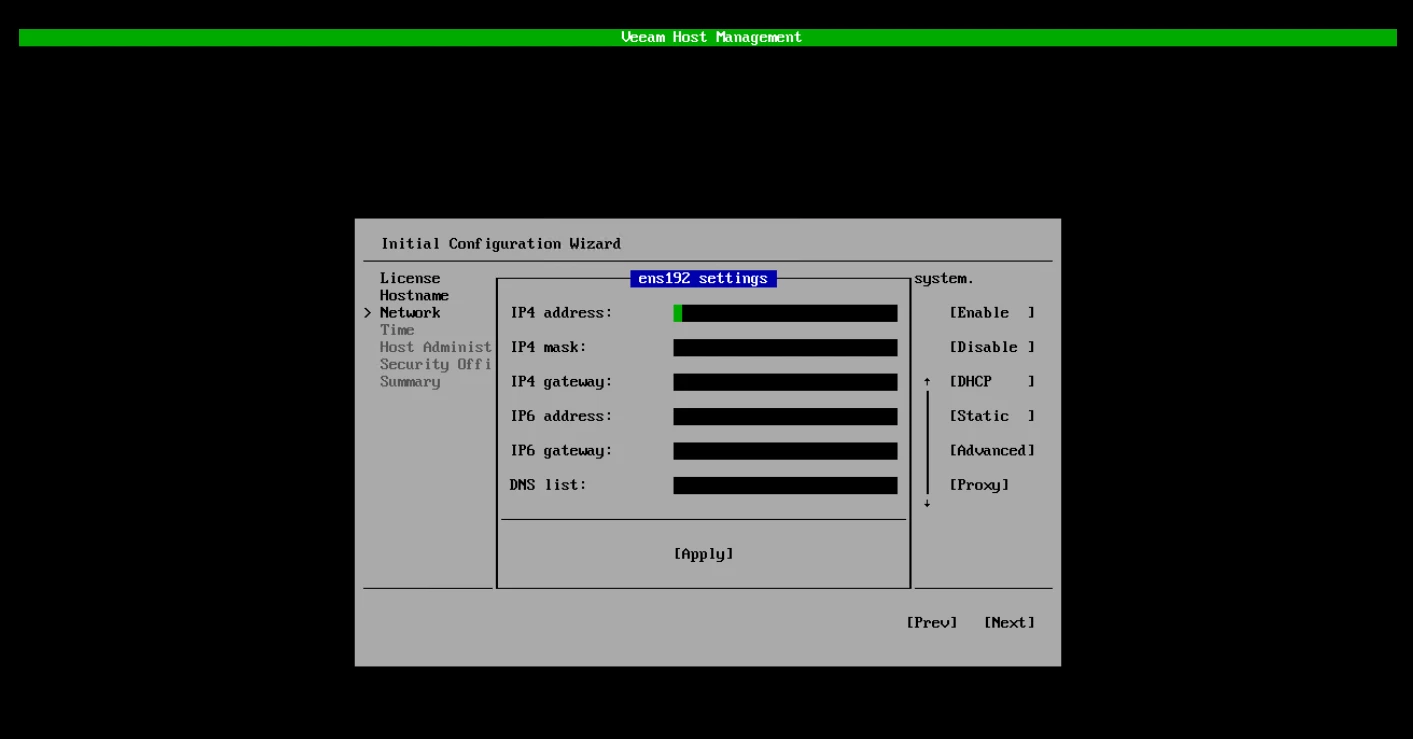
Enable and configure the networking
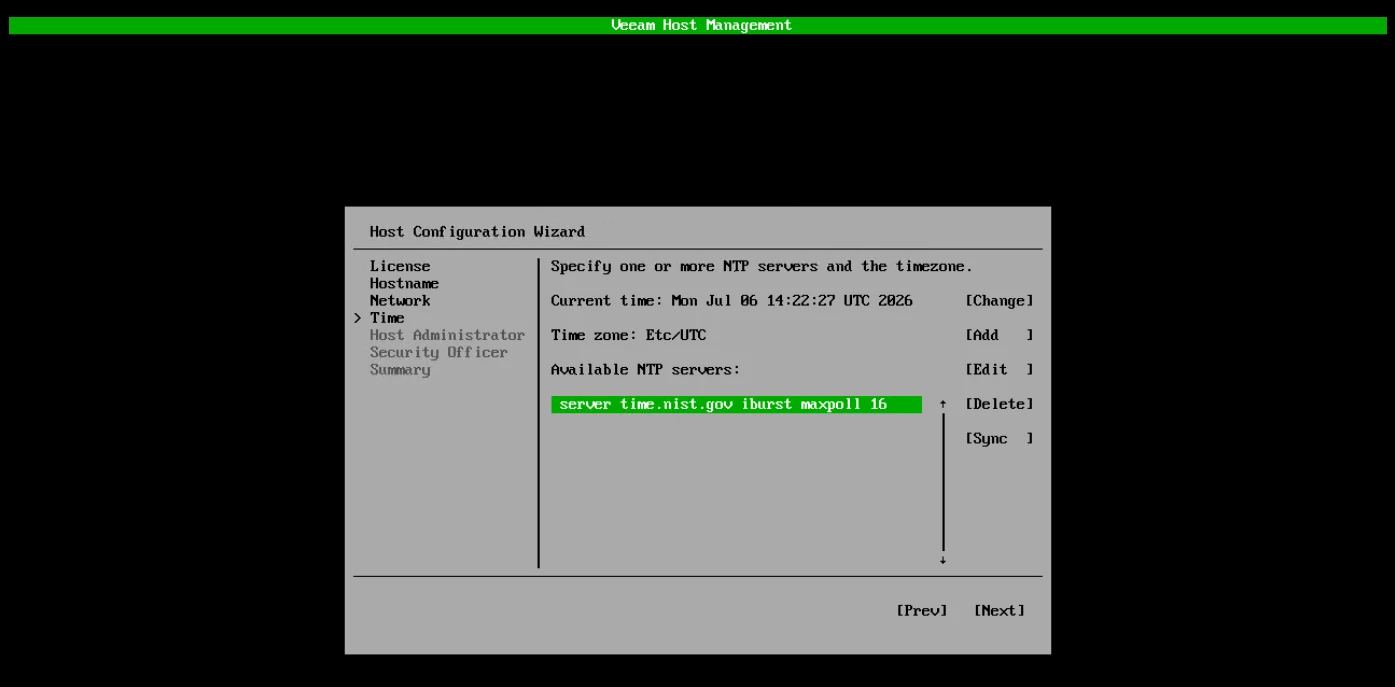
Enter the NTP server configuration
Configure the password for "veeamadmin" account
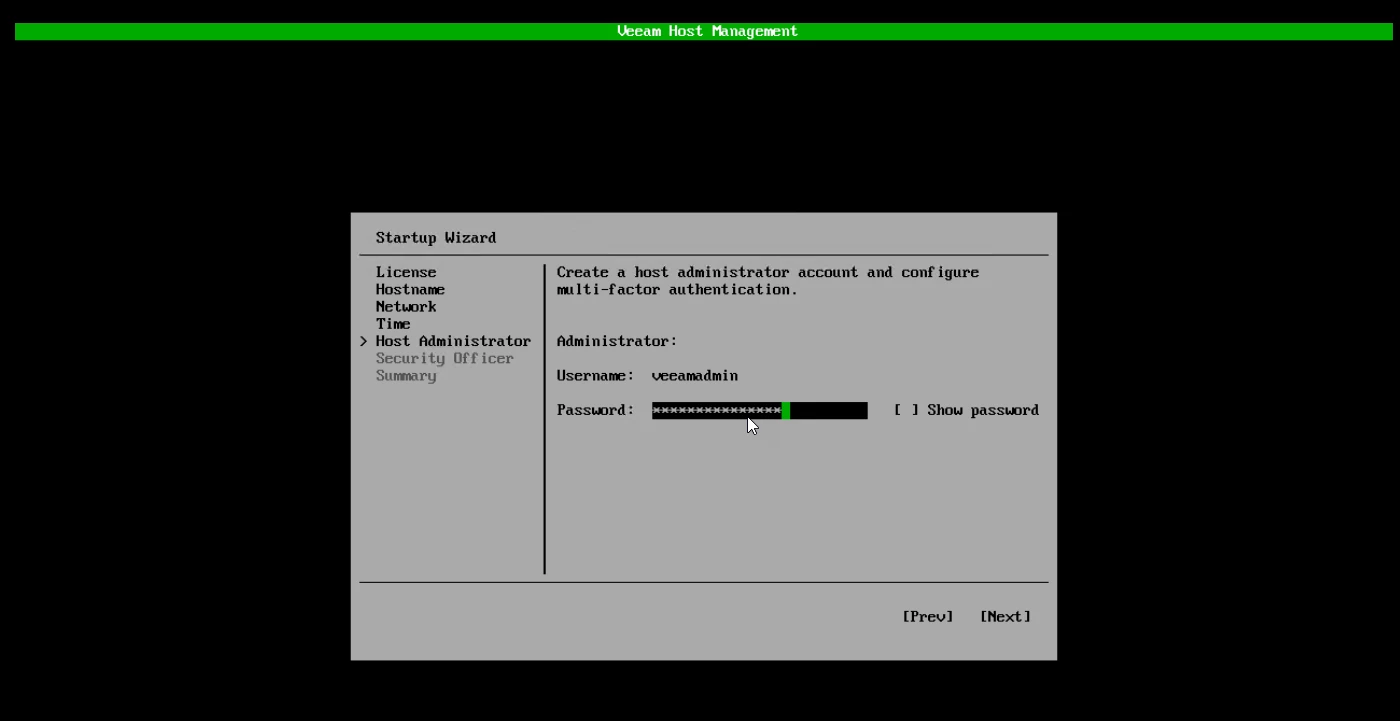
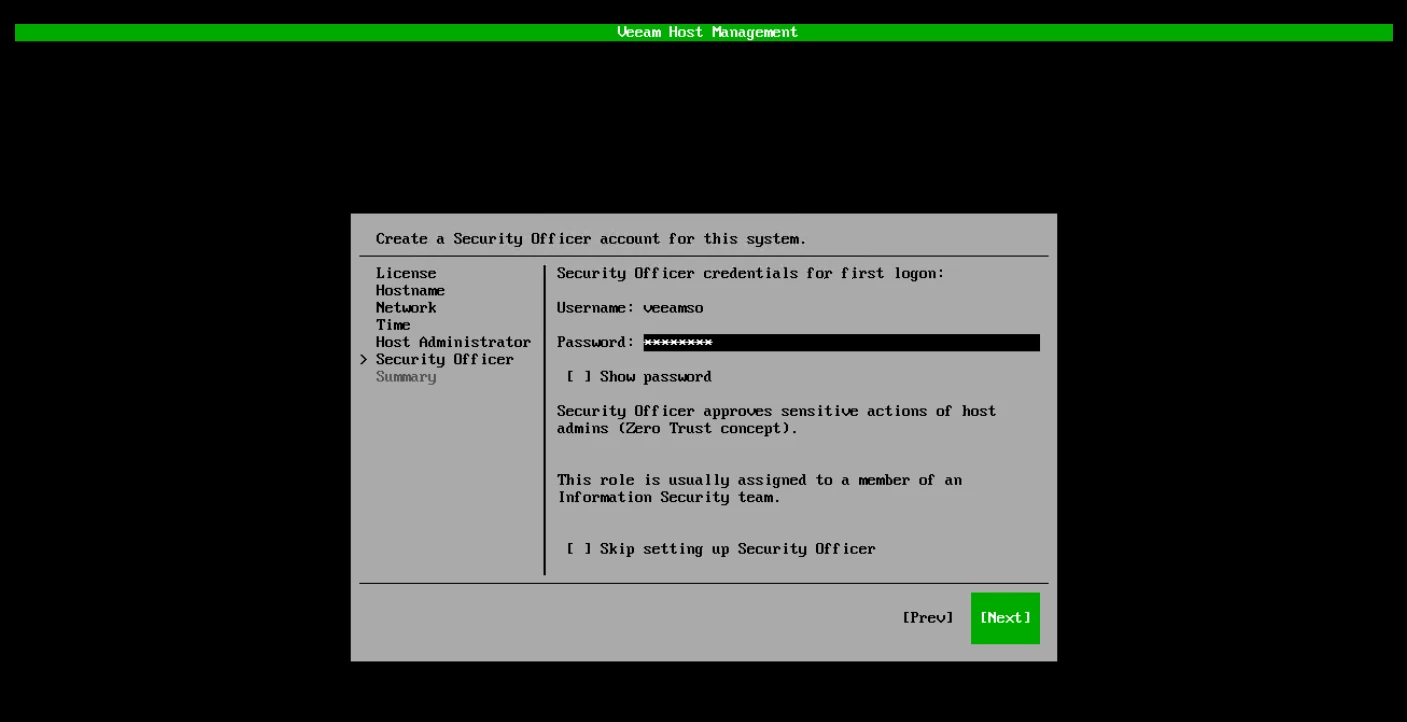
Configure the password for the "veeamso" account
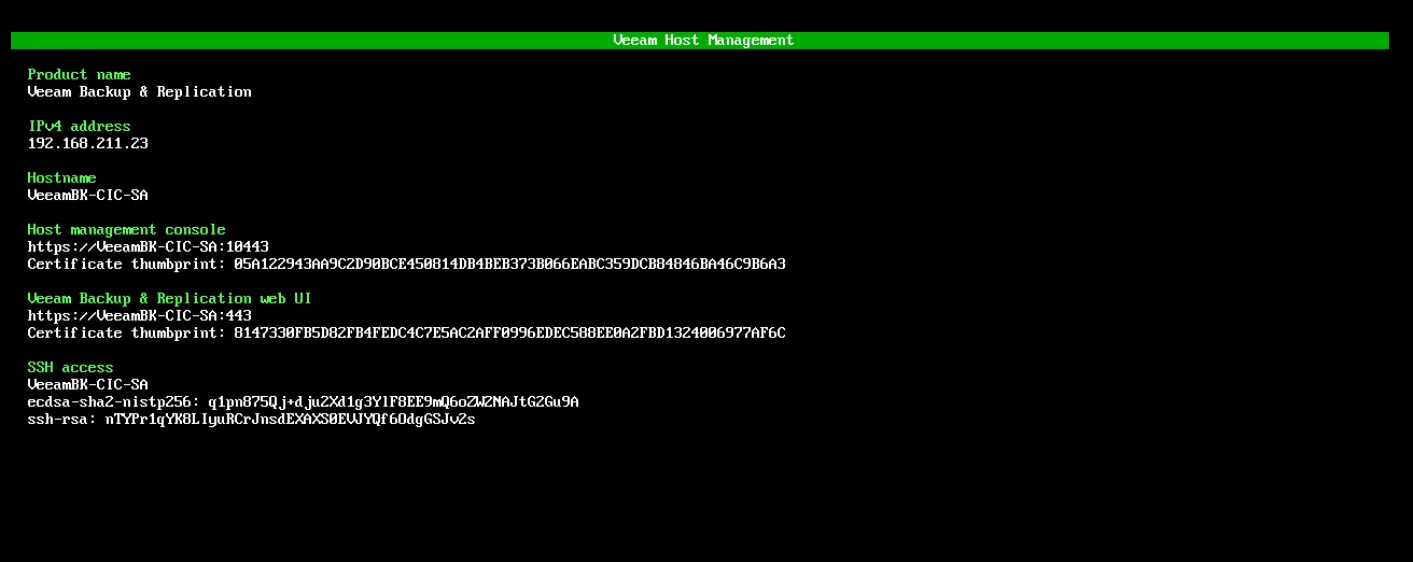
The Veeam Backup Server is installed
Login to the Veeam Backup & Recovery WebUI with “veeamadmin”
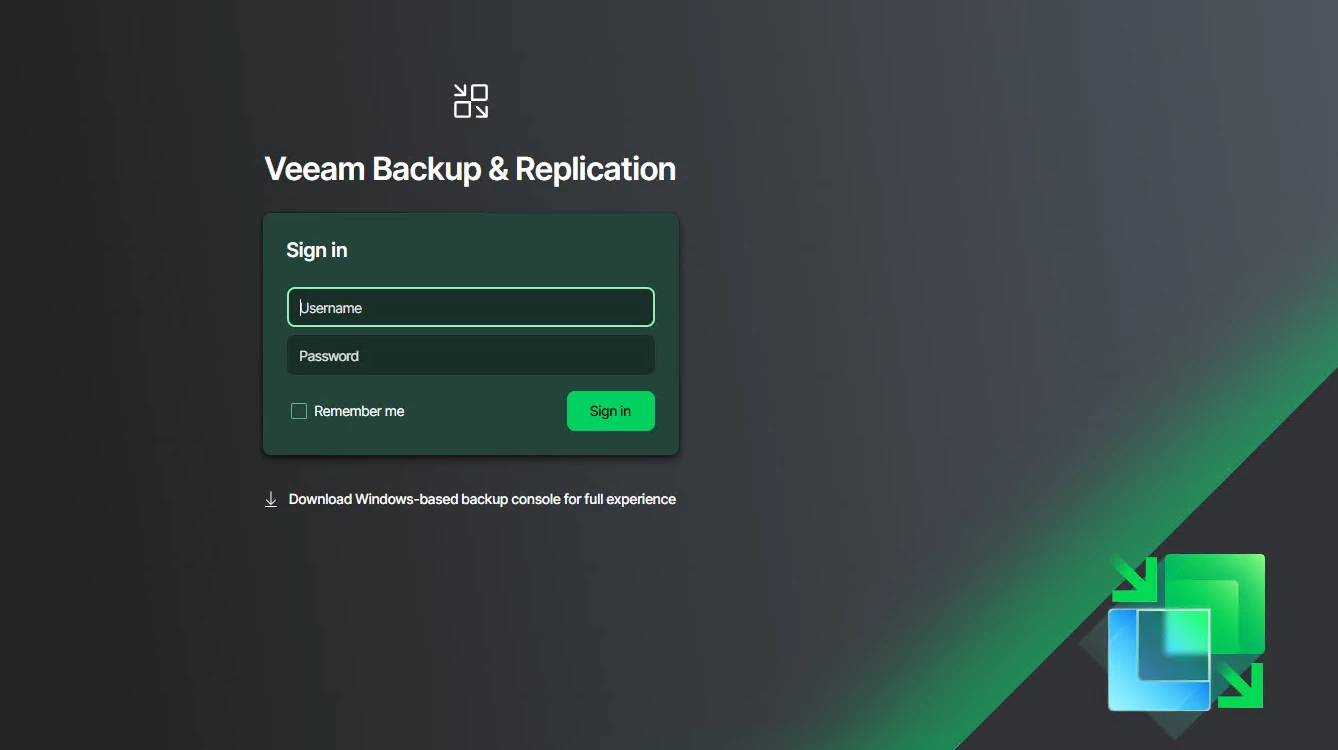
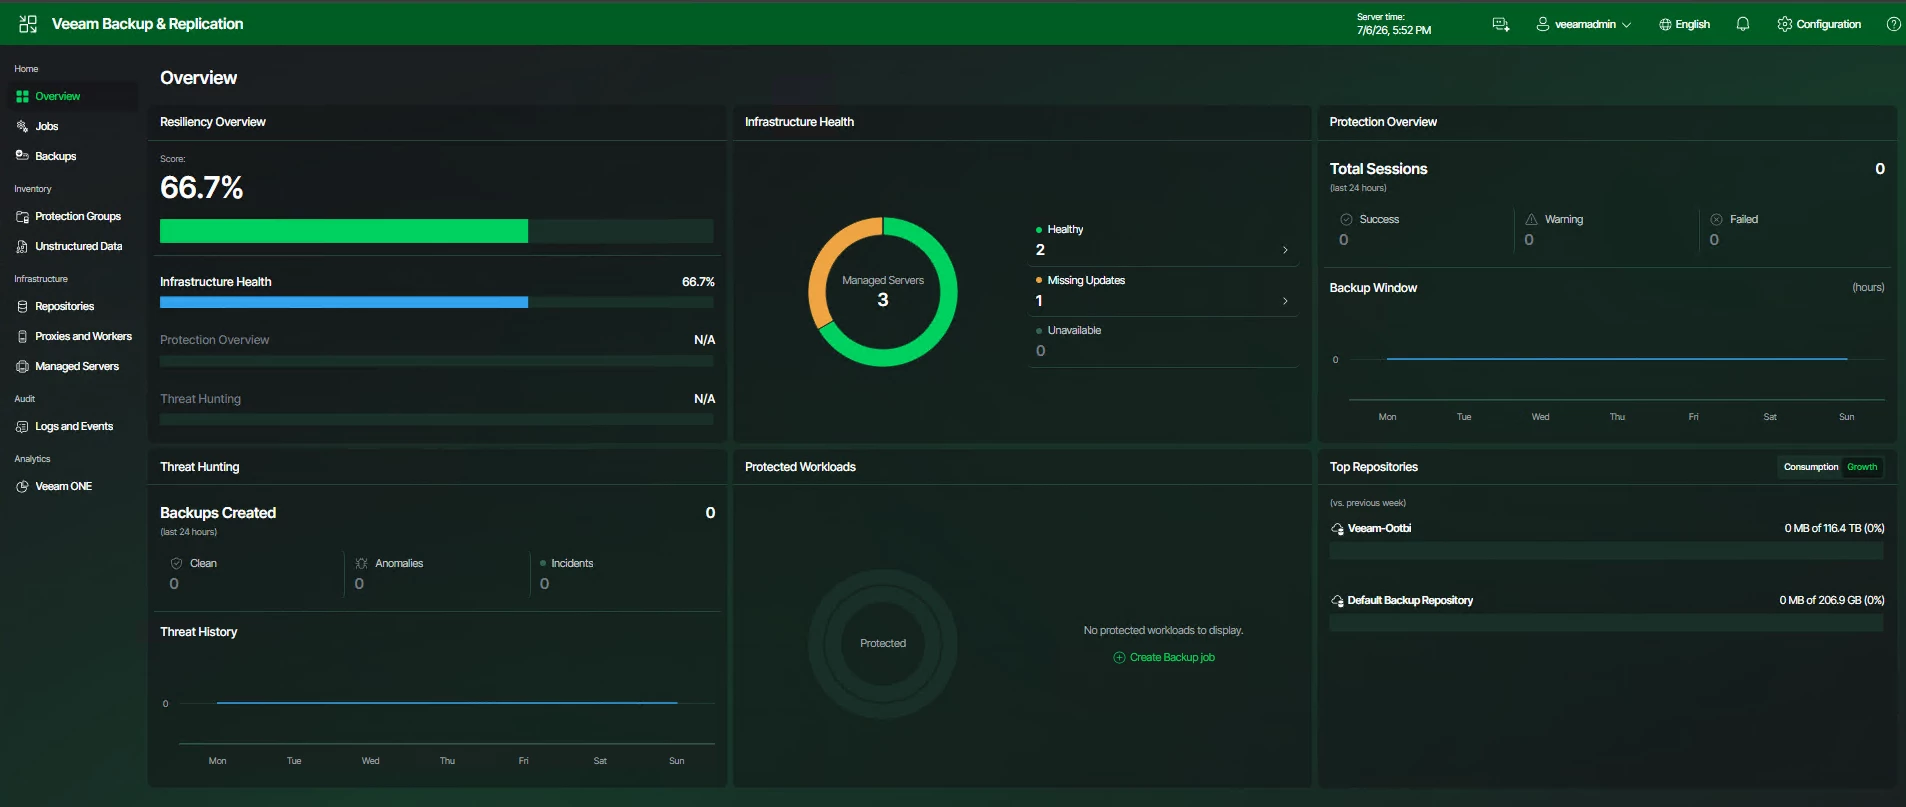
Here is the new WebUI for Veeam BETA 13.1
- Installed prerequisite components
- Installed Backup & Replication Server
- Updated catalog components
- Installed Backup Console
- Verified licensing
- Confirmed database connectivity
The installation completed without any issues in my lab.
Step 2 – Initial Configuration
Once installation completed, I worked through the basic configuration.
Added Virtual Infrastructure
Connected my vCenter Server
Verified:
- Inventory discovery
- Host communication
- Datastore visibility
- VM enumeration
Everything populated within a few minutes.
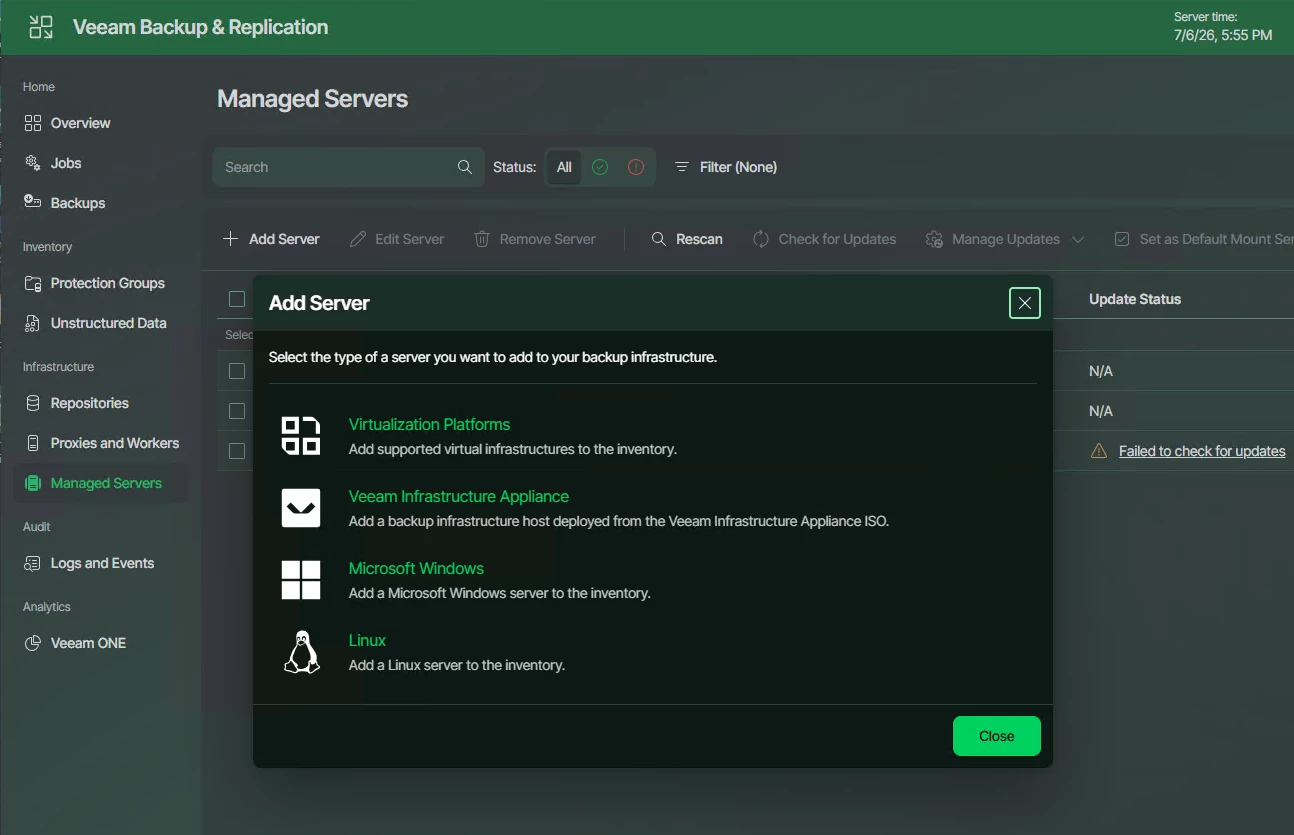
Add the vCenter Server ==> Select Virtualization Platforms
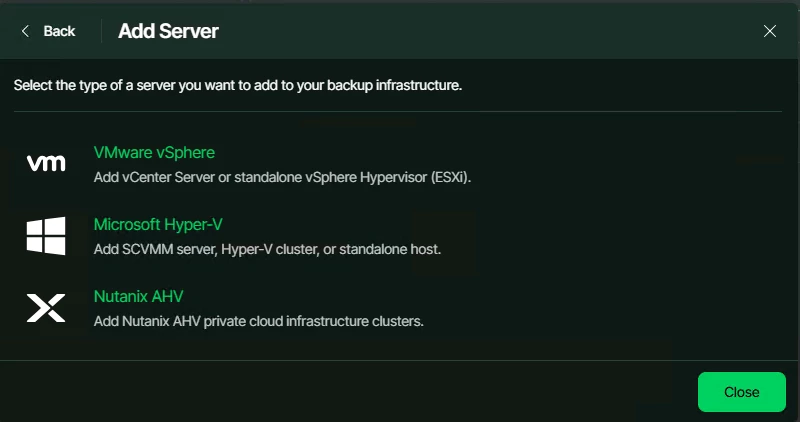
Select VMware vSphere
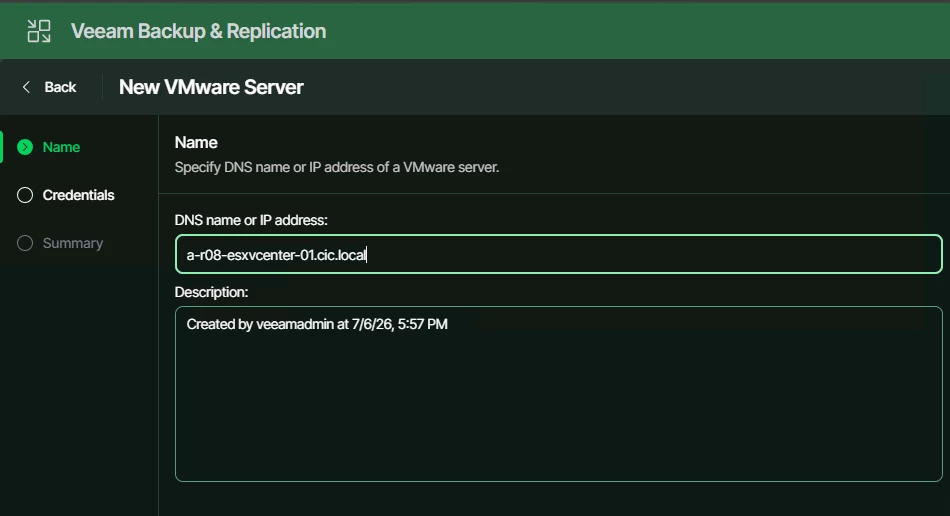
Enter the FQDN of the vCenter Server
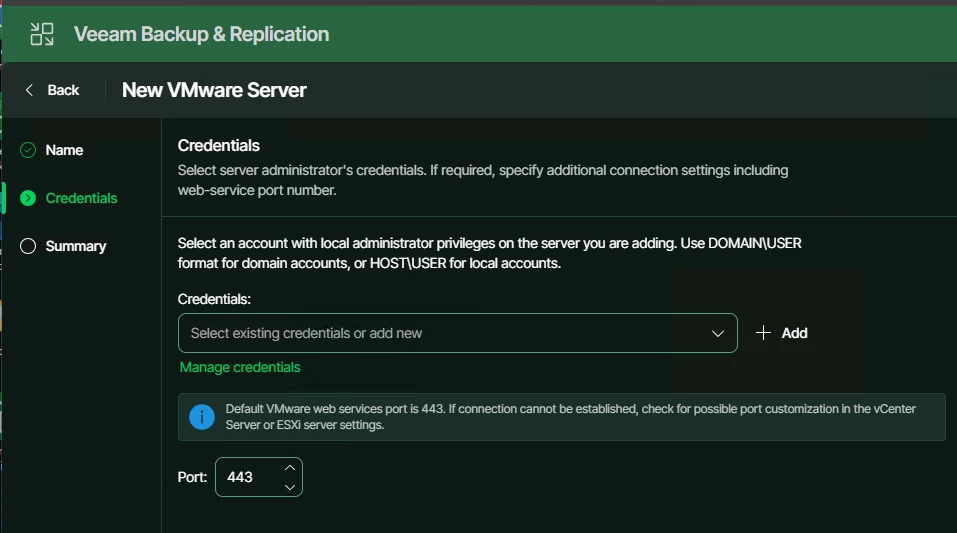
Select the credentials to connect
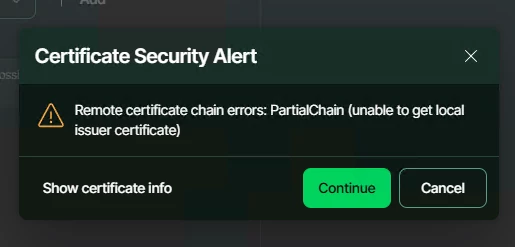
Click continue on the certificate security alert
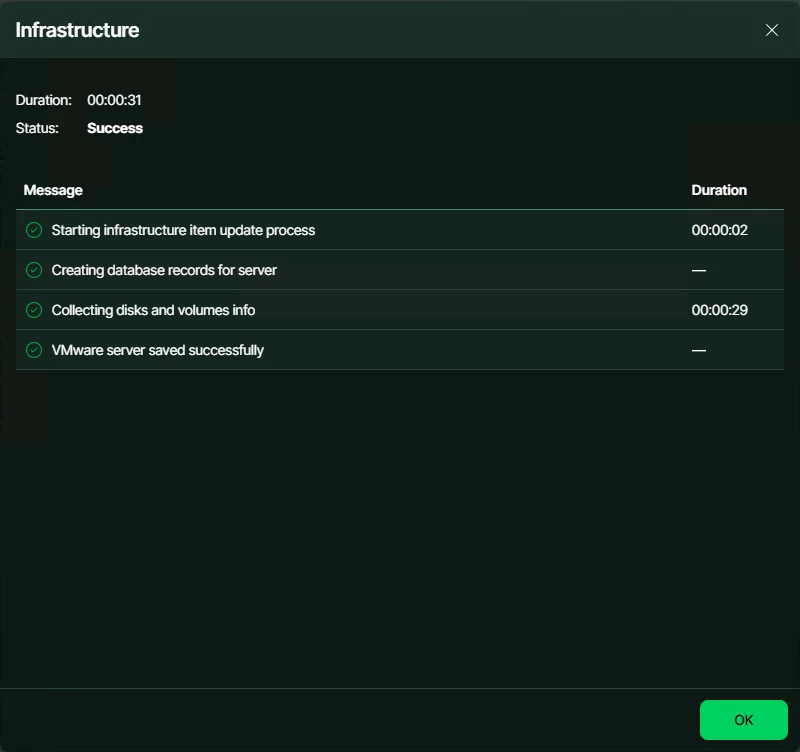
The discovery process will start/finish
Added Backup Repositories
I configured multiple repository types:
- Hardened Linux Repository
- Object Storage - Object First Ootbi
- Performance Tier
- Capacity Tier
I tested with Object First Ootbi, and below is the steps in adding to Veeam.
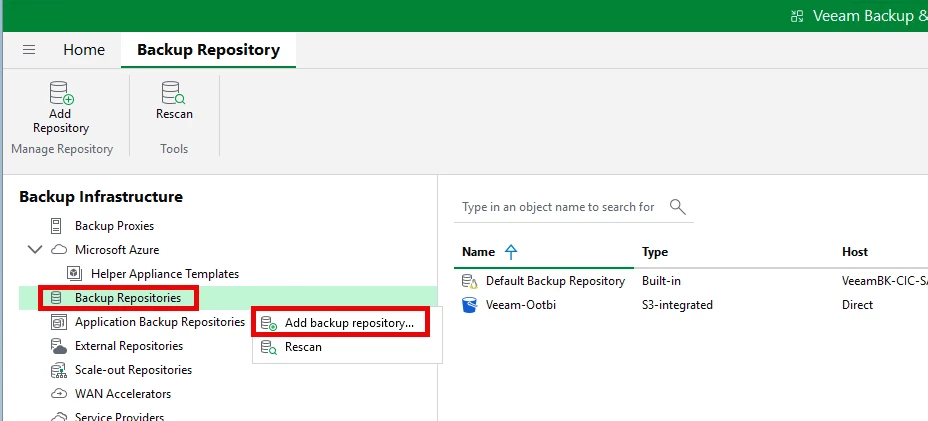
Note: this functionality doesn't exist in the new WebUI so the Veeam Console will need to be used for this.
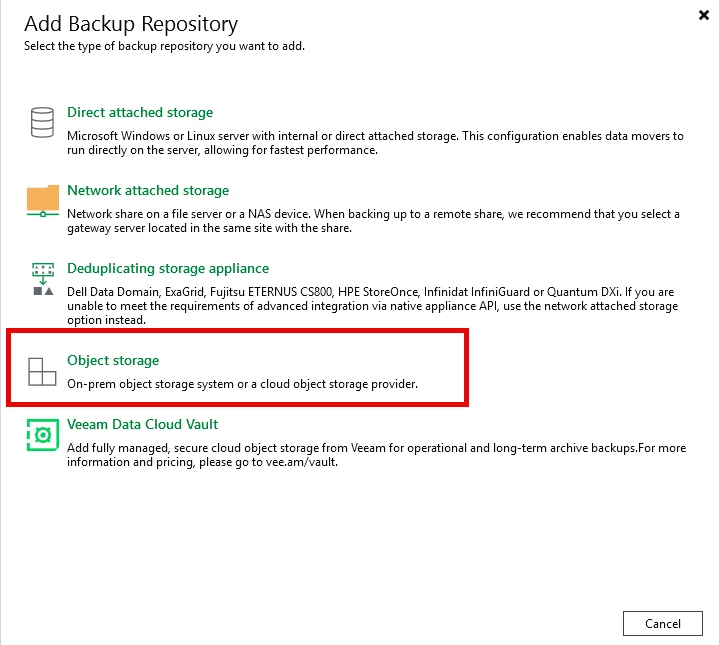
Navigate to Backup Infrastructure ==> Backup Repositories ==> Add backup repository
Select Object Storage
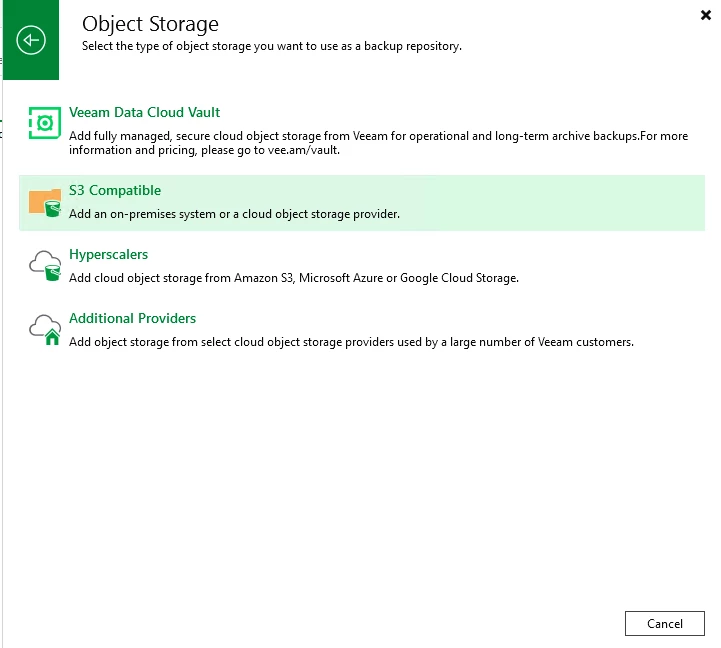
Select S3 Compatible
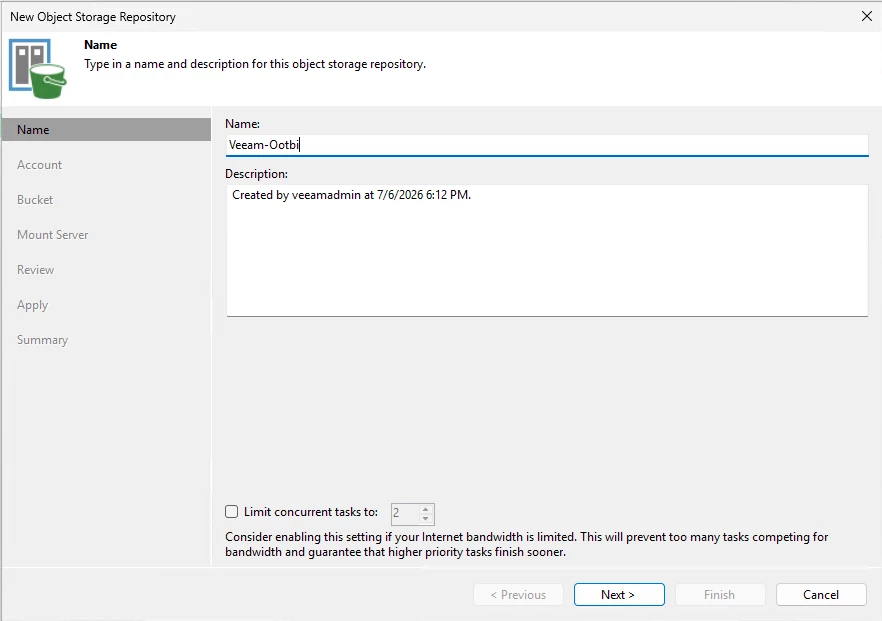
Enter the name for the Veeam - Object First connection
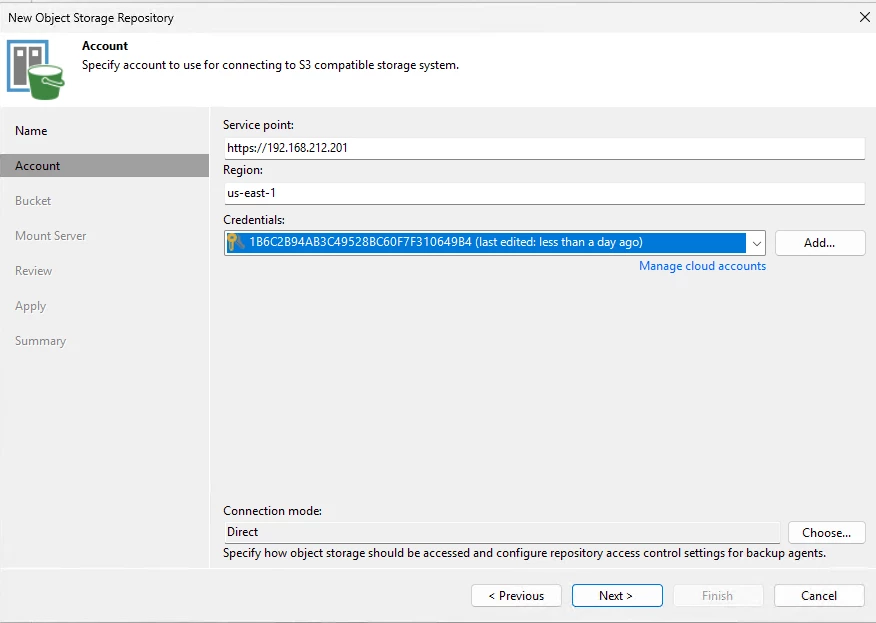
Enter the Service point IP, Region, and Credentials (Access and Secret key)
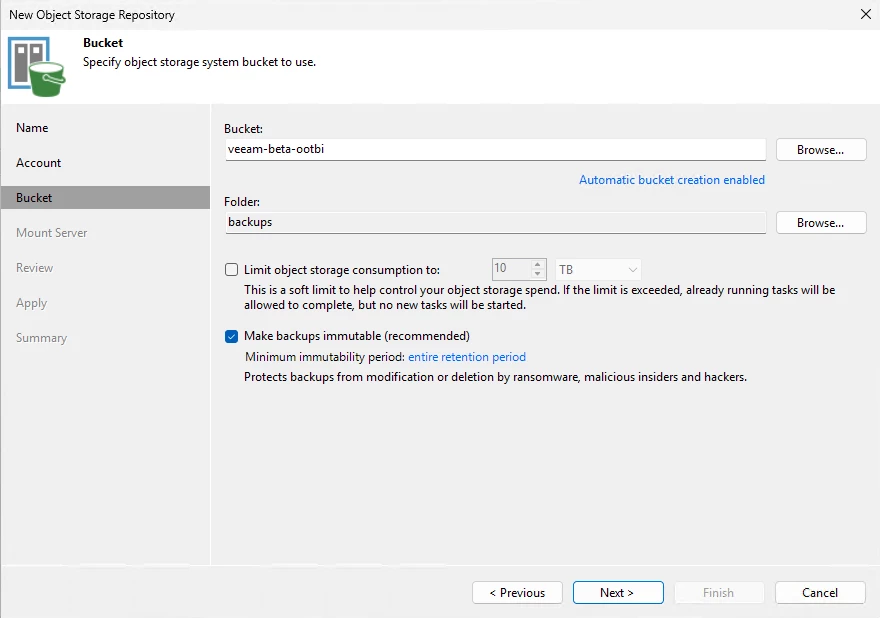
Select the bucket and folder, select the checkbox "Make backups immutable (recommended)
Note: the bucket will need to be created from the Ootbi appliance prior to this step
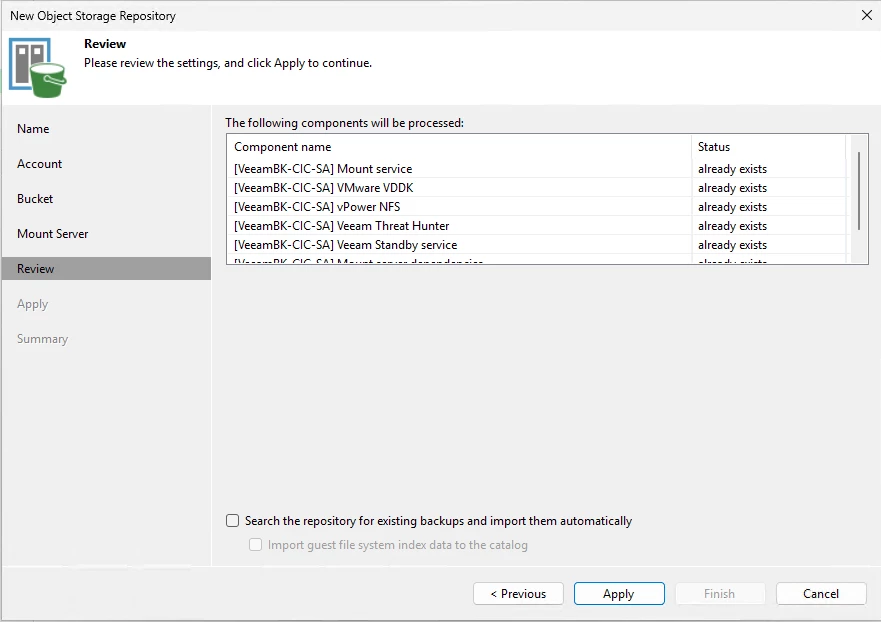
Review the settings - all the services below will be installed on the Veeam backup server
Step 3 – Creating Backup Jobs
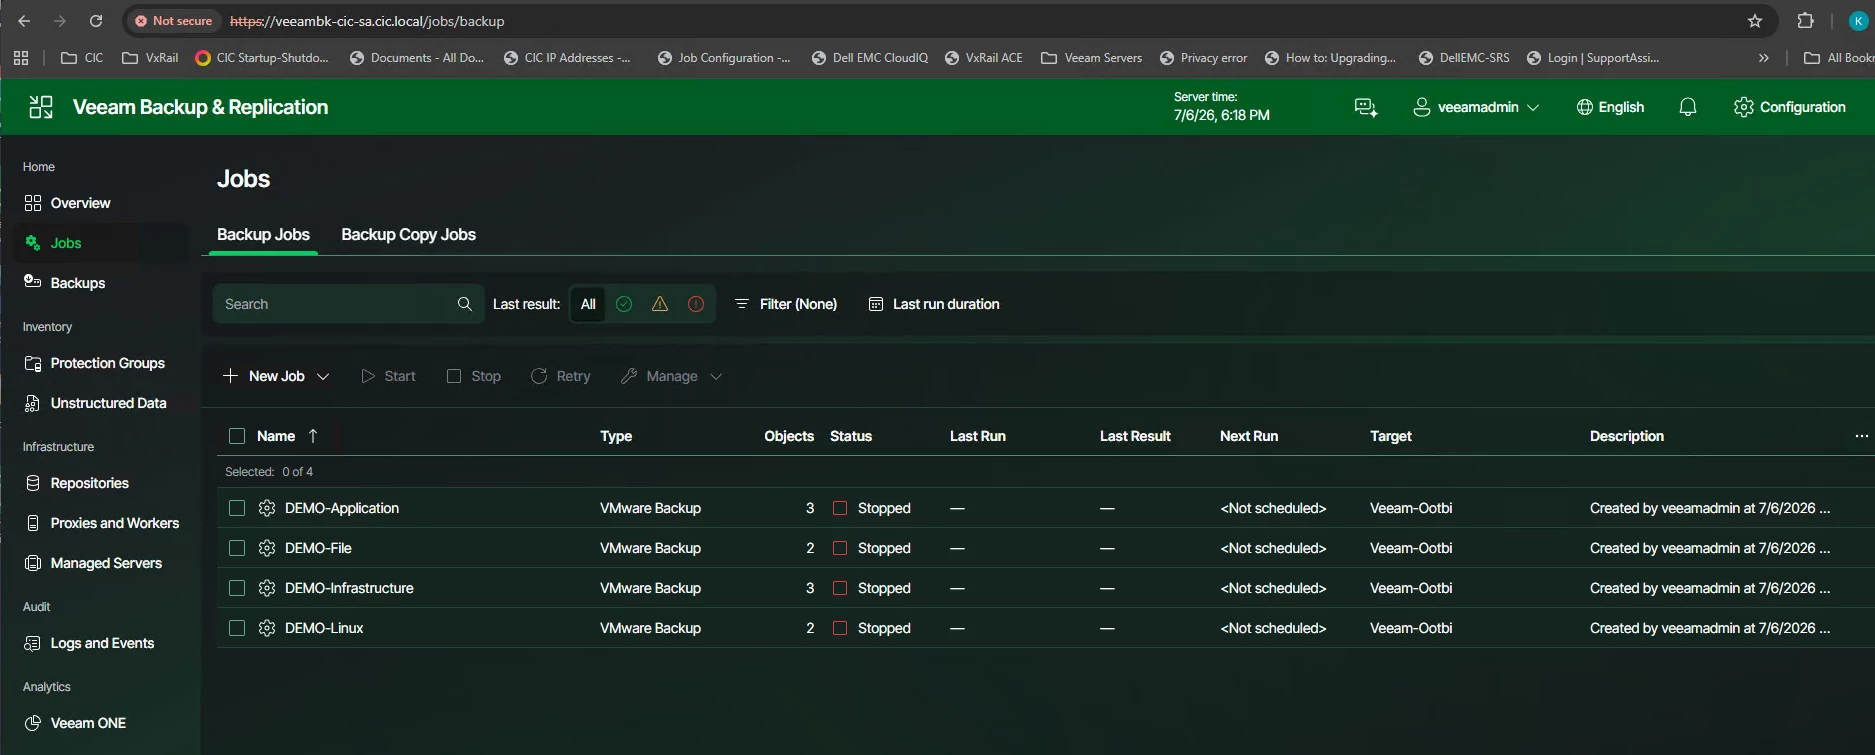
Rather than backing up a single VM, I created several jobs to simulate different customer workloads.
DEMO-Application (SQL)
DEMO-File (File server)
DEMO-Infrastructure (Exchange, Domain Controller)
DEMO - Linux (Linux server)
Step 4 – Running Initial Backups
Once everything was configured, I kicked off full backups.
Things I verified included:
- Repository performance
- Deduplication
- Compression
- Throughput
- Processing rate
- CBT operation
- Resource utilization
The jobs completed successfully without errors.
Step 5 – Recovery Testing
A backup isn't useful until you've proven you can restore it.
This is the part too many environments skip.
I tested:
Instant VM Recovery
File-Level Recovery
Guest File Restore
Application Item Recovery
Entire VM Restore
Every restore completed successfully.
If you're evaluating a beta, recovery testing should always be part of the validation—not an afterthought.
Step 6 – Testing New 13.1 Features
Version 13.1 introduces a number of enhancements focused on cyber resilience, workload coverage, and operational simplicity. During my initial testing, I focused on validating several of the capabilities announced for this release.
Some of the highlights include:
- Expanded hypervisor support
- Enhanced threat detection
- Improvements to identity recovery
- Additional AI-assisted operational capabilities
- Continued improvements around secure infrastructure and recovery workflows
Rather than trying every new feature immediately, I concentrated on making sure the core backup and recovery workflows remained stable before exploring the new functionality. I’ll include in my next blog.
That's generally the approach I recommend for any beta evaluation: verify the fundamentals first, then expand your testing.
Performance Observations
Overall, I was impressed with the installation experience.
The beta felt stable throughout my testing.
Some observations:
- Installation completed quickly
- Backup jobs behaved normally
- Recovery operations were successful
- Repository configuration remained familiar
- Interface changes were minimal, making adoption easy
Of course, this is only an initial evaluation. I'll continue testing additional scenarios over the coming weeks, including larger backup sets, ransomware recovery workflows, and Scale-Out Backup Repository behavior.
My Beta Testing Checklist
Whenever I evaluate a new Veeam release, I work through a repeatable checklist:
- Install from scratch
- Verify services
- Connect infrastructure
- Add repositories
- Configure proxies
- Create backup jobs
- Run active full backups
- Verify synthetic fulls
- Test restores
- Validate application recovery
- Review logs
- Check performance metrics
- Document any issues
- Repeat after updates
Having a consistent process makes it much easier to compare releases and identify changes.
Final Thoughts
First impressions of Veeam Backup & Replication 13.1 Beta are very positive.
Installation was smooth, configuration was familiar, and my initial backup and recovery testing completed without any major issues.
The new capabilities announced for v13.1 continue Veeam's focus on cyber resilience, broader platform support, identity recovery, and simplifying operations for backup administrators.
As I continue testing, I'll be diving deeper into the new features, running larger-scale workloads, and sharing additional findings here on the Veeam Community Hub.
If you're participating in the beta program, I'd love to hear what you're testing. Are you focusing on performance, security, new workloads, or recovery? Share your experiences in the comments—we can all learn from each other's lab work.