

VeeamON - it’s beta time!
I recently had the pleasure of attending VeeamON in San Diego, where the much-anticipated V13 of Veeam Backup & Replication was officially announced. This latest version promises to bring a host of new features and enhancements that will undoubtedly elevate our data protection strategies to a new level.
In this multi-part blog series, I will guide you through the installation process and provide an in-depth overview of both the well-known and the newly introduced functionalities (as available in the beta) within Veeam Backup & Replication V13. Whether you are a seasoned Veeam user or new to the platform, this series aims to equip you with the knowledge and insights needed to make the most of this powerful data security platform.
One of the standout announcements at VeeamON was the release of the Linux appliance version, albeit in beta. This exciting development will serve as the foundation for our detailed drilldown, where we will explore its capabilities, setup, and potential use cases.
Stay tuned as we embark on this journey to uncover some of the potential of Veeam Backup & Replication V13.
In the first part of the blog post, we will cover the installation process for the appliance version of the product, based on Rocky Linux. In the following, we will cover the installation process in a virtual environment.
I will not only deploy the VBR server, but also a VHR (Veeam Hardened Repository). In V13 this will be based on a new JeOS-ISO which is basically derived from the same Rocky Linux. JeOS stands for “just enough OS” here and will obviously build the core for all the upcoming distributed modules.
The good thing about JeOS is that it will be fully under Veeam support regarding patching of even the OS itself. So, it will be hooked up to a Veeam update repository and receive all the Linux updates through that. We can always be sure that everything is fully compatible and vendor-tested.
The option to stay on Windows with VBR and even deploy everything manually will though remain as an alternative.
Reminder
We’re test driving a beta here. Some functionality is still lacking, incomplete or might even not make it to the final version.
Deployment
If we want to deploy V13 as a virtual machine, we have to prepare that in advance. Having two hard disk inside with 256+ GB each is mandatory. I combined that with 6 CPU cores and 16 GB RAM for my test-drive. Choose Rocky Linux as the OS type, as this is what Veeam is using here. A paravirtualized SCSI adapter will be used as a default, which is nice.
Attaching the downloaded V13 VBR installation ISO and switching the VM on brings up GRUB with two options:
- Install Veeam Backup and Replication (VBR)
- Install Enterprise Manager (VBEM)
For the time being I’ll let alone VBEM and go for VBR first.

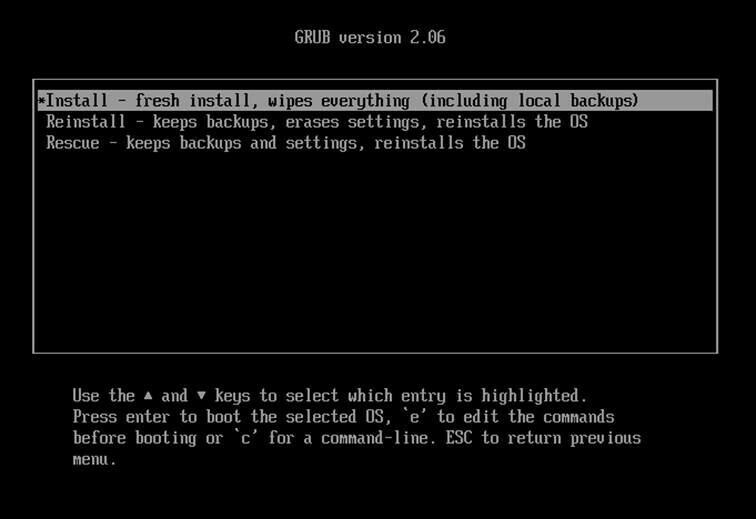
Next choice is, whether we want to freshly install, reinstall or repair a broken installation. In my case, fresh install is the way to go. Mind, that this will wipe all your data and backups which might be present in the system already.
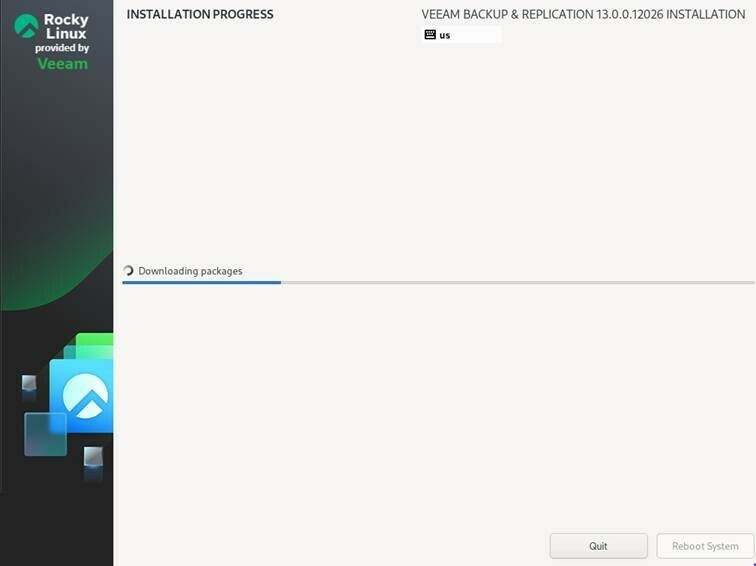
Now, for the first time, we see indication of an adapted Rocky Linux being used and we have to be patient until the initial installation is finished.
The installation will even download packages from the internet during the installation process.
Once completed, we have a reboot as our only option. Skip, skip, finish. Nice and easy.
The first real boot shows Rocky itself, a rescue system and the UEFI firmware settings as our options. We’ll do the default boot with the main system.

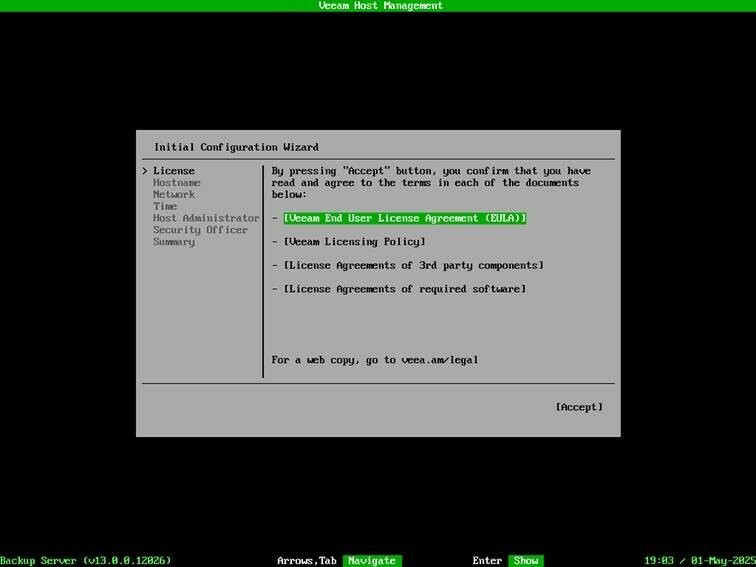
Now, we’re driven into the configuration process for our appliance. First of all, we have to comply with the license agreement.
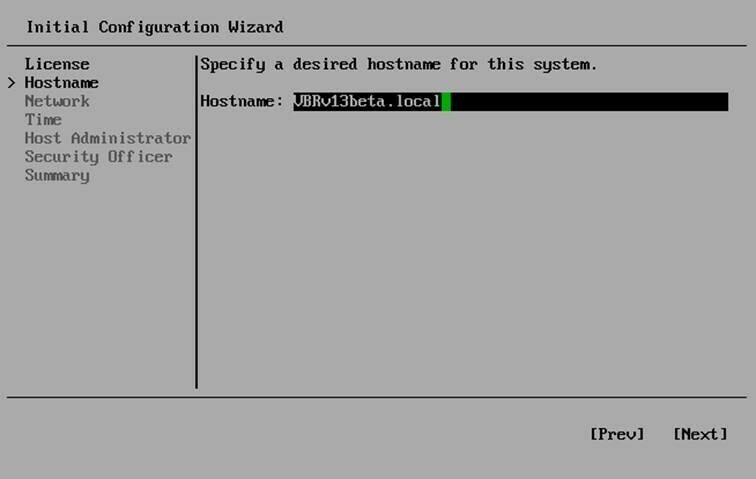
In the configuration wizard, now a hostname has to be defined.
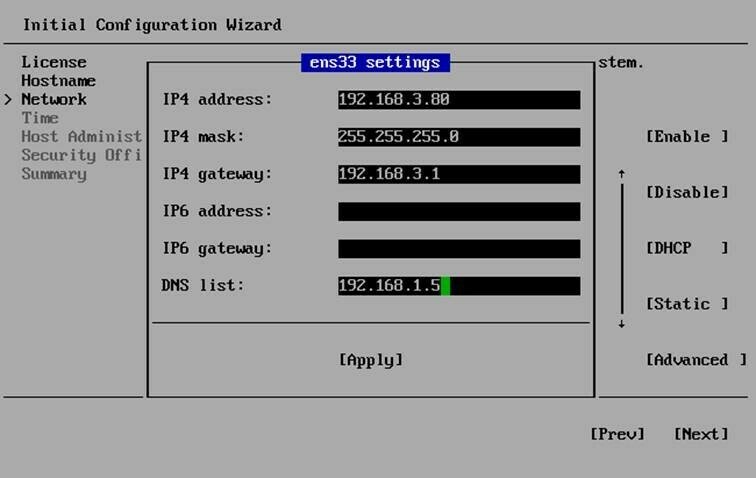
Next step is, to define the network settings unless you are using DHCP. If you have more than one adapter, the MAC address shown helps to identify the proper one for your intended connection.
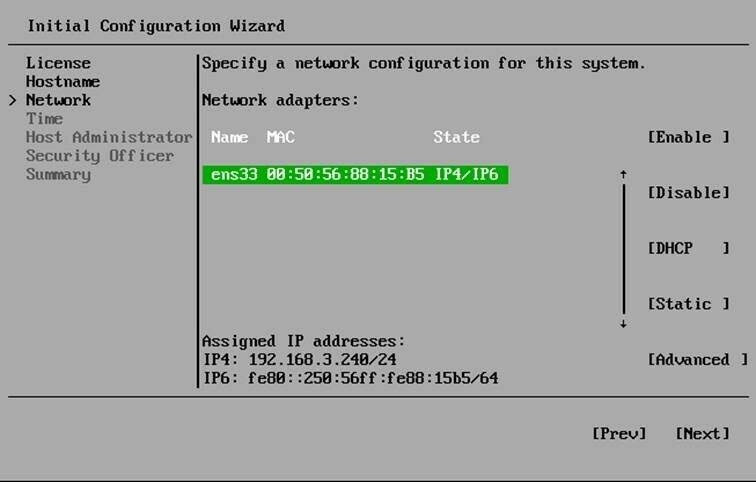
IPv4 and IPv6 addresses can be defined independently.
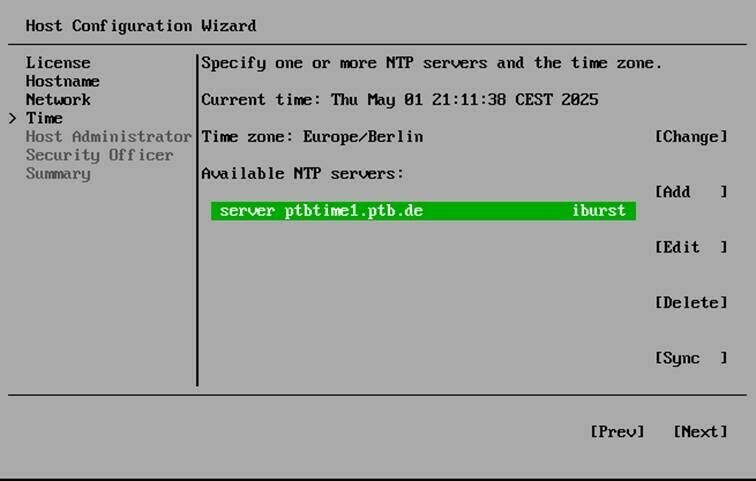
Pay special attention to your NTP servers. Especially in a productive environment this a crucial point from a security perspective. Time manipulation is a well known attack vector, it allows to circumvent some security measures as immutability.
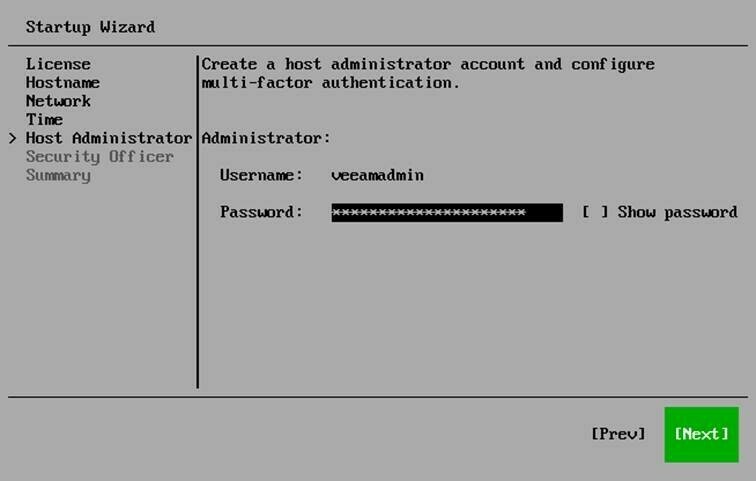
Next step is, to define the administrative user for your VBR server. Currently, the wizard only allows you type the password once and it is hidden by default. I’d recommend to have it shown, as you would lock yourself out right away if you put a type here.
2FA is mandatory and therefore has to be set up in the next step. A code and optionally a QR-code is shown on screen an can thus easily be registered within the TOTP authenticator of your choice.

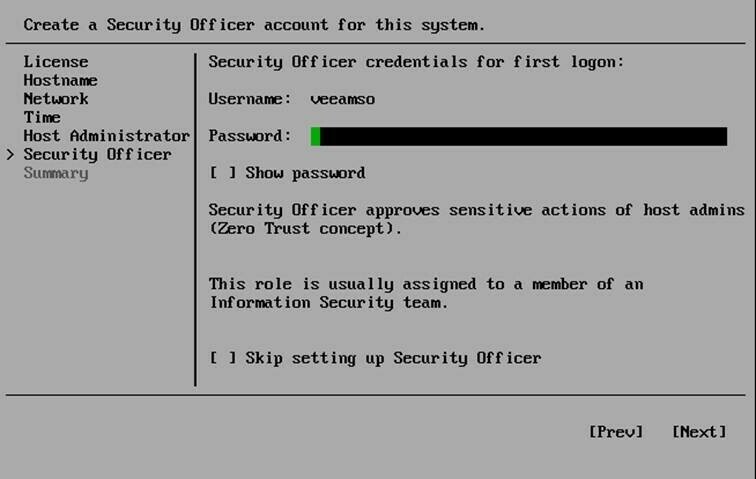
A security officer can be defined in the next step. Having one is optional, as you can skip this step with the “Skip…” checkbox. You must choose wisely now because you cannot change your decision later. Having a security officer enforces a clearance from this user for certain functions from inside the GUI. So, an administrative user cannot just delete backups any more without the security officer giving his approval.
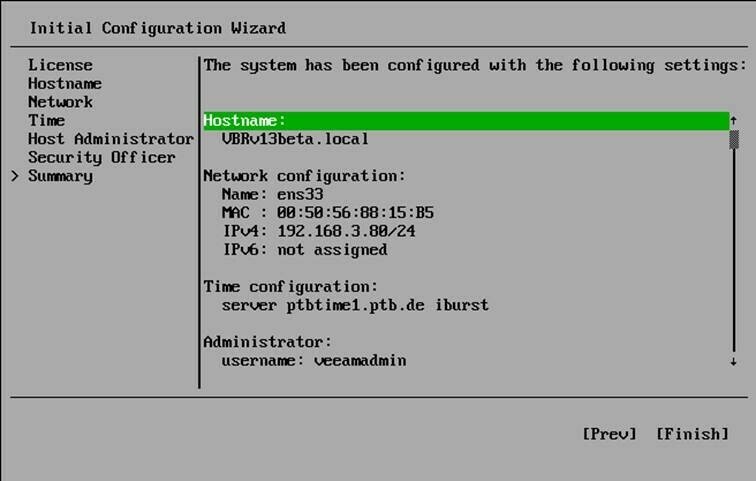
Now, we have everything set up and a summary is displayed. We can start the final setup with the “Finish” button.
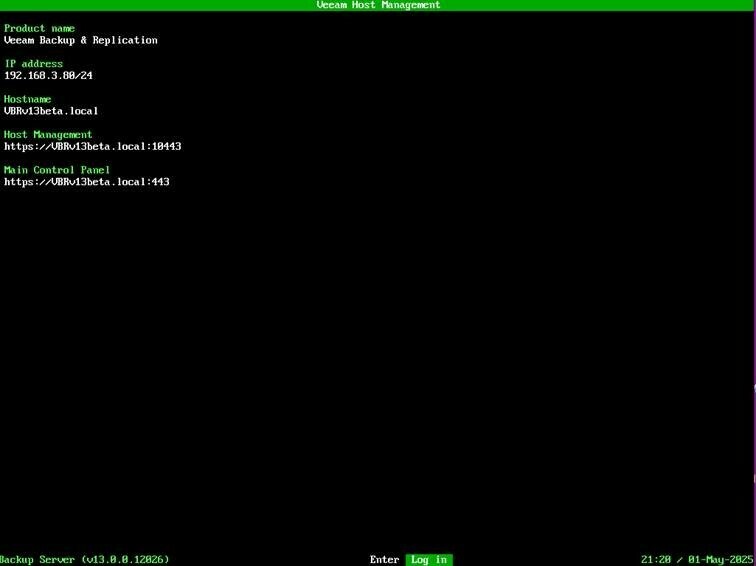
Once completed, the host management screen is displayed on the VM’s console. It shows not only the IP address, but also the FQDN of the host management interface and the VBR management.
This finishes the first post of my series. In the next part, we will have a look around in the new interface and will deploy another VM as a Veeam Hardened Repository from the JeOS ISO.
Stay tuned! 😎


