Dear Community,
If you're a Veeam Cloud & Service Provider (VCSP), support workflows is a routine part of daily operations. Traditionally, raising support tickets with Veeam support involved a manual, time consuming process, collecting logs from tenant VBR servers or Agents, navigating remote access restrictions, and uploading everything to the my.veeam.com portal for investigation. This added unnecessary delays, especially when dealing with restricted environments or needing approvals.
With the Veeam Service Provider Console (VSPC), the entire process is streamlined. You can now open tickets directly from the VSPC portal, whether for your own infrastructure or tenant or a reseller and automatically attach the relevant logs.
It’s a great improvement and significantly saves time creating support tickets and collecting the required log information. It also speeds up the investigation for Veeam Support Engineers, as they already have the logs from the beginning and don’t need to request them separately
In this guide, we’ll walk you through the process of creating a support case within the VSPC portal.
How to Create a Support Case in VSPC
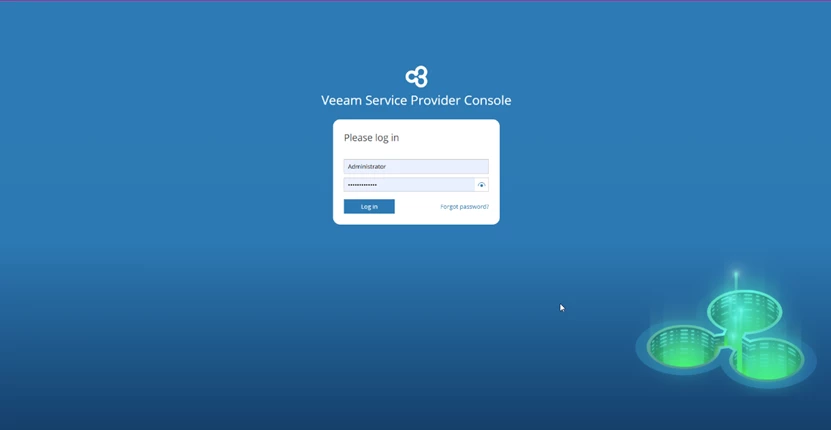
Step 1: Log in to the Veeam Service Provider Console
Use your VCSP Portal admin credentials to access your VSPC web portal
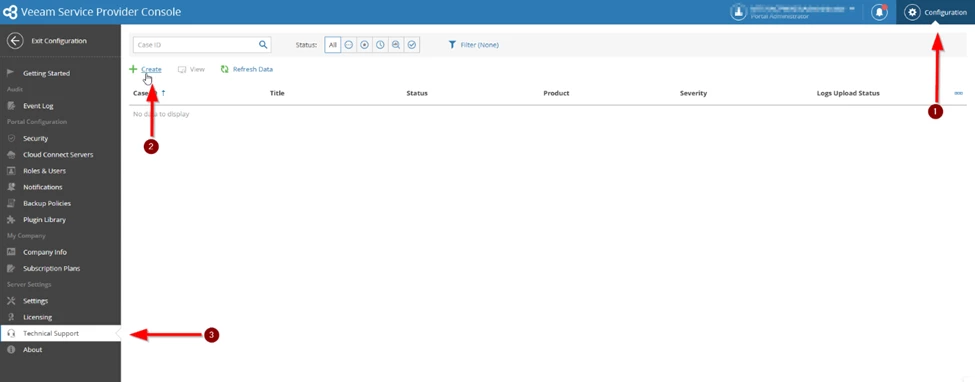
Step 2: Navigate to the Technical Support Section
- On the top-right corner, click on the Configuration icon (
 ).
). - From the left-hand navigation panel, click on Technical Support.
- Then click Cases > Create to open the case wizard
This will bring up the support interface where you can raise a new case or track existing ones.
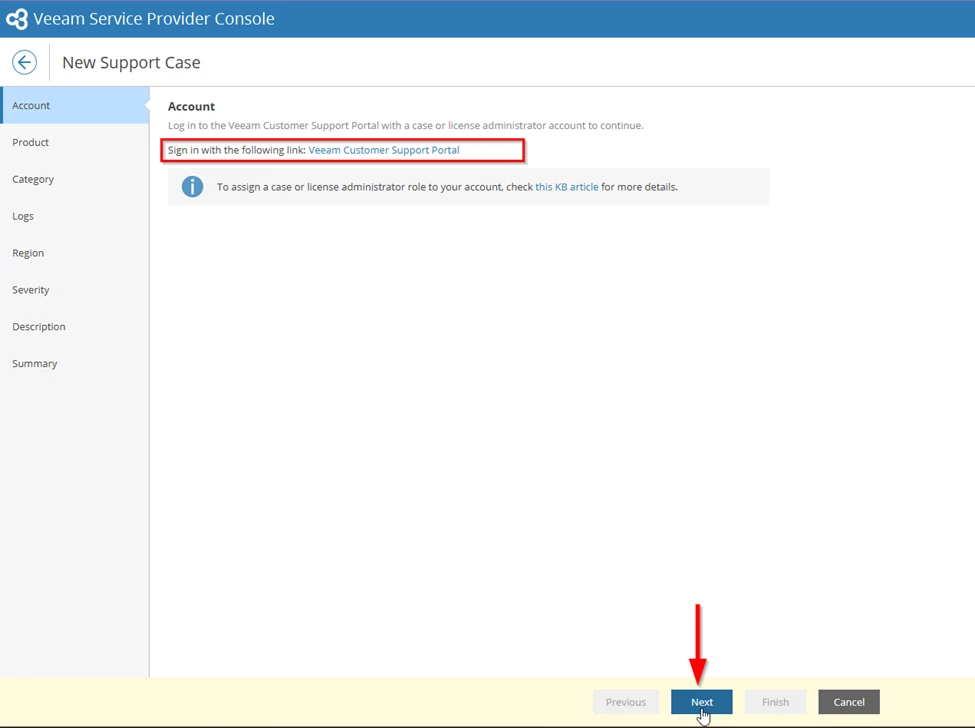
Step 3: Sign In to the Veeam Support Portal
- Once you click Create, a login window appears.
- You will be prompted to sign in with your support portal credentials and complete MFA if prompted
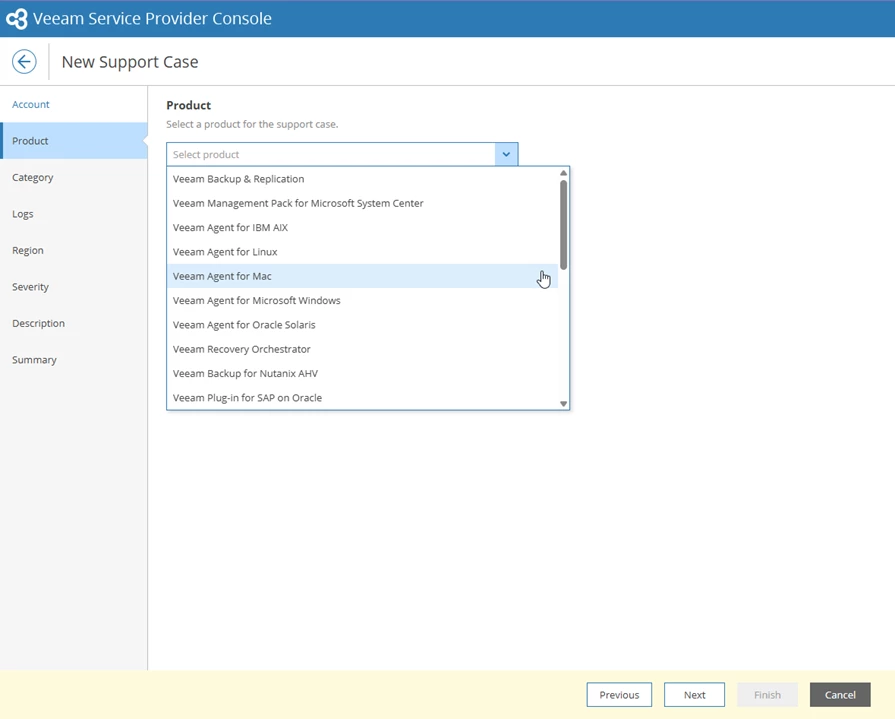
Step 4: Select Support Contract and Product
- Choose the support contract under which you're opening the case.
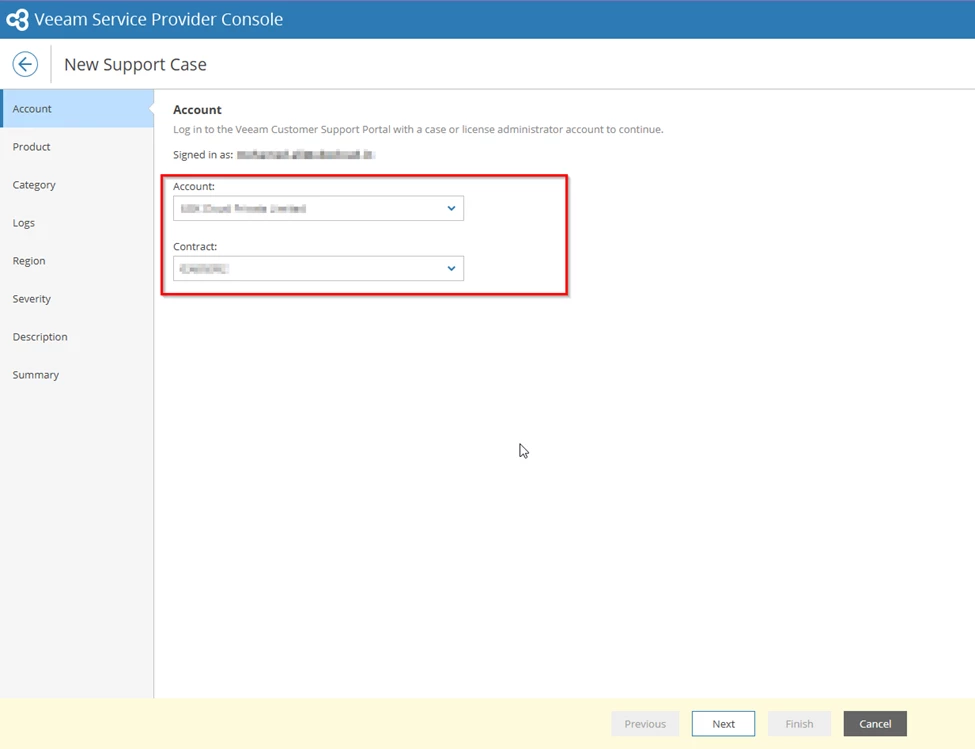
Select the relevant Veeam product, such as Veeam Backup & Replication
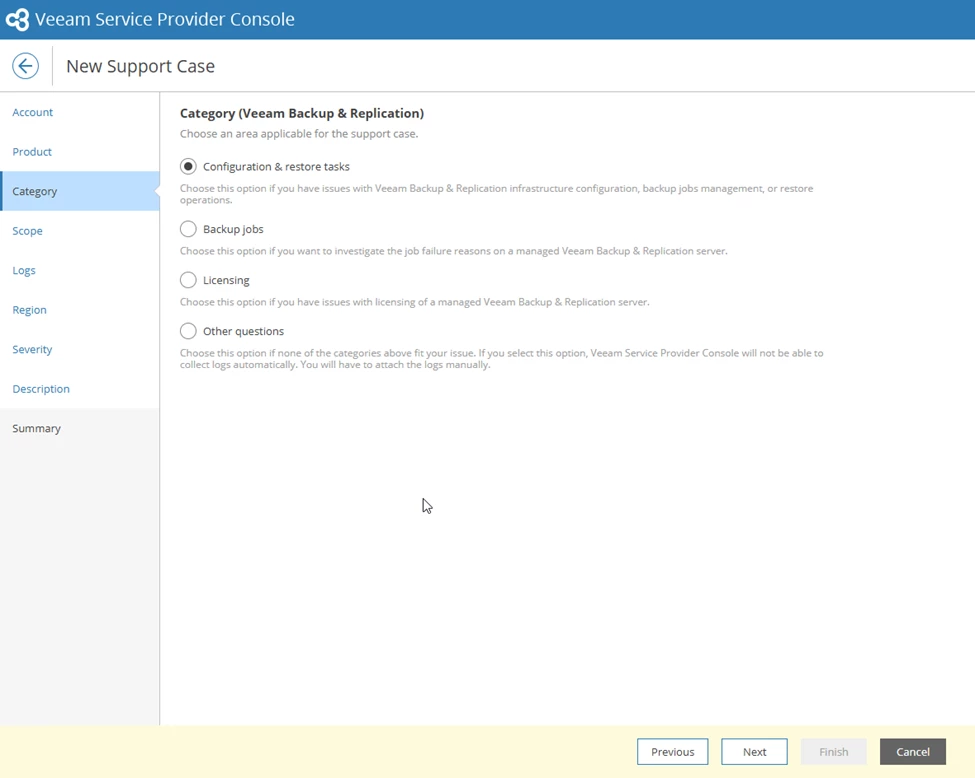
Step 5: Select the Case Category
Once you've selected the product (e.g., Veeam Backup & Replication), the next step is to choose the appropriate category that best describes the issue you’re facing. The following category options will be available for VBR:
Choose the category that best matches your issue:
- Backup Jobs
For backup or replication job failures, slow performance, unexpected job behavior, or troubleshooting errors related to scheduled tasks. - Configuration & Restore Tasks
For issues related to repository setup, transport services, configuration changes, restore points, or instant recovery problems. - Licensing
For license-related issues including activation failures, instance usage confusion, or license expiration. - Infrastructure
For connectivity issues, proxy/gateway server errors, repository unavailability, or performance problems in the underlying VBR infrastructure. - Other Questions
For any issues not covered above.
Note: Logs won’t be collected automatically — you must attach them manually.
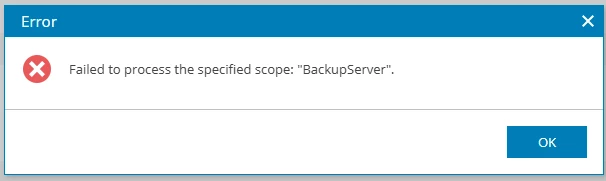
Step 6: Specify the Case Scope (for Veeam Backup & Replication)
You need to define the scope of the support case by selecting the relevant company (tenant/reseller) and the affected Veeam Backup & Replication (VBR) server where the issue occurred.
- Select the Company
- Choose the managed company, tenant, or reseller for which the support issue is being raised.
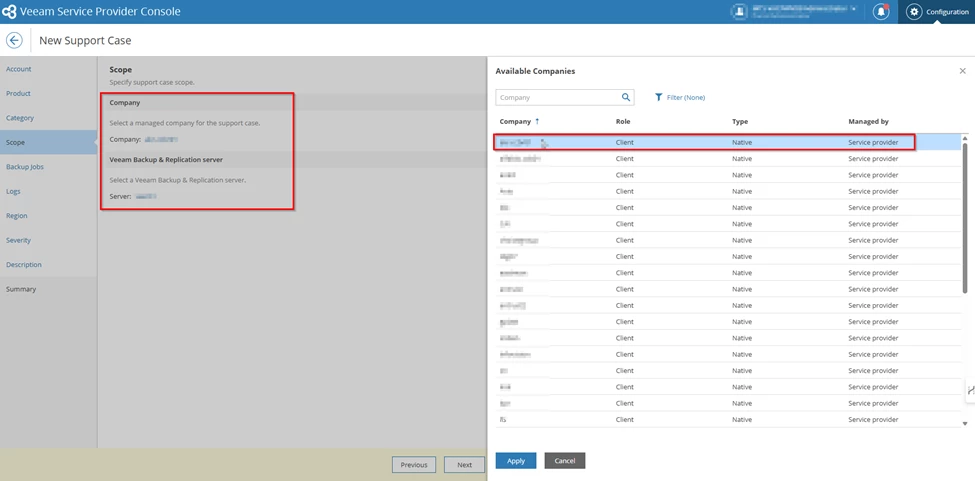
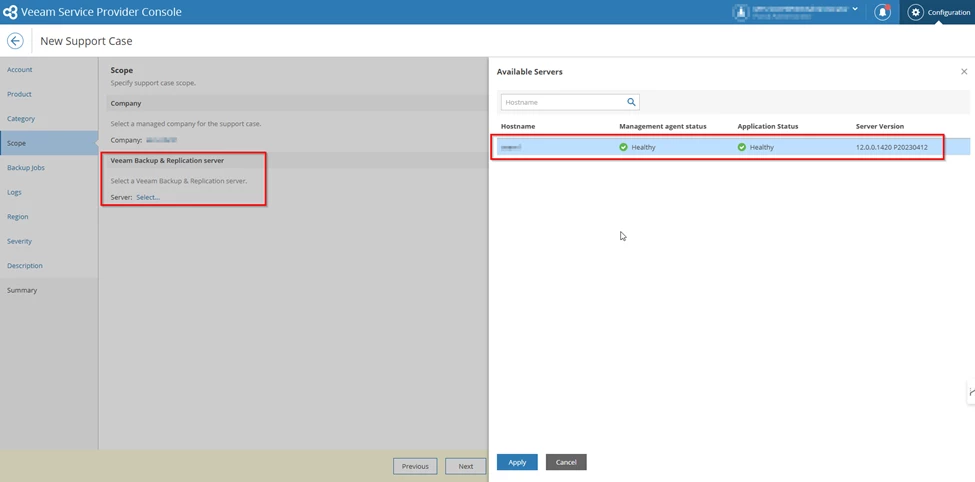
- Select the VBR Server
- Select the specific Veeam Backup & Replication server where the backup, replication, or restore issue is occurring.
- This allows the support team to identify the affected environment and collect logs from the relevant VBR components (e.g., jobs, proxies, repositories).
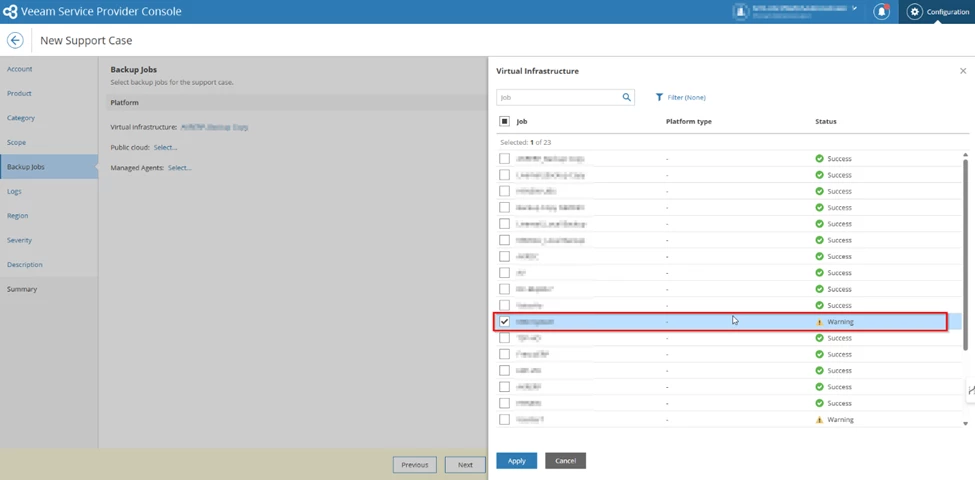
- Select the Affected Job(s)
Choose one or more jobs with issues from the managed infrastructure.
When selecting jobs, you’ll see them grouped by platform type:
- Virtual Infrastructure – Jobs managed by VBR (e.g., VMware, Hyper-V).
- Public Cloud – Jobs related to workloads in Azure, AWS, etc.
- Managed Agents – Jobs using Veeam Agent for Windows/Linux/Mac.
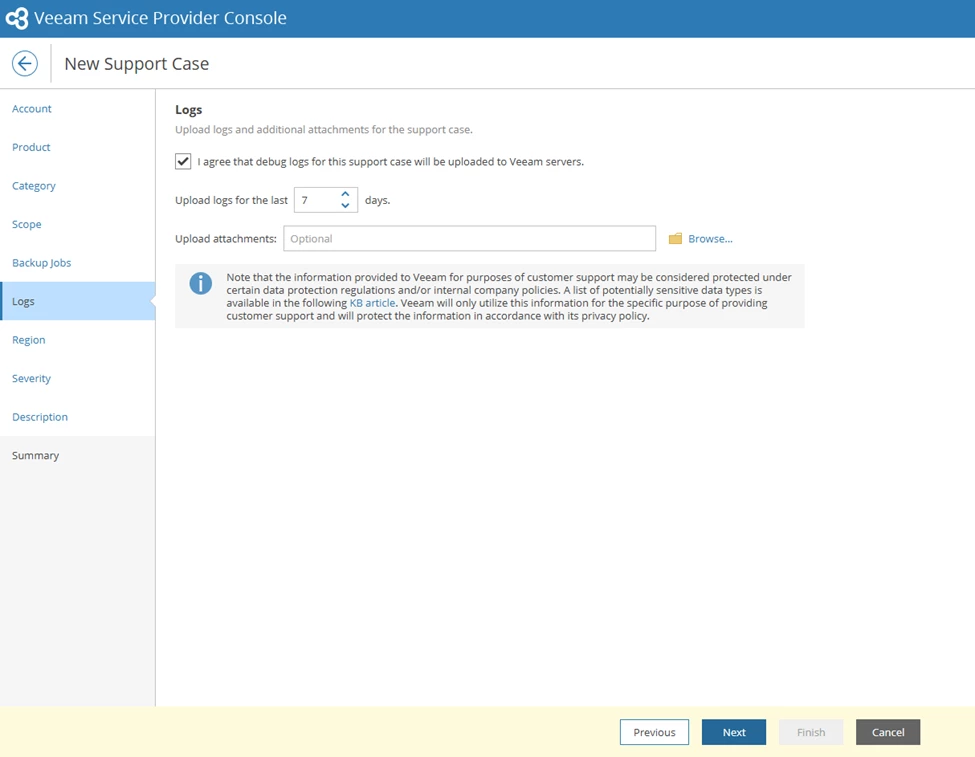
Step 7: Upload Logs and Attachments
In this step, you can upload debug logs and any additional files to assist Veeam Support in diagnosing the issue.
- Upload Logs
- Choose the number of days for which logs should be collected (default is 7 days).
- Upload Attachments (Optional)
- Click “Browse…” to select and upload log files or other relevant details like screenshots from your system.
Uploading accurate logs ensures faster and more effective troubleshooting by the support team.
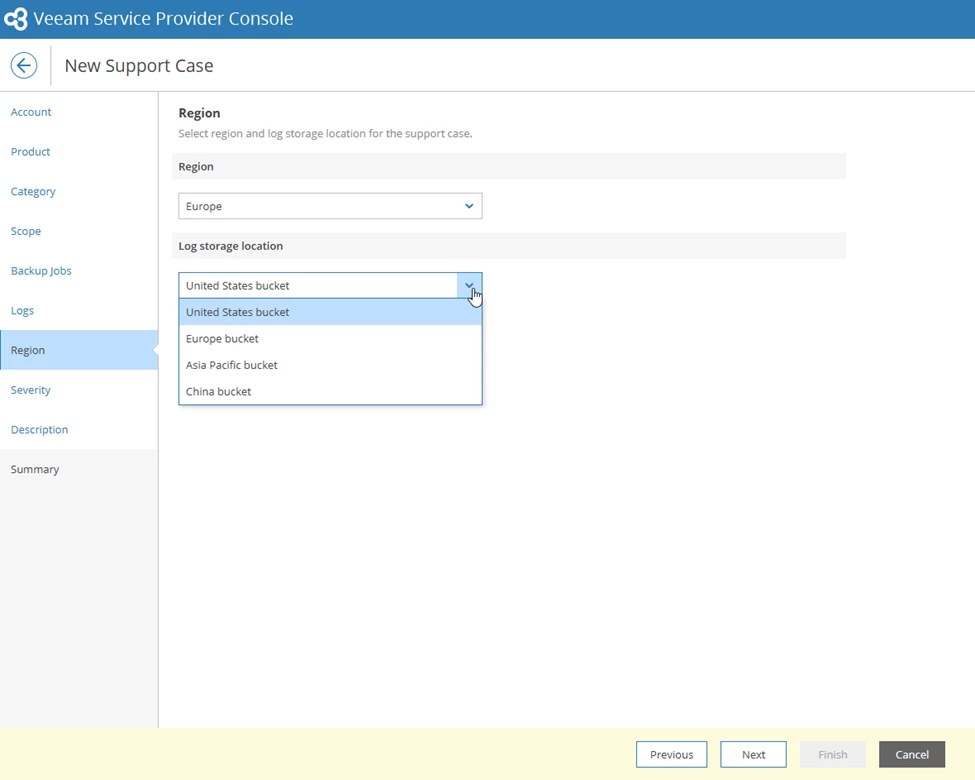
Step 8: Select Region and Log Storage Location
In this step, you’ll define the geographic region for the support case and choose where the logs will be stored:
- Region
- Select the region where your organization or managed company is located.
- Log Storage Location
- Define where logs should be stored — this may be necessary for compliance or governance.
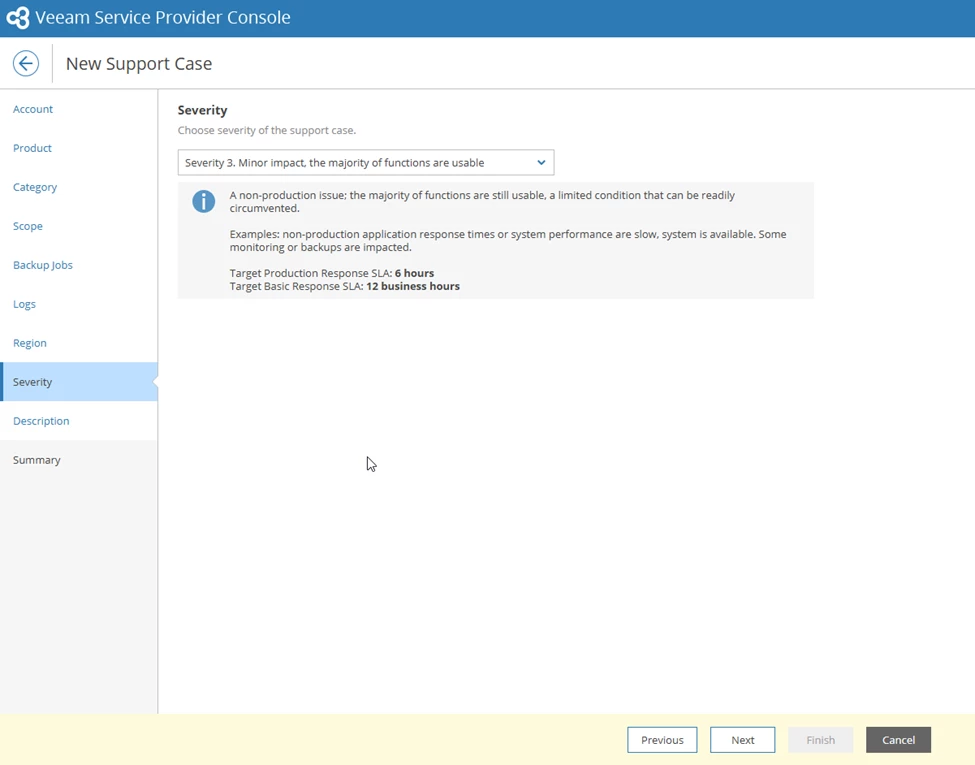
Step 9: Choose the Severity Level
Select the severity based on your impact:
- Severity 1 – Critical outage or ransomware impact
- Severity 2 – Major failures with partial impact
- Severity 3–4 – Minor or non-urgent issues
If ransomware is involved, tick the Ransomware Impact checkbox. This helps support prioritize and escalate the case appropriately.
Choose the severity level that accurately reflects the impact of the issue to ensure proper response and escalation handling.
Step 10: Enter Description and Submit
Finally, provide a clear description of the issue
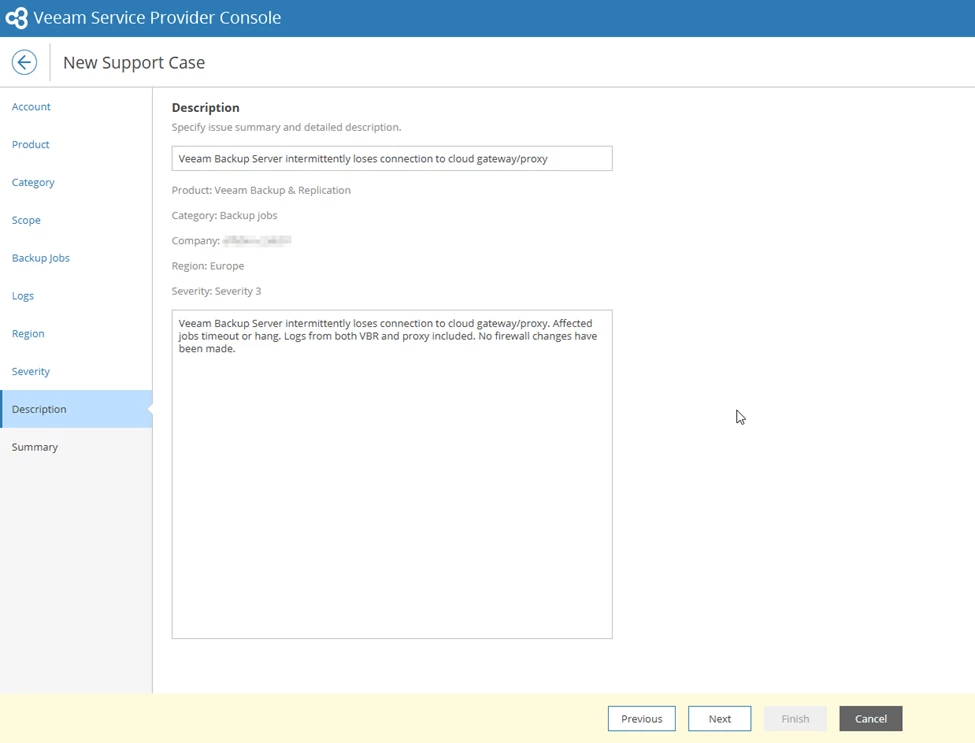
Click Finish to submit the case. Logs will be uploaded and the ticket created immediately.
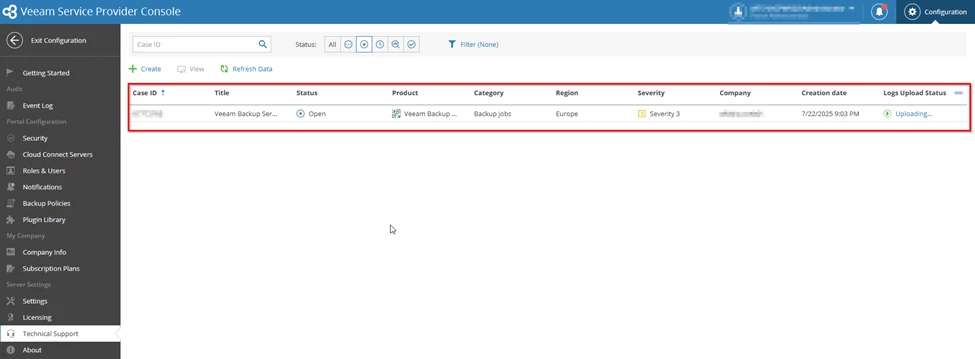
Summary
Creating support cases directly from VSPC is not just a time-saver. You reduce manual effort, eliminate delay in log sharing, and enable faster triage by Veeam’s support team.
If you haven’t adopted this workflow yet, I highly recommend trying it the next time a backup job fails. You’ll appreciate how quickly support is able to jump in with everything they need from the start.
 ♂️), this is good info to know. Thanks for sharing Mohamed!