NEW Veeam Agent for Mac, included with Veeam Backup & Replication, delivers easy and scalable Mac backup and recovery for even the most demanding organizations.
Veeam Backup & Replication introduces another new agent (Veeam Agent for MacOS). I wanted to go through a very quick look at the install of the Agent and what it looks like at the Backup & Replication end. My MacBook Air thought add this to the home Veeam Backup & Replication server v11.
Veeam Agent for Mac Overview
Veeam Agent for Mac New Features and Enhancements
To install Veeam Agent for Mac and all the required components
Preparing the Agent for MacOS
Due to managed by VBR, a NEW Protection Group needs to be created under Physical Infrastructure of Type Computers with pre-installed agents. We need to add to NEW Protection group and get the package files to install locally on our MacBook Air. Give your protection group a name first.
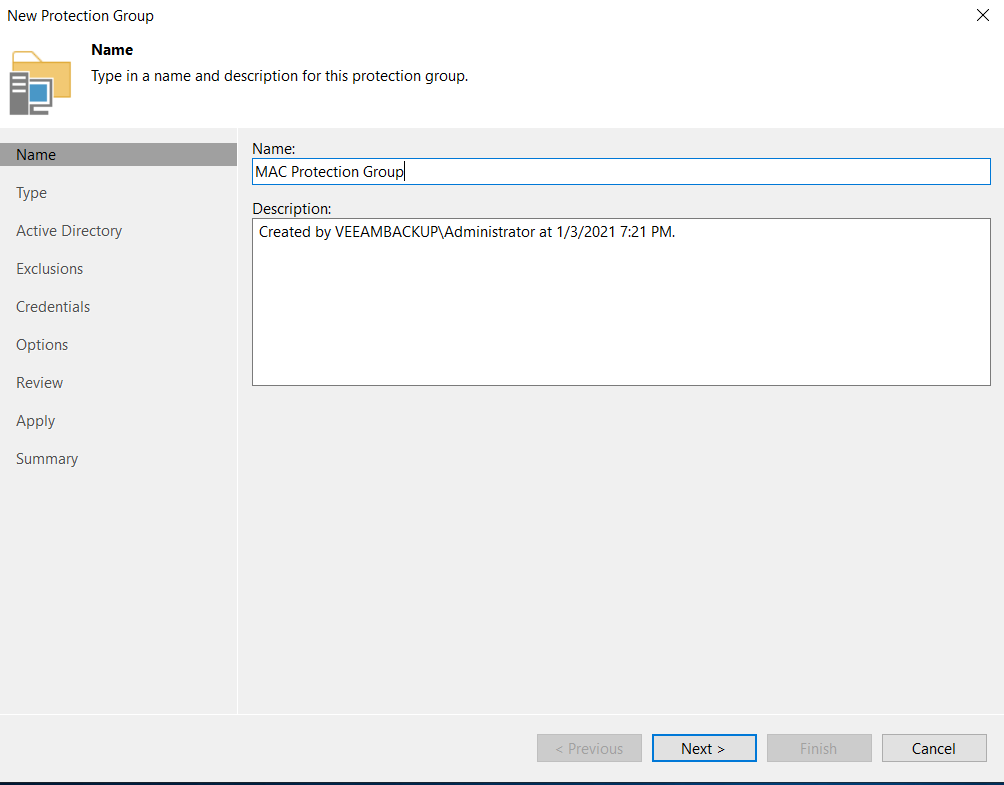
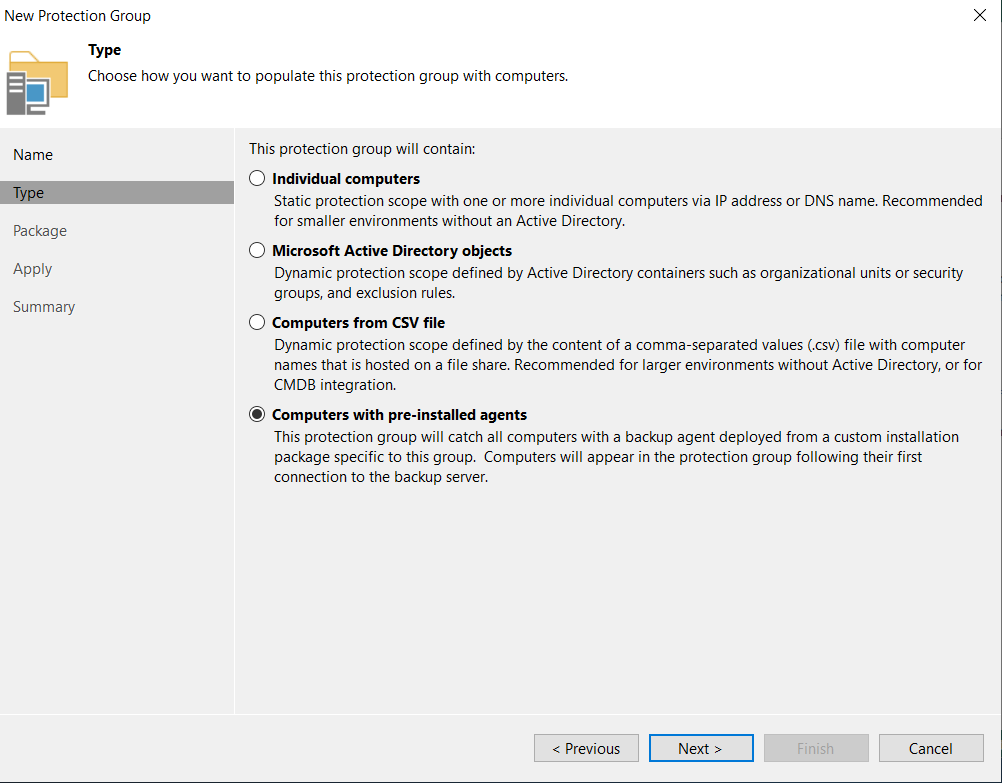
You have to choose a local path to store these files. The “Agent Package” Click “Apple Mac package with the device profile” and Apply.
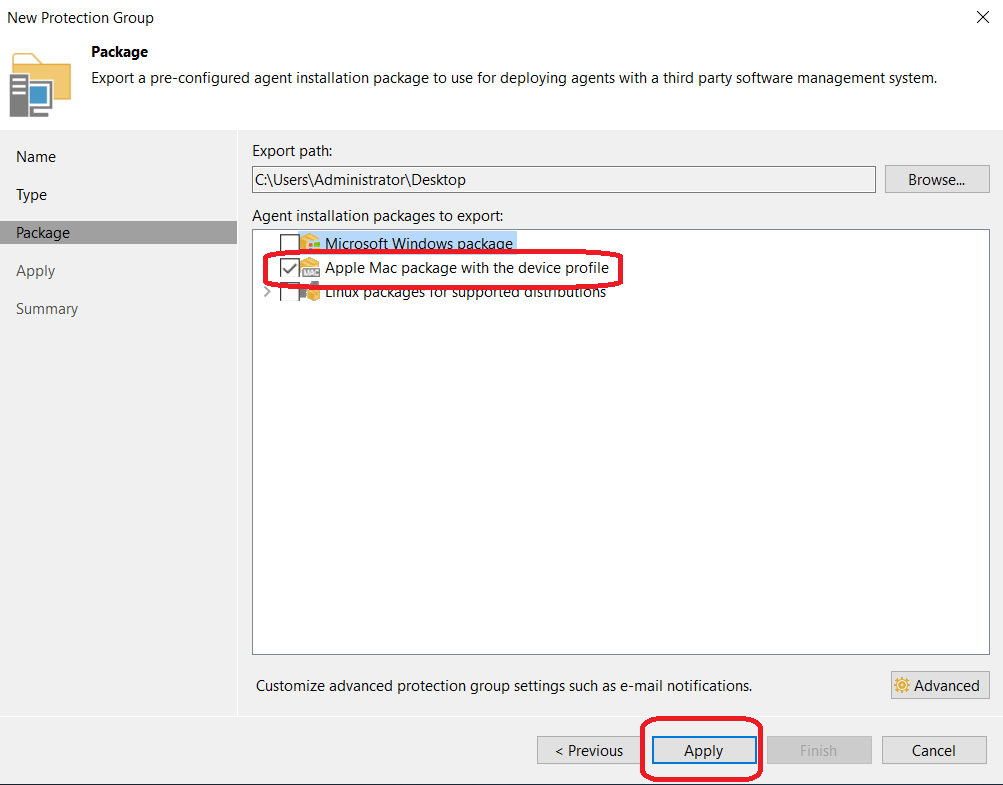
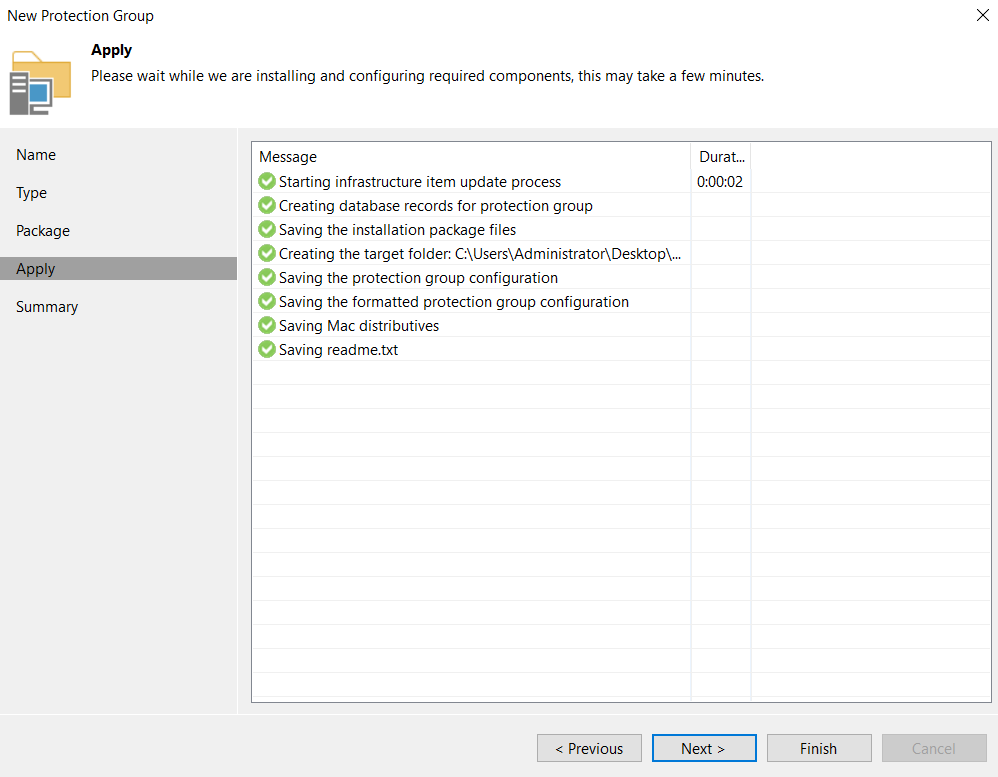
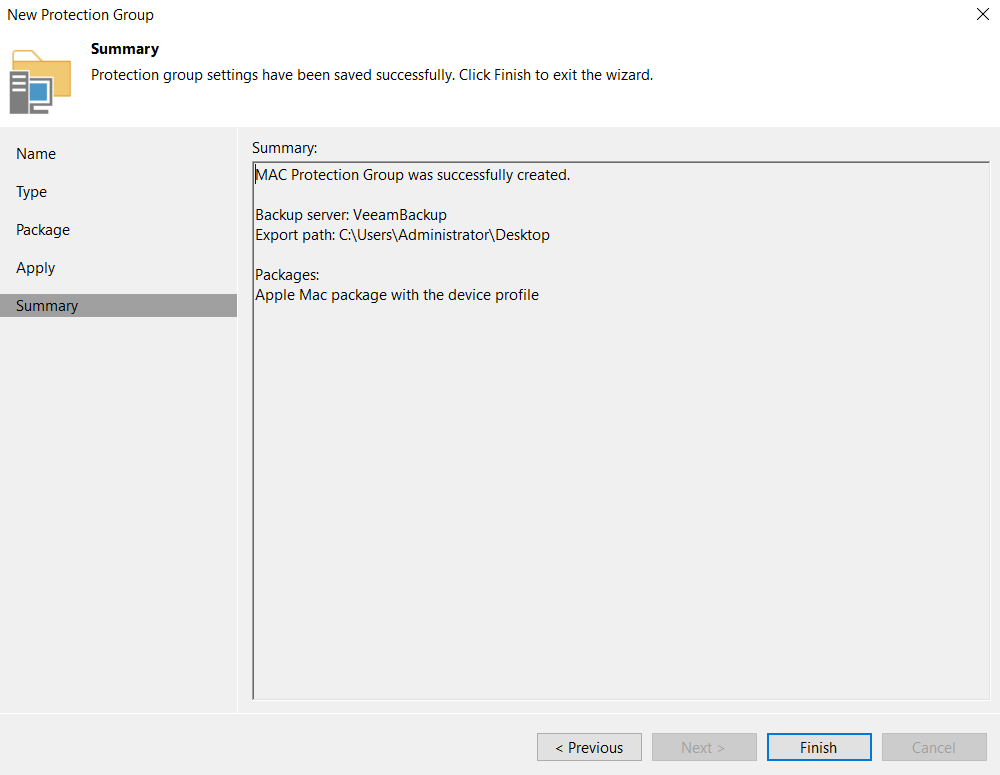
You must specified above then you can copy this to a network share or make it available across your network from your VBR server, then ran the installer.

Installing the Agent on MacOS
Next, we head to the MacOS system and ran the installer.
Select the Veeam Agent for Mac package depending on the MacOS version installed on your Mac
computer.
- If the MacOS High Sierra (version 10.13.6) is installed,
select the Veeam Agent for Mac-1.0.0.713-macOS10.13.6.pkg package. - If the MacOS Mojave (version 10.14.X) or later is installed,
select the Veeam Agent for Mac-1.0.0.713.pkg package.

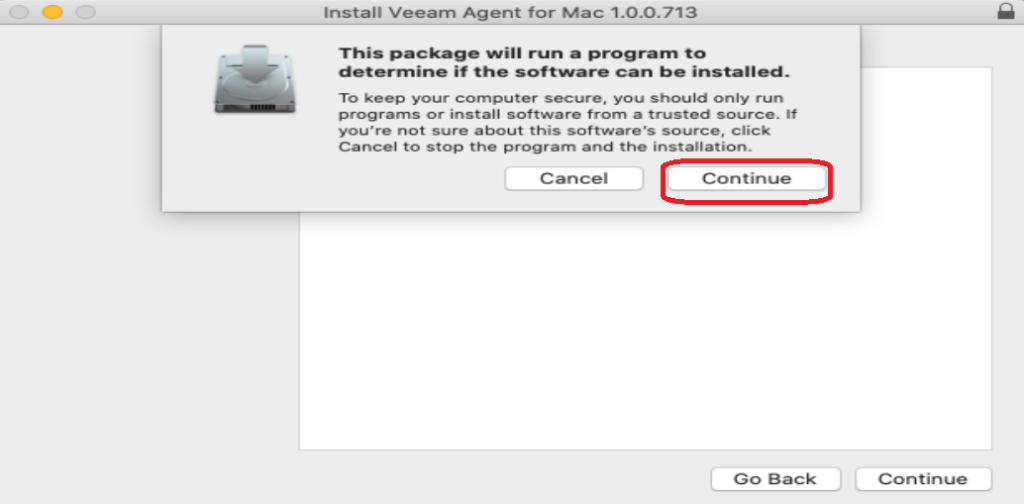
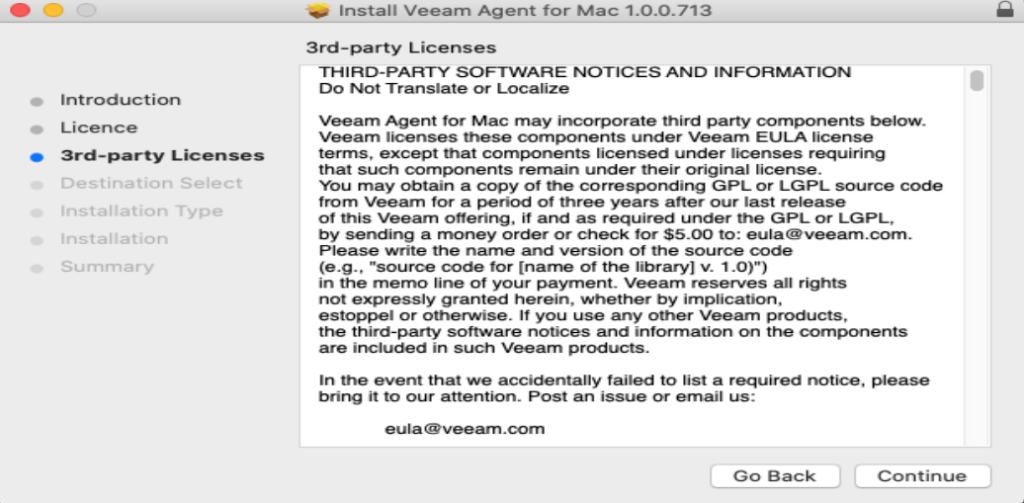
Let’s step by step to install Veeam Agent for Mac installer.
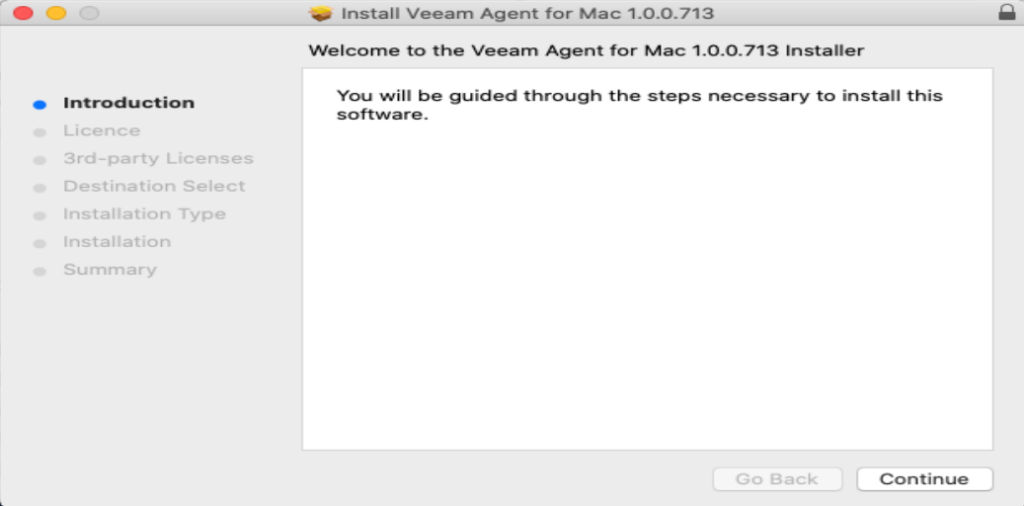
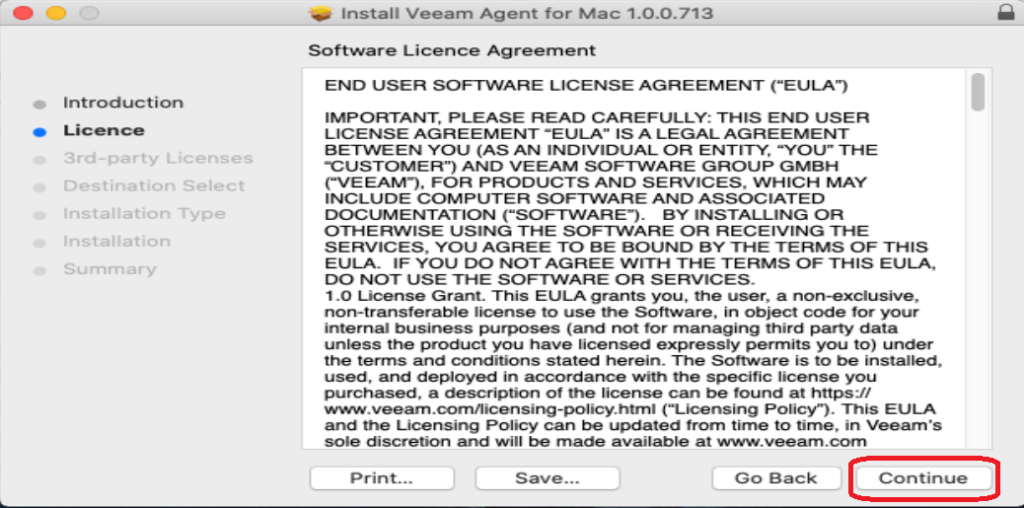
Accept the Software License Agreement and Continue.
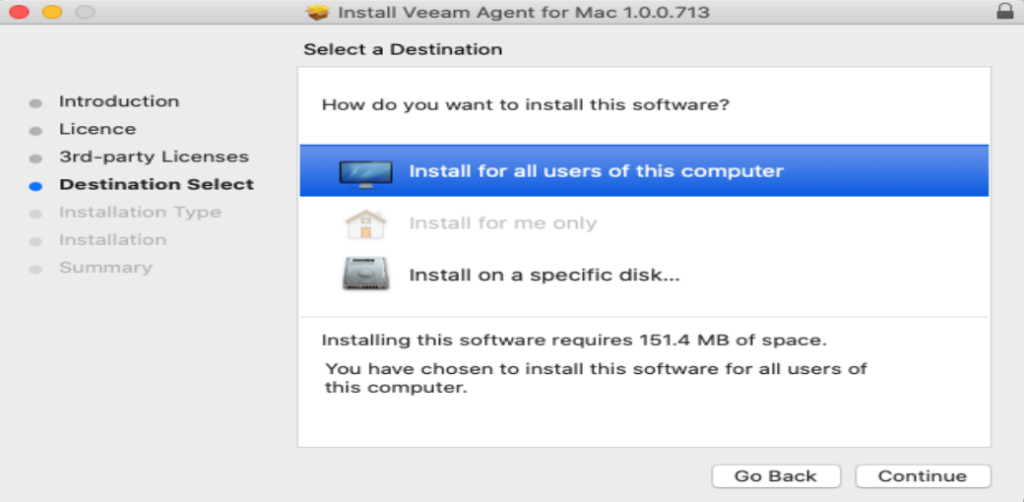
Select “Install for all users of this computer” then Continue.
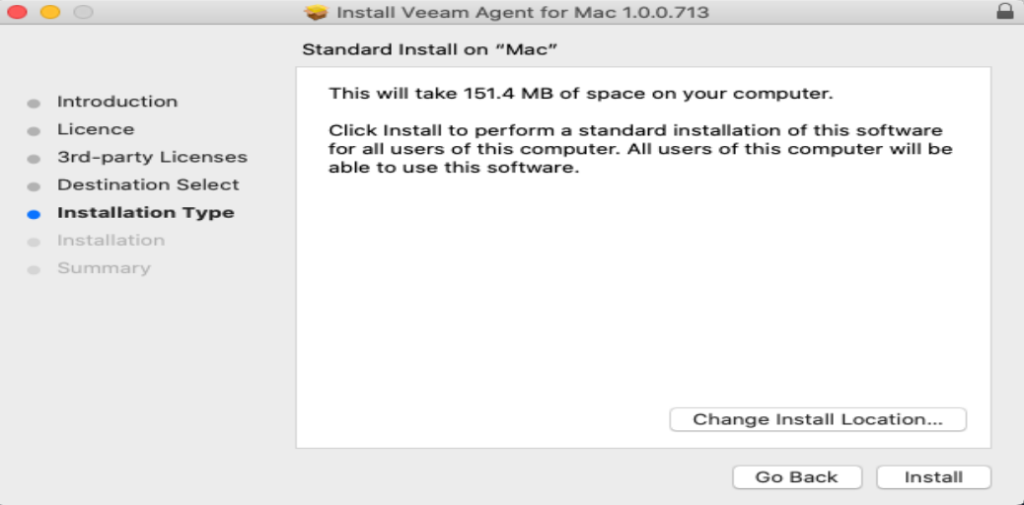
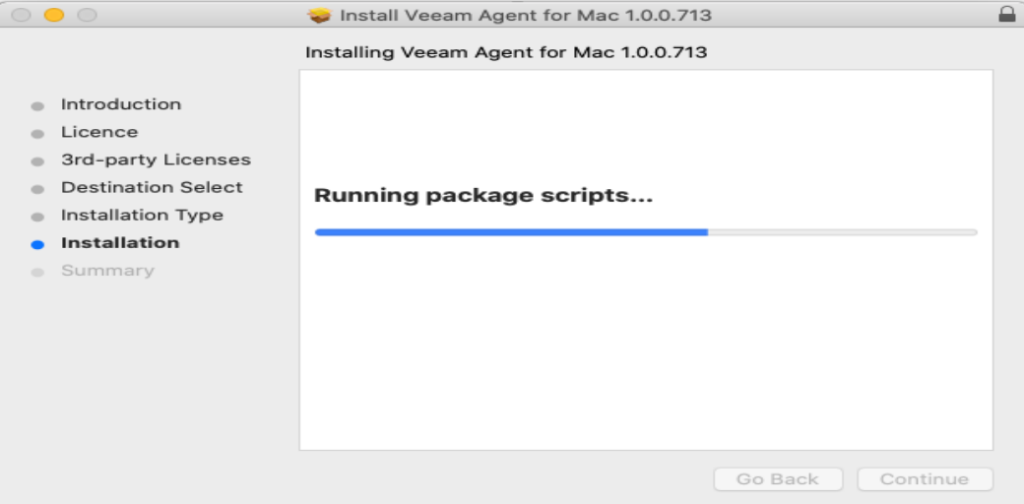
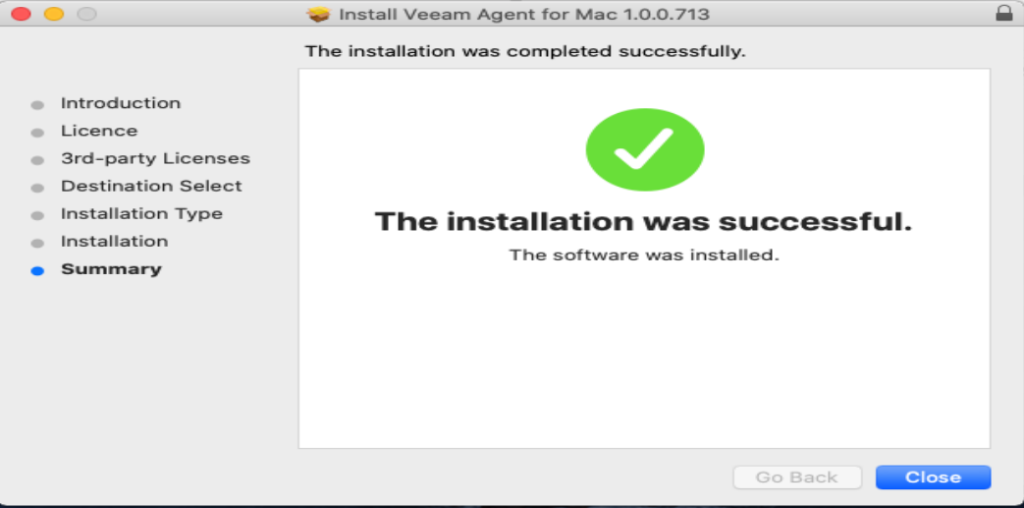
Now the installation is completed.
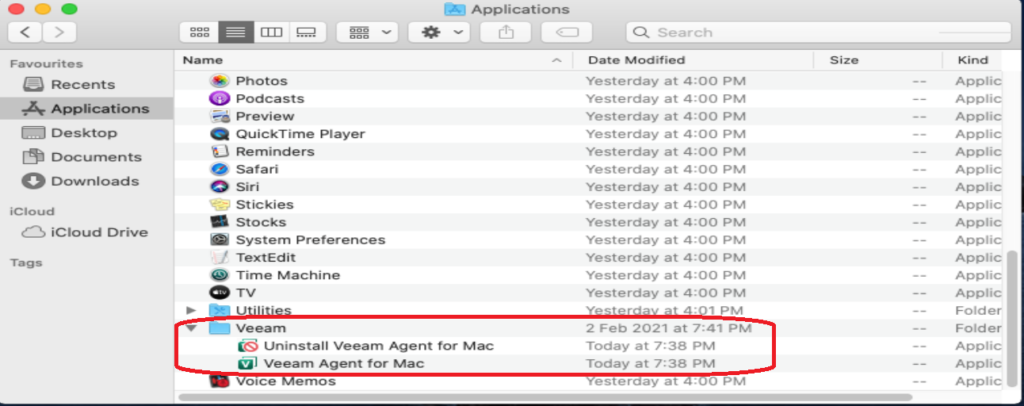
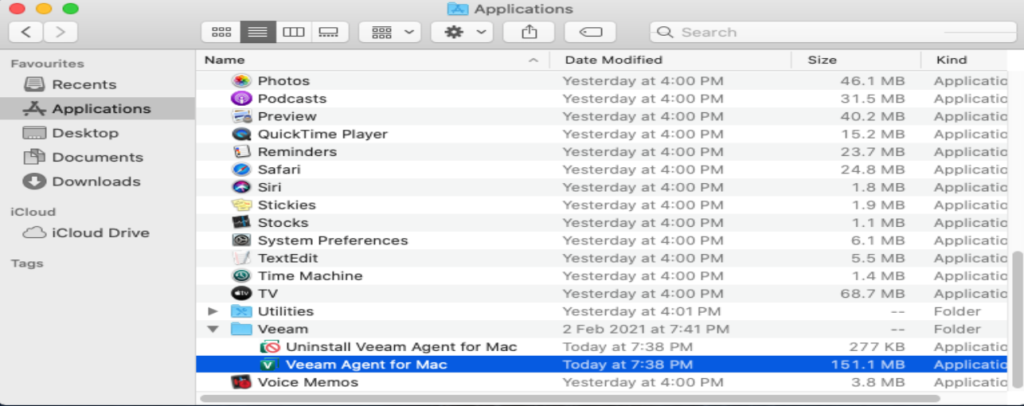
You will find the Veeam folder in the application folder.
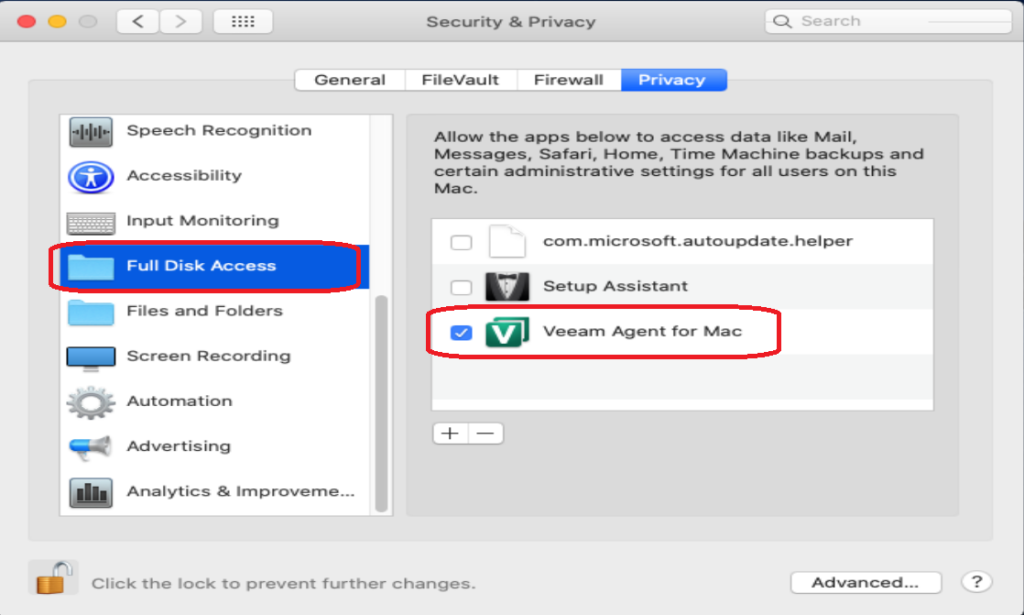
Granting Full Disk Access
After installation, Veeam Agent requires permission to access folders and files on the Veeam Agent computer.
1. Open System Preferences > Security & Privacy.
2. Select the Privacy tab.
3. Select Full Disk Access, then click on the lock icon.
4. Use Touch ID or enter the system administrator credentials and click Unlock.
5. Click “+” button.
6. Click Applications, then select Veeam Agent for Mac, and click Open.
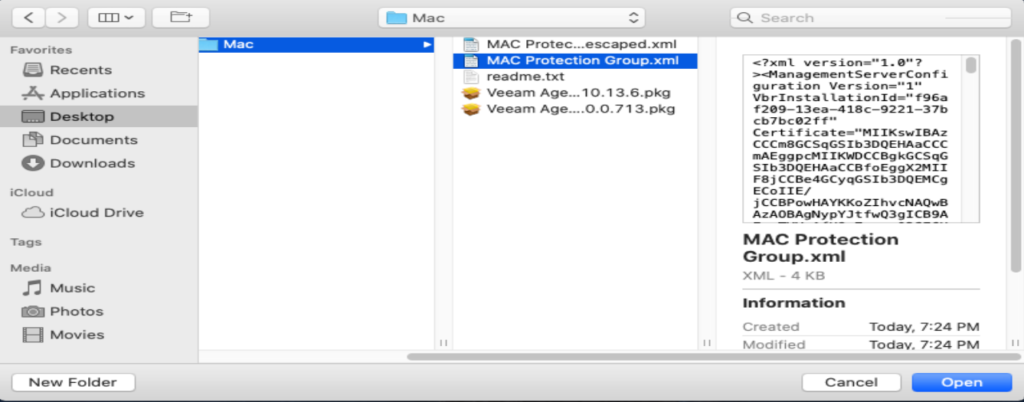
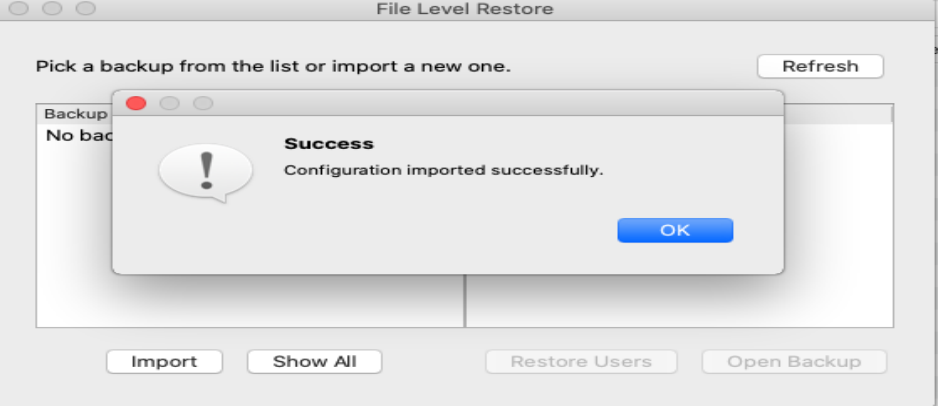
Now click “Veeam Agent for Mac” and “Import Configuration File”
It is compiled differently to “MAC Protection Group.xml” which most people will be using.
Now going to Veeam Backup and Replication server and Create Agent backup job.
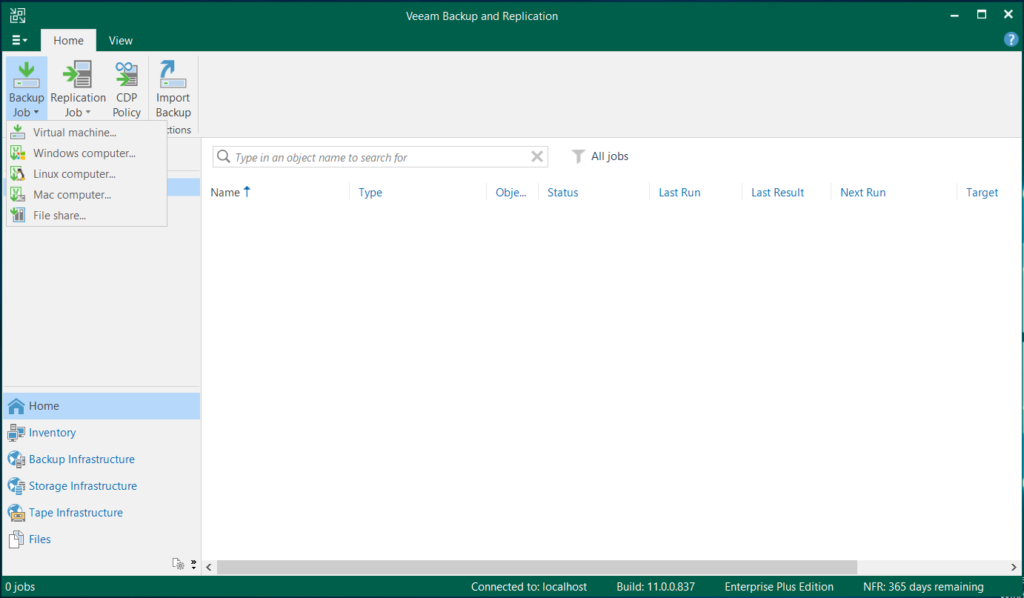
Configuring the Backup Job
Configure “Mac computer” the backup schedule and job.
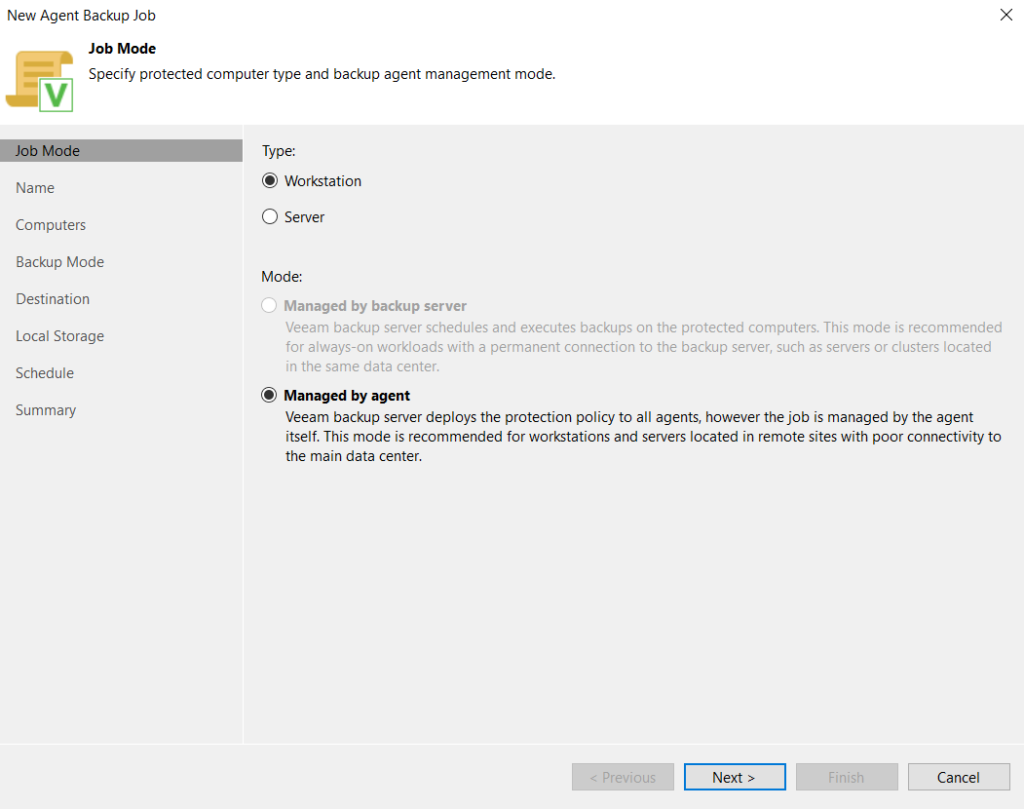
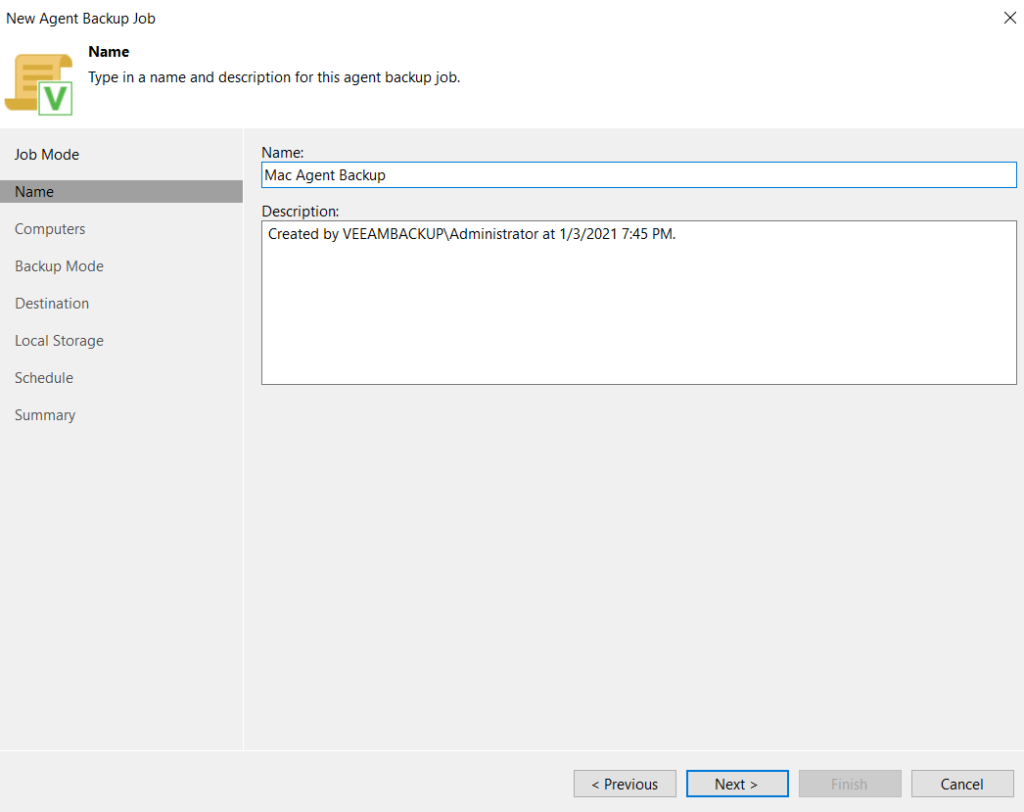
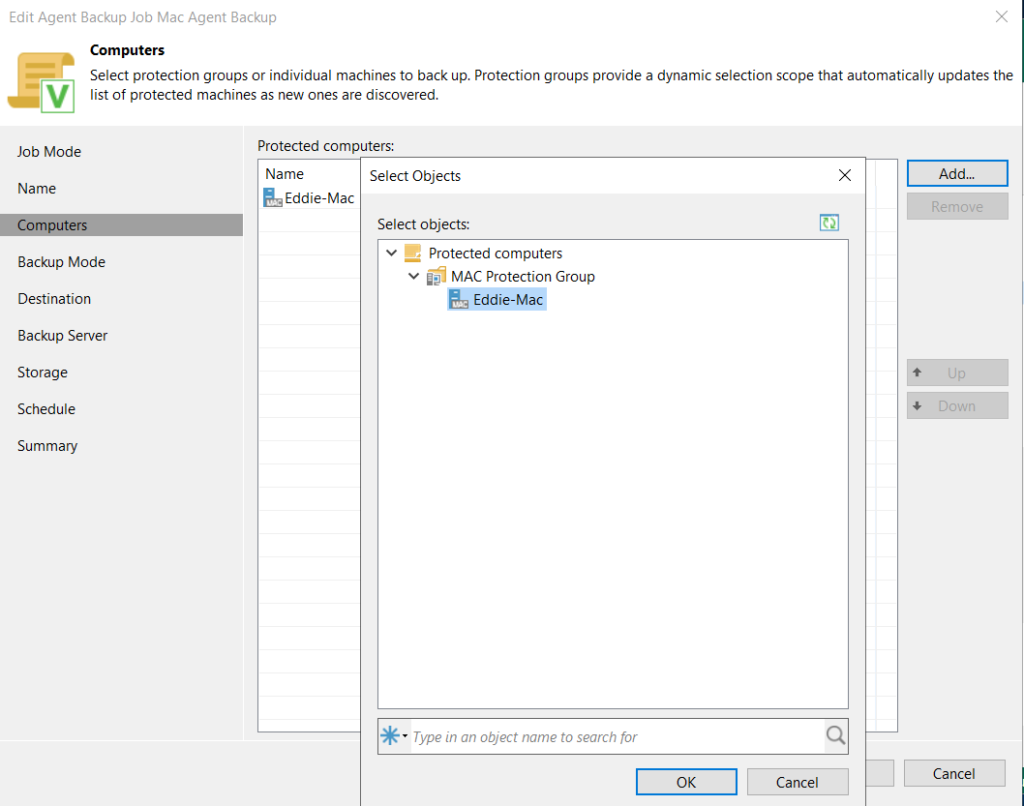
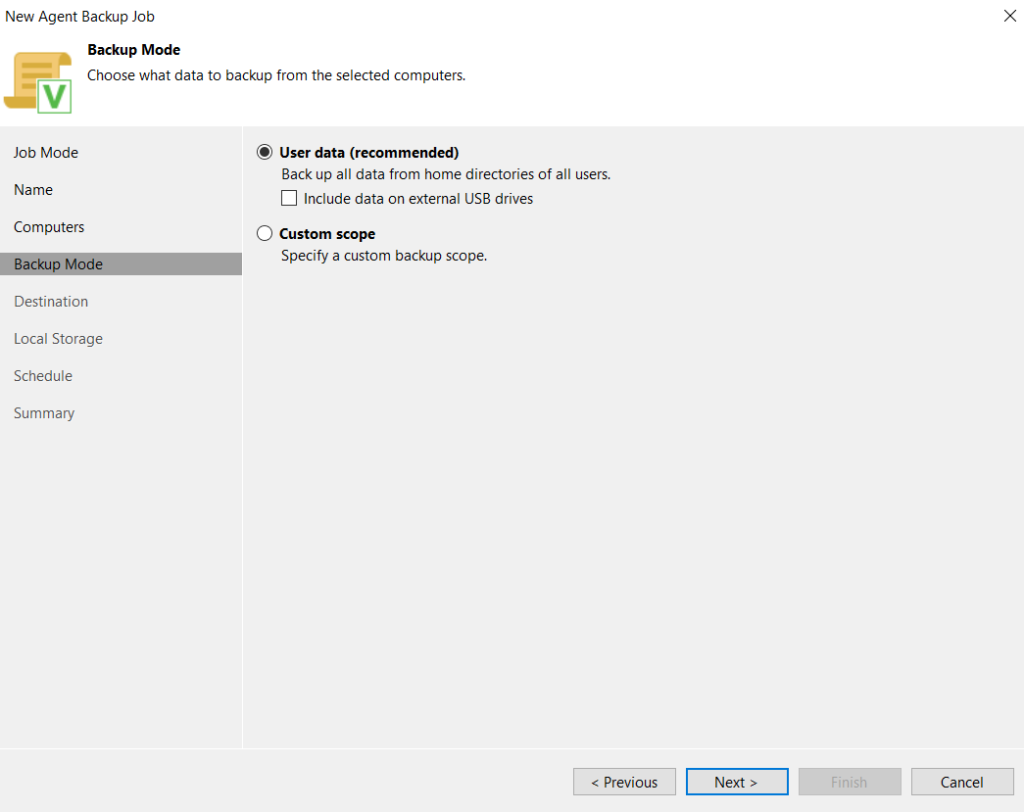
Now we should choose the scope to your backup, I am going to backup all data from home directories of all users, but you may have a custom scope of certain files and folders to backup.
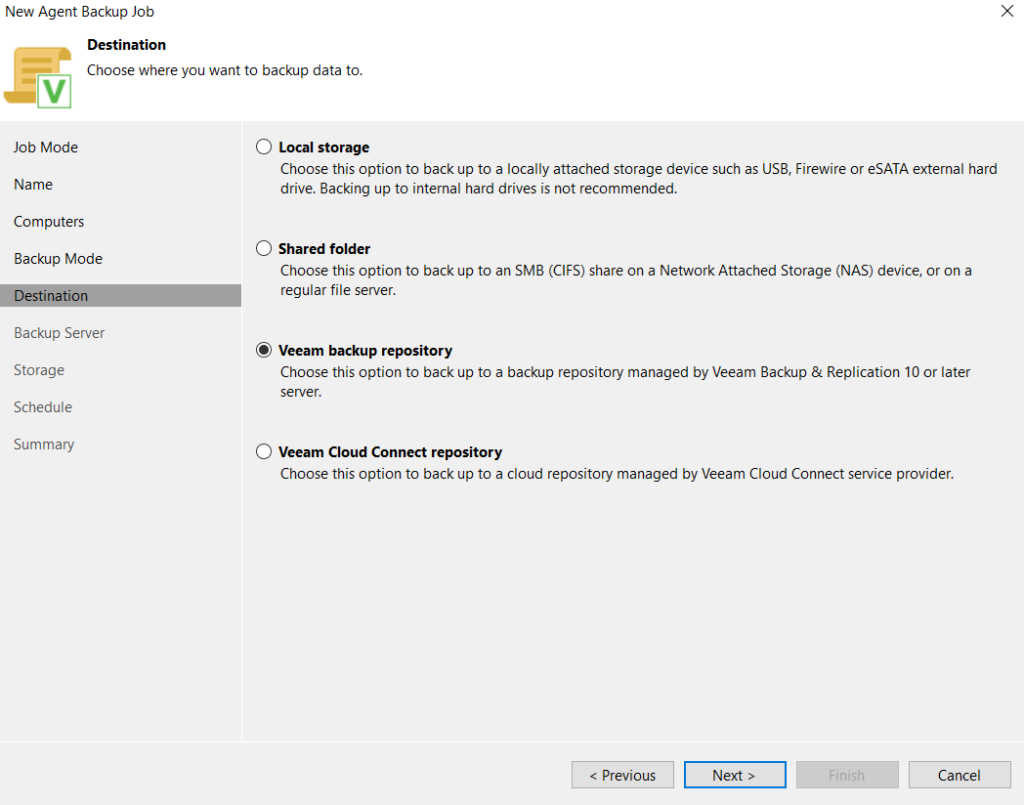
Next we should choose where we are backing up to, this can be local but in my scenario I am backing up to my home Veeam repository.
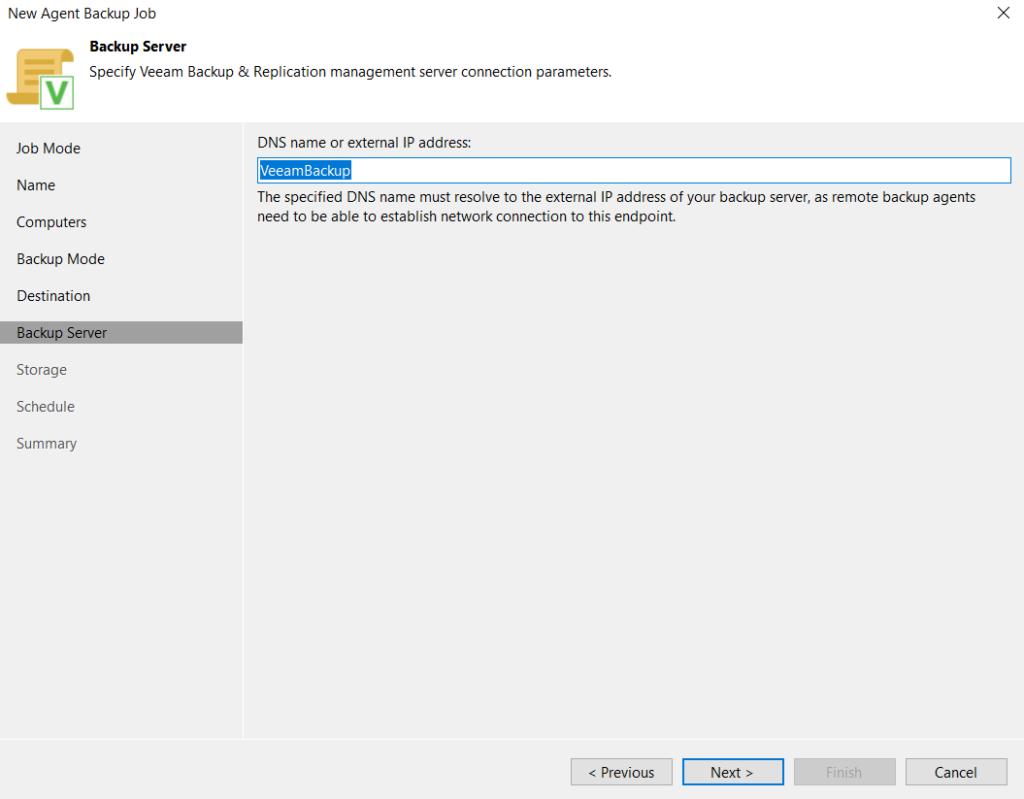
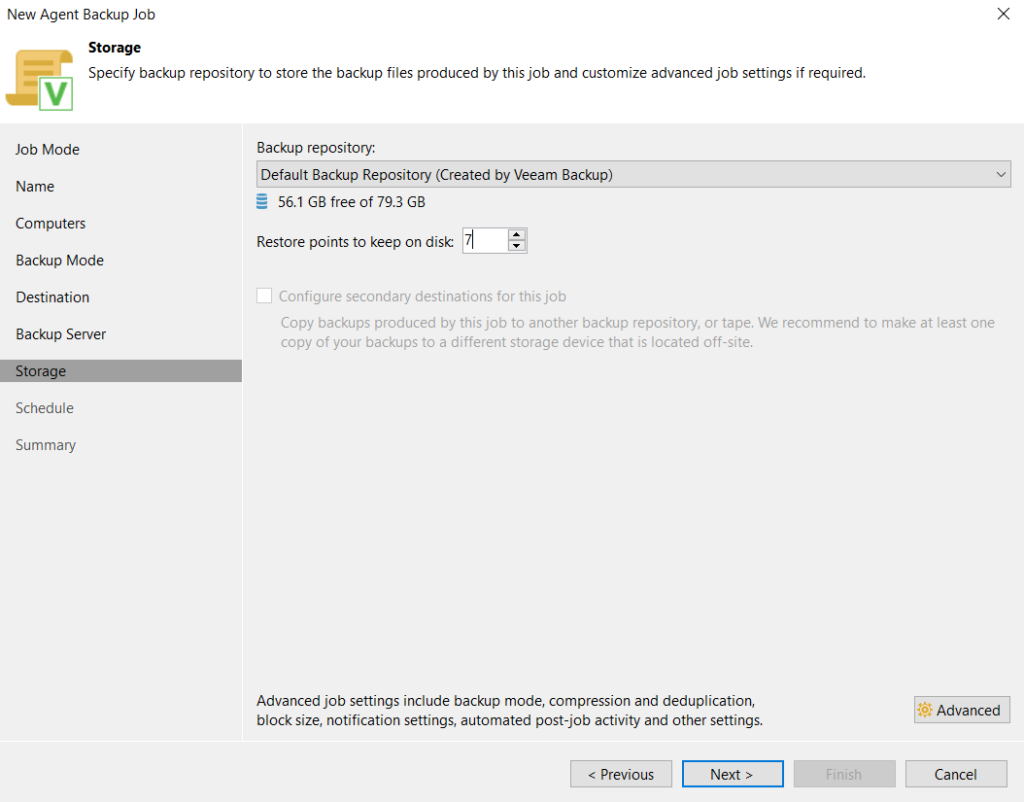
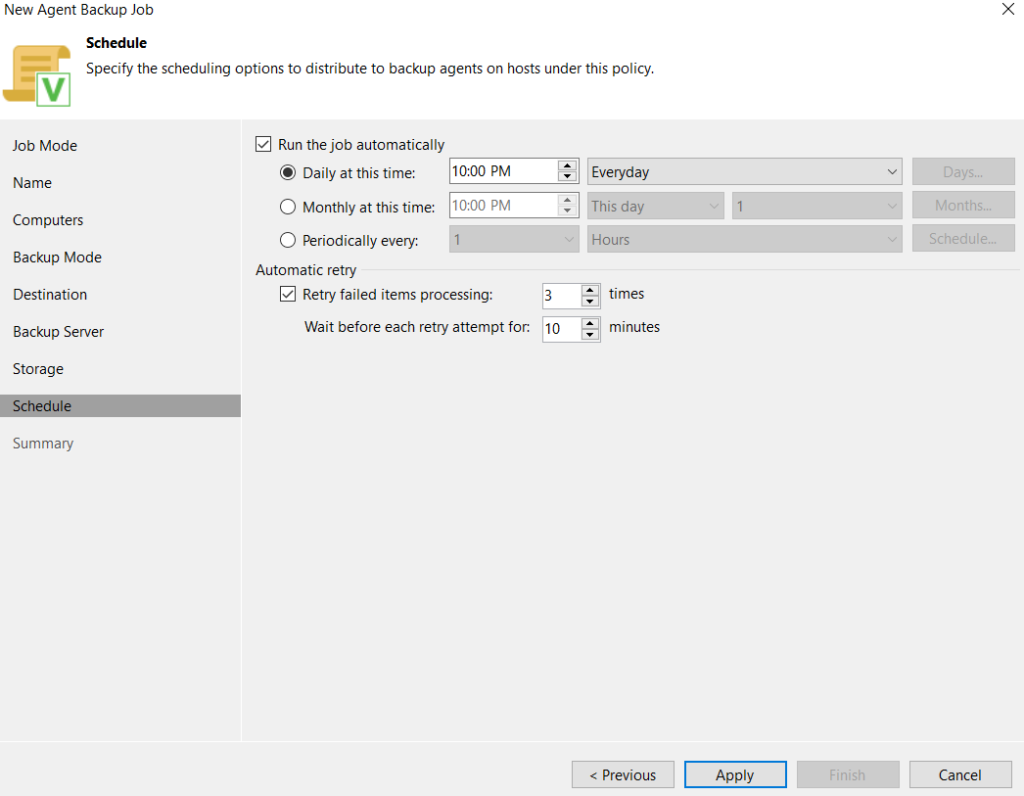
Schedule your backup jobs.
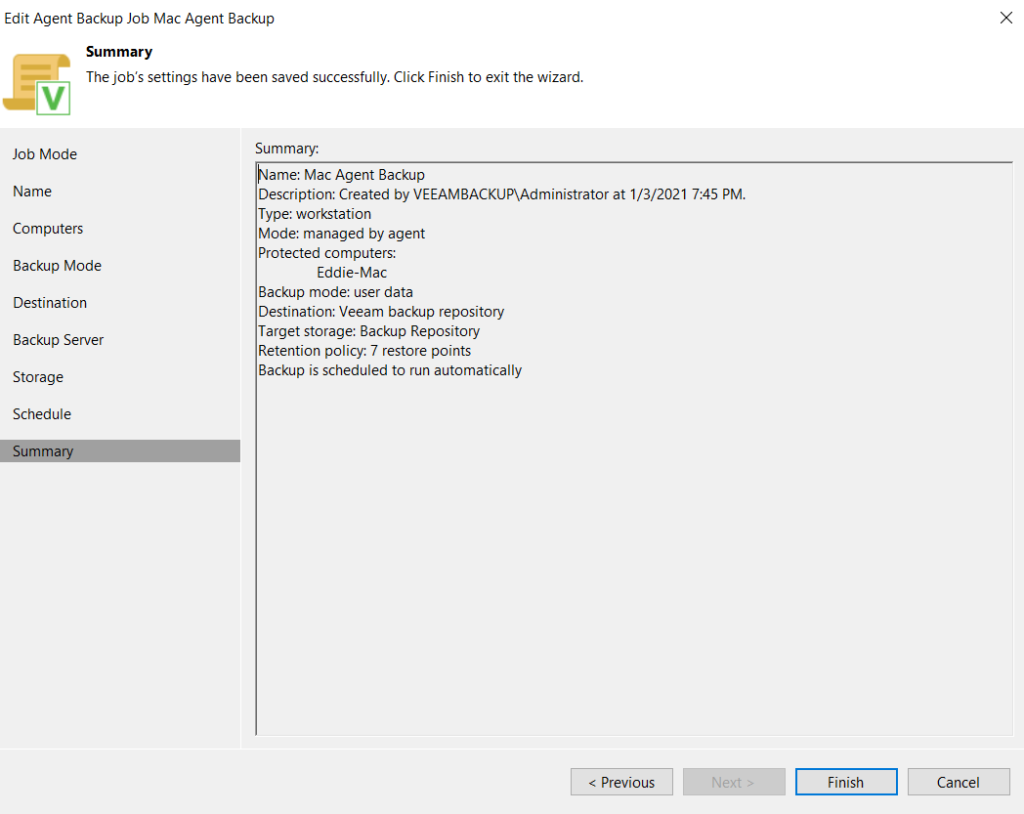
Summary of configuration.
Applying the policy to your device.
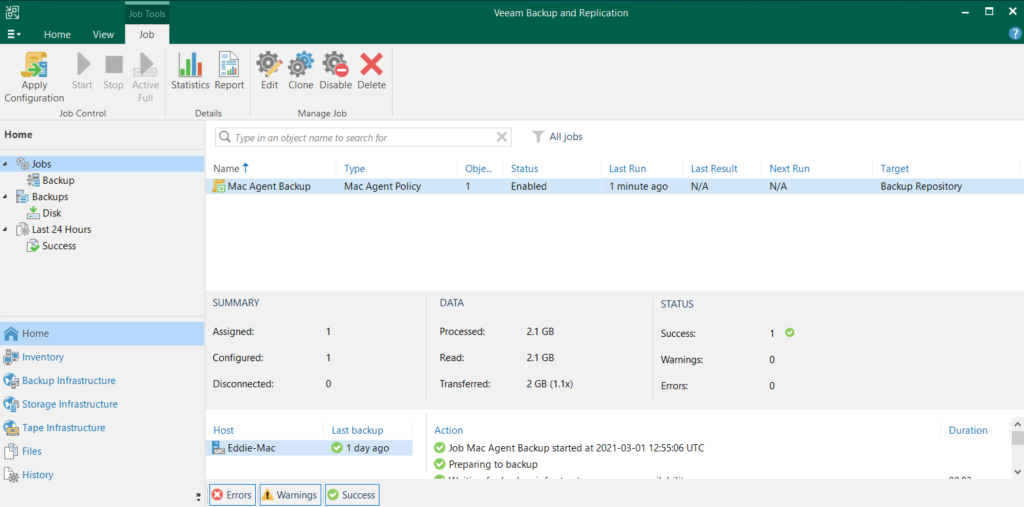
Backup job starts with the schedule.
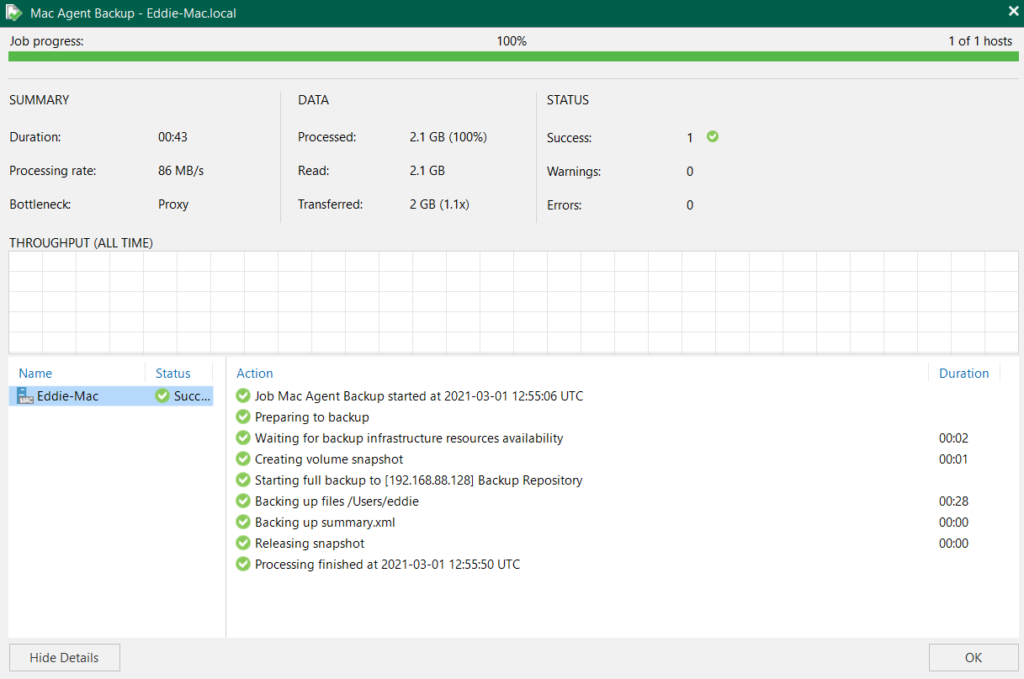
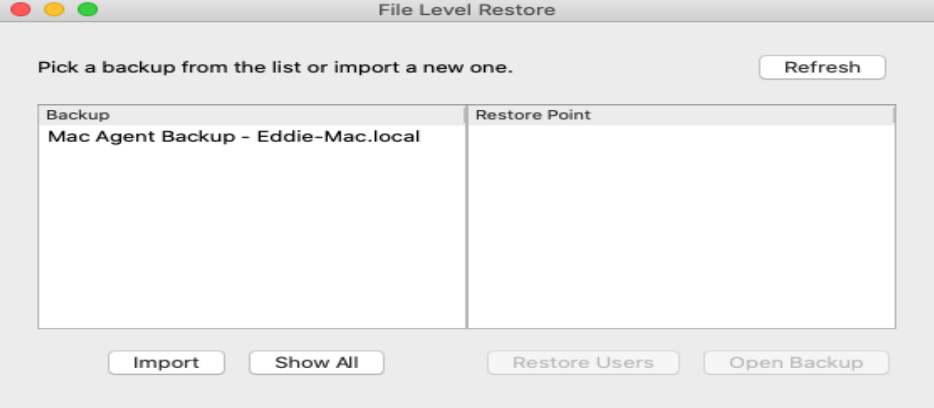
Step by step of Veeam Agent for Mac 1.0 @ Part 2 (Restore from VBR v11) Coming Soon…
Step by step of Veeam Agent for Mac 1.0 @ Part 3 (Restore from MacOS) Coming Soon…
Reference Link: https://vexperthk.com/2021/03/02/step-by-step-of-veeam-agent-for-mac-1-0-part-1/


