

If you are not familiar with this topic and would like to follow these steps, you can purchase a mini PC from Amazon and install Proxmox VE or any other virtualization solution of your choice.
Note: For test purposes, I will be installing VHR on a virtual machine (VM). Installing Veeam Hardened Repository on a Virtual Machine defeats the purpose of adequate data protection as the VM itself can be deleted. Therefore, installing the hardened repository on a physical box is advisable and ensures adequate physical security.
Veeam Hardened Repository is a WORM storage solution that protects against unwanted changes to the backup files. It’s available since version 11. Veeam Hardened Repository passed an external audit for WORM storage and meets highest compliance standards. You can read more here, and pay attention to the external factors for adequate protection.
There are different ways to deploy a Hardened Linux Repository, such as using Ubuntu Server or Red Hat Enterprise Linux Server. In this guide, I will be using the VHR ISO.
The Veeam Hardened Repository ISO is delivered as bootable ISO which can be downloaded here. In order for you to follow along, here is how to install Proxmox on your server or Mini PC. This article complements the one shared above ‘Install Proxmox VE on a Beelink EQ12 Mini PC“. See what others have written on this topic. Here is one from Objectfirst.
Create VM
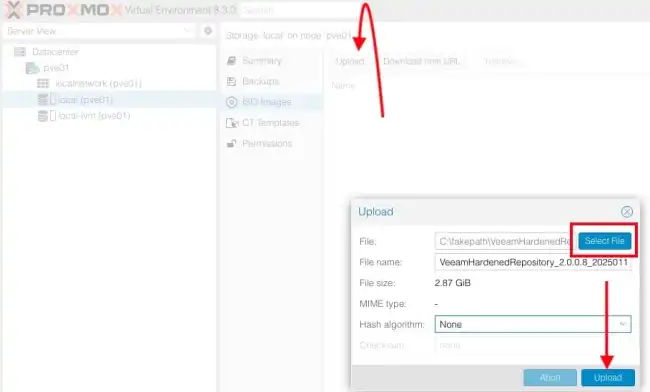
To create a VM on Proxmox, navigate to the URL of your Proxmox instance. Log in with your root or admin user credentials. Before creating a VM, you need to upload the ISO image. In Proxmox Web UI, navigate to Datacenter, and select a storage location. Select ISO images and click on upload. Choose the ISO file and upload it.
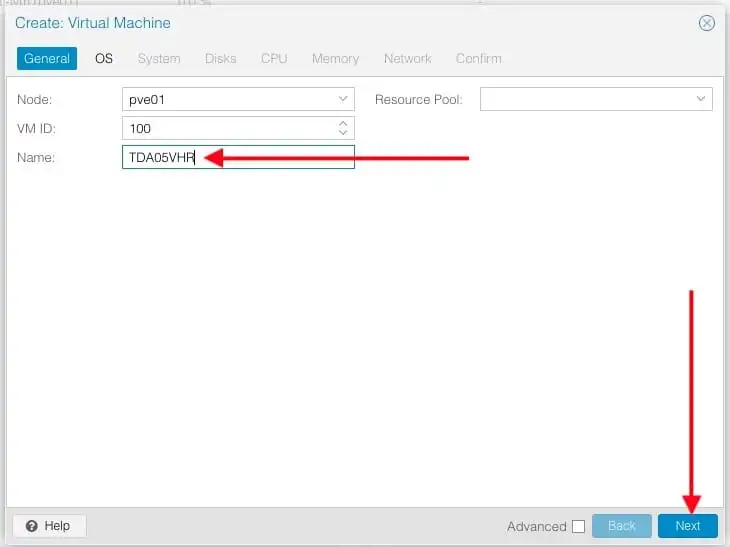
Click “Create VM” at the top-right or right click the node and select “create vm’ as shown below.

Enter the VM name
UEFI is a requirement to using VHR. Therefore, I will select OVMF (UEFI). Please select all options as shown below.

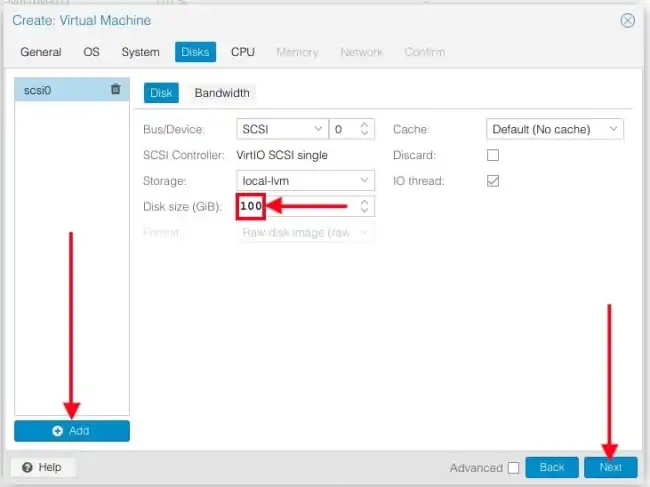
If the Disk size is below 100, the VHR installation will fail. The minimum requirement is 100GB for the Operating System Volume
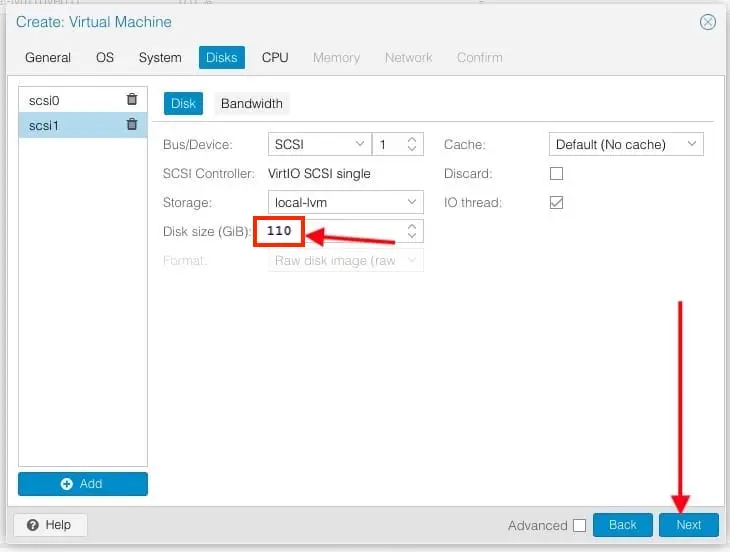
For the data volume, I will select 110 as this is just a lab environment. If you specify same size for the OS and data volume, the installation will fail as well. The data volume is expected to be higher in size.
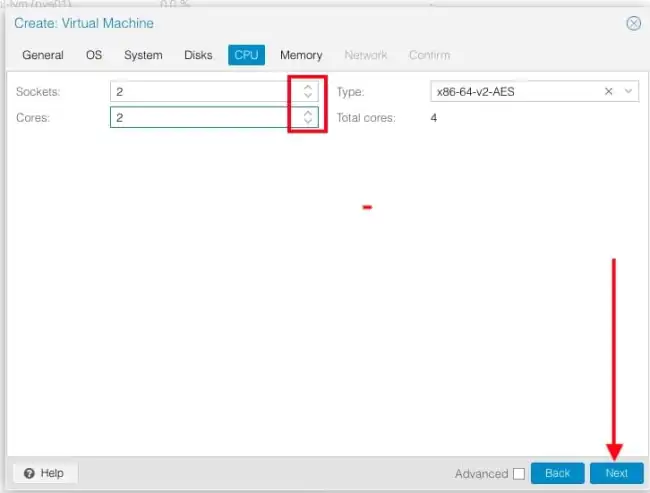
I am fine with 2 CPU Sockets and Cores. For optimal performance, you can assign 4 or more vCPUs depending on the size of your backup infrastructure and the load on the repository.
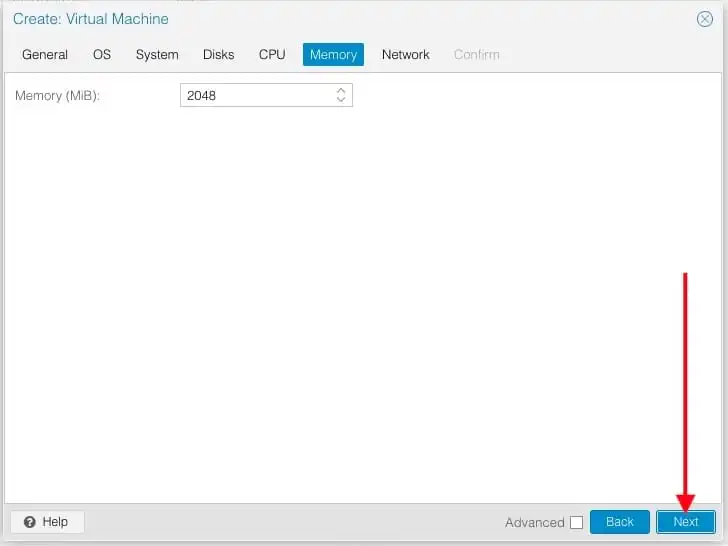
Assign 4GB. 4 GB of RAM is the minimum recommended for a basic Veeam Hardened Repository setup and click next to proceed
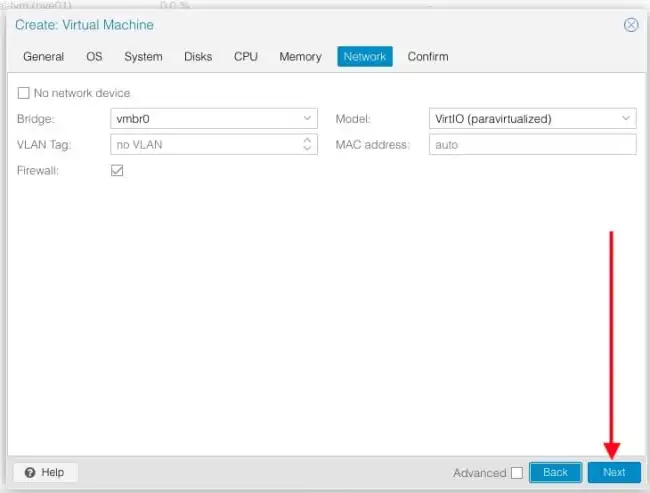
Click on next on the Network tab as shown below. Kindly take networking seriously by using untagged switchports. That means, one configures the IP addresses directly without any VLANs.
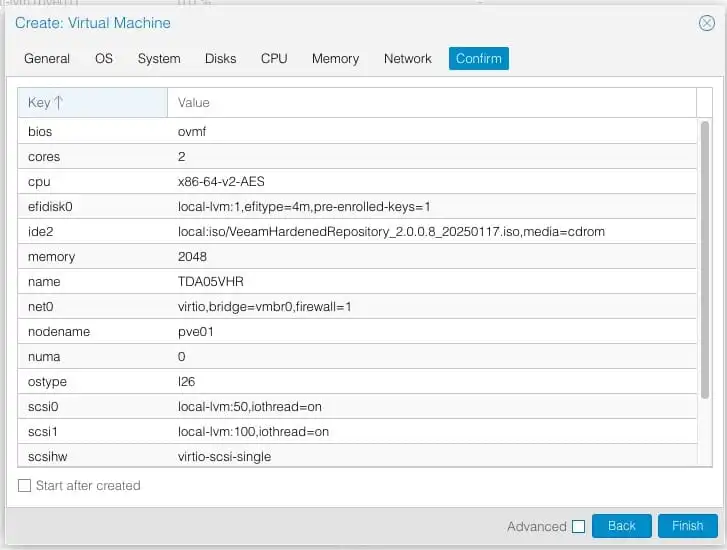
Confirm VM creation and click on VM
Veeam Hardened Repository (VHR) Setup
To install VHR, there are various ways to start the VM as shown below. Select the VM and click on start as you wish. You can click on console to open a new browser window.

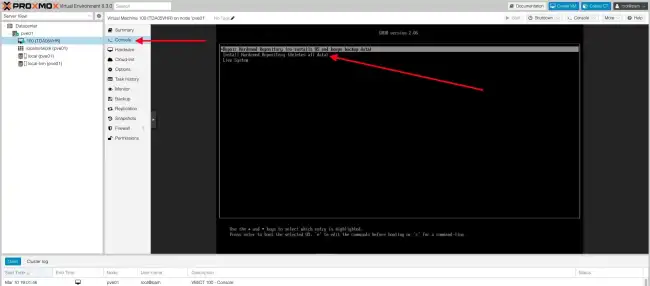
Select “Install Hardened Repository (Delete all data)
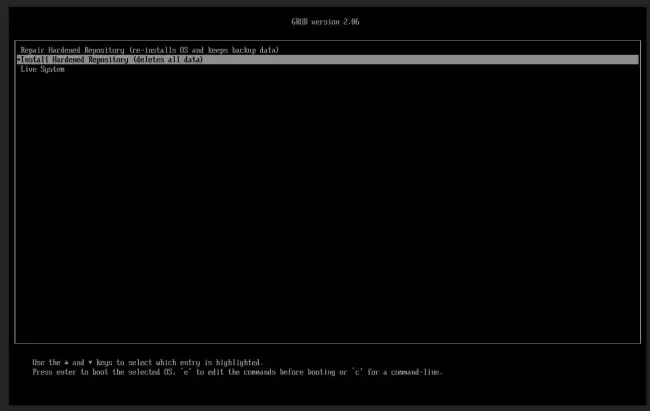
The system will load from the ISO as shown below
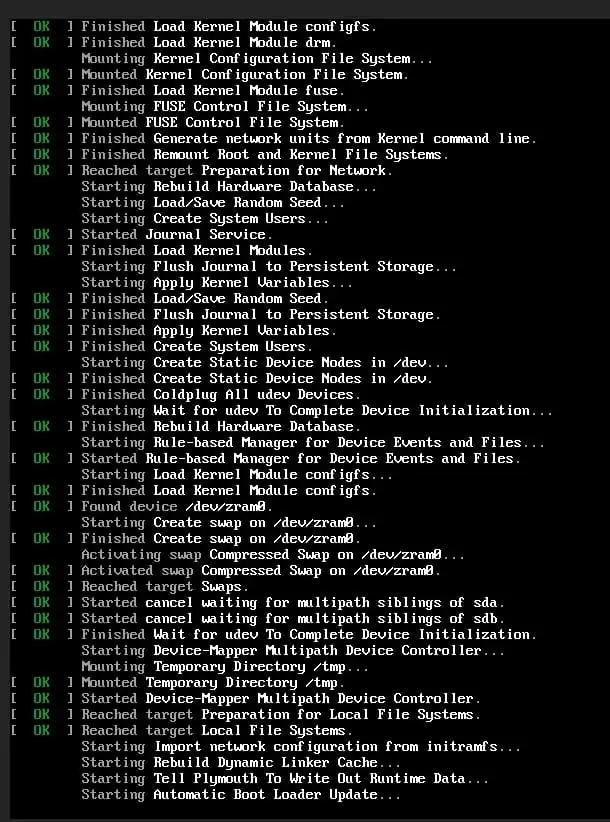
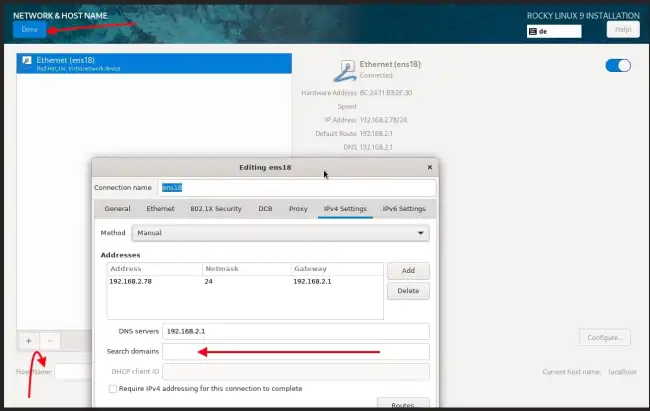
If there are no errors during the boot time, the installation wizard start as shown below. Please configure the Keyboard, Time and Date and Network & hostname.
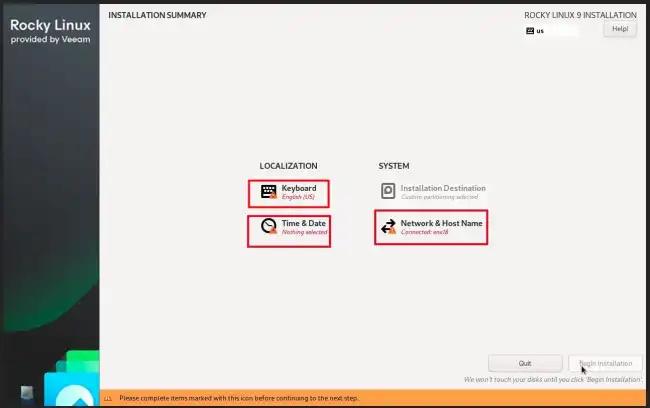
For the keyboard, I will select German. Time zone as well “berlin”. I will have to manually configure the IPv4 parameters in other to do away with the automatic DHCP assignment. Do not forget to specify the search domain if you wish
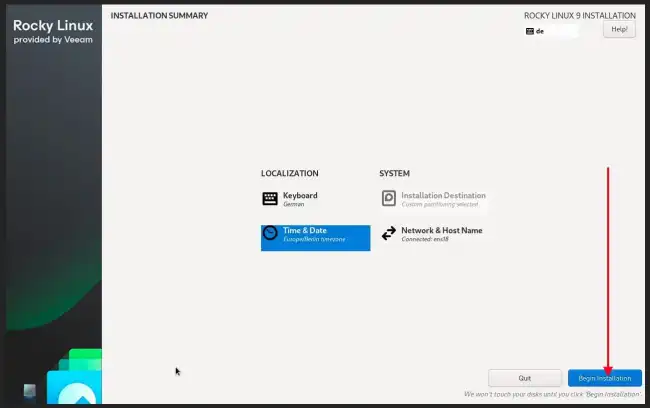
As you can see from the installation summary, everything is fine. I will click on “Begin Installation”
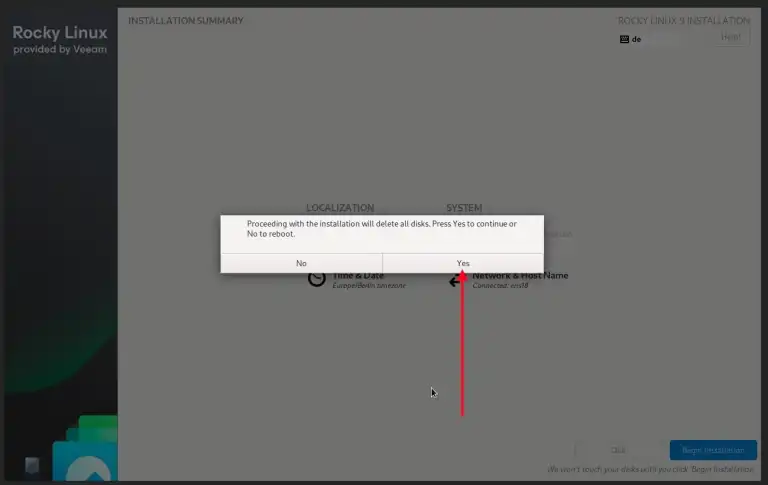
Click yes to continue
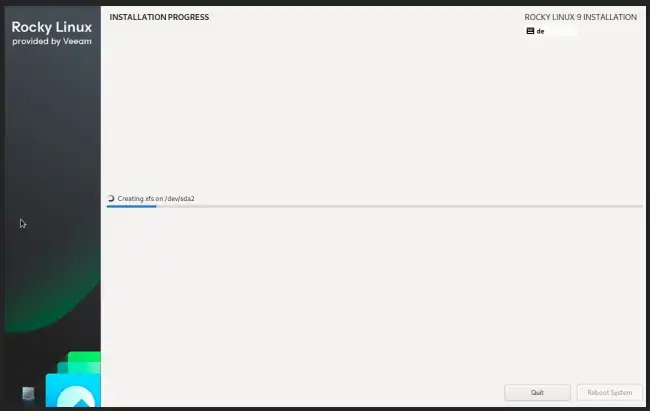
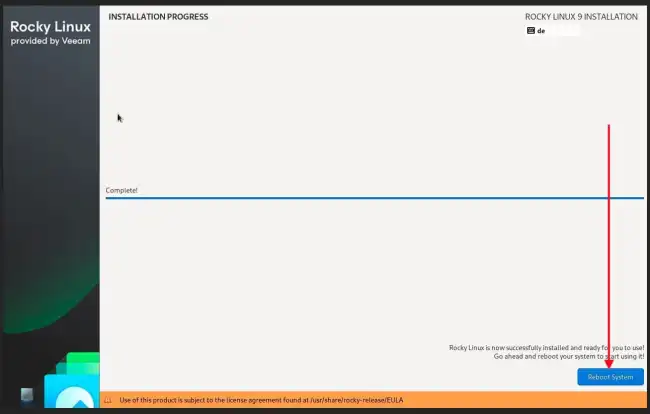
As you can see, the VHR installation is in progress.
Now that the installation is complete. Please reboot the system.
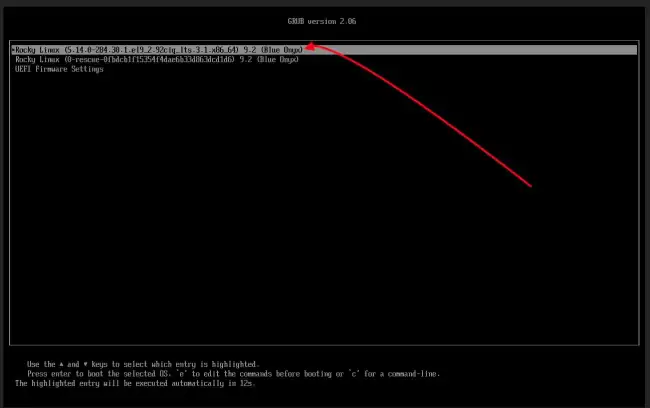
select Rocky Linux and hit the Enter button on your keyboard.
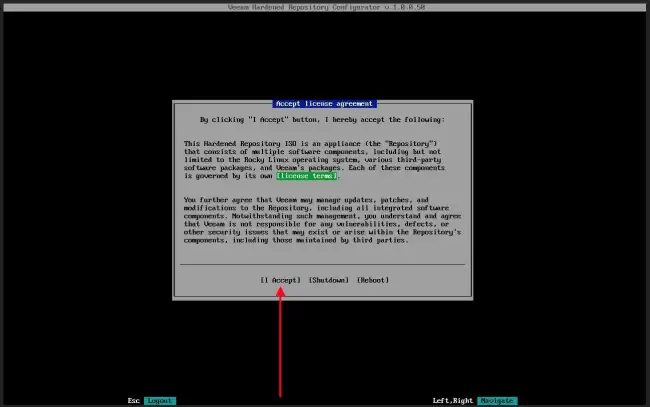
After the system reboots. You will need to enter the default credentials vhradmin/vhradmin. Also, you will be required to change the default passwords.

Accept the license agreement and hit enter on you keyboard.
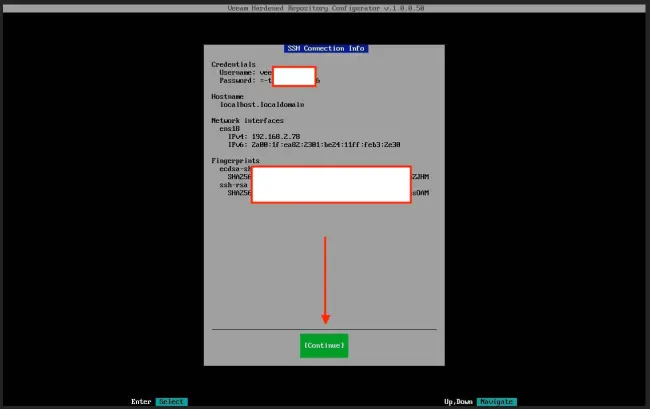
Start the SSH service as shown below by selecting and hitting the enter button. This will create a single-use SSH password for VBR integration.
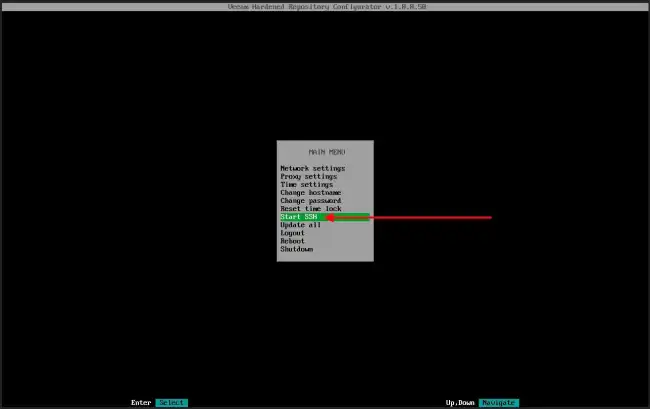
Kindly take note of the username and password as we will use this very shortly. We can now integrate (add) the VHR to VBR.
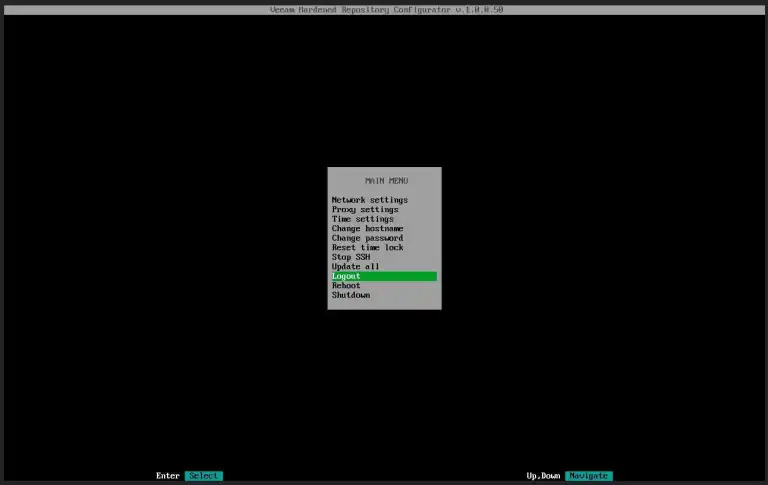
Logout thereafter
Add the Hardened Backup Repository to VBR
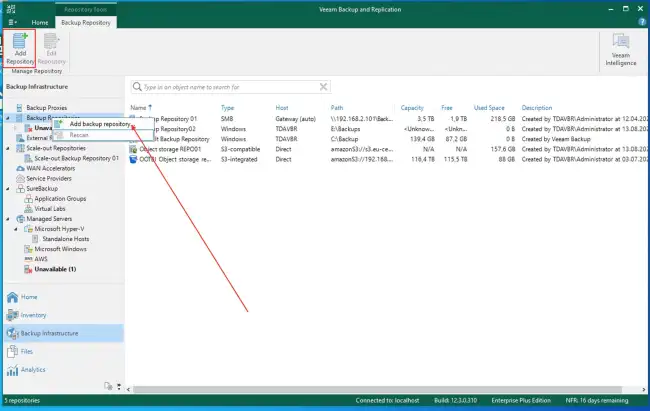
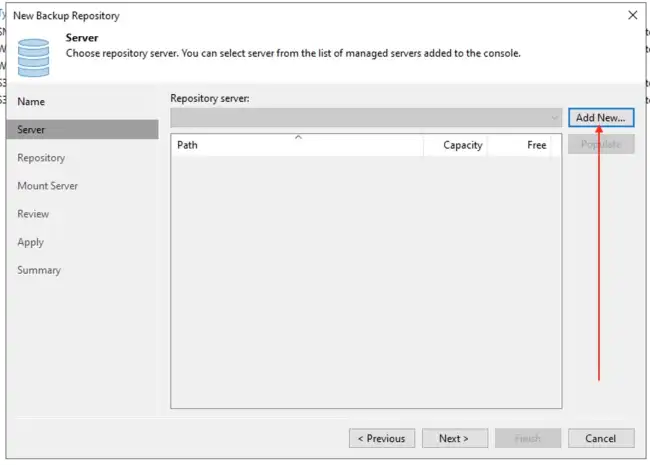
To do this, navigate to the Veeam Console and select Backup Infrastructure. Right click on Backup Repository and select Add Repository
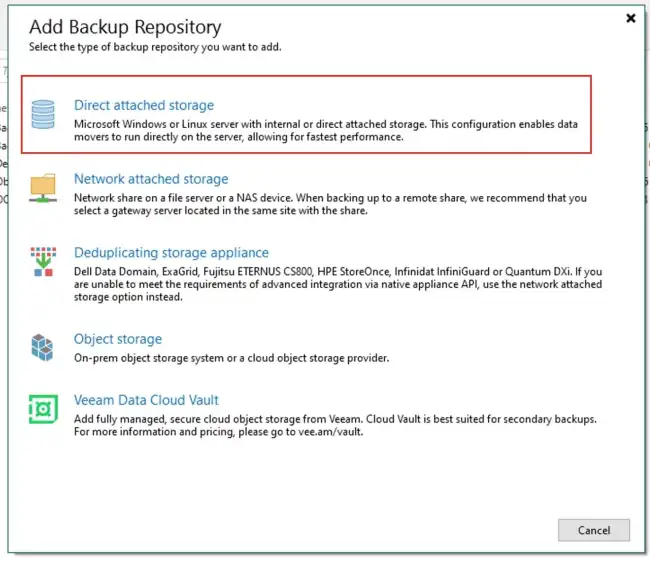
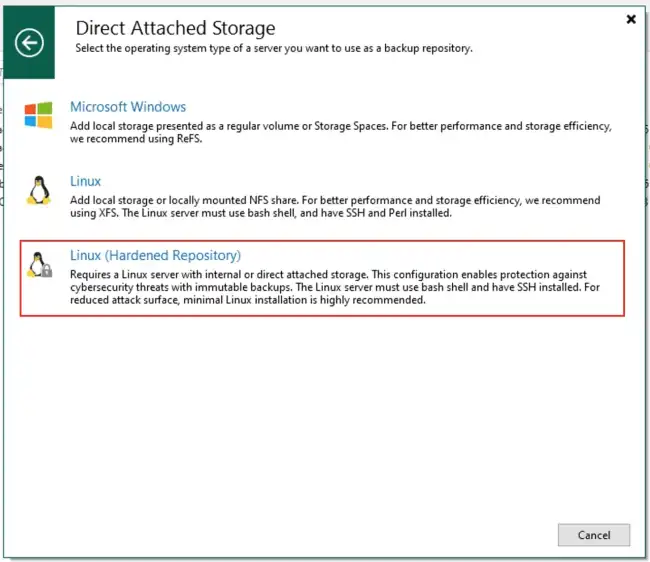
Choose Direct attached storage.
Then, Linux (Hardened Repository).
Enter the Repository name and description

Specify the DNS name or IP address of the REPO and click next

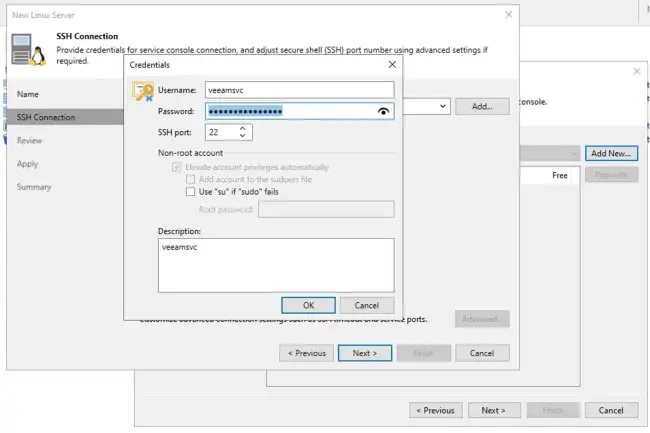
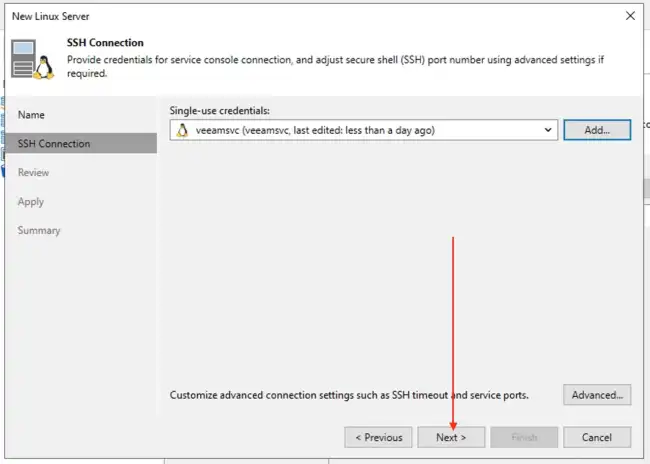
Here, you will enter the credential generated during the VHR configuration step. When done, click on OK.
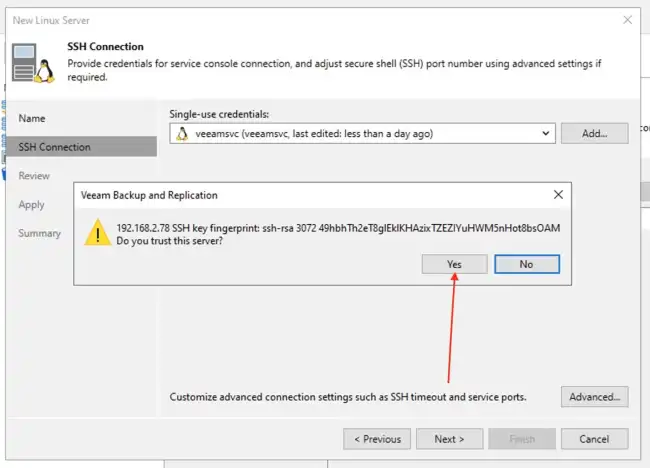
Verify that the SSH key fingerprint matches that provided by the VHR. Click yes to confirm that you trust the server and click next to proceed.
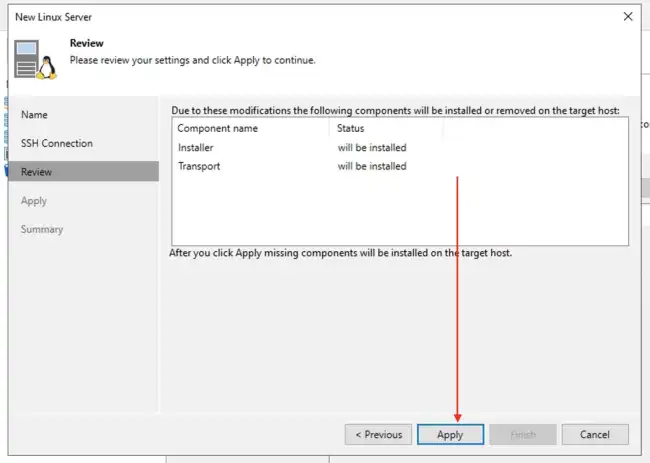
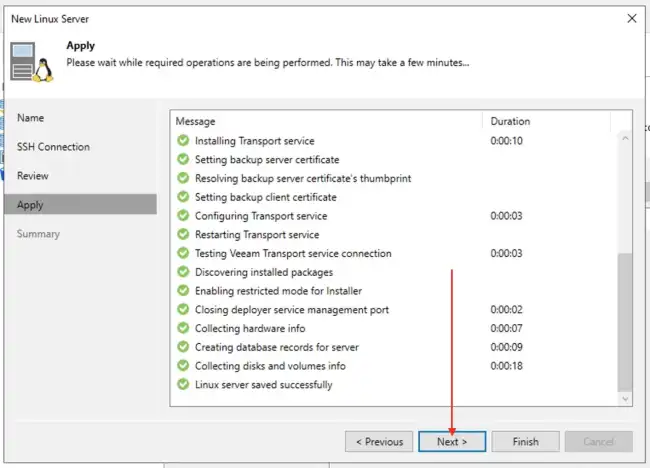
As you can see below, the following components will be installed. Click on Apply to continue.
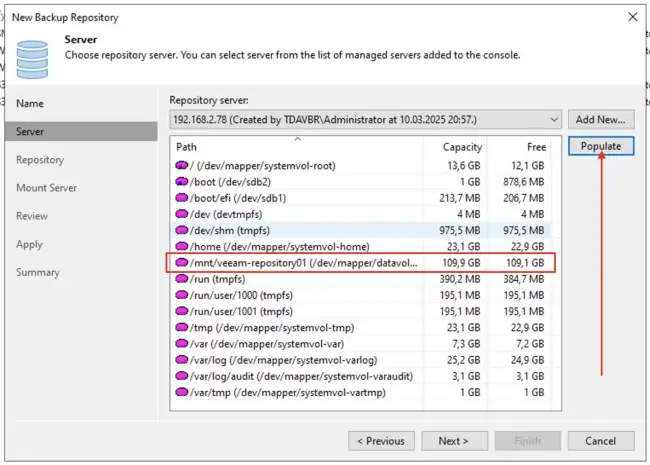
On the Server Repository wizard, click Populate. Choose the Path the backup will be saved to and click on Next.
Click on populate to reveal the capacity and free space available. Ensure that “Use fast cloning on XFS volumes (recommended)” is selected. I am fine with the other defaults. Therefore, I will click on next.
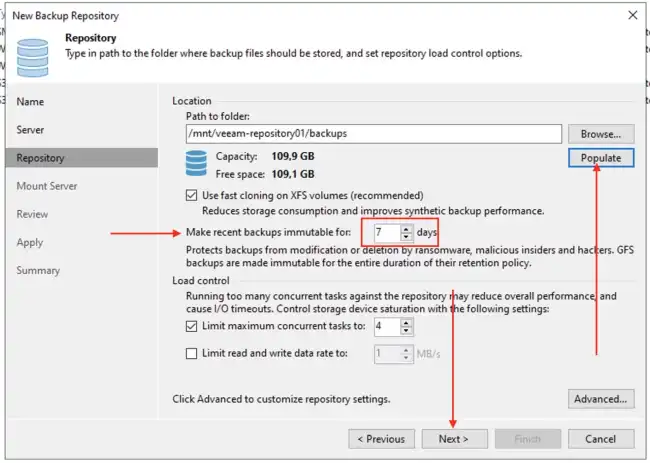
The system will check to see if the XFS Fast clone requirements are met. When don, click next to proceed.

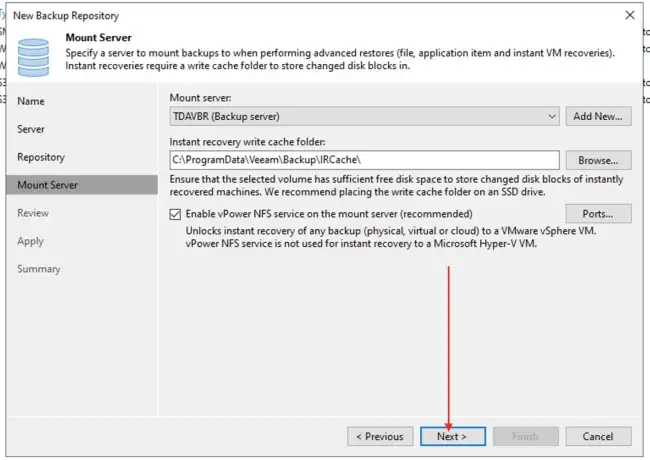
Specify the right mount server and click on next.
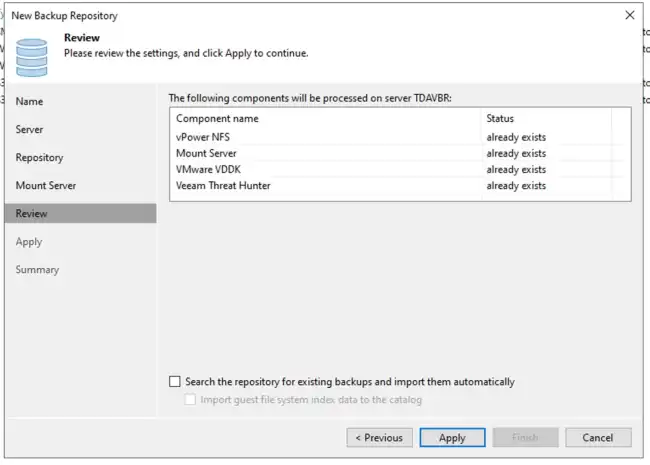
Click on Apply to finalize the repository configuration as shown below.
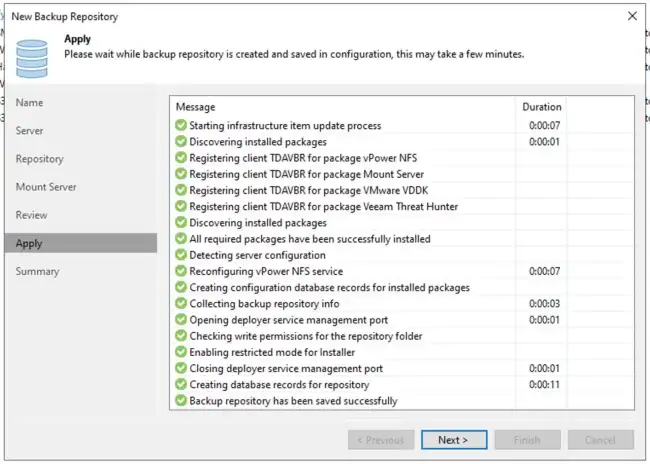
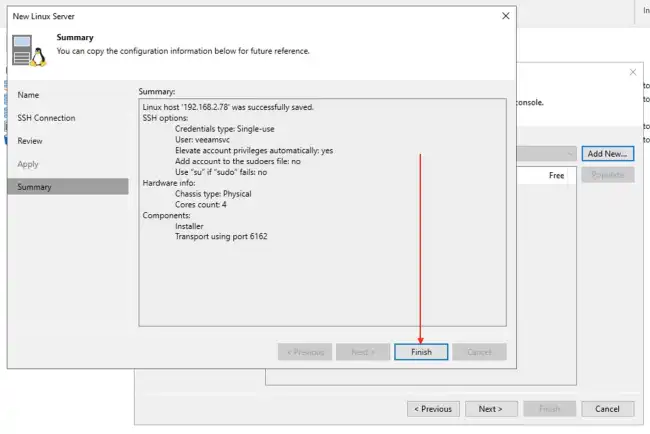
Select Finish to complete the repository configuration.


According to Veeam documentation, SSH connection is necessary only for the deployment of Veeam Data Mover. For security purposes, after you add the hardened repository, disable SSH connection for the user account you use to connect to the Linux server.
Note: If you can work with the server from the console, disable SSH connection for the server itself. To do this, login to the VHR and select “Stop SSH”.
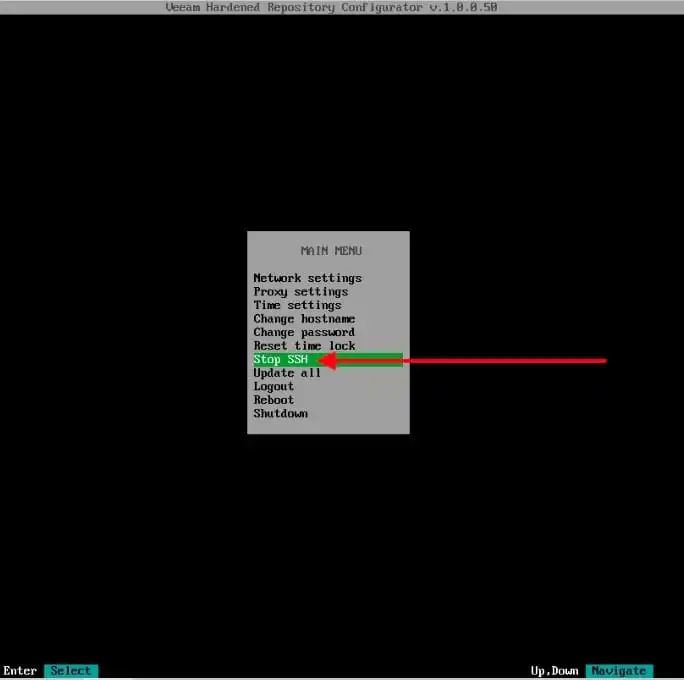
Click on Yes to stop and disable SSH

Click on OK and logout.

Create a Backup Job to the Veeam Hardened Repository
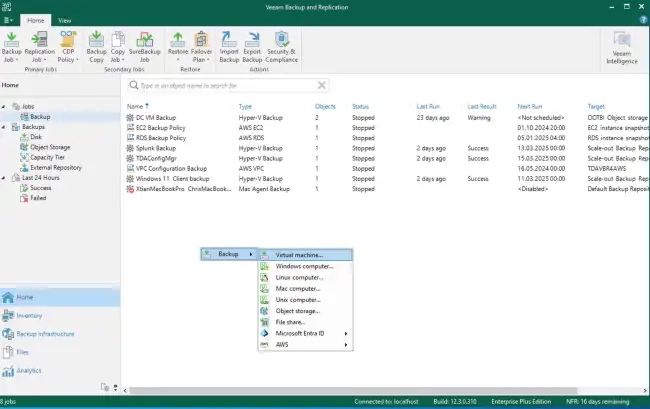
To do this, launch the Veeam Backup & Replication Console. In the Home tab, click on “Backup Job” and select “Virtual Machine”
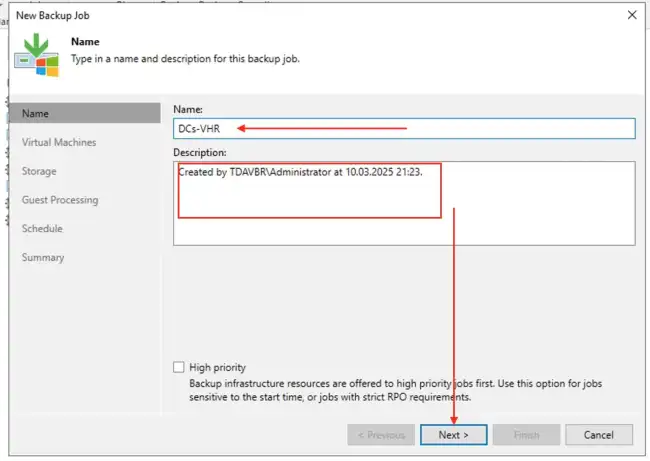
Enter the job name and click next
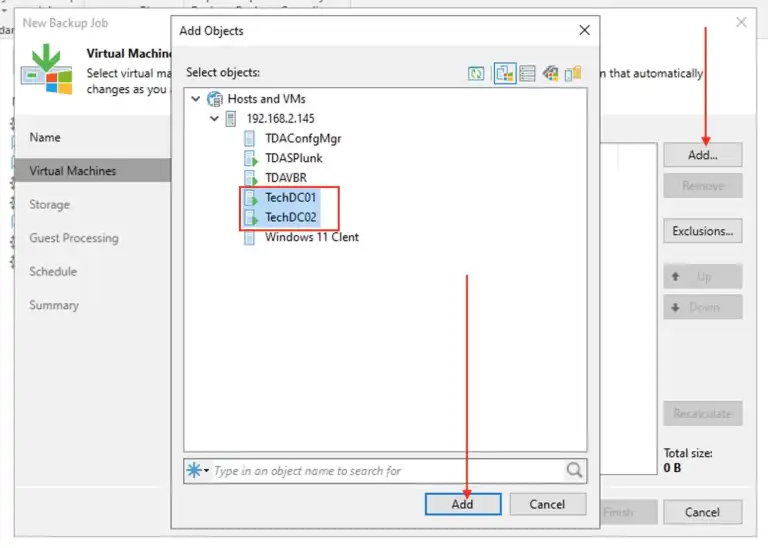
Select the VMs you wish to back up to this new VHR repository and click add.
In the storage area, ensure you specify the right backup repository and the retention period and click next.

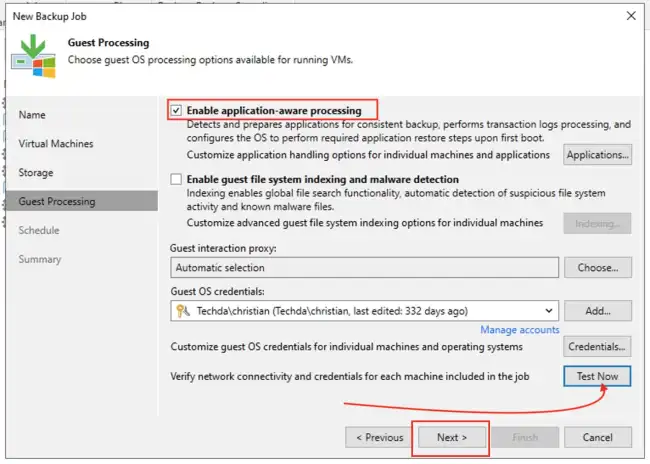
ince, these are Domain Controllers (DCs’). I will select Enable Application aware processing. Please, see How to integrate ObjectFirst OOTBI Appliance with VBR, and how to Achieve 3-2-1 rule with SOBR on Synology or OOTBI and Wasabi.
You may want to test network connectivity and credentials for the selected VMs. Click on text now
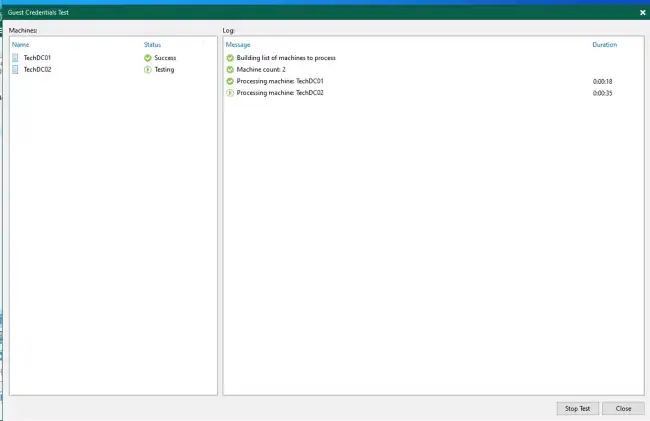
As you can see, the first test has completed and I can guarantee connectivity and am sure the credentials are correct. I will close or stop the test now.
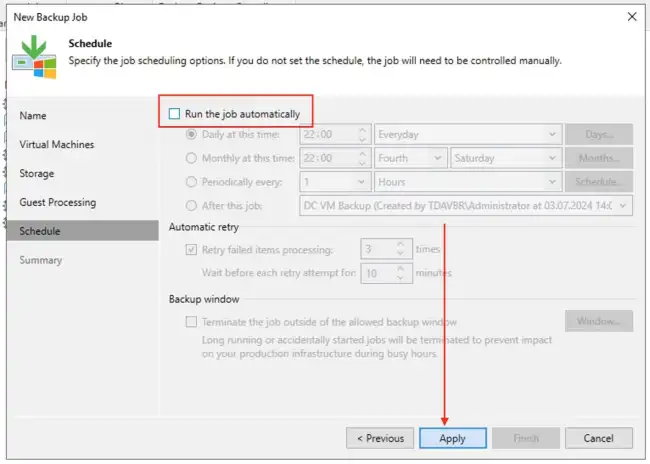
On the schedule, I will click on “Apply”.
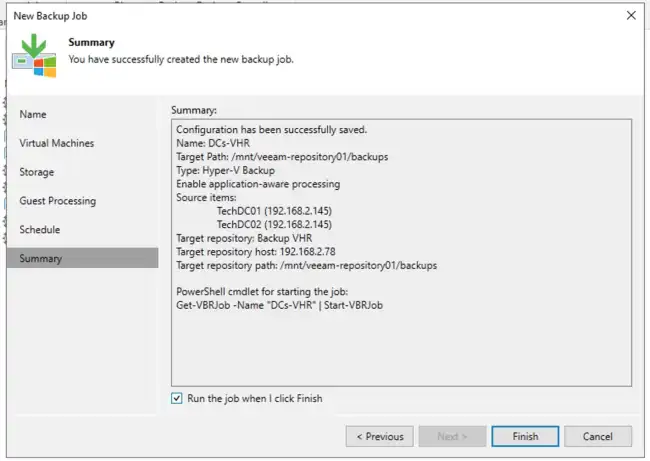
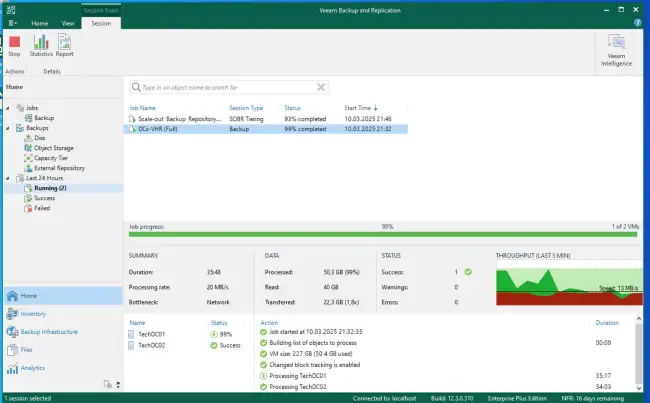
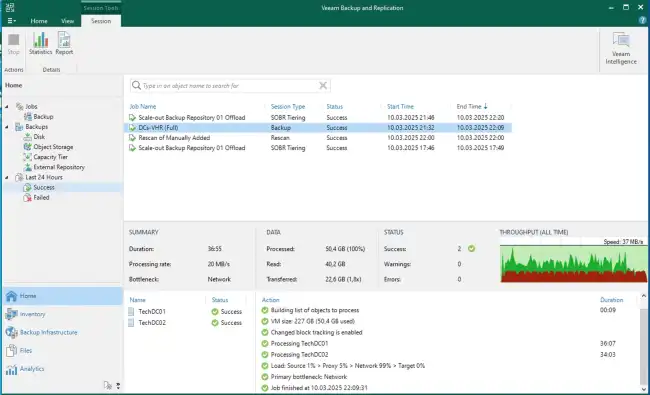
As you can see, the backup job is in progress
Testing Immutability by simulating VM deletion
When you add a hardened repository, you specify the time period during which backup files must remain immutable. During this period, the repository prevents backup files from being moved, modified, or deleted, but allows them to be copied.
To do this, navigate to the Backups from the Home menu, and click on Disk as shown below. Select the VM you wish to delete. In this case, I will be selecting one of the VMs I have backed up to VHR. Right click and select delete from Disk. On the prompt, select Yes.
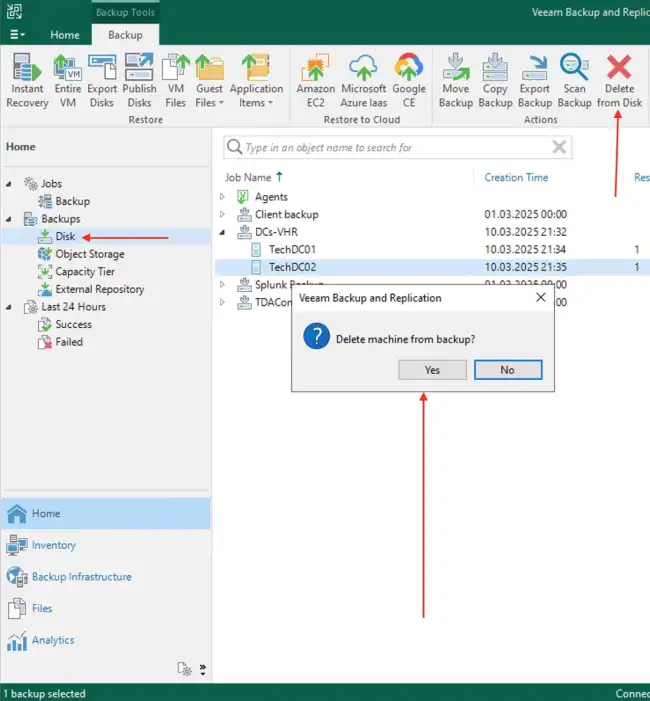
As you can see below, the object (VM) could not be deleted as expected due to immutability configured

For the steps to protect your Physical VHR Server, please take a look at this blog post “How to deploy and integrate VHR with VBR”. With this in mind, you can try to answer
OOTBI (Object First Out-Of-the-Box Immutability) is an alternative solution to Veeam Hardened Repository (VHR). I have covered OOTBI extensively in the past.
