Today was a lot of fun! One silly issue sent me off on a wild firewall goose chase! Remember to double check if you Helm Chart Values actually worked.
In the end all was good and we have a lean mean Lubuntu virtual machine running in Kubevirt!
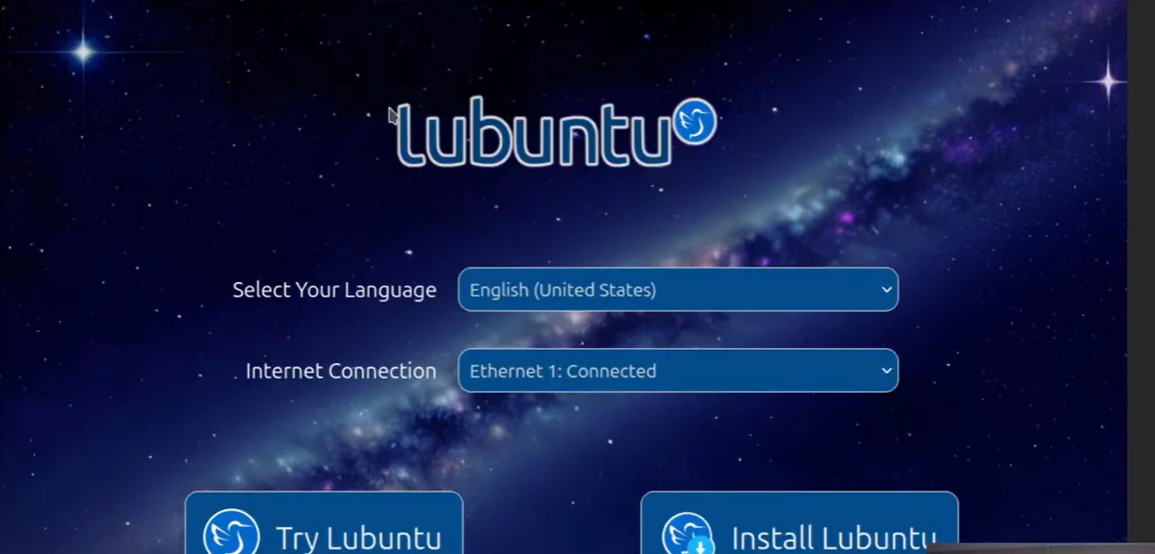
Download a lightweight Desktop Distribution like Lubuntu https://lubuntu.me/
I renamed the iso to lubuntu24.iso for convenience.
Next we need to upload this into our cluster. I won't be doing this very often so will simply port-forward the cdi-uploadproxy that will import the iso into a Kubernetes pvc that I can use.
kubectl port-forward svc/cdi-uploadproxy -n cdi 32567:443
Next we need to upload this into our cluster. I won't be doing this very often so will simply port-forward the cdi-uploadproxy that will import the iso into a Kubernetes pvc that I can use.
kubectl port-forward svc/cdi-uploadproxy -n cdi 32567:443Create a namespace for our vms:
k create ns vmsOpen a second terminal session and use virctl to upload the iso into the new namespace
virtctl image-upload pvc lubuntu \

-n vms \

--image-path=lubuntu24.iso \

--uploadproxy-url=https://localhost:32567 \

--size=4Gi \

--access-mode=ReadWriteOnce \

--force-bind \

--insecure \

--wait-secs=120
The beauty of kubevirt is that your vms can be declarative in nature, i.e. you can spring them up from yaml files!
Create the vm.yaml file:
apiVersion: kubevirt.io/v1
kind: VirtualMachine
metadata:
  name: lubuntu-vm
  namespace: vms
spec:
  running: false
  template:
    metadata:
      labels:
        kubevirt.io/vm: lubuntu-vm
    spec:
      domain:
        devices:
          disks:
          - name: cdromiso
            cdrom:
              bus: sata
            bootOrder: 1
          - name: harddrive
            disk:
              bus: virtio
            bootOrder: 2
          interfaces:
          - name: default
            masquerade: {}
        resources:
          requests:
            memory: 2Gi
Create the vm!
k apply vm.yaml
Now we can start the vm
virtctl start -n vms vm lubuntu-vm
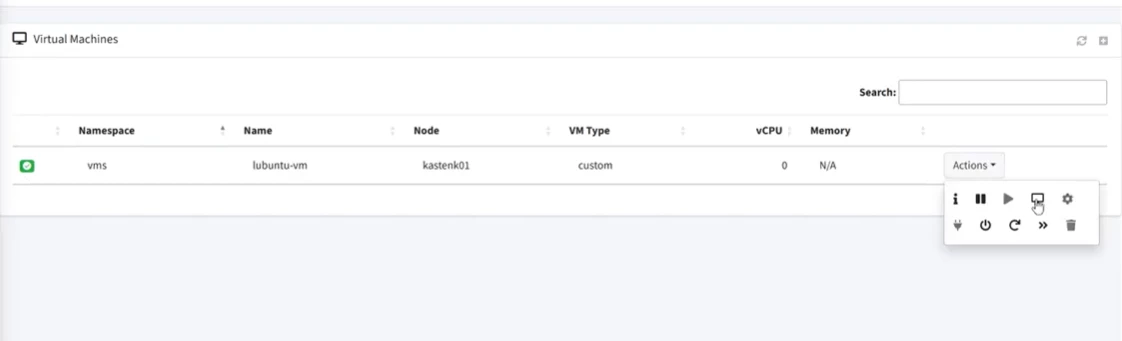
Head over to kubevirt-manager to access the console and go through the OS install:
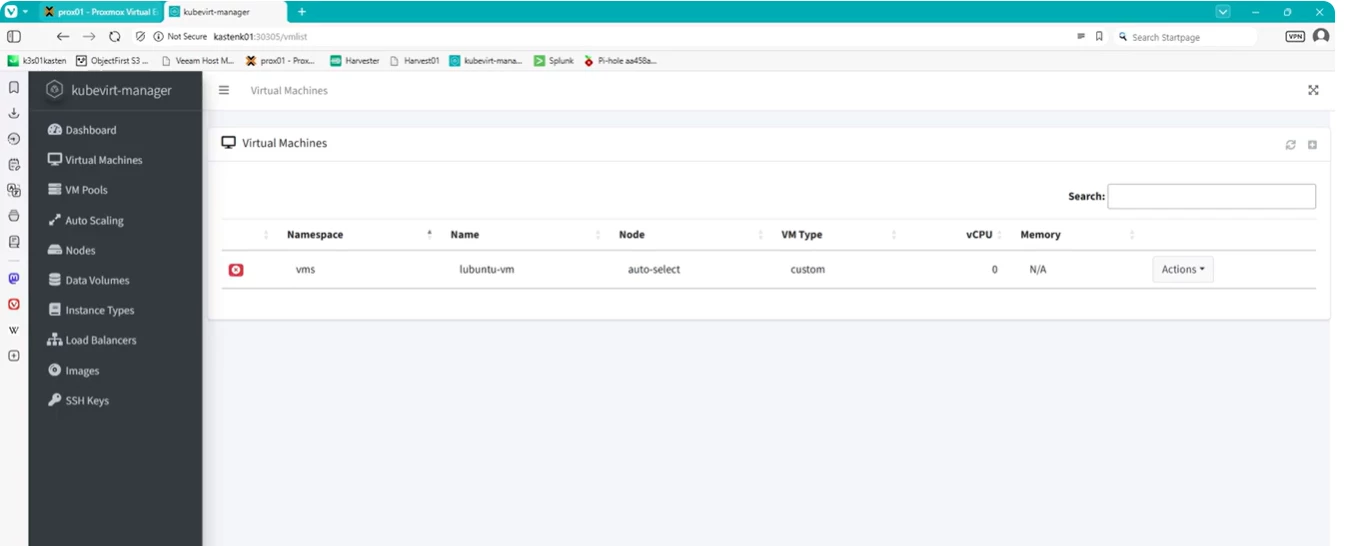
The little icon should turn green then go to the console button and access the console: