The Advanced Cross vCenter Server vMotion (XVM) capability was one of the most popular VMware Flings. A lot of customers were anxious to see this capability being an integrated part of vSphere. With the vSphere 7 Update 1c release, the XVM capability is embedded into the vSphere Client!
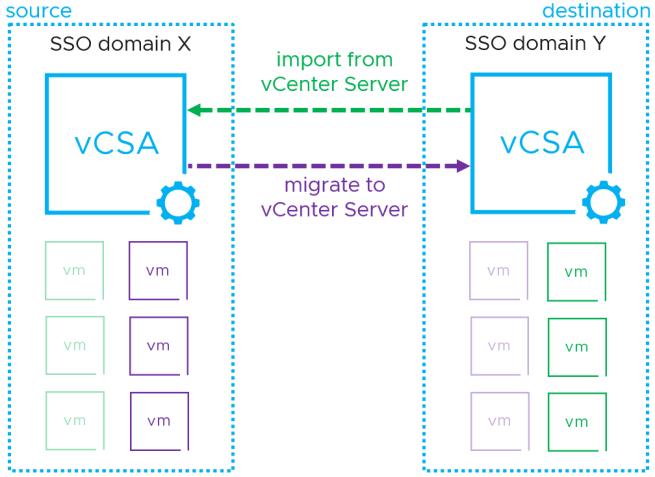
There are two options for this migration “Cross vCenter Server Export” and “The Importing VMs Option“.
Cross vCenter Server Export
The operation is similar to the VMware vSphere storage vMotion.
Select Cross vCenter Server export, Next.
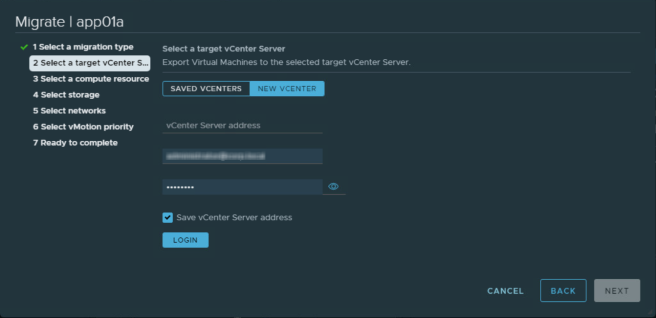
Input the management IP address of target vCenter Server, username and password, Next.
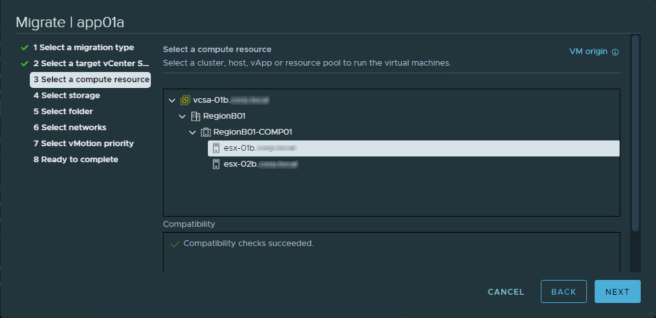
Select the target compute resource, Next.
Select the target storage, Next.
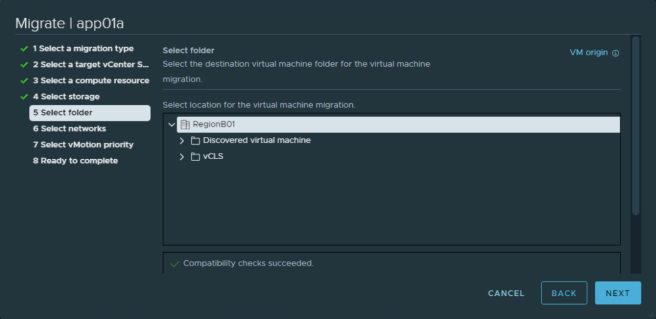
Select the target folder, Next.
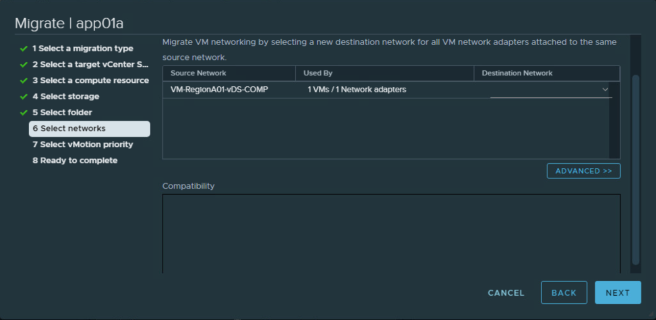
Select the target network port group, Next.
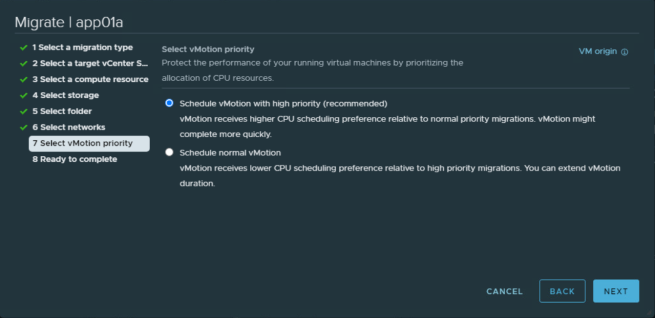
Select the vMotion priority, Next.
Finish to confirm the migration task.
The Importing VMs Option
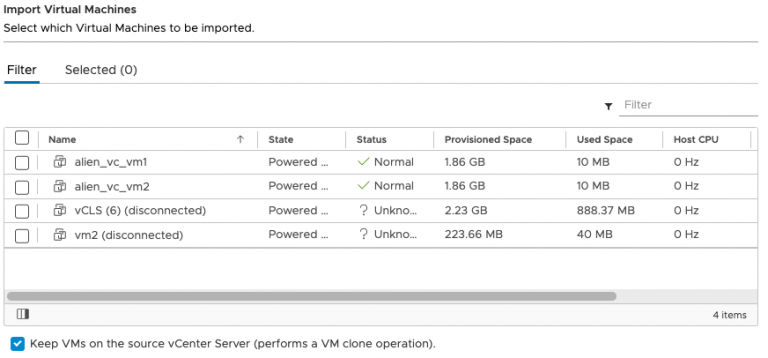
Selecting the option “Import VMs” opens a wizard to walk you through the import process.
Connect to the source vCenter Server, Next.
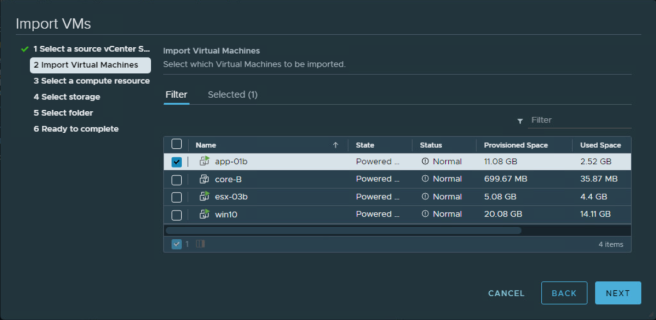
Select the import virtual machines, Next. The remain procedures are similar to “Cross vCenter Server Export”.
vSphere 7.0 Update 3: Adding Clone Operation to Advanced Cross vCenter Server vMotion
With the enhancements to the XVM in vSphere 7.0 Update 3, you are able to perform a bulk workload clone operation between different vCenter Servers.

