

I built another HA cluster this week and grabbed screenshots along the way. The architecture side was covered in my last post, so I am keeping this one short.
Prerequisites
- Two Veeam software appliances at the same patch level.
- Veeam Data Platform Premium. HA is not included in standard licenses.
- Both appliances on the same subnet.
- DNS records for the primary node, the secondary node, and the cluster DNS name.
- A cluster virtual IP address available on the subnet.
- Connectivity between the two appliances.
- Appliance admin credentials are available for cluster creation.
Enable HA on each node
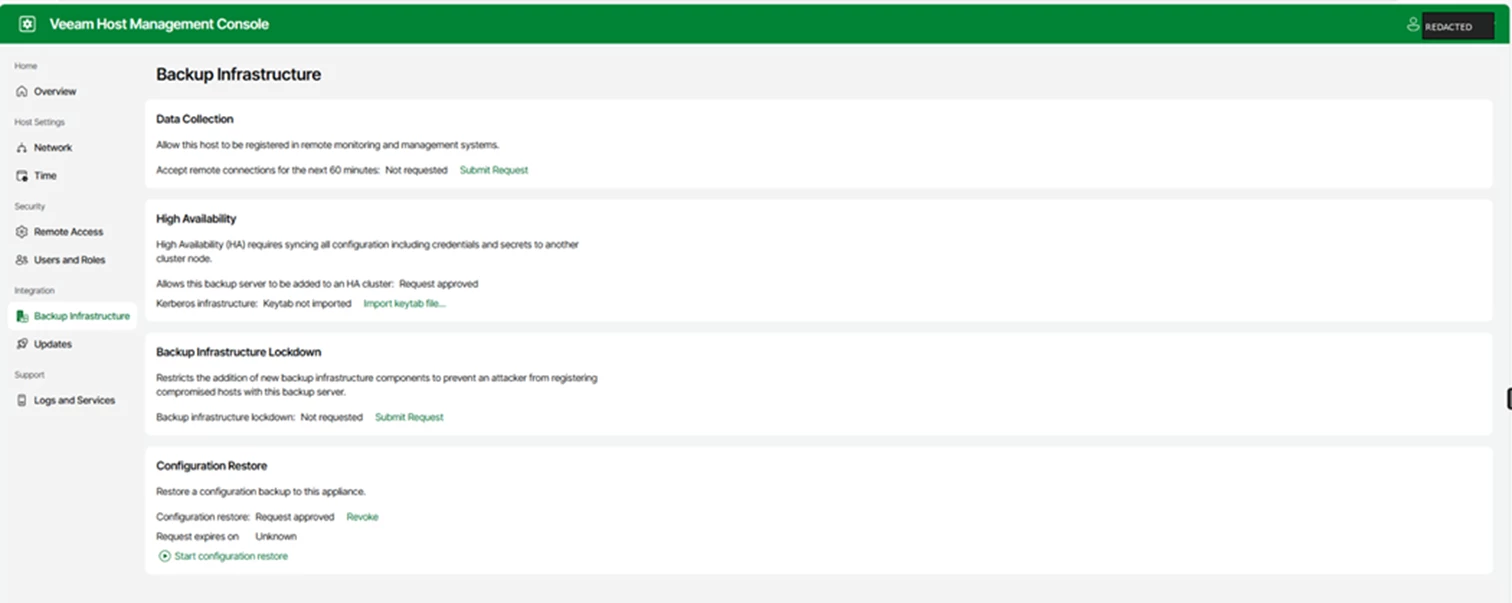
On both appliances, log into the host management console. Go to backup infrastructure, then high availability, and submit the request. Do this on both nodes before building the cluster from the VBR Console.
In this example, the HA request is approved on the appliance before the cluster is assembled.
Screenshot: host management console showing the high availability request approved.
Create the cluster from the VBR console
Open the Veeam Backup & Replication console on one of the nodes. Go to managed servers and start the create HA cluster wizard.
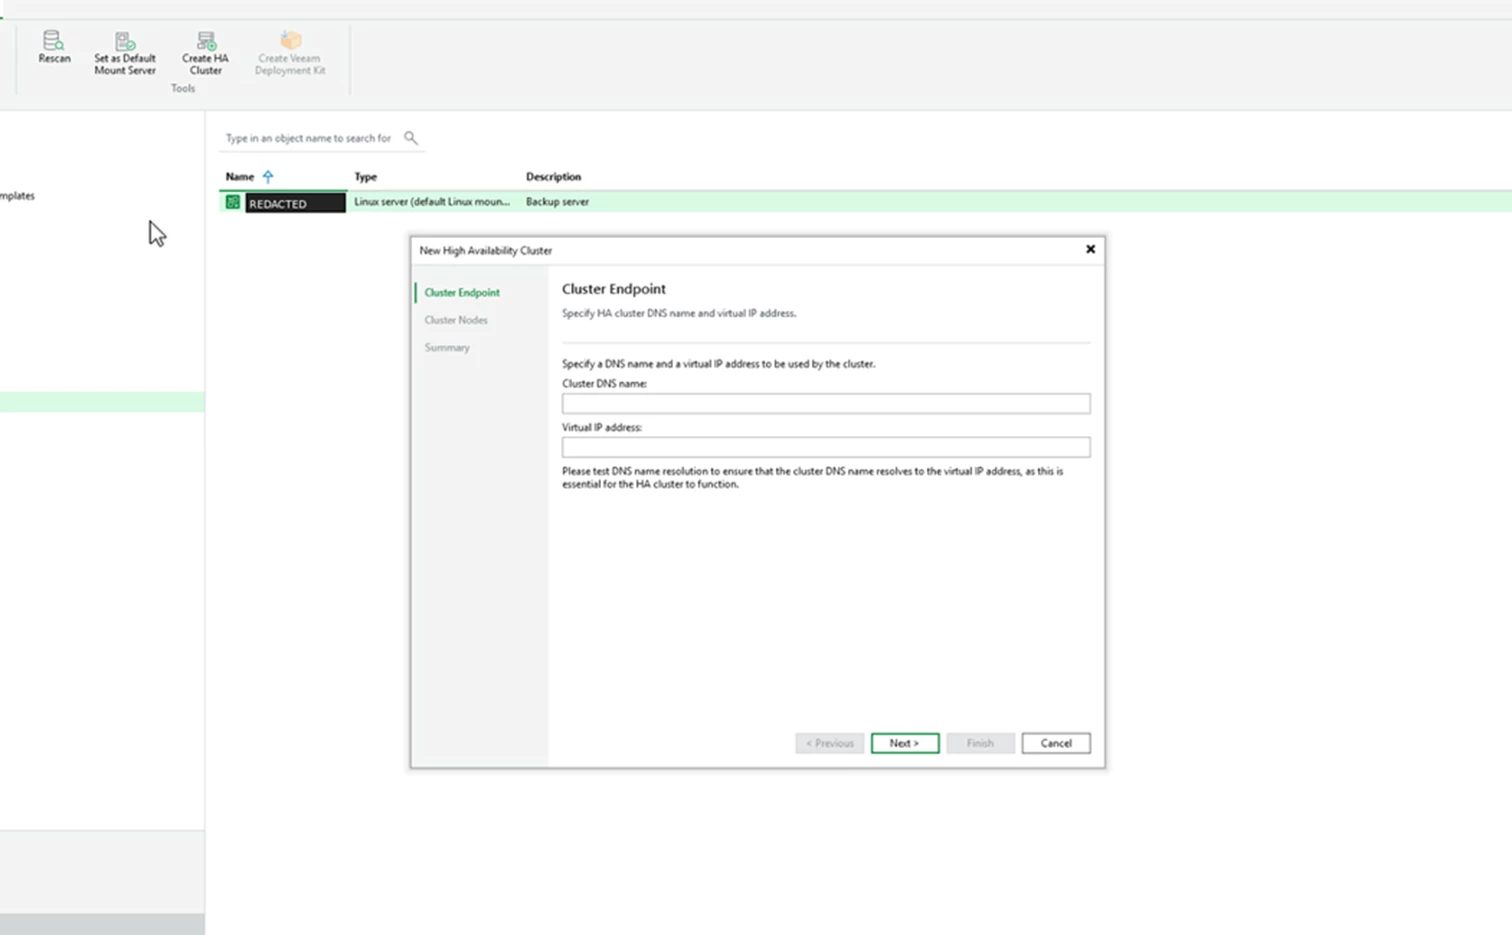
The first step is cluster endpoint. This is where you enter the cluster DNS name and the virtual IP address clients will use.
Screenshot: Cluster endpoint step with fields for cluster DNS name and virtual IP address.
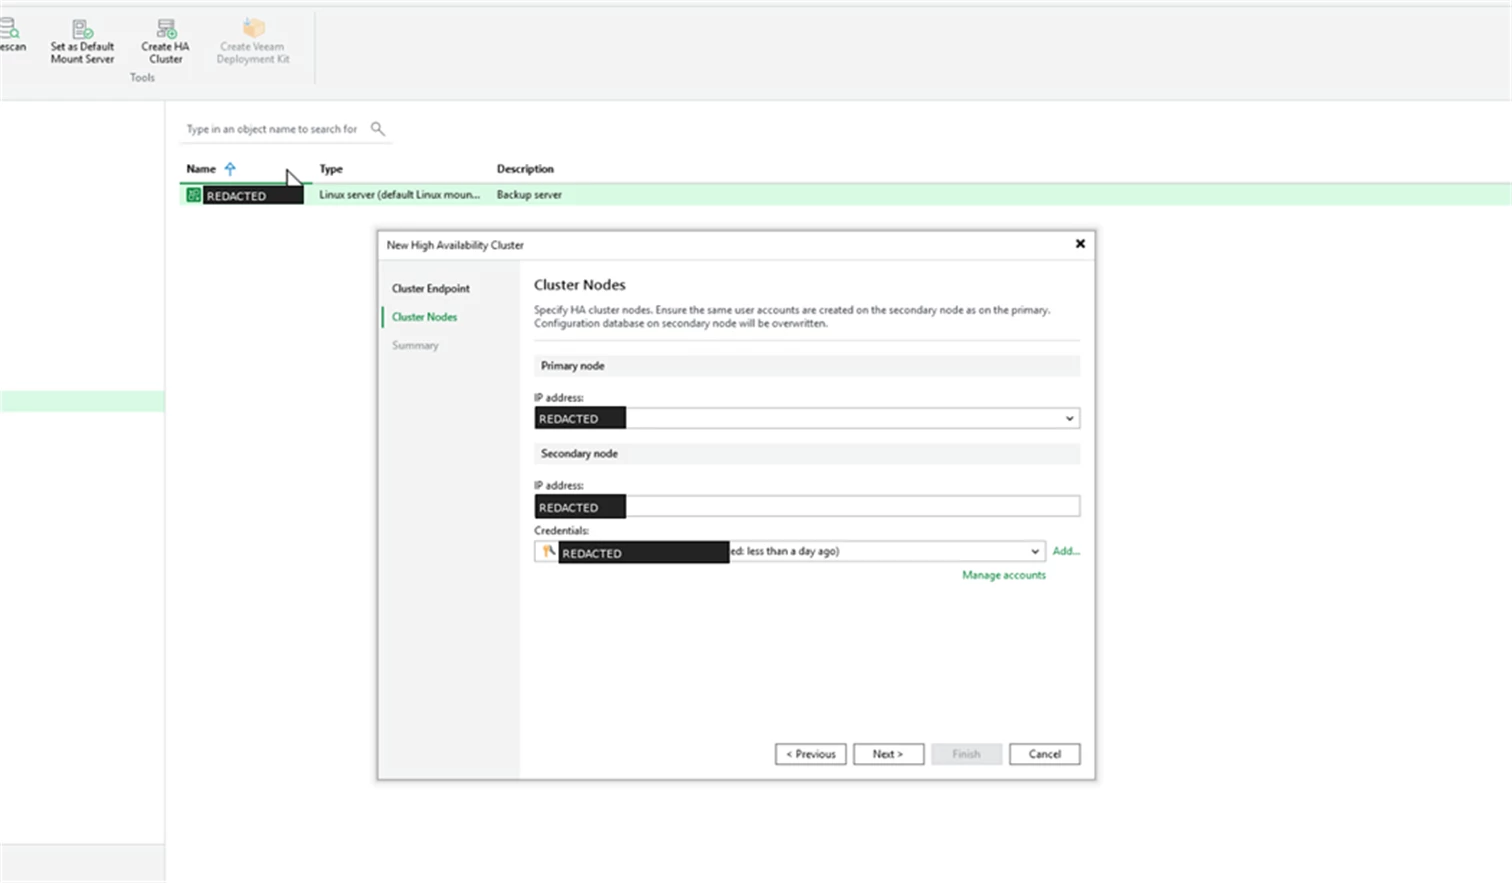
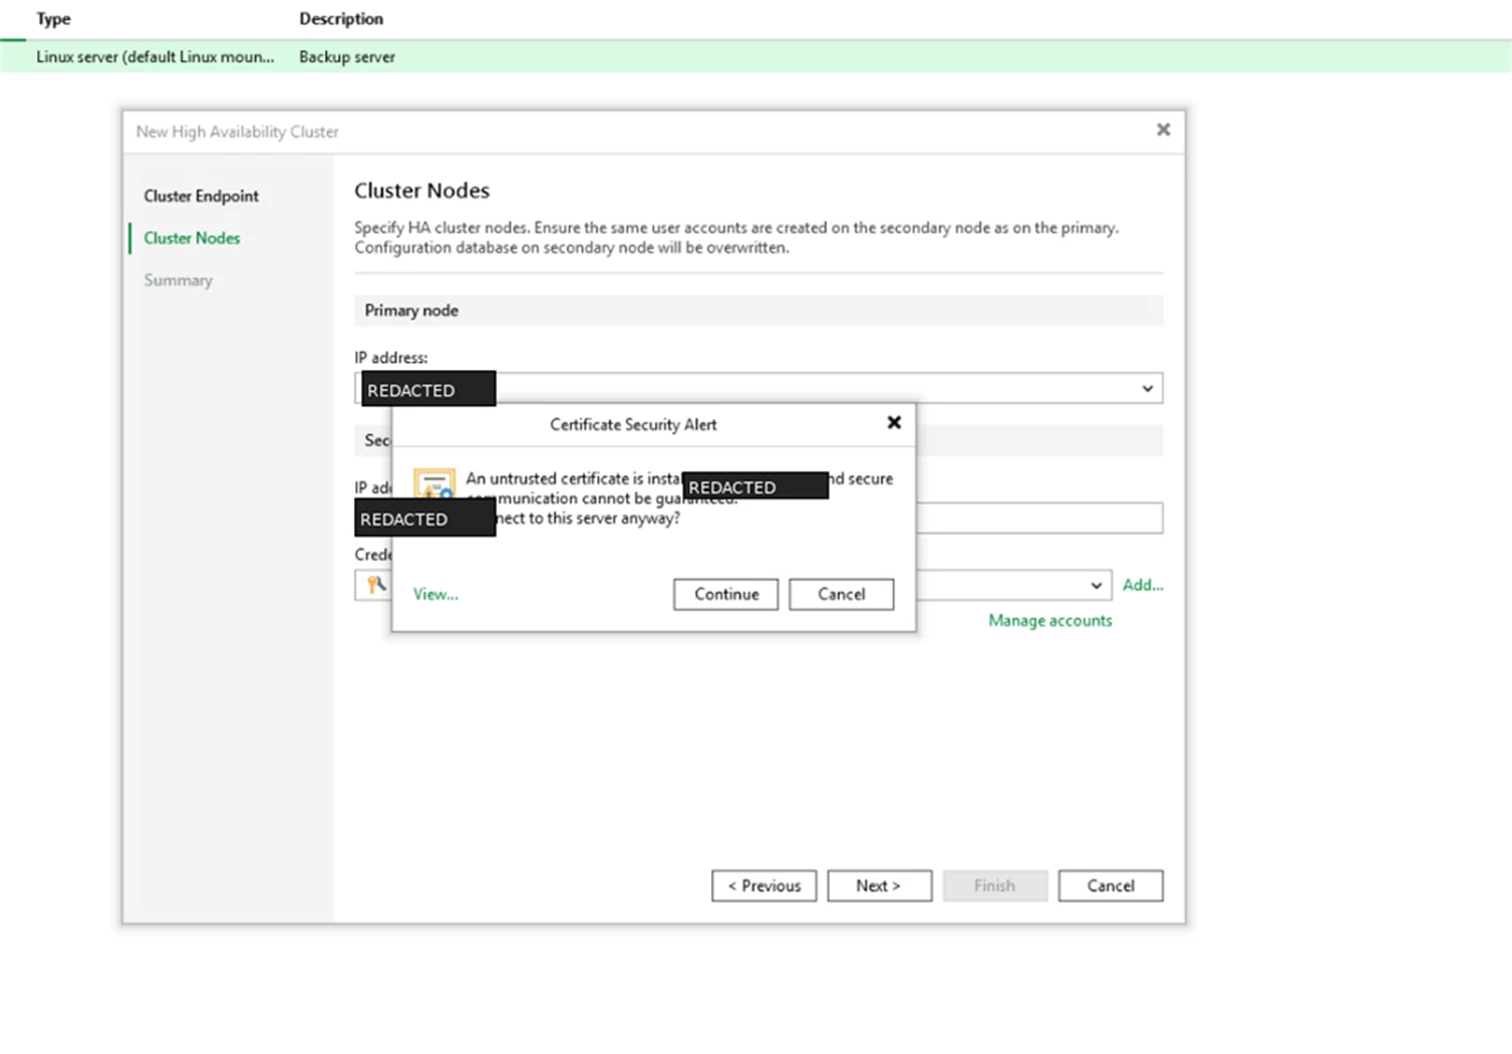
Next is cluster nodes. Add the primary and secondary appliance addresses. The wizard also reminds you that required user accounts should exist on the secondary node and that the secondary configuration database will be overwritten.
Screenshot: Cluster nodes step with primary and secondary node fields.
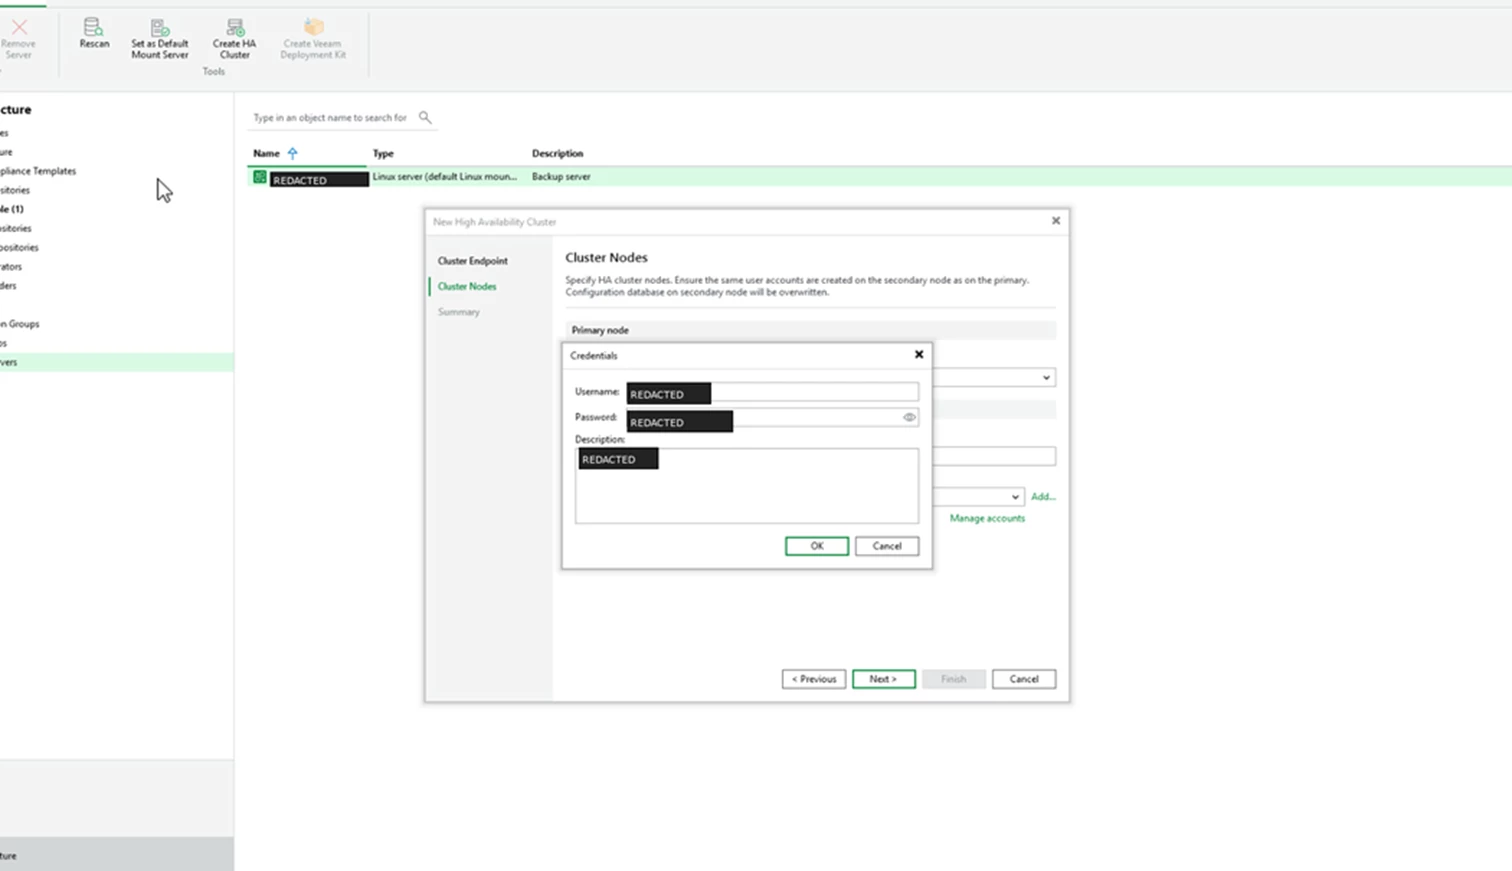
When prompted, provide the appliance admin credentials.
Screenshot: Credentials dialog for the appliance admin account.
If a certificate warning appears, confirm that you are connecting to the expected appliance and continue.
Screenshot: Certificate warning during the cluster node connection step.
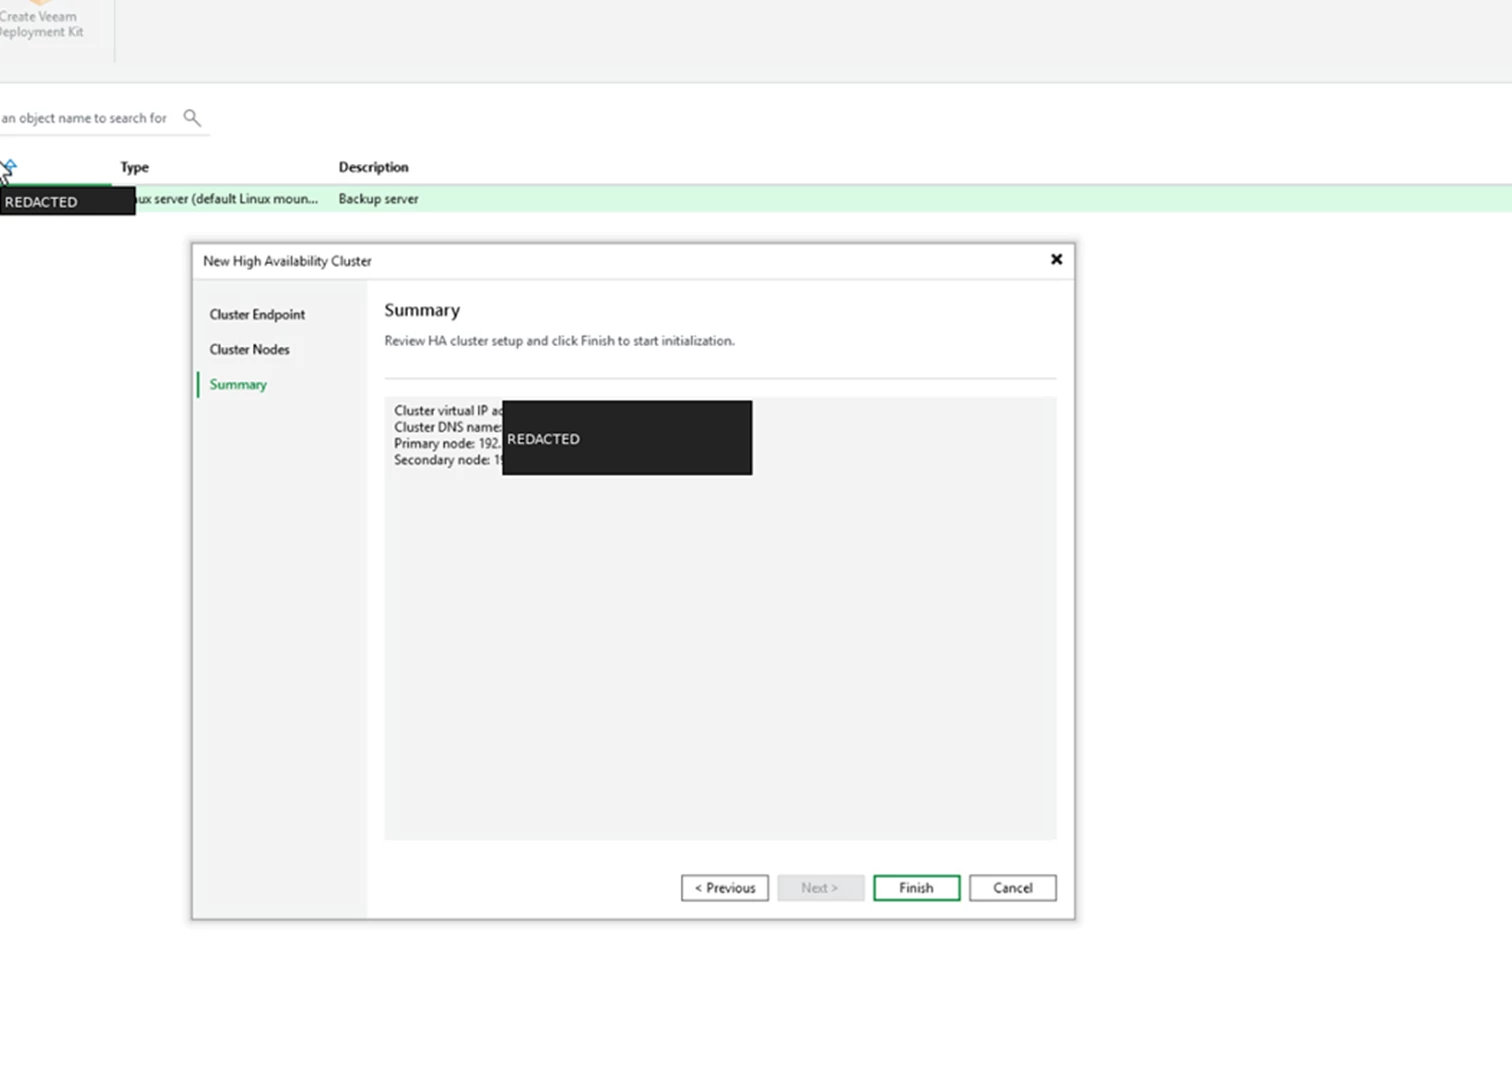
Review the summary screen and finish the wizard.
Screenshot: Summary step before cluster initialization.
Watch the Cluster Initialize
The VBR saves the infrastructure items and creates the configuration database for the HA cluster. During this step, the console shows the HA cluster as initializing.
Screenshot: HA cluster initialization and configuration database creation in progress.
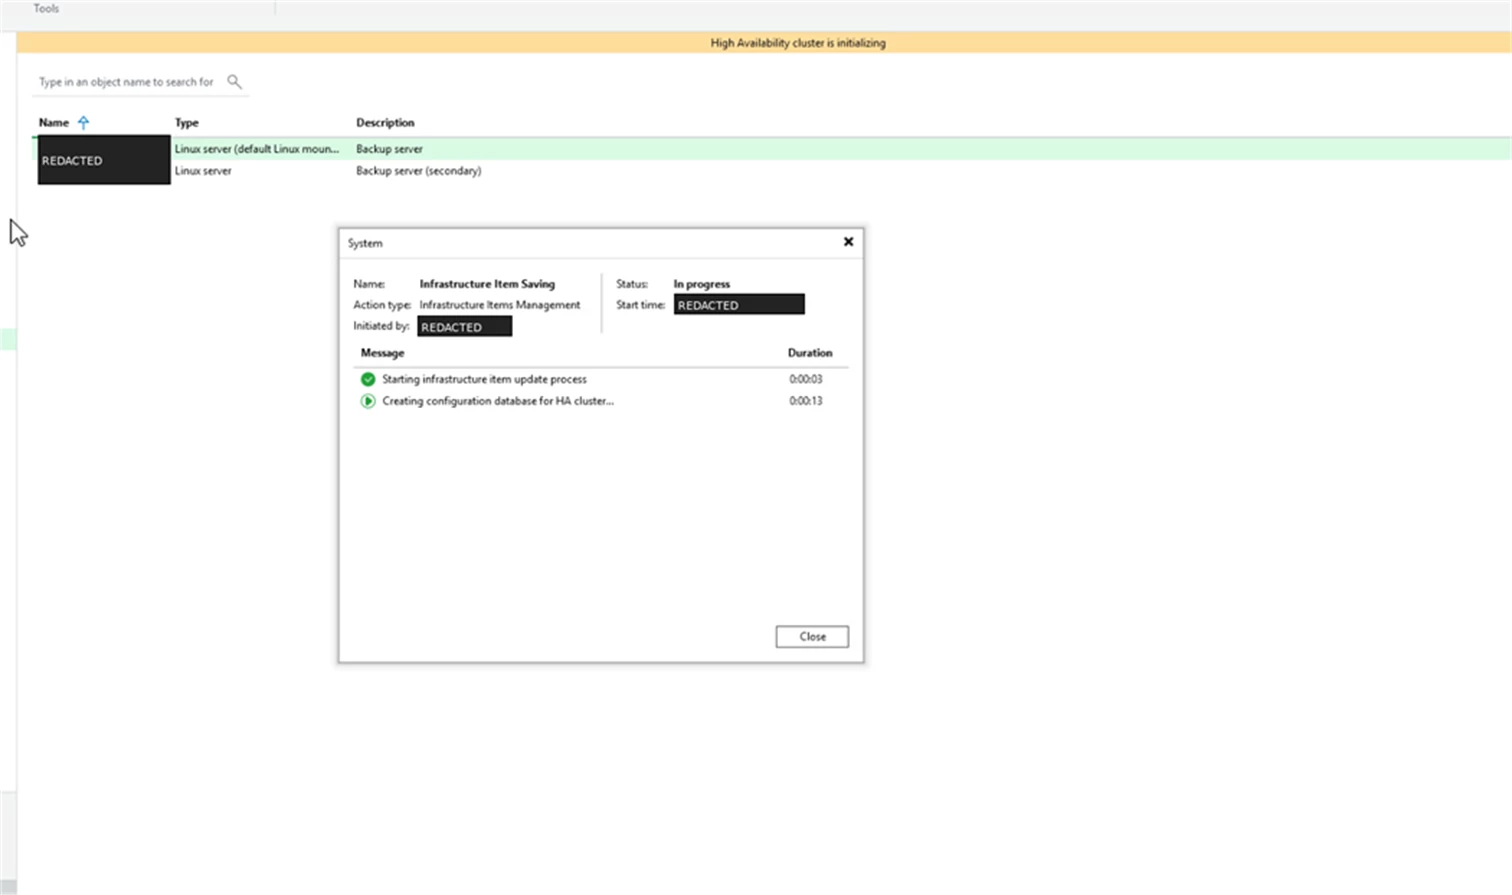
When this process finishes, the cluster is assembled and the console view updates.
Cluster View
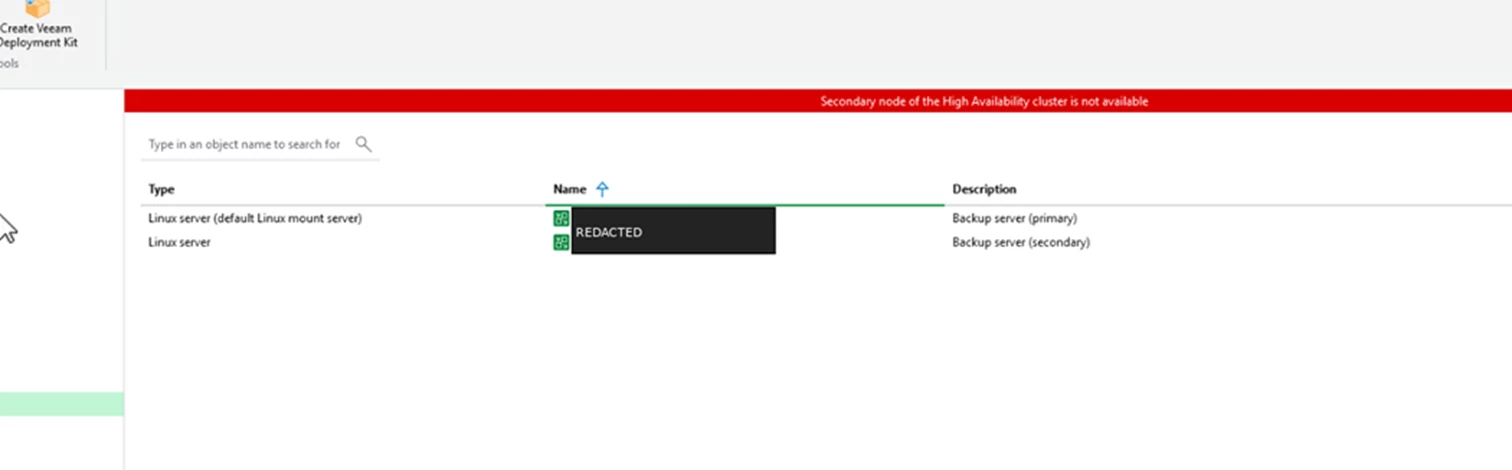
Before the secondary node is fully available, the console can show a red banner that says the secondary node of the HA cluster is not available.
Screenshot: Secondary node not available banner before the cluster is healthy.
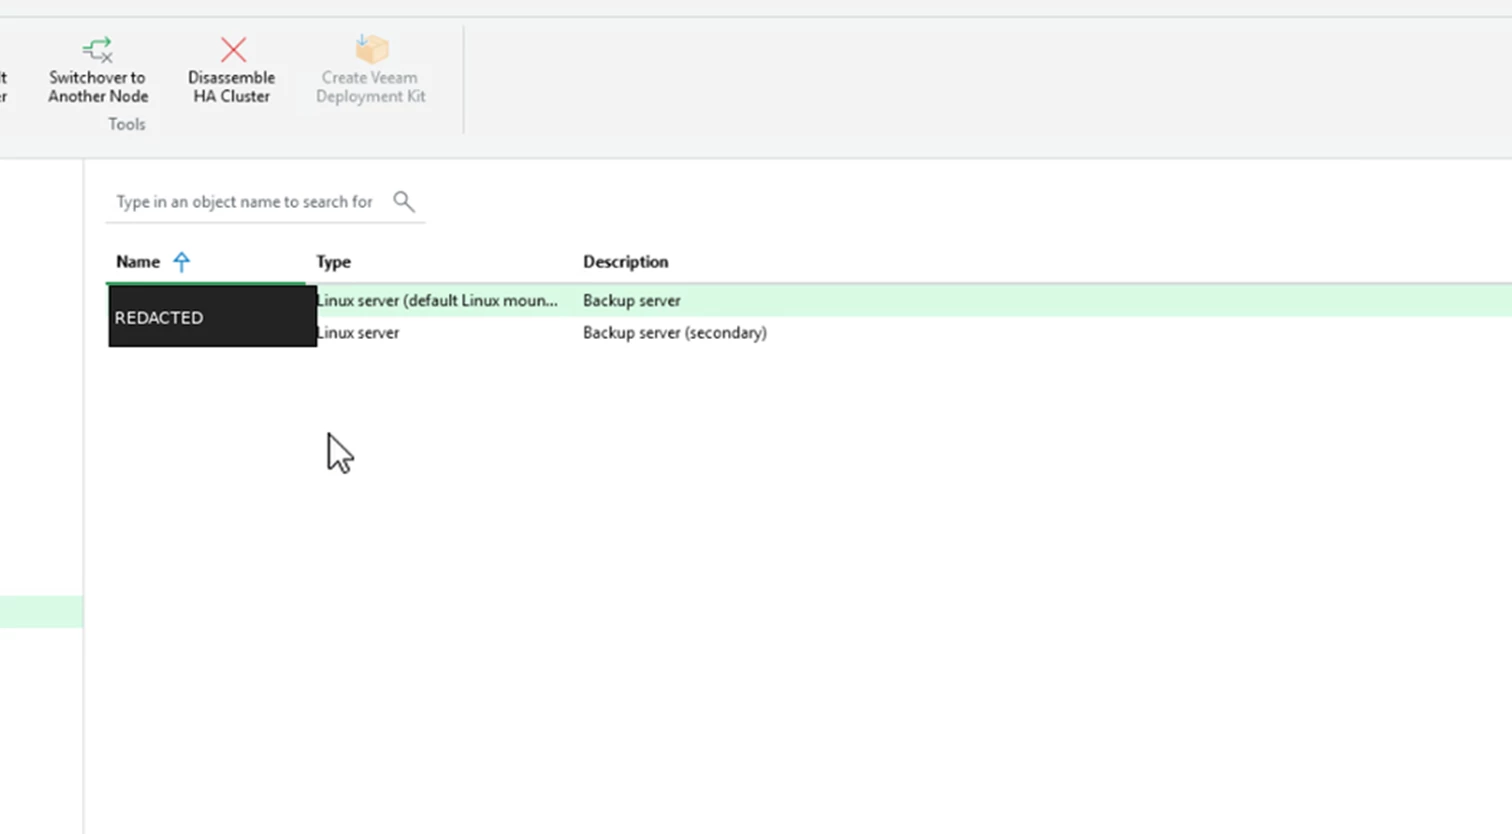
After assembly, the secondary node tab shows the partner node and exposes the switchover and disassemble actions.
Screenshot: Secondary node tab with switchover and disassemble actions.
Testing a Switchover
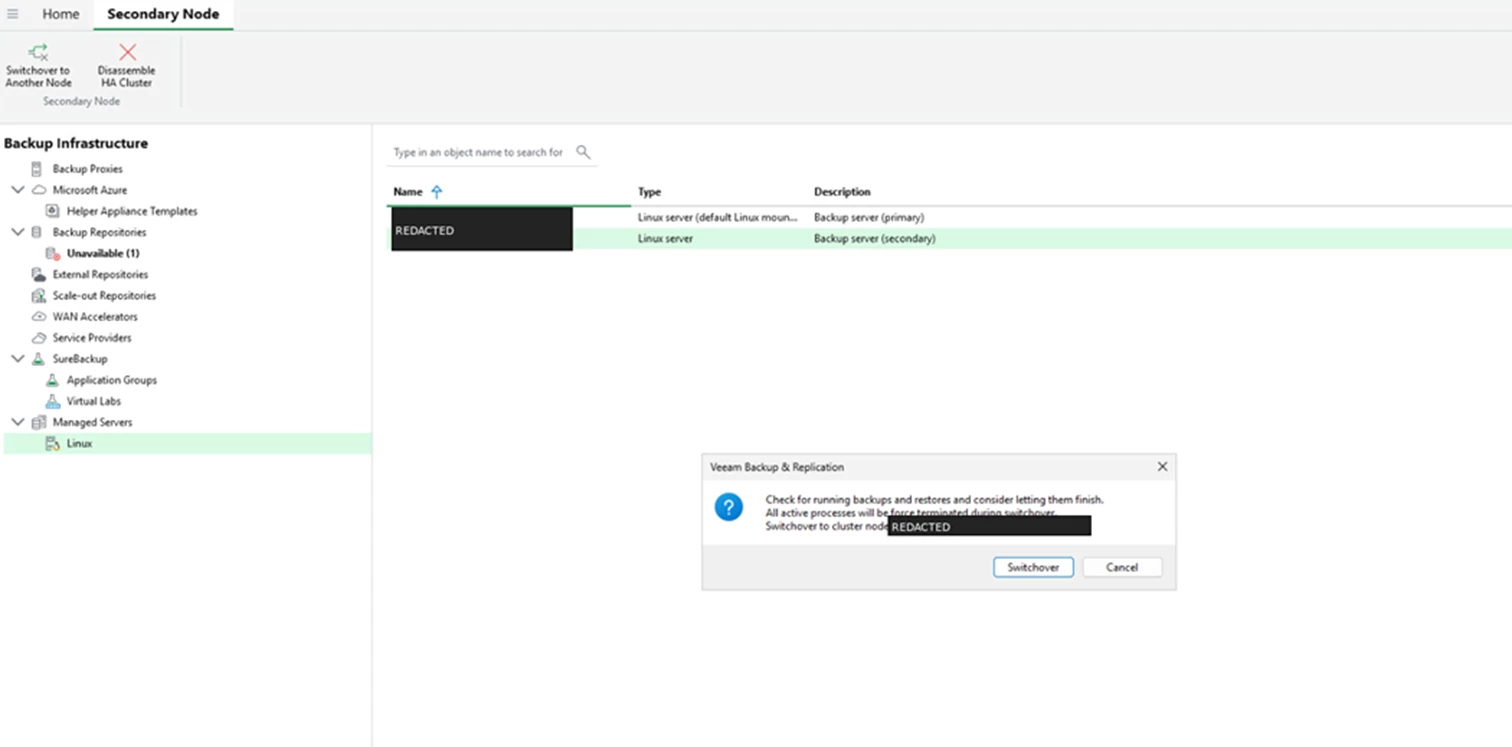
To test a planned switchover, select the secondary node and use switchover to another node. Confirm the prompt before continuing.
Screenshot: Switchover confirmation prompt.
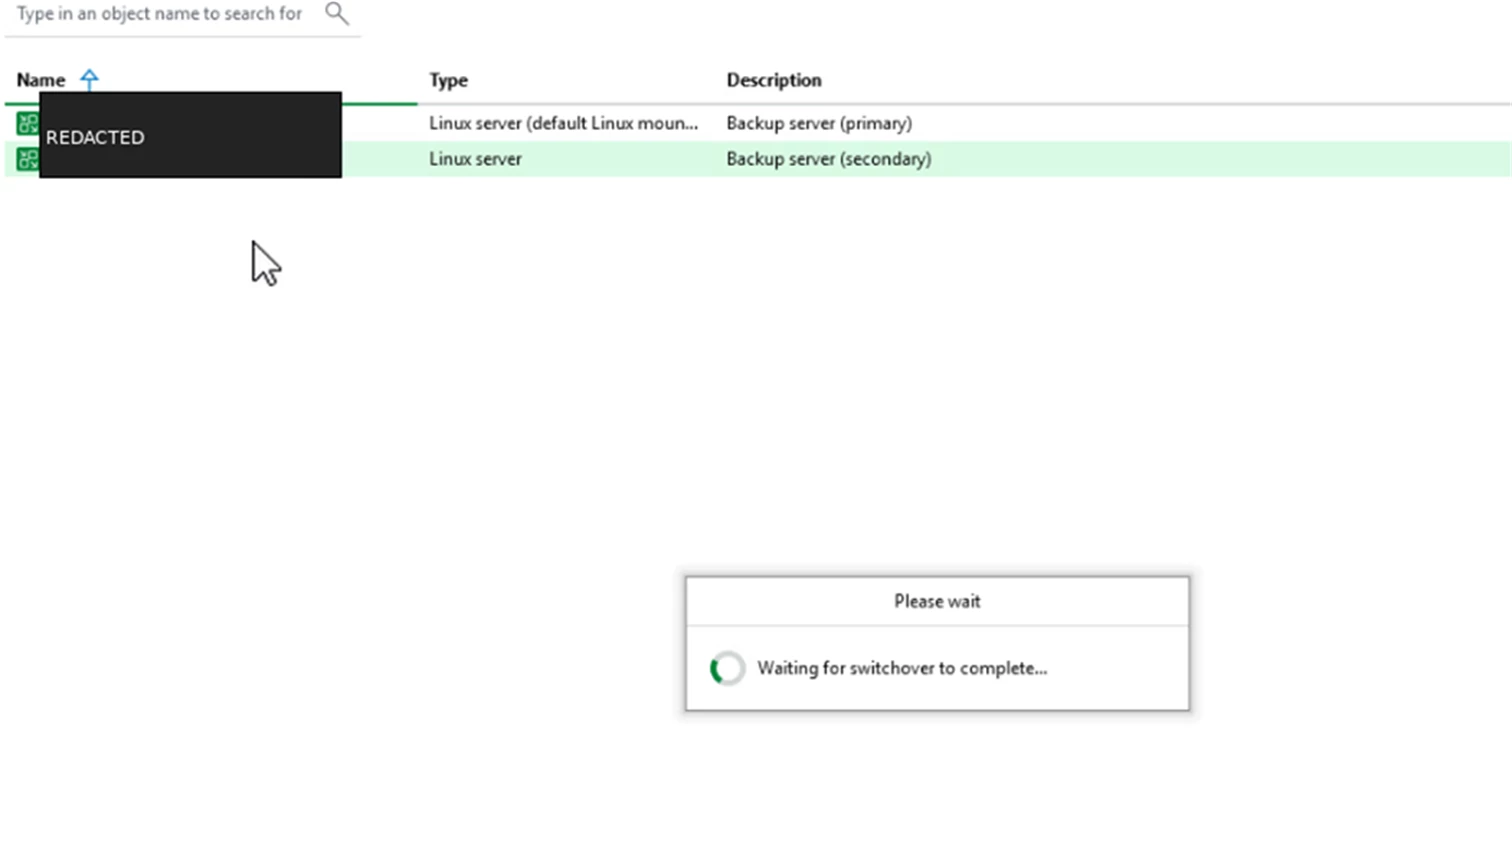
The console shows progress while VBR moves the active role to the secondary node.
Screenshot: Waiting for switchover to complete.
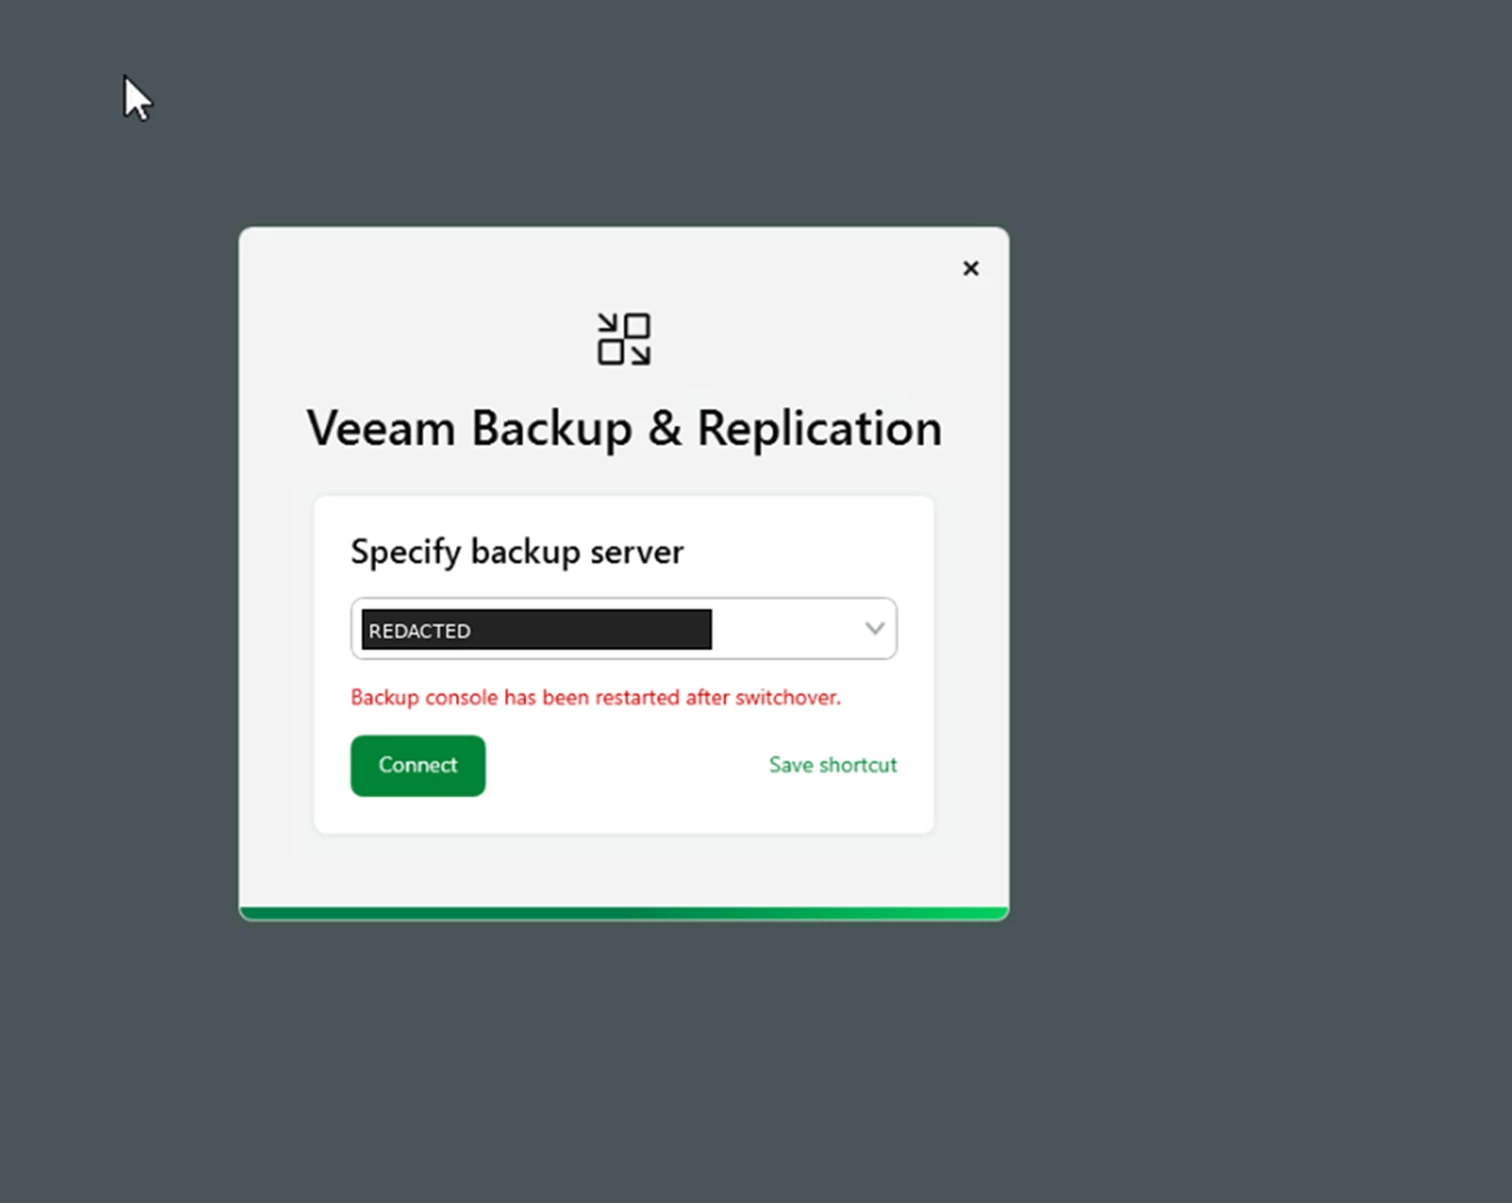
When the switchover finishes, the console restarts and prompts you to specify the backup server again because the connection has been redirected.
Screenshot: Specify backup server prompt after switchover.
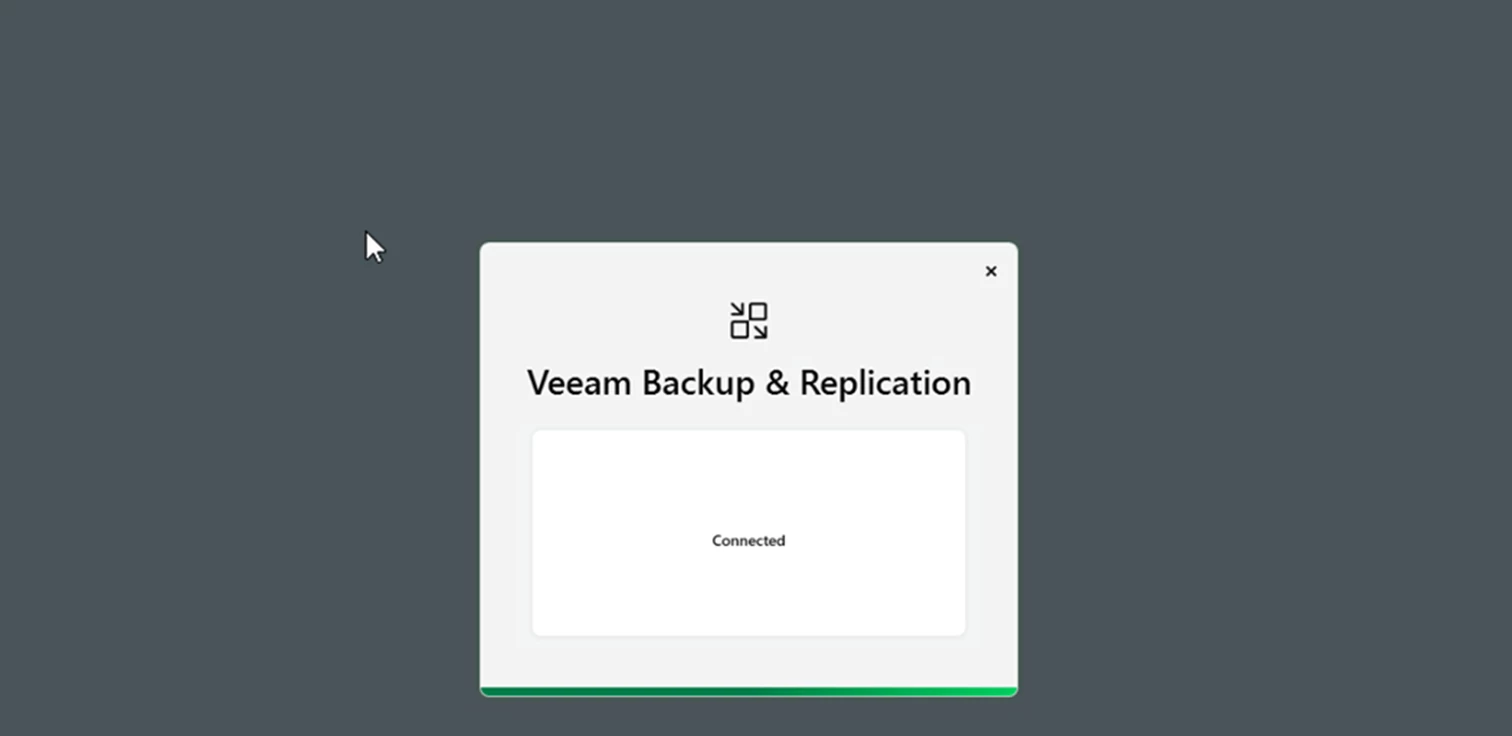
After reconnecting, the former secondary is active. The console shows connected and the old primary becomes the secondary node.
Screenshot: Connected status after reconnecting to the active node.
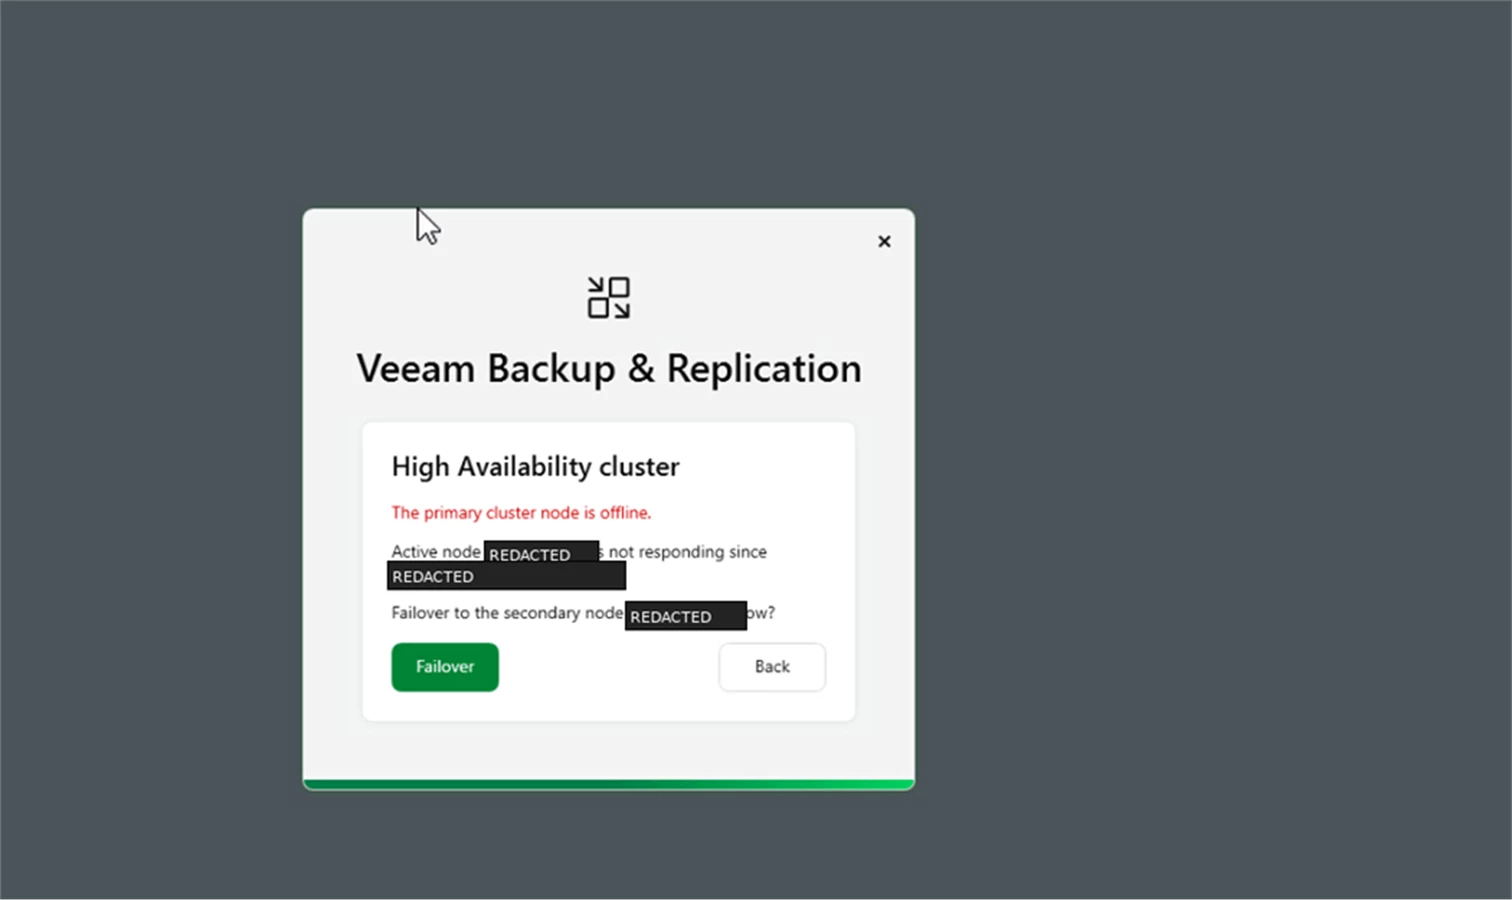
When the Primary Fails
If the primary appliance goes offline unexpectedly, the VBR console prompts you to fail over to the secondary node.
Screenshot: Primary cluster node offline with failover prompt.
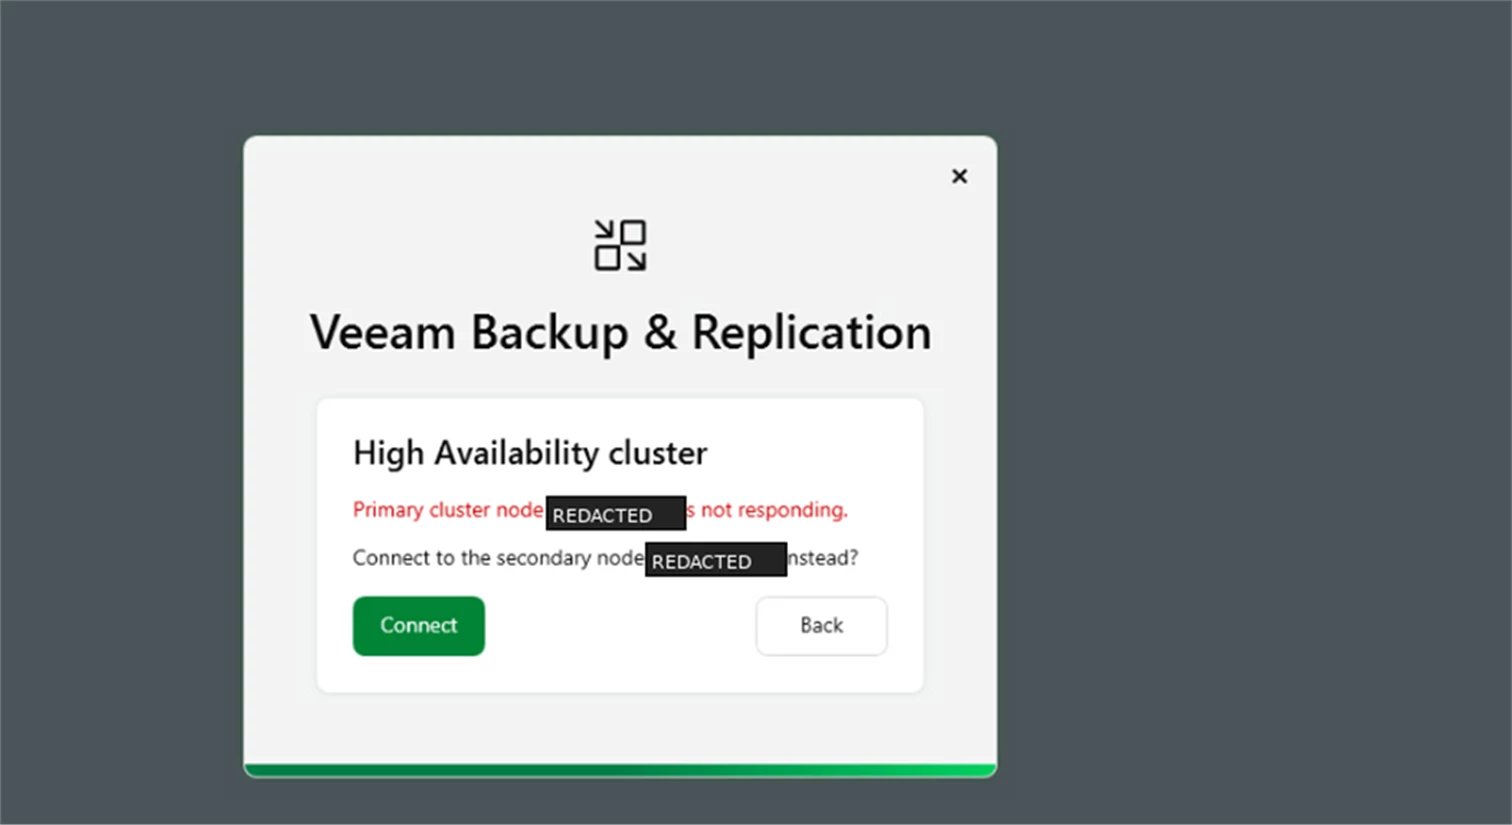
After accepting the failover, connect to the secondary node to continue working through the HA cluster.
Screenshot: Connect to the secondary node after primary node failure.
Wrap-Up
That is the basic setup and validation. The setup is short, but the important part is knowing what each state looks like: request approved on both appliances, cluster initialized in VBR, secondary node healthy, planned switchover, and the console behavior when the primary is no longer responding.
For the architecture and the why behind all of this, see my prior post ---> Veeam v13 high availability cluster setup from scratch.
