We all learnt about the recent update to Veeam Backup and Replication 12.2. A lot of Legends have written excellent pieces and I will kindly let you take a look at one of the articles yourself.
Also,
Because this topic has been dealt with already, I will proceed with the upgrade steps just to add more colours to Chris’ images :-)
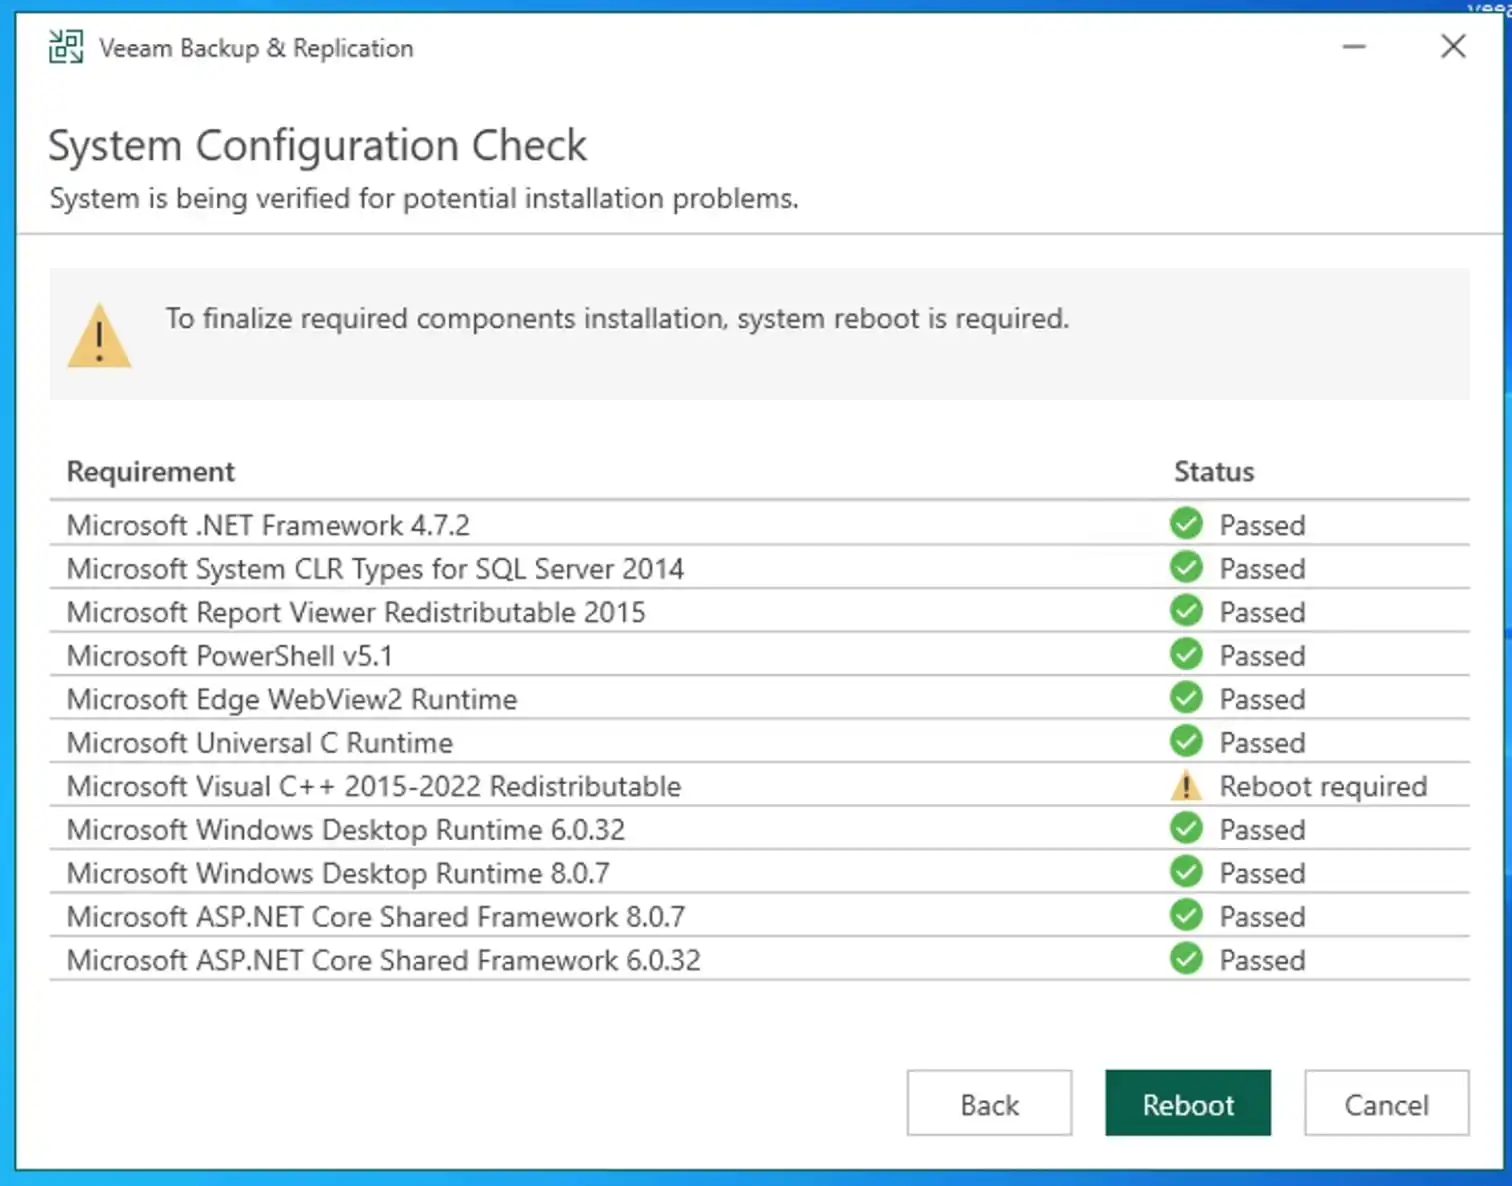
Note: Before proceeding with these steps, I recommend taking a look at the upgrade checklist to ensure an error-free upgrade. kindly keep in mind that a reboot is also required for the upgrade
To download the Veeam Backup & Replication 12.2 ISO image, kindly navigate to the following URL
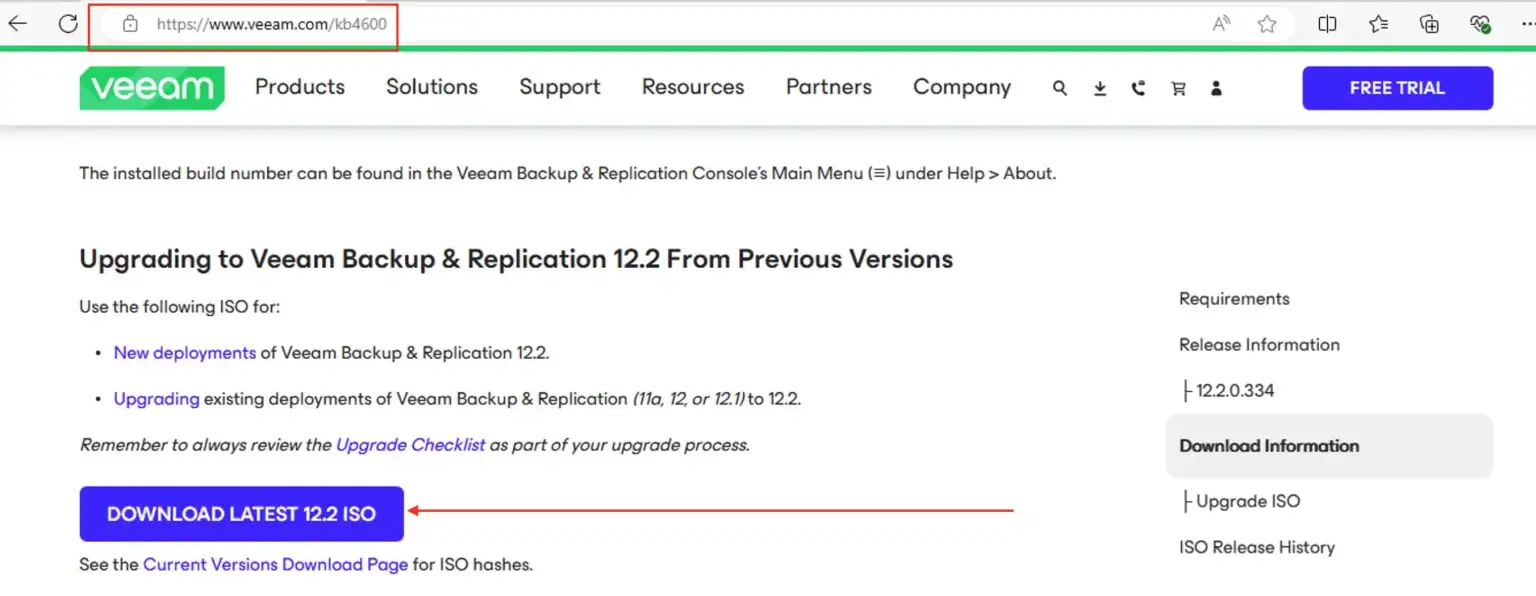
Upon clicking on Download, you will be redirected to enter your login credentials. Upon download, navigate to the download folder and mount the image.
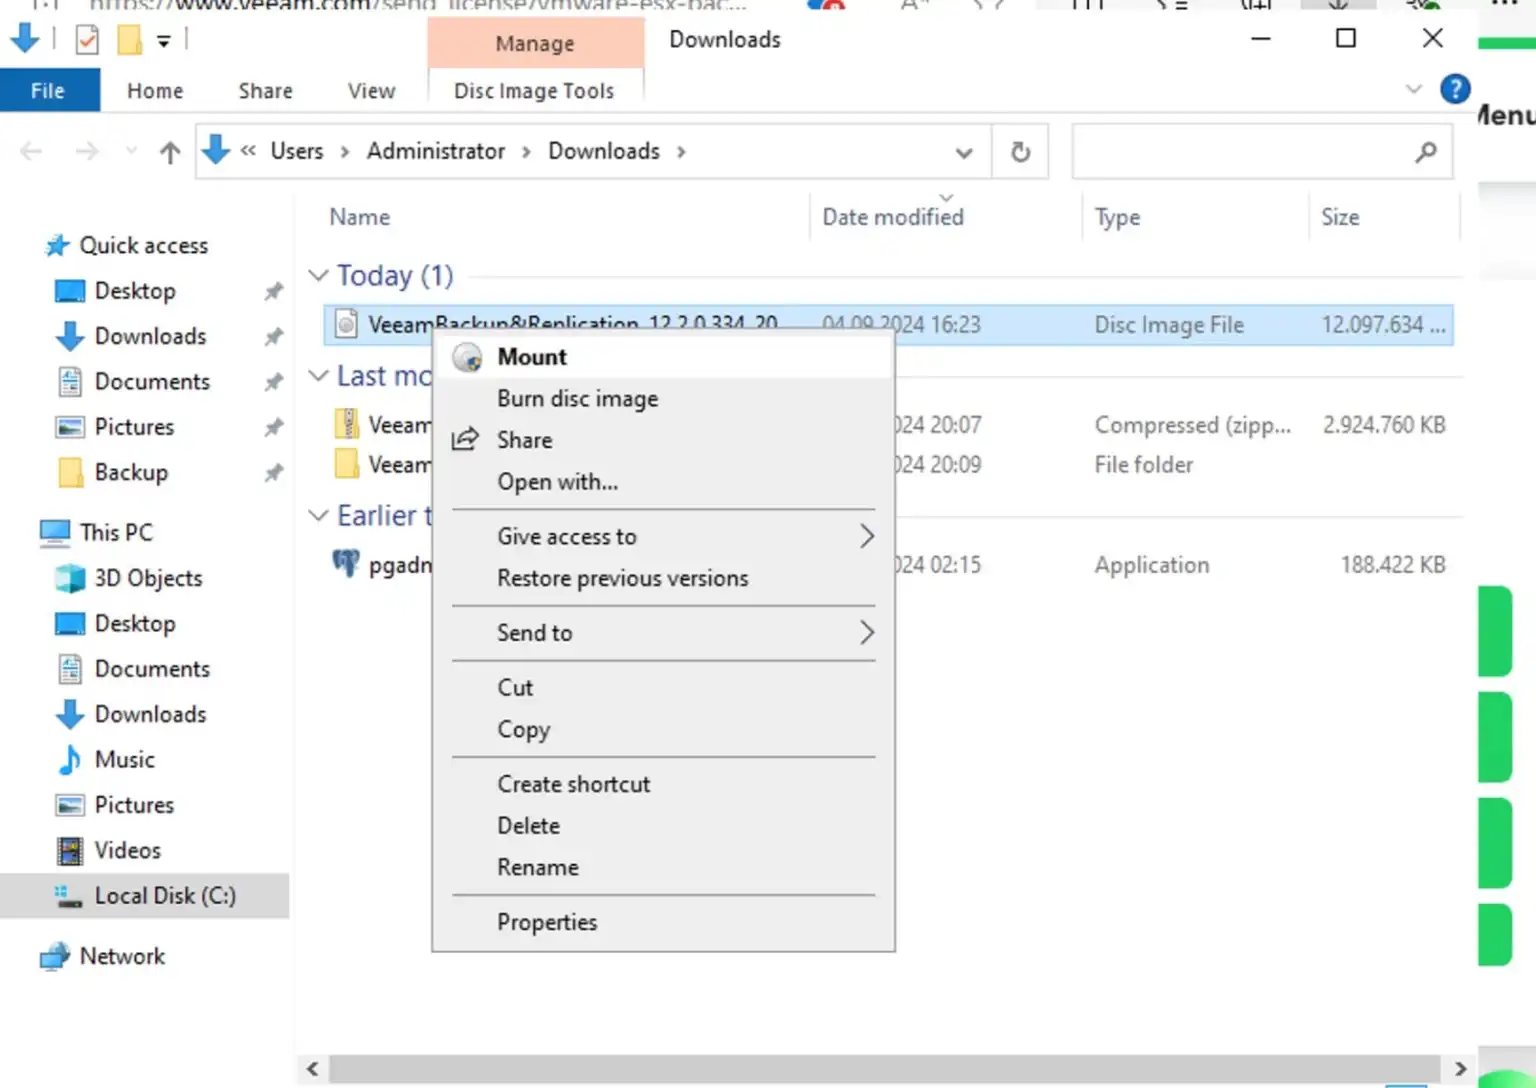
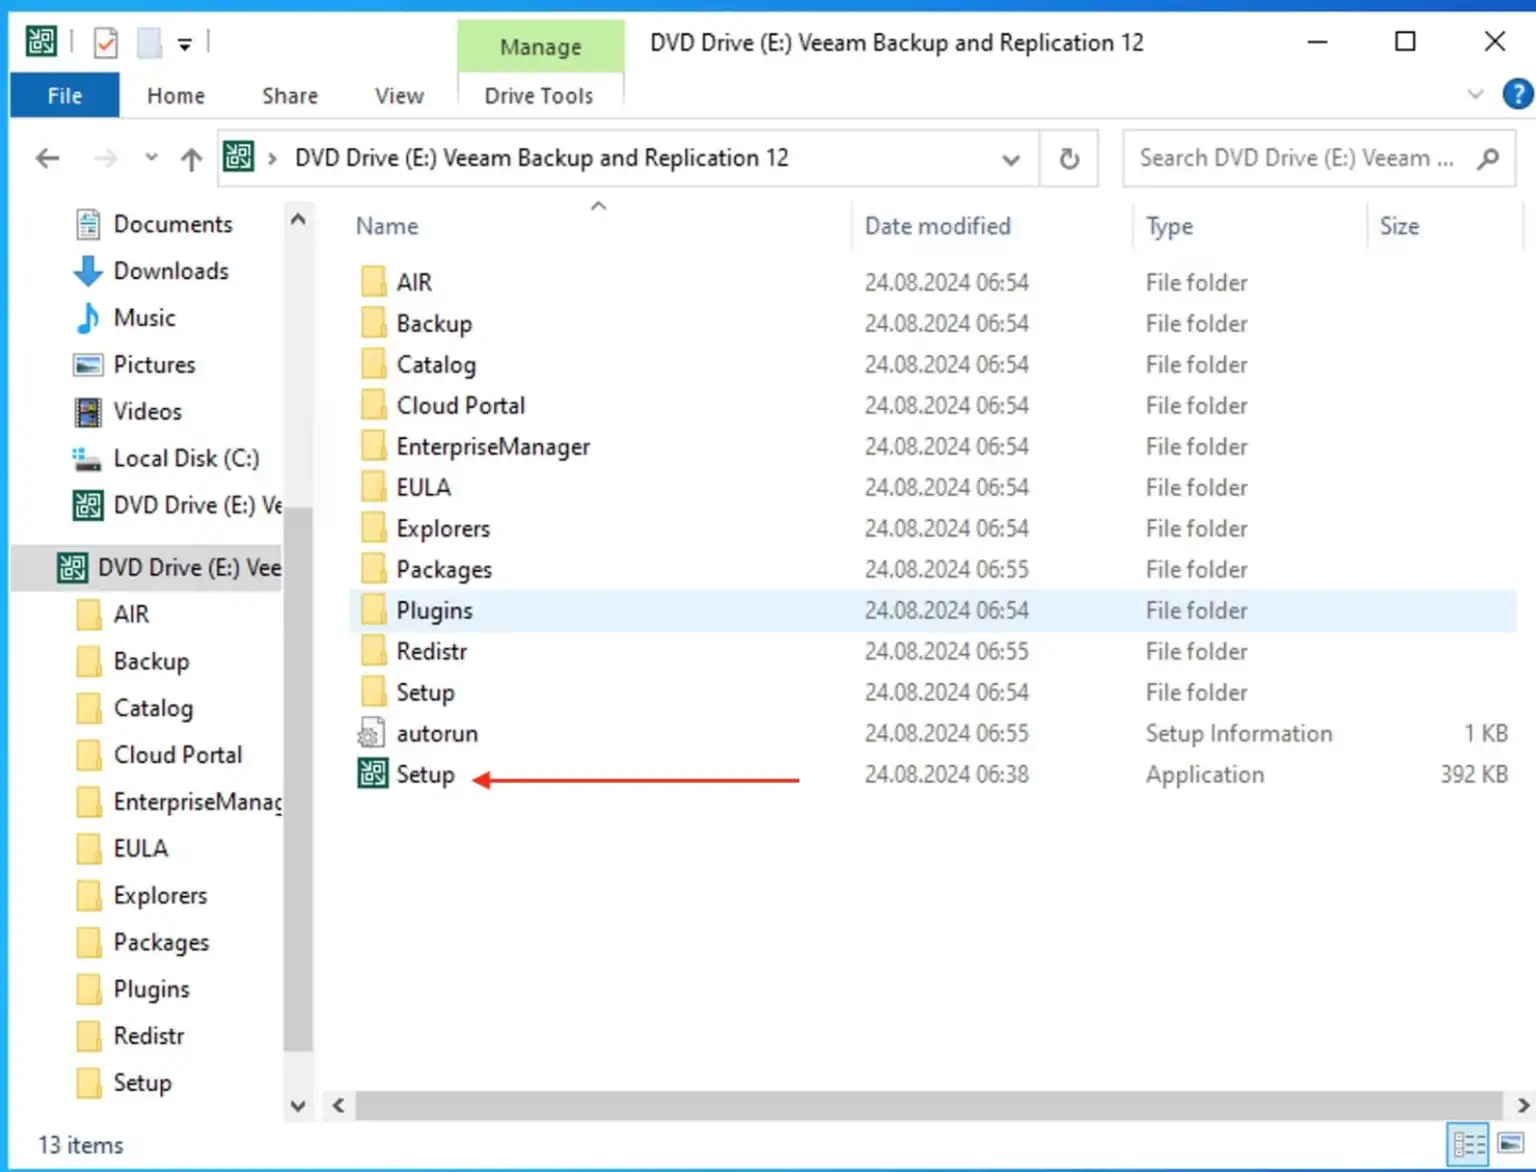
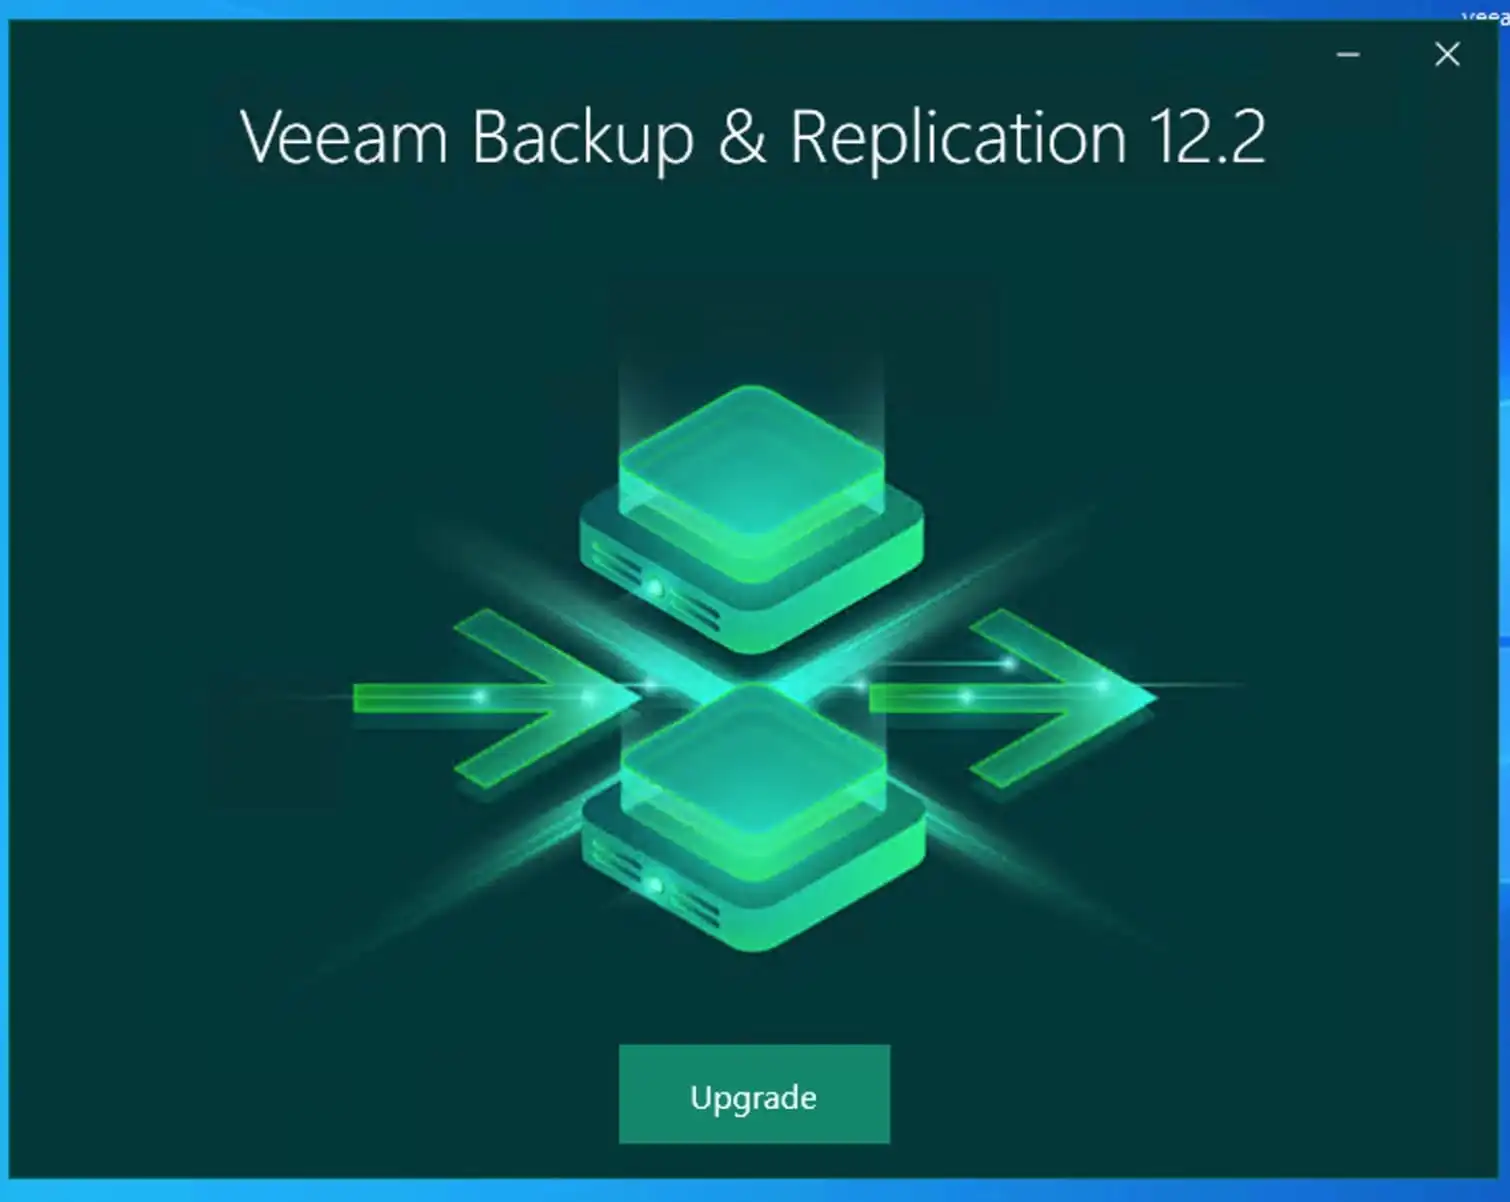
Upon mounting the image, double click on the setup as shown below.
On the upgrade screen, click on upgrade. Here is the link to the original blog post.
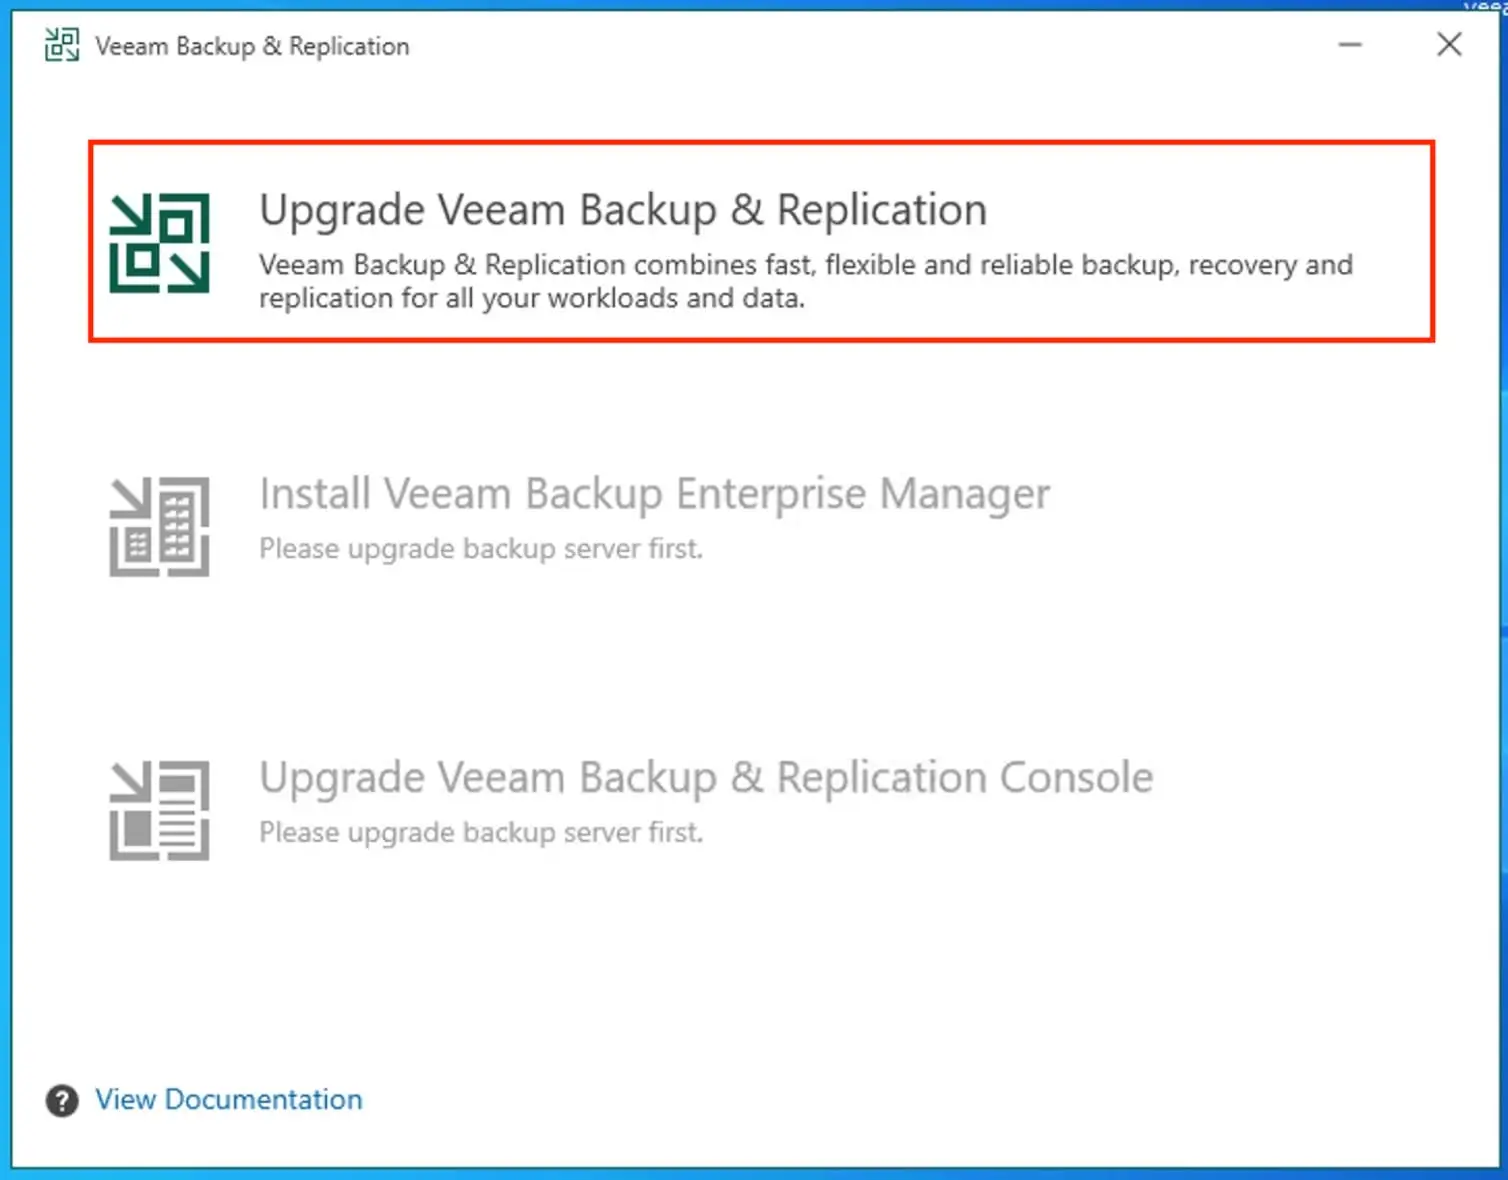
Select the first option “Upgrade Veeam Backup and Replication”
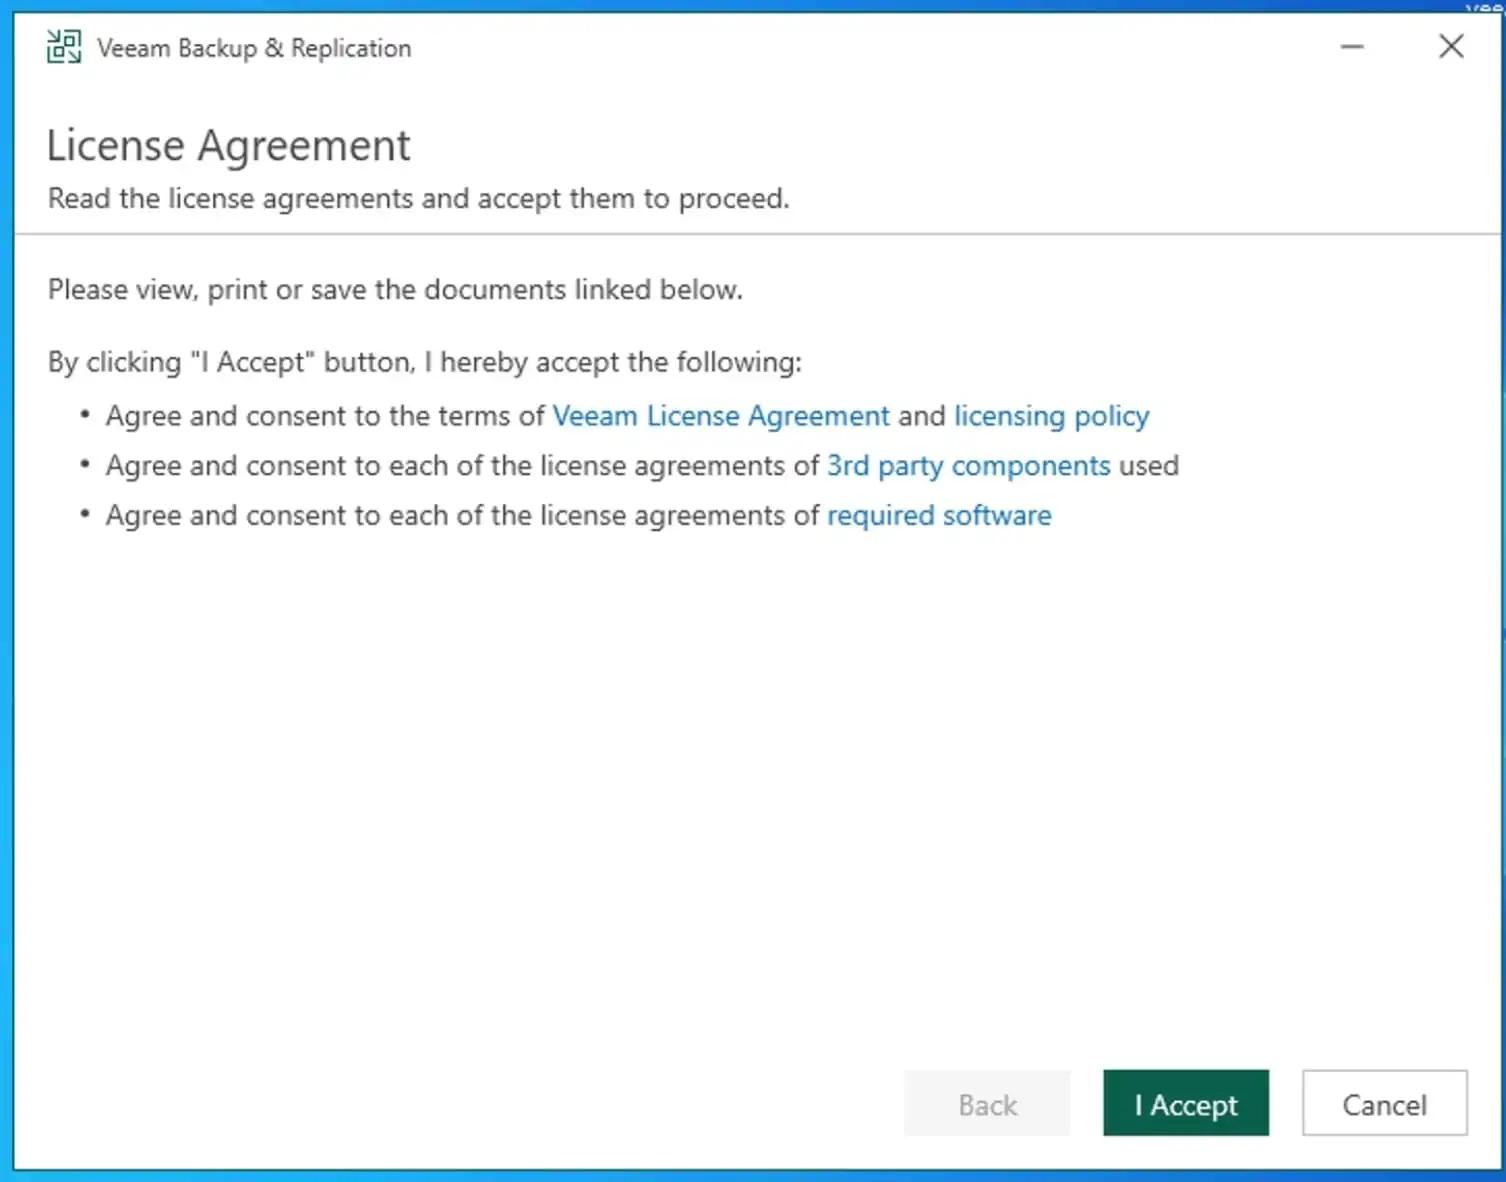
Accept the license
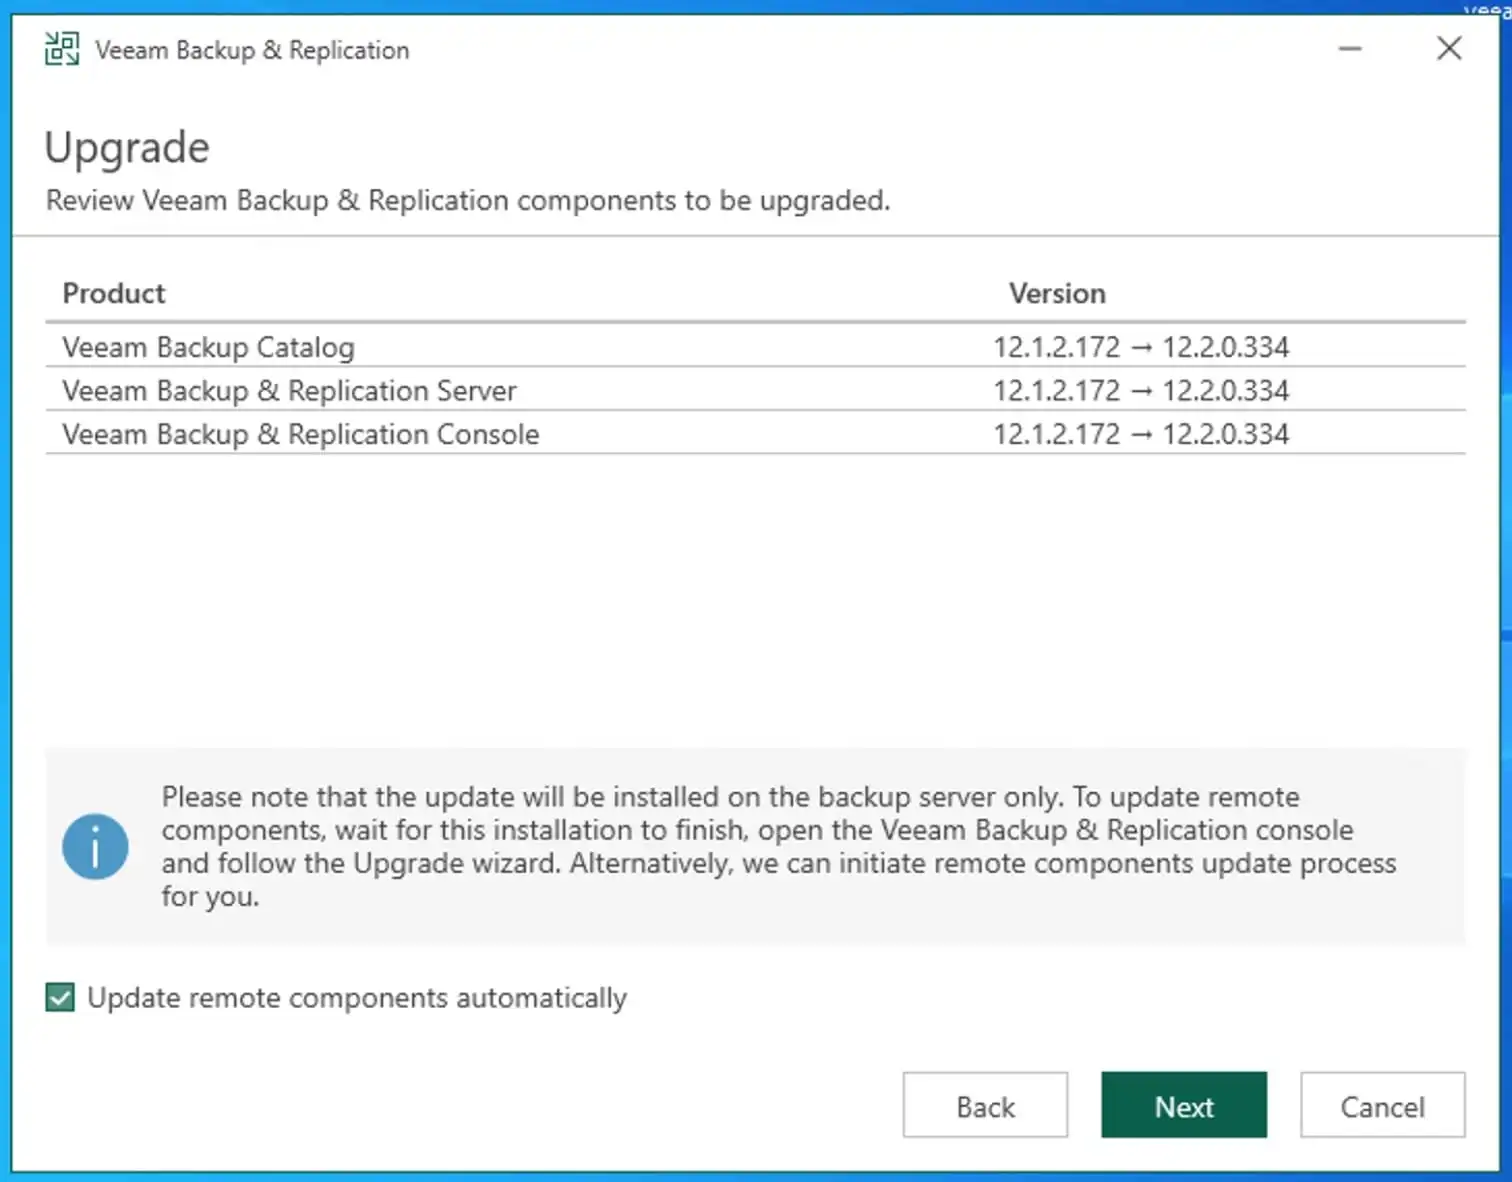
Below are the backup components to be upgraded and version. Do not forget to select “Update remote components automatically” and click Next to proceed.
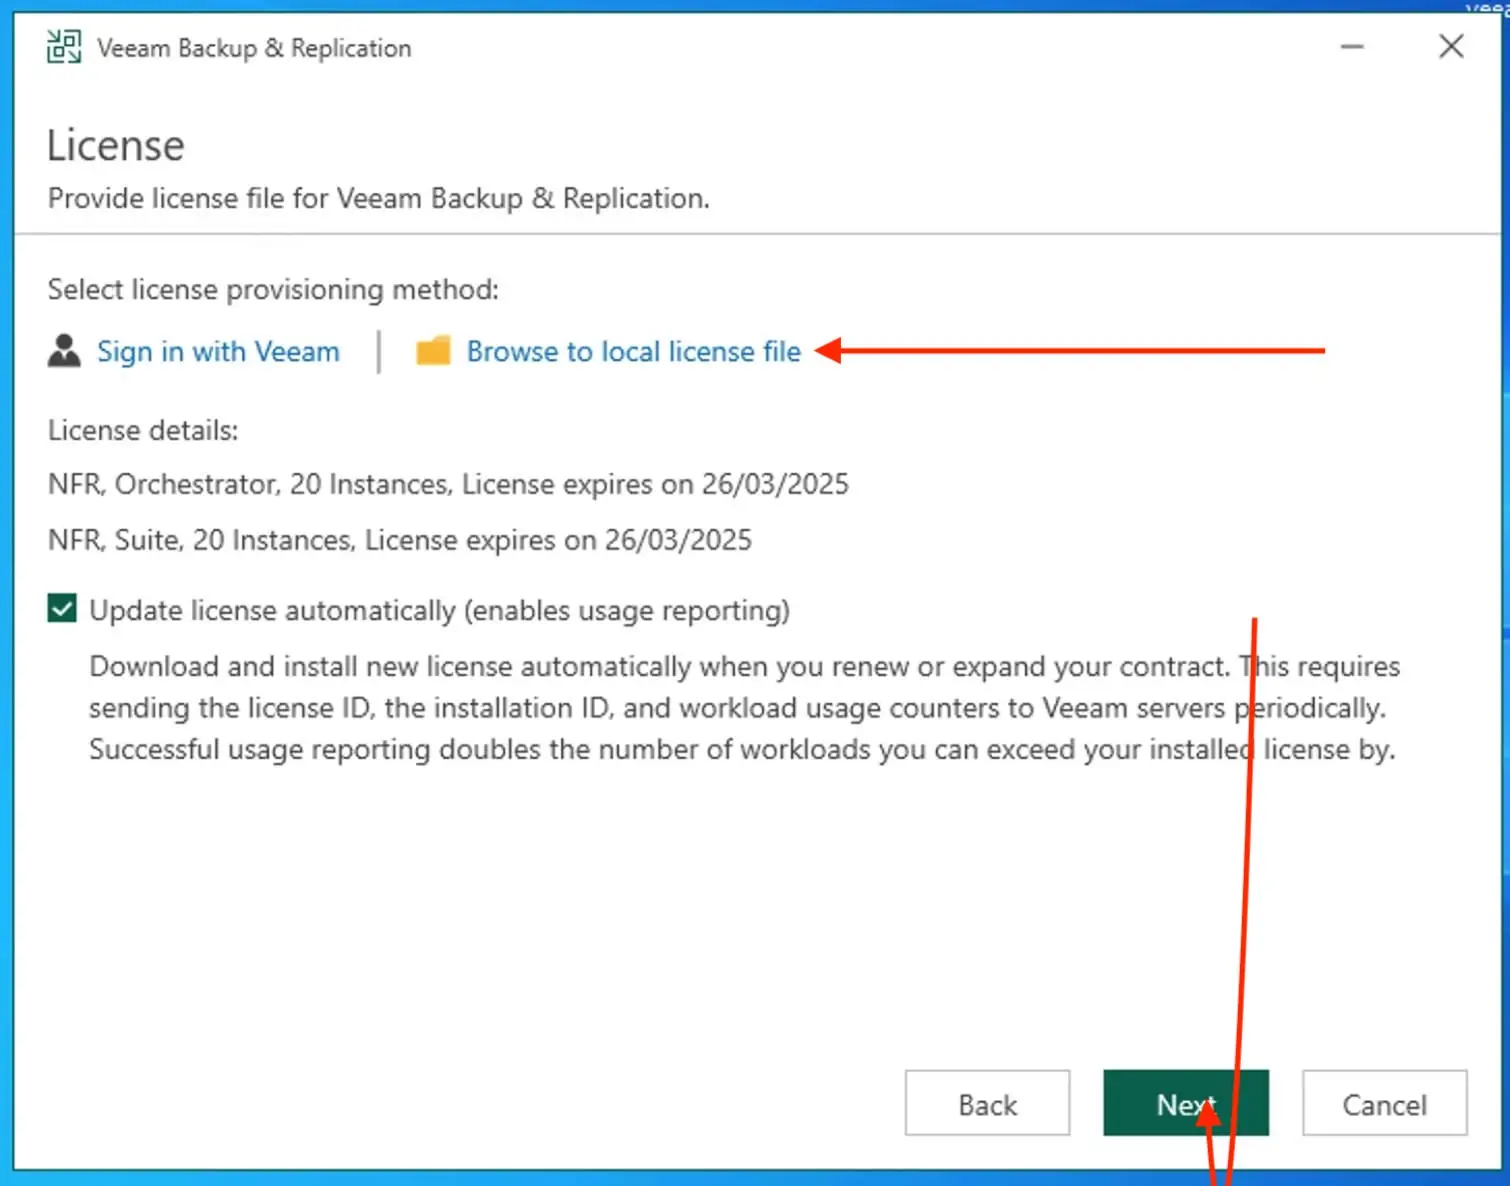
I have my license file locally. Therefore, I will browse to it.
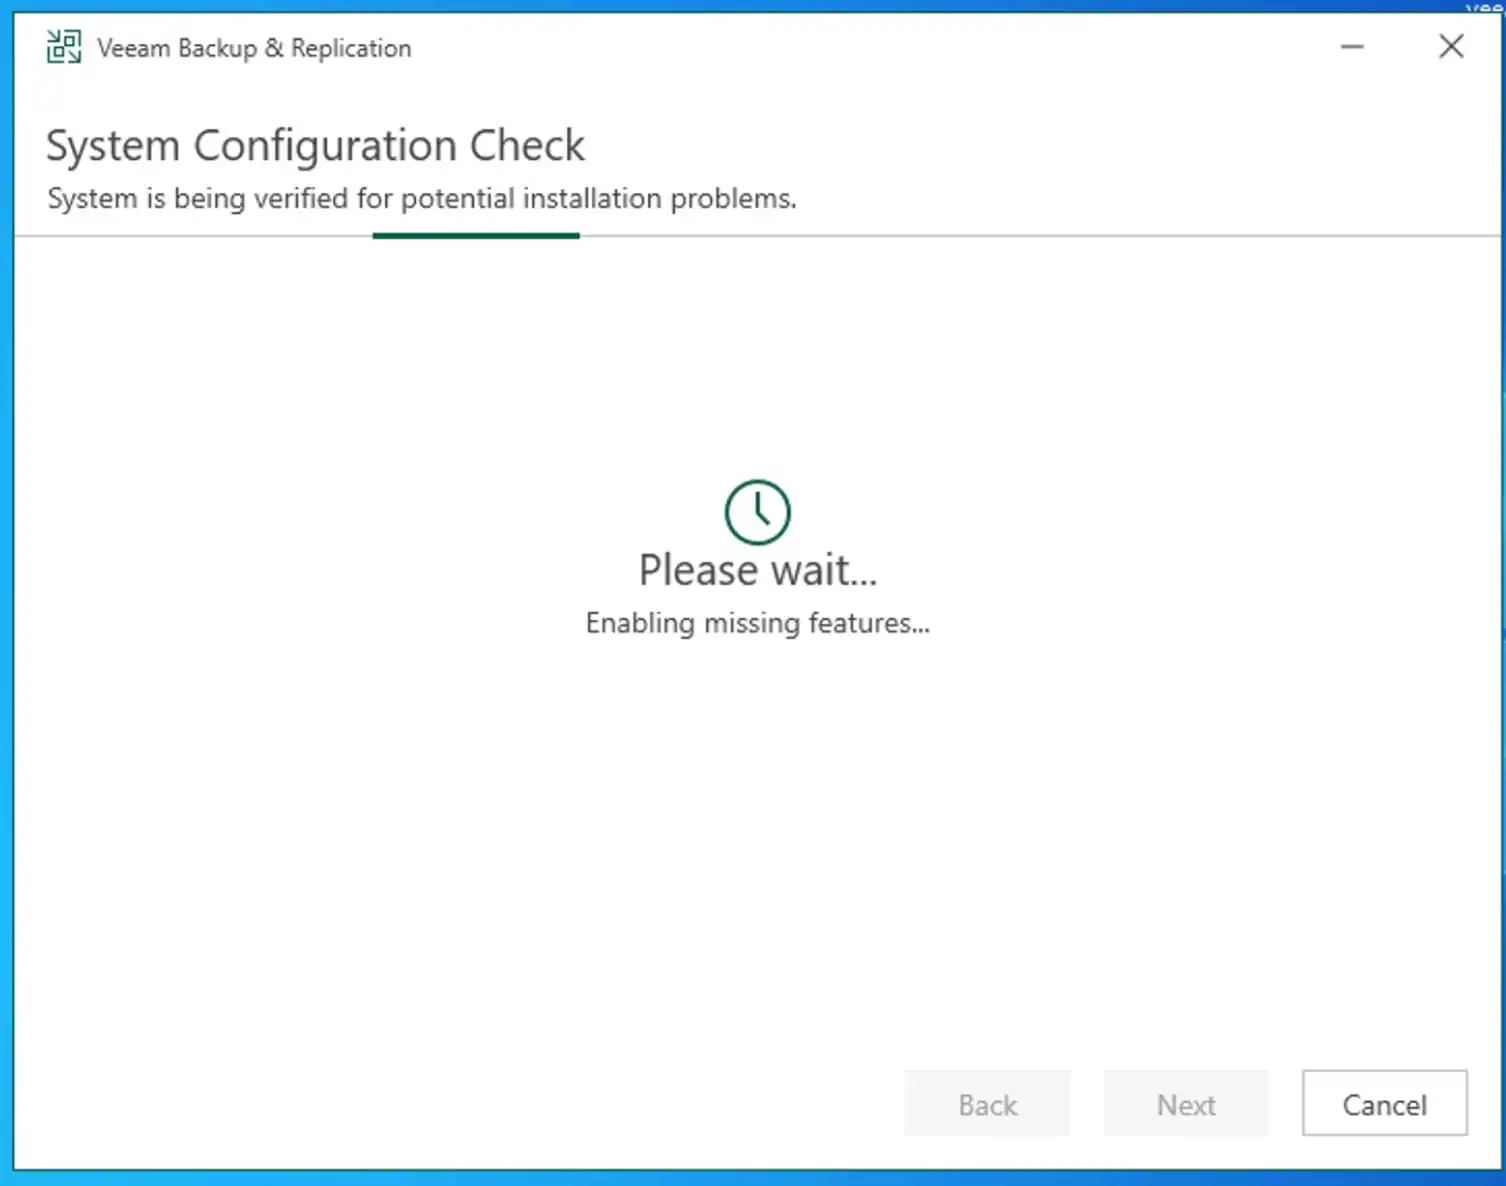
Shortly, the system will perform some System Configuration Check.
Note: This will ensure there is enough disk space and that the backup server to be upgraded is installed on the supported operating system etc.
As mentioned earlier, a reboot is required. Please proceed and have your VBR restarted.
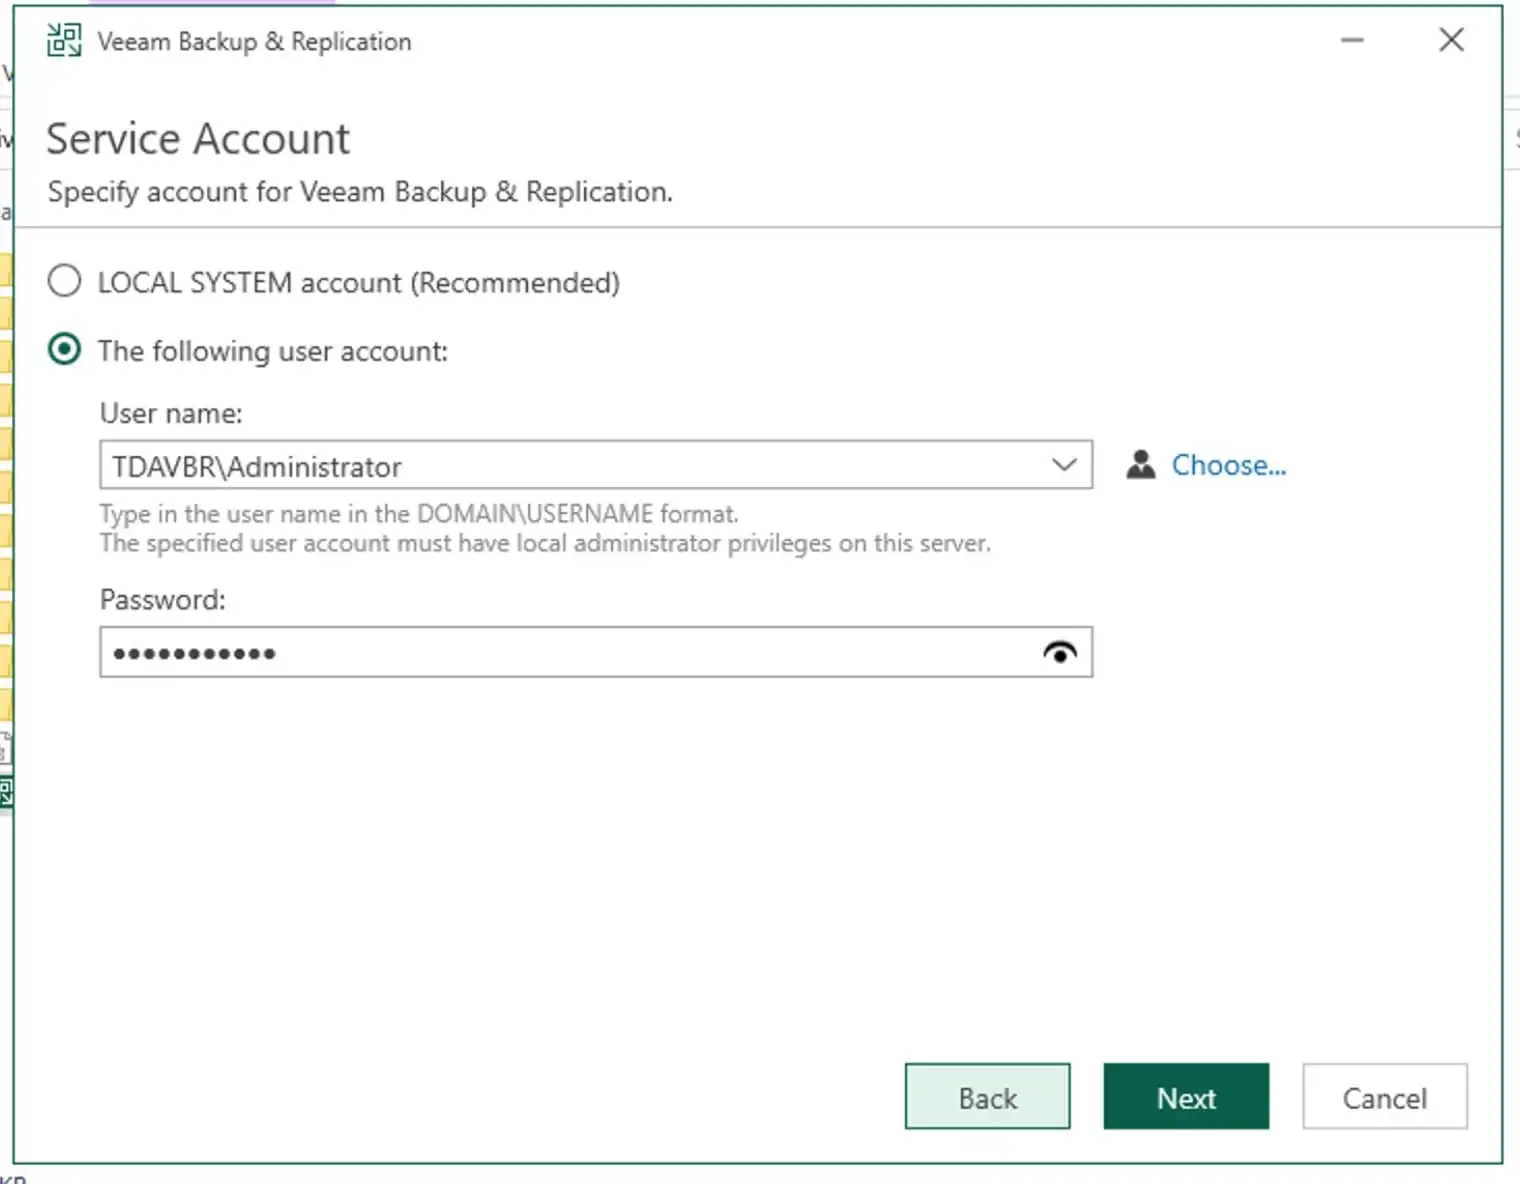
I will be choosing the second option and will therefore specify the password the Administrators account.
Note: You cannot use a gMSA for running the Veeam Backup Service
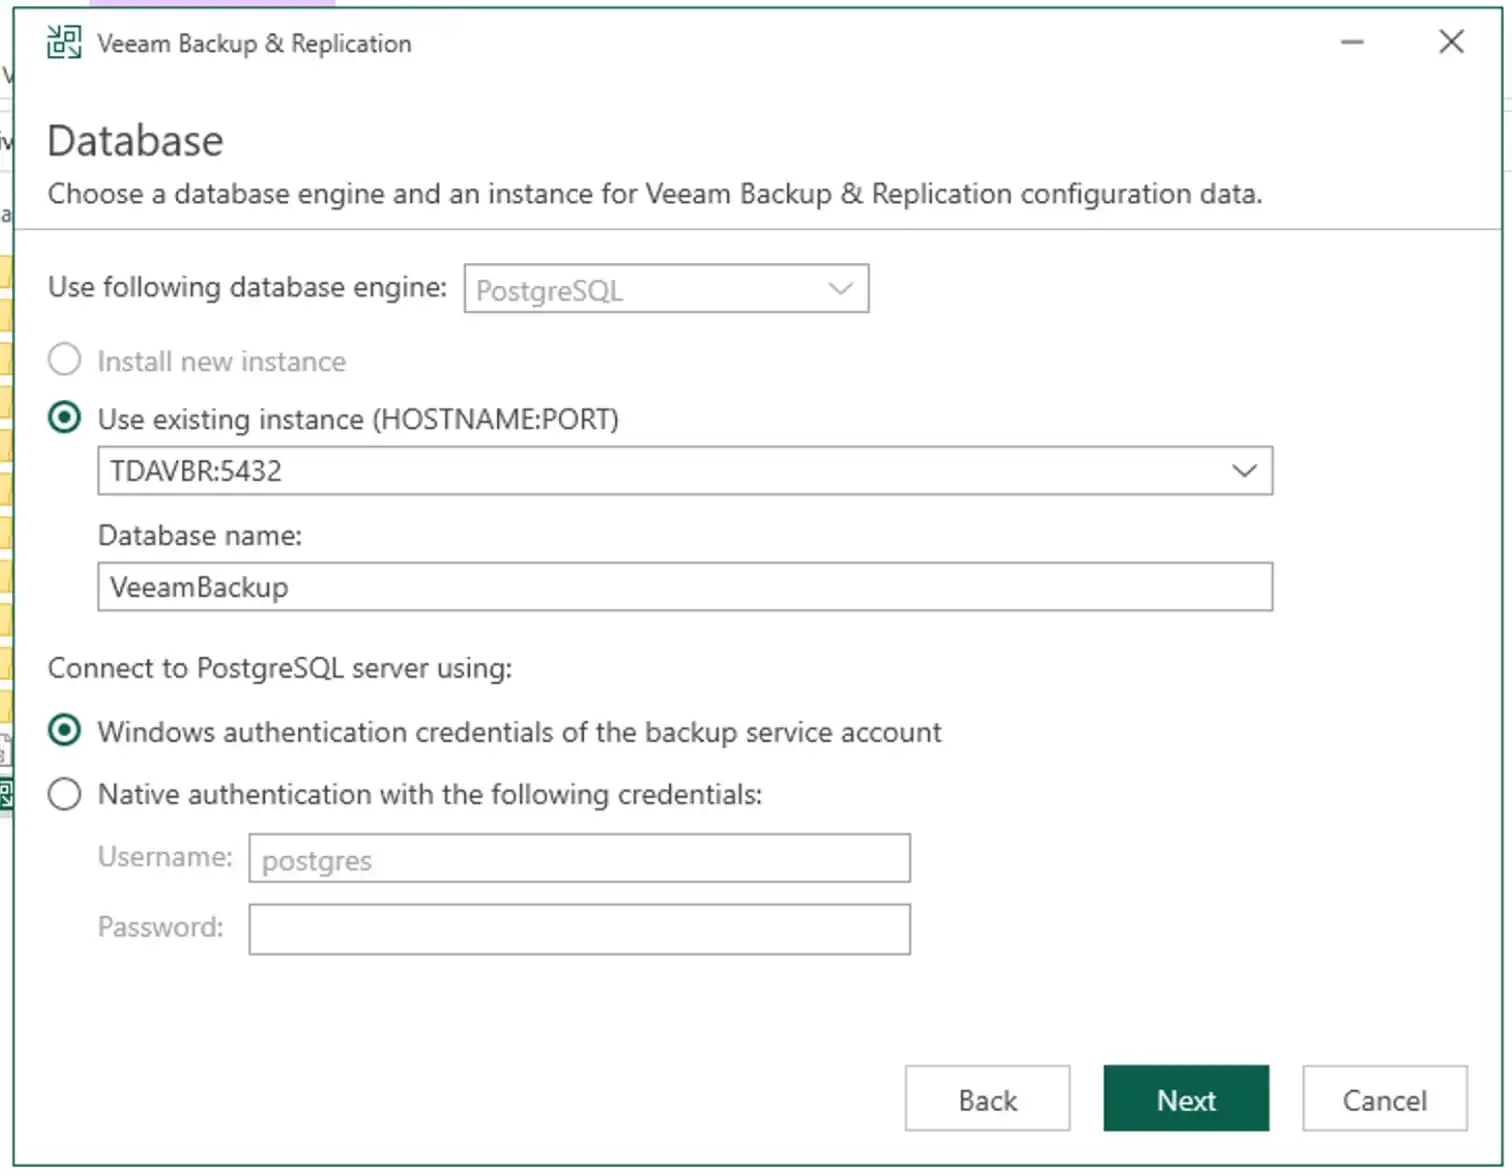
I will be using my existing DB instance for sure. I will leave this section as it is and click next.
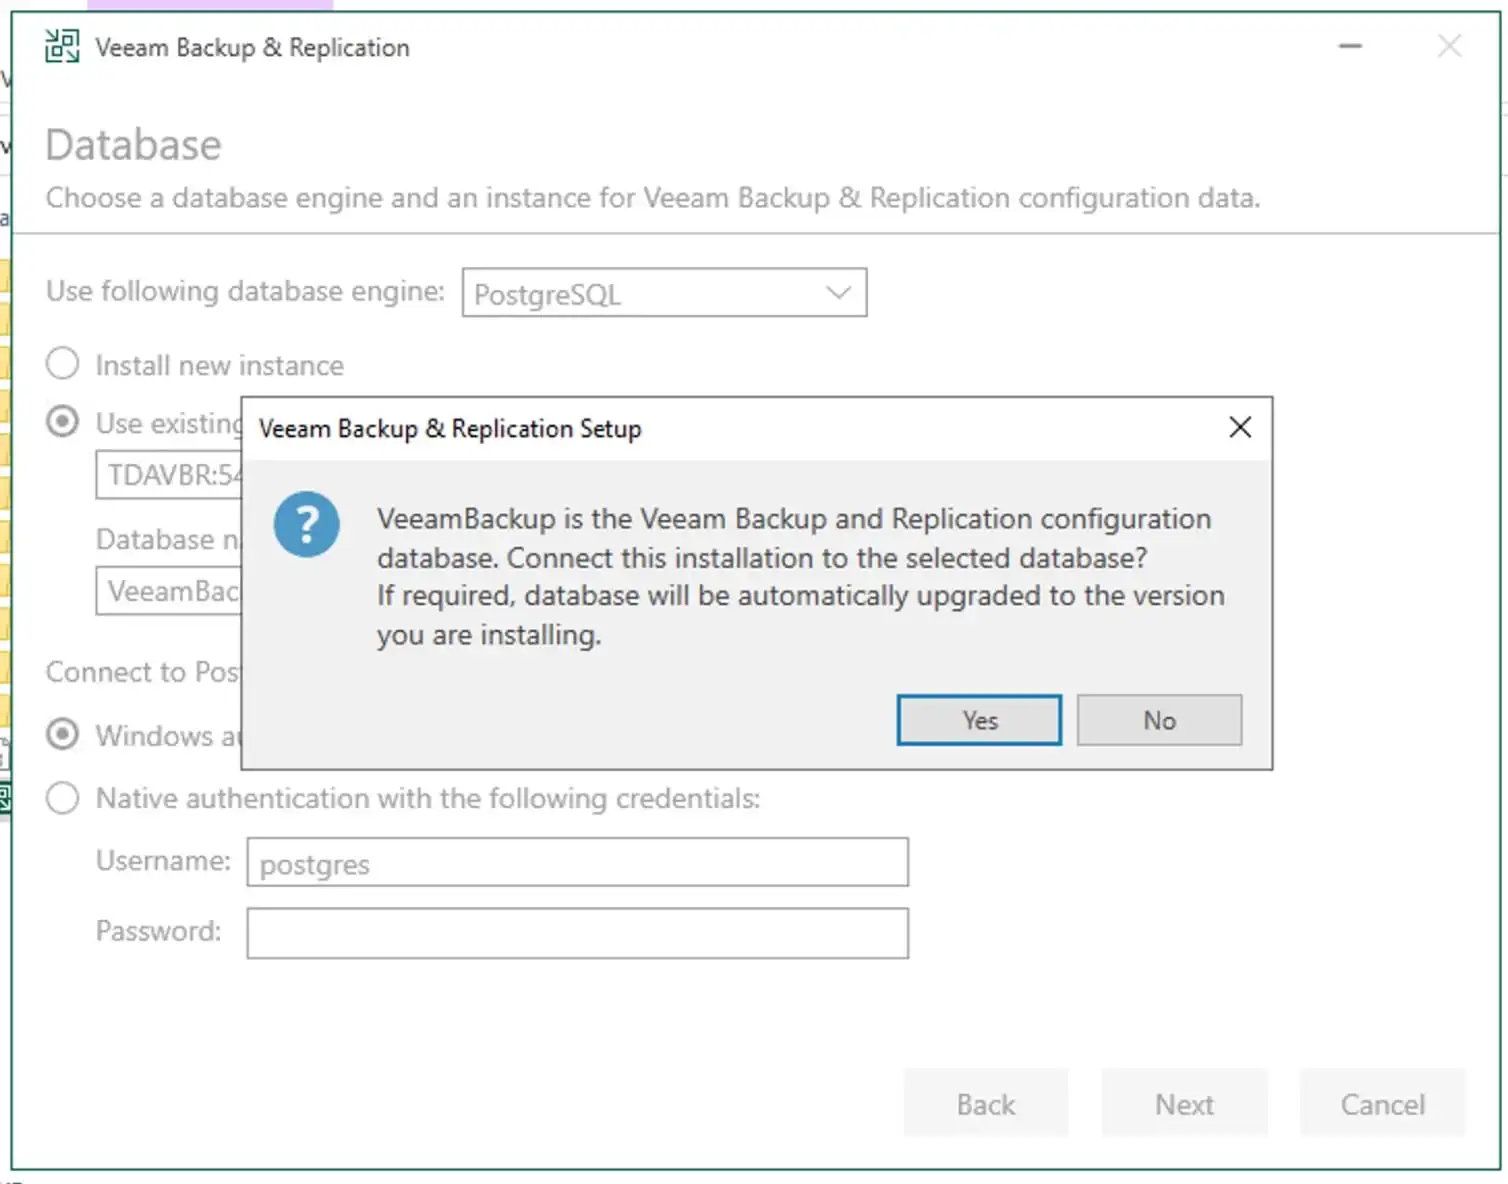
Click on “Yes” to proceed
At the configuration check wizard, the setup will checks the Veeam Backup & Replication configuration. If there are errors, the check will return them. You should therefore try to resolve these errors before proceeding.

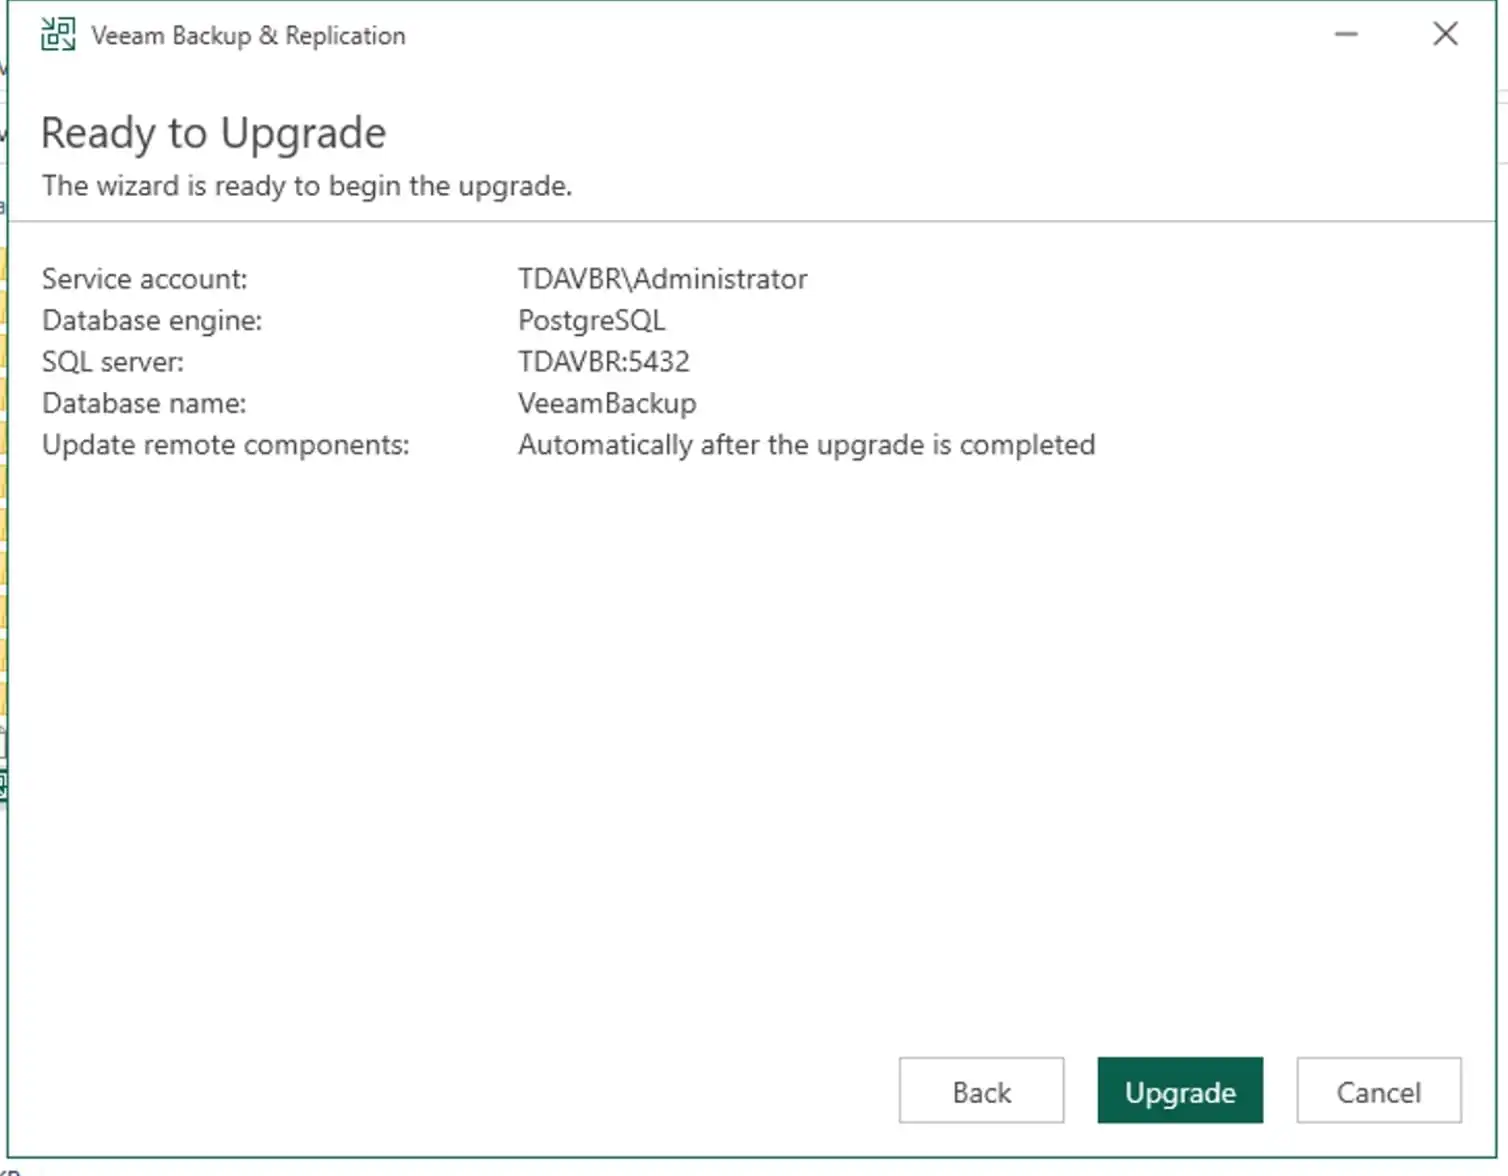
In my case, there were no errors. Review the upgrade settings and start the upgrade process by clicking on upgrade.
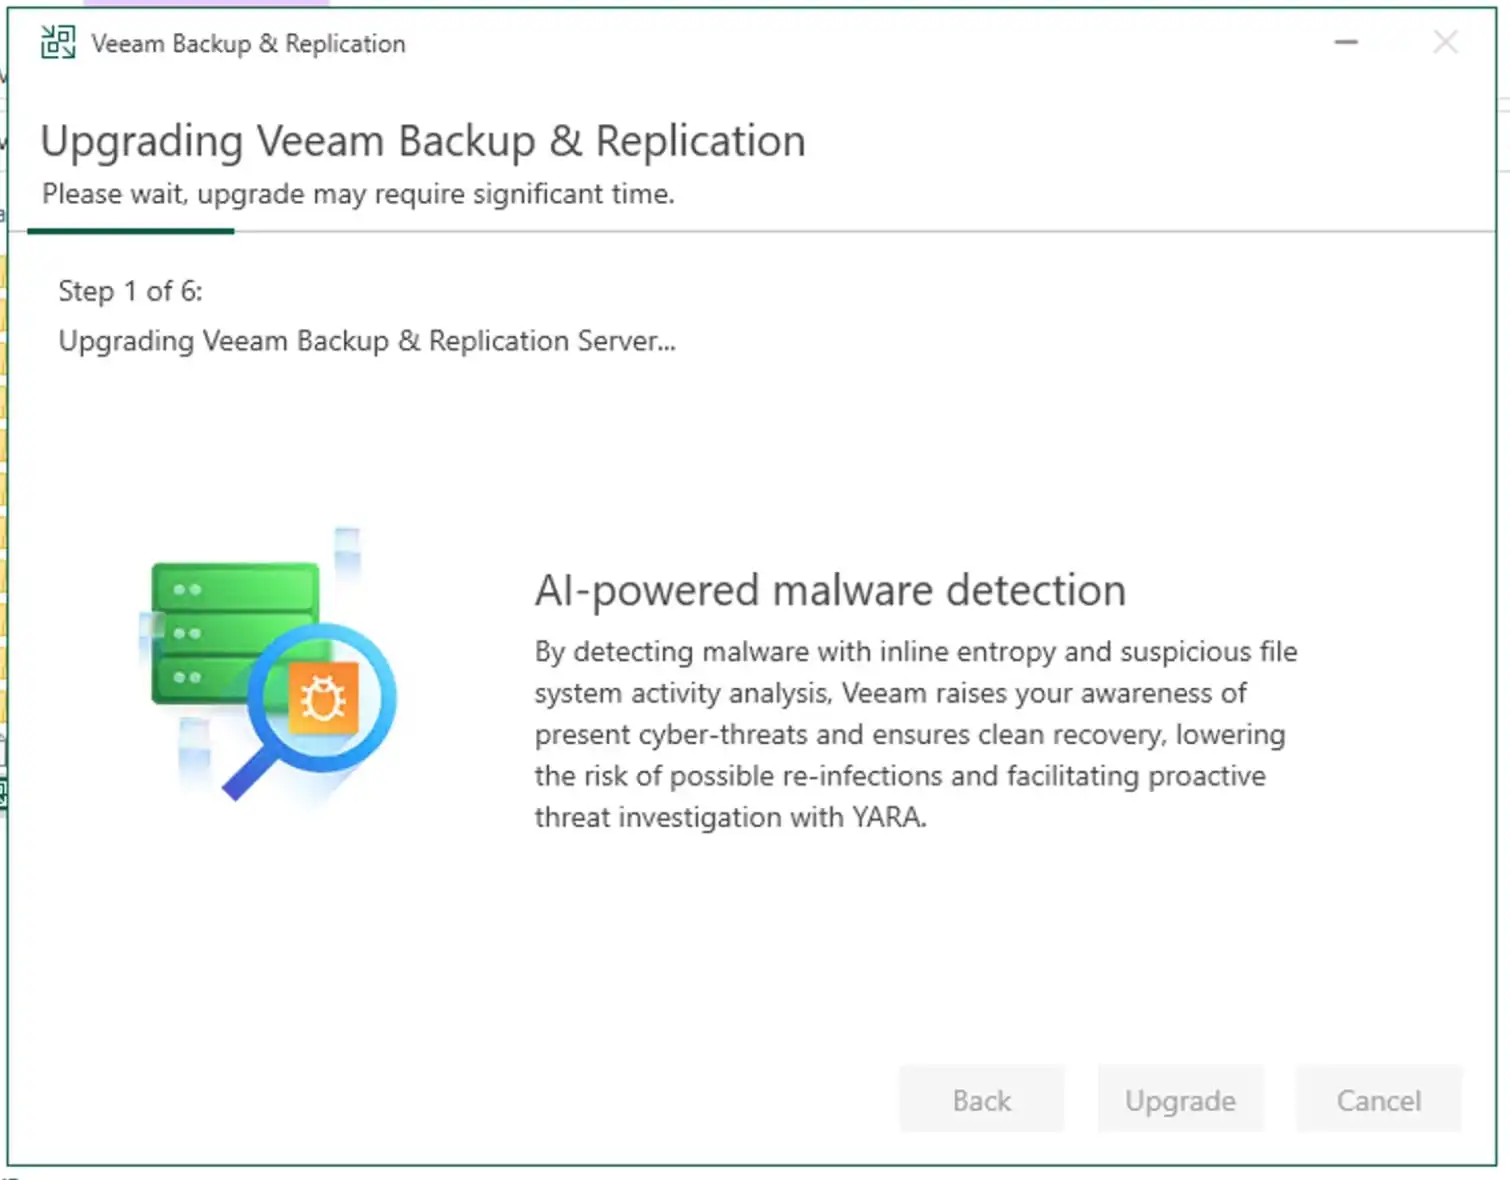
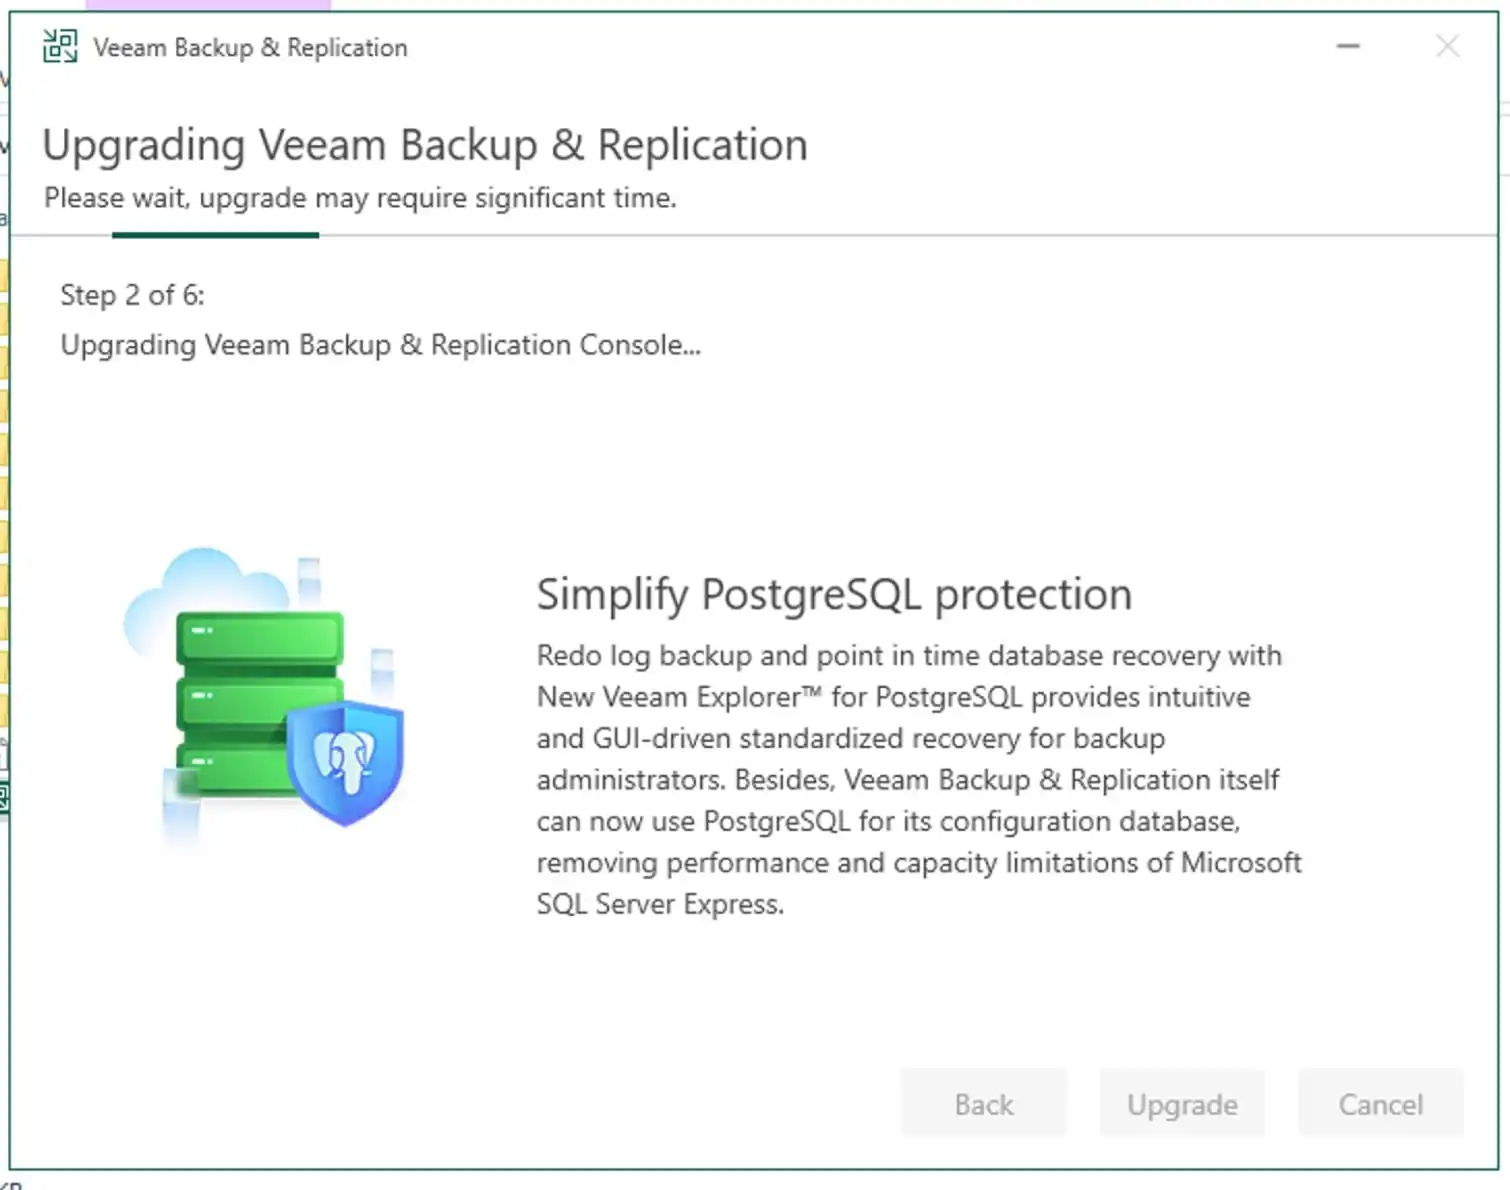
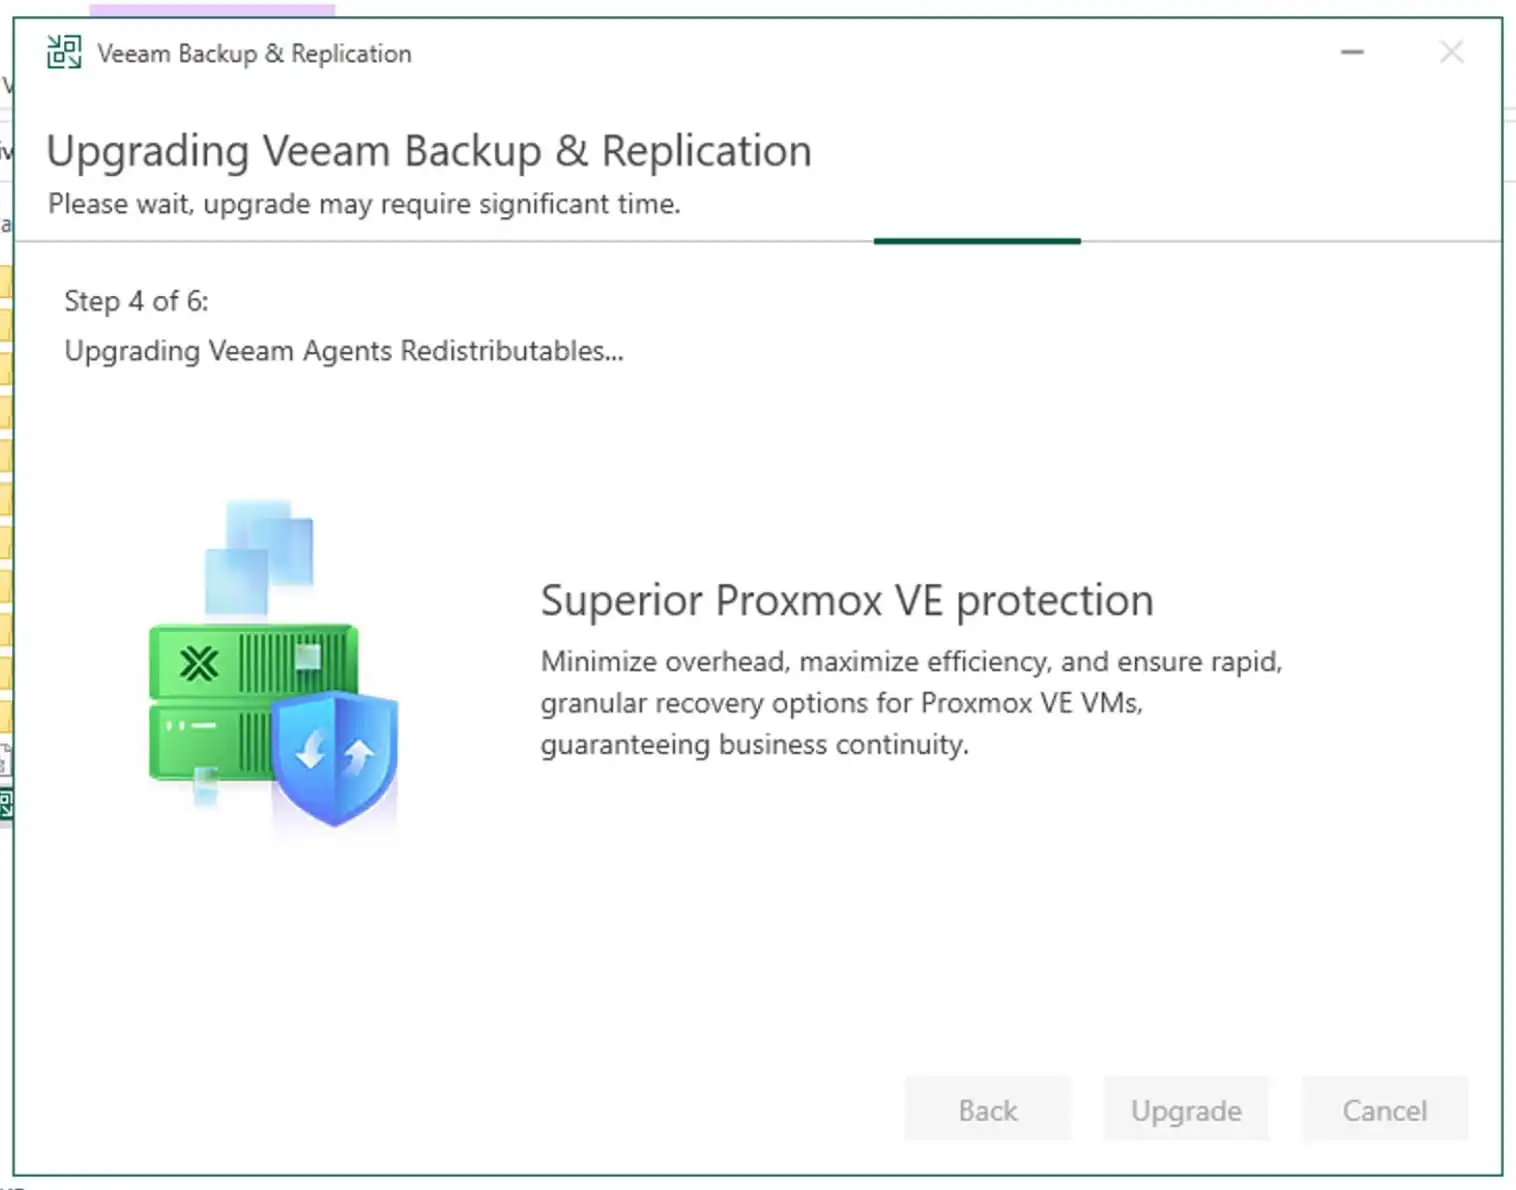
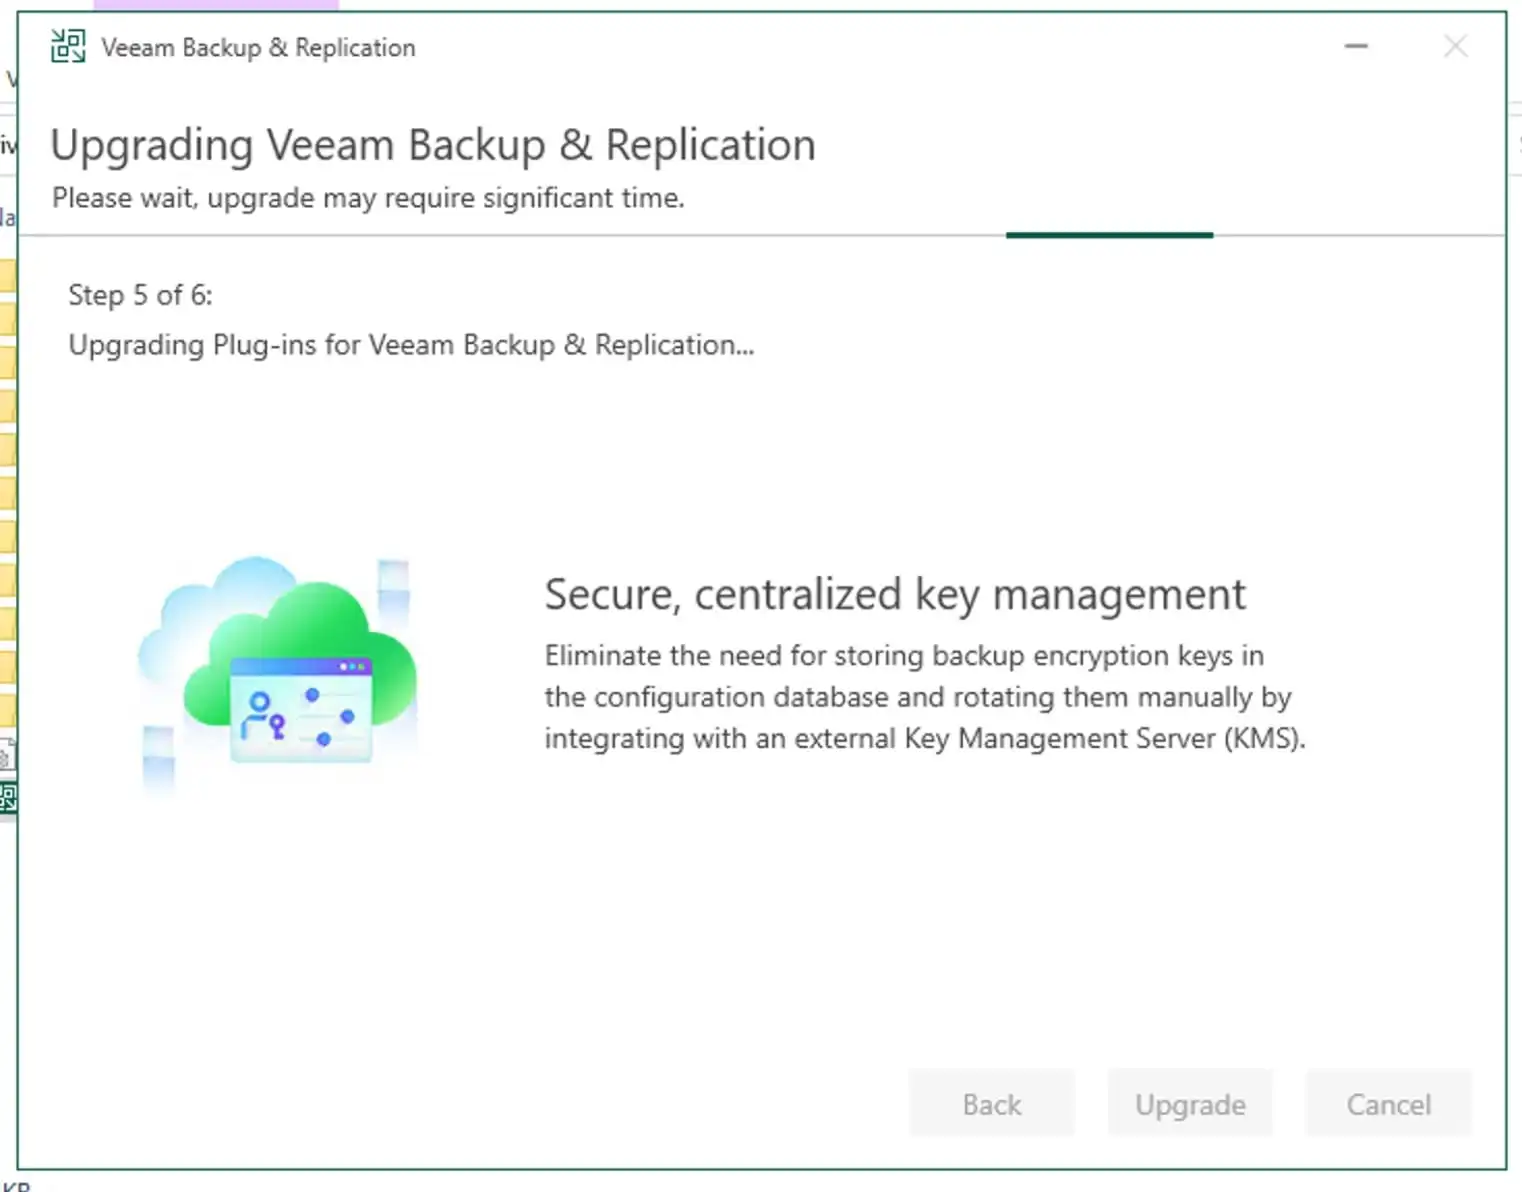
As you can see below, the upgrade is currently in progress and at this step, the VBR server is being upgraded.
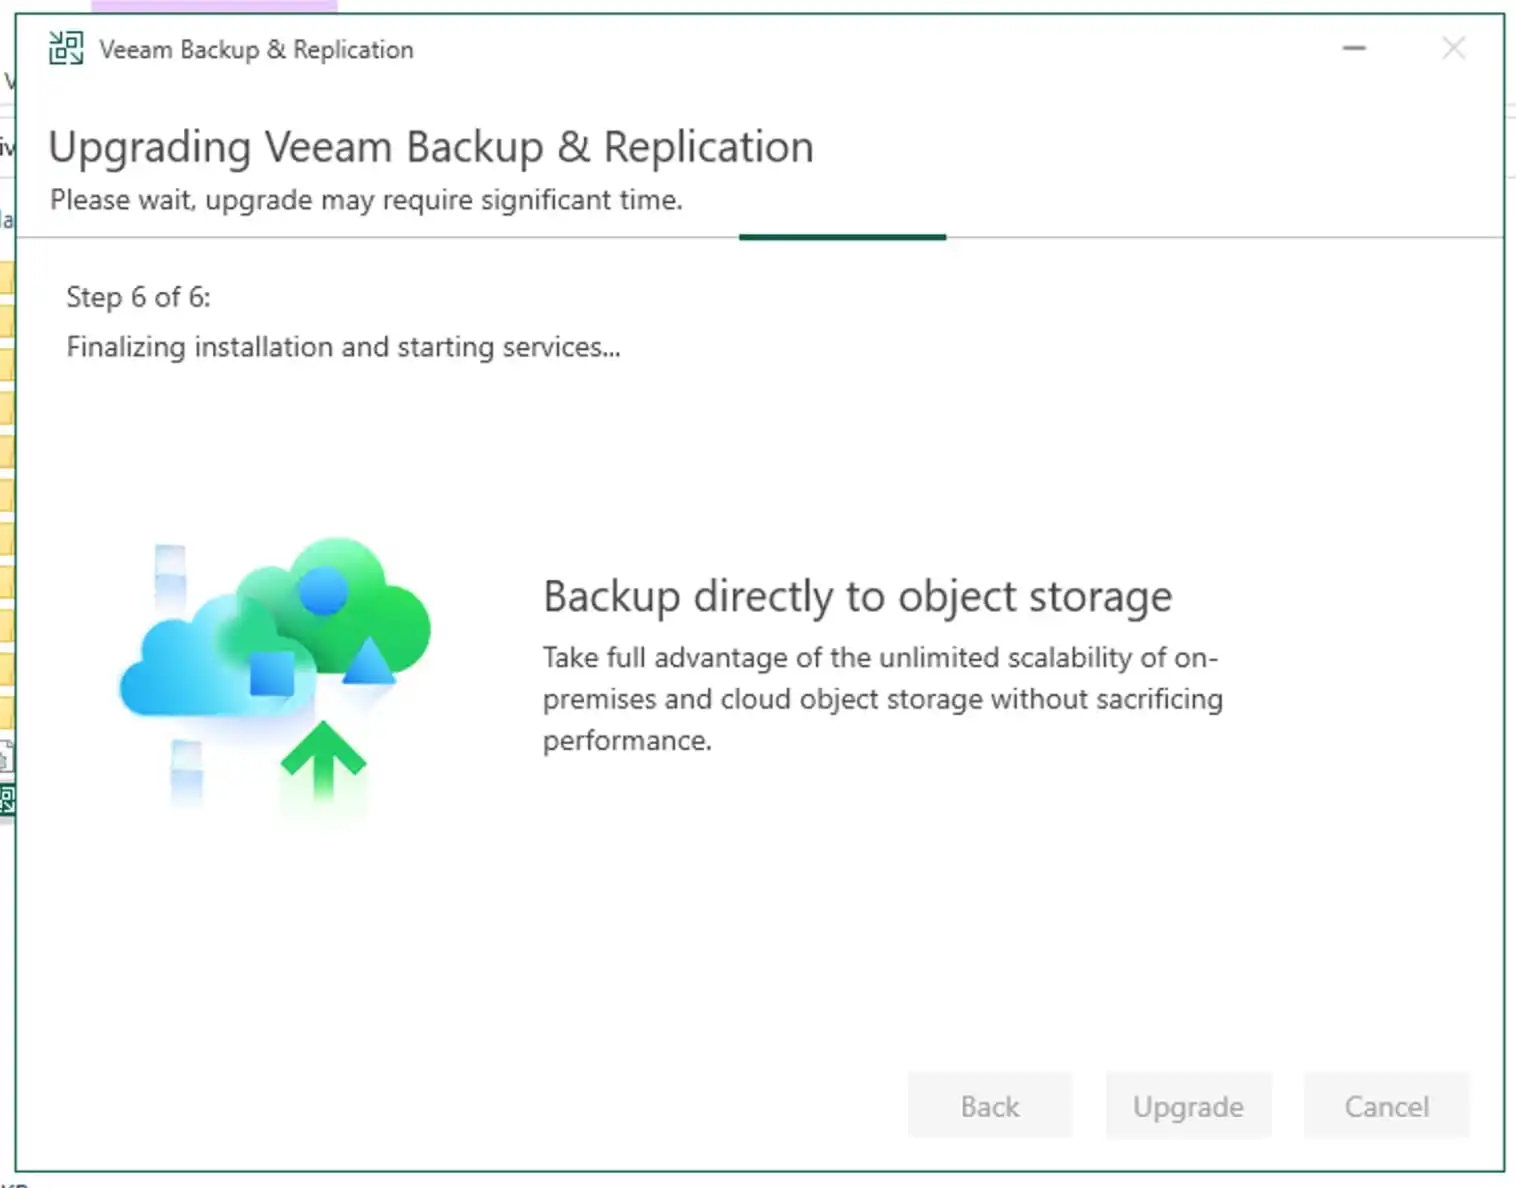
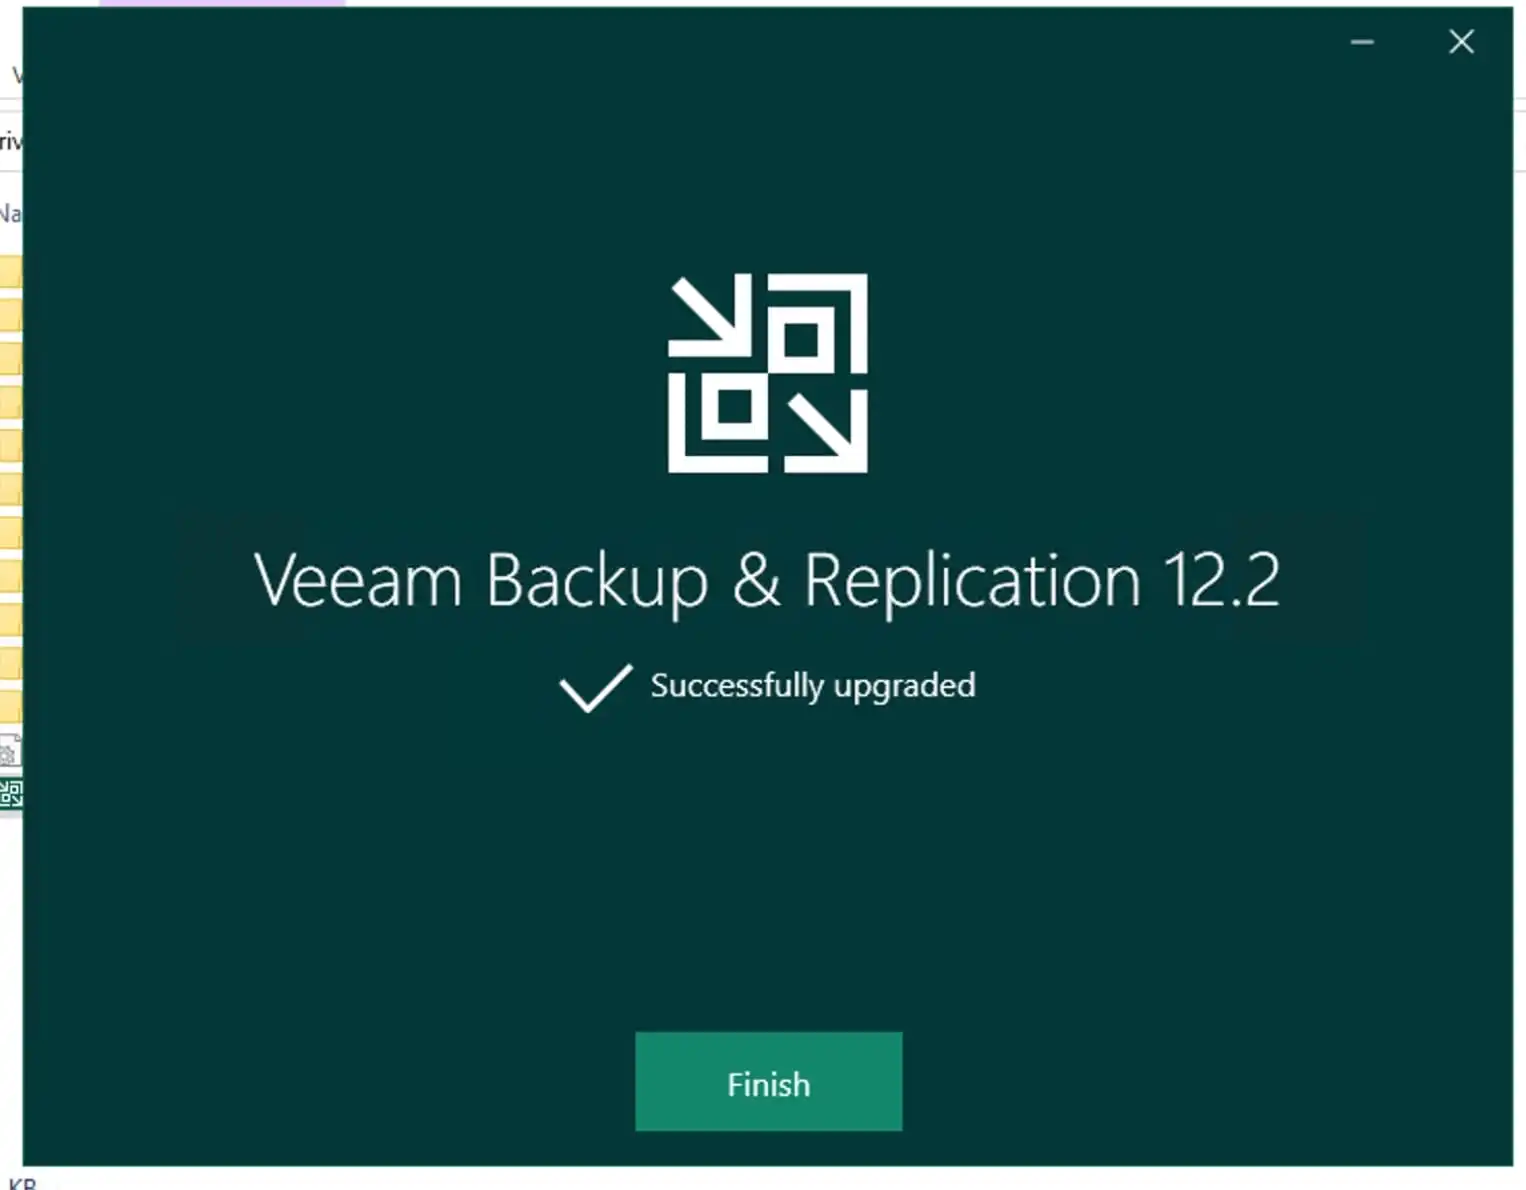
Now that the upgrade is complete, click Finish to exit the wizard.
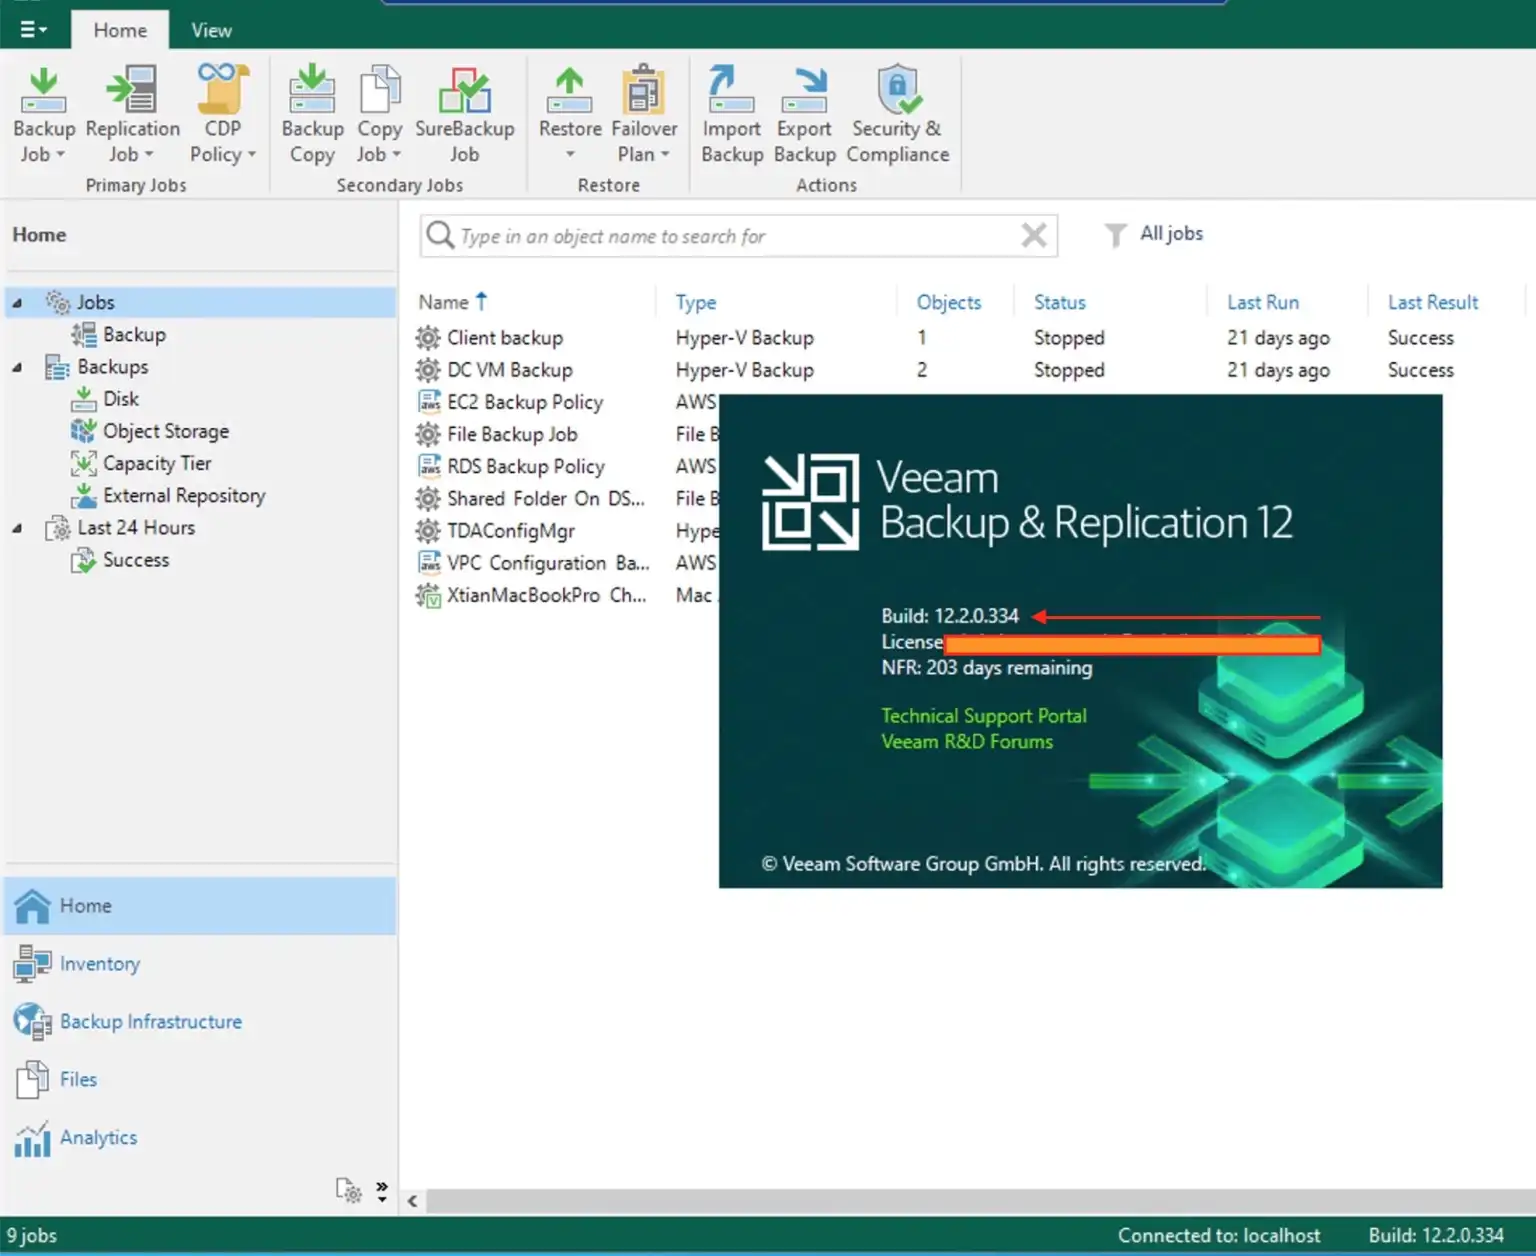
To verify the upgrade and version number. Click on Help from the Hamburger Menu and select “Help” and then “About”.