If you wish to explore the capabilities of Veeam Backup and Replication v11A, then you probably upgrade to this version. Kindly visit the following URL for more of these capabilities/features.
Here is a link to the complete guide highlighting on all the needed steps.
- You may be notified if there is an update of the Veeam Backup and Replication. Upon clicking on this notification, you will be redirected to the following KB (download) link.
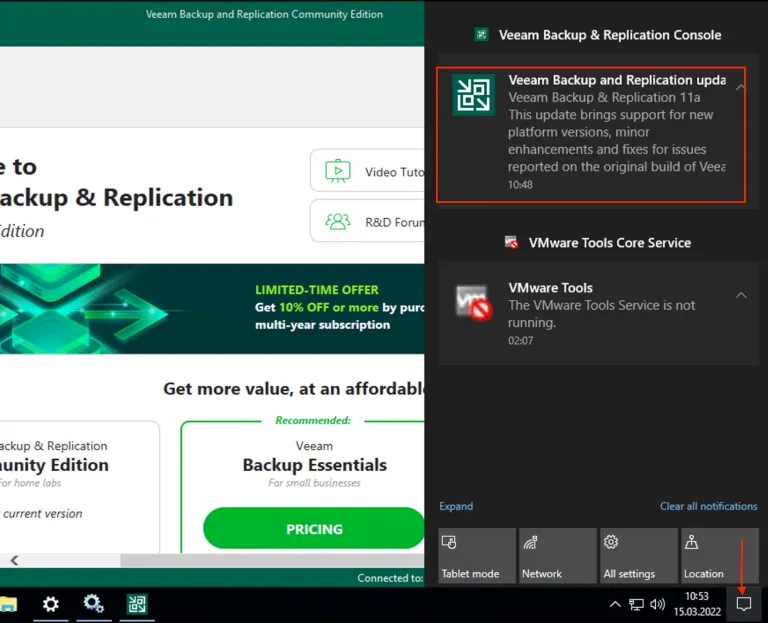
Note: I will be upgrading from Veeam v11 Build 11.0.0.839 → 11.0.1.1261.
I will be downloading the new 11A ISO as shown below. If you are not prompted that an update is available, you can download the latest version of the Veeam Backup and Replication ISO from the following Veeam Backup & Replication Download page. You will be required to login in order to access the download.
Before proceeding to upgrade, ensure all existing jobs are successfully completed. If there are any filed jobs, ensure to re-run them.
- Also, ensure there isn't any restore sessions, Instant Recovery sessions and SureBackup jobs running.
- It is also recommend that you do not stop running jobs and let them complete successfully.
- You may also perform config backup.
Note: Also, you will have to disable any periodic and backup copy jobs temporarily to prevent them from starting during the upgrade. On this note, I will recommend you to stop the team services before upgrading. Below is an image of it.
Since we have already downloaded the ISO file, we will have to mount the ISO and run the setup.exe file as shown below. You will need some administrative rights to perform this task. Ensure you have the appropriate rights assigned.

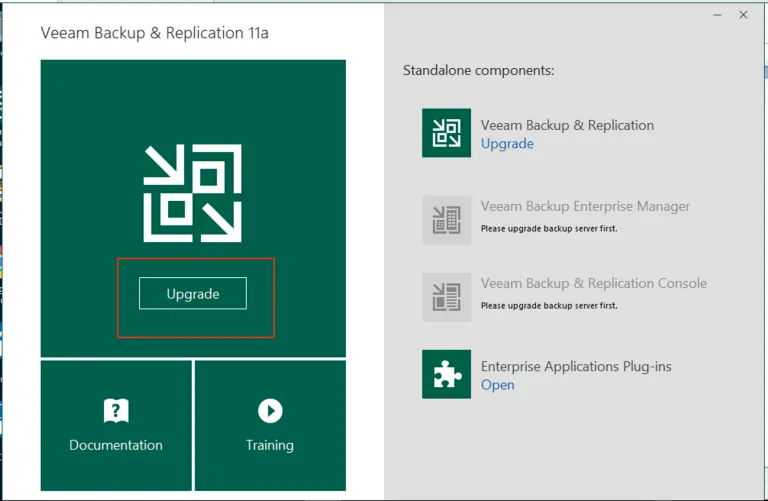
Upon running the installer, it will determine that you have Veeam already installed and then select the upgrade button as shown below. Click on Upgrade. If you have a stand component, please select the Upgrade link under the standalone components.
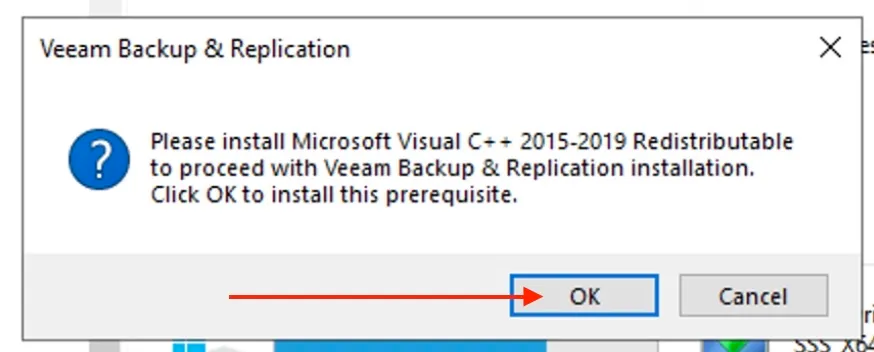
You will be prompted to install the Microsoft Visual C++ runtime. Click on OK as shown below to proceed.
Once it is installed, you will be prompted to reboot your server on your computer. Click on YES to continue.
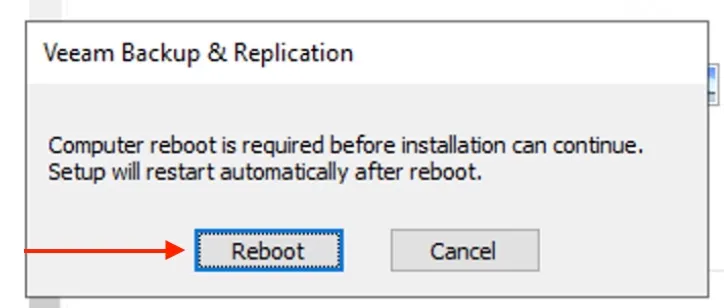
At this point, you will have to mount the ISO image and launch the installer again.

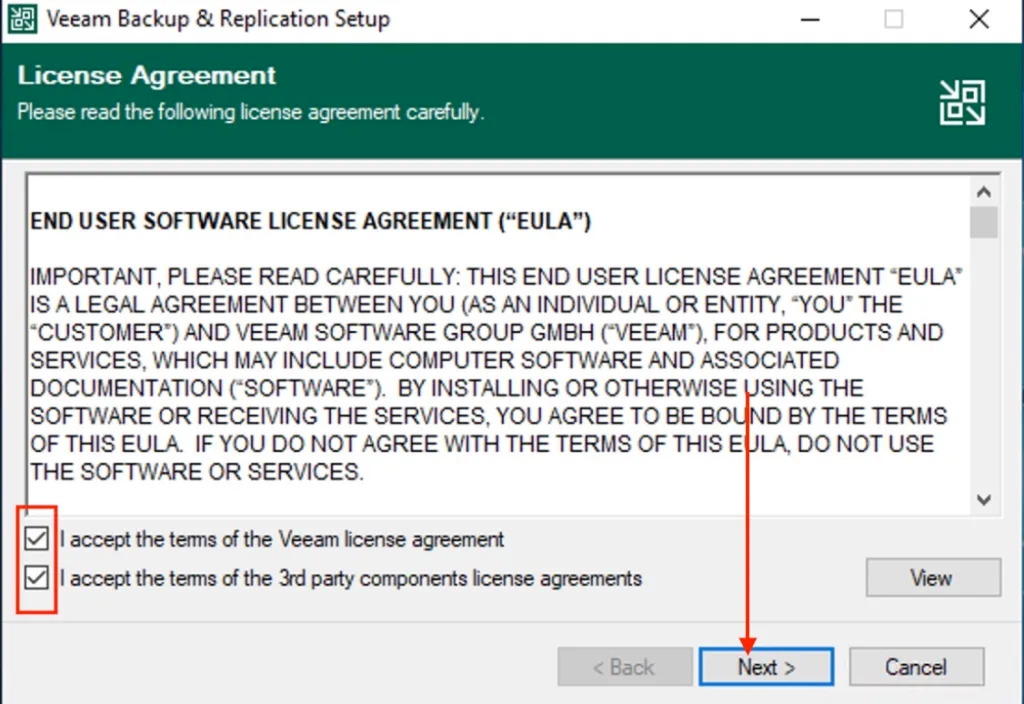
On the License Agreement window, Kindly accept the license terms and then click next.
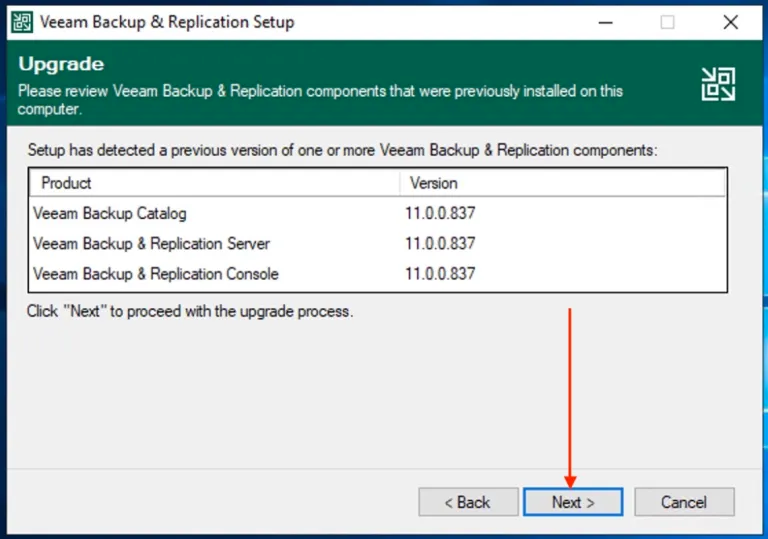
The next installation steps will show the product that has been installed previously.
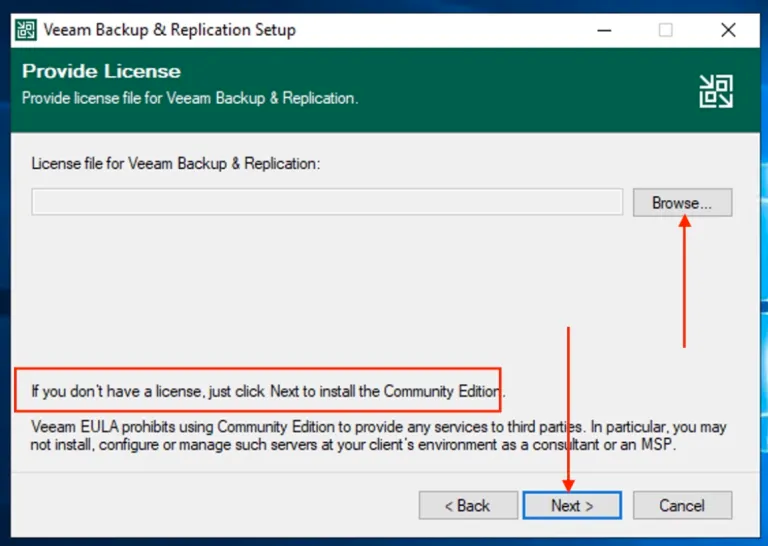
If you have the Veeam license file, click on browse to add the license. If you do not have a license, the installation will continue with Community Edition. Next, click on Next to continue. In the next guide, we will be installing a license.
In the next dialog, the installer will then perform a system check configuration check. As you can see below, two of the components failed. Before we can proceed, we will have to install the missing components.
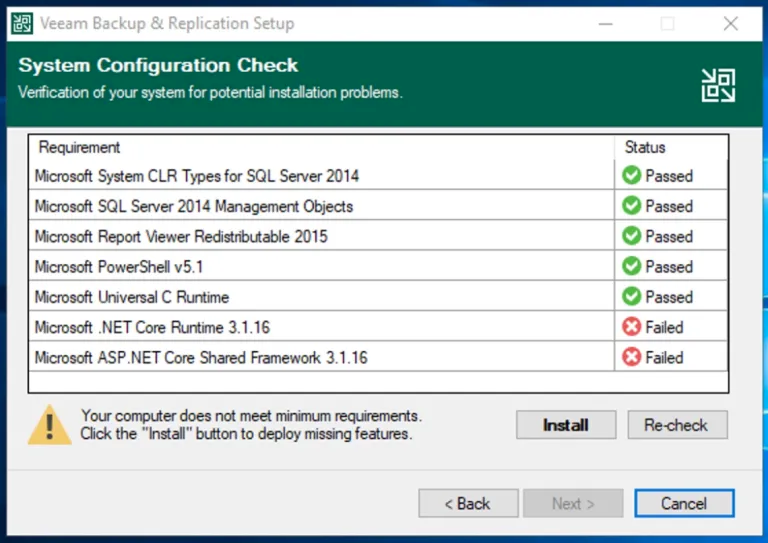
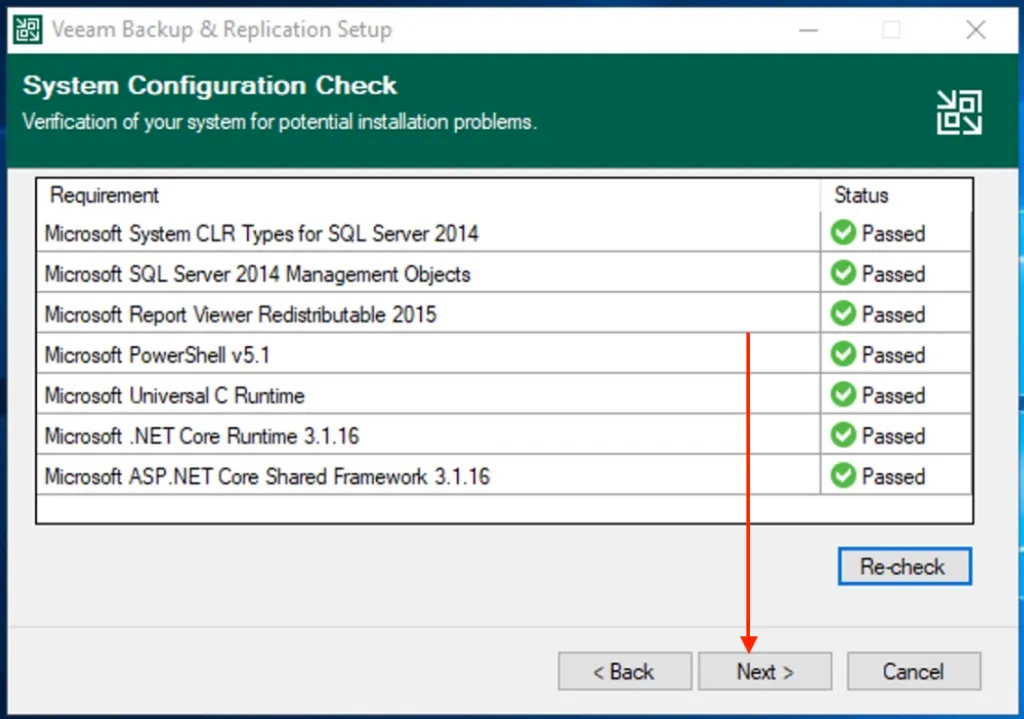
As you can see, all missing features are currently being installed. Click on Next to continue.
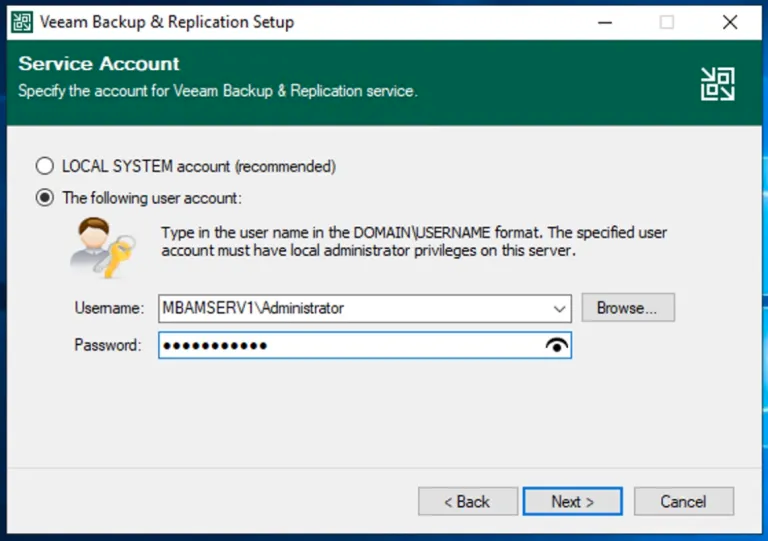
In the next window, you will have to specify the service account or user account that must have local administrator privileges on this server.
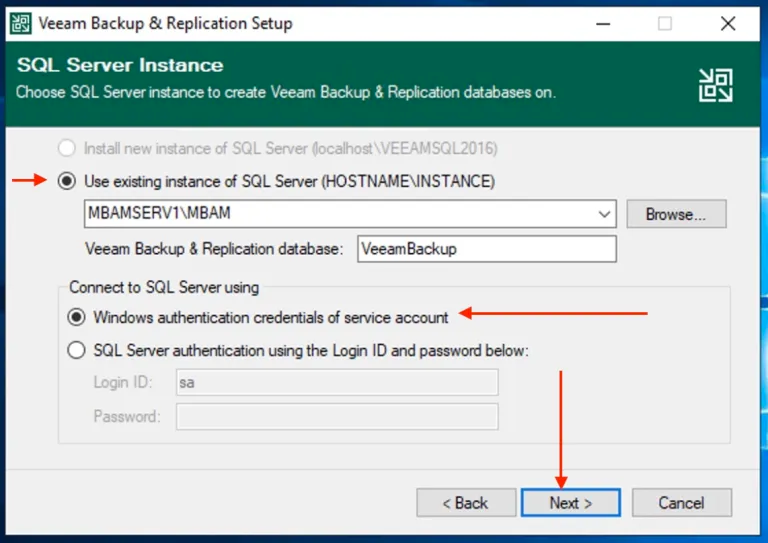
Select your existing SQL Server instance and Windows authentication credential of the service account. Click on Next to continue.
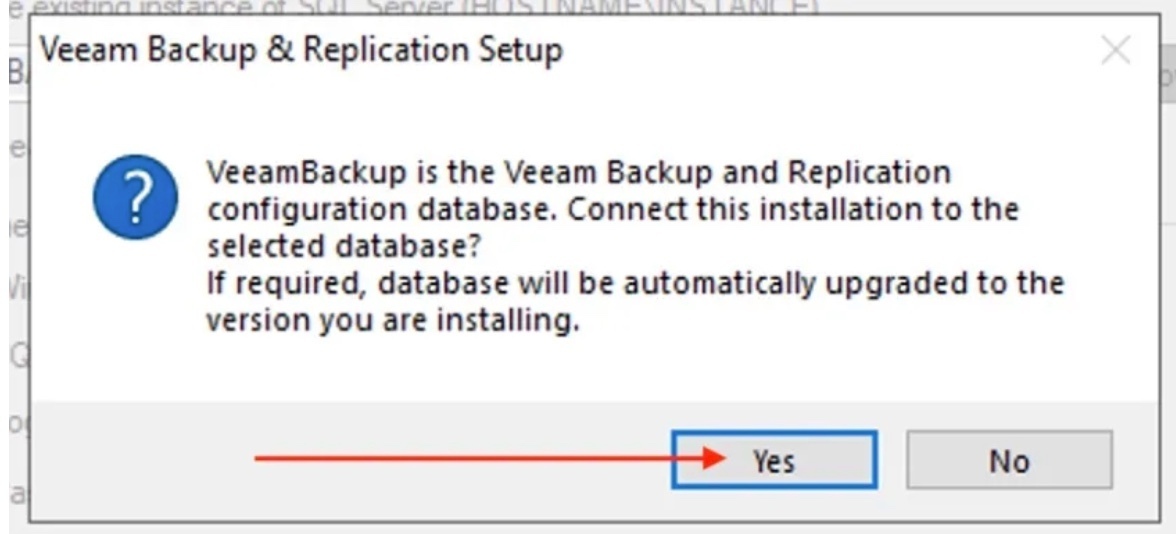
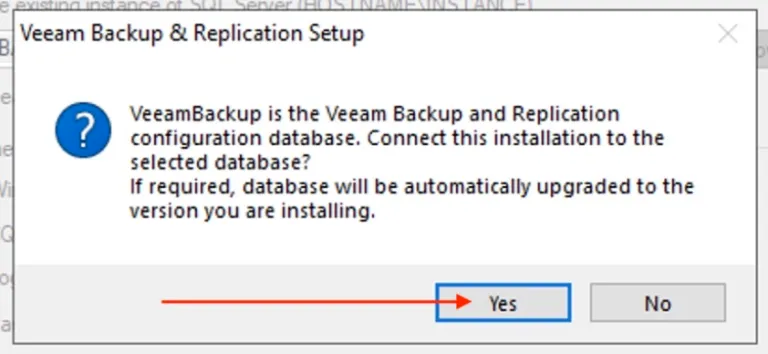
Click on “Yes” to confirm the database connection information. This acknowledgment may actually also upgrade the database automatically to the version we are installing.
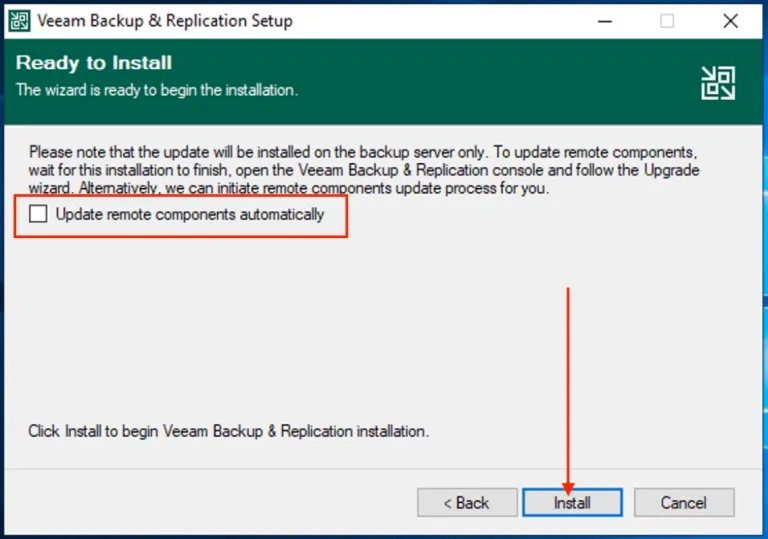
Click on Install. If you have remote Veeam components, check the box to update remote components automatically and click Install.
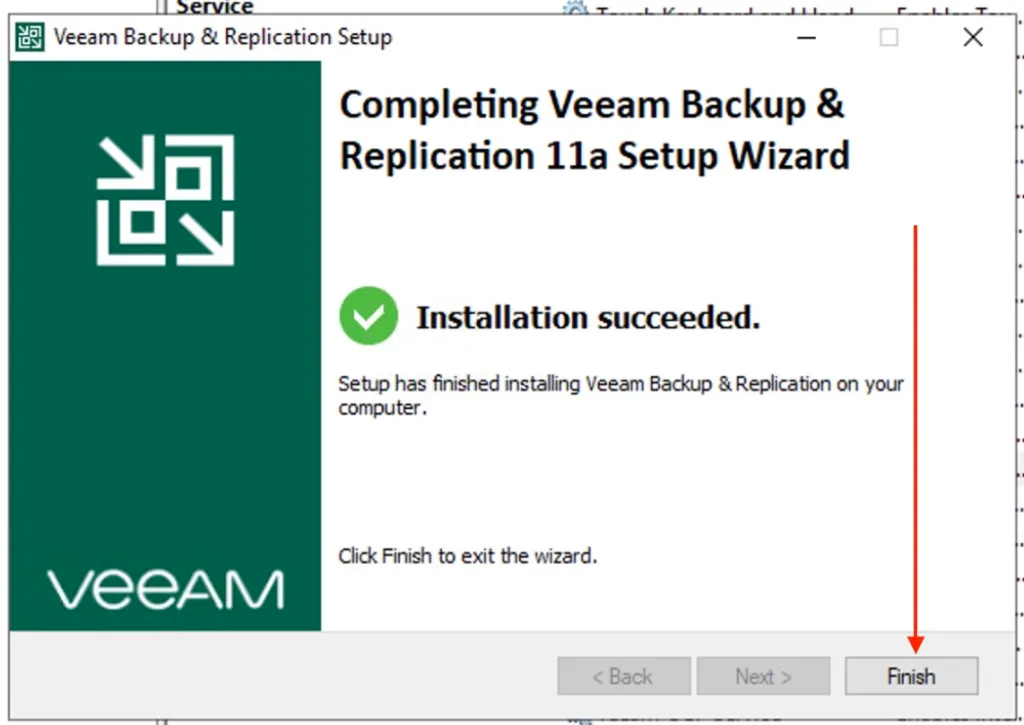
As you can see, the Veeam Backup and Replication upgrade has succeeded. All the components will have been upgraded based on the checkbox.
For the rest of this guide, kindly visit the following link


