Recently, I have noticed on this platform that most of us work with Windows Server 2016, 2019, and now 2022. Also even Windows 10.
In this guide, I will be showing you how to update the Windows installation image (install.wim) file with the latest security intelligence package available. I have successfully tested this on Windows 10 Enterprise, Pro und Home-Edition and Windows Server 2016 and 2019. Here is a detailed guide on "how to install ADK, MDT, and WDS: How to deploy Windows images via Microsoft Deployment Toolkit and Windows Deployment Services".
How do you provision your new servers? Regardless of how this is done, you may also find this guide useful.
Microsoft Defender Antivirus, formerly known as Windows Defender, is an antivirus protection program that’s included with Windows 10. Unlike other antivirus programs like McAfee, Microsoft Defender is free and doesn’t require any additional installation. After the installation of Windows 10, the built-in version of Microsoft Defender Antivirus will download and apply any recent updates automatically. But this process does not happen immediately, thereby leaving the system temporarily vulnerable to attacks during this period.
To update the Microsoft Defender Antivirus for system installation image, you will need to download the Microsoft Defender kit for the 64-bit version. If you are using 32bits version of Windows 10. You can download this.
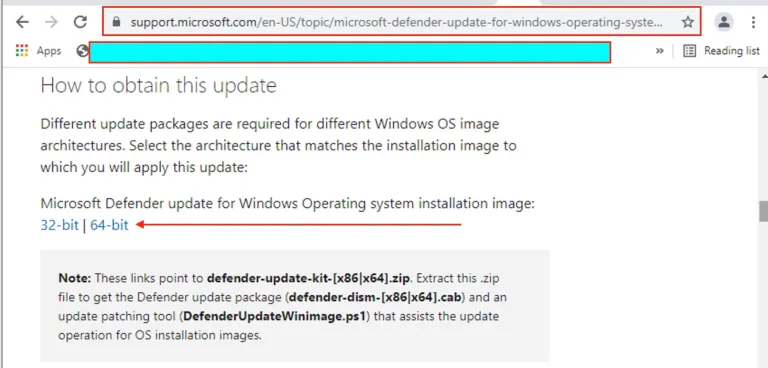
Upon download, please extract the
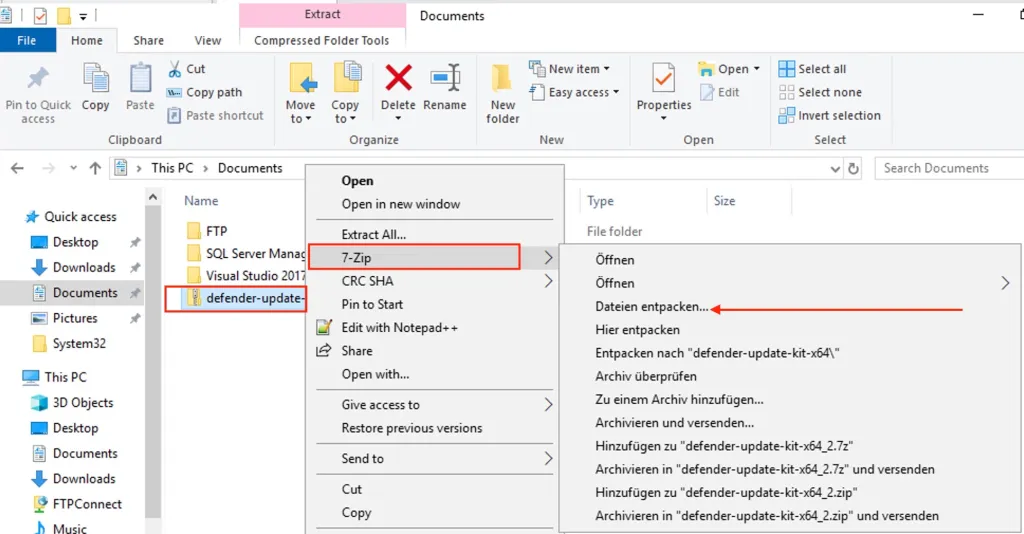
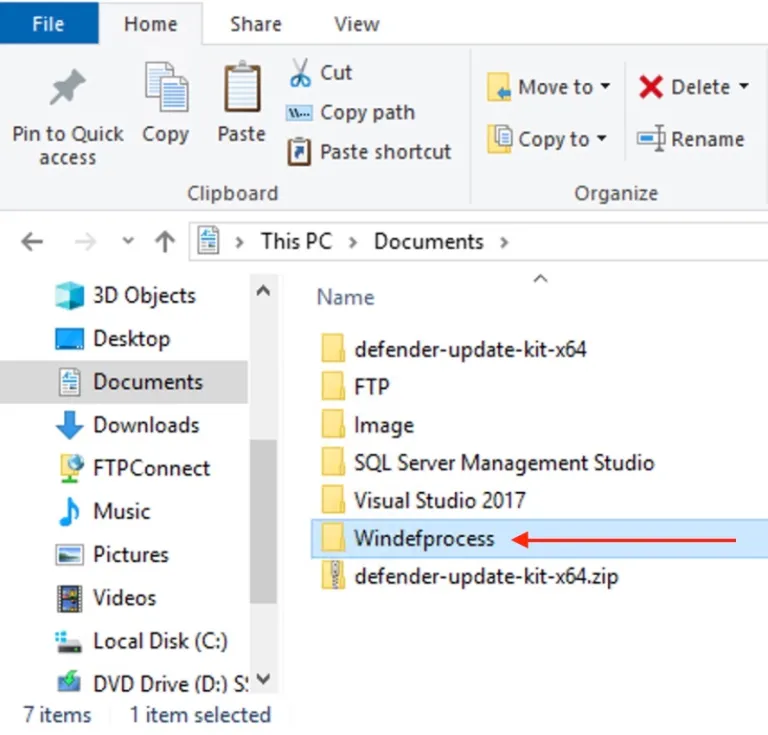
Next, create a temporary location, in my case, I will name it “Windefprocess”.
Next, you will have to launch PowerShell, right-click the top result, and select Run administrator.
Type the following command to open the directory with the extracted files and press Enter
cd PATH\TO\DEFENDER-UPDATE-KIT
In my case, it will look this way :)
C:\Users\Christian\Documents\defender-update-kit-x64
Next, type the command to update the Microsoft Defender Antivirus inside a Windows 10 image and press Enter:
.\DefenderUpdateWinImage.ps1 -WorkingDirectory "DEFINED_TEMP-LOCATION" -Action AddUpdate -ImagePath "PATH\TO\INSTALL.WIM" -Package "PATH\TO\DEFENDER\CAB\UPDATE"
Below is how I applied it.
.\DefenderUpdateWinImage.ps1 -WorkingDirectory "C:\Users\Christian\Documents\Windefprocess" -Action AddUpdate -ImagePath "C:\Users\Christian\Documents\Image\install.wim" -Package "C:\Users\Christian\Documents\defender-update-kit-x64\defender-dism-x64.cab
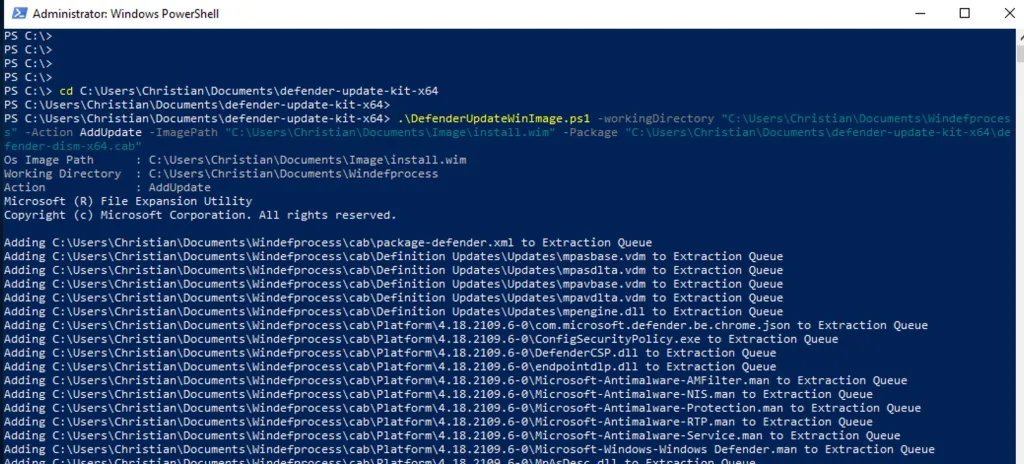
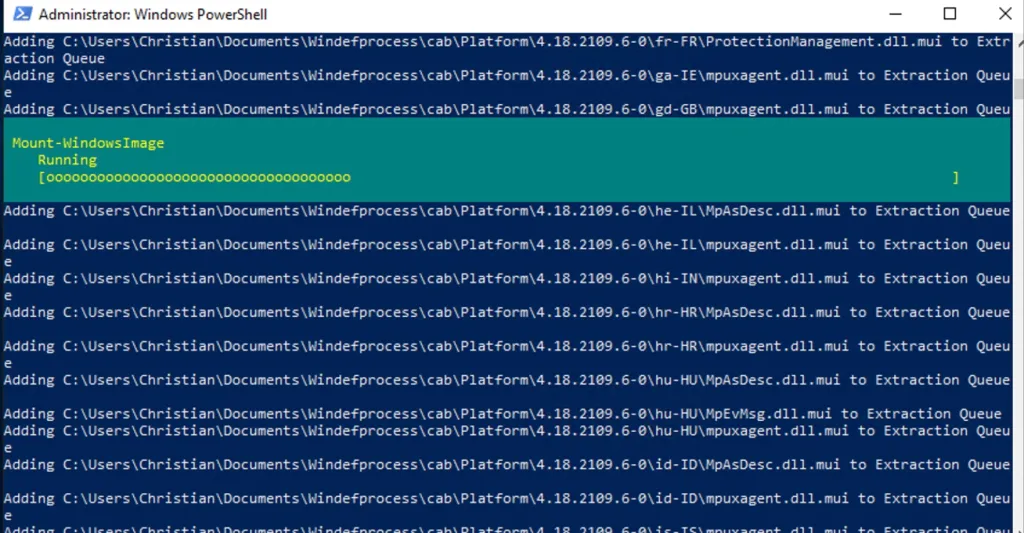
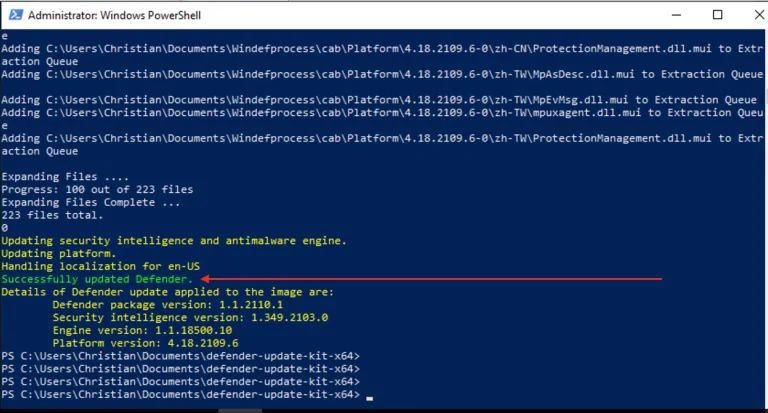
As you can see below, the update has been successfully applied. Now, the PowerShell script will update the Windows 10 image with the most recent platform, engine, and signature version of Microsoft Defender Antivirus as shown below.
I hope this guide helps anyone of us!


