

I'm creating some labs on AWS and today I'll share the Veeam part with you.
Lab Details:
VBR:
- Instance size: c5.2xlarge
- Availability Zone: us-east-1f
- Architecture: AMD64
- Total memory: 16384 MB
- Network: Up to 10 Gigabit
Jobs created:
- EC2
- EFS
- FSx
- VPC
- First, why not use Marketplace?
As many already know, taxes in Brazil are massive.
Because of this, I usually don't use Marketplace, since the taxes are even higher through Marketplaces. (Until 40%)
So I prefer to deploy Veeam traditionally on EC2.
Here are some steps:
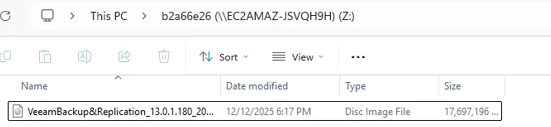
- Upload the Veeam .ISO on an S3
- Create an EC2 (will be our EC2)
- Use TNTdrive to mount the S3 for EC2
- Install V13
- Using CLI AWS to upload de .ISO: "C:\Users\user\lab\VeeamBackup&Replication_13.0.1.180_20251130.iso" s3://vbr001/vbr/ --cli-connect-timeout 6000
Don’t forguet to use (--cli-connect-timeout 6000)
Otherwise our upload will be fail, because the .ISO are more than 16 GB.
- How to connect EC2 with S3 (using TNTdrive )
After EC2 and S3 are created.
Download the TNT drive or another tool to mount the S3
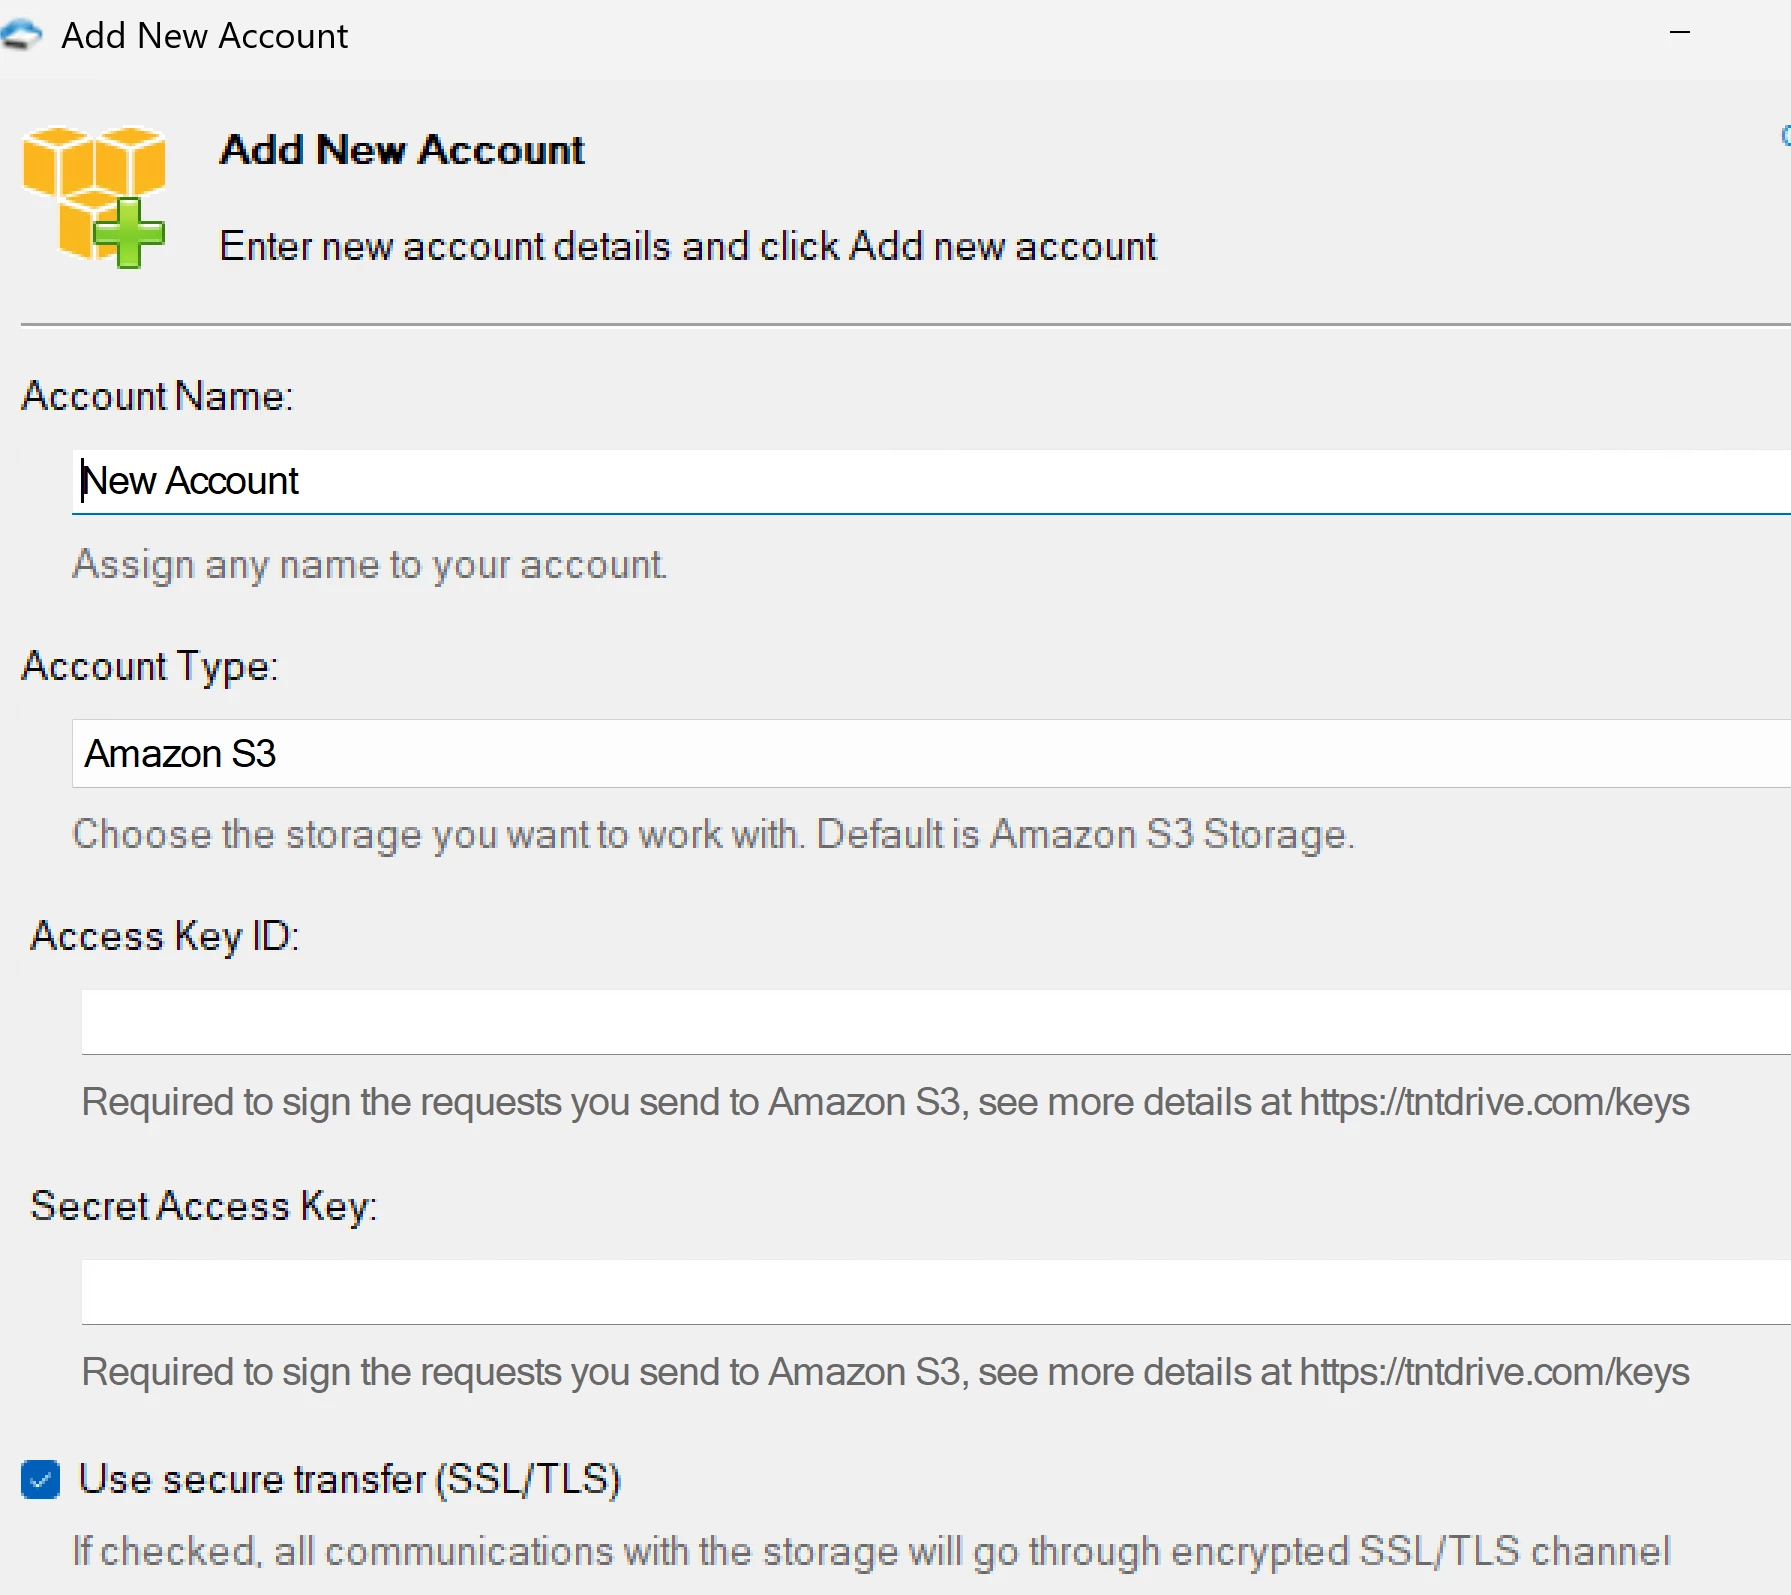
Create a new user with the keys and put in the TNT

Then, i'm just move to my EC2 and install
- Install Veeam, configure Appliance and repository
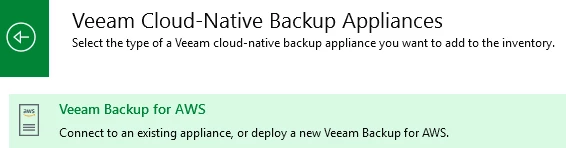
After installing Veeam, I started the wizard to install the AWS Appliance:
I won't go through the appliance installation step-by-step; it's very simple.
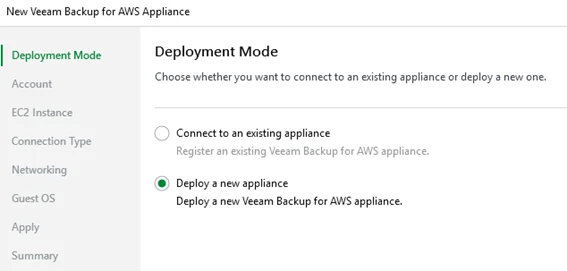
The screen below is important:
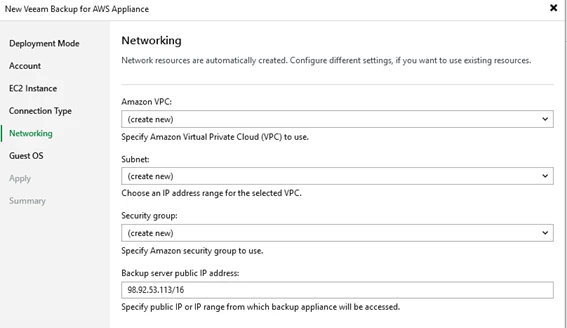
I always prefer to create the VPC, subnet, and security group beforehand; otherwise, you might encounter problems like I have.
After that, add the OS user and proceed with completing the Wizard.
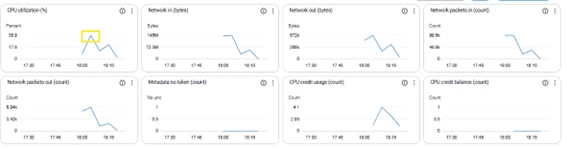
After the services started, I can already see the instance configured via Veeam in the AWS console:

After the process is complete, we experience a CPU spike, then the machine stabilizes.
After you have completed the Appliance installation wizard, the repository wizard will automatically start:

The service S3 user needs the following permission:
"iam:GetContextKeysForPrincipalPolicy",
"iam:SimulatePrincipalPolicy"
I usually use it via Inline Policy:

- {
- "Version": "2012-10-17",
- "Statement": [
- {
- "Effect": "Allow",
- "Action": [
- "iam:GetContextKeysForPrincipalPolicy",
- "iam:SimulatePrincipalPolicy"
- ],
- "Resource": "*"
- }
- ]
- }
Without it, Veeam wouldn't be able to run the automatic permissions check and might throw an error or fail to confirm whether the account has access to S3/EC2.
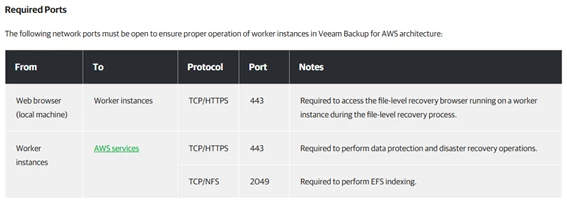
- The Ports, as per the documentation, are automatically released.
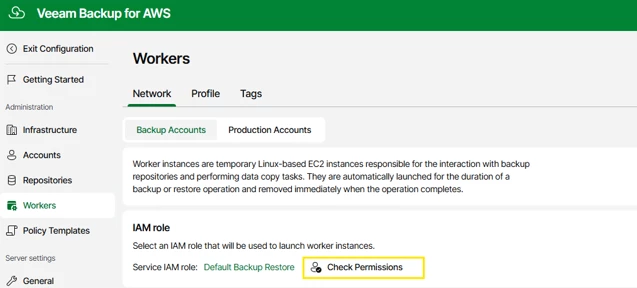
- Now, let's go to Worker
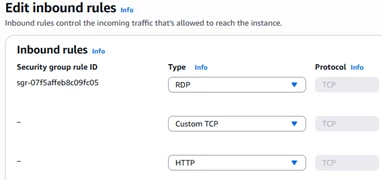
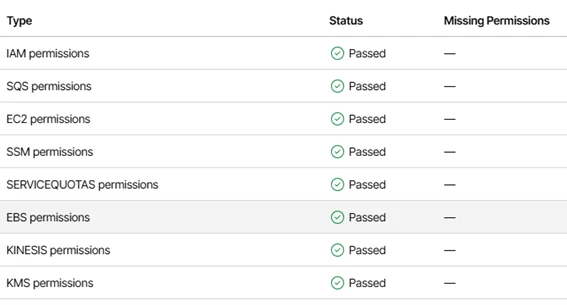
Check out permission first, Directly on the appliance:
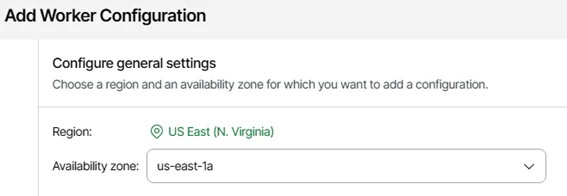
Choose your region and follow Wizard. (I also won't be doing a step-by-step guide.)

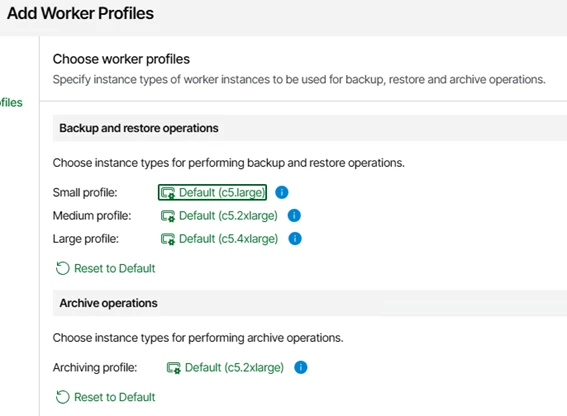
- Choose your Worker profile. Import and scale according to your AWS infrastructure.
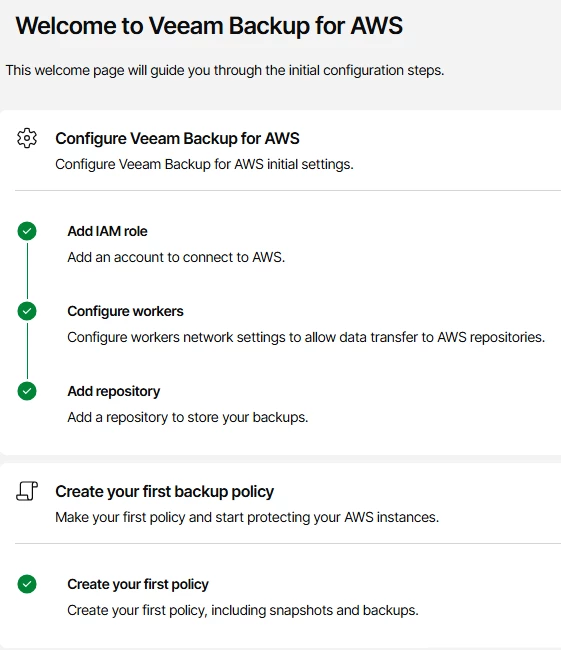
Now that all the components are ready.
We can configure the job.
- Always review the summary screen as shown below:
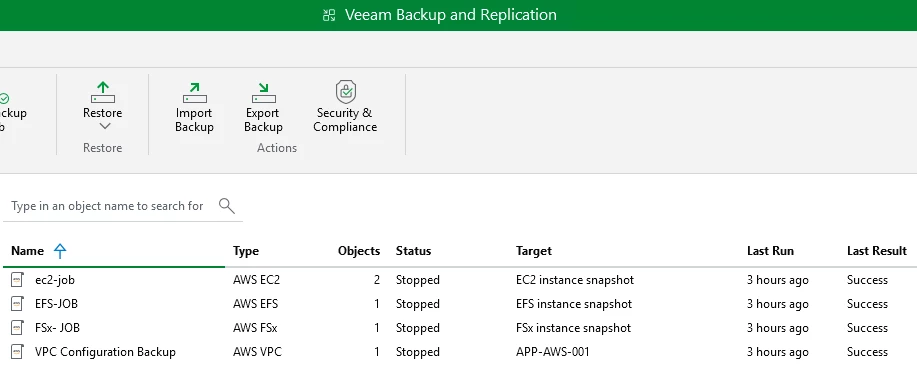
- These are the jobs you've created so far.
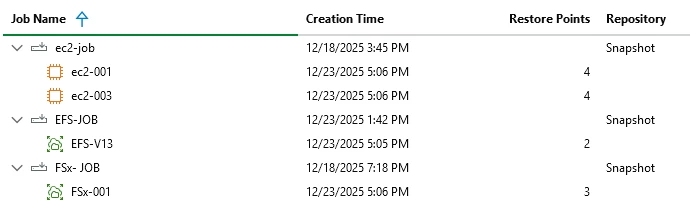
- These are the points I've created so far:
So far on the Veeam side, I've only gotten this far.
I will be doing performance tests and restores.
I'll post more details soon.