

Veeam SE 吴强
Veeam v11新功能Hardened Repository可实现对备份存储库的加固,有效防止勒索软件和恶意程序对备份文件进行加密和删除。
Veeam v11 Hardened Repository功能成功通过了全球金融行业最严格的数据防篡改认证SEC 17a-4(f), FINRA 4511(c) 和 CFTC 1.31(c)-(d) (合规性评估是由第三方机构Cohasset Associates完成) 。
本文的测试环境是 Veeam V11 版本, 作为Backup Repository的Linux版本是 Centos 8.3. 2011。
1. Centos 的环境准备
以下是Centos的具体kernel和release版本信息:
[root@CentOS8]# uname -r
4.18.0-240.el8.x86_64
[root@CentOS8 ]# cat /etc/centos-release
CentOS Linux release 8.3.2011
查看作为repository的磁盘:
[root@CentOS8 ~]# fdisk -l
Disk /dev/sda: 20 GiB, 21474836480 bytes, 41943040 sectors
Units: sectors of 1 * 512 = 512 bytes
Sector size (logical/physical): 512 bytes / 512 bytes
I/O size (minimum/optimal): 512 bytes / 512 bytes
Disklabel type: dos
Disk identifier: 0x5ea9c3d7
Device Boot Start End Sectors Size Id Type
/dev/sda1 * 2048 616447 614400 300M 83 Linux
/dev/sda2 616448 4810751 4194304 2G 82 Linux swap / Solaris
/dev/sda3 4810752 41943039 37132288 17.7G 83 Linux
Disk /dev/sdb: 80 GiB, 85899345920 bytes, 167772160 sectors
Units: sectors of 1 * 512 = 512 bytes
Sector size (logical/physical): 512 bytes / 512 bytes
I/O size (minimum/optimal): 512 bytes / 512 bytes
创建磁盘分区:
[root@CentOS8 ~]# fdisk /dev/sdb
Welcome to fdisk (util-linux 2.32.1).
Changes will remain in memory only, until you decide to write them.
Be careful before using the write command.
Device does not contain a recognized partition table.
Created a new DOS disklabel with disk identifier 0x2516c253.
Command (m for help): n
Partition type
p primary (0 primary, 0 extended, 4 free)
e extended (container for logical partitions)
Select (default p):
Using default response p.
Partition number (1-4, default 1):
First sector (2048-167772159, default 2048):
Last sector, +sectors or +size{K,M,G,T,P} (2048-167772159, default 167772159):
Created a new partition 1 of type 'Linux' and of size 80 GiB.
Command (m for help): w
The partition table has been altered.
Calling ioctl() to re-read partition table.
Syncing disks.
查看并确认磁盘分区已创建:
[root@CentOS8 ~]# fdisk -l
Disk /dev/sda: 20 GiB, 21474836480 bytes, 41943040 sectors
Units: sectors of 1 * 512 = 512 bytes
Sector size (logical/physical): 512 bytes / 512 bytes
I/O size (minimum/optimal): 512 bytes / 512 bytes
Disklabel type: dos
Disk identifier: 0x5ea9c3d7
Device Boot Start End Sectors Size Id Type
/dev/sda1 * 2048 616447 614400 300M 83 Linux
/dev/sda2 616448 4810751 4194304 2G 82 Linux swap / Solaris
/dev/sda3 4810752 41943039 37132288 17.7G 83 Linux
Disk /dev/sdb: 80 GiB, 85899345920 bytes, 167772160 sectors
Units: sectors of 1 * 512 = 512 bytes
Sector size (logical/physical): 512 bytes / 512 bytes
I/O size (minimum/optimal): 512 bytes / 512 bytes
Disklabel type: dos
Disk identifier: 0x2516c253
Device Boot Start End Sectors Size Id Type
/dev/sdb1 2048 167772159 167770112 80G 83 Linux
在刚创建的磁盘分区上创建xfs的文件系统:
[root@CentOS8 ~]# mkfs.xfs -b size=4096 -m reflink=1,crc=1 /dev/sdb1
meta-data=/dev/sdb1 isize=512 agcount=4, agsize=5242816 blks
= sectsz=512 attr=2, projid32bit=1
= crc=1 finobt=1, sparse=1, rmapbt=0
= reflink=1
data = bsize=4096 blocks=20971264, imaxpct=25
= sunit=0 swidth=0 blks
naming =version 2 bsize=4096 ascii-ci=0, ftype=1
log =internal log bsize=4096 blocks=10239, version=2
= sectsz=512 sunit=0 blks, lazy-count=1
realtime =none extsz=4096 blocks=0, rtextents=0
创建文件系统挂载目录并挂载:
[root@CentOS8 ~]# mkdir /mnt/veeamRepo
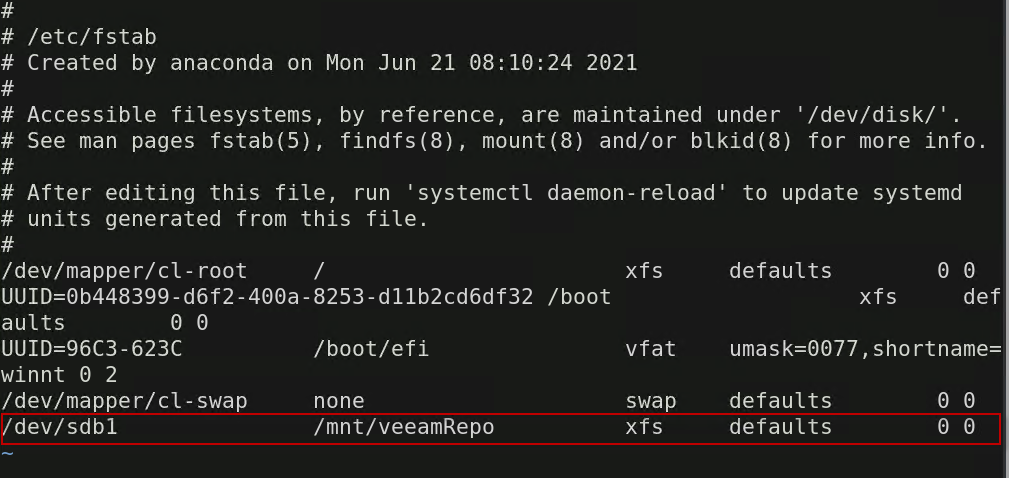
编辑/etc/fstab文件,添加刚创建的/dev/sdb1文件系统和/mnt/veeamRepo挂载点,由临时挂载改为永久挂载,即使重启OS后,该挂载依然生效。
[root@CentOS8 ~]# vi /etc/fstab
运行mount -a 重新挂载/etc/fstab里的所有设备
[root@CentOS8 ~]# mount -a
查看并确认挂载文件系统:
[root@CentOS8 ~]# df -hT
Filesystem Type Size Used Avail Use% Mounted on
devtmpfs devtmpfs 1.8G 0 1.8G 0% /dev
tmpfs tmpfs 1.9G 0 1.9G 0% /dev/shm
tmpfs tmpfs 1.9G 10M 1.9G 1% /run
tmpfs tmpfs 1.9G 0 1.9G 0% /sys/fs/cgroup
/dev/sda3 xfs 18G 4.5G 14G 26% /
/dev/sda1 xfs 295M 174M 122M 59% /boot
tmpfs tmpfs 371M 1.2M 370M 1% /run/user/42
tmpfs tmpfs 371M 5.7M 366M 2% /run/user/1000
/dev/sdb1 xfs 80G 604M 80G 1% /mnt/veeamRepo
添加Harden Linux Repositoy的专属用户并设置权限:
[root@CentOS8 ~]# useradd -d /home/VeeamRepo -m VeeamRepo
[root@CentOS8 ~]# passwd VeeamRepo
Changing password for user VeeamRepo.
New password:
Retype new password:
passwd: all authentication tokens updated successfully.
[root@CentOS8 ~]# chown VeeamRepo.VeeamRepo /mnt/veeamRepo
[root@CentOS8 ~]# chmod 700 /mnt/veeamRepo
查看并确认/mnt/veeamRepo的权限:
[root@CentOS8 ~]# ls -l /mnt
total 0
drwxr-xr-x. 2 root root 6 Feb 27 13:57 hgfs
drwx------. 2 VeeamRepo VeeamRepo 6 Feb 27 14:34 veeamRepo
通过visudo添加VeeamRepo用户的elevate root权限:
[root@CentOS8 ~]# visudo
……
root ALL=(ALL) ALL
VeeamRepo ALL=(ALL) ALL
……
2. 添加Hardened Linux Repository

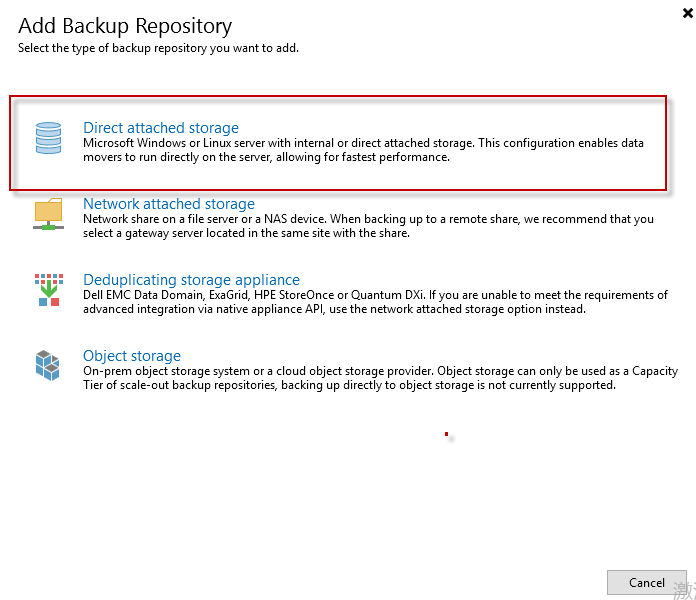
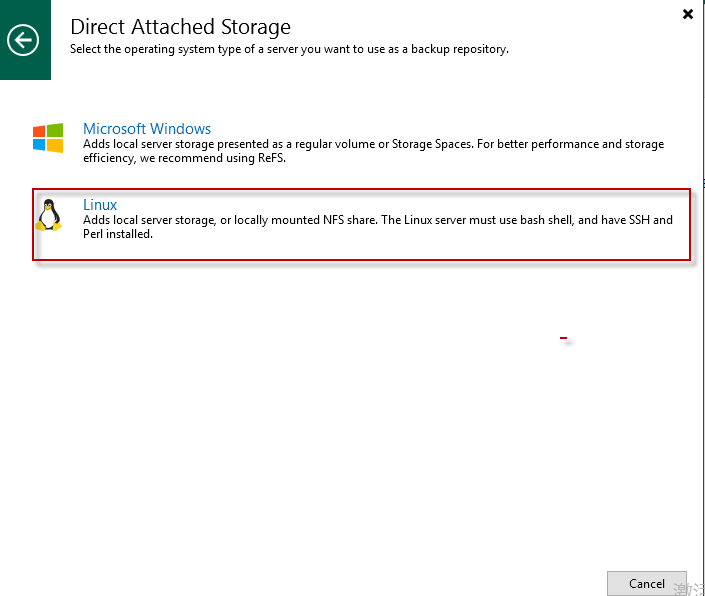
点击Add New…按钮
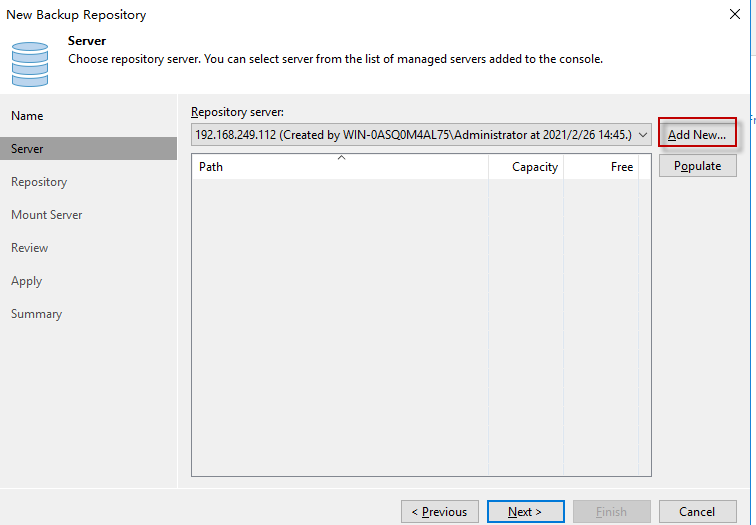
输入要添加的Repository的Linux Server的IP:

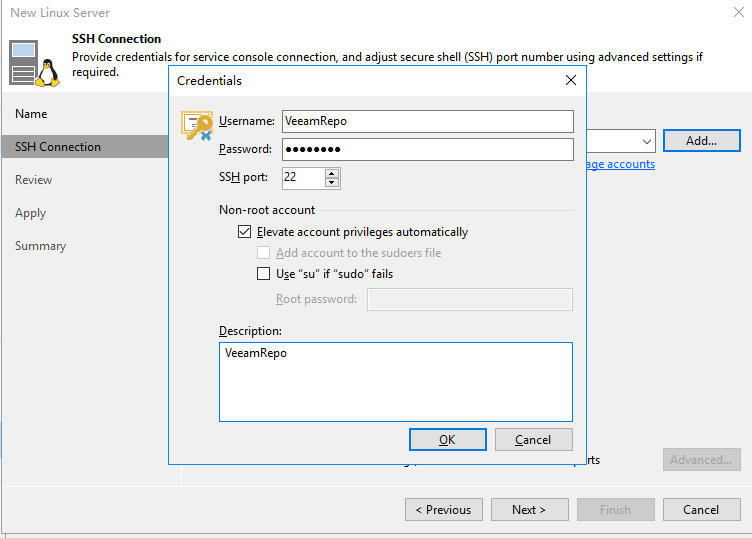
选择“Single-use Credentials for hardened repository”选项,

输入之前创建的专属用户名/密码,其它都是缺省设置,“Elevate account privileges automatically“的选项缺省是打勾的。
点击Yes按钮
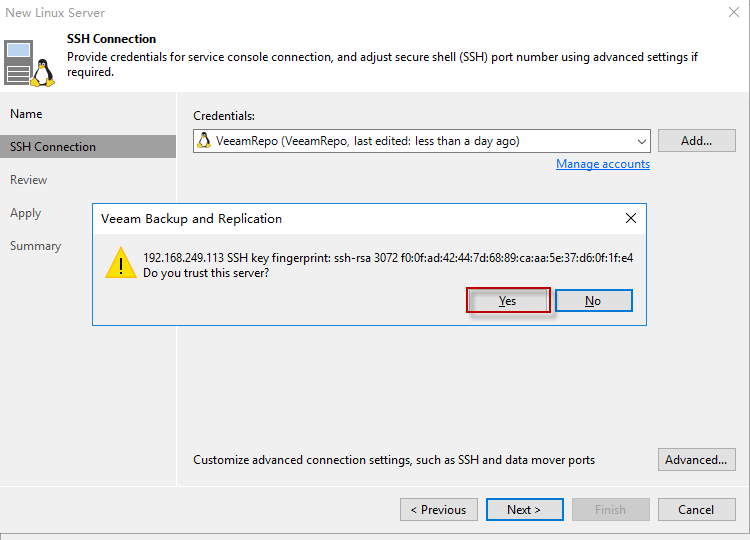
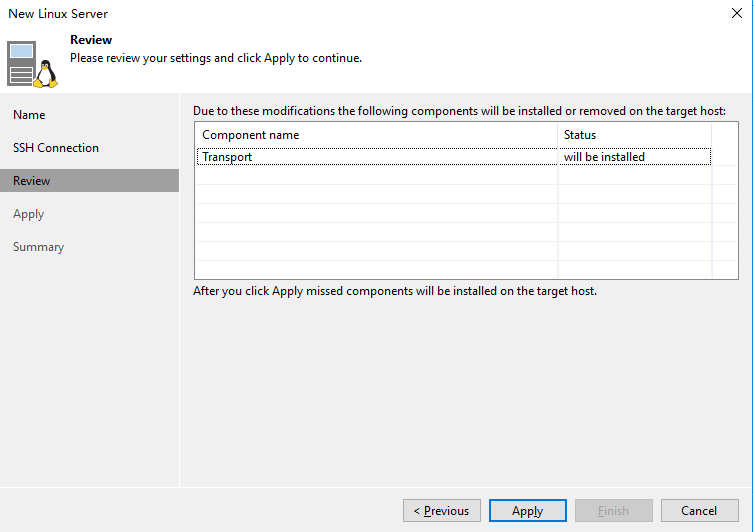
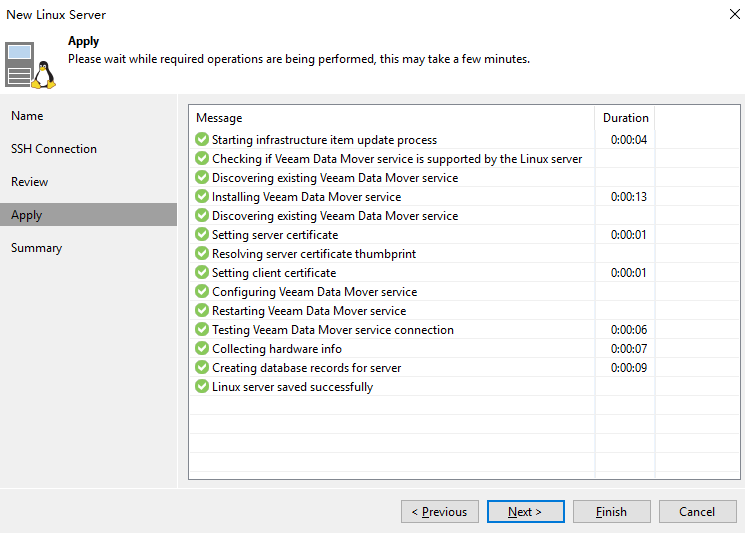
添加New linux Server成功,

自动跳回到New Backup Repositoy的界面,
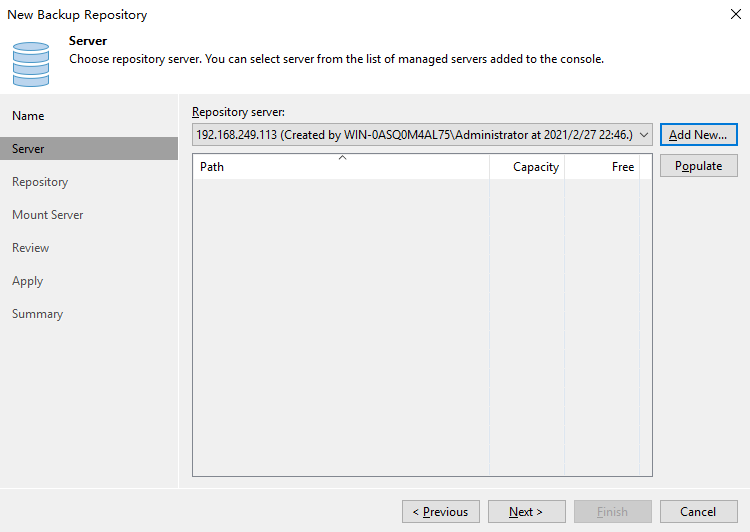
点击populate按钮,可以看到之前创建的/mnt/veeamRepo文件系统信息,点击next按钮

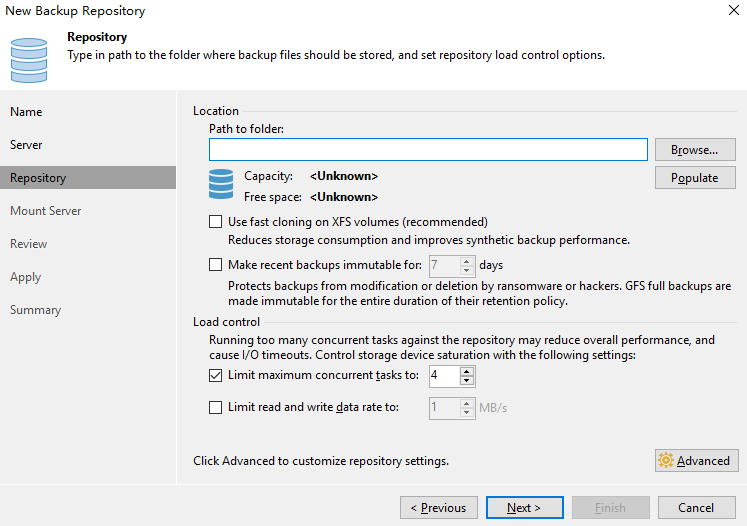
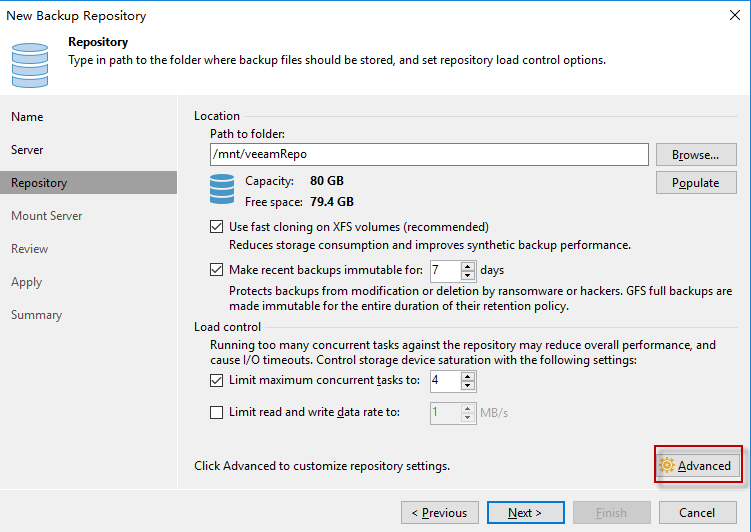
选择Repository的位置路径,把”Use fast cloning on XFS volumes(recommended)”选项打上勾,”Make recent backups immutable for .. days” 缺省是打勾的,且是7天,可以根据实际需求手工调整该值,但最小值是7天,Veeam Harden Linux Repsitory只支持forward incremental backup的备份方式,点击advance按钮。
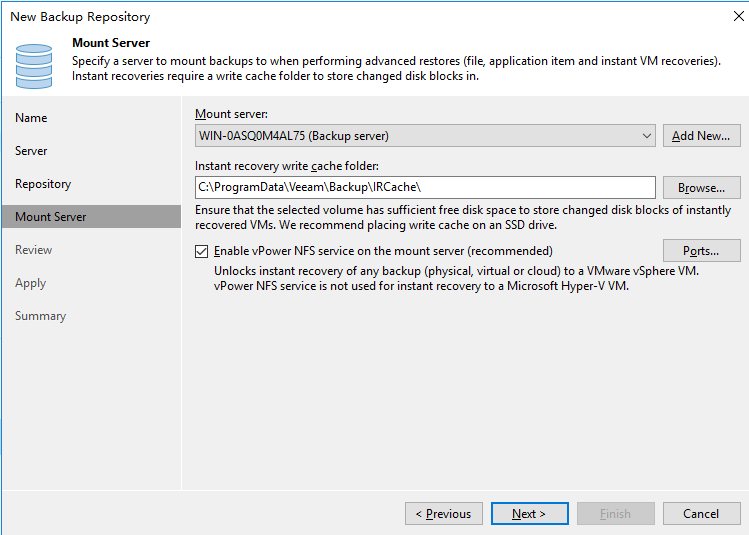
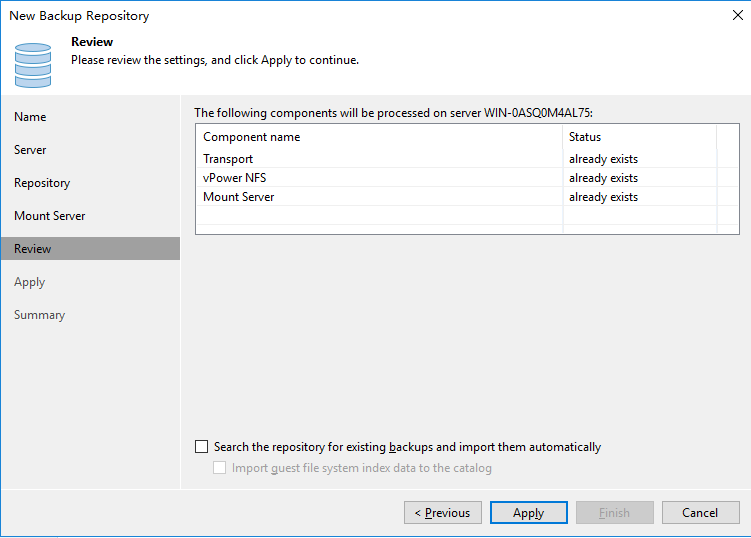
以下是advanced设置选项,

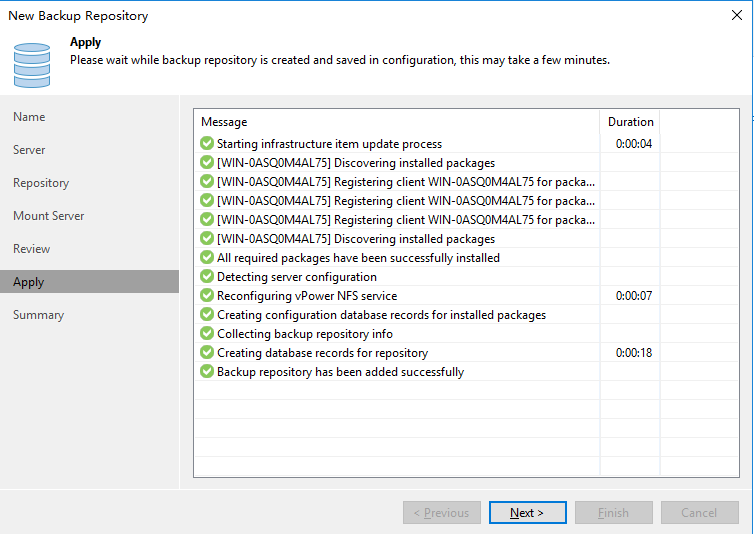
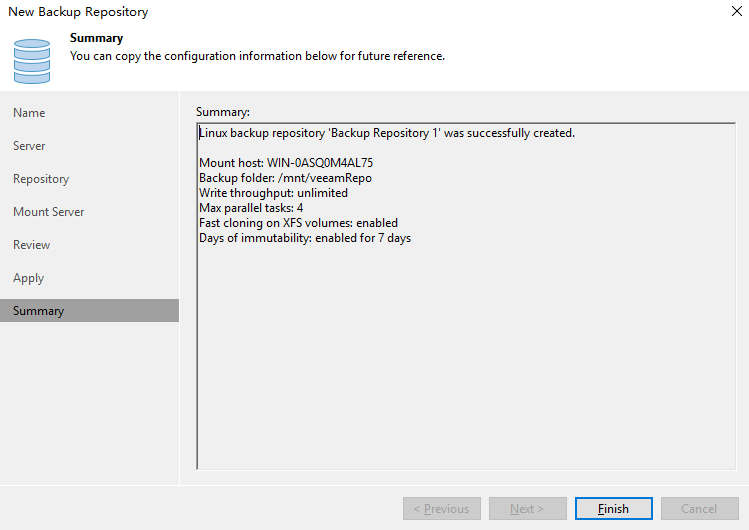
添加Hardened Linux Repository成功结果截图
回到Linux Repository server,使用visudo命令,把“VeeamRepo ALL=(ALL) ALL“行开头添加#号,即禁掉VeeamRepo用户 ” Elevate to root”功能。
[root@CentOS8 ~]# visudo

运行命令查看并确认veeam transport进程信息:
[root@CentOS8 ~]# ps aux | grep veeam

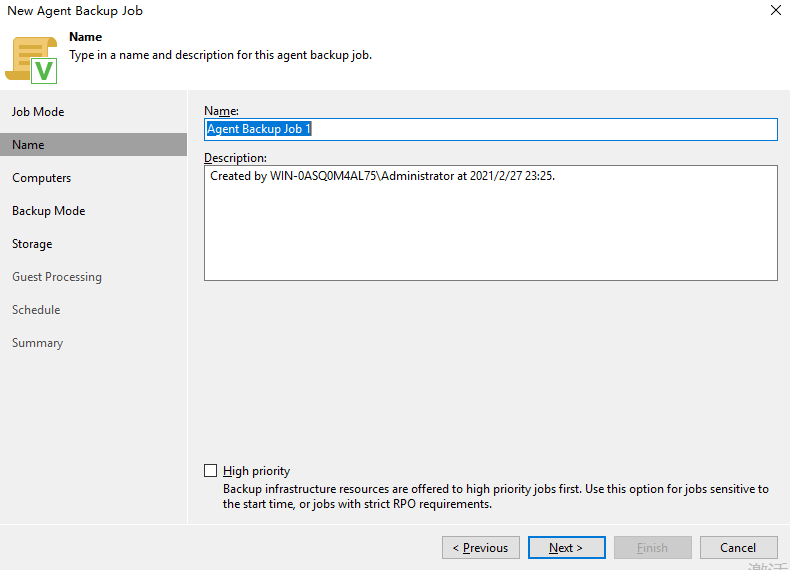
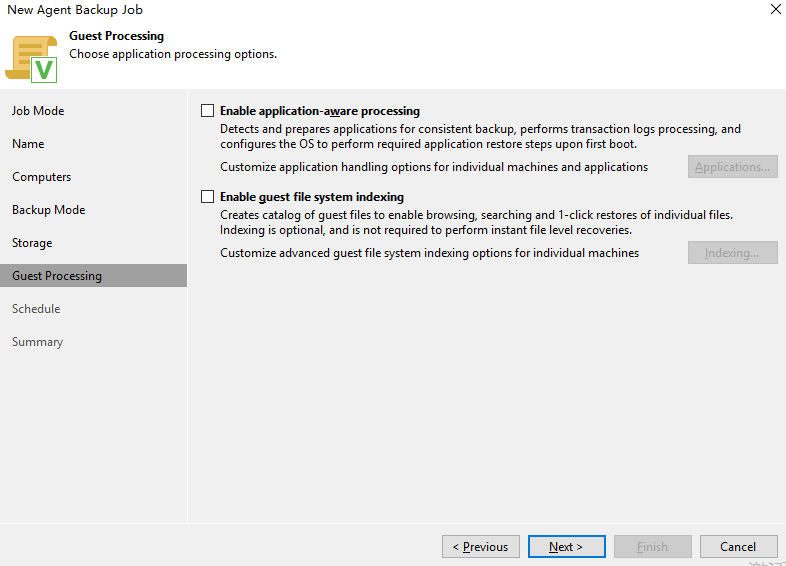
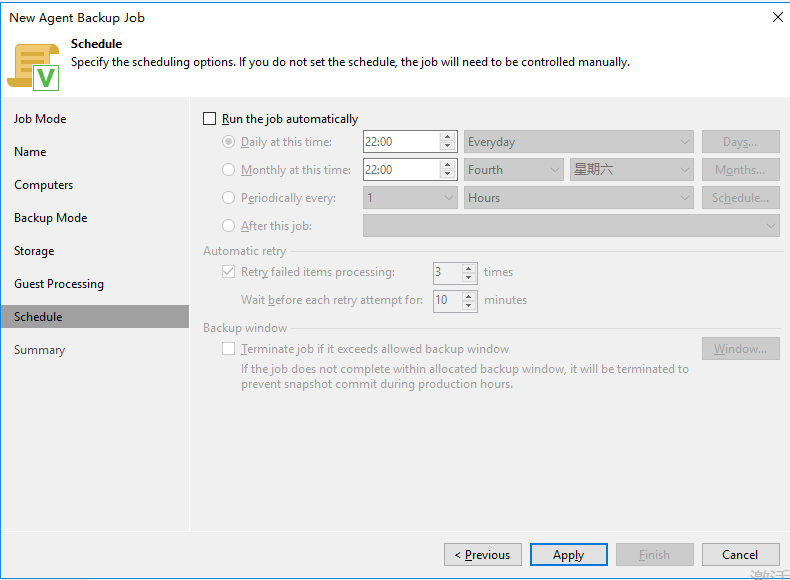
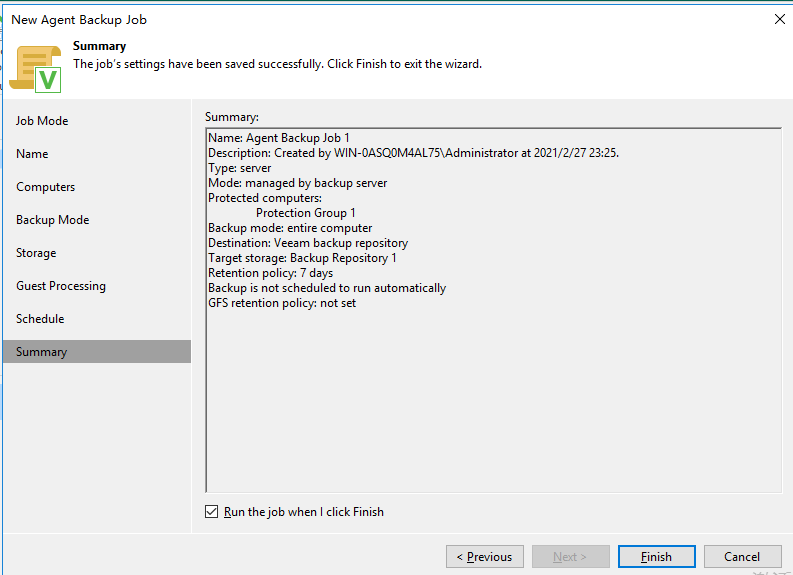
3. 发起备份作业并确认结果成功
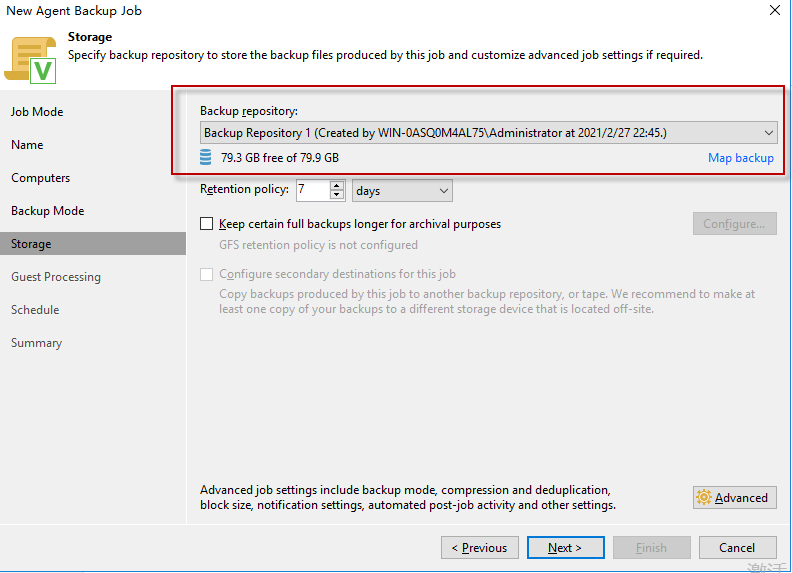
选择之前刚创建的Hardened repository: Backup Repository 1作为备份存储库
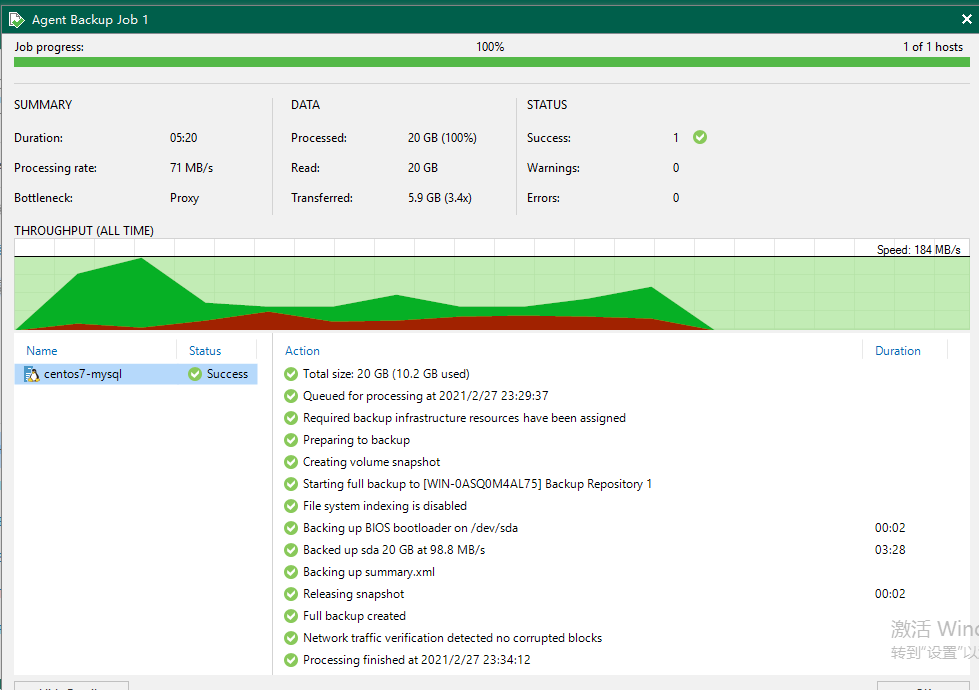
以下是备份作业成功结果截图:
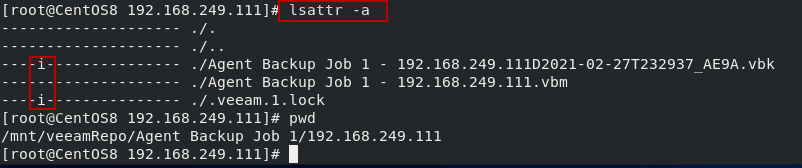
在Linux repository的/mnt/veeamRepo/Agent/Backup Job 1/192.168.249.111的具体该备份作业的目录下,使用lsattr -a命令查看,备份文件都是“i“, 表示是” immutable“。
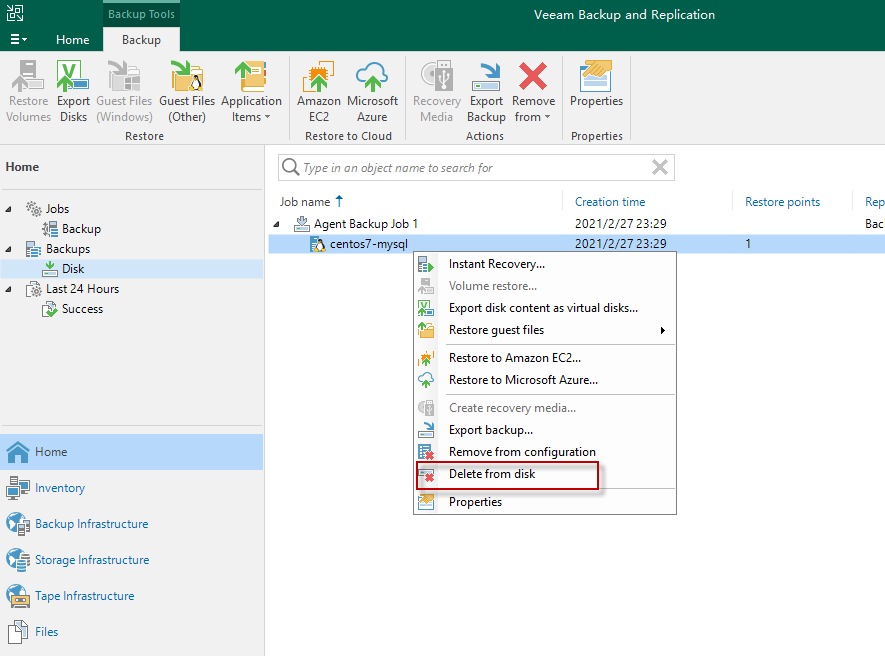
在VBR console里尝试针对该备份作业的machine执行“Delete from disk“操作
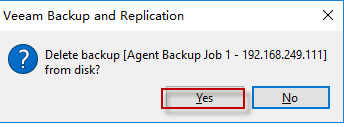
选择Yes按钮
结果显示是warning,具体信息是“unable to delete 1 immutable backup files”, “backup file can be deleted after 2021/3/7”, 即该备份文件是无法篡改或删除的,备份文件要7天之后才可删除。
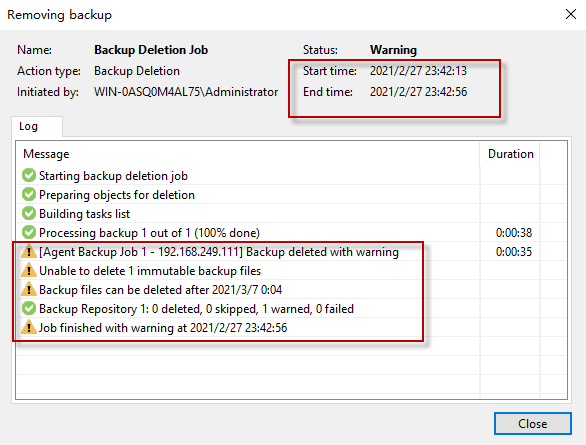
至此,表明Veeam V11 Hardened Linux Repository 配置成功。