I started to work on this script soon after I setup my cluster in my lab. I will say this one has been a challenge, more so than AWS or GCP. It required an API and figuring out the right payload for multiple disks inside a VM and dynamically setting this up.
Big thanks to Ronn Martin and Chris Arceneaux for their help and contributions to this effort.
Script location here:
https://github.com/VeeamHub/veeam-orchestrator/tree/main/RecoverToAHV
This script is for demo purpose and should be used as a template to build off of for production environment.
The script is setup to use Nutanix Prism single cluster and has limitations based on network and storage container. Also, the VM that is being restored can only have 1 storage controller type.
Obviously, you need to have a Nutanix cluster, have it setup in Veeam BNR, and have a Nutanix proxy deployed.
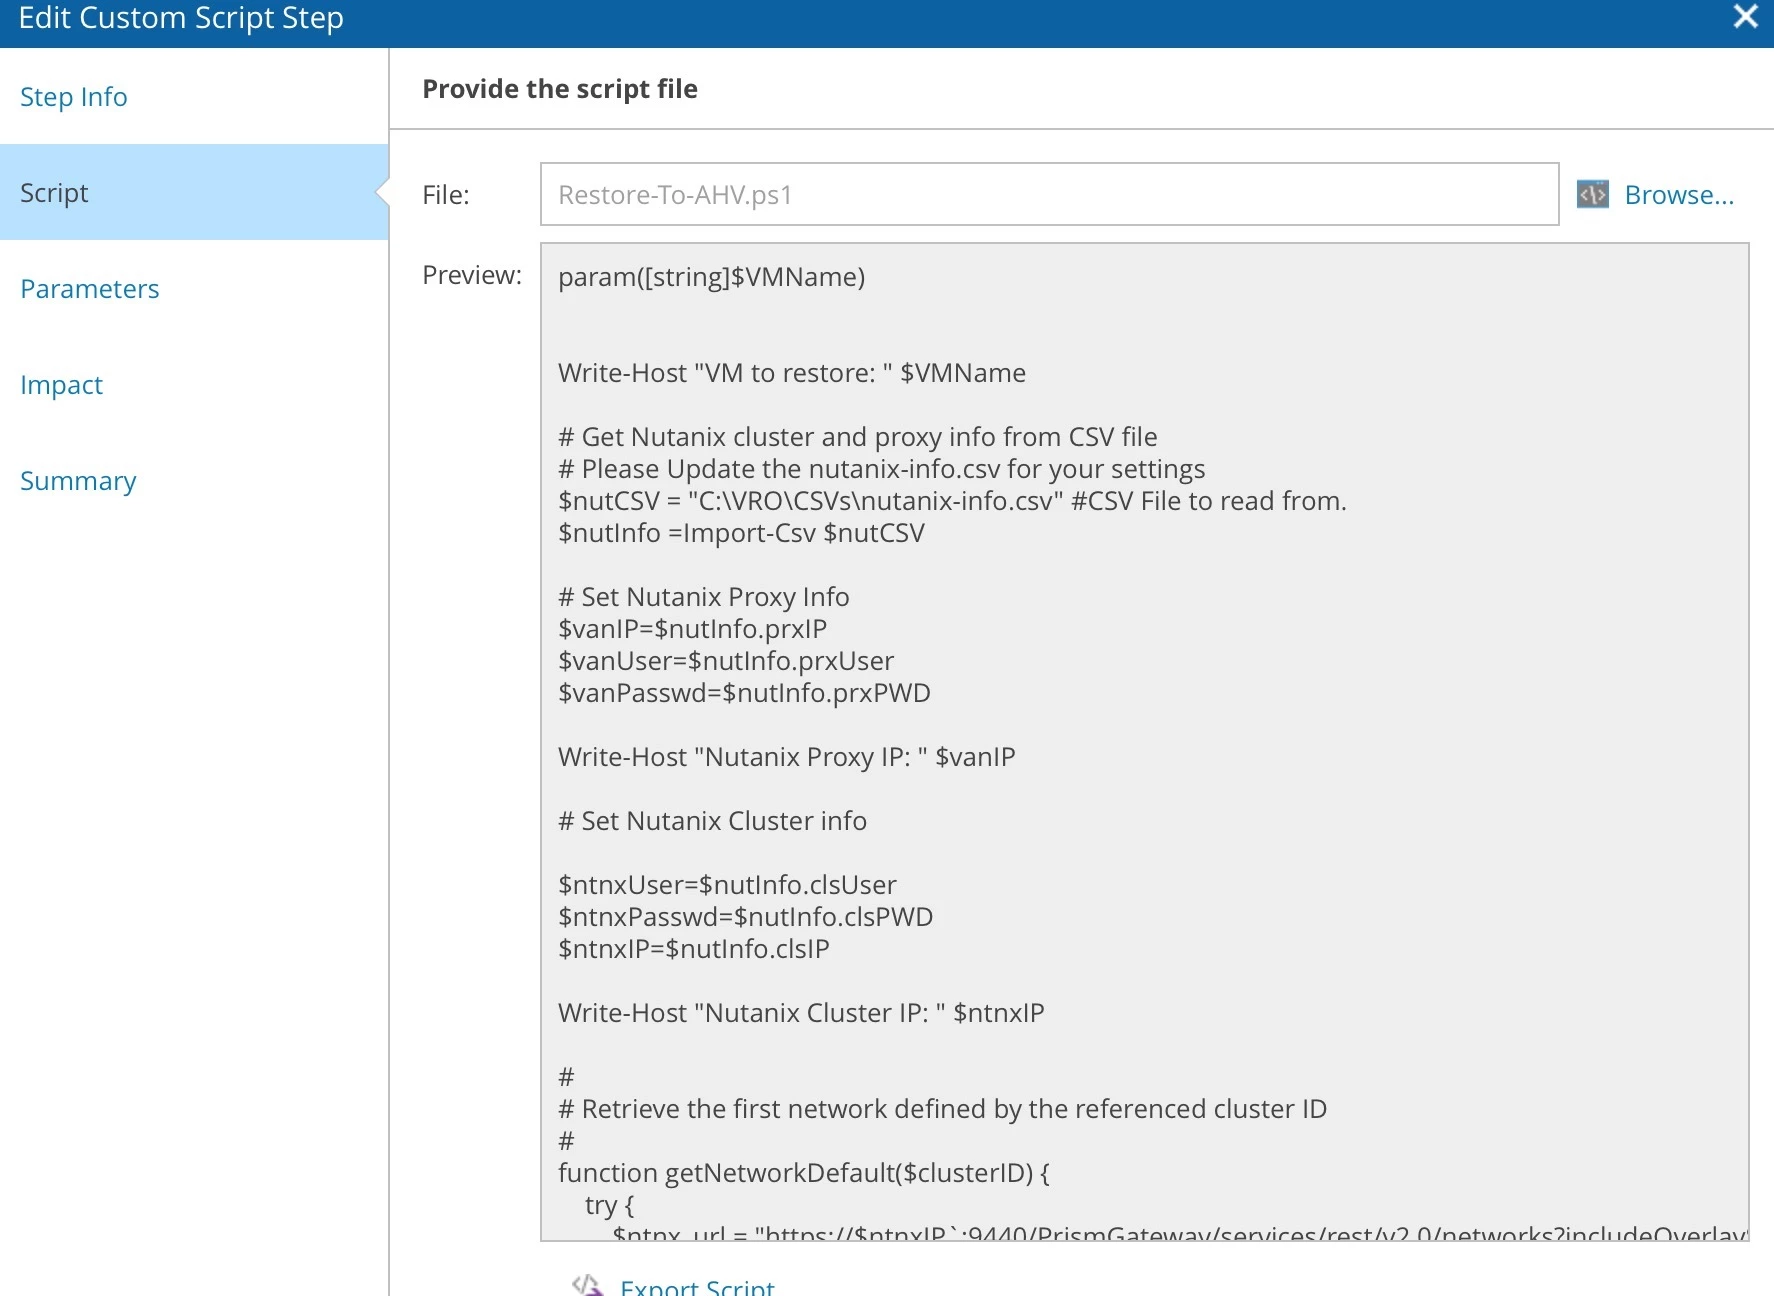
Let’s look at the script. First line takes a variable from Orchestrator – Source VM Name – and will use this throughout as the VM to restore into AHV.
Then it uses a CSV file to set the Nutanix cluster and Proxy information, including login information and IP address. A template of this CSV is included in the github repository.
Next we retrieve the network and storage container from the Nutanix cluster.
Set it to ignore SSL for self-signed certificates.
Log into the Nutanix proxy with credentials and get a rest api token.
Then connect to the BNR rest api to get the backup restore point for the VM. Use the metadata information from the backup to populate information needed for the restore payload.
Build the json payload for the restore rest api. Submit the api for the restore and then wait loop checking the Nutanix proxy for the restore session to complete.
The script is set to not power on the VM after restoring. This can be adjusted based on requirements.
Now that we have reviewed the script at a high level, let’s look at how to add and use it in VRO.
Start by logging into VRO as an administrator and go to the Administration Gear Icon in the upper right corner. Once on this page, click on the Plan Steps in the Left navigation pane.
Since this is a new custom step, click the Add on the top of the screen, use a name that makes sense, like Restore to AHV.
Click Next, for the File: browse to the script location on your computer. Once you select it, you will see the script in the Preview: pane. This allows you to view the script, but you cannot edit it here.

Click Next, then either select to add to All scopes or you can add to specific scopes later. I choose to add to All Scopes for now. Click Next and then Click Finish on the Summary.
After it is created, back in the Plan Steps list, select it and click Edit. Click Next twice to get to the Parameters tab. Under Common Parameters, change the timeout. I set mine for 15 minutes, 900 seconds, your mileage my vary and you made need to make it longer or shorter.
Under Execute Location – Default Value – Select Veeam Backup Server
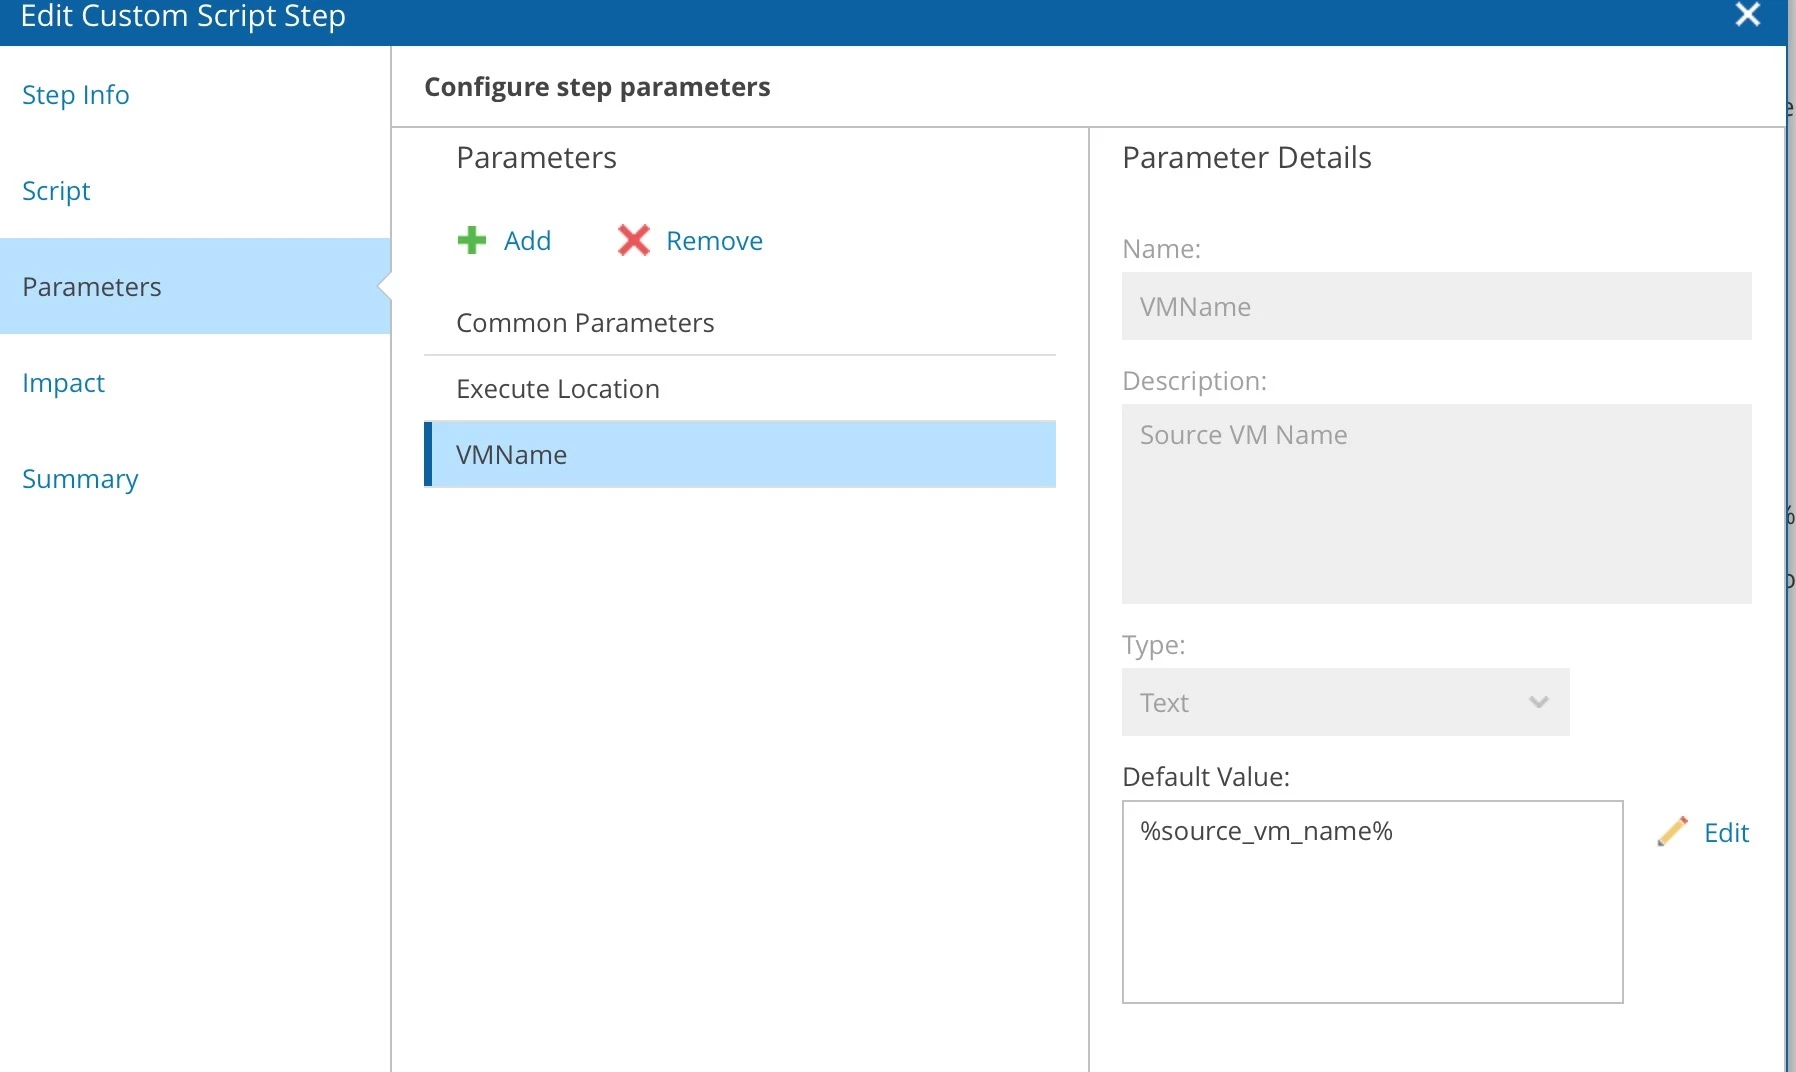
Click Add to add a new parameter. This will be setup as the VM name variable to pass to the script. The parameter name must match exactly the variable param in the script. In my script it is VMName.
In the Default Value: - click Edit, Double Click the %source_vm_name%

Click Finish. Then Click Finish again
Now the Plan Step is ready to be used in a Recovery Plan. Exit the Administration page.
Here is where it gets a little tricky but also cool. Since we are passing the source VM name into the script, we can split a recovery into multiple locations.
Example may be to restore some VMs from a backup job to an on prem DR site, AHV, or to other locations via the script. Or we can use the script to restore all VMs into AHV by adding the custom script Plan Step to the VM in the plan.
To start, create a Recovery Plan if you do not have one. Select Recovery Plan – Manage – New. Fill in all fields appropriately, click Next. Select the Scope to assign the Plan to. Choose Restore as type of Plan, click Next. Choose your default recovery location – hint this will only matter for VMs that we do not adjust after the plan is created.
Under Inventory Groups, select the Group that has the VMs in it that you plan to restore, click Next. For VM Recovery Options, I choose Proceed with the Plan and In Parallel, but you may want to use In Sequence. It is important to select Proceed with Plan as certain things in VRO will have a warning and this is expected. Click Next.
Now is the important part. If you plan to restore all VMs in the Group to AHV, you can remove the Restore VM and Check VM Heartbeat steps and add the custom Plan step. Remember, this is the action for everything in the plan.
After Removing, Add your custom step.

Set any of the other settings based on your needs/use and click Finish.
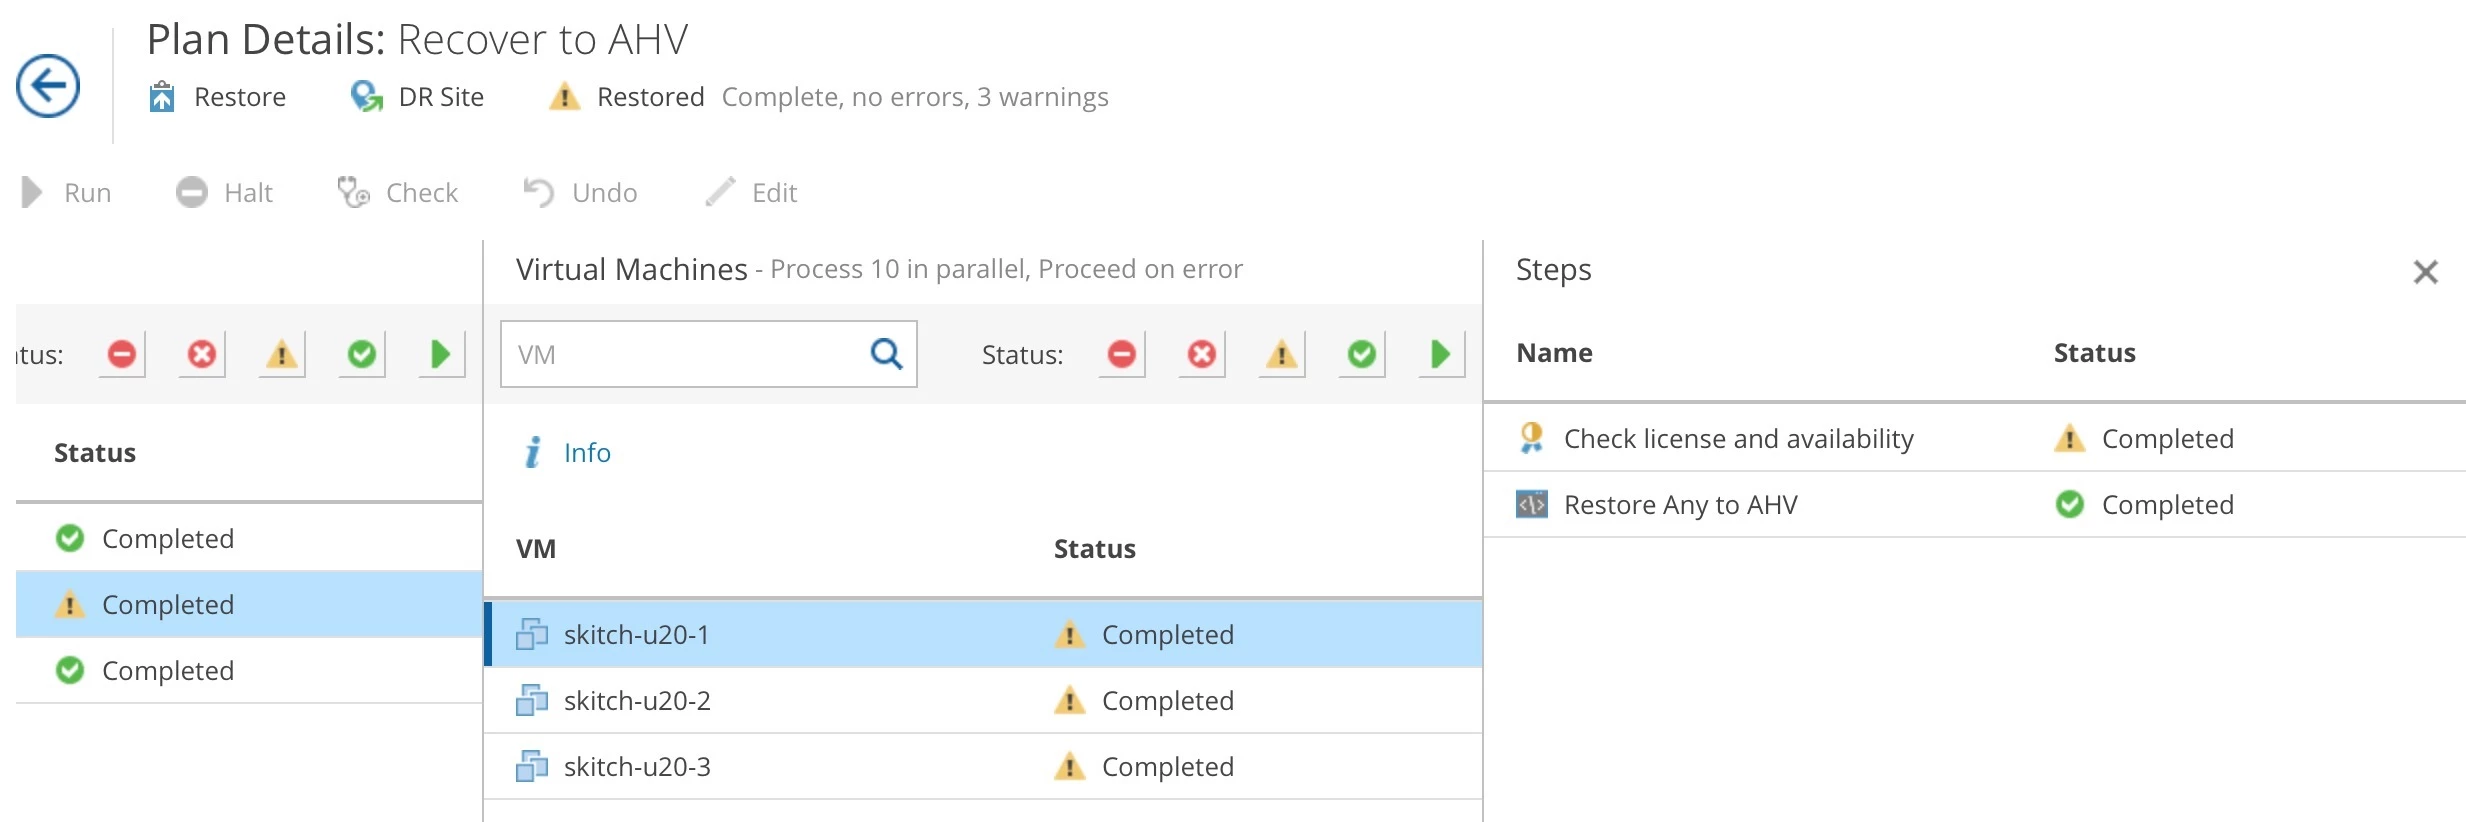
After the Plan is created, you will get a Warning under Check license and availability, and the details will show that the Restore VM Step is not found. We know this because we removed it.
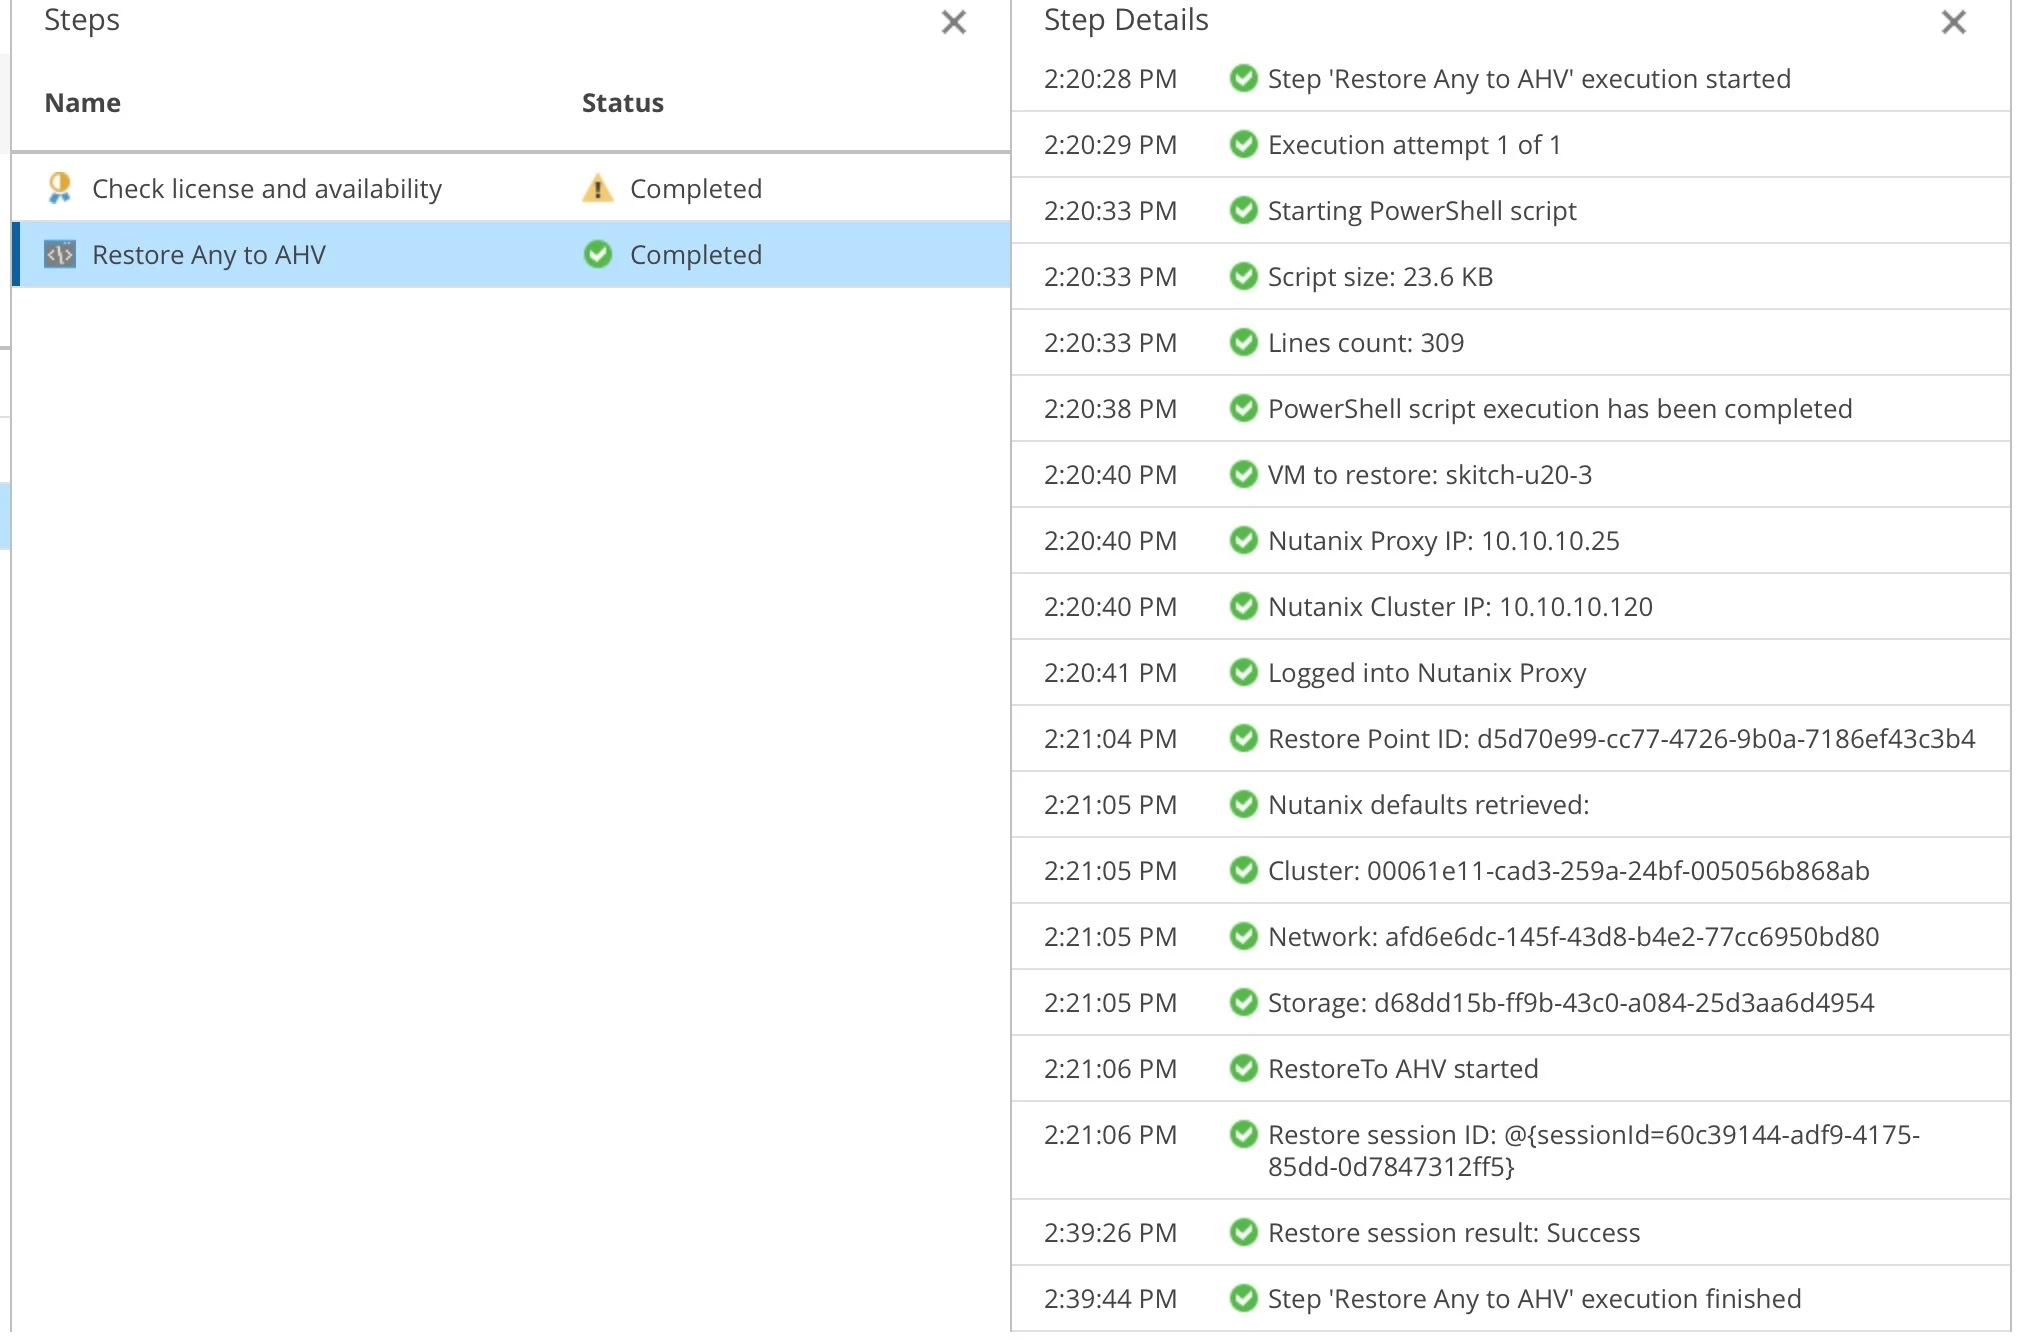
The Plan is now ready to run. When you run it, watch the Step Details and the Veeam VBR for Status. Once complete, it will show a warning even though it is complete. All of the details of what occurred should be in the details and this will show up on the Plan Execution Report.

Another thing that happens is that the plan does not auto reset because of our customization. So you will need to select the Plan afterwards and manually reset it.


