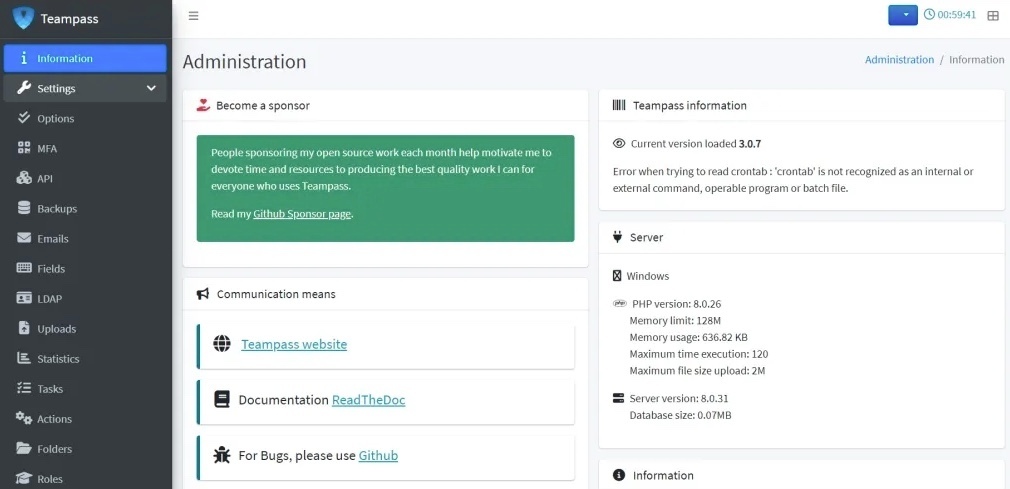
TeamPass is a Passwords Manager dedicated to managing passwords in a collaborative way by sharing them among team members.. It is an Open Source project totally free of charge for any usage.
Recent times, there have been lots of news on Password Manager exploit, Here are some examples
A lot of articles have been shared on how to choose the right password manager such as the following below. But I am here today to share with you a completely free solution that you can use at home and at your organisation for free.
Here is a fantastic question raised by
TeamPass Password Manager enables you to organise password items into a structured way of folders associated with access rights given to dedicated users and groups.
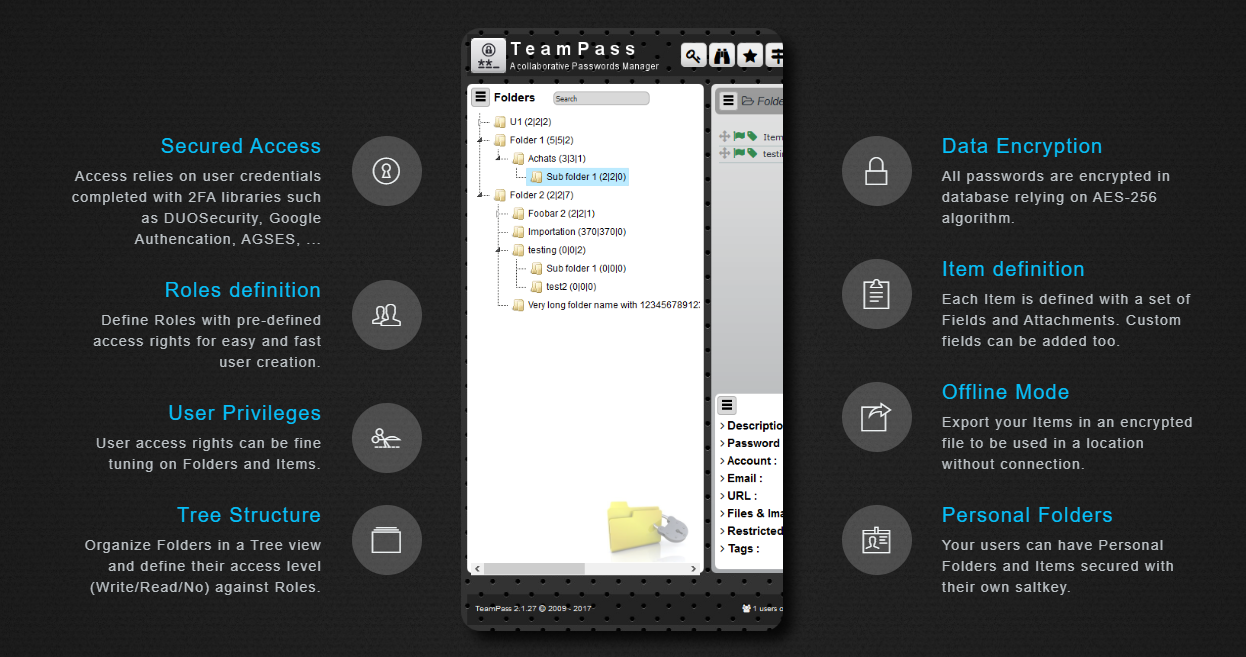
Features of TeamPass Password Manager
TeamPass provides a lot of options and features permitting you to customise it to your needs as shown in the image below. For an extensive overview of this topic, please visit this link.
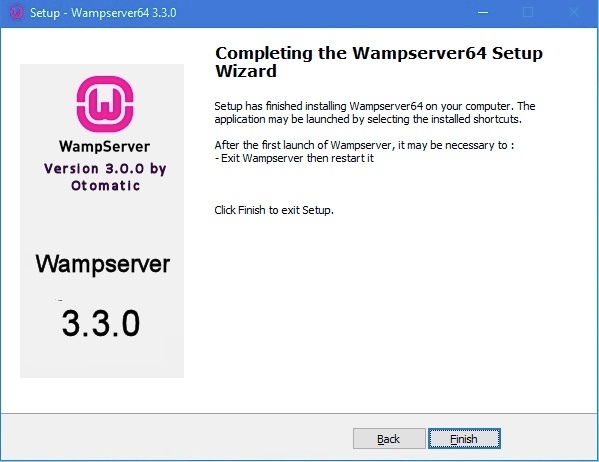
Install WAMPServer
Since I will be performing this installation using WampServer, It makes sense to discuss the differences between XAMPP and WAMP for TeamPass Installation.
Wamp Server is a Web development platform on Windows that allows you to create dynamic Web applications with Apache2, PHP, MySQL, and MariaDB. WampServer automatically installs everything you need to intuitively develop Web applications
Download the last version of WampServer. Once installed, start your server and you should see the Wampserver icon in green as shown in the image below

Launch the setup file by double-clicking on it and accepting the “User Access Control” if you have it set up. Accept the license agreement and click on Next Please for the complete steps, please visit my blog. Since these steps are too basic, I will not be sharing them.
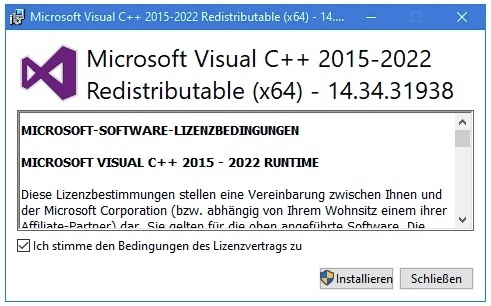
Install Microsoft Visual C++ redistributable
The Visual C++ Redistributable installs Microsoft C and C++ (MSVC) runtime libraries. These libraries are required by many applications built using Microsoft C and C++ tools. If your app uses those libraries, a Microsoft Visual C++ Redistributable package must be installed on the target system before you install your app.
Create Database
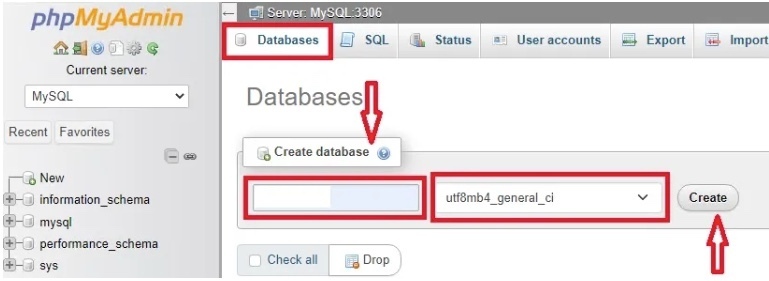
To do this, open the PhpMyAdmin by clicking on the WampServer icon and then select PhpMyAdmin. This will open the following URL locally below.
In the ‘Create new database’ section, enter your database name (Eg, Ay you wish) and select ‘utf8mb4_general_ci` as collation. Click on Create the button. to do this, click on the “Databases” tab. Other documentation specify utf8mb3_general_ci and it works greatly as well.
Set MySQL Database Administrator
In this step, we will create a specific Administrator for this database. Click on the ‘Privileges’ tab, we would like to create a new user. Emphasis on New as shown below.
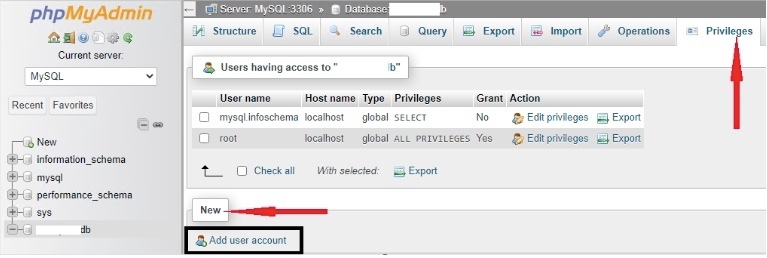
Click on the ‘Add a new user’ link, and enter the login information (I suggest creating a user teampass_admin for a better understanding of what is this user). And at this time, do not give any rights/privileges at this level of the user creation
Set the DB Administrator privileges
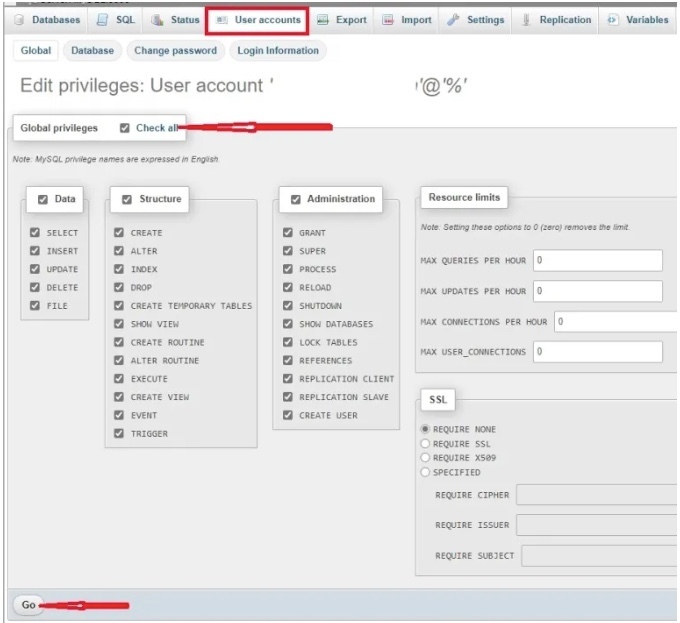
If the Edit user privilege is not automatically prompted, click on the ‘Edit privileges’ button corresponding to the TeeamPass database Administrator account. Click on ‘Check All‘ link. Then validate by clicking on the button Go
Download and Upload TeamPass Password Manager Package
To copy the Team Password Manager files, you will have to first download the latest version via this link. Click on Download TeamPass Password Manager!
Unzip it into a temporary folder. If you have 7Zip, you can also use it, etc. Now, the packages are being extracted
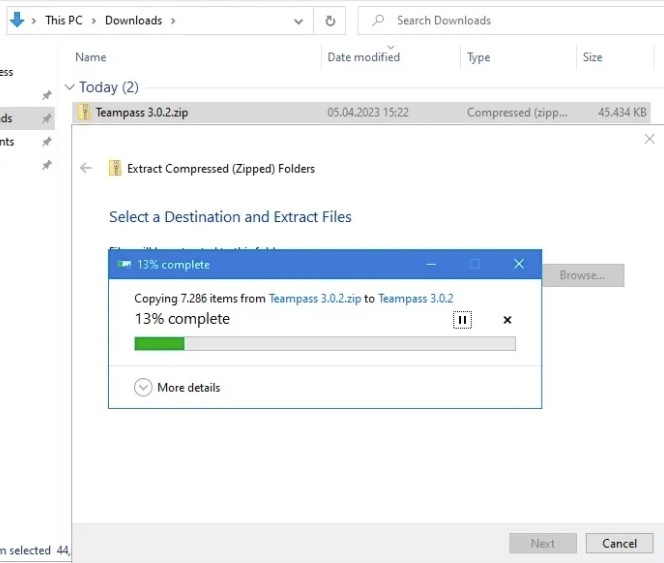
If your installation is a local one, copy the folder TeamPass to the folder <wampserver_installation_path>/www.
If this step is not performed and you right-click the link to allow links on the project, you will be stuck and the installation will never succeed. See how to create a Virtual Host in WampServer.
Continue with the TeamPass installation
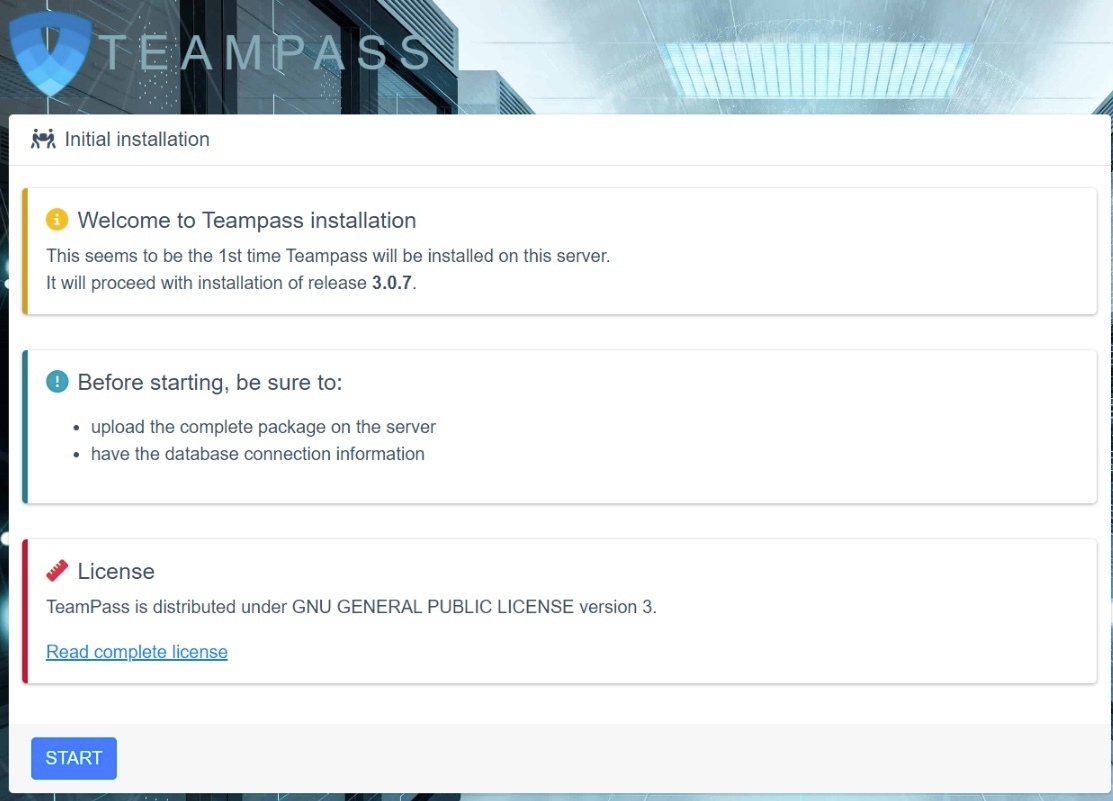
On the Initial Installation wizard, click on Start as shown below
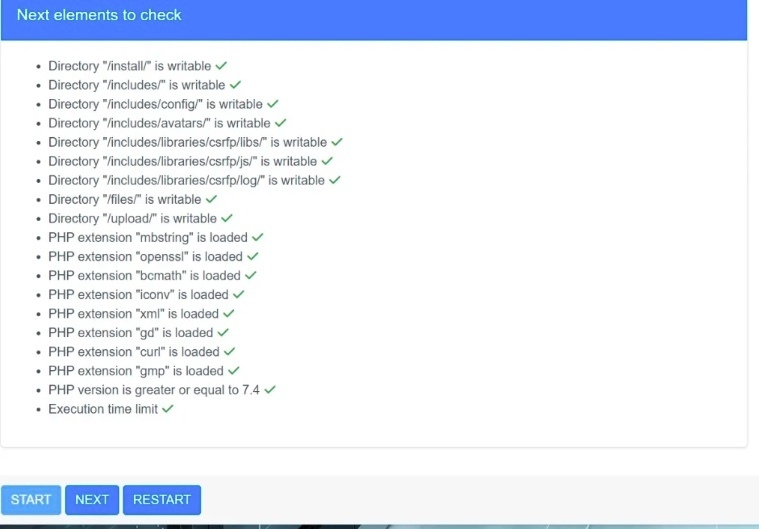
If all Elements passes as shown below, click on Next to continue. Here is how to install and Configure Pleasant Reset Password, and How to install failover for ManageEngine Password Manager Pro (All old articles and will be updated).
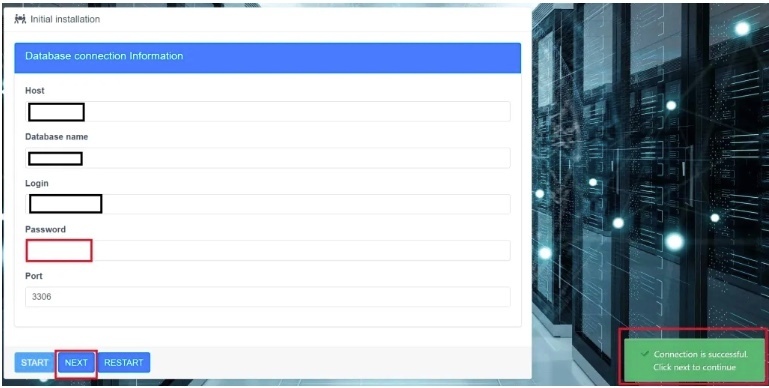
Please populate the Database connection information wizard with the right parameters and click on start. If everything works correctly, the connection is successful window will be displayed. Then click on Next.
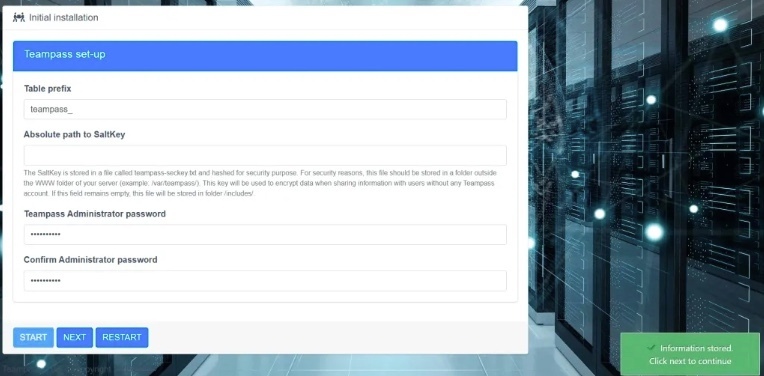
On the Teampass set-up window, enter the Teampass Administrator password and click on start. The stage, a lot of users do not get past 🙂 Click Next to continue.
The preparing database window will be displayed. Click on Start.
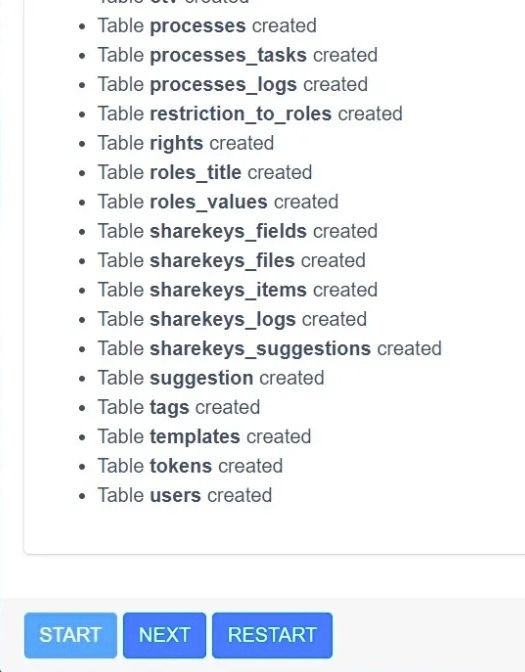
As you can see, all required tables have been created. Click on Next to continue.
Click on Start on the Finalisation window. And when complete, click on Next as shown below.
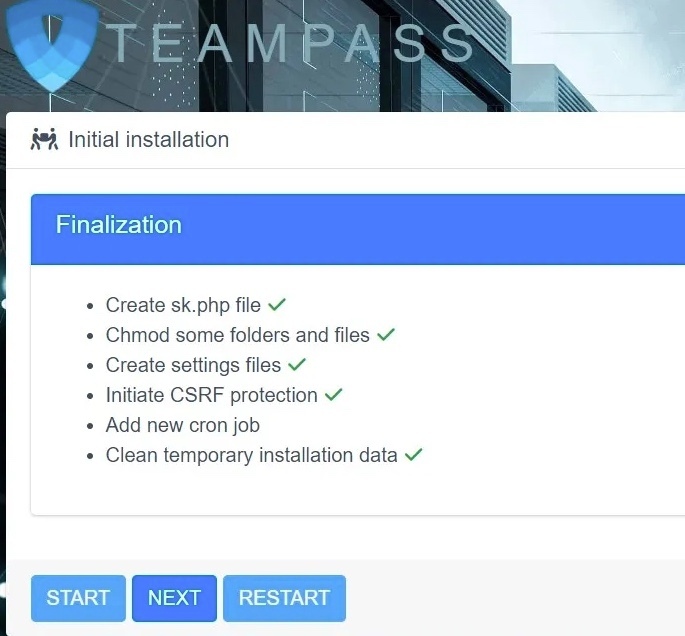
Now the setup is complete.
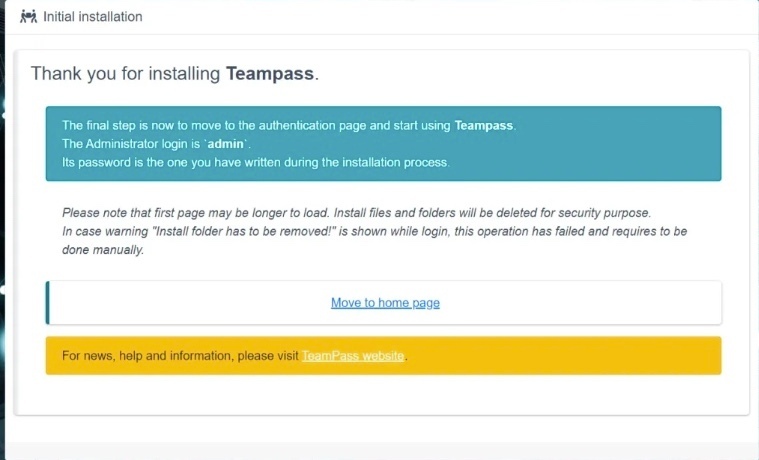
The username is admin and please enter the password you specified during the TeamPass setup. Remember that an Administrator has no access to Items. In order to test your set-up, it is recommended to create a dummy account user which you will use to test your Teampass configuration.
Note: If you would like to enable access to Iteams on the Password Manager, Please refer to the TeamPass documentation referenced below.
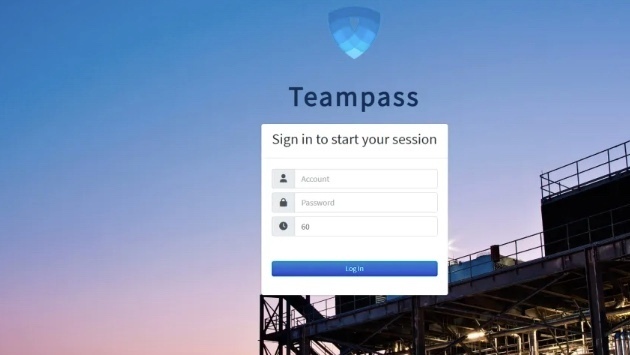
Please follow the steps here to configure your TeamPass Password Manager. In the next guide, I will be showing you how to enable SSL on WampServer.
