



For my fourth blog in my new series which covers both Veeam and Wasabi, I wanted to look at setting up Veeam with Wasabi to go over some of the basics.
Blog - Getting Started with Veeam and Wasabi – Step by Step
Getting Started with Veeam and Wasabi – Step by Step
Wasabi is one of the most popular object storage targets for Veeam deployments, and for good reason — no egress fees, predictable pricing, S3-compatible API, and Veeam Ready certification. If you are not already using Wasabi as part of your backup strategy, this guide will walk you through getting it set up.
Why Wasabi for Veeam?

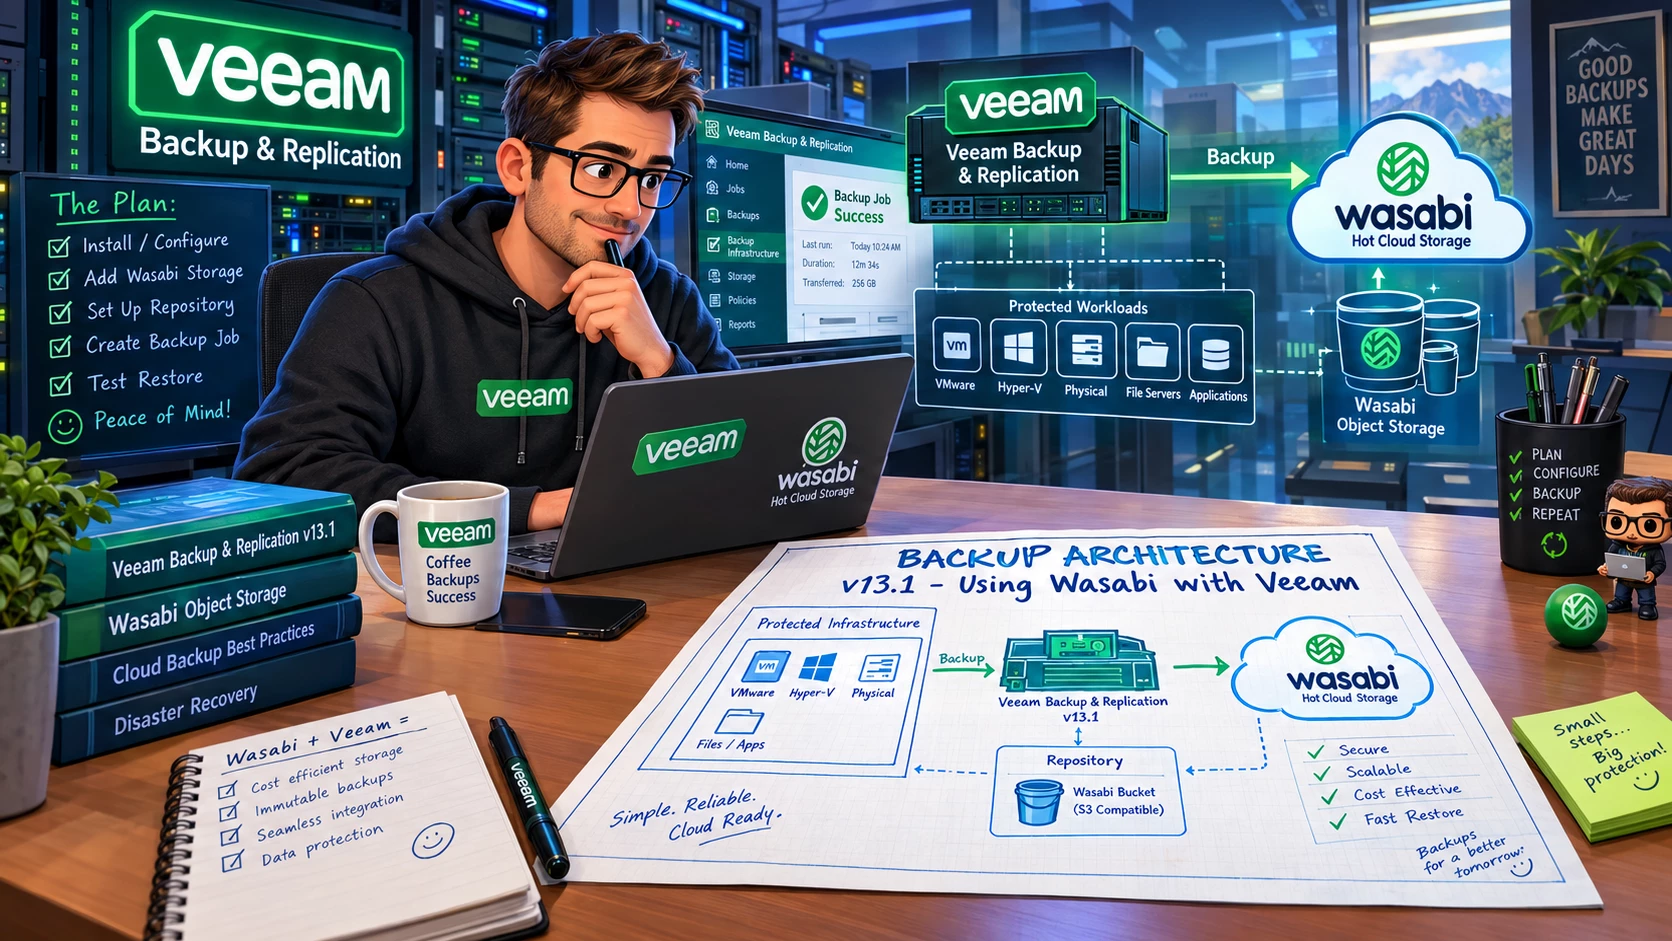
Before diving into the configuration, let’s quickly cover why Wasabi is worth considering:
-
Veeam Ready certified — validated for both Object Storage and Object Storage with Immutability
-
No egress fees — restoring your data does not cost you extra (looking at you, AWS)
-
No API call fees above a reasonable threshold
-
S3-compatible — works natively with Veeam’s object storage repository type
-
Object Lock support — enables immutable backups for ransomware protection
The cost model alone makes a significant difference for large backup environments where frequent restores are part of normal operations.
Prerequisites

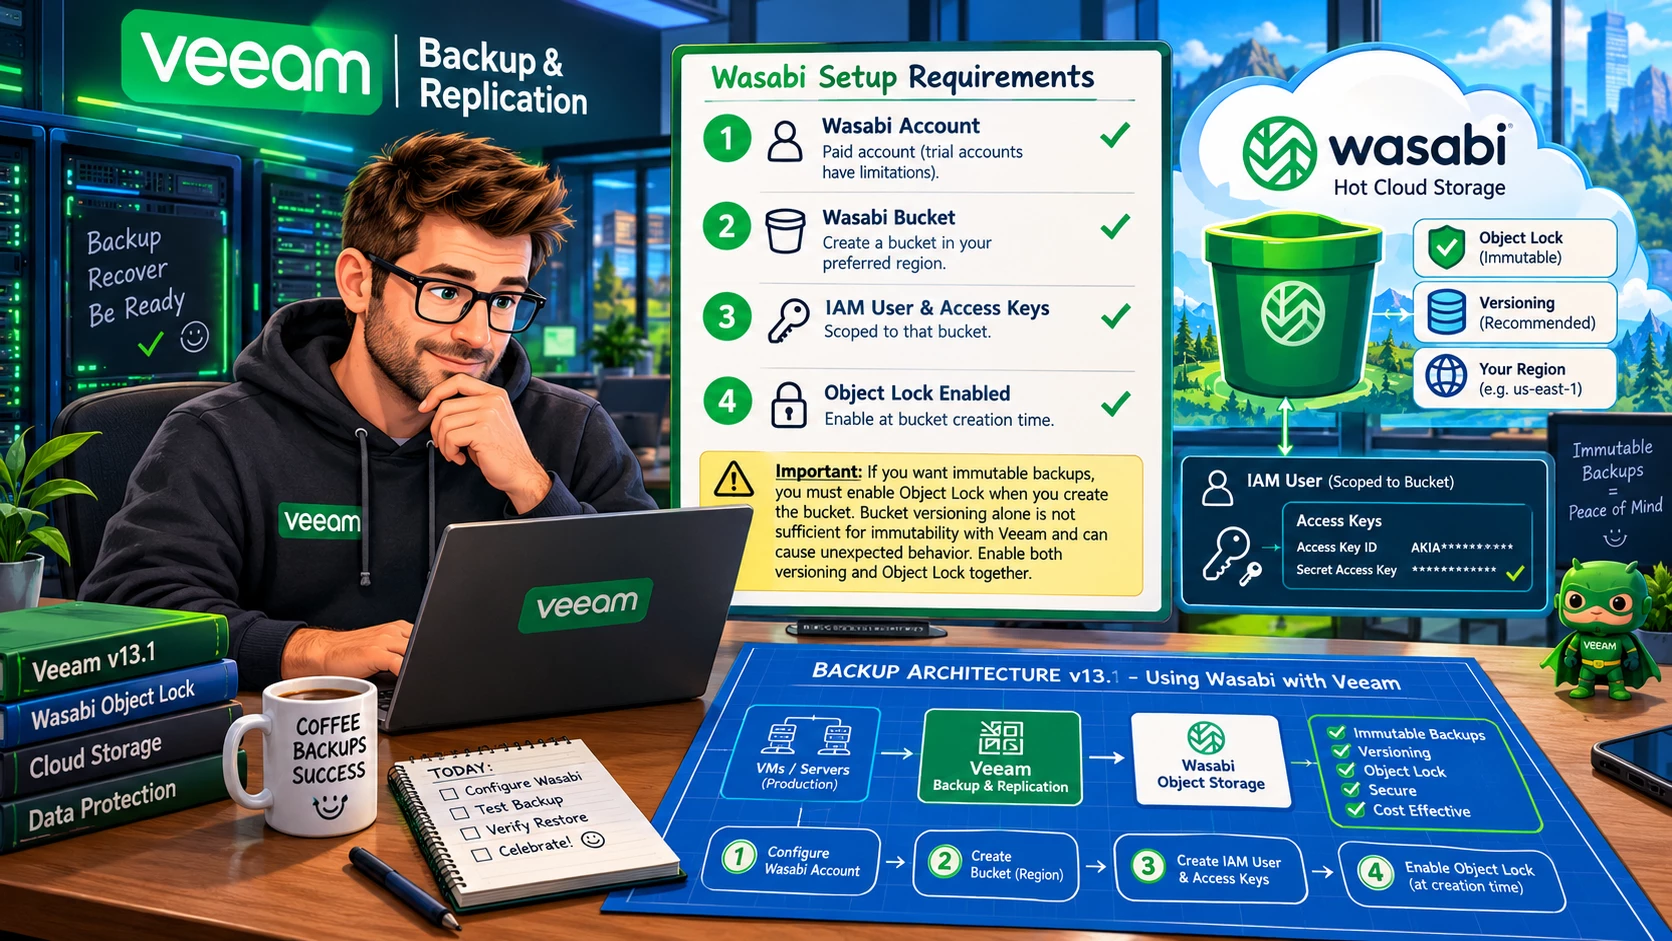
Before you start in Veeam, you need a few things sorted on the Wasabi side:
-
A Wasabi account (paid — trial accounts have limitations)
-
A Wasabi bucket created in your preferred region
-
An IAM user with access keys scoped to that bucket
-
Object Lock enabled on the bucket at creation time (you cannot enable it on an existing bucket)
Important: If you want immutable backups, you must enable Object Lock when you create the bucket. Bucket versioning alone is not sufficient for immutability with Veeam and can cause unexpected behavior. Enable both versioning and Object Lock together.
Step 1: Create Your Wasabi Bucket
Log into the Wasabi console and create a new bucket. Key settings:
-
Choose the region closest to your Veeam infrastructure (or your secondary site, depending on your use case)
-
Enable Object Lock if you want immutability (highly recommended)
-
Enable versioning — required with Object Lock
Name the bucket something meaningful. I use a naming convention like companyname-veeam-backups-region for clarity.
Step 2: Create a Wasabi IAM User
In the Wasabi console, go to IAM and create a dedicated user for Veeam. Do not use your root account credentials. Create an IAM policy that grants this user access only to the specific bucket — principle of least privilege applies here.
A minimal Veeam IAM policy for Wasabi looks like this:
{

  "Version": "2012-10-17",

  "Statement": [

    {

      "Effect": "Allow",

      "Action": [

        "s3:GetObject",

        "s3:PutObject",

        "s3:DeleteObject",

        "s3:ListBucket",

        "s3:GetBucketLocation",

        "s3:GetObjectVersion",

        "s3:DeleteObjectVersion",

        "s3:ListBucketVersions",

        "s3:GetBucketVersioning",

        "s3:PutObjectLegalHold",

        "s3:GetObjectLegalHold",

        "s3:GetObjectRetention",

        "s3:PutObjectRetention",

        "s3:GetBucketObjectLockConfiguration"

      ],

      "Resource": [

        "arn:aws:s3:::your-bucket-name",

        "arn:aws:s3:::your-bucket-name/*"

      ]

    }

  ]

}
Generate an access key and secret for this user and store them securely.
Step 3: Add Wasabi as an Object Storage Repository in Veeam
In the Veeam Backup & Replication console:
-
Go to Backup Infrastructure → Backup Repositories
-
Right-click and select Add Backup Repository
-
Choose Object Storage → S3 Compatible
-
Enter a name for the repository
-
For the service point, enter the Wasabi endpoint for your region (e.g.,
s3.wasabisys.comfor US East 1, or the region-specific endpoint likes3.eu-central-1.wasabisys.com) -
Enter your IAM user’s access key and secret key
-
Select your bucket
-
Configure the folder path within the bucket
-
If using Object Lock, check Make recent backups immutable for and set your retention period
Tip for VBR 13.1: If you are using Wasabi IAM and STS authentication (Veeam v13+ feature), the configuration flow is slightly different and provides better security through temporary credentials. Check the Wasabi documentation for the IAM/STS-specific setup guide.
Step 4: Use Wasabi as a Backup Target
Once the repository is configured, you can use it in a few ways:
-
Direct backup target — configure a backup job to write directly to Wasabi
-
Scale-Out Backup Repository (SOBR) capacity tier — use Wasabi as the offload tier for your SOBR
-
Backup Copy Job — send a secondary copy of your backups to Wasabi for offsite protection
For most environments, the SOBR capacity tier approach gives you the best of both worlds — fast local backups with automatic offload to Wasabi for long-term retention and offsite copy.
Step 5: Validate Your Configuration
After your first backup job completes, verify that:
-
Data is visible in your Wasabi bucket
-
Object versions are being created (if using Object Lock)
-
The backup is showing as immutable in the Veeam console
-
You can browse the backup and see individual restore points
Run a test restore before you need it in anger. Always.
Cost Optimization Tips
A few things to keep in mind as your environment grows:
-
Wasabi charges for a minimum of 90 days of storage, even if you delete data sooner — factor this into your retention policy design
-
Use Veeam’s SOBR capacity tier with offload rules to move data to Wasabi based on age, keeping your performance tier lean
-
Monitor your bucket size regularly — Wasabi’s pricing is simple but storage does add up
Wrapping Up

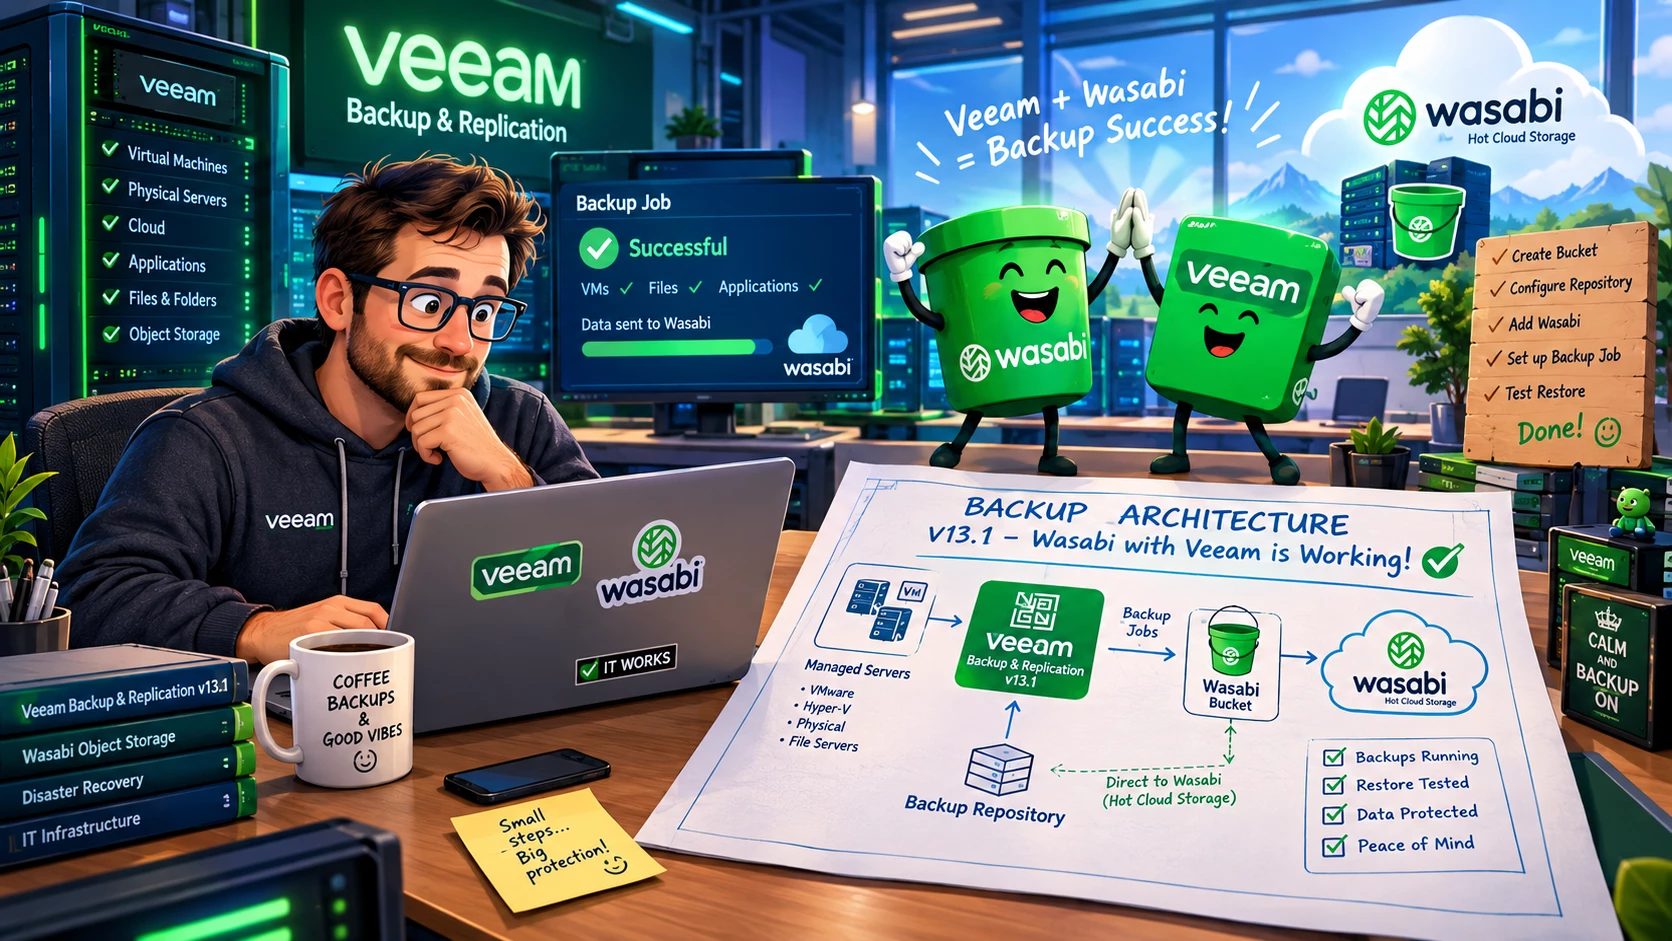
Getting Veeam and Wasabi working together is straightforward, and the combination gives you a cost-effective, ransomware-resilient backup architecture. Wasabi’s Veeam Ready certification means you can be confident it will work as expected, and the Object Lock integration gives you the immutability guarantees that compliance and security teams increasingly require.
Questions about your specific configuration? Drop them in the comments.