


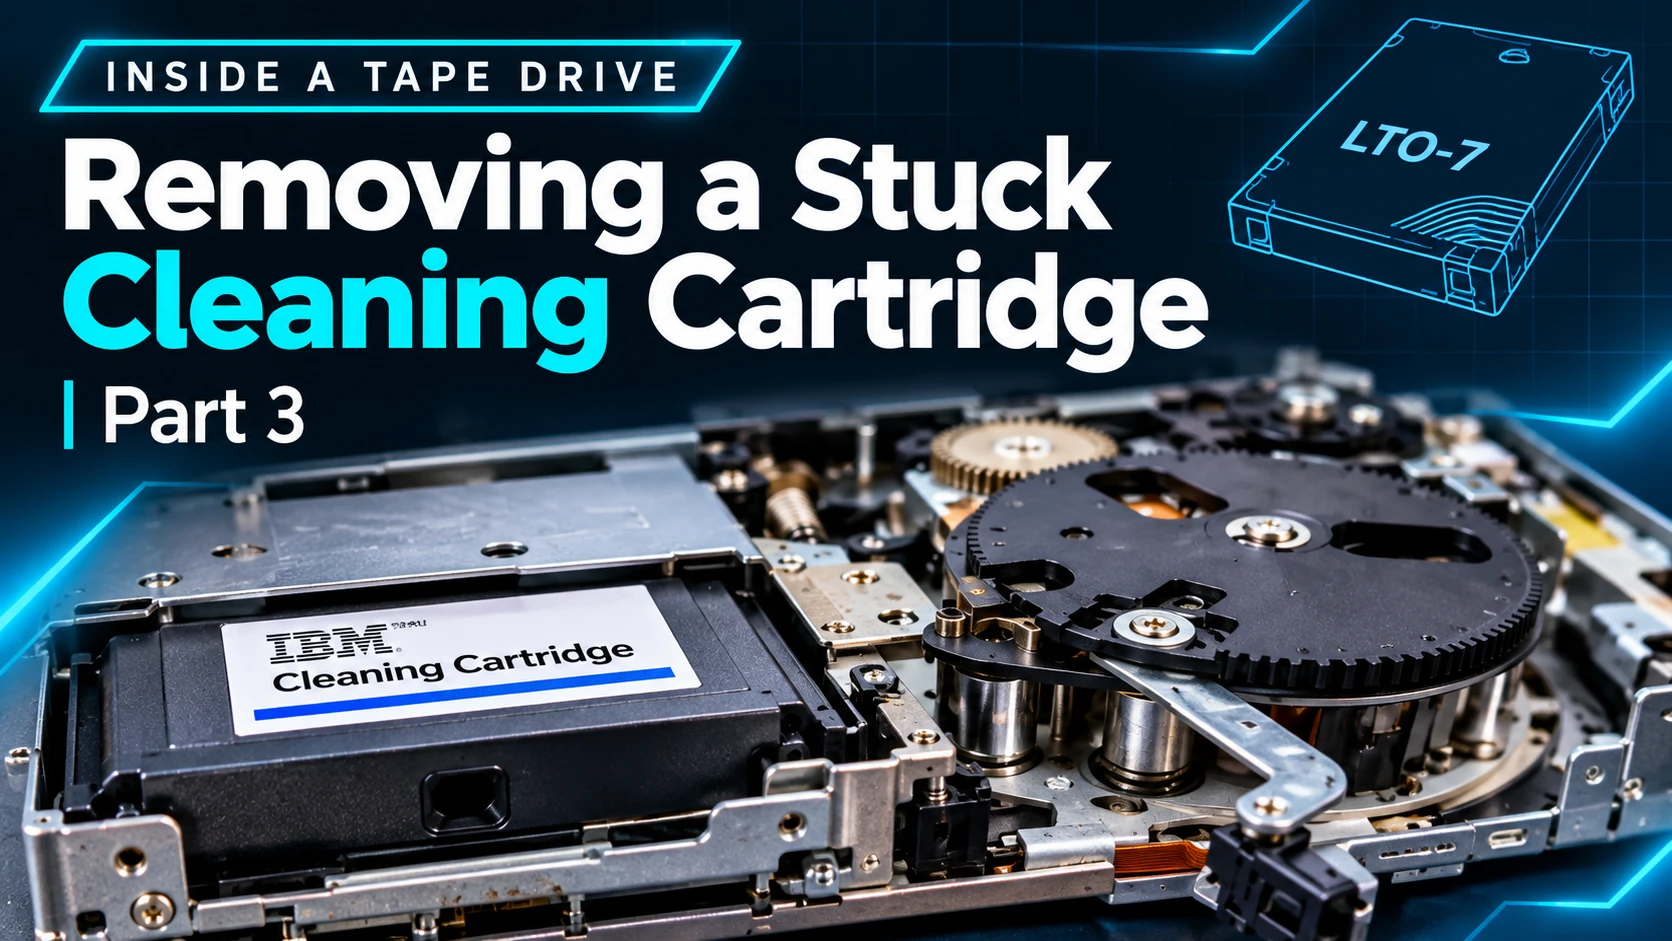
Guess what? I'm back with more tape! 😎📼🎞
In Part 2, I explored the gears, motors, threading mechanism, and tape path inside an IBM LTO-6 drive. I also mentioned that the next step would be to see the mechanism in action.
That opportunity came through a field intervention involving a cleaning cartridge stuck inside an LTO-7 drive. I went onsite, removed the drive from the tape library, and worked on recovering the cartridge. With the mechanism exposed, I could inspect the tape and the parts responsible for moving it.
Although this was a different drive generation, the connection with the previous articles was direct. The mechanisms I had been exploring became part of an investigation into a real loading and unloading problem.
🚨 Important notice: This drive was already outside its manufacturer's support coverage. This article describes a specific field experience for educational purposes, not a repair procedure. Internal servicing can cause further damage and requires qualified personnel following the manufacturer's documentation for the exact equipment.
This intervention should not be replicated on your own equipment. If your drive is still under warranty or manufacturer support, do not open or attempt to service it yourself. Contact the manufacturer or an authorized service provider. Unauthorized servicing may affect warranty or support coverage.
A cleaning cartridge that would not come out
The cleaning cartridge was still seated inside the drive. Before I could finish the intervention, I needed to recover it and assess the condition of the mechanism.
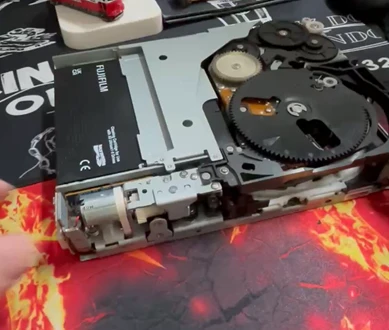
This is a practical connection with my earlier article on tape drive cleaning. A cleaning cartridge depends on the drive's loading, threading, and unloading mechanisms, just as other media do. A problem in that path can leave the cleaning cartridge trapped too.
Removing the guide for closer inspection
I removed the guide to gain better access to the mechanism. The GIF below shows the guide being detached from the assembly after its fasteners were removed.
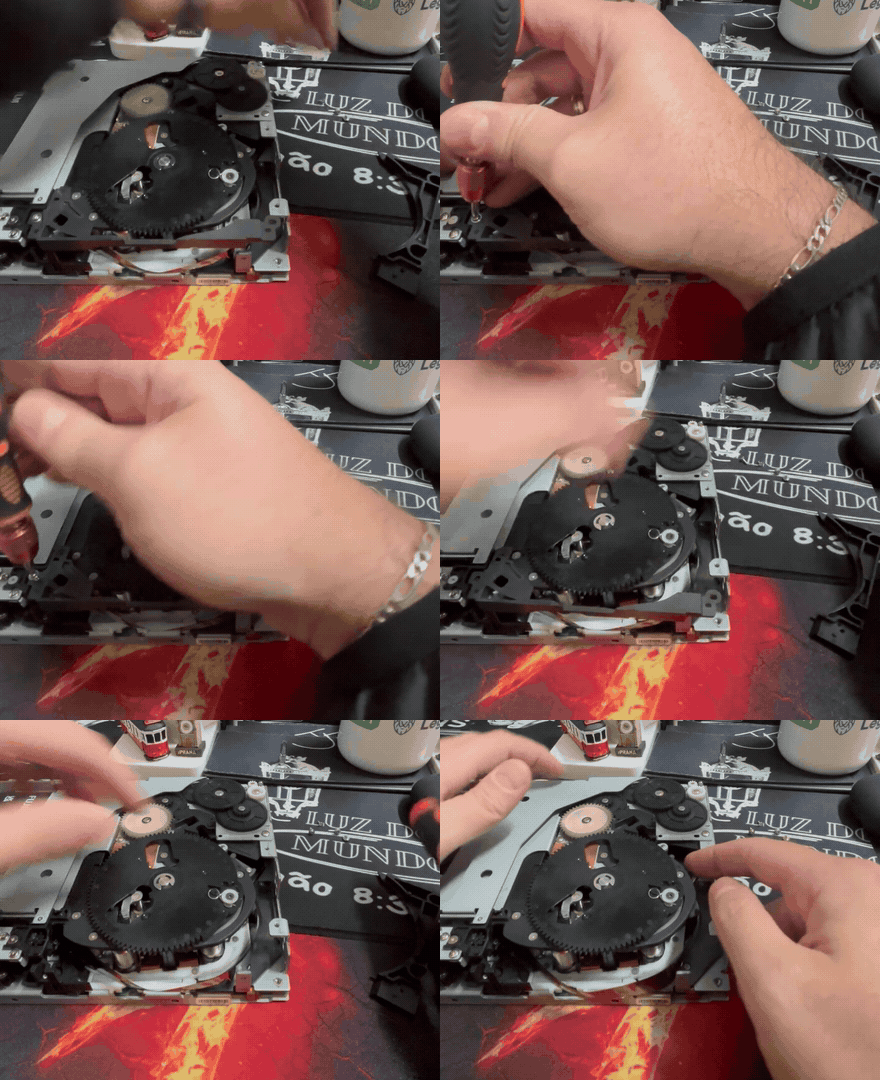
With that access, I could inspect the tape within the drive and follow the movement of the surrounding parts. This was where the mechanical discussion from Part 2 became useful in practice: I could relate the retained cartridge to the condition of the internal path.
Moving the gears by hand
Turning the exposed gears made the movement of the connected assembly easier to follow. In the GIF below, watch how the large black mechanism changes position as I rotate the gears manually.
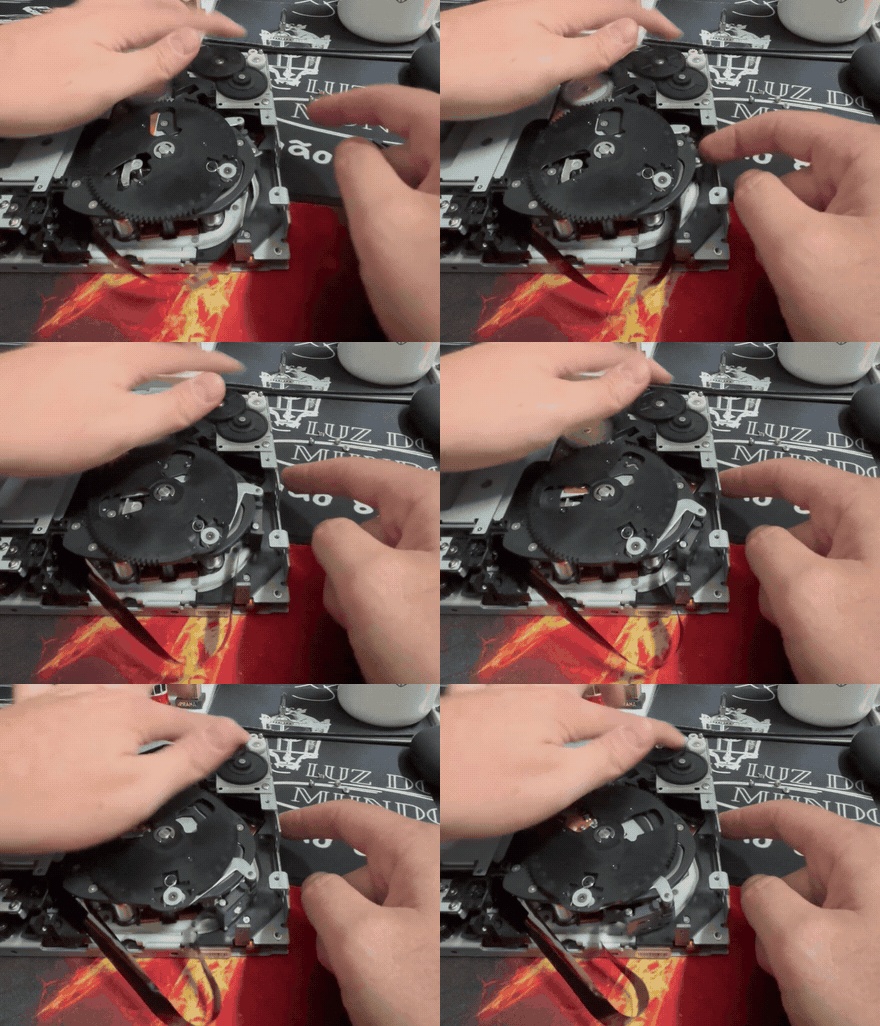
During normal LTO operation, the drive captures the leader pin attached to the end of the tape and guides the tape through its internal path toward the take-up reel. The cartridge shell can therefore remain accessible while the tape is still engaged inside the drive. Before normal unloading can finish, the tape and threading mechanism must return to the appropriate state.
Here, I was moving the assembly by hand during work on a faulty drive. The movement illustrates the mechanical relationship between the parts, rather than a normal powered loading cycle.
Rewinding during cartridge recovery
Manual rewinding was another part of the intervention. The next GIF shows me turning the mechanism through an access point on the underside of the drive.
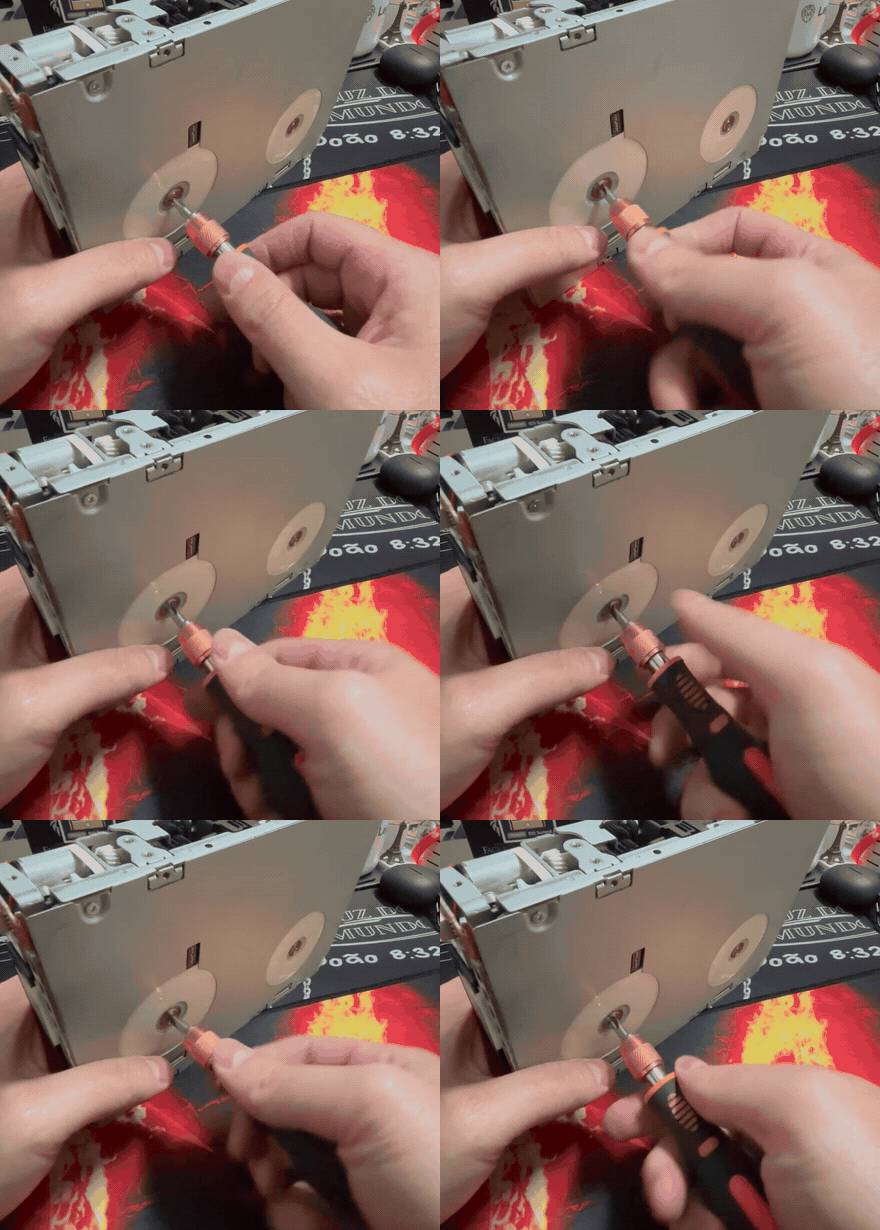
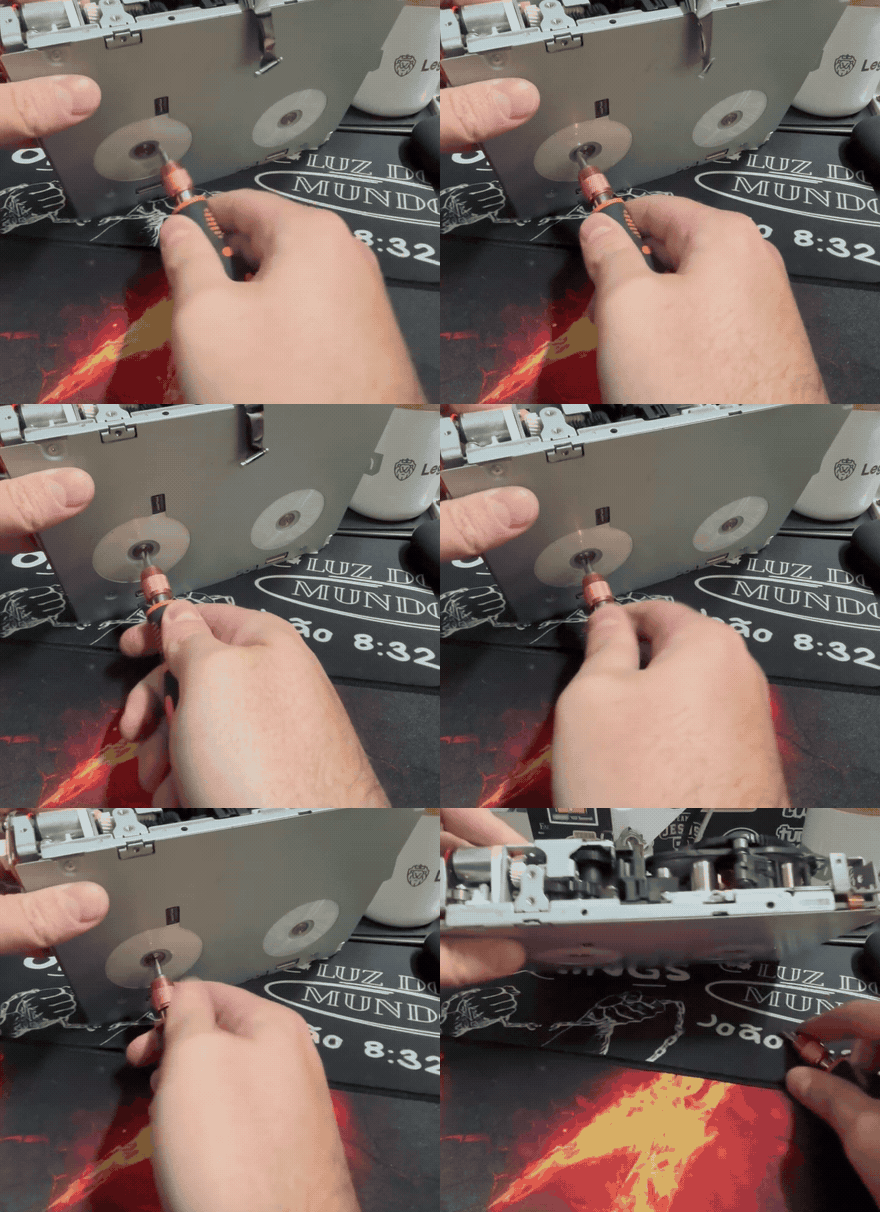
This work was directed at recovering the cartridge. The condition of the tape and the capture mechanism still needed assessment, even as I made progress toward removal.
The cleaning tape was visibly damaged
The close-up below shows the cleaning tape folded and crumpled inside the mechanism. This was a physical finding I could inspect directly: the material had visible creases and deformation.
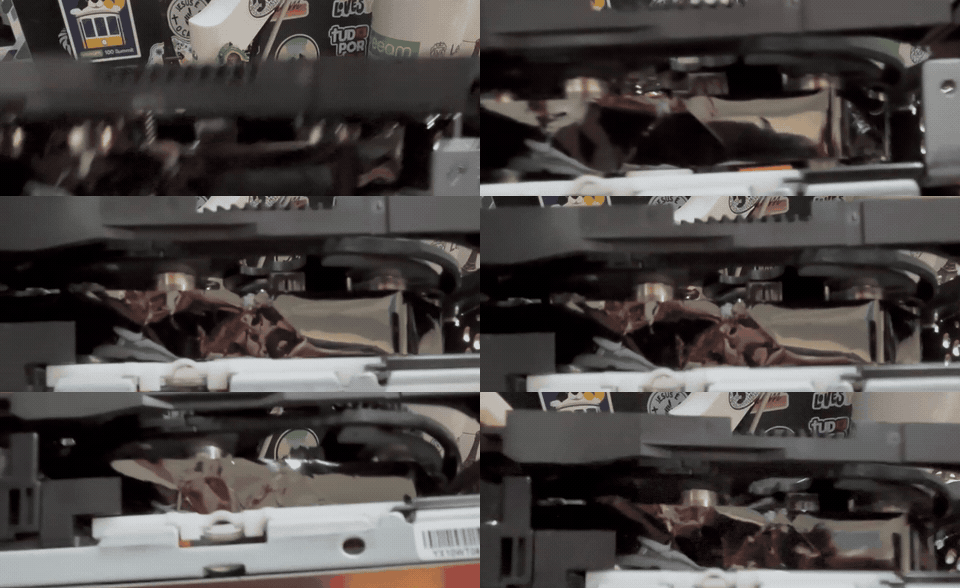
Removing the cartridge would not remove those creases. I would not treat successful extraction as a reason to reuse visibly damaged cleaning media in another drive.
The damaged tape also had to be considered alongside the condition of the mechanism. Both were findings from the inspection; establishing which problem occurred first would require additional evidence.
Looseness in the leader pin capture mechanism
During the hands-on inspection, I found noticeable looseness in the component that captures the cartridge's leader pin. It was also catching on the guides.
The next GIF shows me manipulating that area. The looseness and interference were findings from my onsite inspection, and they changed how I assessed the drive.
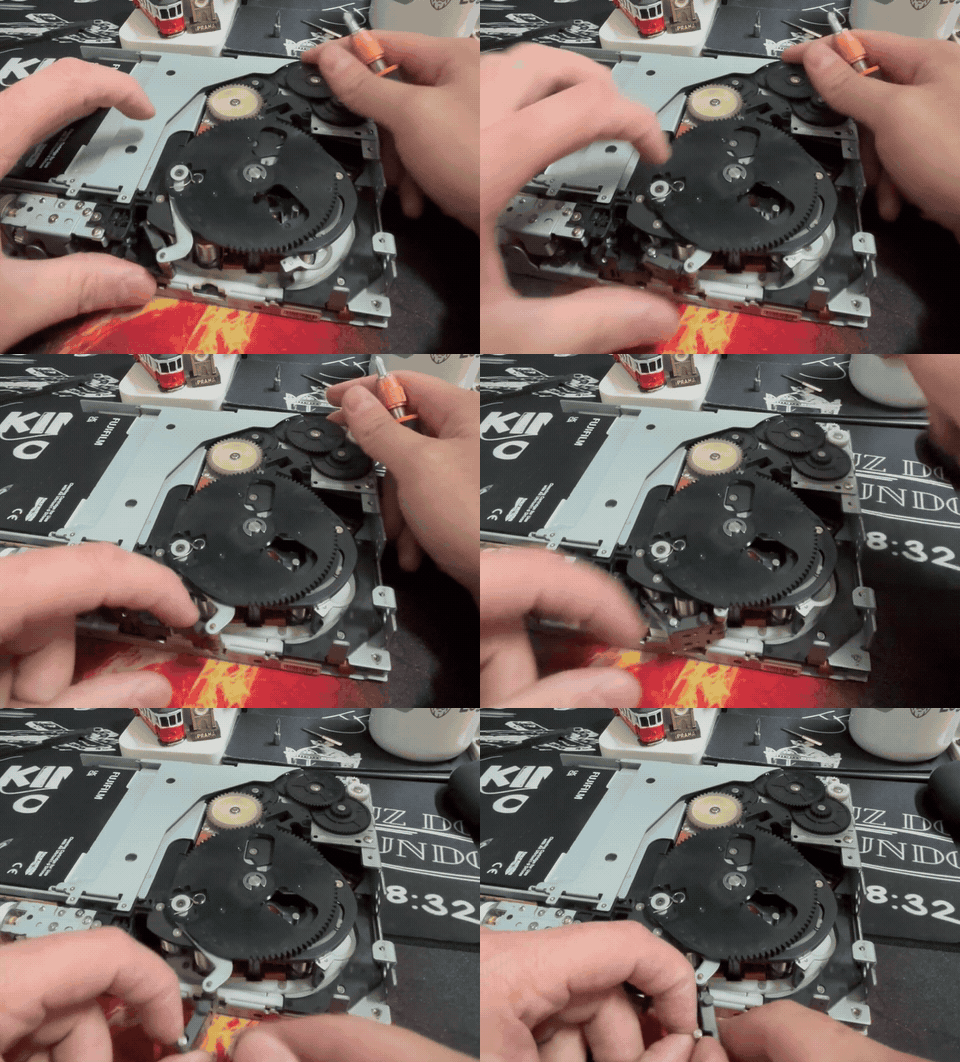
At that point, recovering the cartridge would leave a mechanical defect to address. The capture component had play and was interfering with its path, which gave me a reason to replace the drive even if the cartridge could be freed. The underlying reason for that looseness remained a separate failure-analysis question.
Releasing the cleaning cartridge
I continued working the exposed mechanism while the cartridge remained seated. The first GIF shows part of that work before the cartridge could be withdrawn.
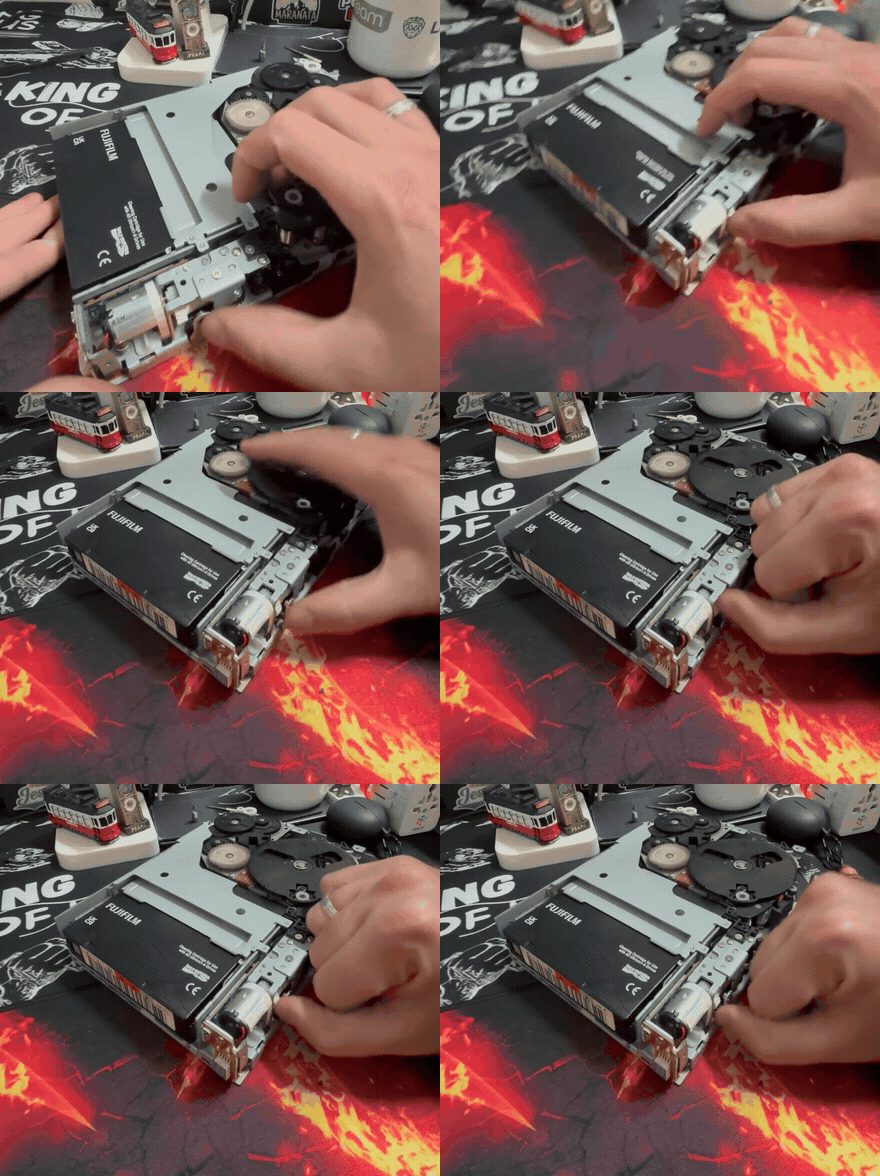
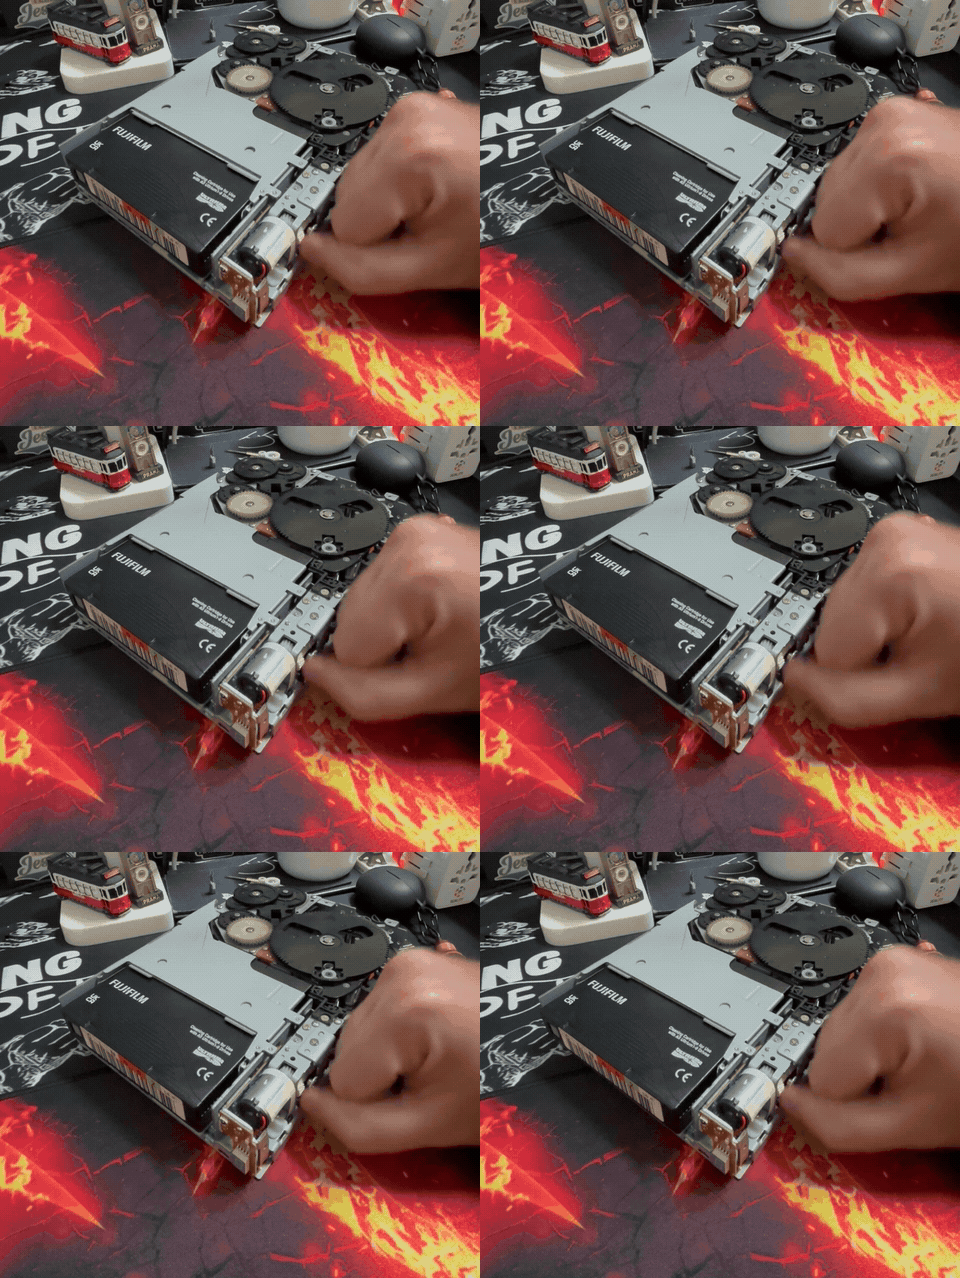
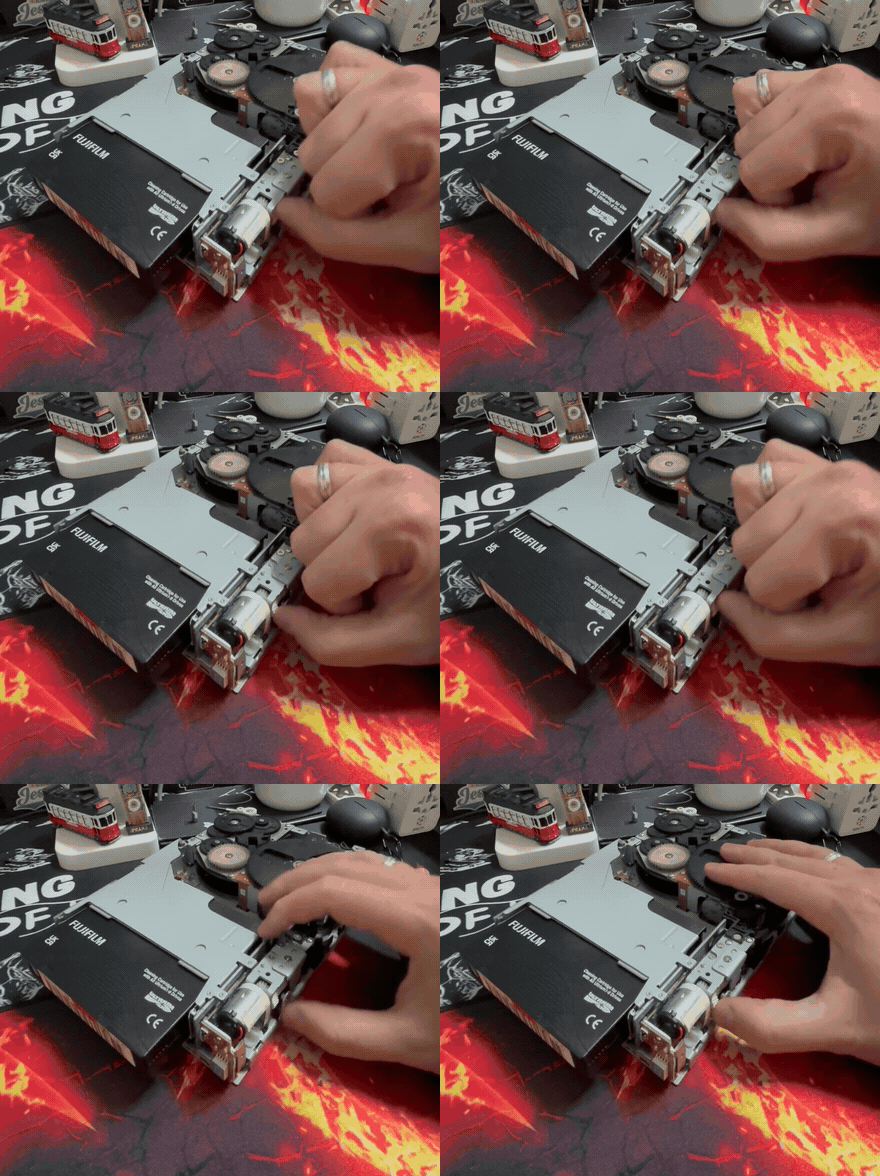
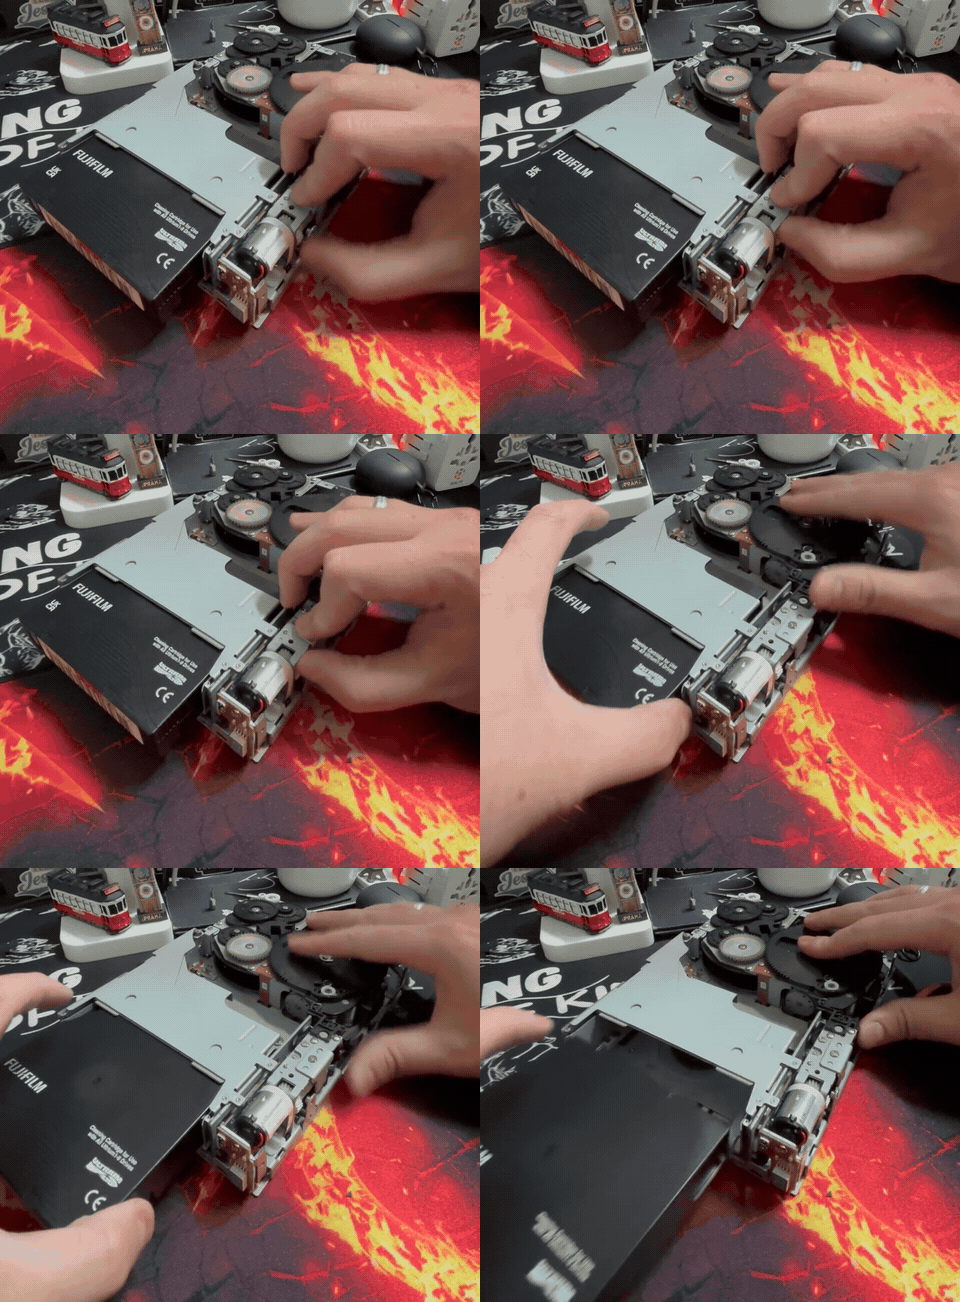
The second GIF shows the eventual removal. These are two selected stages of the intervention, with further manual work between them.
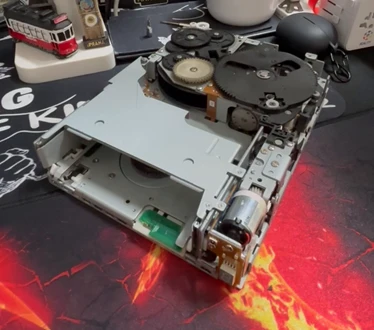
Why the drive was replaced
I successfully removed the cleaning cartridge, but the drive also had to be replaced. The looseness in the capture component and its interference with the guides were central to that decision.
Extraction resolved the immediate retention problem. It did not repair the mechanism or restore confidence in its ability to handle media reliably. That distinction was the most important result of the inspection.
Acceptance of a replacement drive is a separate step, involving the relevant diagnostics, loading and unloading checks, and backup and restore testing. Cartridge removal alone does not establish that those checks have passed.
What this adds to tape maintenance
This case brought the hardware series into an operational setting. Working with the gears helped me follow the mechanism, while the inspection exposed damaged cleaning tape and a capture component whose condition called for drive replacement.
Cleaning also needs coordination at the software and library level. The Veeam documentation on automated drive cleaning explains how Veeam can manage cleaning for library drives and says to disable cleaning tasks on the library when Veeam manages them. The feature is not available for standalone tape drives. Those settings support routine operation; they do not repair a damaged mechanical component.
What stayed with me was the difference between the task that brought me onsite and the decision the inspection required. I went to recover a cleaning cartridge. Examining the mechanism showed why the drive itself also needed to be replaced.
Have you dealt with a stuck cleaning cartridge? What helped you distinguish damaged media from a problem in the loading or threading mechanism?