
There are three major steps for restoring Microsoft 365 data with Veeam.
Step 1
The first step to setup restores is to launch the restore wizard. In this example we’ll show how to restore data from OneDrive for Business.
Launch the Restore wizard.
To launch the Restore wizard, you will do the following:
1. Select an object that you want to restore:
- To restore a OneDrive for Business account, select the necessary account in the inventory pane.
- To restore a folder, select the necessary folder in the inventory pane.
- To restore a document, select a folder that contains the document in the inventory pane and select the document in the preview pane.
2. On the OneDrive/Folder/Document tab, click Restore OneDrive/Restore Folder/Restore Document and select one of the following options:
- Overwrite — to completely overwrite existing OneDrive data.
- Keep — to preserve existing data and recover items with the RESTORED prefix (RESTORED-.ext).
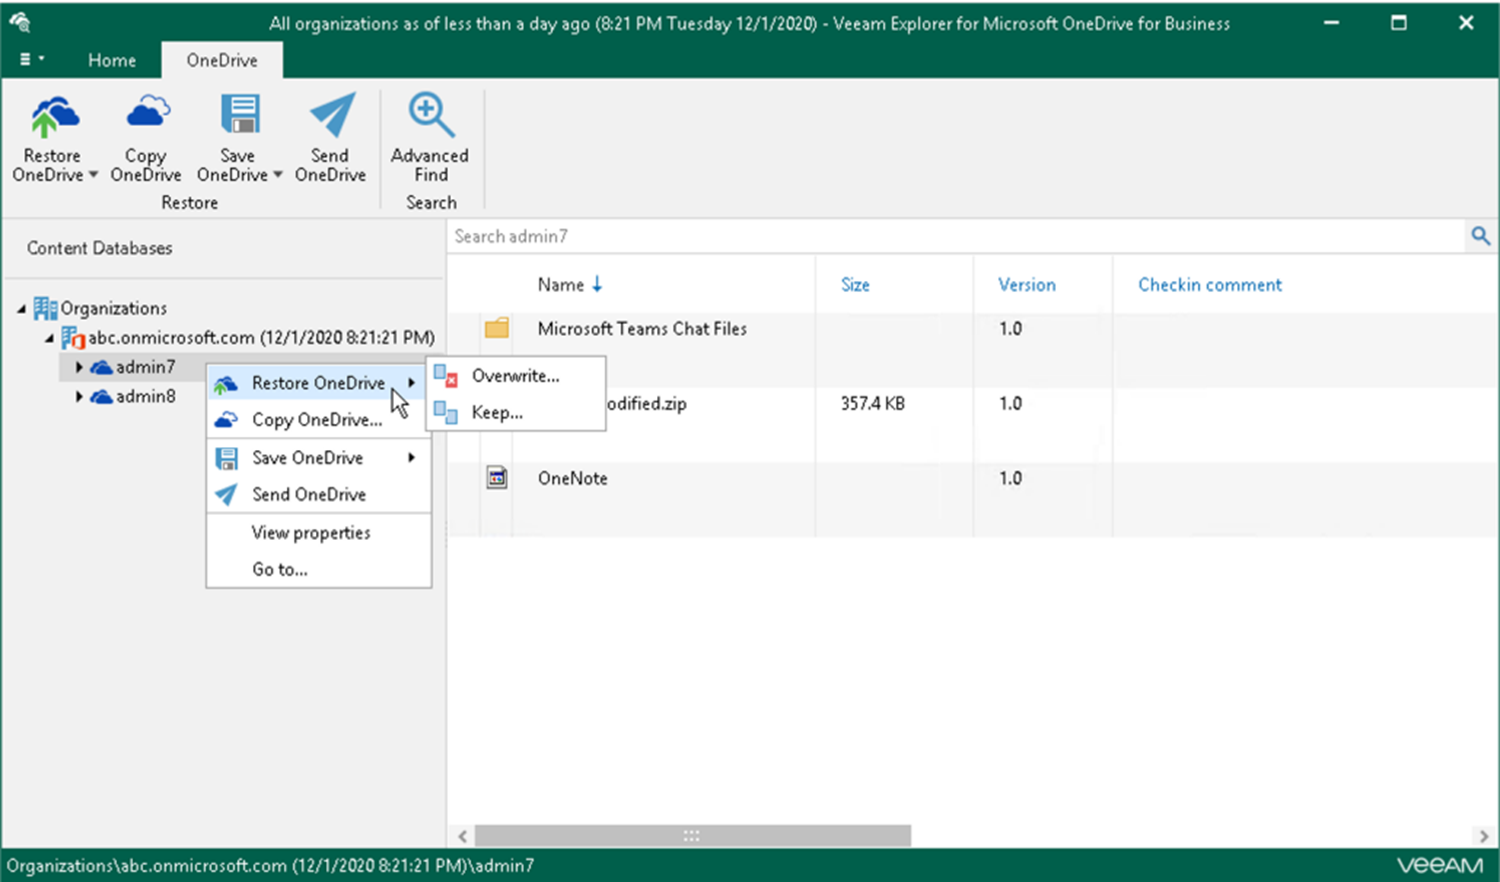
Alternatively, right-click an object that you want to restore and select
- Restore OneDrive/Restore folder/Restore document > Overwrite OR
- Restore OneDrive/Restore folder/Restore document > Keep
Step 2
At this step of the wizard, choose whether you want to use Modern or Basic authentication.
Note: For most organizations, Modern app-only authentication will be the preferred method. In this method, our Application Registration wizard can be used to automatically set up all required access in Azure AD.
Modern authentication
To use Modern authentication, do the following:
- From the Specify the authentication method drop-down list, select Modern authentication. This will allow Veeam Backup for Microsoft 365 to use an Azure AD application for a restore. For more information, see Microsoft 365 Organizations.
- In the Application ID field, enter an identification number of the Azure AD application that you want to use for a restore. By default, Veeam Explorer for Microsoft OneDrive for Business populates this field with the identification number of the application that was used during a backup session. If you want to use another application, make sure to grant this application required permissions. For more information, see Permissions for Modern App-Only Authentication.
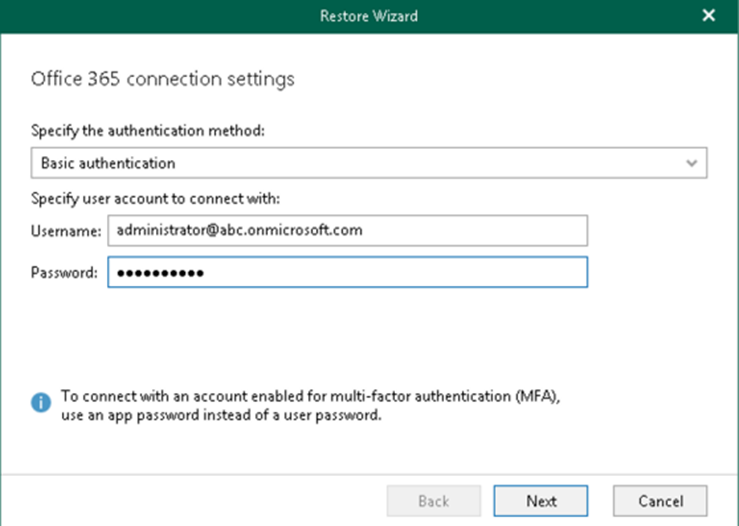
Basic authentication
Basic authentication can only be used by organizations that still support legacy auth protocols. To use basic authentication, do the following:
- From the Specify the authentication method drop-down list, select Basic authentication.
- Enter credentials to connect to the SharePoint organization.
Step 3
This step is only available if you have selected the Modern authentication option at the previous step of the wizard.
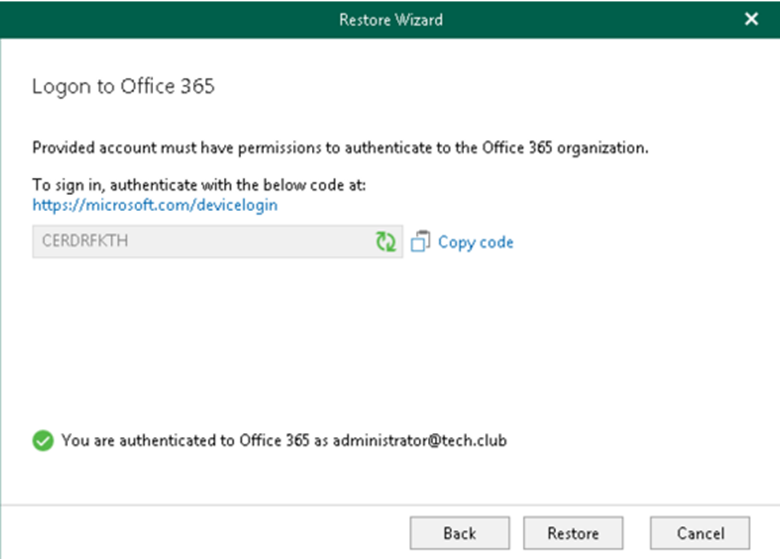
At this step of the wizard, sign into your Microsoft 365 organization. To sign into the Microsoft 365 organization, do the following:
- Click Copy code to copy an authentication code. Mind that a code is valid for 15 minutes. You can click Refresh to request a new code from Microsoft.
- Click the link to the Microsoft portal.
- On the Microsoft Azure device logon page, paste the code that you have copied and sign into Azure.
Make sure:
- to log in with the user account that has required permissions assigned. For Veeam Explorer for Microsoft OneDrive for Business, required permissions are the same as for Veeam Explorer for Microsoft SharePoint. For more information, see Required Permissions.
- that the required settings are specified for the Azure AD application used for restore. For more information, see Configuring Azure AD Application Settings.
4. Return to the Restore Wizard window and click Restore.
Keep in mind, there are additional steps needed to restore certain applications.
If you need more help getting started, you can post your question in the comments section below or contact us at any time and someone from the Customer Success team will be there to assist you.