

Veeam SE 吴强
本文详述了在Centos 8.3上安装k8s,创建mysql容器,安装helm, 安装nfs服务,创建nfs storageclass,然后采用Air-Gapped方式安装Veeam Kasten k10, 使用本地nfs filestore作为k10备份存储库,并通过k10对mysql进行备份和恢复的详细步骤及截图。
本文使用的环境是Centos8.3,k8s版本是1.18.0, Veeam Kasten k10版本是4.0.8.
1. 安装k8s的环境准备
[root@centos8-k8s ~]# cat /etc/centos-release
CentOS Linux release 8.3.2011
[root@centos8-k8s ~]# yum remove podman
[root@centos8-k8s ~]# swapoff -a
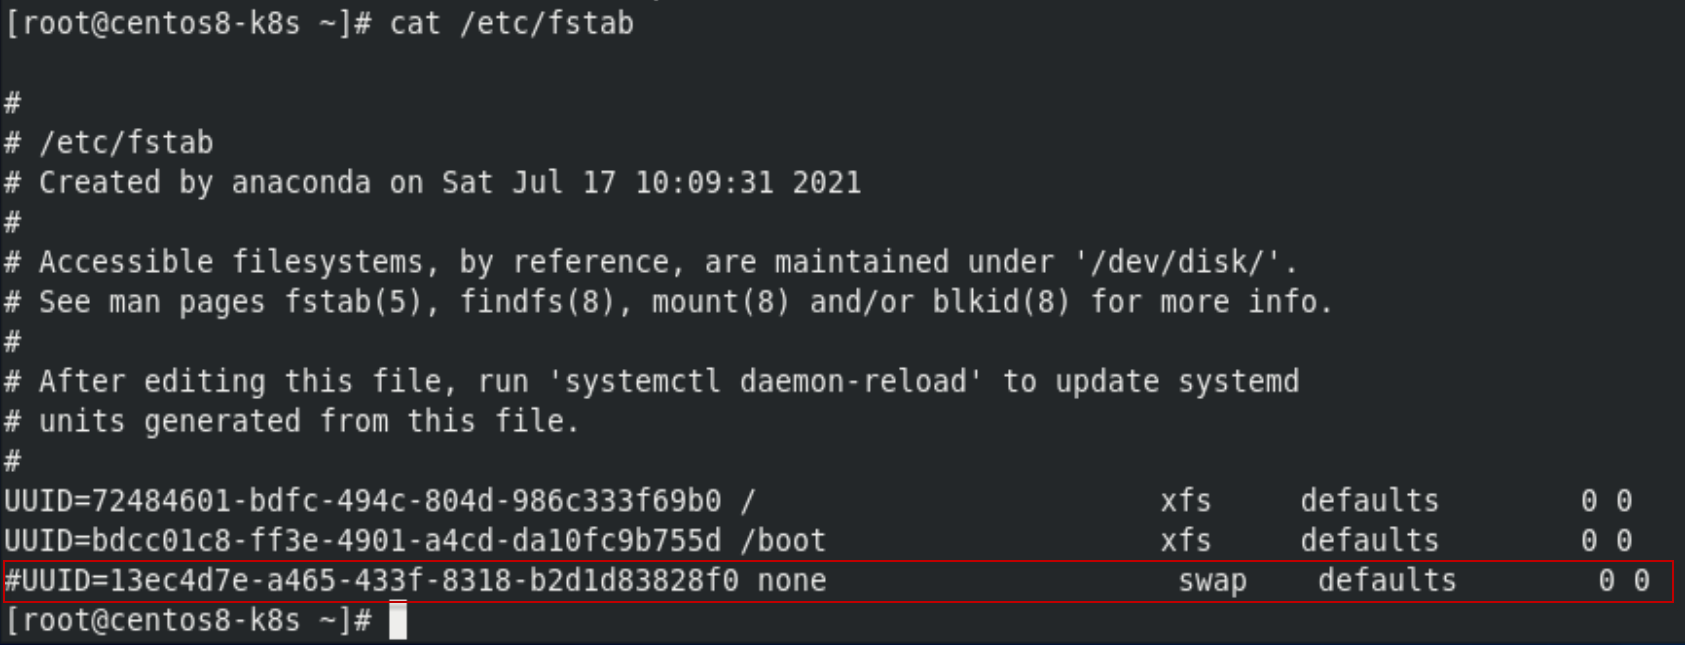
root@centos8-k8s ~]# sed -i 's/.*swap.*/#&/' /etc/fstab
把/etc/fstab中的swap注释掉
禁用selinux:
[root@centos8-k8s ~]# sed -i "s/^SELINUX=enforcing/SELINUX=disabled/g" /etc/selinux/config
禁用防火墙:
[root@centos8-k8s ~]# systemctl stop firewalld.service
[root@centos8-k8s ~]# systemctl disable firewalld.service
Removed /etc/systemd/system/multi-user.target.wants/firewalld.service.
Removed /etc/systemd/system/dbus-org.fedoraproject.FirewallD1.service.
2. 安装k8s
[root@centos8-k8s ~]# curl -o /etc/yum.repos.d/CentOS-Base.repo http://mirrors.aliyun.com/repo/Centos-8.repo
% Total % Received % Xferd Average Speed Time Time Time Current
Dload Upload Total Spent Left Speed
100 2595 100 2595 0 0 6653 0 --:--:-- --:--:-- --:--:-- 6636
[root@centos8-k8s ~]# vi /etc/yum.repos.d/kubernetes.repo
加入如下内容:
[kubernetes]
name=Kubernetes
baseurl=https://mirrors.aliyun.com/kubernetes/yum/repos/kubernetes-el7-x86_64/
enabled=1
gpgcheck=1
repo_gpgcheck=1
gpgkey=https://mirrors.aliyun.com/kubernetes/yum/doc/yum-key.gpg https://mirrors.aliyun.com/kubernetes/yum/doc/rpm-package-key.gpg
[root@centos8-k8s ~]# yum install -y yum-utils device-mapper-persistent-data lvm2 net-tools
[root@centos8-k8s~]# yum-config-manager --add-repo https://mirrors.aliyun.com/docker-ce/linux/centos/docker-ce.repo
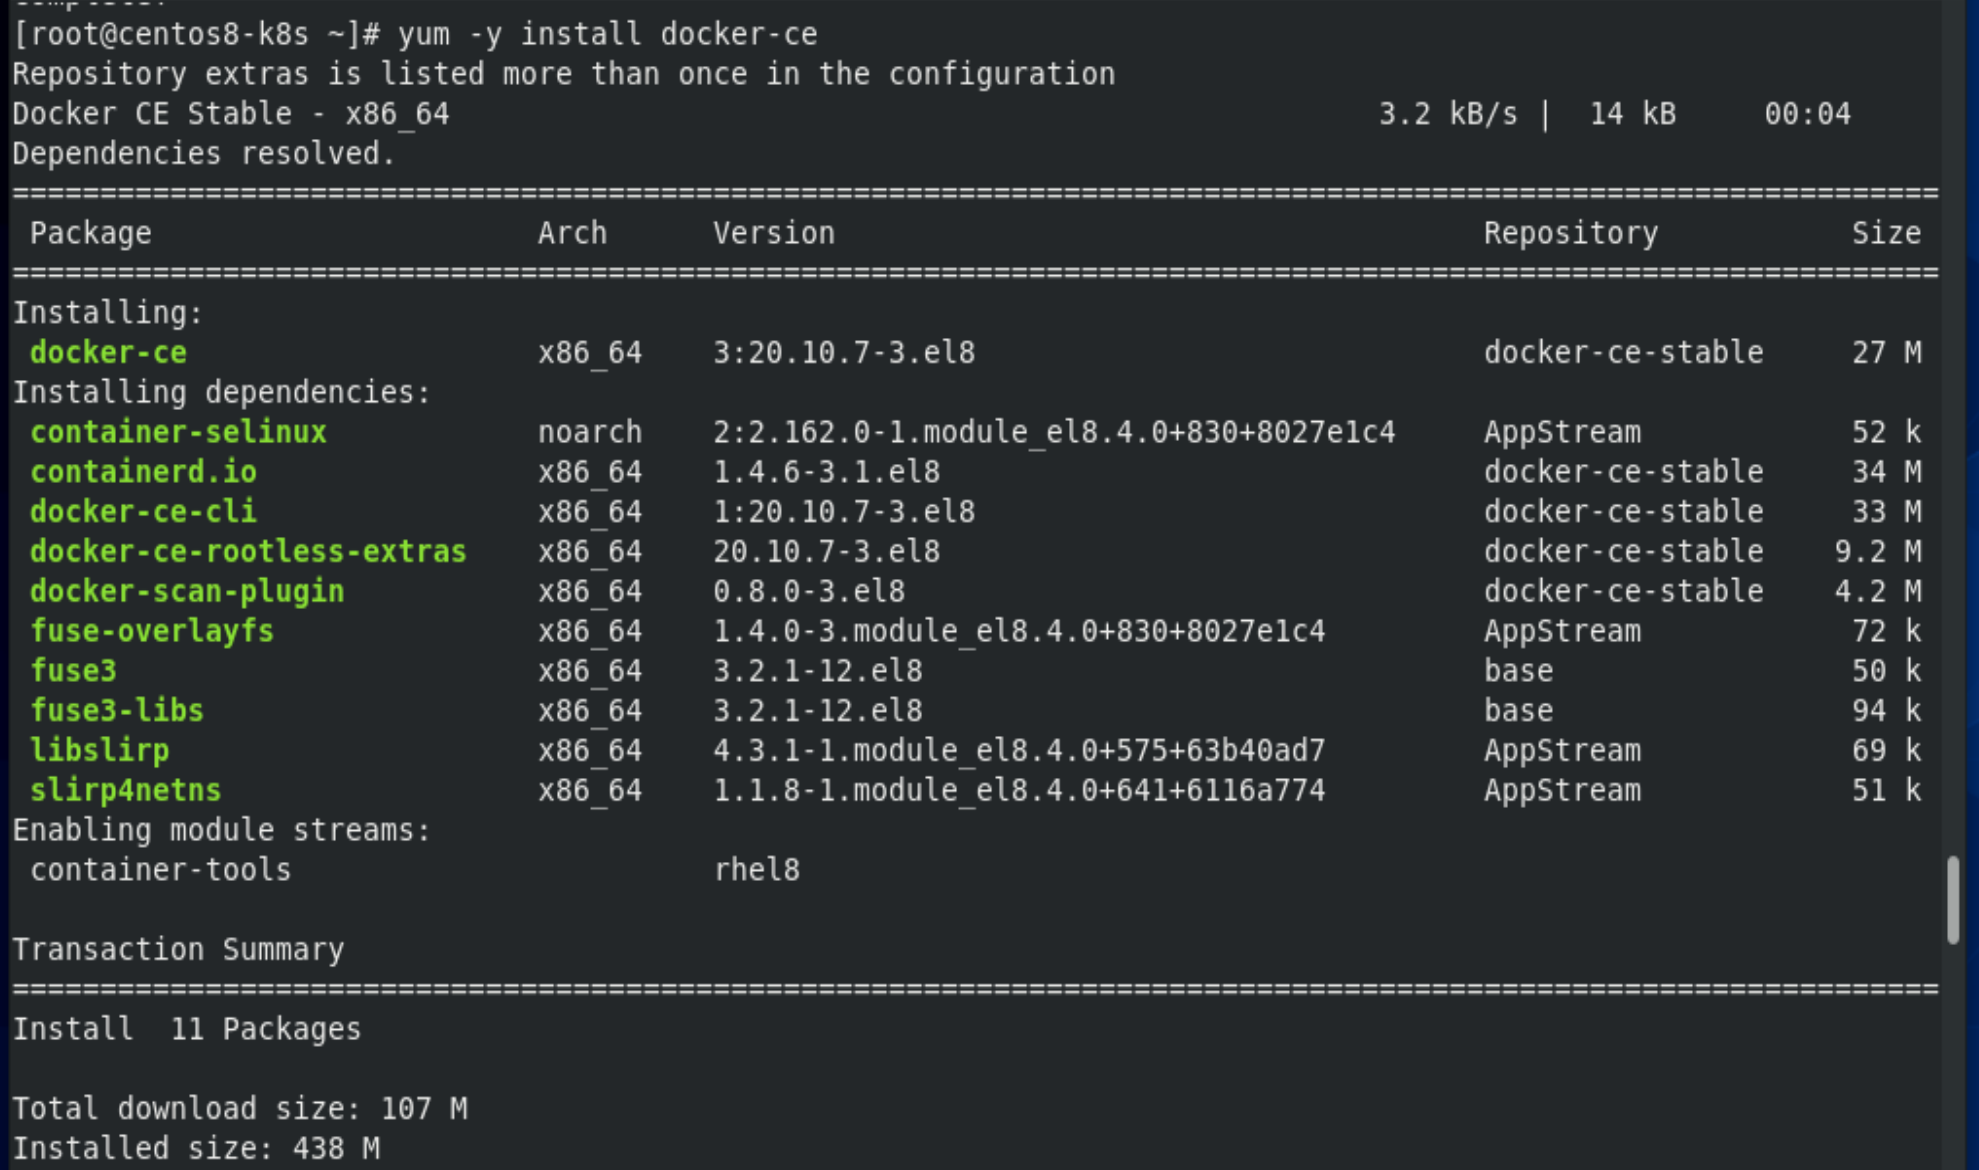
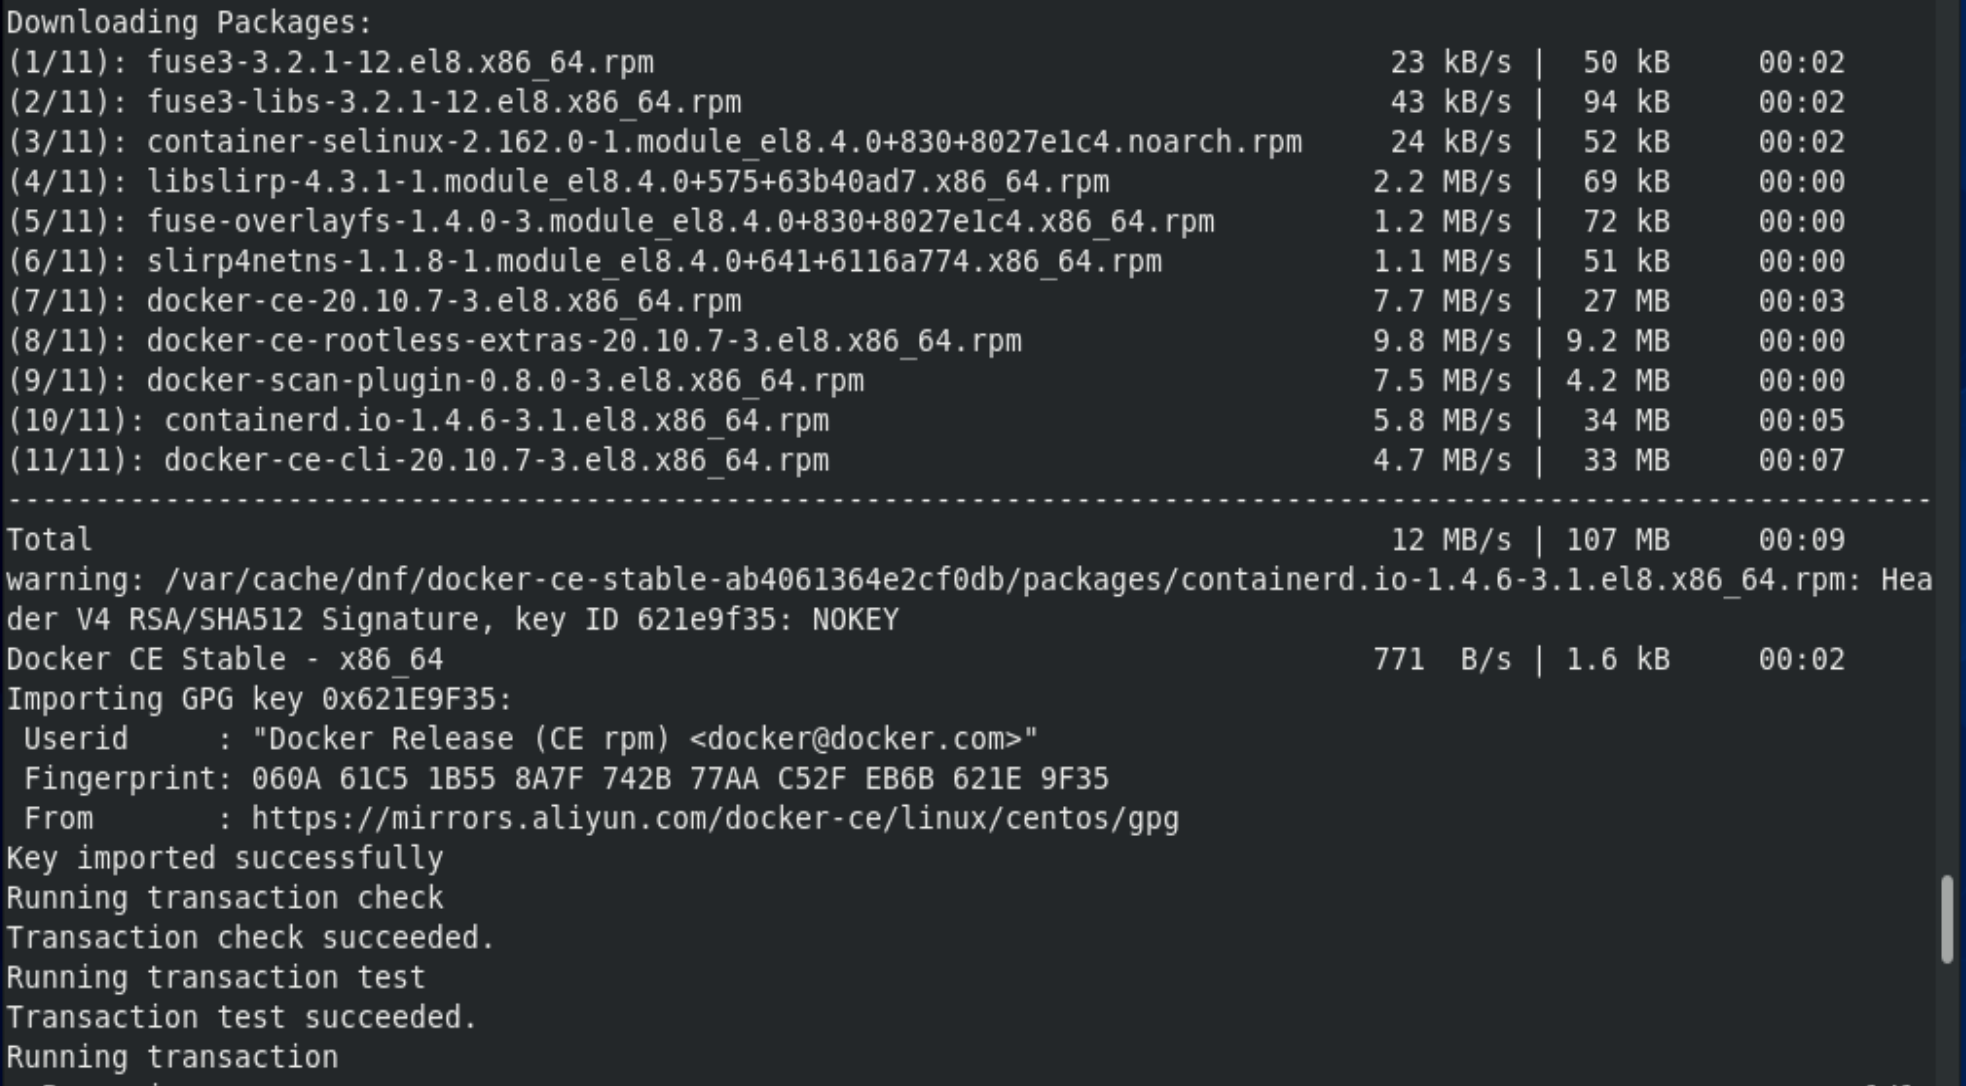
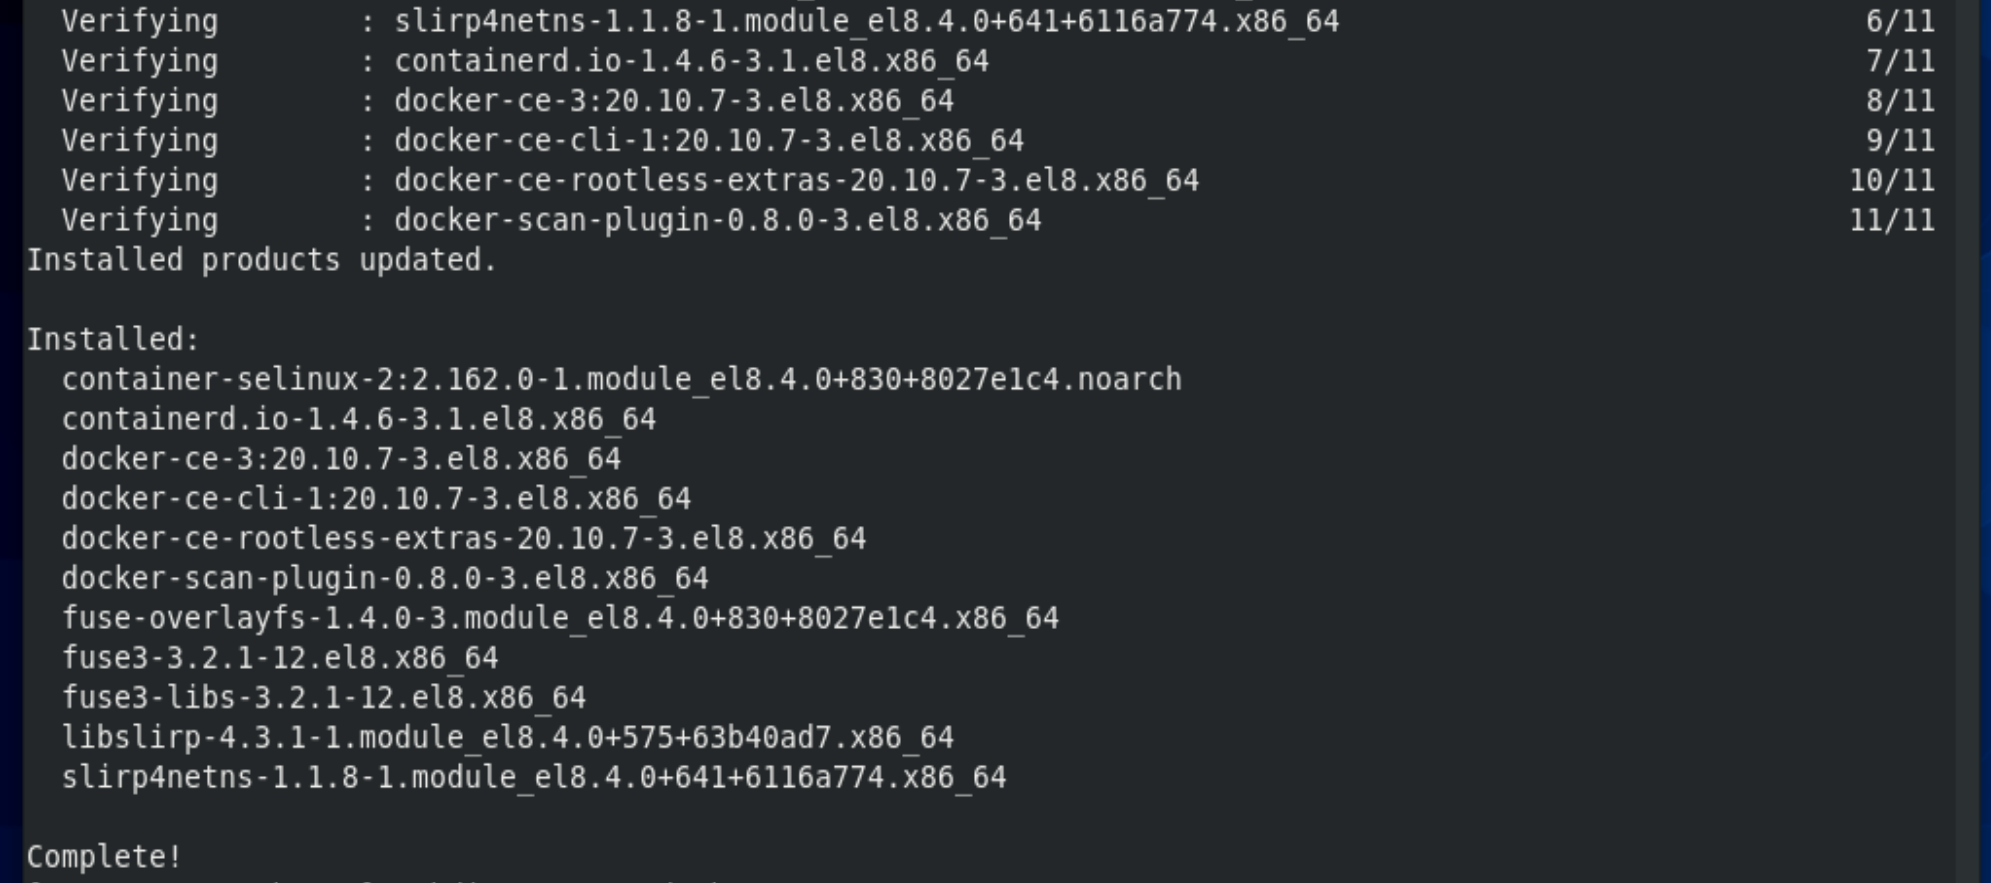
[root@centos8-k8s ~]# yum -y install docker-ce

[root@centos8-k8s ~]# mkdir -p /etc/docker
[root@centos8-k8s ~]# vi /etc/docker/daemon.json
设置为如下内容:
{
"registry-mirrors" : ["https://mj9kvemk.mirror.aliyuncs.com"]
}
[root@centos8-k8s ~]# yum install -y kubectl-1.18.0 kubelet-1.18.0 kubeadm-1.18.0
[root@centos8-k8s ~]# systemctl enable kubelet
Created symlink /etc/systemd/system/multi-user.target.wants/kubelet.service → /usr/lib/systemd/system/kubelet.service.
[root@centos8-k8s ~]# systemctl start kubelet
[root@centos8-k8s ~]# kubelet --version
Kubernetes v1.18.0
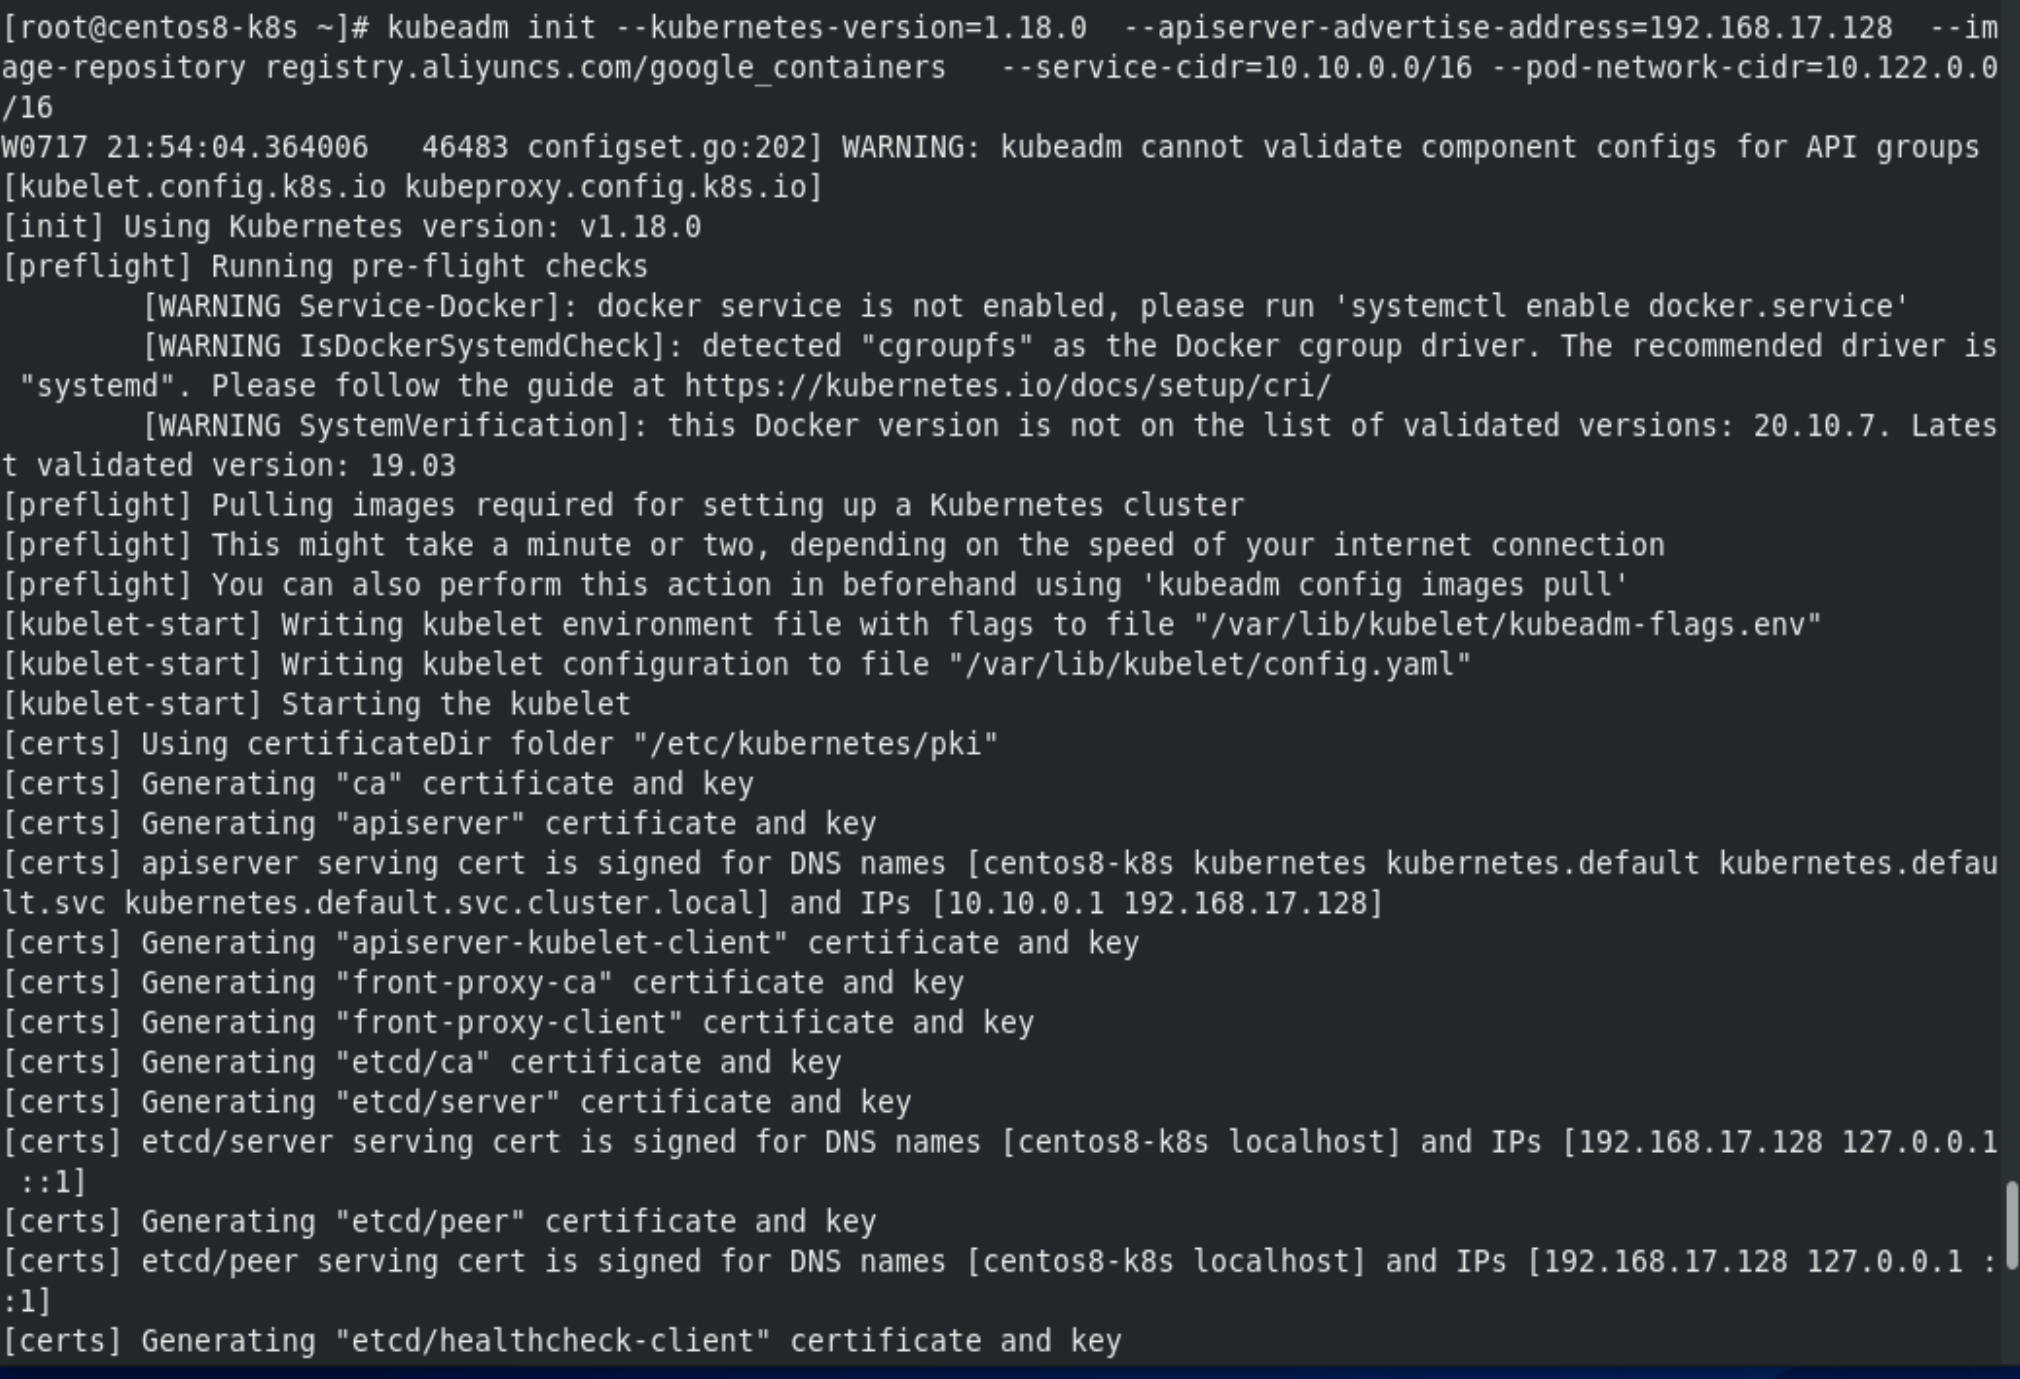
以下初始化k8s的命令,除了--apiserver-advertise-address是本centos8.3的ip地址,其它的可以不变。
[root@centos8-k8s ~]# kubeadm init --kubernetes-version=1.18.0 --apiserver-advertise-address=192.168.17.128 --image-repository registry.aliyuncs.com/google_containers --service-cidr=10.10.0.0/16 --pod-network-cidr=10.122.0.0/16

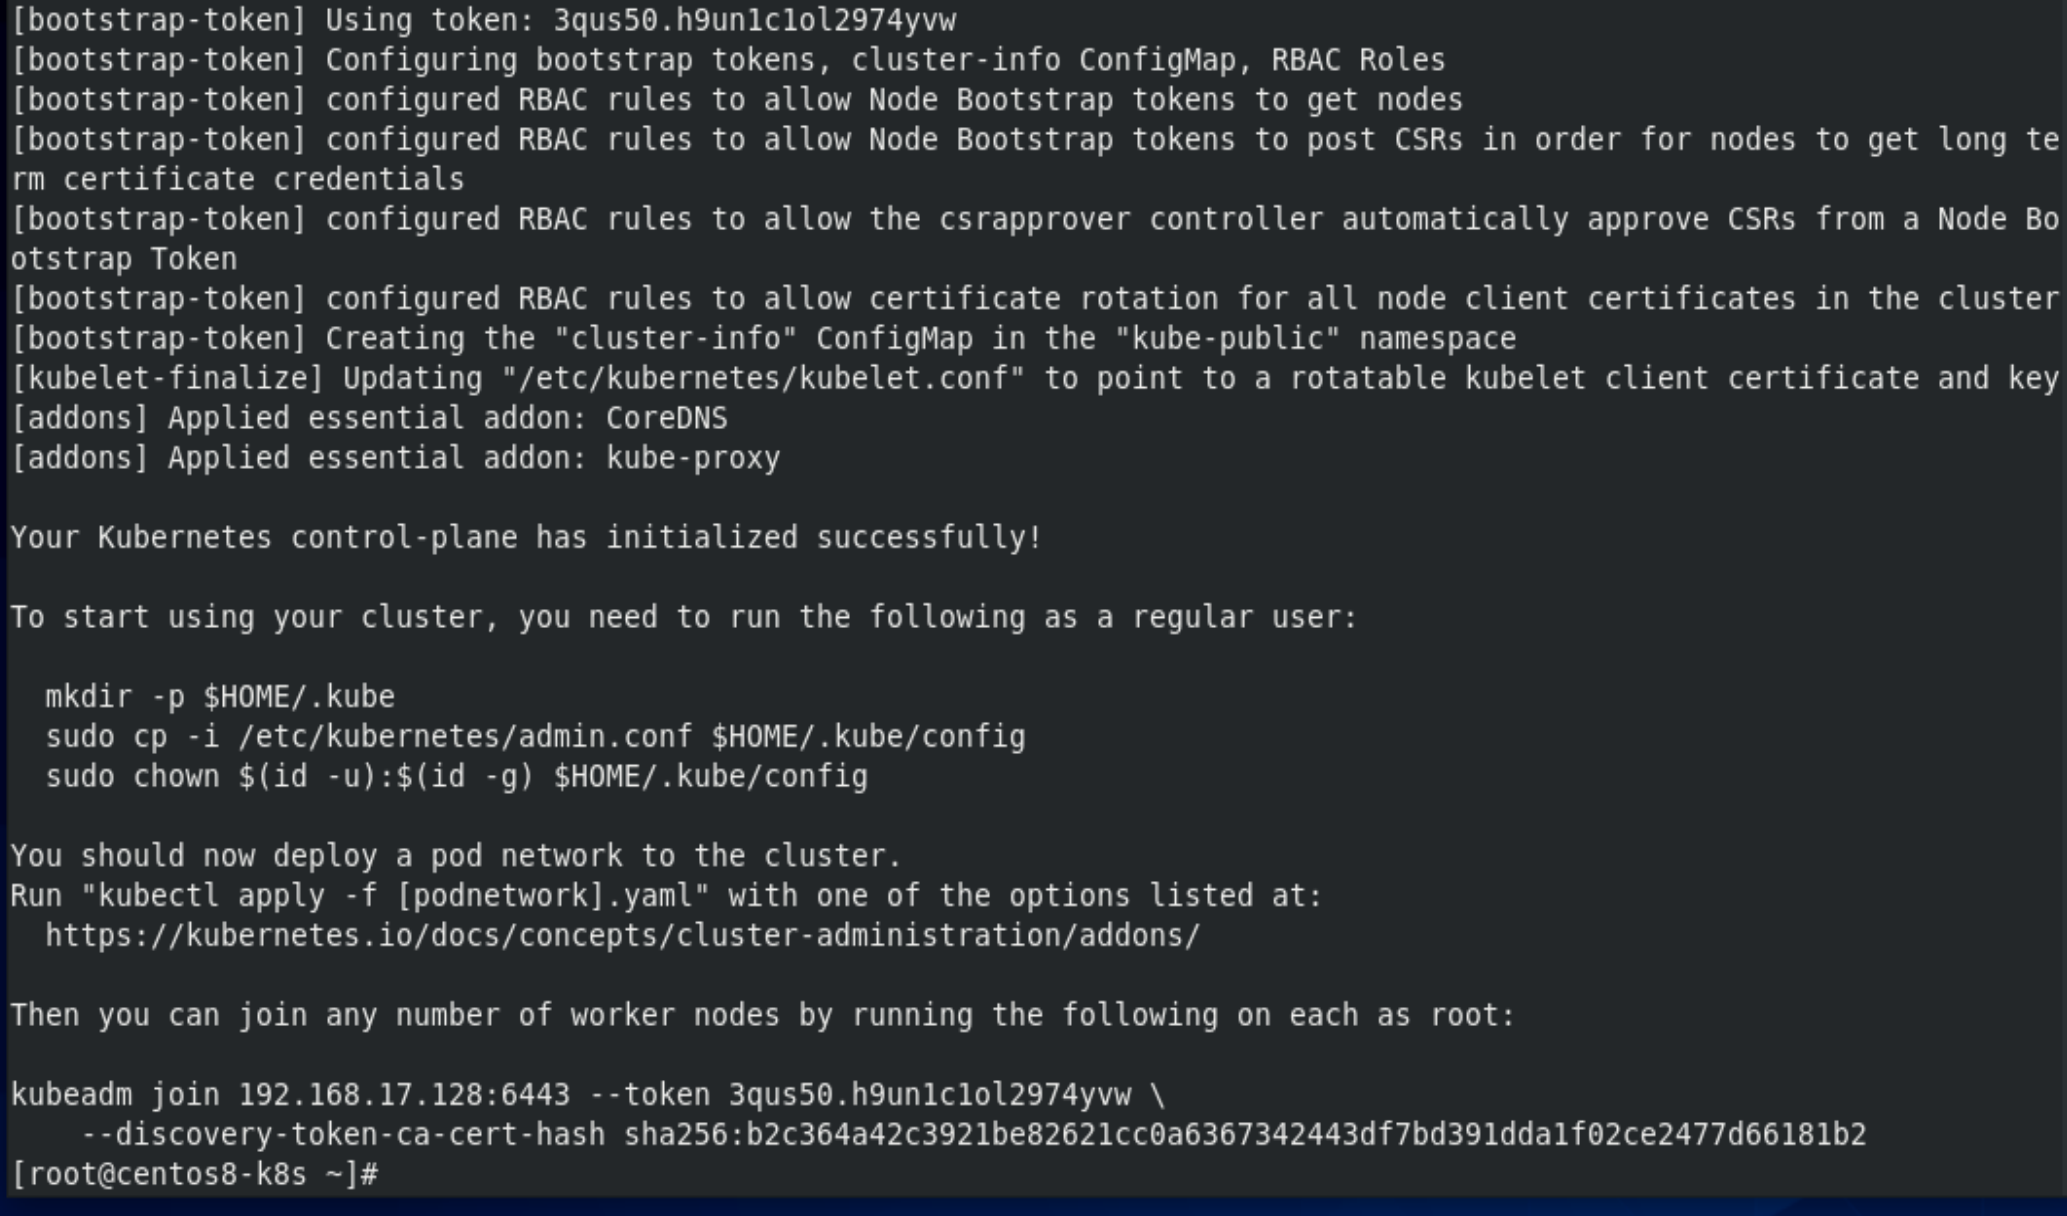
[root@centos8-k8s ~]# mkdir -p $HOME/.kube
[root@centos8-k8s ~]# cp -i /etc/kubernetes/admin.conf $HOME/.kube/config
[root@centos8-k8s ~]# chown $(id -u):$(id -g) $HOME/.kube/config
[root@centos8-k8s ~]# source <(kubectl completion bash)
[root@centos8-k8s ~]# kubectl get node
NAME STATUS ROLES AGE VERSION
centos8-k8s NotReady master 5m35s v1.18.0
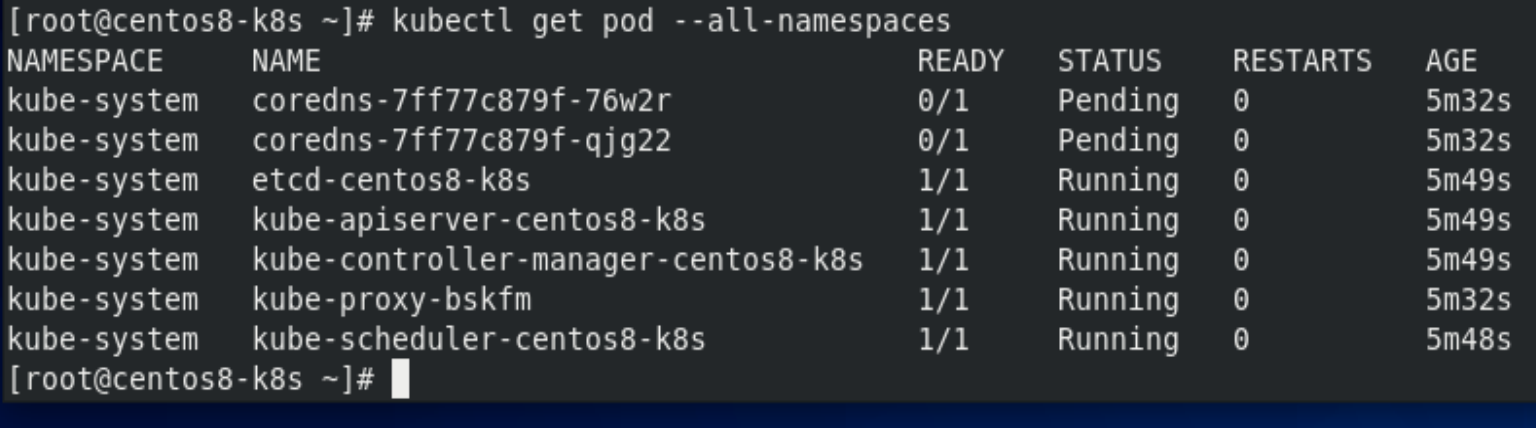
[root@centos8-k8s ~]# kubectl get pod --all-namespaces
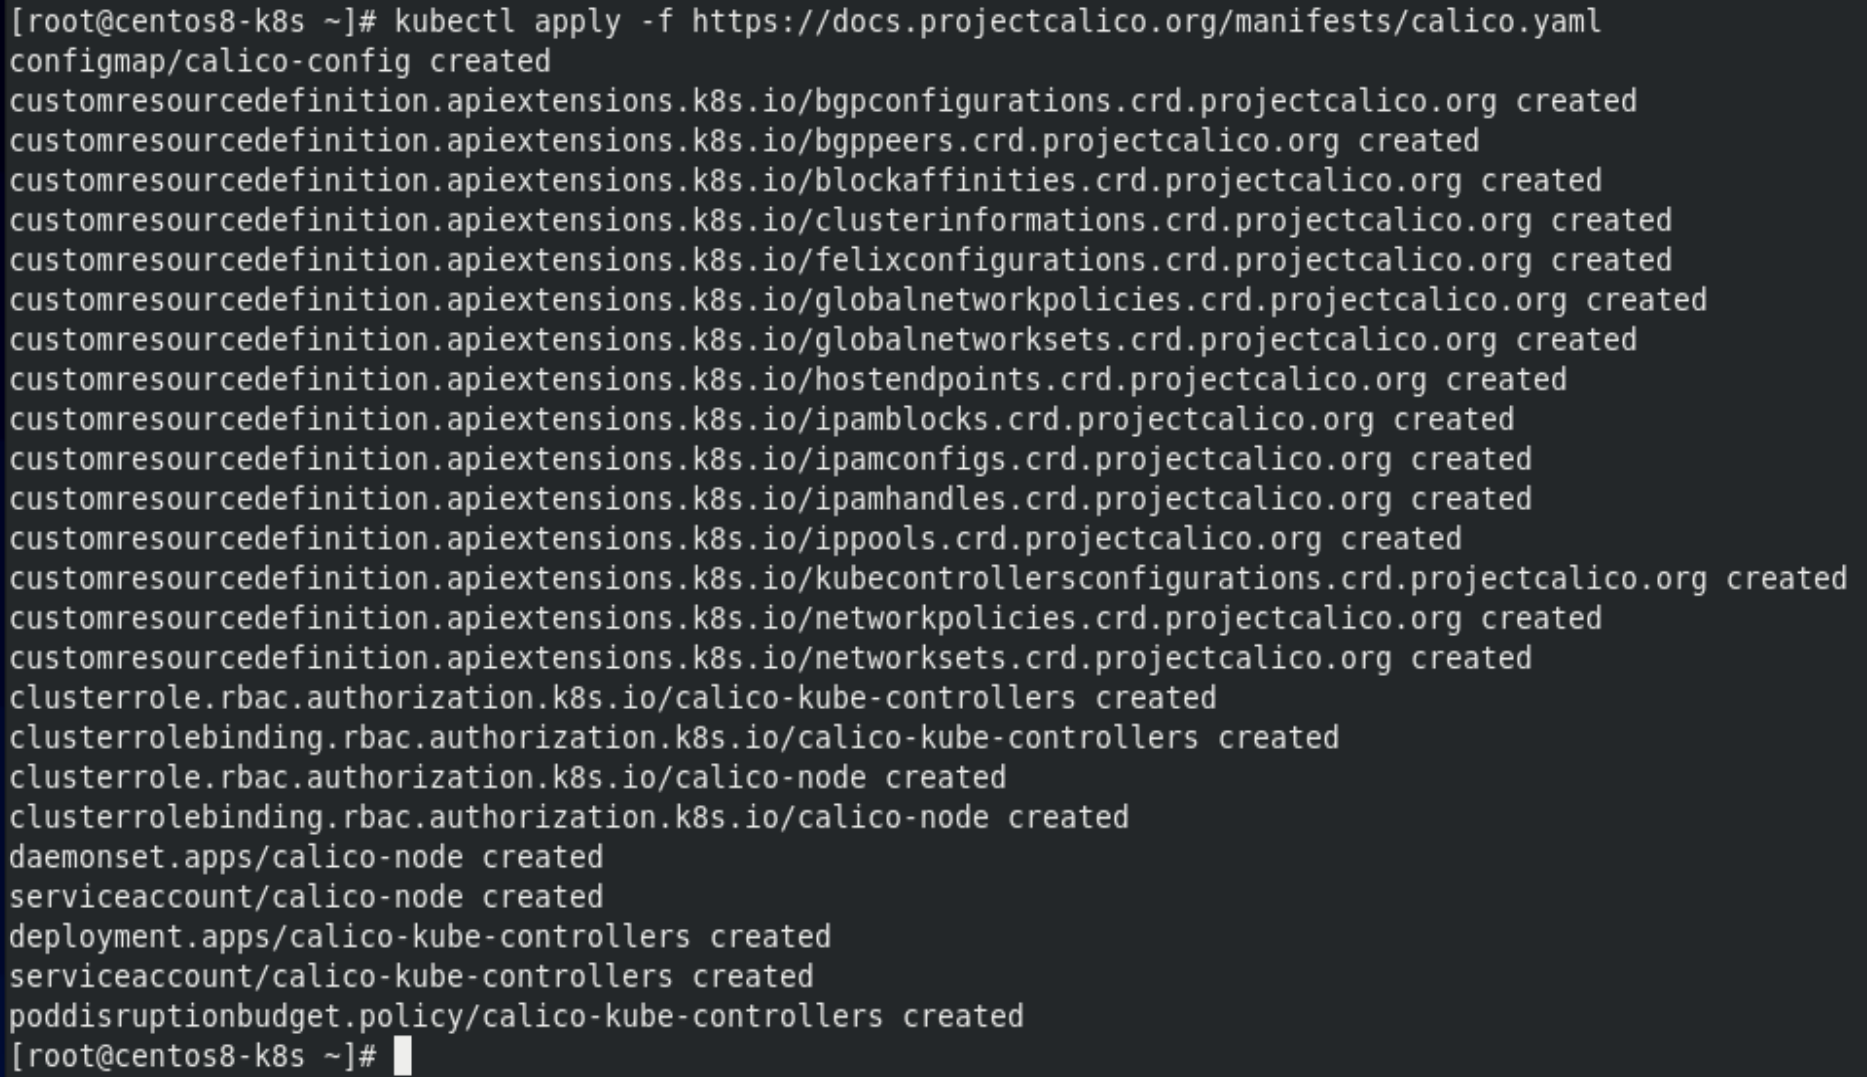
[root@centos8-k8s ~]# kubectl apply -f https://docs.projectcalico.org/manifests/calico.yaml
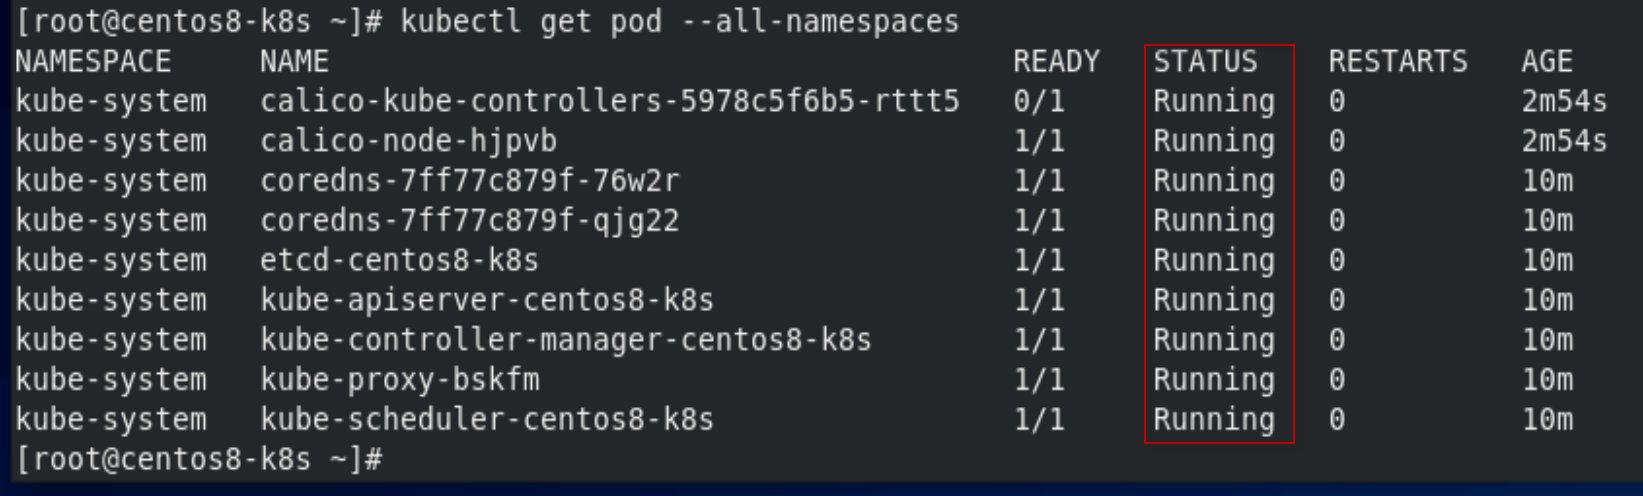
[root@centos8-k8s ~]# kubectl get pod --all-namespaces
3. 安装kubernetes-dashboard
[root@centos8-k8s ~]#pwd
/root
[root@centos8-k8s ~]# vi recommanded.yaml
加入如下内容:
# Copyright 2018 The Kubernetes Authors.
#
# Licensed under the Apache License, Version 2.0 (the "License");
# you may not use this file except in compliance with the License.
# You may obtain a copy of the License at
#
# http://www.apache.org/licenses/LICENSE-2.0
#
# Unless required by applicable law or agreed to in writing, software
# distributed under the License is distributed on an "AS IS" BASIS,
# WITHOUT WARRANTIES OR CONDITIONS OF ANY KIND, either express or implied.
# See the License for the specific language governing permissions and
# limitations under the License.
apiVersion: v1
kind: Namespace
metadata:
name: kubernetes-dashboard
---
apiVersion: v1
kind: ServiceAccount
metadata:
labels:
k8s-app: kubernetes-dashboard
name: kubernetes-dashboard
namespace: kubernetes-dashboard
---
kind: Service
apiVersion: v1
metadata:
labels:
k8s-app: kubernetes-dashboard
name: kubernetes-dashboard
namespace: kubernetes-dashboard
spec:
type: NodePort
ports:
- port: 443
targetPort: 8443
nodePort: 30000
selector:
k8s-app: kubernetes-dashboard
---
apiVersion: v1
kind: Secret
metadata:
labels:
k8s-app: kubernetes-dashboard
name: kubernetes-dashboard-certs
namespace: kubernetes-dashboard
type: Opaque
---
apiVersion: v1
kind: Secret
metadata:
labels:
k8s-app: kubernetes-dashboard
name: kubernetes-dashboard-csrf
namespace: kubernetes-dashboard
type: Opaque
data:
csrf: ""
---
apiVersion: v1
kind: Secret
metadata:
labels:
k8s-app: kubernetes-dashboard
name: kubernetes-dashboard-key-holder
namespace: kubernetes-dashboard
type: Opaque
---
kind: ConfigMap
apiVersion: v1
metadata:
labels:
k8s-app: kubernetes-dashboard
name: kubernetes-dashboard-settings
namespace: kubernetes-dashboard
---
kind: Role
apiVersion: rbac.authorization.k8s.io/v1
metadata:
labels:
k8s-app: kubernetes-dashboard
name: kubernetes-dashboard
namespace: kubernetes-dashboard
rules:
# Allow Dashboard to get, update and delete Dashboard exclusive secrets.
- apiGroups: [""]
resources: ["secrets"]
resourceNames: ["kubernetes-dashboard-key-holder", "kubernetes-dashboard-certs", "kubernetes-dashboard-csrf"]
verbs: ["get", "update", "delete"]
# Allow Dashboard to get and update 'kubernetes-dashboard-settings' config map.
- apiGroups: [""]
resources: ["configmaps"]
resourceNames: ["kubernetes-dashboard-settings"]
verbs: ["get", "update"]
# Allow Dashboard to get metrics.
- apiGroups: [""]
resources: ["services"]
resourceNames: ["heapster", "dashboard-metrics-scraper"]
verbs: ["proxy"]
- apiGroups: [""]
resources: ["services/proxy"]
resourceNames: ["heapster", "http:heapster:", "https:heapster:", "dashboard-metrics-scraper", "http:dashboard-metrics-scraper"]
verbs: ["get"]
---
kind: ClusterRole
apiVersion: rbac.authorization.k8s.io/v1
metadata:
labels:
k8s-app: kubernetes-dashboard
name: kubernetes-dashboard
rules:
# Allow Metrics Scraper to get metrics from the Metrics server
- apiGroups: ["metrics.k8s.io"]
resources: ["pods", "nodes"]
verbs: ["get", "list", "watch"]
---
apiVersion: rbac.authorization.k8s.io/v1
kind: RoleBinding
metadata:
labels:
k8s-app: kubernetes-dashboard
name: kubernetes-dashboard
namespace: kubernetes-dashboard
roleRef:
apiGroup: rbac.authorization.k8s.io
kind: Role
name: kubernetes-dashboard
subjects:
- kind: ServiceAccount
name: kubernetes-dashboard
namespace: kubernetes-dashboard
---
apiVersion: rbac.authorization.k8s.io/v1
kind: ClusterRoleBinding
metadata:
name: kubernetes-dashboard
roleRef:
apiGroup: rbac.authorization.k8s.io
kind: ClusterRole
name: kubernetes-dashboard
subjects:
- kind: ServiceAccount
name: kubernetes-dashboard
namespace: kubernetes-dashboard
---
kind: Deployment
apiVersion: apps/v1
metadata:
labels:
k8s-app: kubernetes-dashboard
name: kubernetes-dashboard
namespace: kubernetes-dashboard
spec:
replicas: 1
revisionHistoryLimit: 10
selector:
matchLabels:
k8s-app: kubernetes-dashboard
template:
metadata:
labels:
k8s-app: kubernetes-dashboard
spec:
containers:
- name: kubernetes-dashboard
image: kubernetesui/dashboard:v2.0.0-rc7
imagePullPolicy: Always
ports:
- containerPort: 8443
protocol: TCP
args:
- --auto-generate-certificates
- --namespace=kubernetes-dashboard
# Uncomment the following line to manually specify Kubernetes API server Host
# If not specified, Dashboard will attempt to auto discover the API server and connect
# to it. Uncomment only if the default does not work.
# - --apiserver-host=http://my-address:port
volumeMounts:
- name: kubernetes-dashboard-certs
mountPath: /certs
# Create on-disk volume to store exec logs
- mountPath: /tmp
name: tmp-volume
livenessProbe:
httpGet:
scheme: HTTPS
path: /
port: 8443
initialDelaySeconds: 30
timeoutSeconds: 30
securityContext:
allowPrivilegeEscalation: false
readOnlyRootFilesystem: true
runAsUser: 1001
runAsGroup: 2001
volumes:
- name: kubernetes-dashboard-certs
secret:
secretName: kubernetes-dashboard-certs
- name: tmp-volume
emptyDir: {}
serviceAccountName: kubernetes-dashboard
nodeSelector:
"beta.kubernetes.io/os": linux
# Comment the following tolerations if Dashboard must not be deployed on master
tolerations:
- key: node-role.kubernetes.io/master
effect: NoSchedule
---
kind: Service
apiVersion: v1
metadata:
labels:
k8s-app: dashboard-metrics-scraper
name: dashboard-metrics-scraper
namespace: kubernetes-dashboard
spec:
ports:
- port: 8000
targetPort: 8000
selector:
k8s-app: dashboard-metrics-scraper
---
kind: Deployment
apiVersion: apps/v1
metadata:
labels:
k8s-app: dashboard-metrics-scraper
name: dashboard-metrics-scraper
namespace: kubernetes-dashboard
spec:
replicas: 1
revisionHistoryLimit: 10
selector:
matchLabels:
k8s-app: dashboard-metrics-scraper
template:
metadata:
labels:
k8s-app: dashboard-metrics-scraper
annotations:
seccomp.security.alpha.kubernetes.io/pod: 'runtime/default'
spec:
containers:
- name: dashboard-metrics-scraper
image: kubernetesui/metrics-scraper:v1.0.4
ports:
- containerPort: 8000
protocol: TCP
livenessProbe:
httpGet:
scheme: HTTP
path: /
port: 8000
initialDelaySeconds: 30
timeoutSeconds: 30
volumeMounts:
- mountPath: /tmp
name: tmp-volume
securityContext:
allowPrivilegeEscalation: false
readOnlyRootFilesystem: true
runAsUser: 1001
runAsGroup: 2001
serviceAccountName: kubernetes-dashboard
nodeSelector:
"beta.kubernetes.io/os": linux
# Comment the following tolerations if Dashboard must not be deployed on master
tolerations:
- key: node-role.kubernetes.io/master
effect: NoSchedule
volumes:
- name: tmp-volume
emptyDir: {}
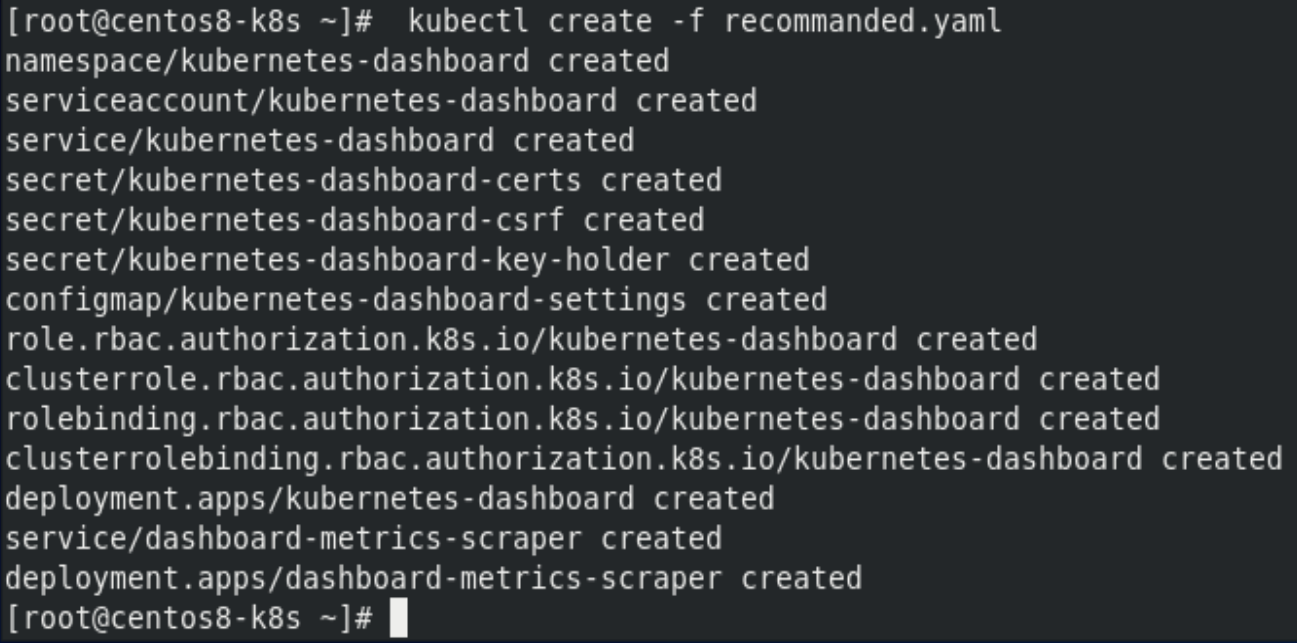
[root@centos8-k8s ~]# kubectl create -f recommanded.yaml
[root@centos8-k8s ~]# kubectl get pod --all-namespaces

[root@centos8-k8s ~]# systemctl restart kubelet
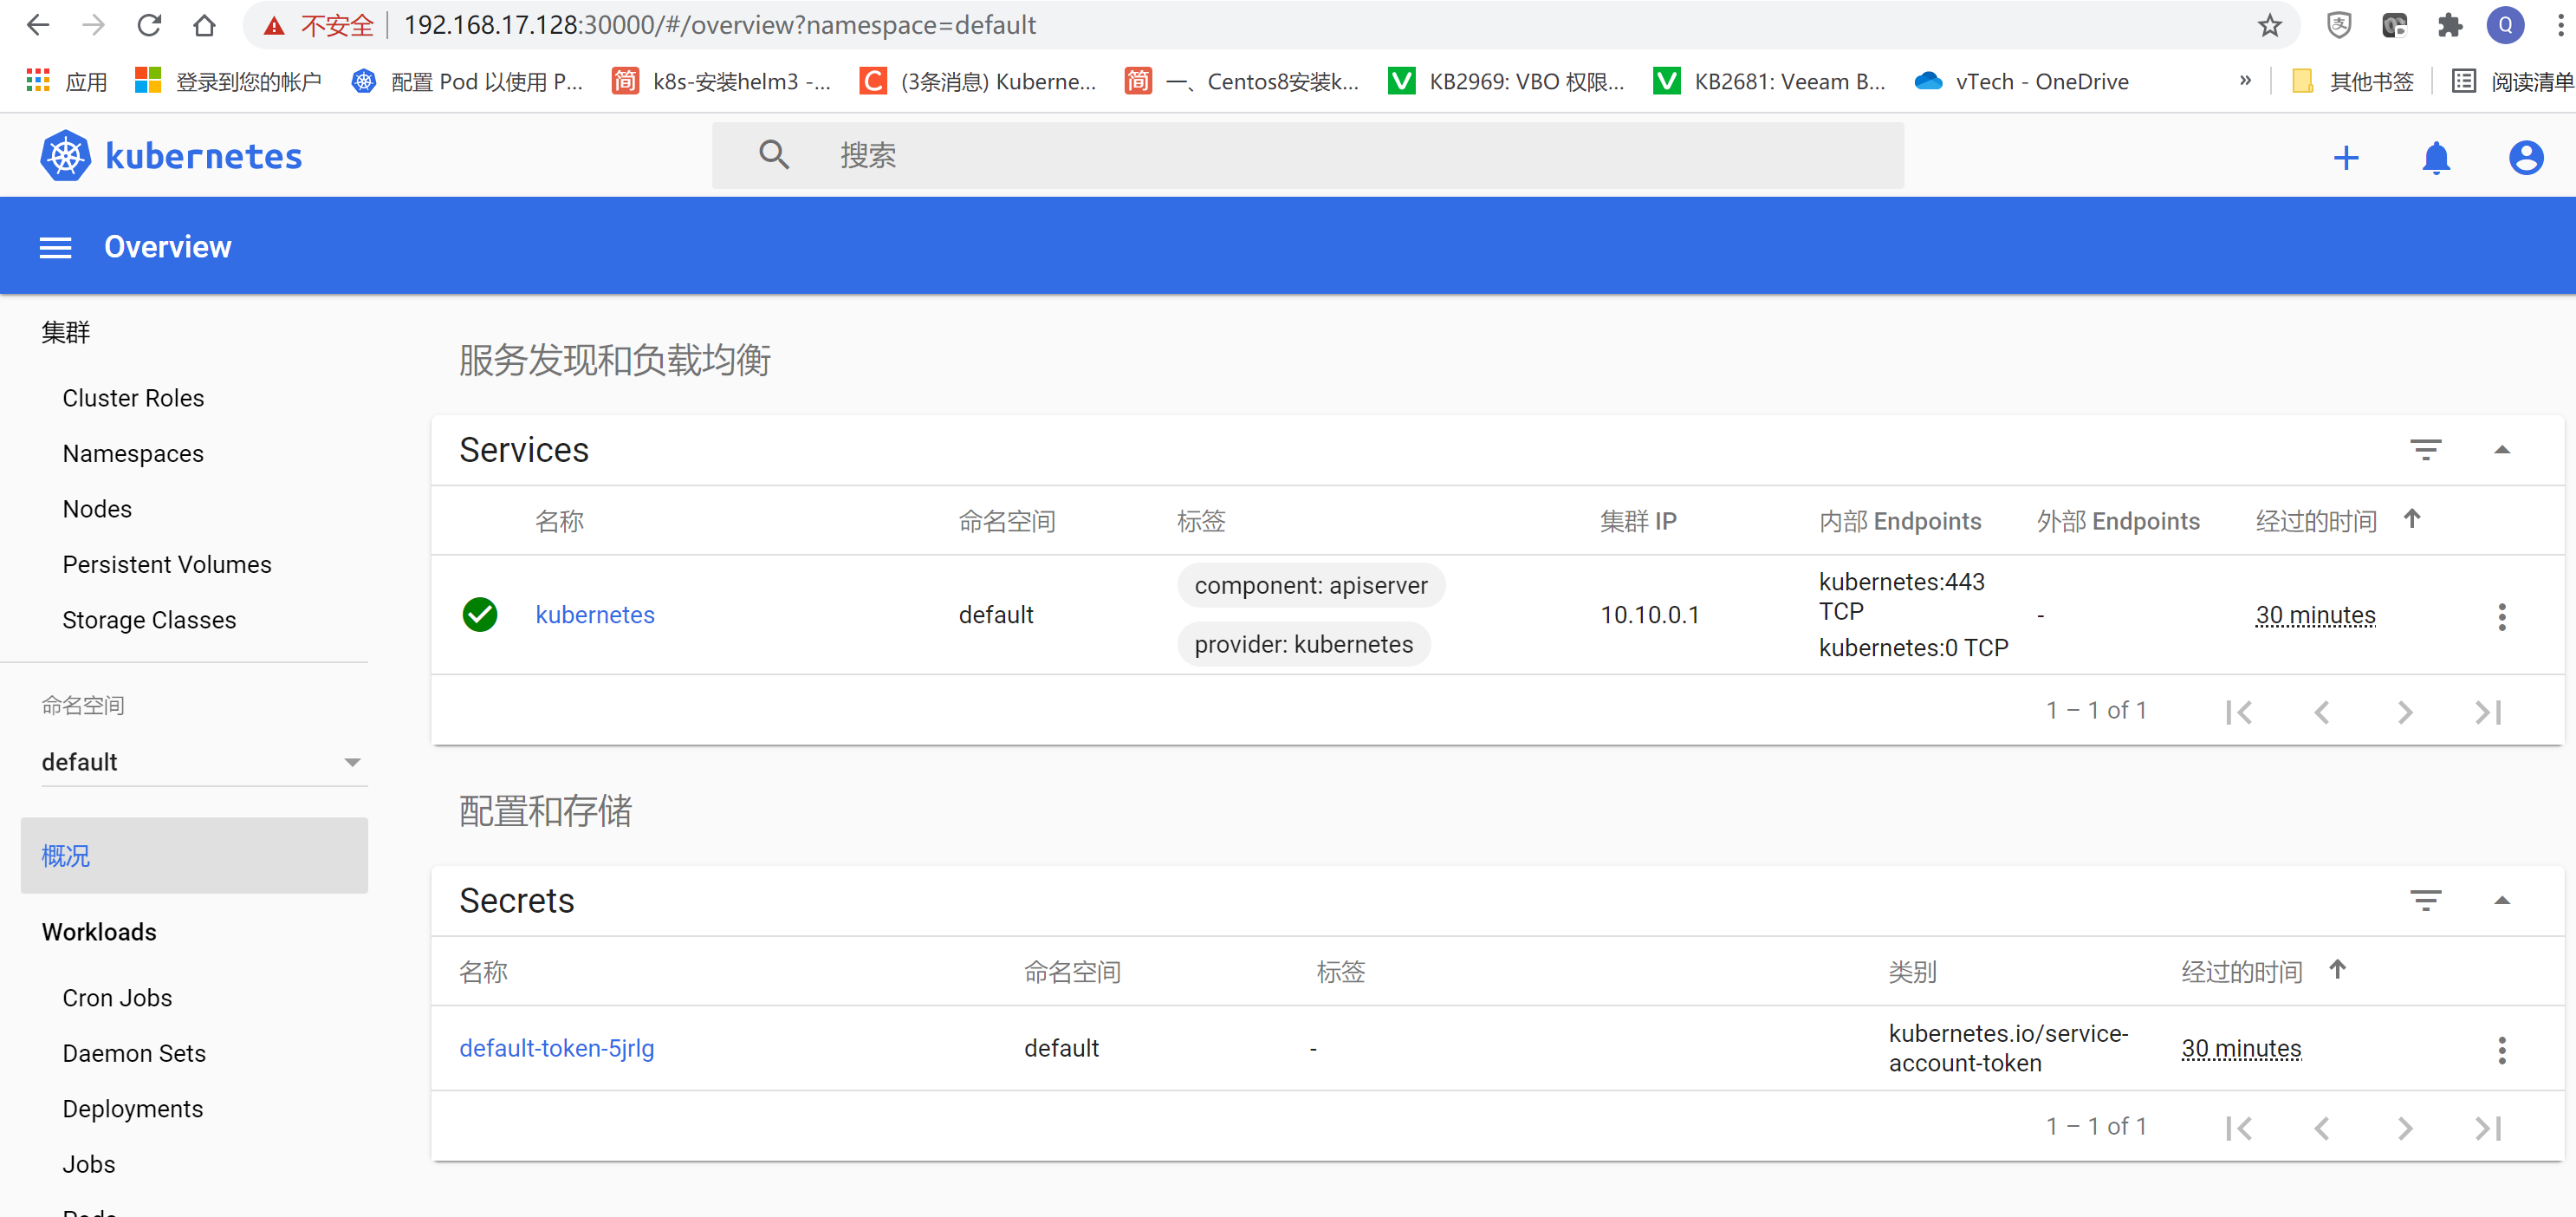
浏览器访问 https://192.168.17.128:30000/ 注意是https请求 浏览器会提示有风险,忽略,点击高级访问网站
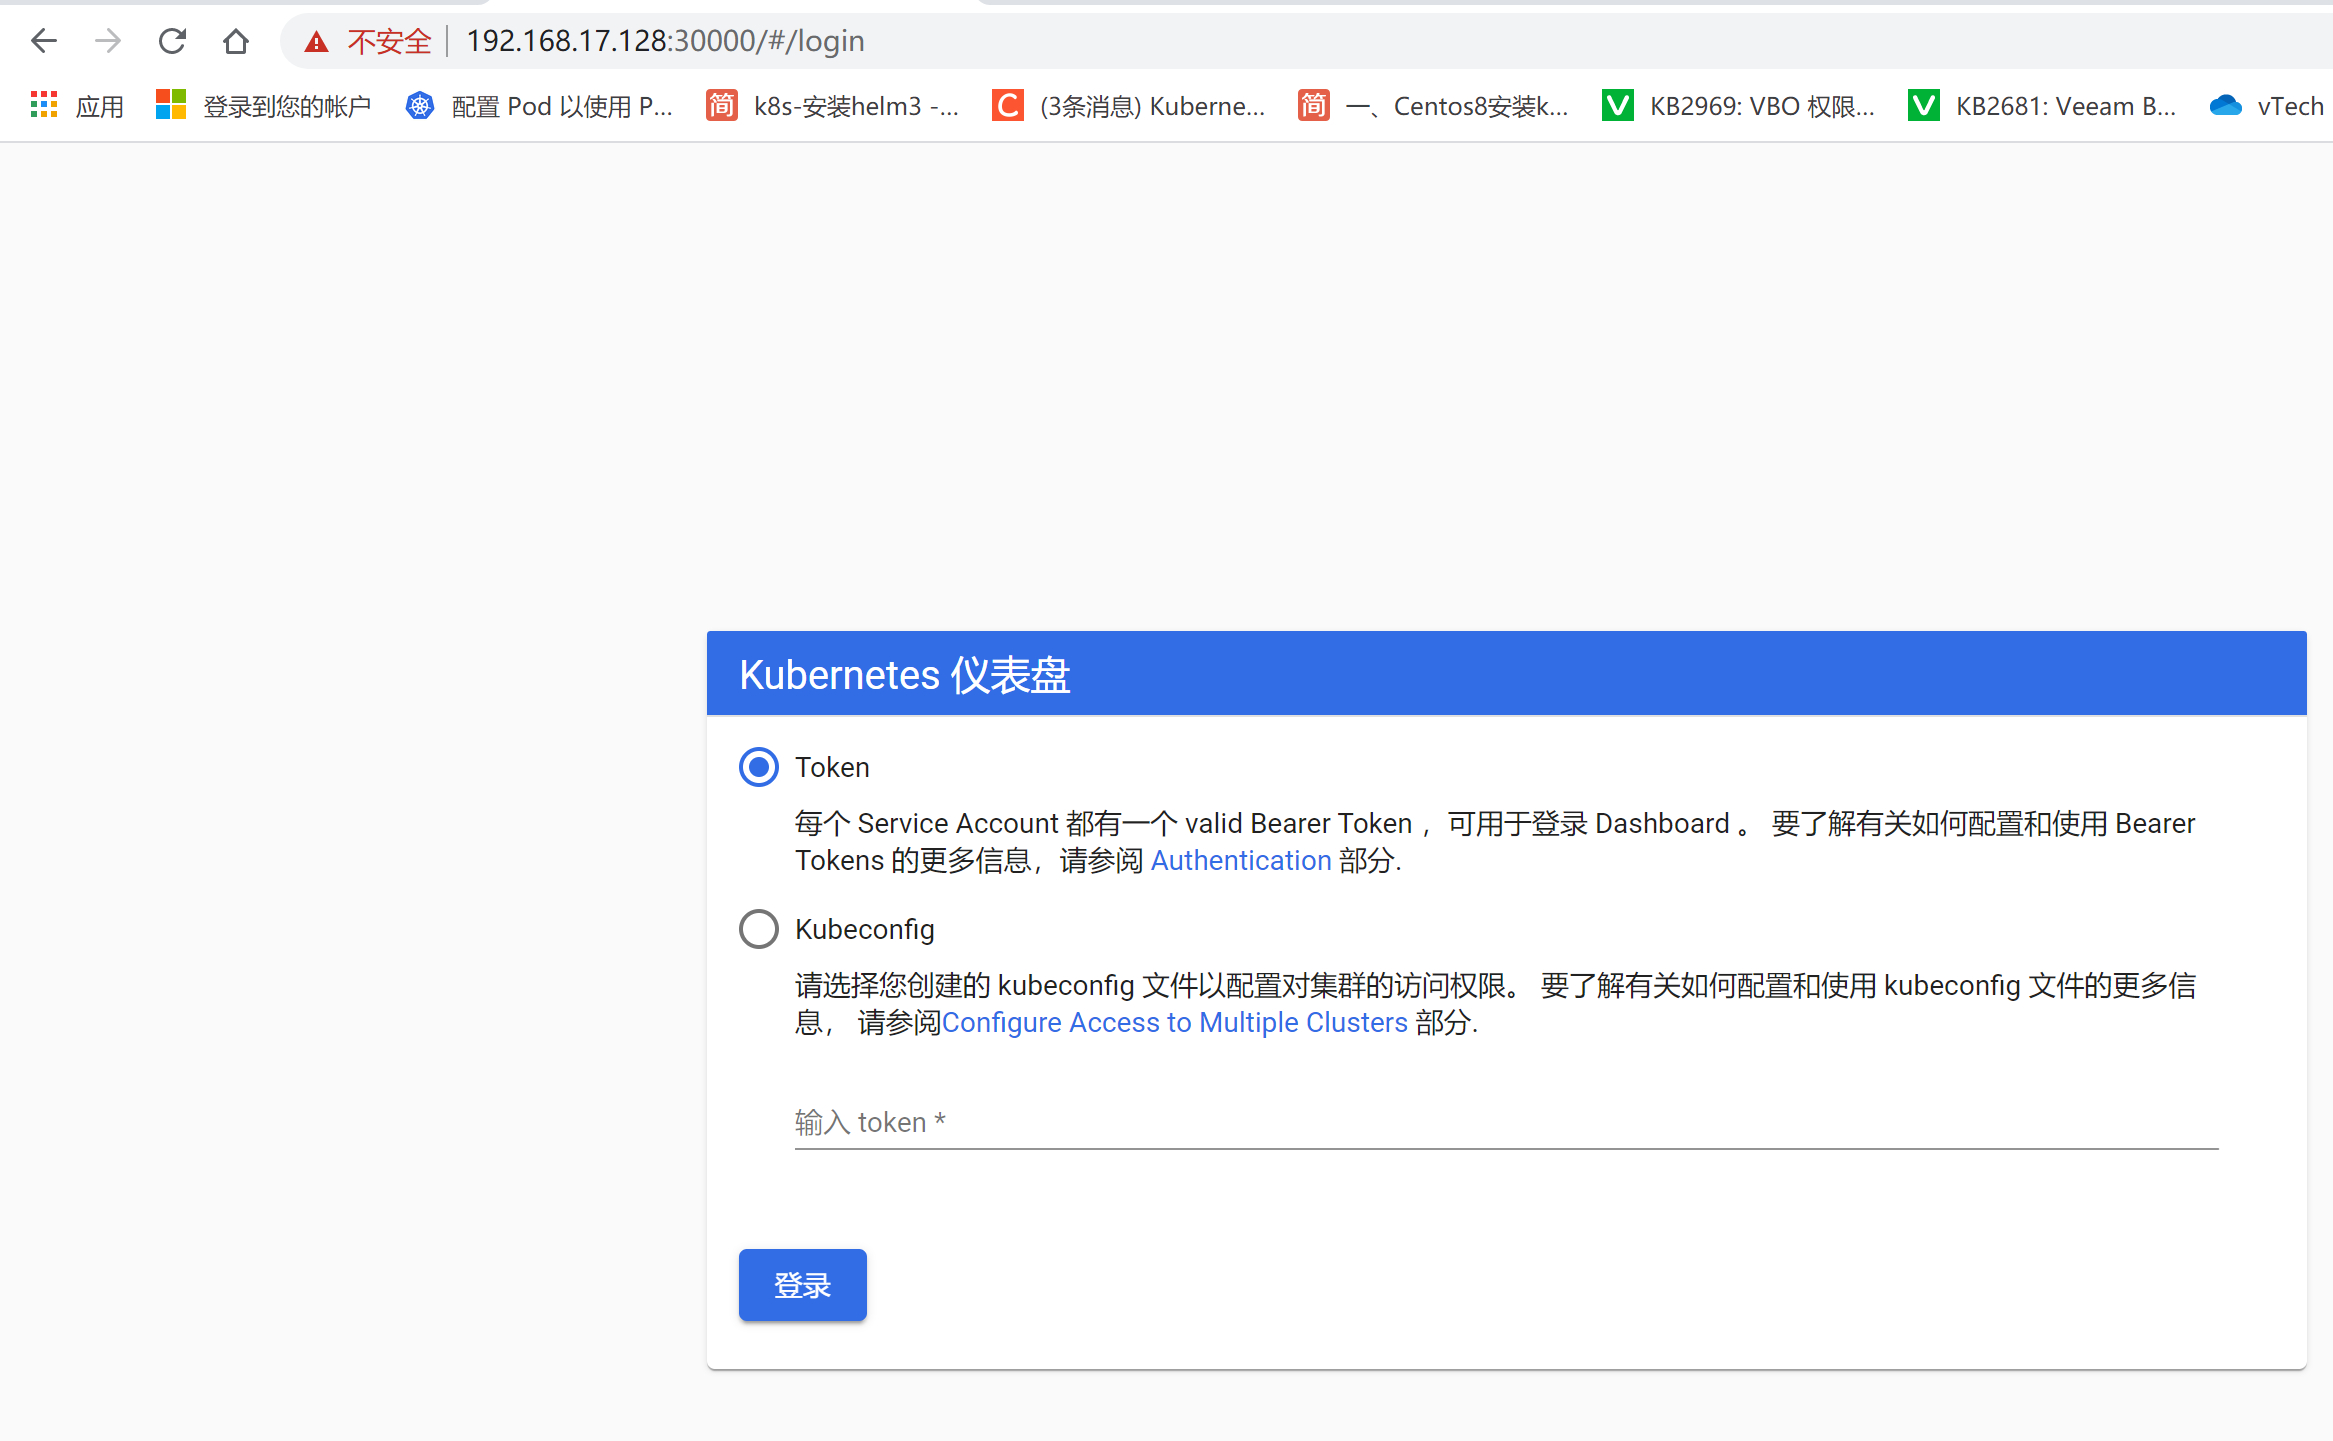
创建token, 授权token 访问权限
[root@centos8-k8s ~]# kubectl create sa dashboard-admin -n kube-system
[root@centos8-k8s ~]# kubectl create clusterrolebinding dashboard-admin --clusterrole=cluster-admin --serviceaccount=kube-system:dashboard-admin
获取token:
[root@centos8-k8s ~]# ADMIN_SECRET=$(kubectl get secrets -n kube-system | grep dashboard-admin | awk '{print $1}')
[root@centos8-k8s ~]# DASHBOARD_LOGIN_TOKEN=$(kubectl describe secret -n kube-system ${ADMIN_SECRET} | grep -E '^token' | awk '{print $2}')
显示token:
[root@centos8-k8s ~]# echo ${DASHBOARD_LOGIN_TOKEN}
eyJhbGciOiJSUzI1NiIsImtpZCI6IkJaNzA0dWMzYVhPM05ObE15d0MzRllDN3hwYXdOLXY1WG12NV92QjhGY2cifQ.eyJpc3MiOiJrdWJlcm5ldGVzL3NlcnZpY2VhY2NvdW50Iiwia3ViZXJuZXRlcy5pby9zZXJ2aWNlYWNjb3VudC9uYW1lc3BhY2UiOiJrdWJlLXN5c3RlbSIsImt1YmVybmV0ZXMuaW8vc2VydmljZWFjY291bnQvc2VjcmV0Lm5hbWUiOiJkYXNoYm9hcmQtYWRtaW4tdG9rZW4tbmxkaDQiLCJrdWJlcm5ldGVzLmlvL3NlcnZpY2VhY2NvdW50L3NlcnZpY2UtYWNjb3VudC5uYW1lIjoiZGFzaGJvYXJkLWFkbWluIiwia3ViZXJuZXRlcy5pby9zZXJ2aWNlY….
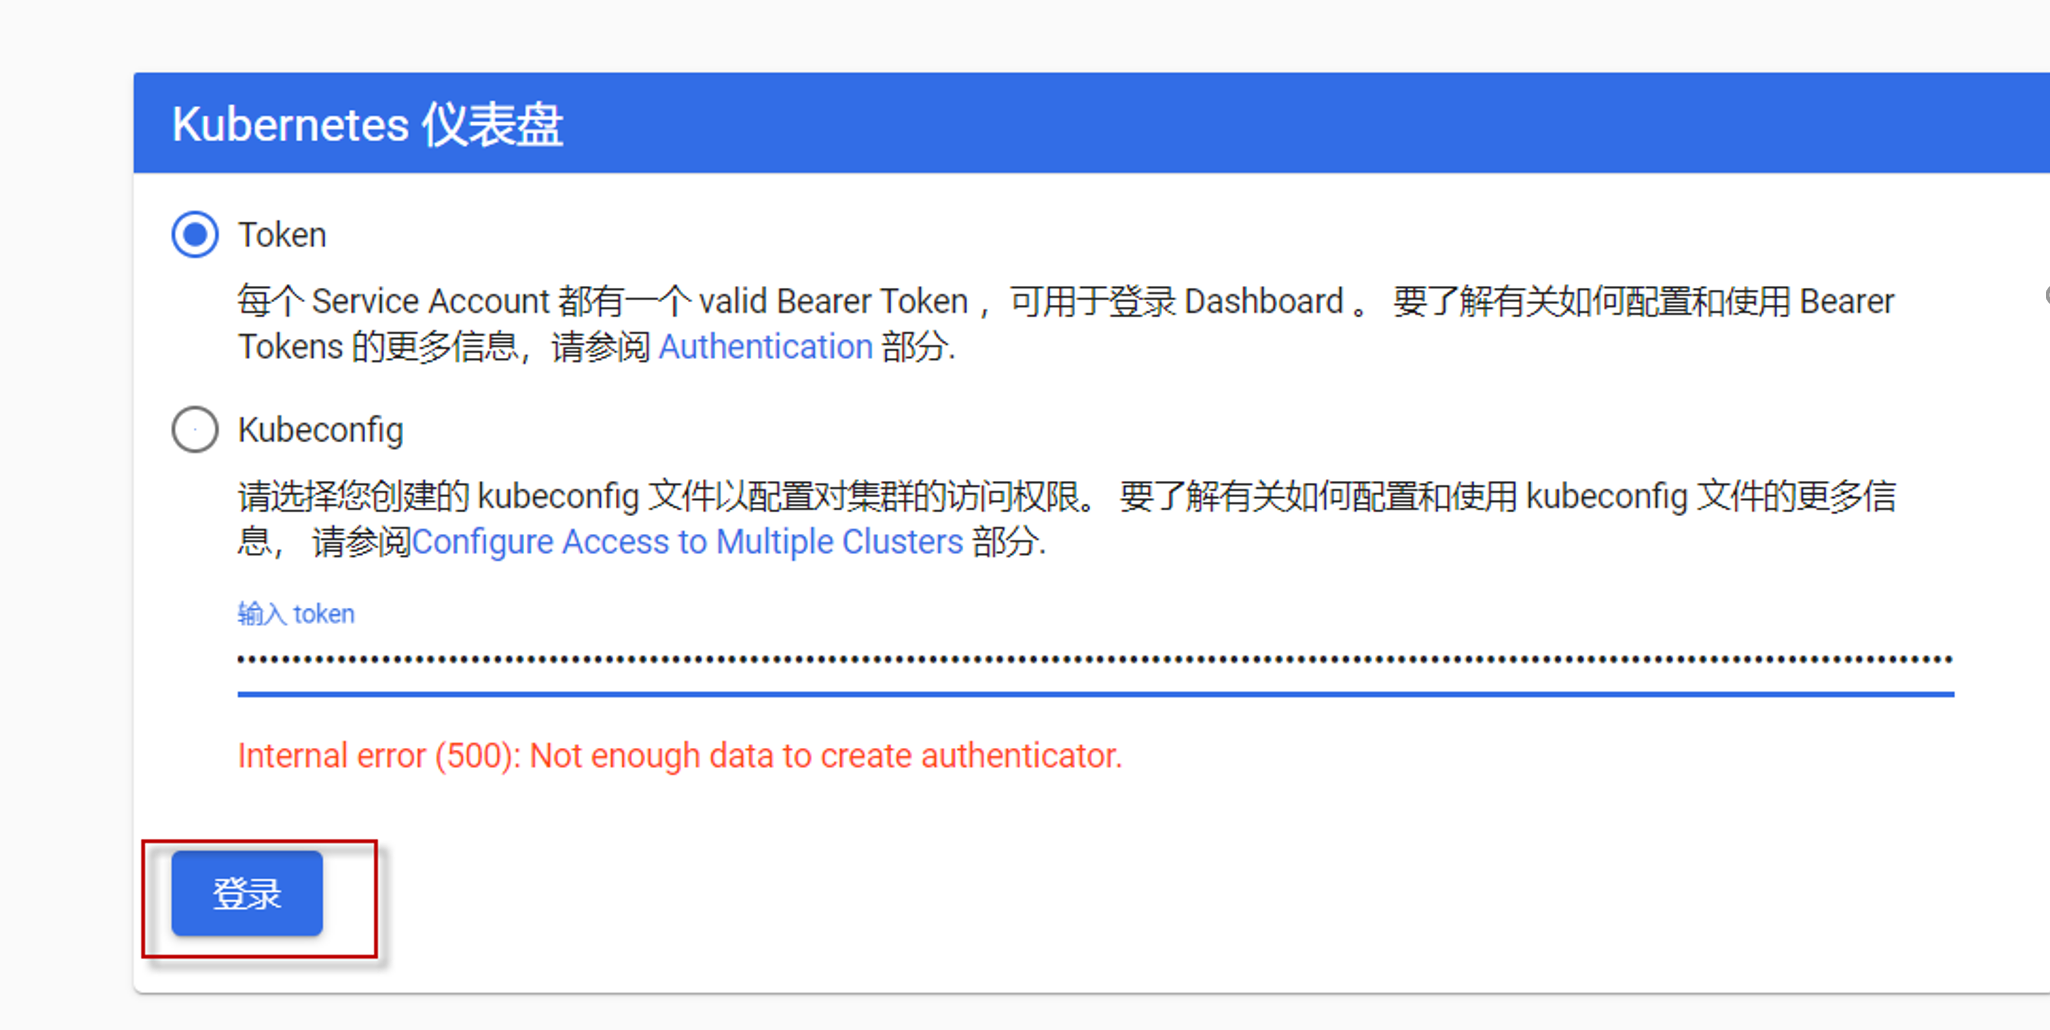
复制上述token,在浏览器中粘贴,点击“登录“按钮即可,因为kubernetes的dashboard缺省过一段时间就会自动退出,需要重新输入token才能登录,该token长期有效,可以把token保留在文件中,以备以后使用。
4. 部署mysql容器
使用kubeadm初始化的集群,出于安全考虑Pod不会被调度到master node上,不参与工作负载。本文档只有一个master node,为了允许master node部署pod,需运行以下命令:
[root@centos8-k8s ~]# kubectl taint nodes --all node-role.kubernetes.io/master-
node/centos8-k8s untainted
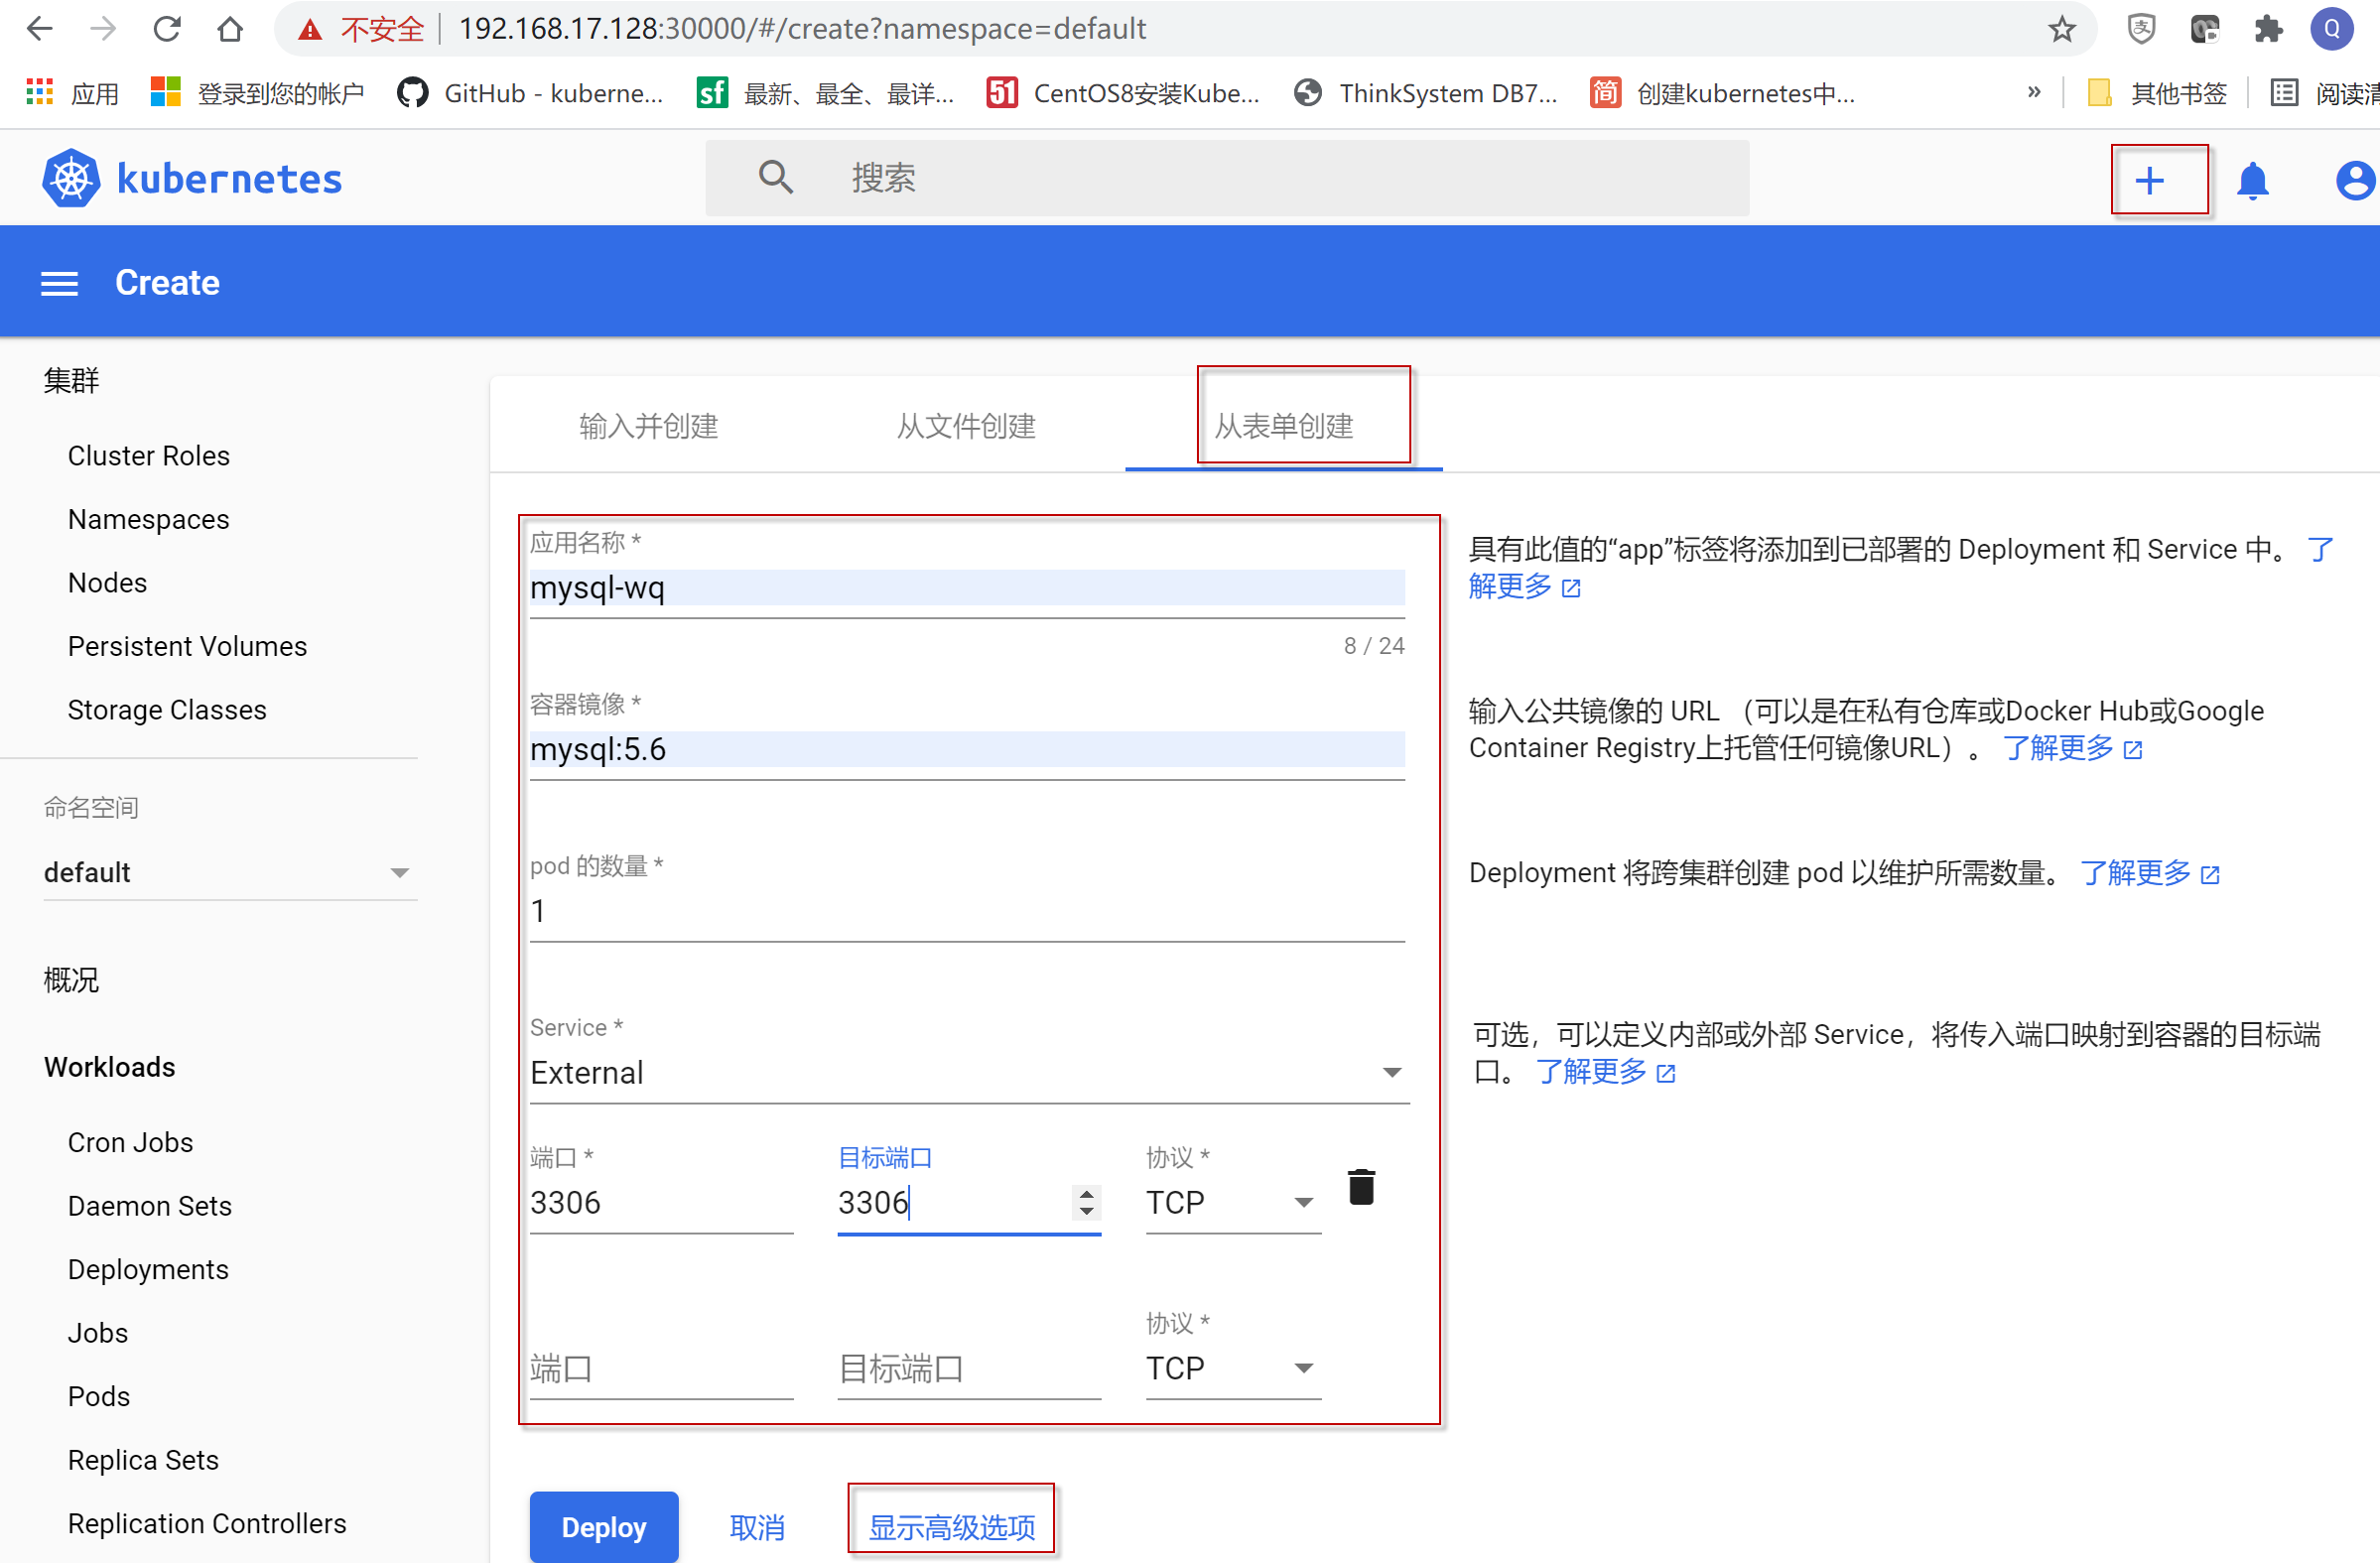
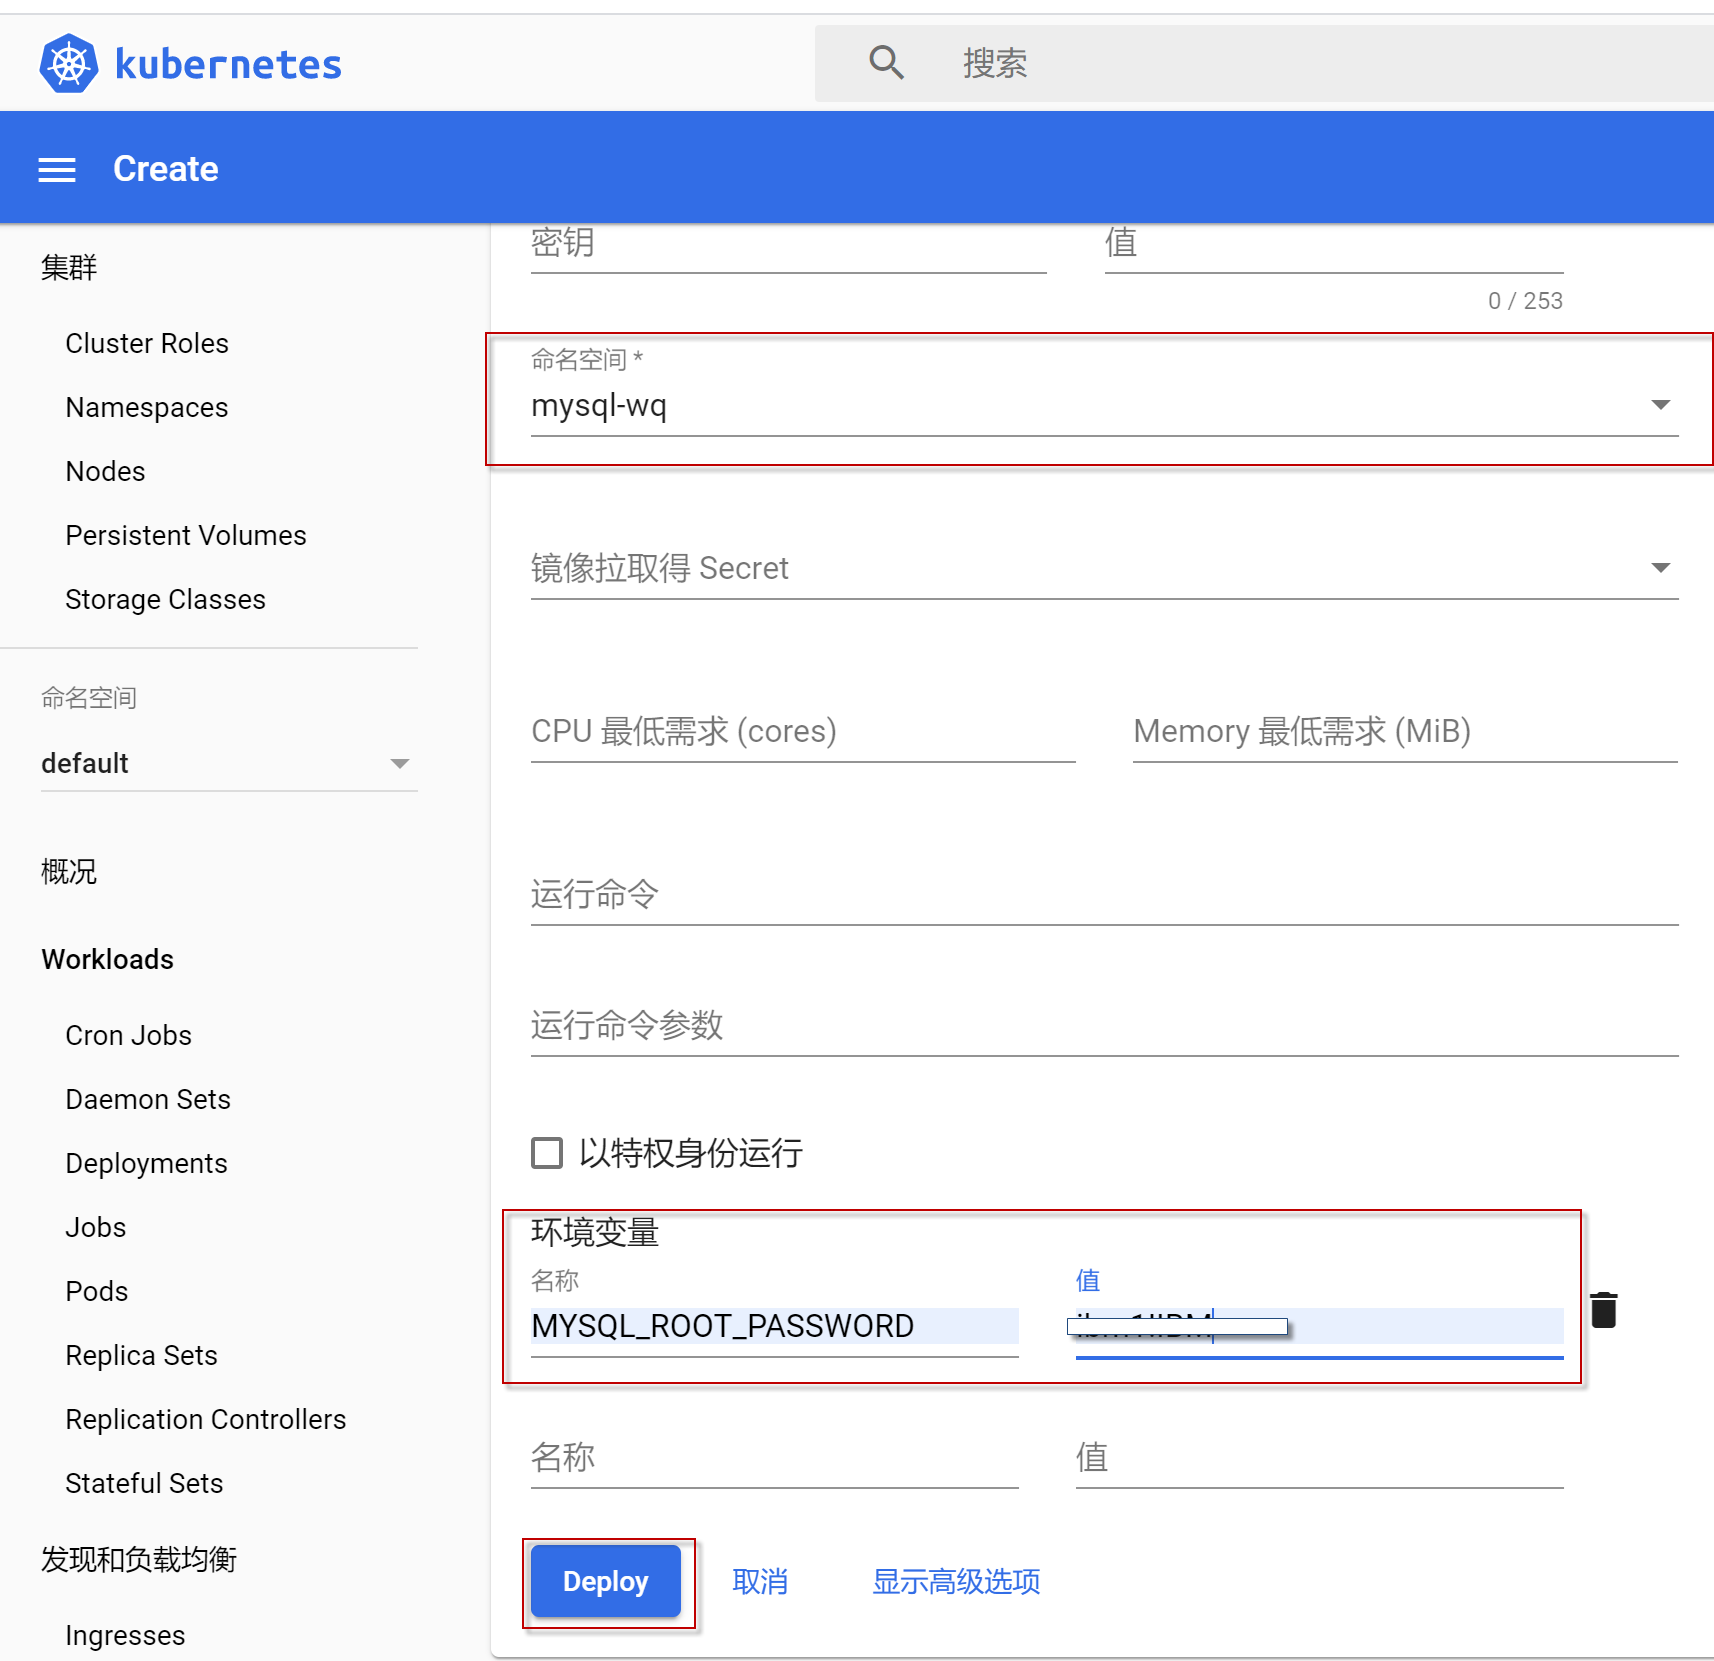
点击右上角“+” 按钮,点击“从表单创建”,创建mysql容器,除了“应用名称”可以根据自己喜好定义,其它的选项可以输入如图所示属性,然后点击“显示高级选项”
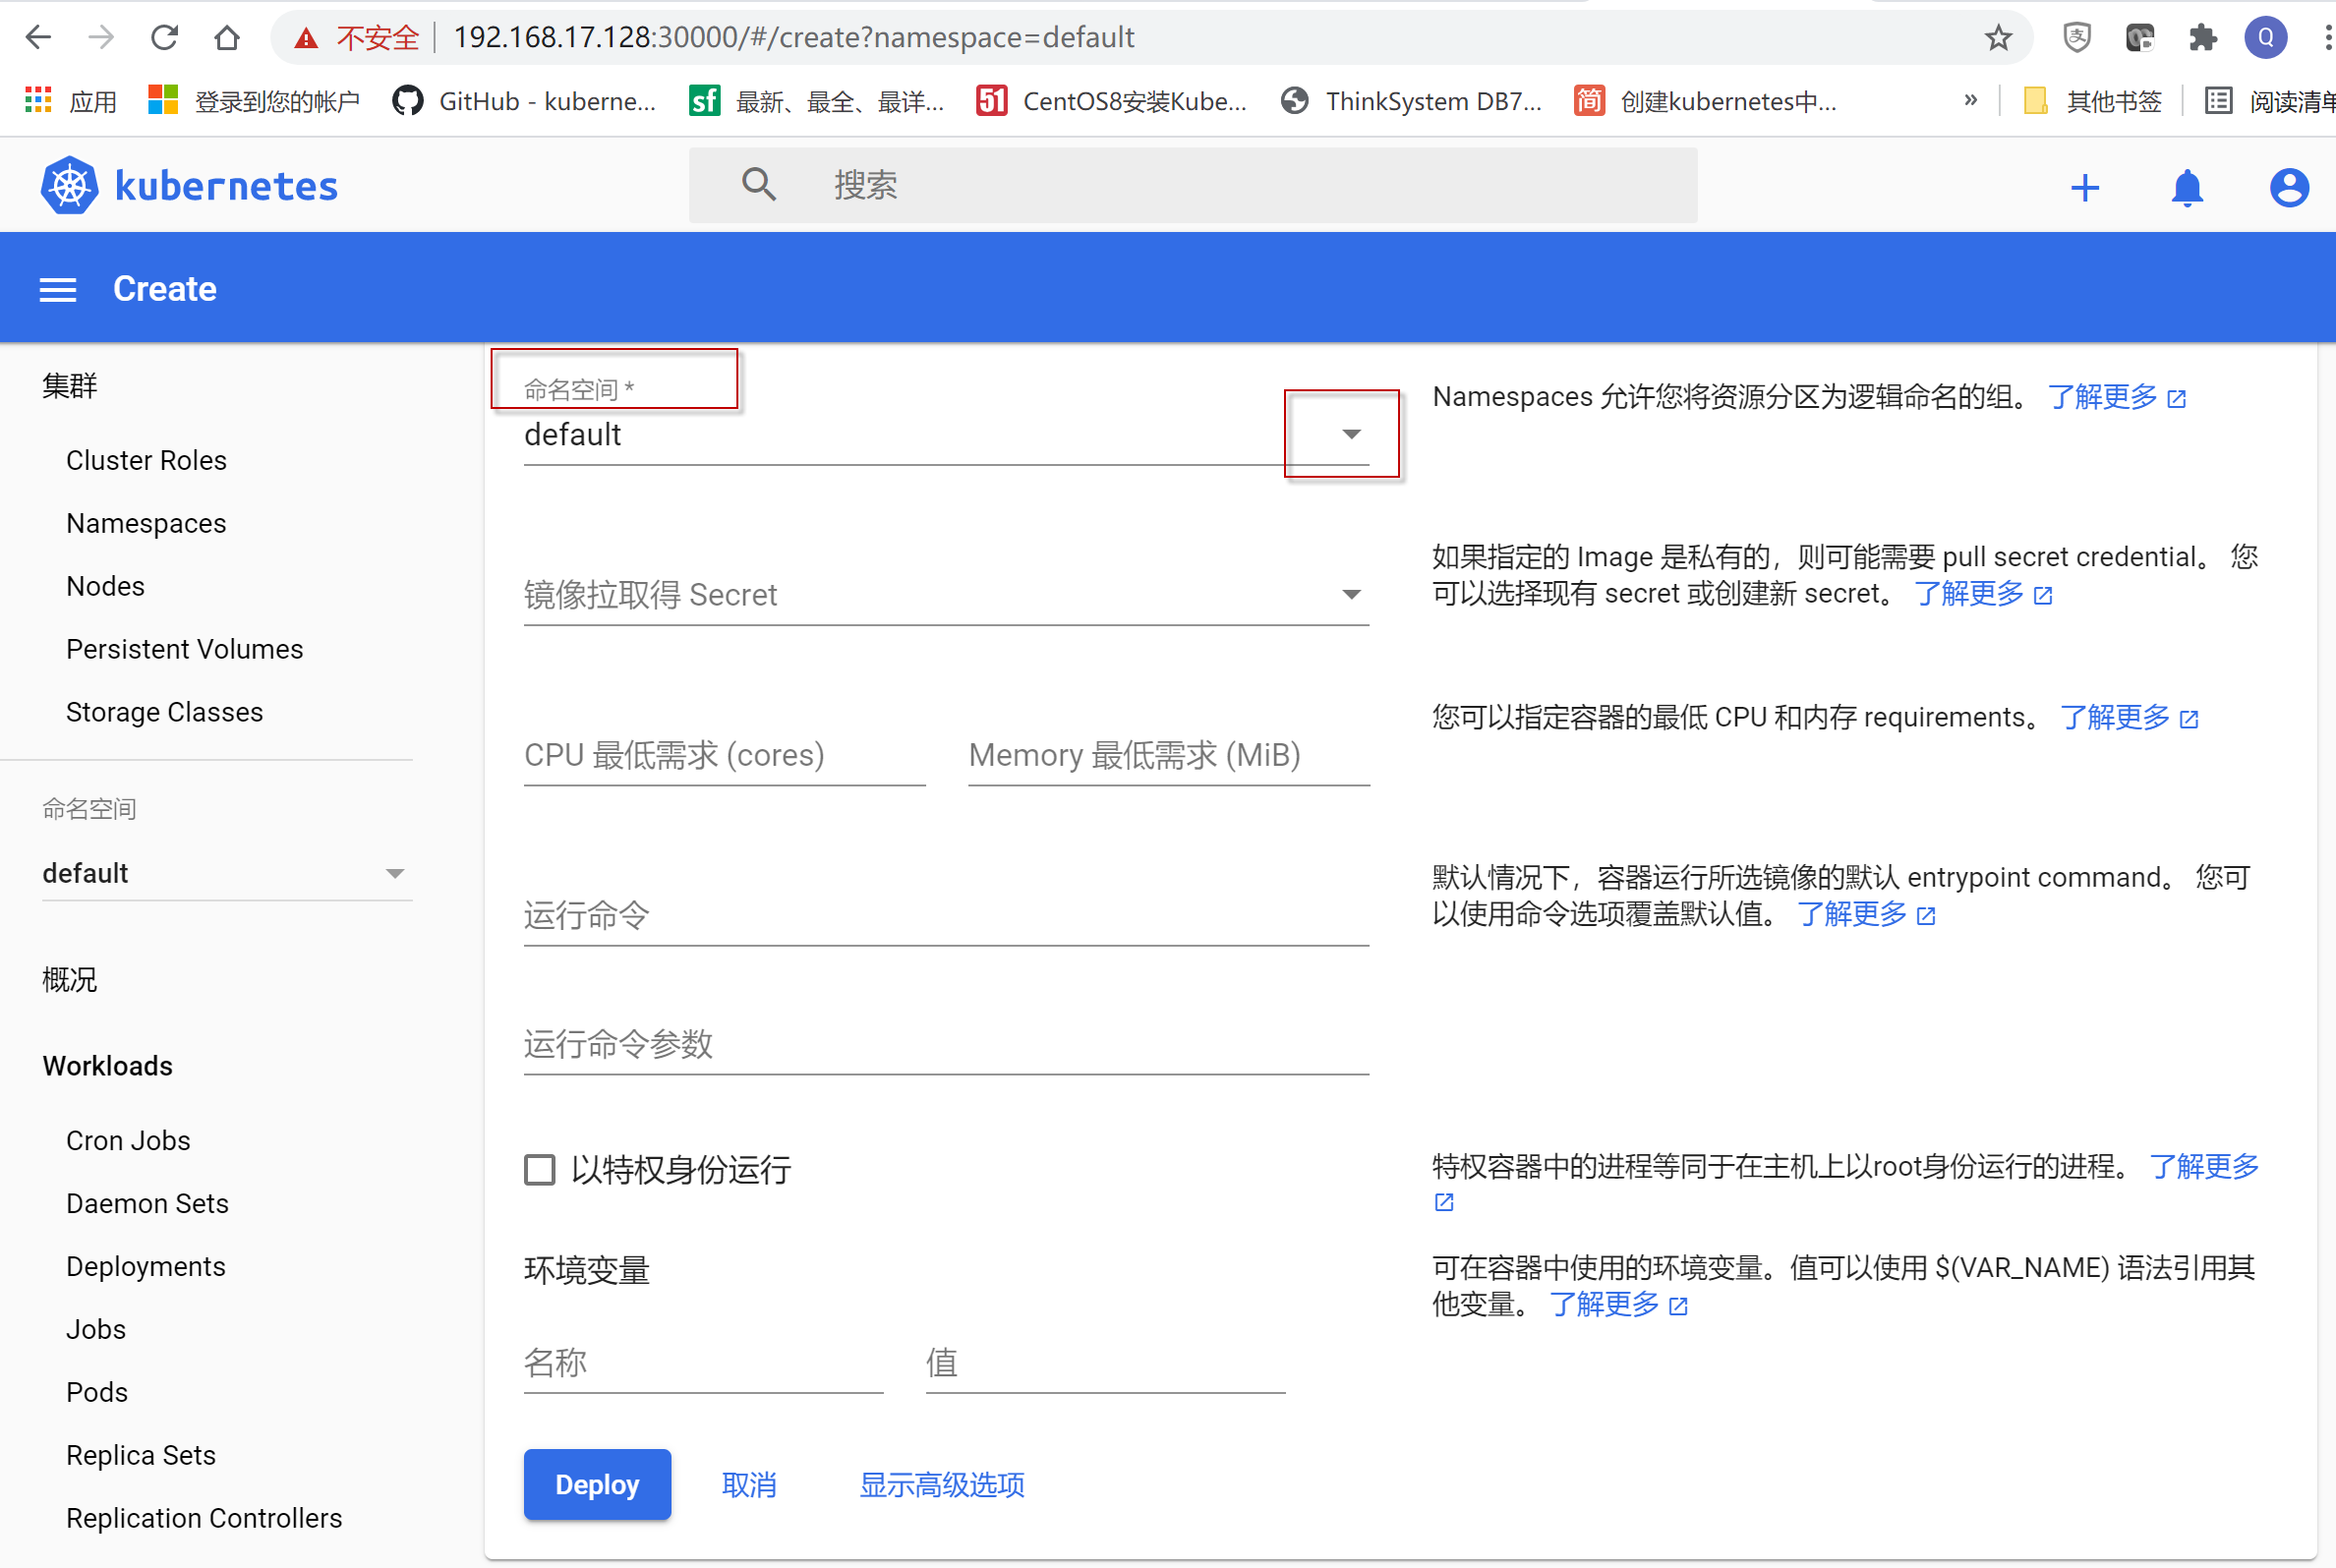
点击“命名空间”的向下箭头,选择下拉框中最后一个选项“创建一个新的命名空间”,
输入新的命名空间名称,
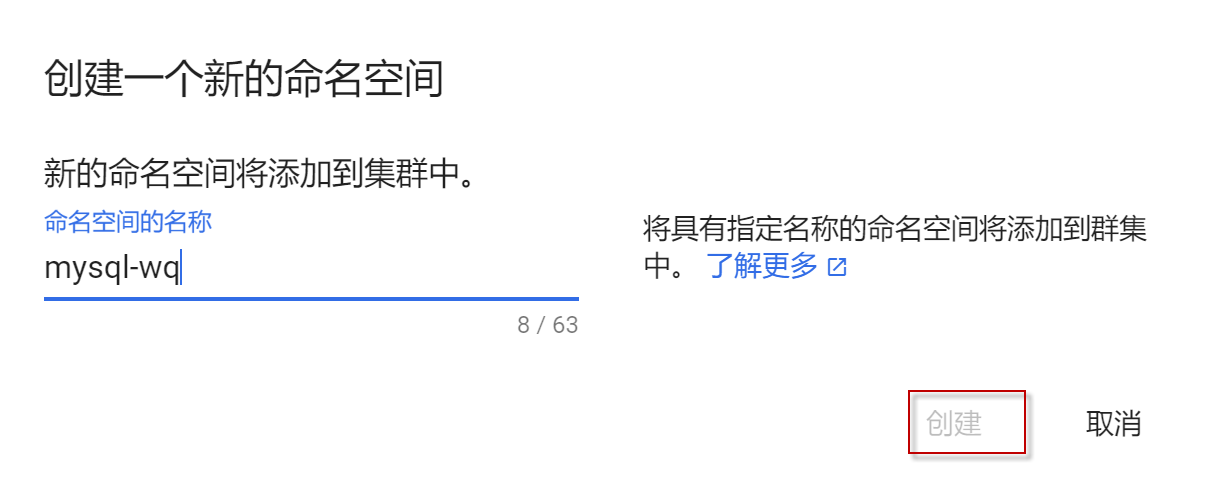
“环境变量”选项,输入mysql数据库的“MYSQL_ROOT_PASSWORD”及密码值,然后点击Deploy按钮。
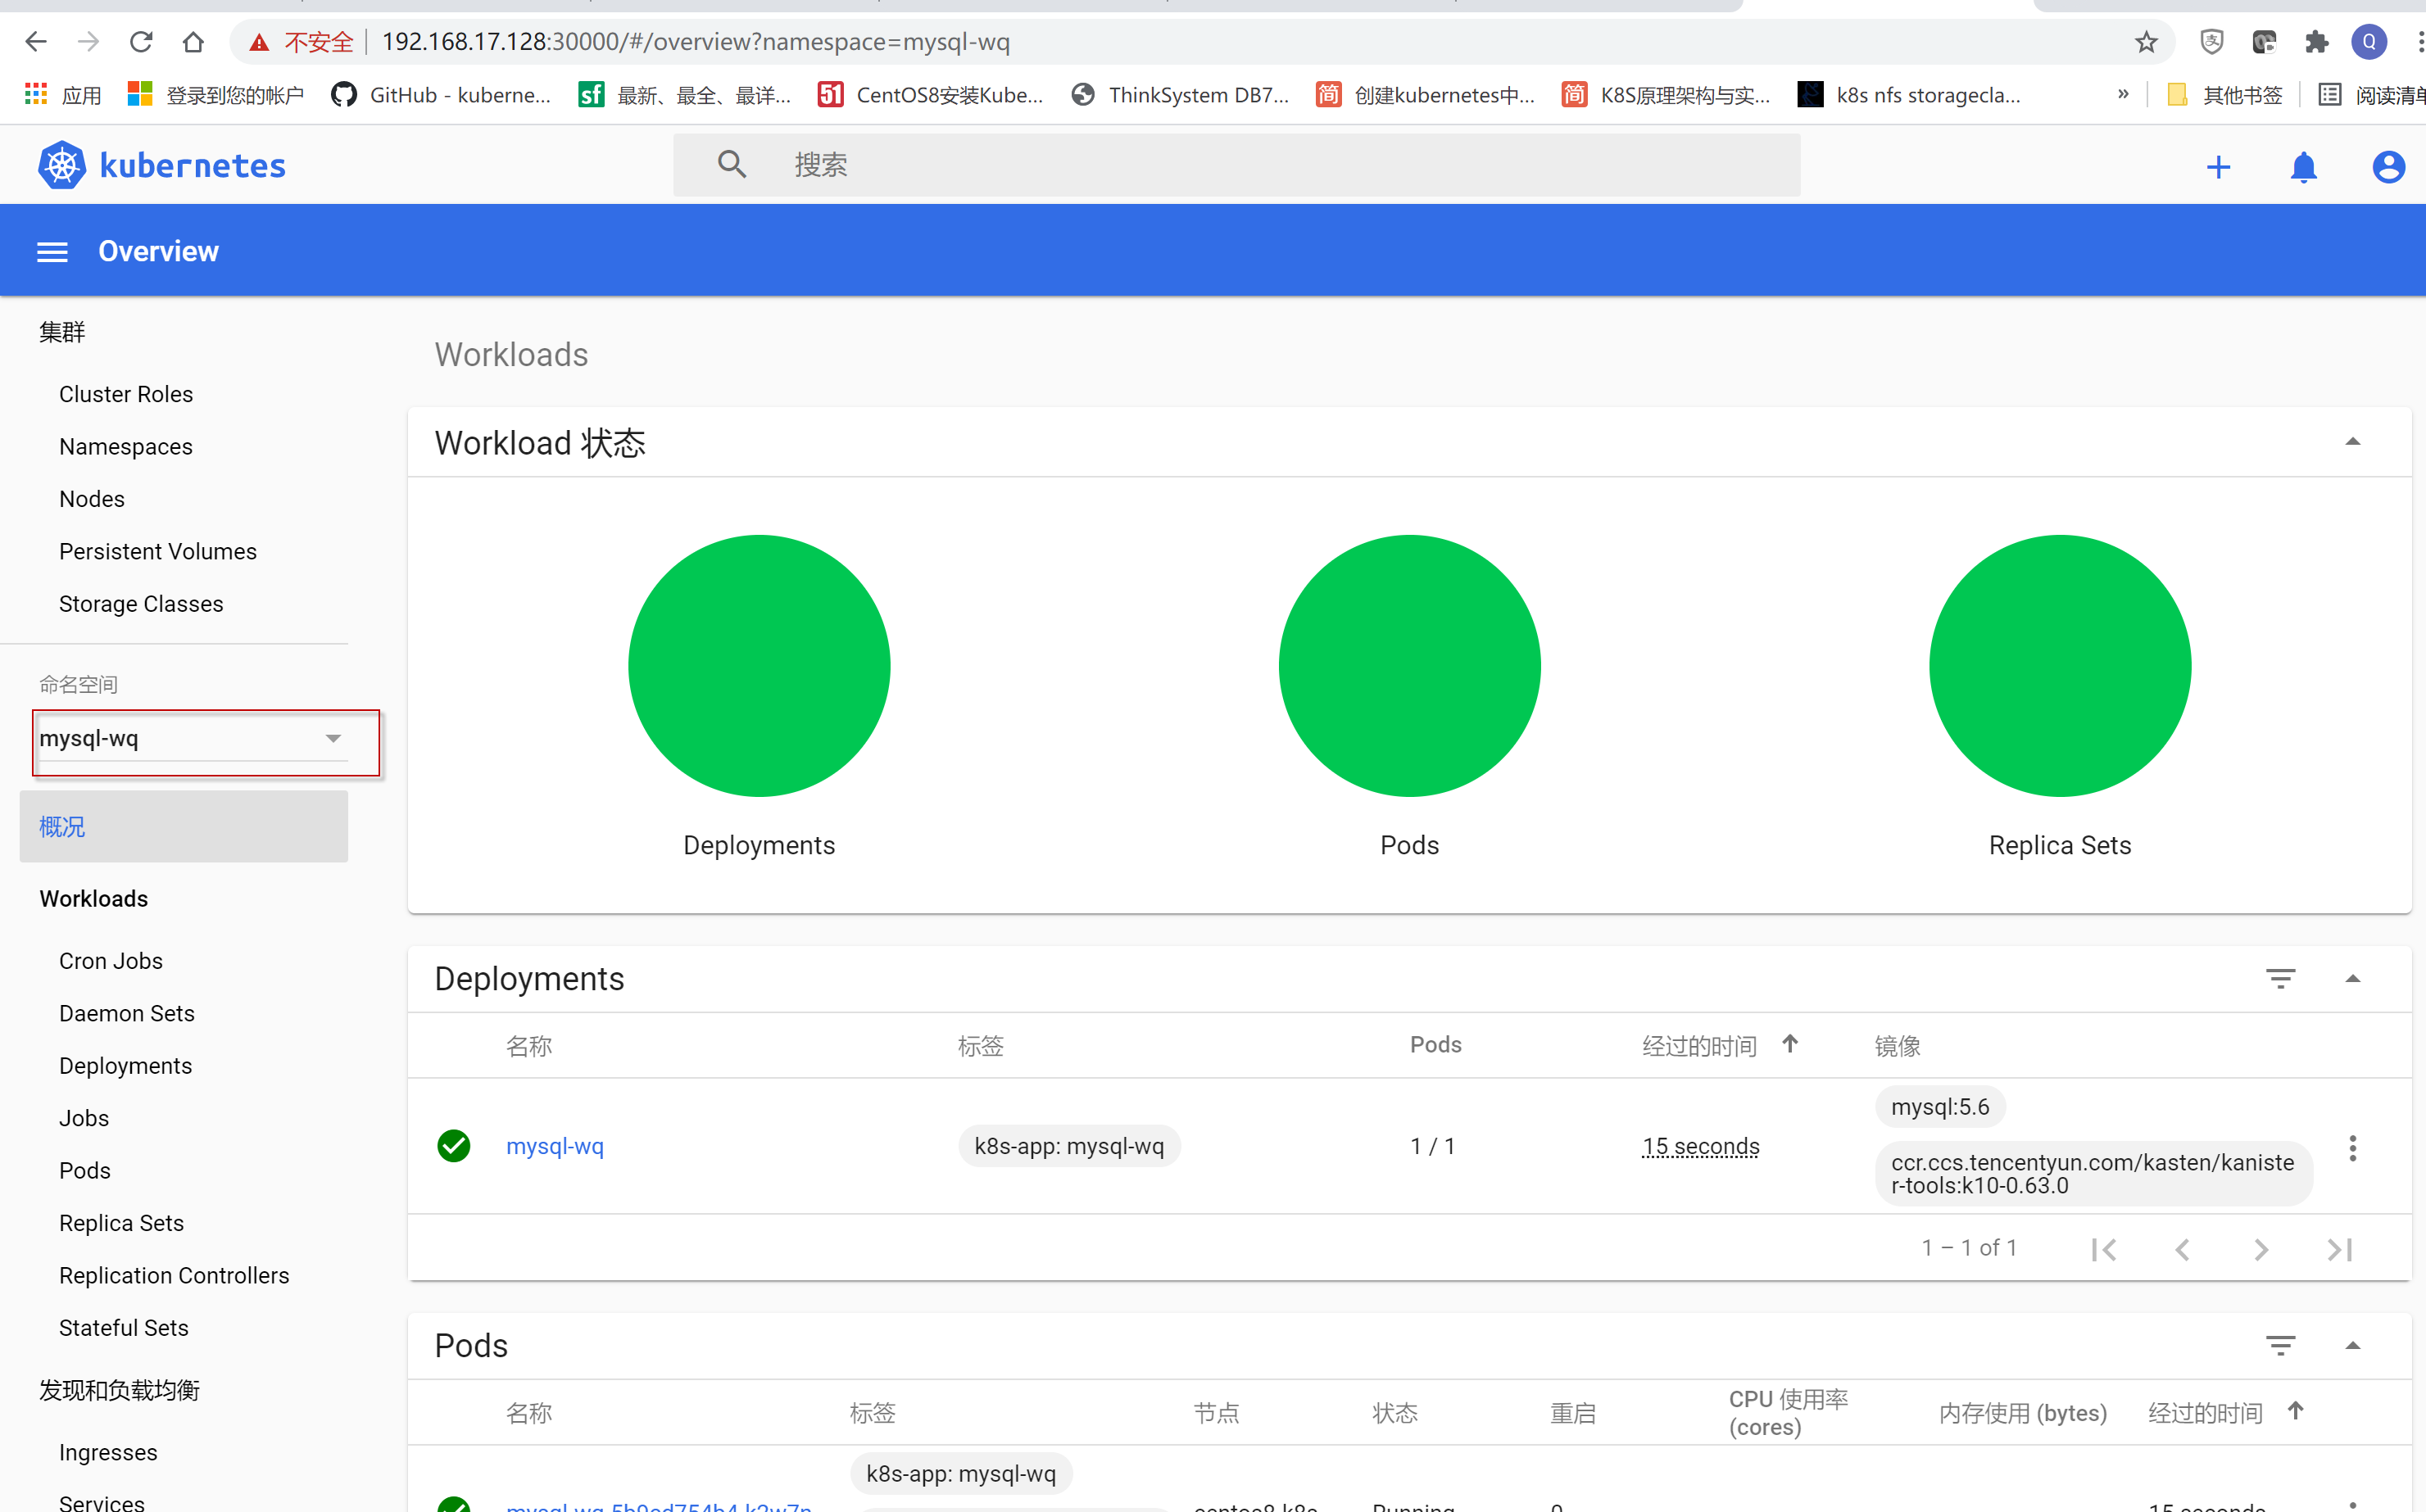
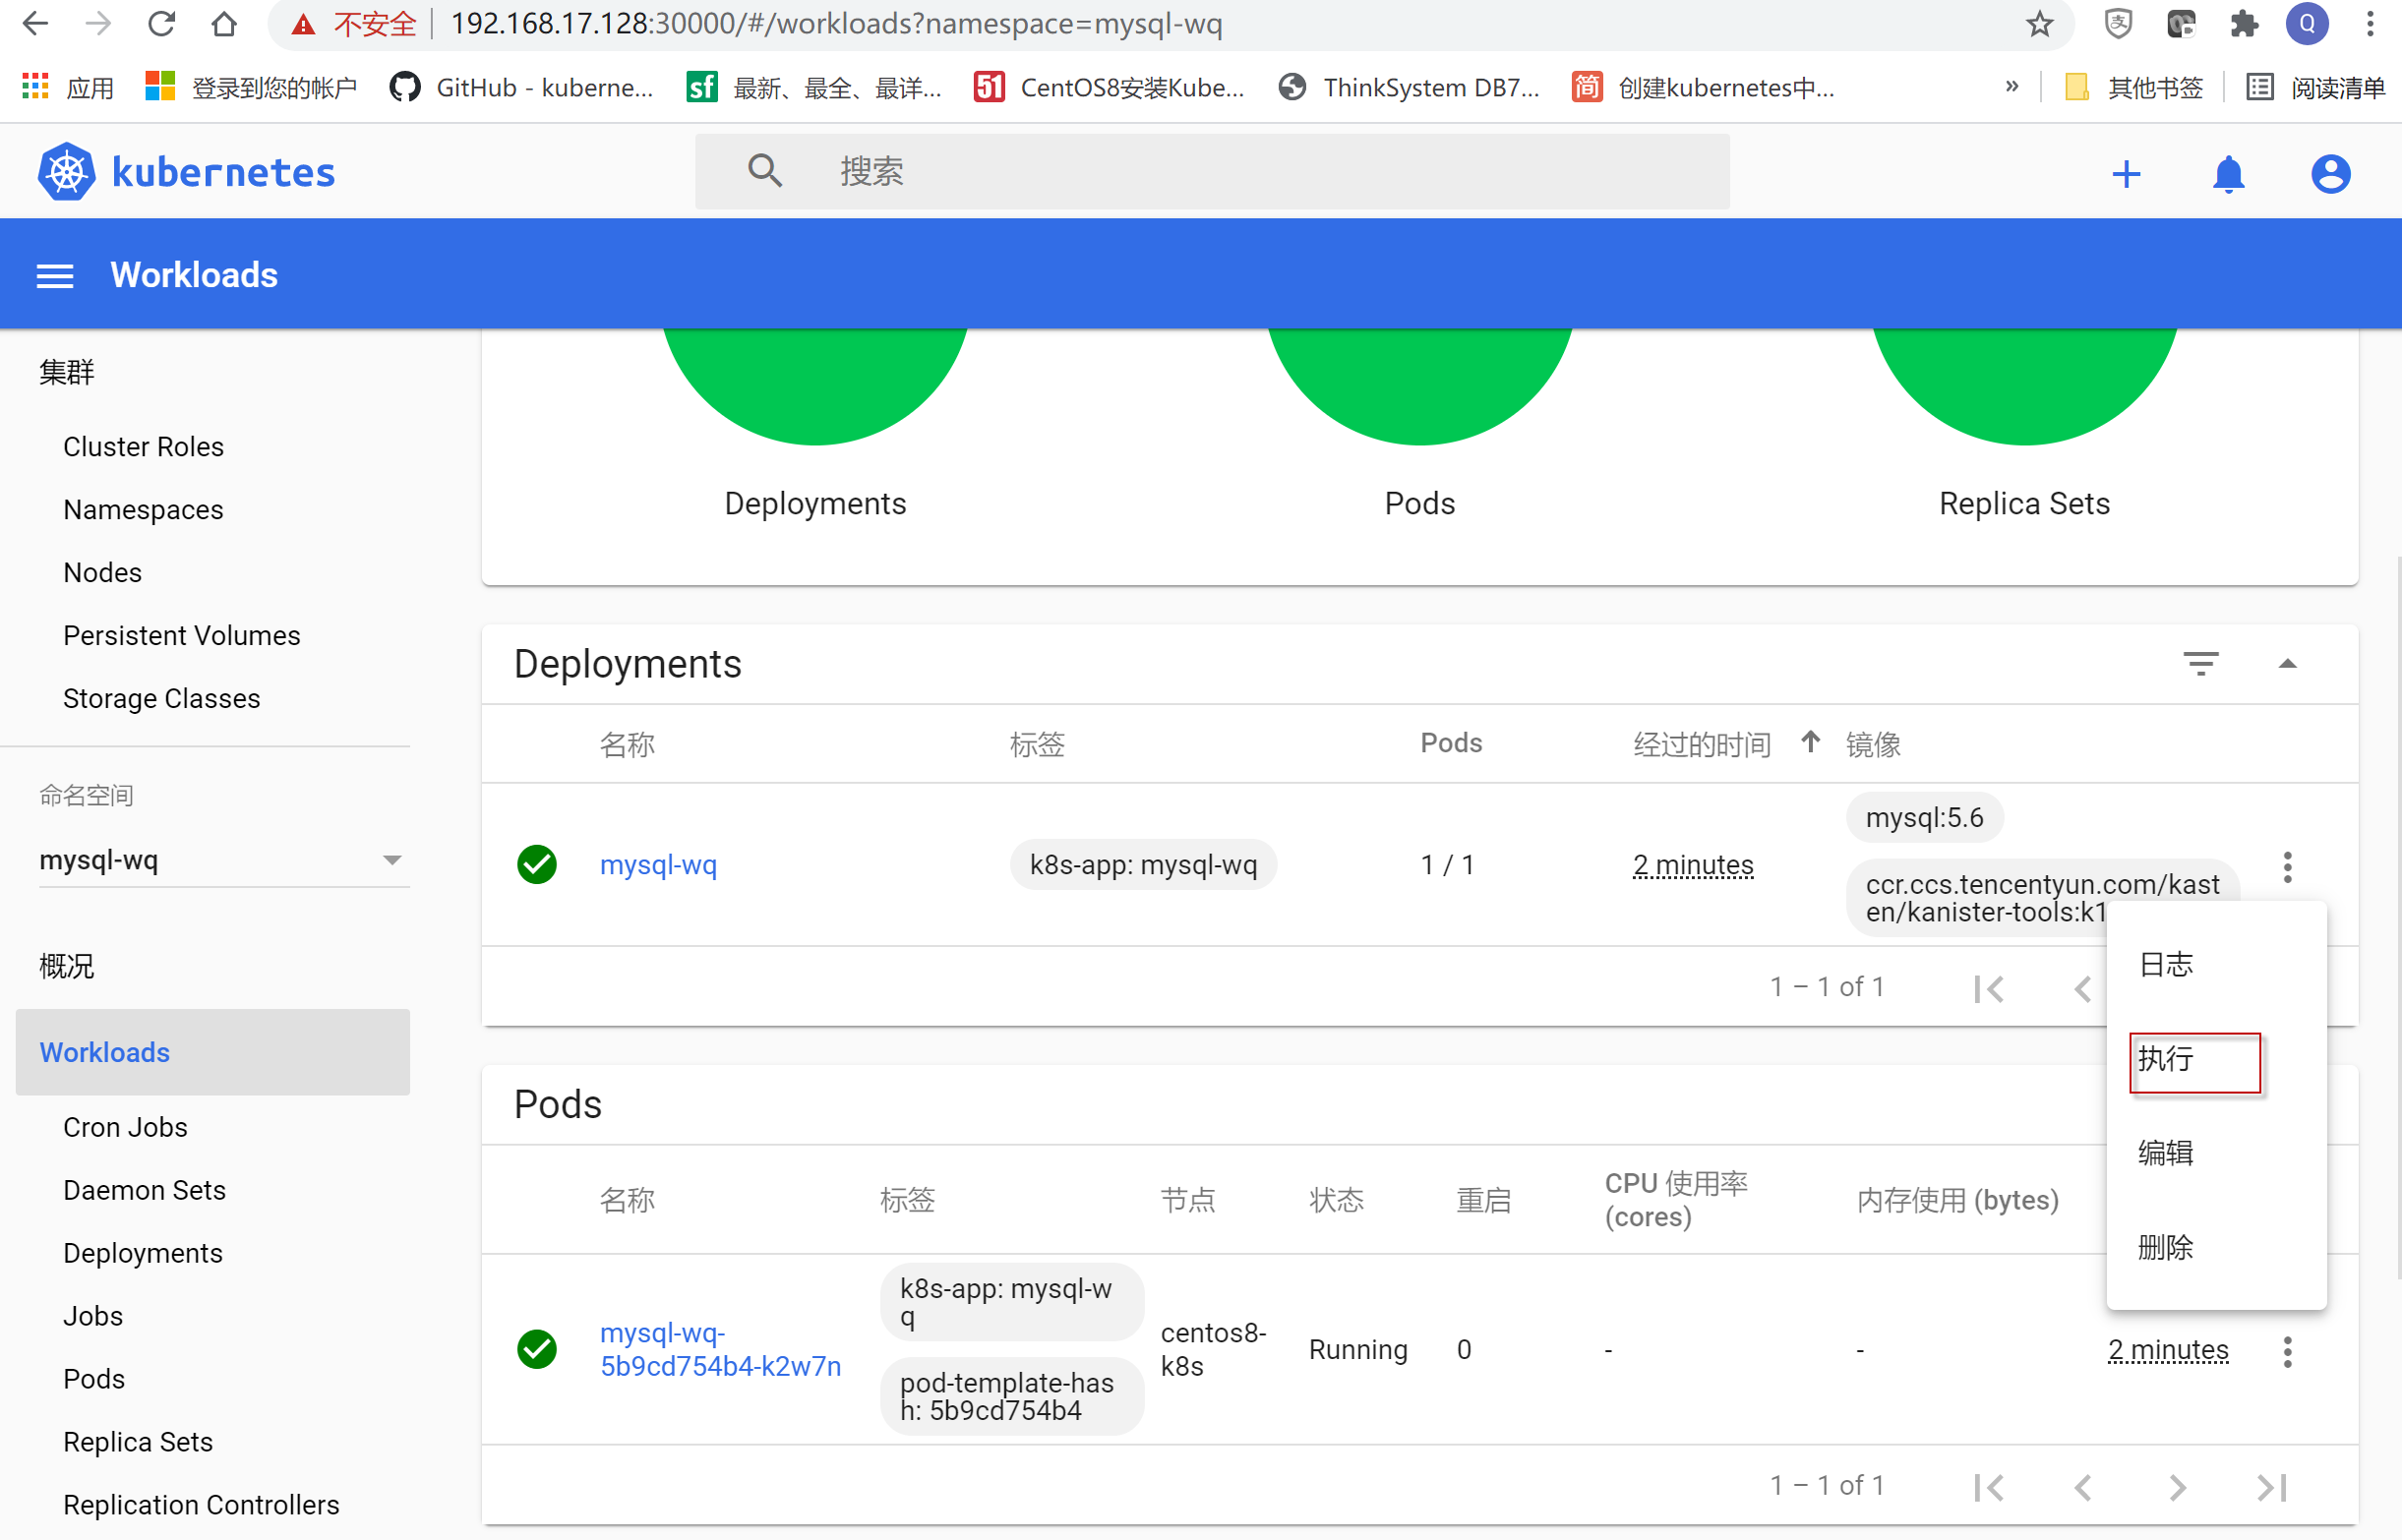
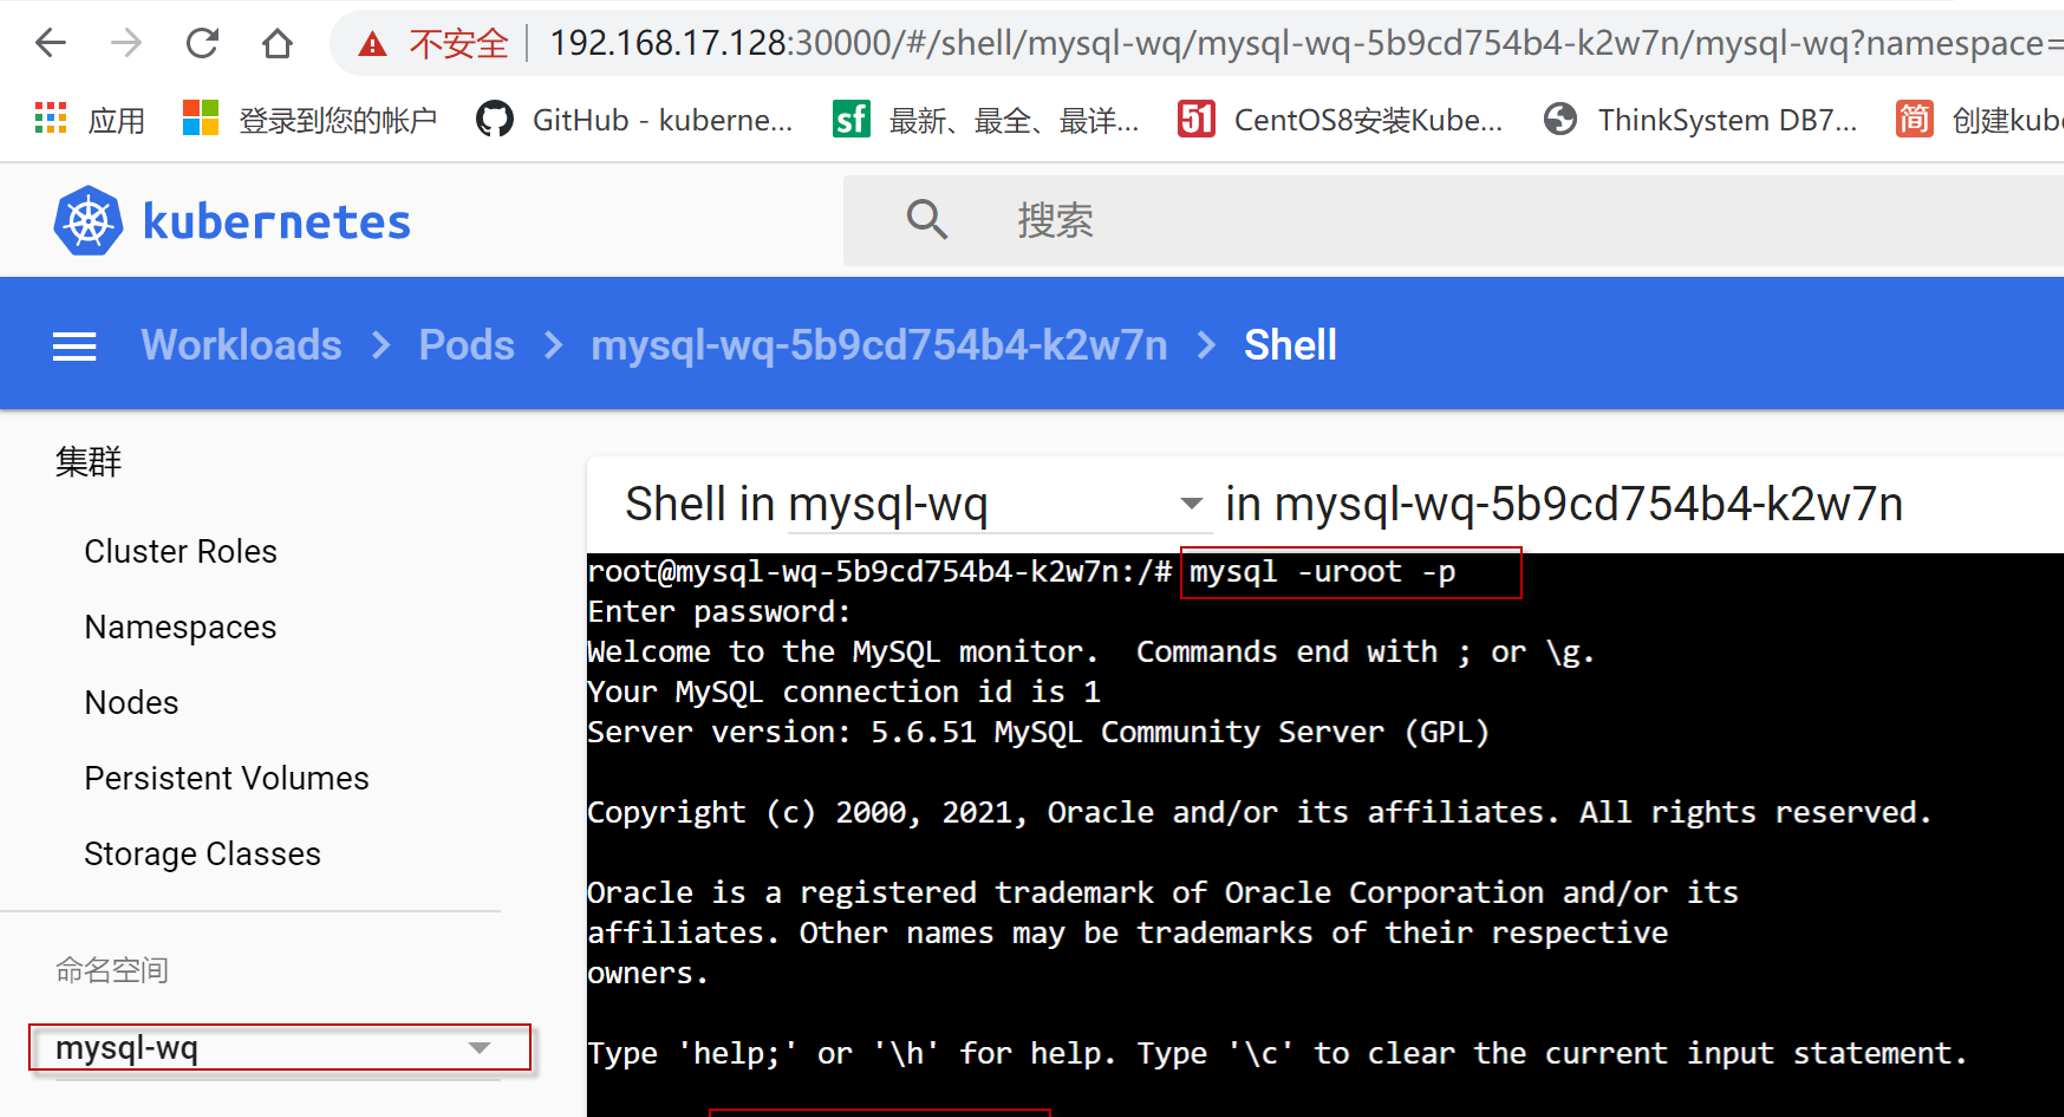
选择命名空间为mysql-wq,点击左导航菜单项workloads, 选择右边窗口中Pods栏中mysql-wq行最右边“三个点”,在弹出的菜单项中选择“执行”菜单项。
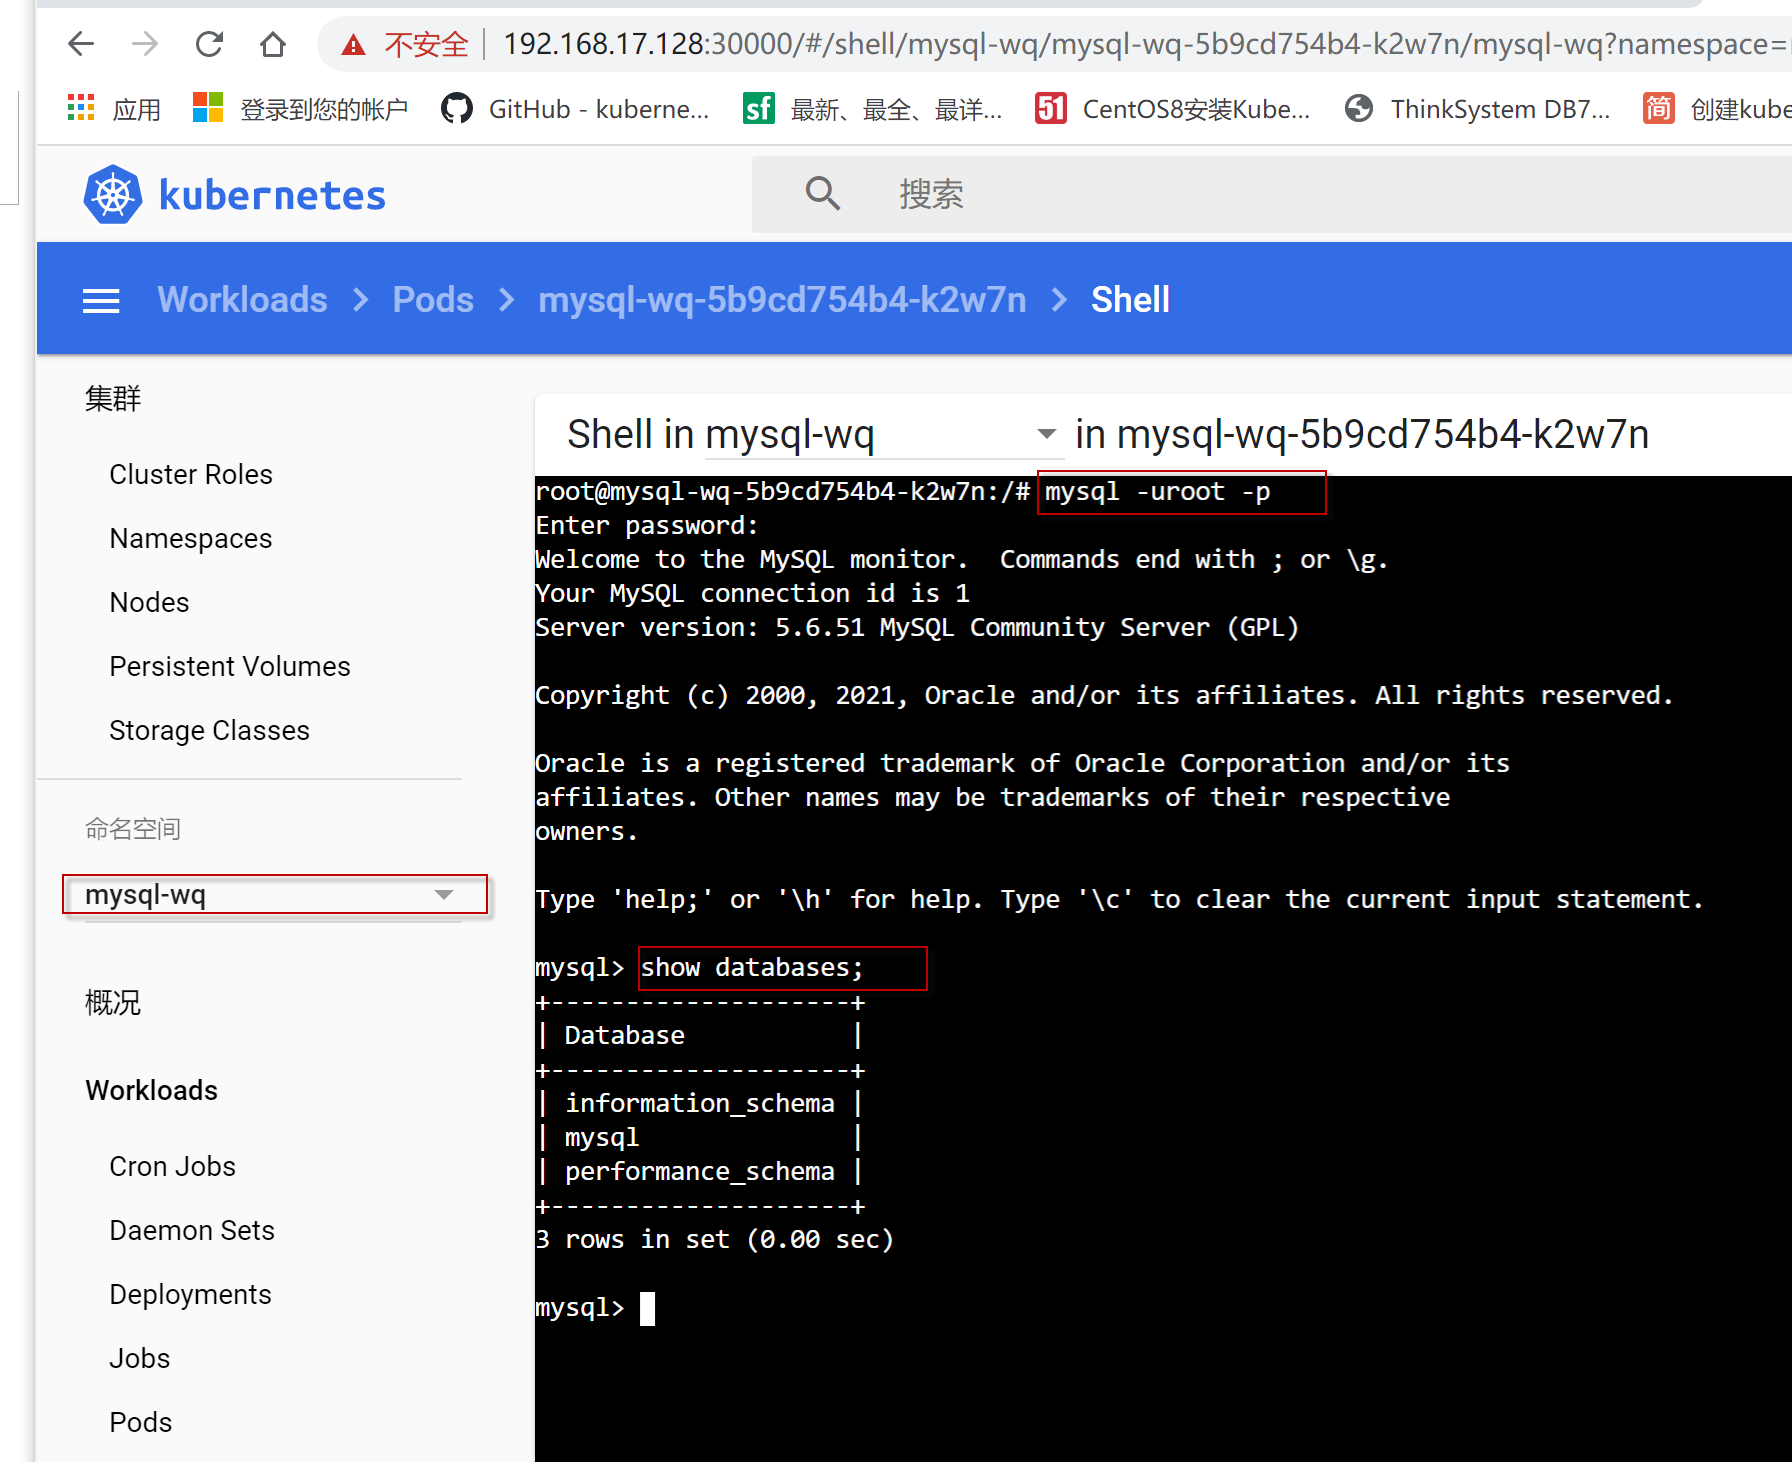
运行mysql -uroot -p, 然后输入密码,进入mysql命令行,输入show databases;命令,看到输出如下结果,表明mysql容器部署成功。
5. 安装配置helm
[root@centos8-k8s ~]# pwd
/root
[root@centos8-k8s ~]# wget https://get.helm.sh/helm-v3.1.2-linux-amd64.tar.gz
[root@centos8-k8s ~]# tar zxvf helm-v3.1.2-linux-amd64.tar.gz linux-amd64/
[root@centos8-k8s ~]# cp -a linux-amd64/helm /usr/local/bin/cp:
[root@centos8-k8s ~]# helm version
version.BuildInfo{Version:"v3.1.2", GitCommit:"d878d4d45863e42fd5cff6743294a11d28a9abce", GitTreeState:"clean", GoVersion:"go1.13.8"}
[root@centos8-k8s ~]# helm repo add aliyun https://kubernetes.oss-cn-hangzhou.aliyuncs.com/charts
[root@centos8-k8s ~]# helm repo update
[root@centos8-k8s ~]# vi /etc/profile
添加一行“export KUBECONFIG=/root/.kube/config”
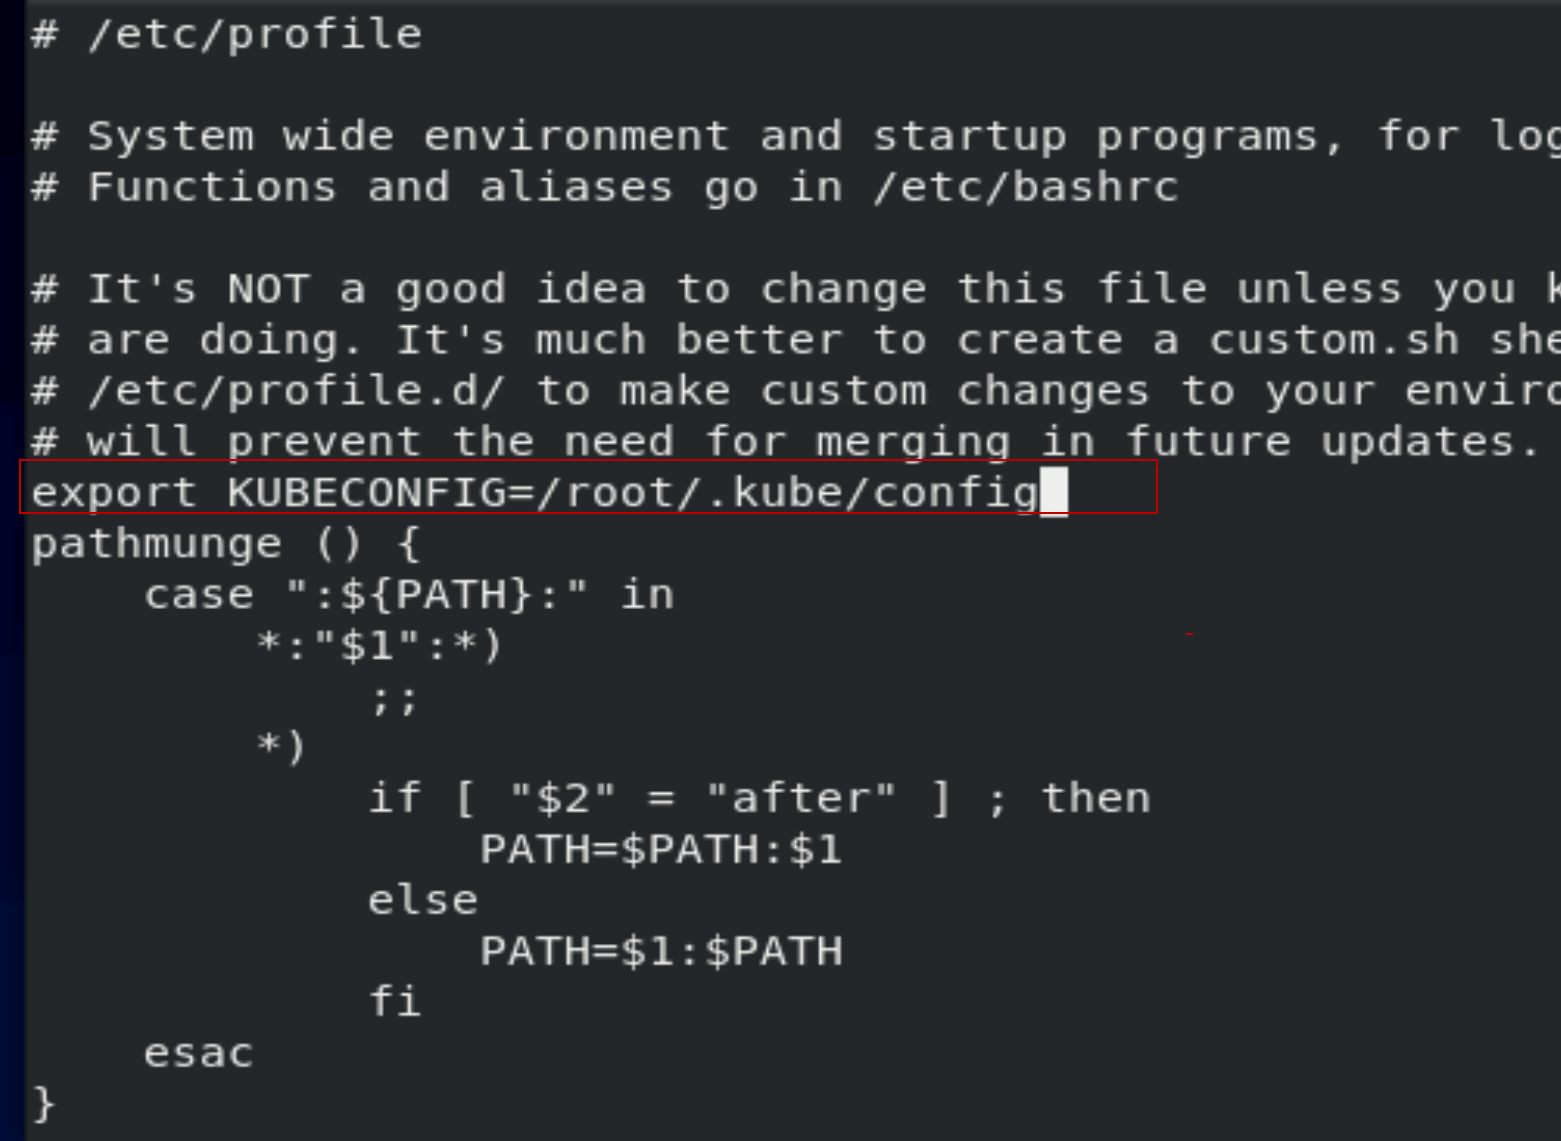
[root@centos8-k8s ~]# . /etc/profile
6. 安装nfs服务
[root@centos8-k8s ~]# yum -y install nfs-utils rpcbind
[root@centos8-k8s ~]# mkdir /nfsdata
[root@centos8-k8s ~]# vi /etc/exports
除了通常的rw,sync权限外,一定要添加no_root_squash权限,否则后面安装k10时会报"mkdir /var/reports/k10: permission denied"等的错误。
/nfsdata *(rw,sync,no_root_squash)
[root@centos8-k8s ~]# exportfs -rv
exporting *:/nfsdata
[root@centos8-k8s ~]# systemctl start rpcbind
A dependency job for rpcbind.service failed. See 'journalctl -xe' for details.
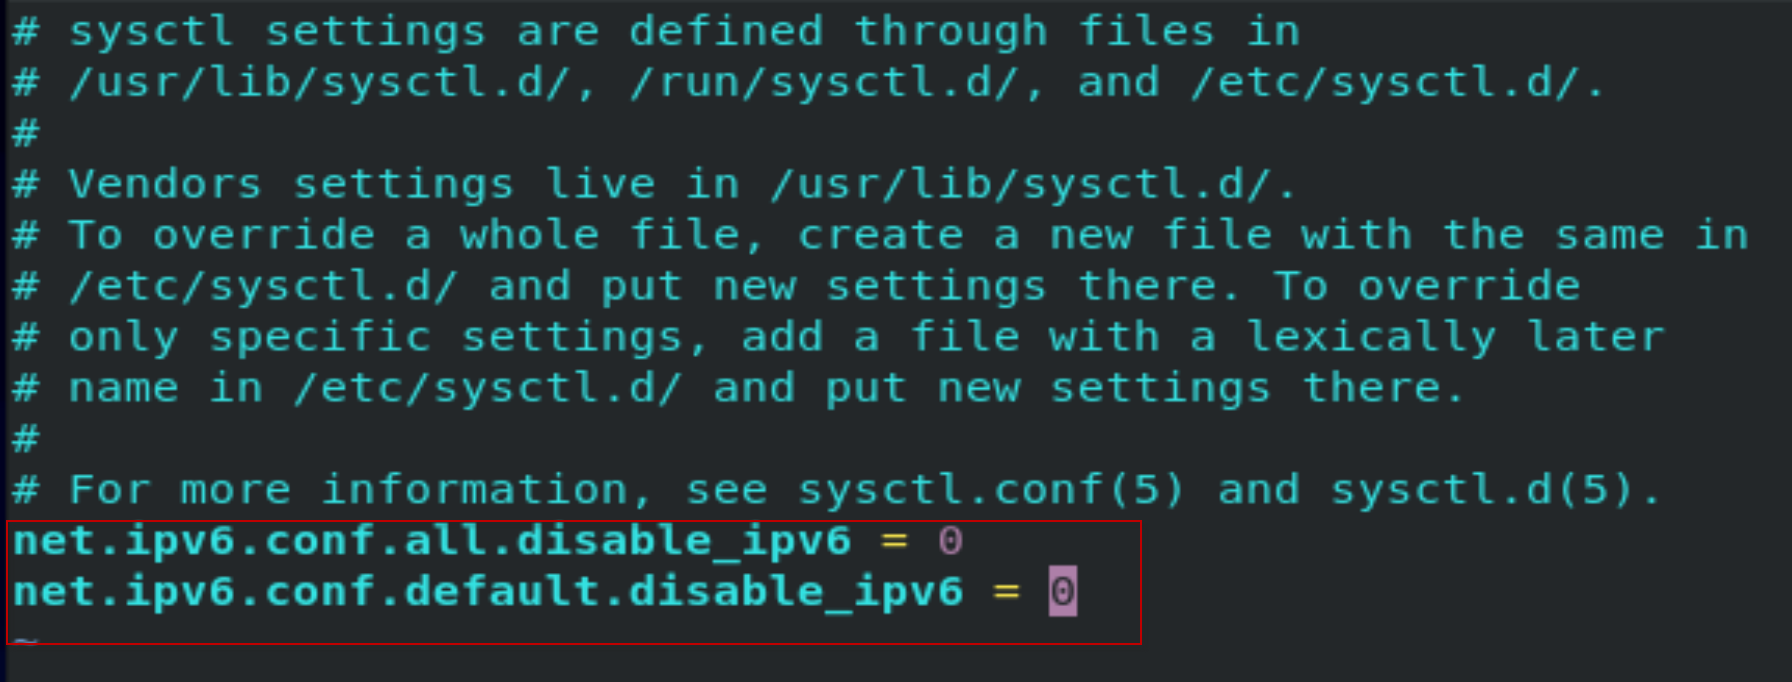
[root@centos8-k8s ~]# vi /etc/sysctl.conf
添加2行:
net.ipv6.conf.all.disable_ipv6 = 0
net.ipv6.conf.default.disable_ipv6 = 0
[root@centos8-k8s ~]# systemctl restart rpcbind.service
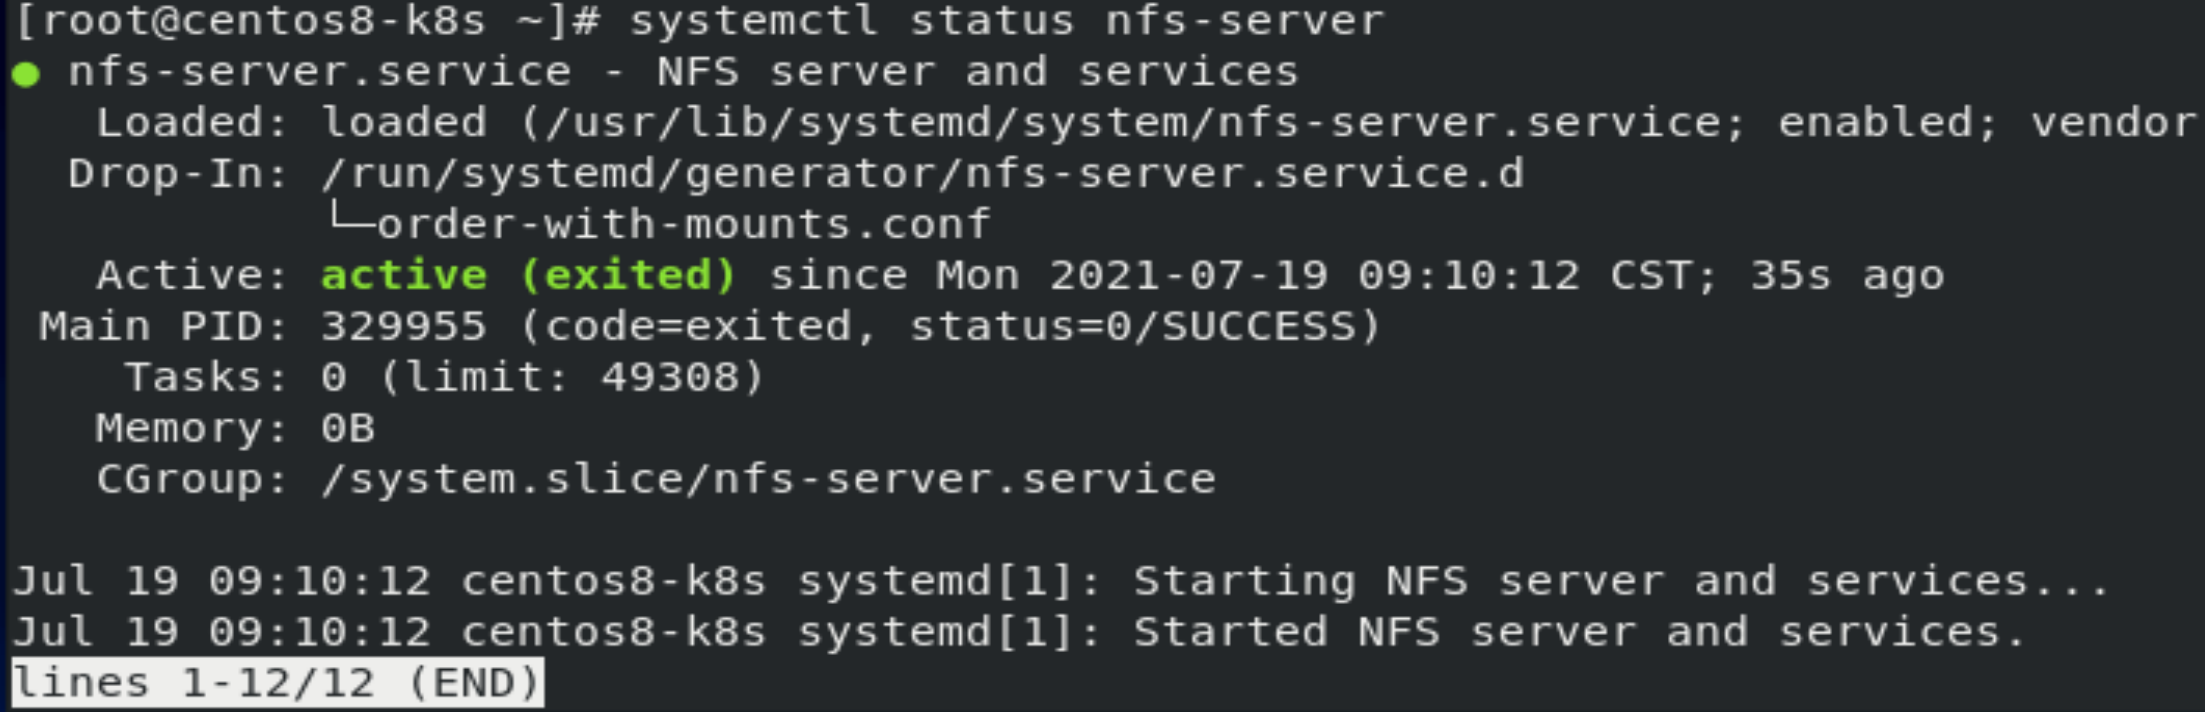
[root@centos8-k8s ~]# systemctl start nfs-server
[root@centos8-k8s ~]# systemctl enable nfs-server
[root@centos8-k8s ~]# systemctl status nfs-server
[root@centos8-k8s ~]# rpcinfo -p
[root@centos8-k8s ~]# showmount -e
Export list for Centos8.3-k8s:
/nfsdata *
[root@centos8-k8s ~]# mount -t nfs 192.168.17.128:/nfsdata /mnt/
[root@Centos8 mnt]# df -h

7. 安装配置storageclass
[root@centos8-k8s external-storage]# git clone https://github.com/helm/charts.git
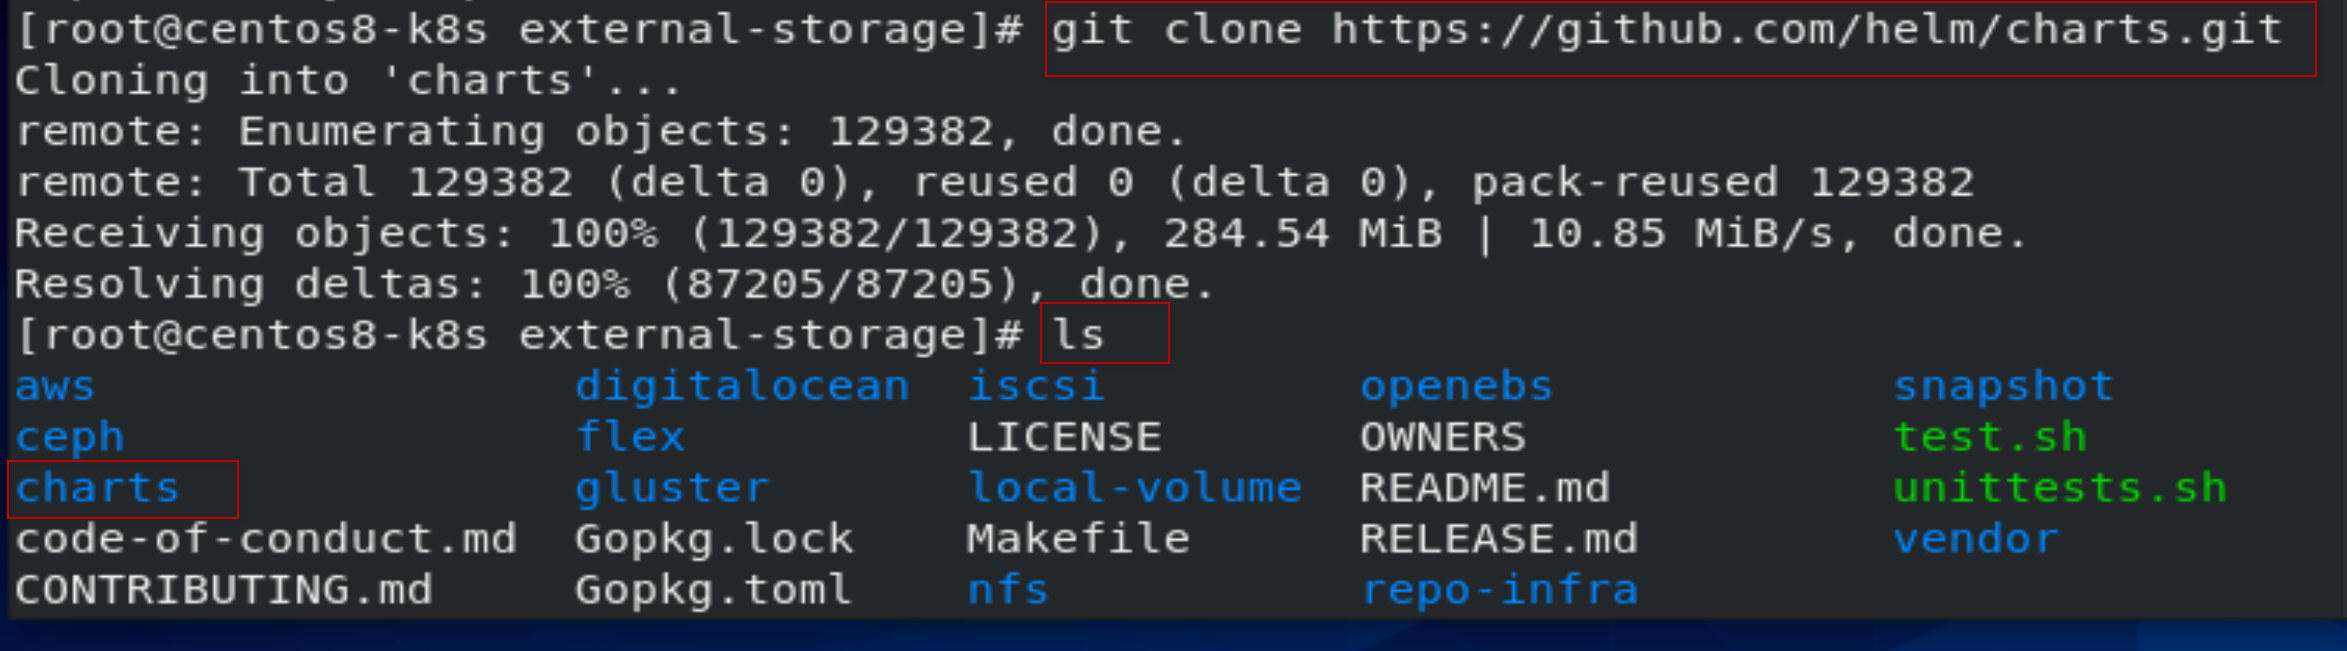
[root@centos8-k8s external-storage]# cd charts
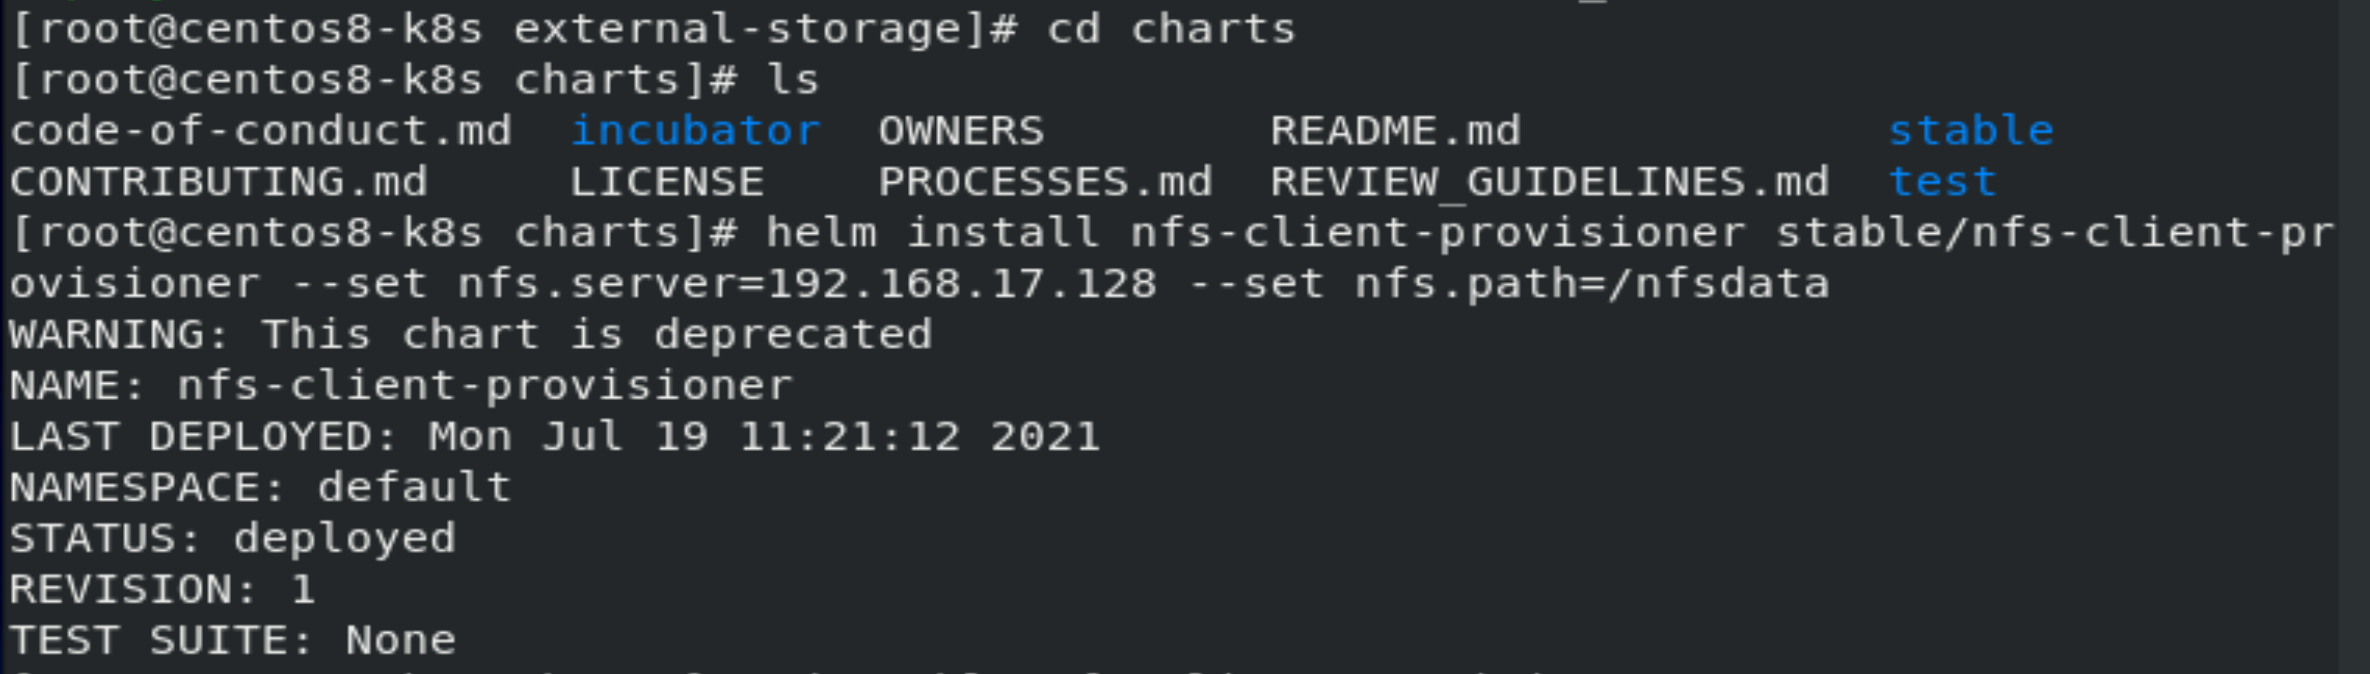
以下命令-set nfs.server是本机的ip, --set nfs.path是上面创建的nfs路径。
[root@centos8-k8s charts]# helm install nfs-client-provisioner stable/nfs-client-provisioner --set nfs.server=192.168.17.128 --set nfs.path=/nfsdata
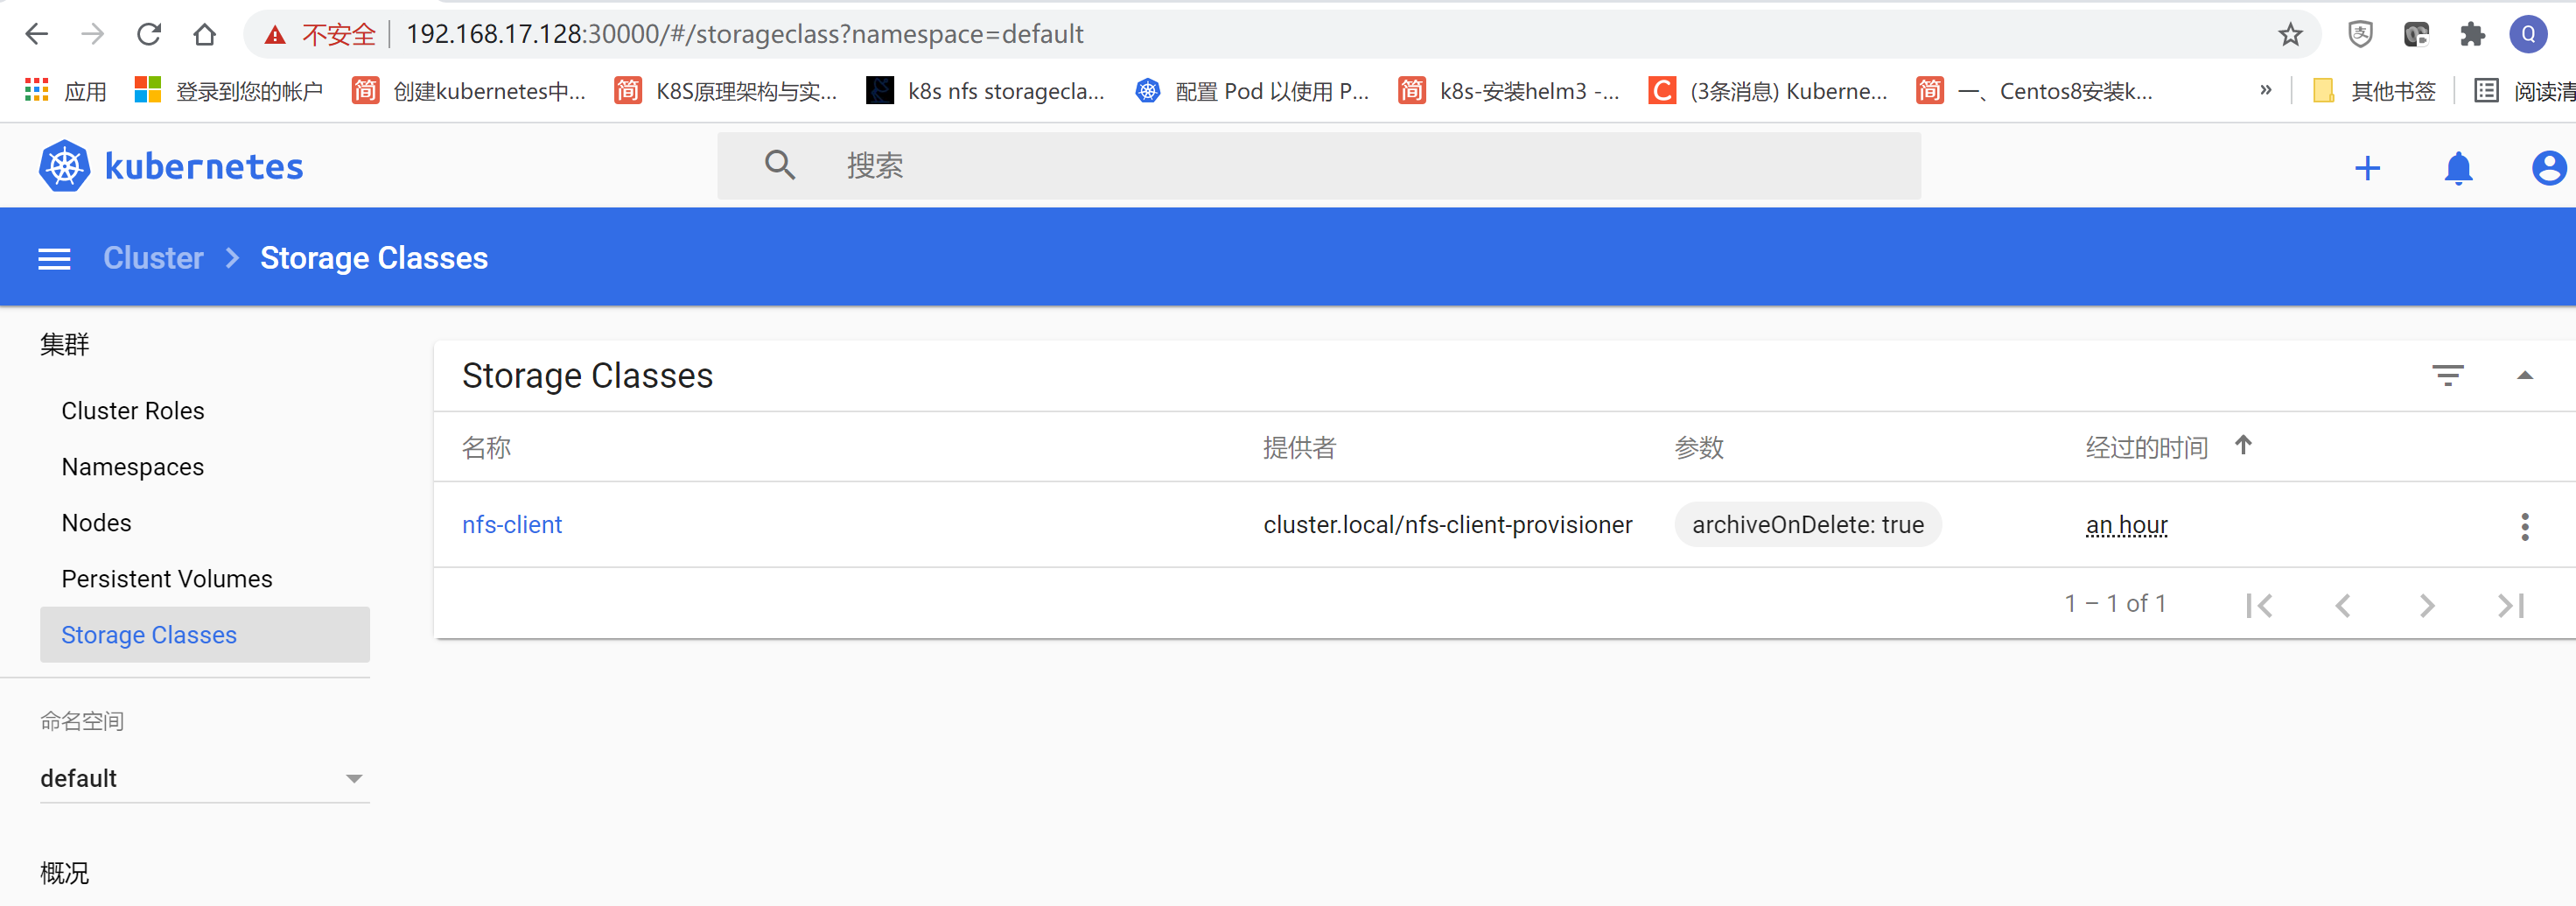
[root@centos8-k8s nfs-client-provisioner]# kubectl get sc

设置为default storage class.
[root@centos8-k8s nfs-client-provisioner]# kubectl patch storageclass nfs-client -p '{"metadata": {"annotations":{"storageclass.kubernetes.io/is-default-class":"true"}}}'
storageclass.storage.k8s.io/nfs-client patched

[root@centos8-k8s nfsdata]# kubectl get sc

[root@centos8-k8s charts]# chmod 777 /nfsdata
通过以下测试验证storageclass是否安装配置成功。
[root@centos8-k8s charts]# vi test-claim.yaml
以下标红的部分可以根据自己需要修改。
# vim test-claim.yaml
kind: PersistentVolumeClaim
apiVersion: v1
metadata:
name: test-claim
spec:
accessModes:
- ReadWriteMany
resources:
requests:
storage: 1Mi
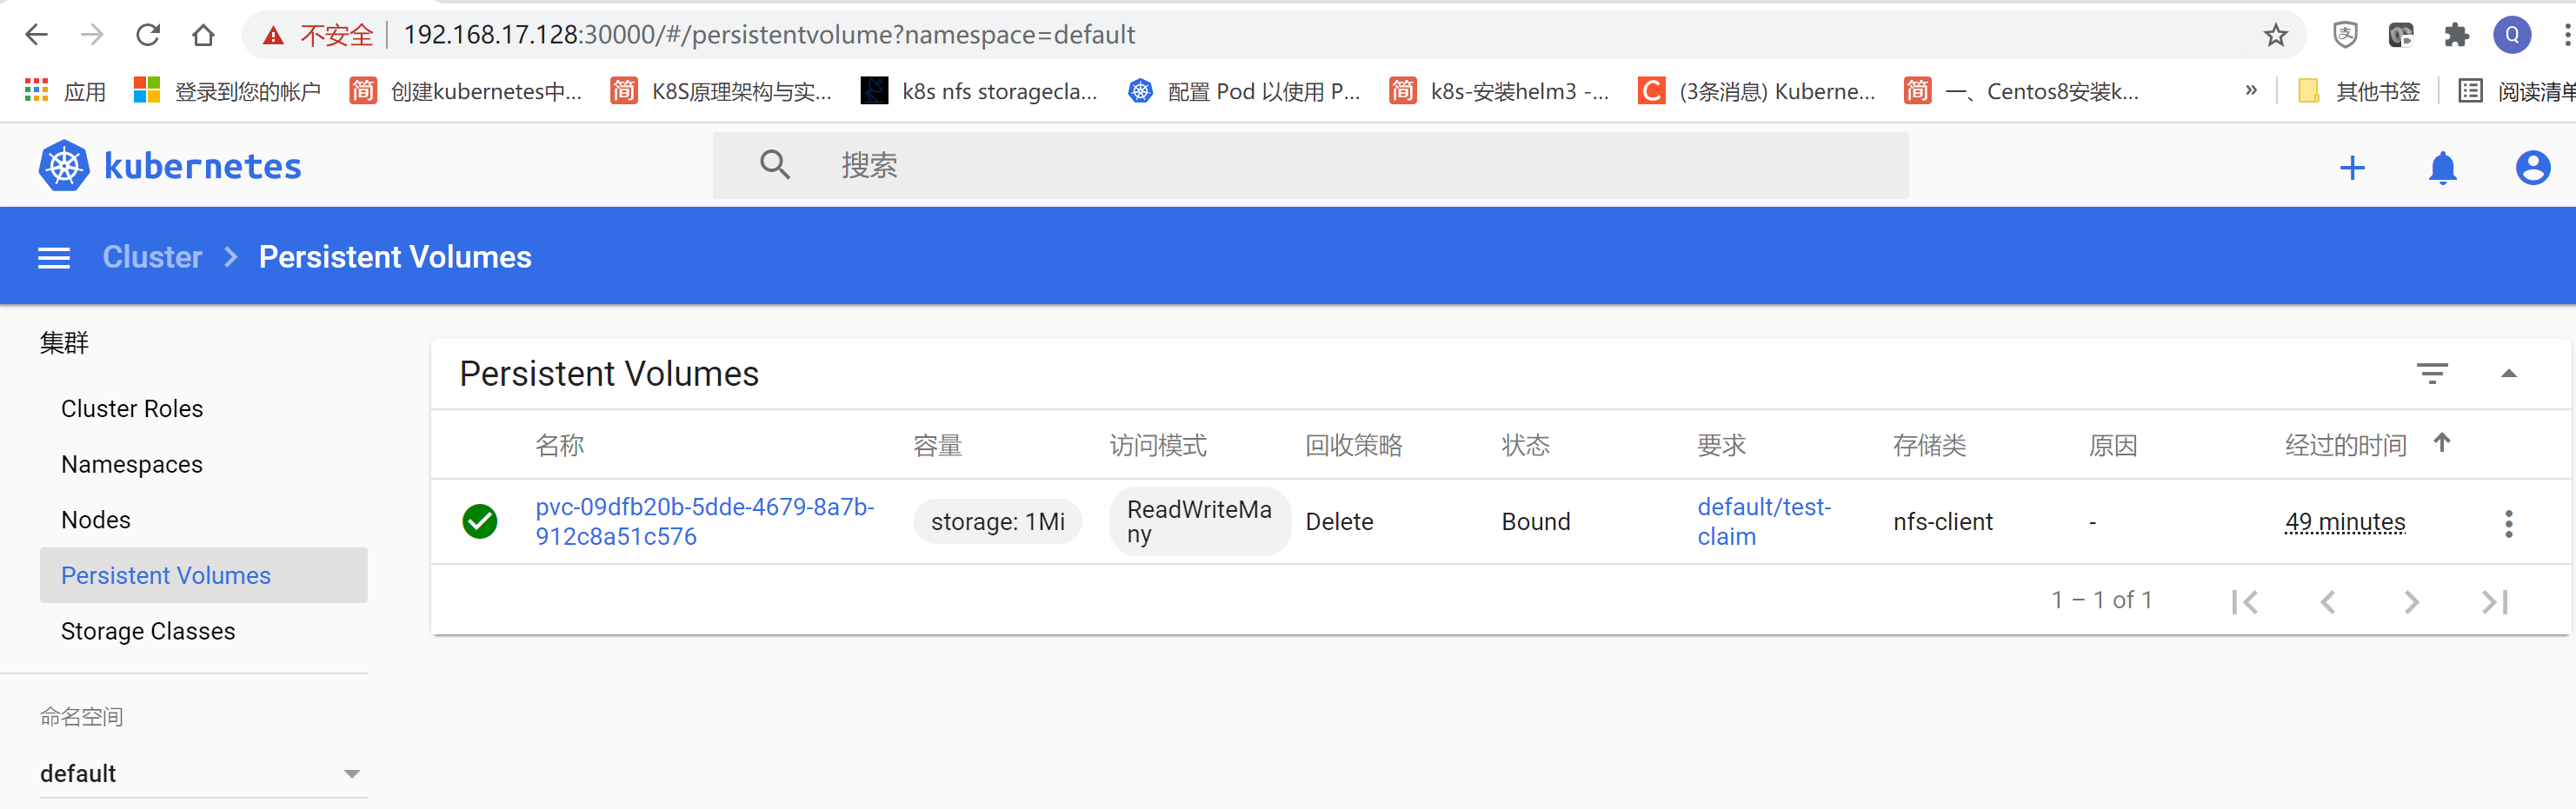
[root@centos8-k8s charts]# kubectl apply -f test-claim.yaml
persistentvolumeclaim/test-claim created
[root@centos8-k8s charts]# kubectl get pv

[root@centos8-k8s charts]# vi test-pod.yaml
以下标红的部分可以根据自己需要修改。
# vim test-pod.yaml
kind: Pod
apiVersion: v1
metadata:
name: test-pod
spec:
containers:
- name: test-pod
image: centos
command:
- "/bin/sh"
args:
- "-c"
- "touch /mnt/SUCCESS && exit 0 || exit 1"
volumeMounts:
- name: nfs-pvc
mountPath: "/mnt"
restartPolicy: "Never"
volumes:
- name: nfs-pvc
persistentVolumeClaim:
claimName: test-claim
[root@centos8-k8s charts]# kubectl apply -f test-pod.yaml

[root@centos8-k8s charts]# kubectl get pod

[root@centos8-k8s charts]# cd /mnt
[root@centos8-k8s mnt]# ls
[root@centos8-k8s mnt]# cd d*
[root@centos8-k8s default-test-claim-pvc-09dfb20b-5dde-4679-8a7b-912c8a51c576]# ls -l

查看到创建的SUCCESS文件,表明创建storageclass安装配置成功
8. 安装k10
[root@centos8-k8s ~]# helm repo add kasten https://charts.kasten.io/
"kasten" has been added to your repositories
[root@centos8-k8s ~]# helm fetch kasten/k10 --version=4.0.8
[root@centos8-k8s ~]# helm repo update
Hang tight while we grab the latest from your chart repositories...
...Successfully got an update from the "aliyun" chart repository
...Successfully got an update from the "kasten" chart repository
Update Complete. ⎈ Happy Helming!⎈
[root@centos8-k8s ~]# kubectl create namespace kasten-io
namespace/kasten-io created
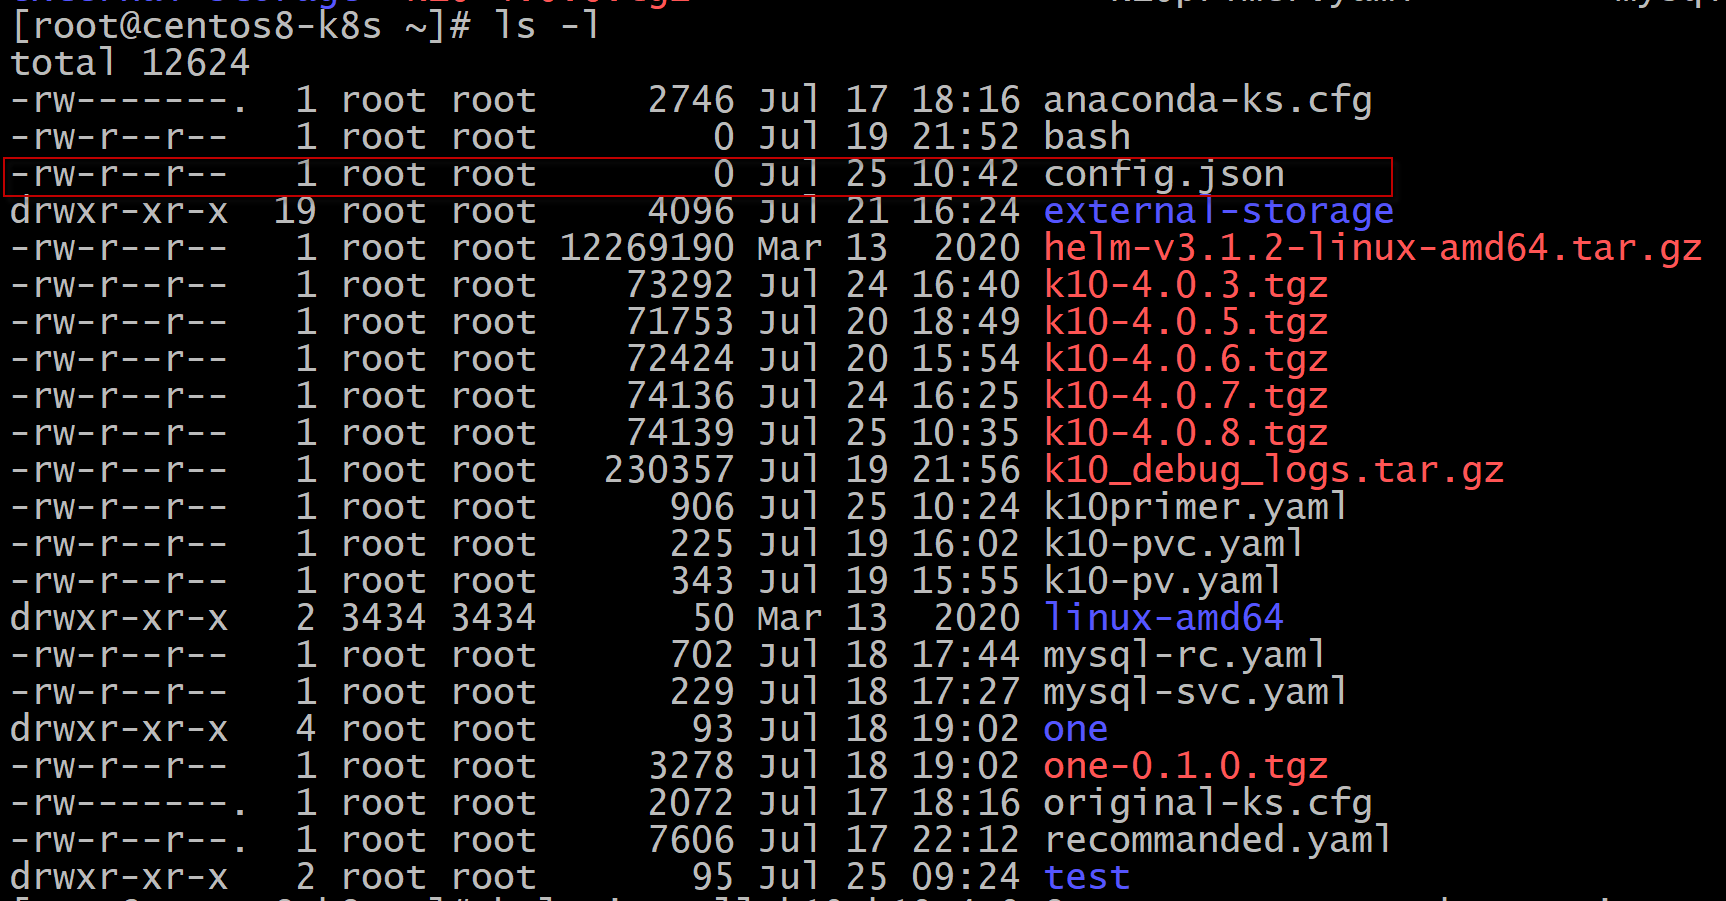
[root@centos8-k8s ~]# pwd
/root
[root@centos8-k8s ~]# touch config.json
下面k10的安装命令中:
--set global.airgapped.repository=ccr.ccs.tencentyun.com/kasten 表示使用的air-gapped镜像库是 ccr.ccs.tencentyun.com/kasten
--set injectKanisterSidecar.enabled=true 表示是使用general storage 备份恢复。
--set metering.mode=airgap 表示采用air-gapping方式添加metering mode
--set secrets.dockerConfig=$(base64 -w 0 </root/config.json)
--set prometheus.imagePullSecrets[0].name="k10-ecr" 以上两个set表示采用loal private repositoy后, repository密钥的提供方式。
[root@centos8-k8s ~]# helm install k10 k10-4.0.8.tgz --namespace kasten-io --set global.airgapped.repository=ccr.ccs.tencentyun.com/kasten --set injectKanisterSidecar.enabled=true --set metering.mode=airgap --set secrets.dockerConfig=$(base64 -w 0 </root/config.json) --set prometheus.imagePullSecrets[0].name="k10-ecr"
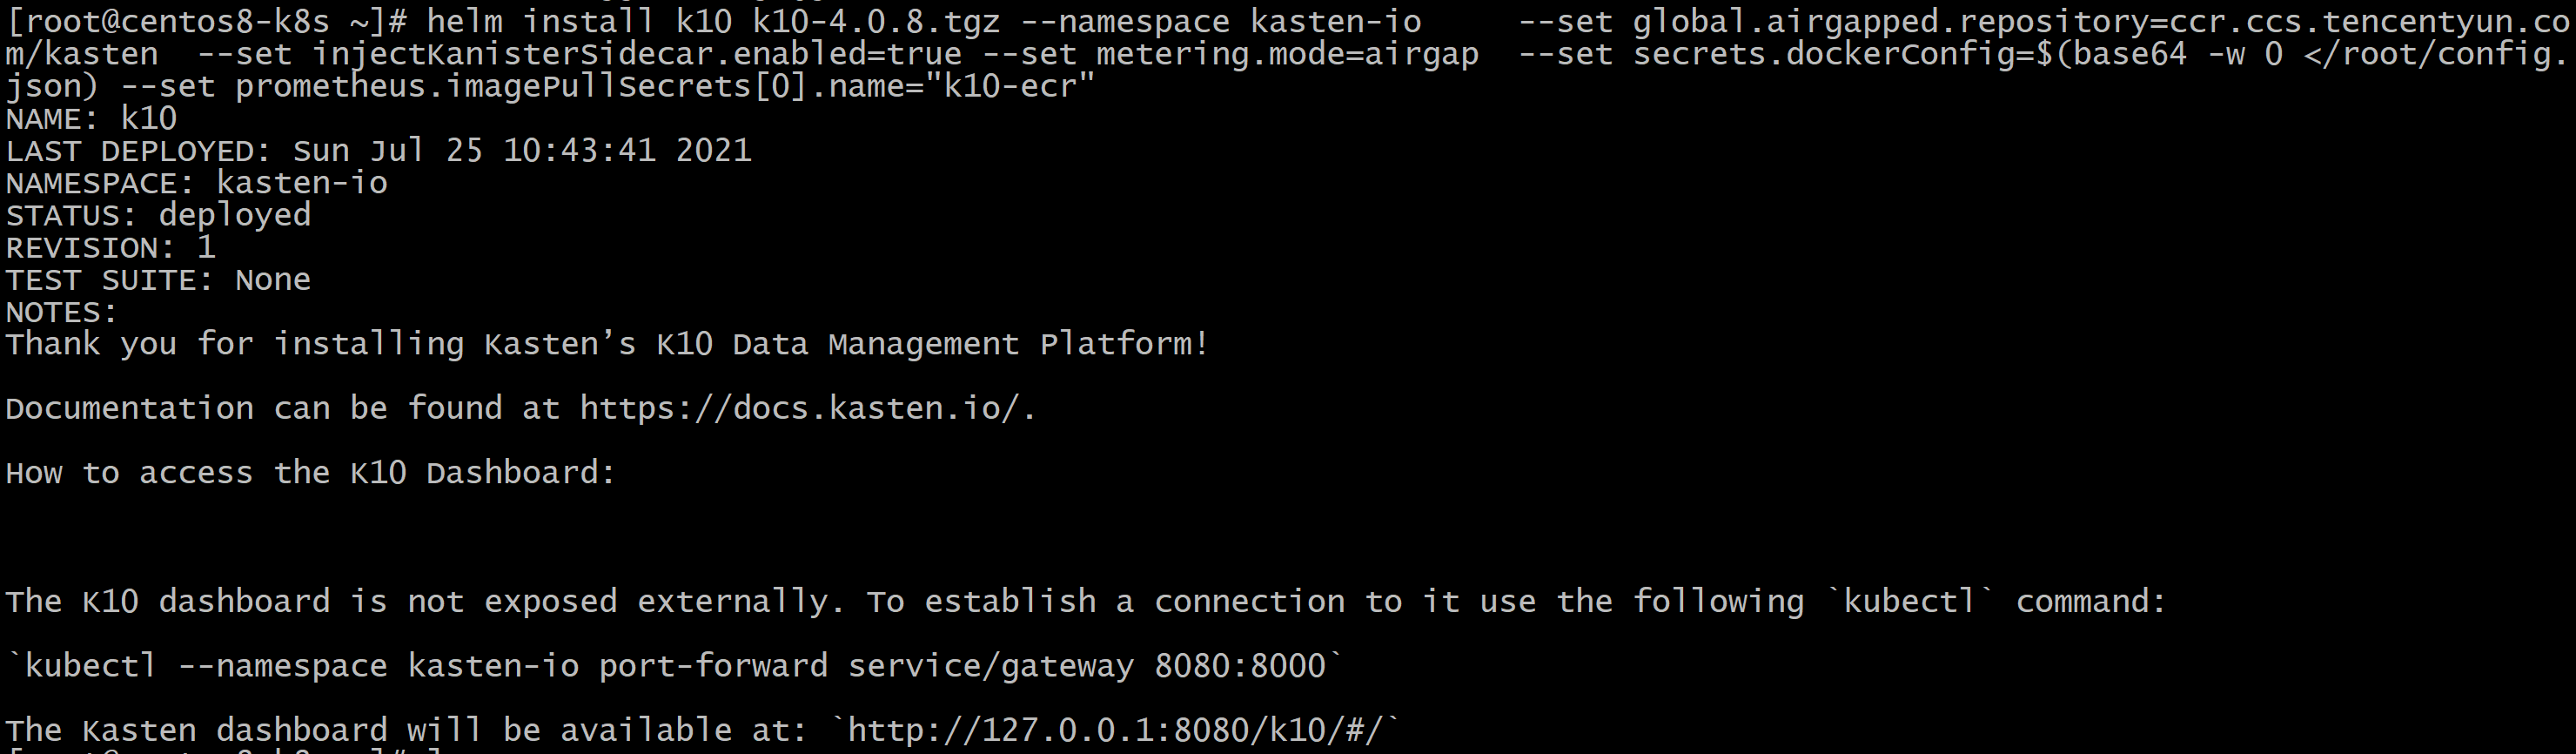
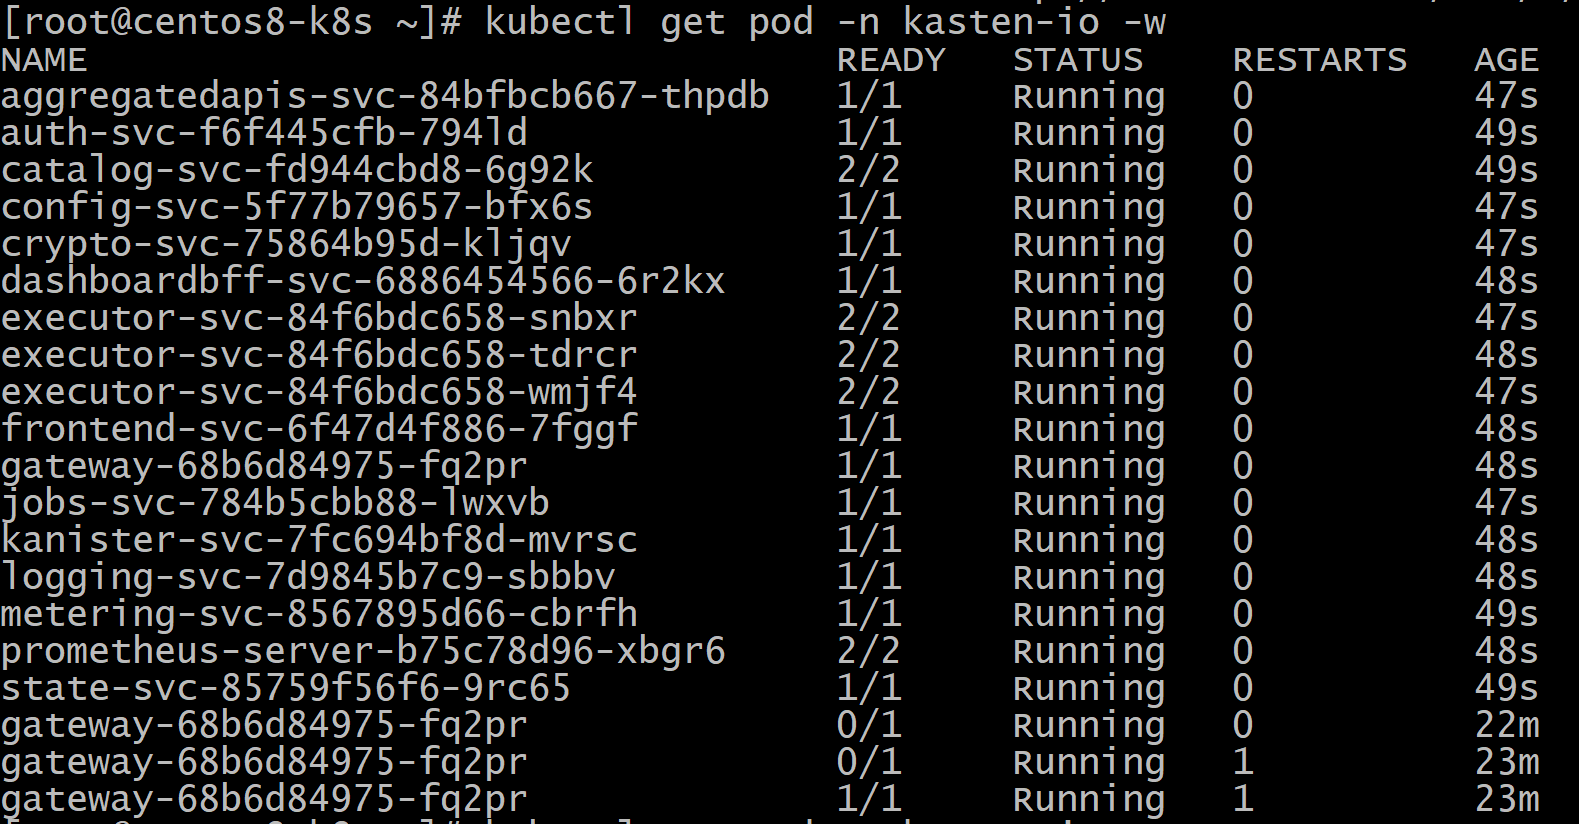
[root@centos8-k8s ~]# kubectl get pod -n kasten-io -w
[root@centos8-k8s ~]# kubectl --namespace kasten-io port-forward service/gateway 8080:8000
Forwarding from 127.0.0.1:8080 -> 8000
Forwarding from [::1]:8080 -> 8000
……
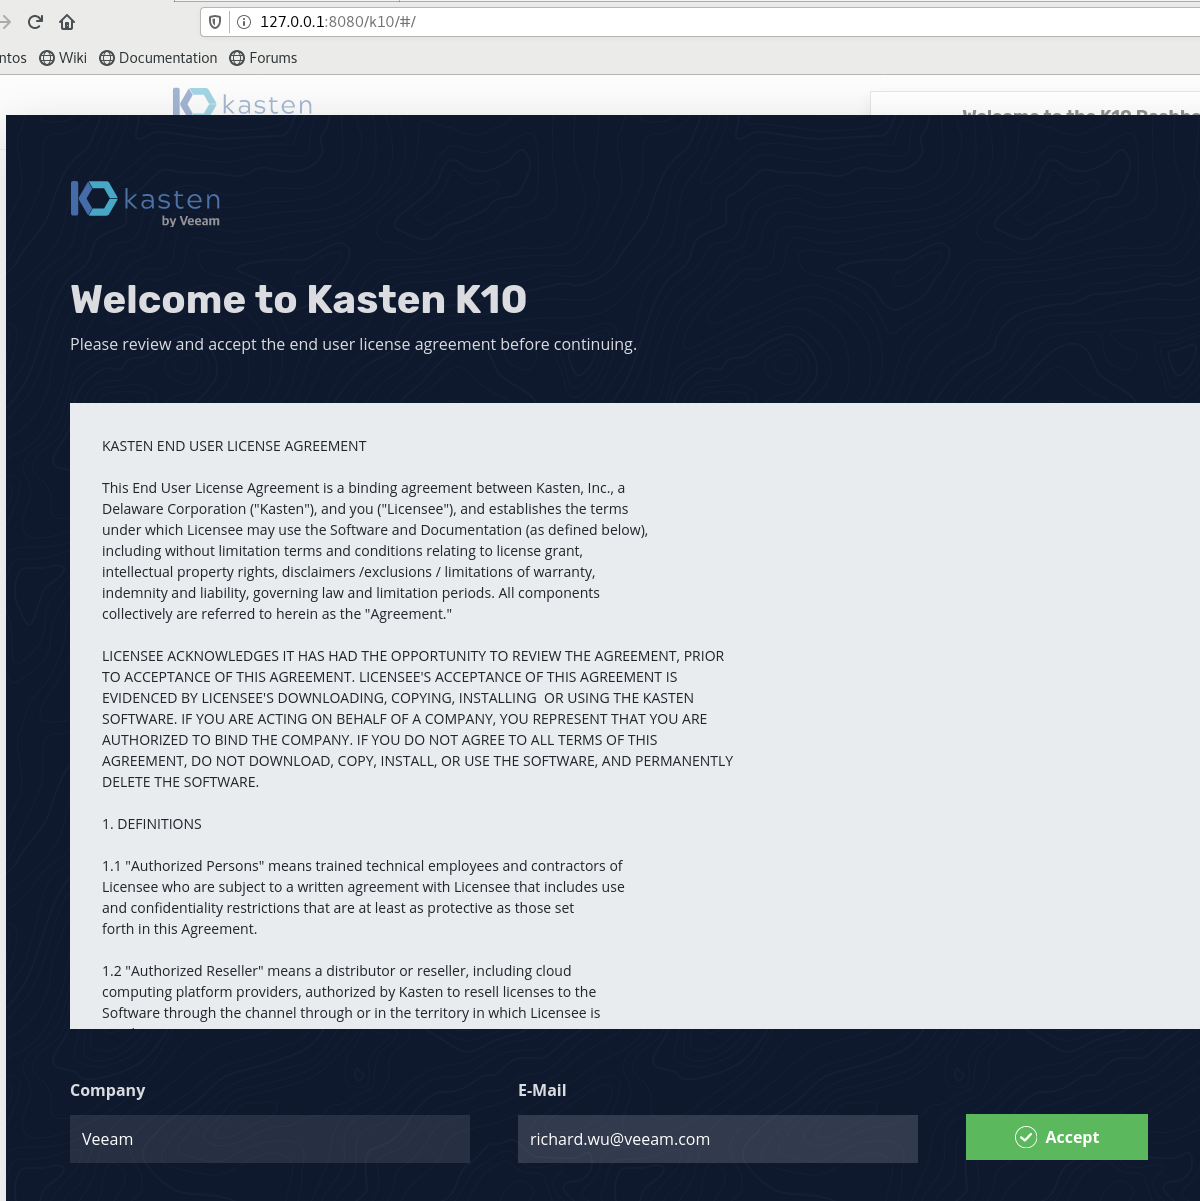
在192.168.17.128上的浏览器输入下列网址:
输入公司和邮箱,点击accept按钮,
9. 使用K10进行备份之前的环境准备
创建nfs pv存储卷,作为备份存储库:
[root@centos8-k8s ~]# vi k10-pv.yaml
以下标红的地方可以根据自己需要修改。
apiVersion: v1
kind: PersistentVolume
metadata:
name: k10-pv
spec:
capacity:
storage: 10Gi
volumeMode: Filesystem
accessModes:
- ReadWriteMany
persistentVolumeReclaimPolicy: Recycle
storageClassName: nfs-client
mountOptions:
- hard
- nfsvers=4.1
nfs:
path: /nfsdata
server: 192.168.17.128
创建nfs pv存储卷claim,
[root@centos8-k8s ~]# vi k10-pv-claim.yaml
以下标红的地方可以根据自己需要修改。
apiVersion: v1
kind: PersistentVolumeClaim
metadata:
name: k10-pvc
namespace: kasten-io
spec:
storageClassName: nfs-client
accessModes:
- ReadWriteMany
resources:
requests:
storage: 10Gi
[root@centos8-k8s ~]# kubectl apply -f k10-pv.yaml
persistentvolume/k10-pv created
[root@centos8-k8s ~]# kubectl apply -f k10-pvc.yaml
persistentvolumeclaim/k10-pvc created
[root@centos8-k8s ~]# kubectl get pv
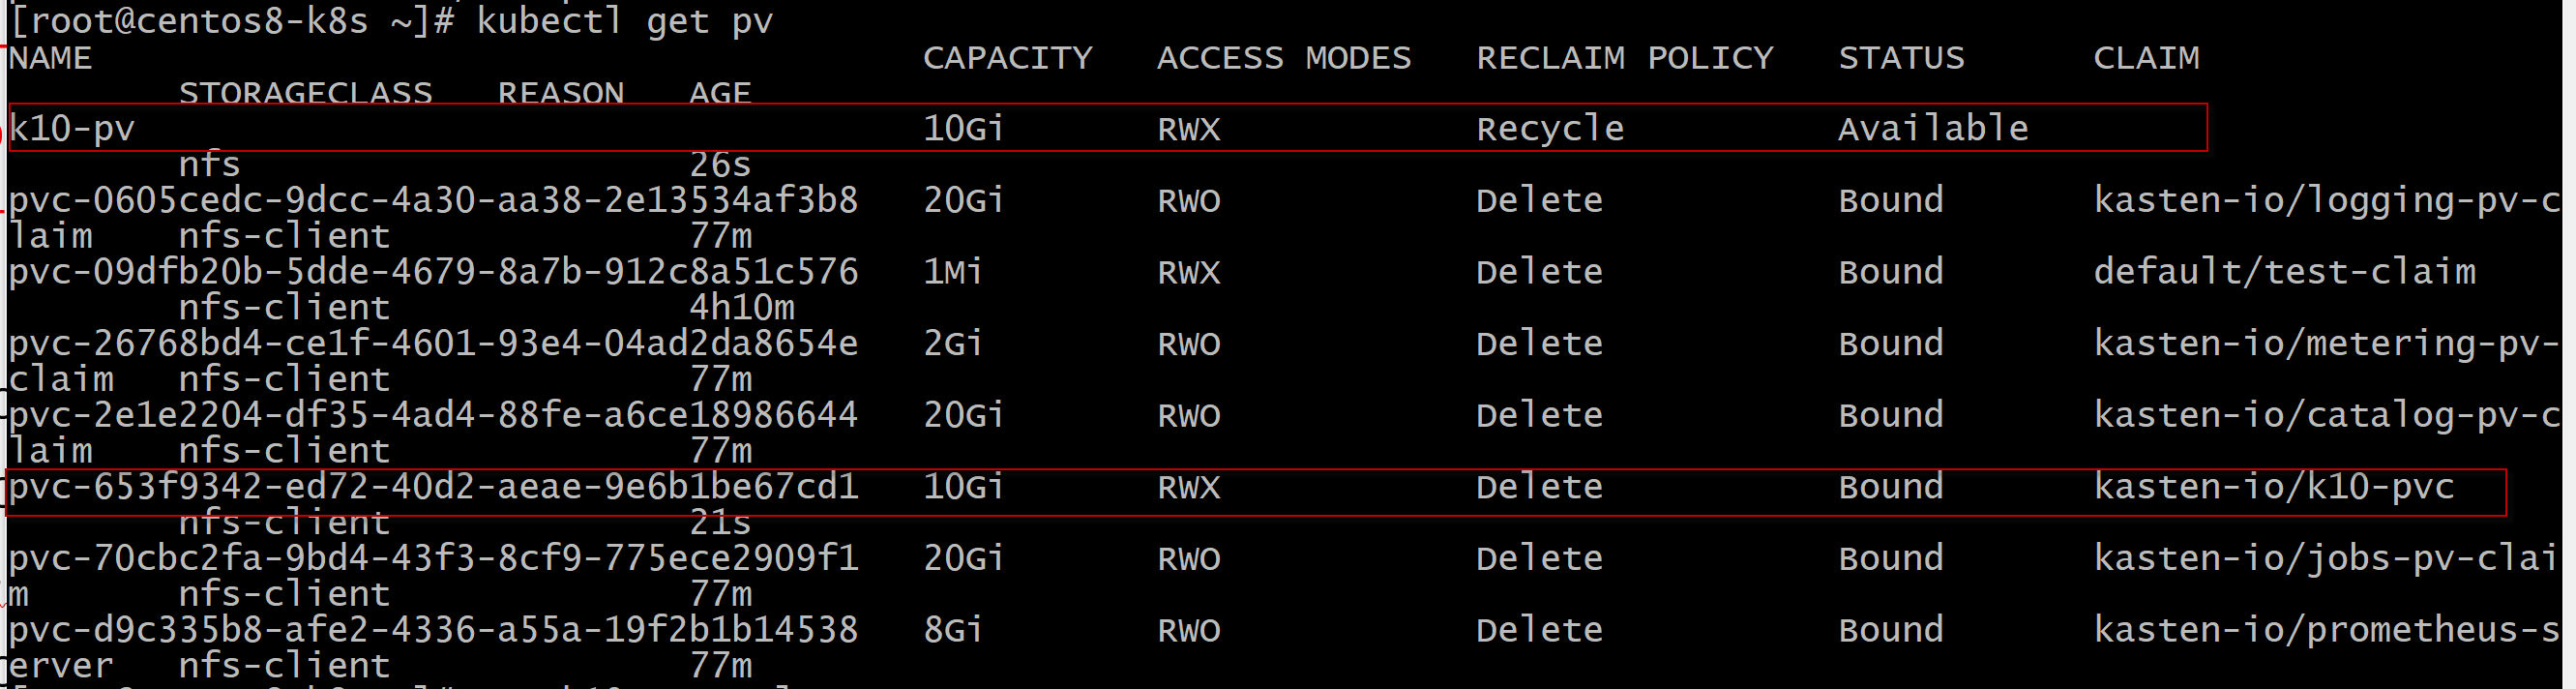
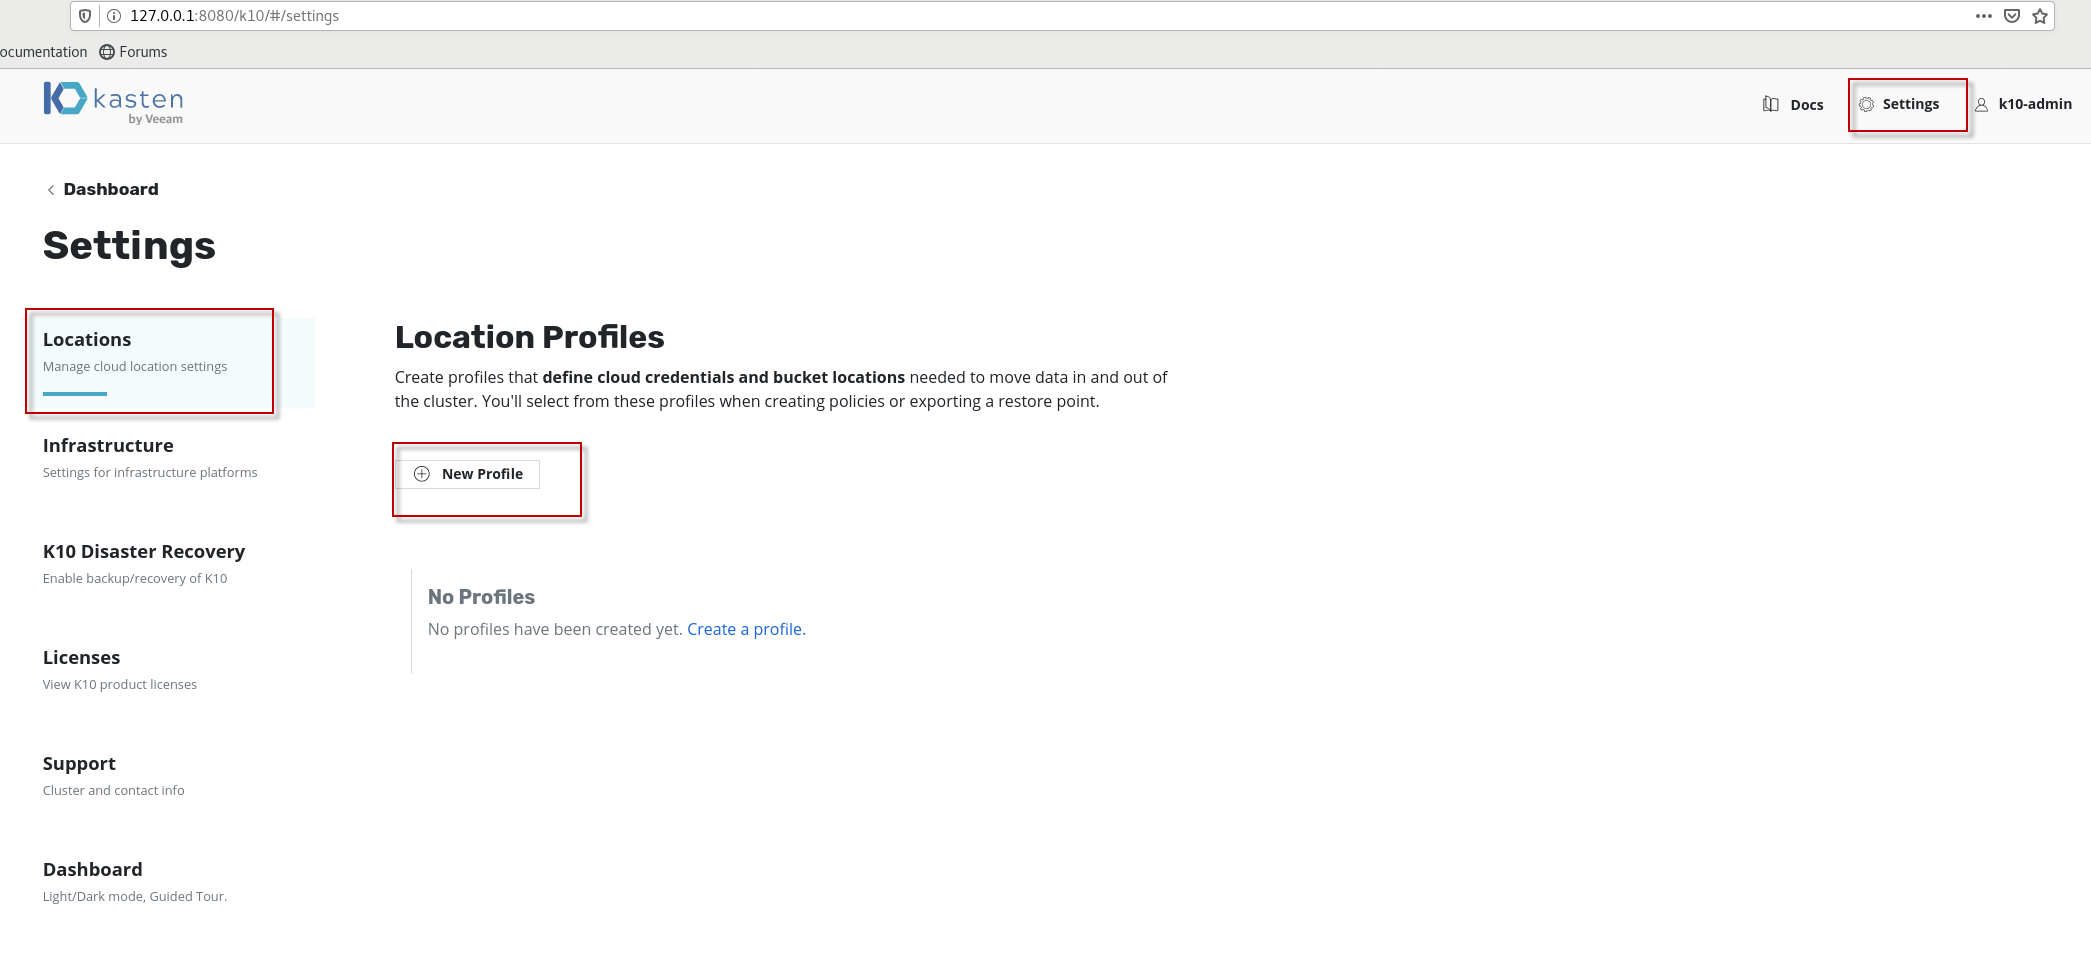
创建NFS FileStore profile
在setting-->location,点击new profile按钮,
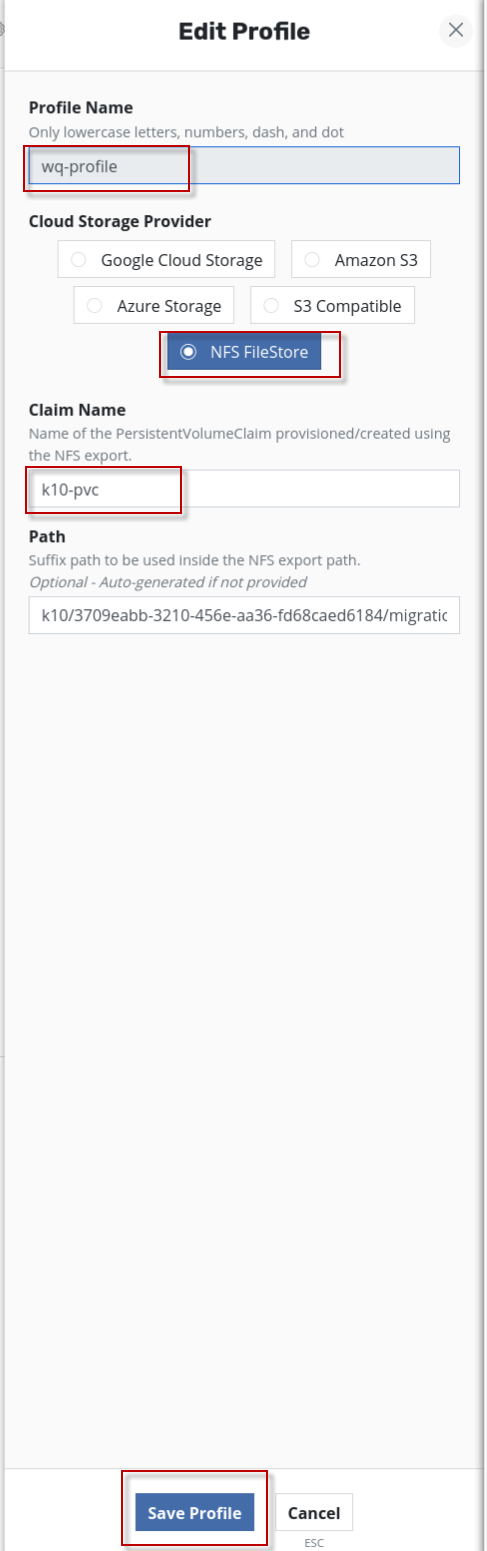
输入自己的profile name,在Cloud storage Provider选项选中NFS FileStore,在Claim name填入刚才创建的nfs备份存储库(claim) k10-pvc, 然后点击save profile按钮。
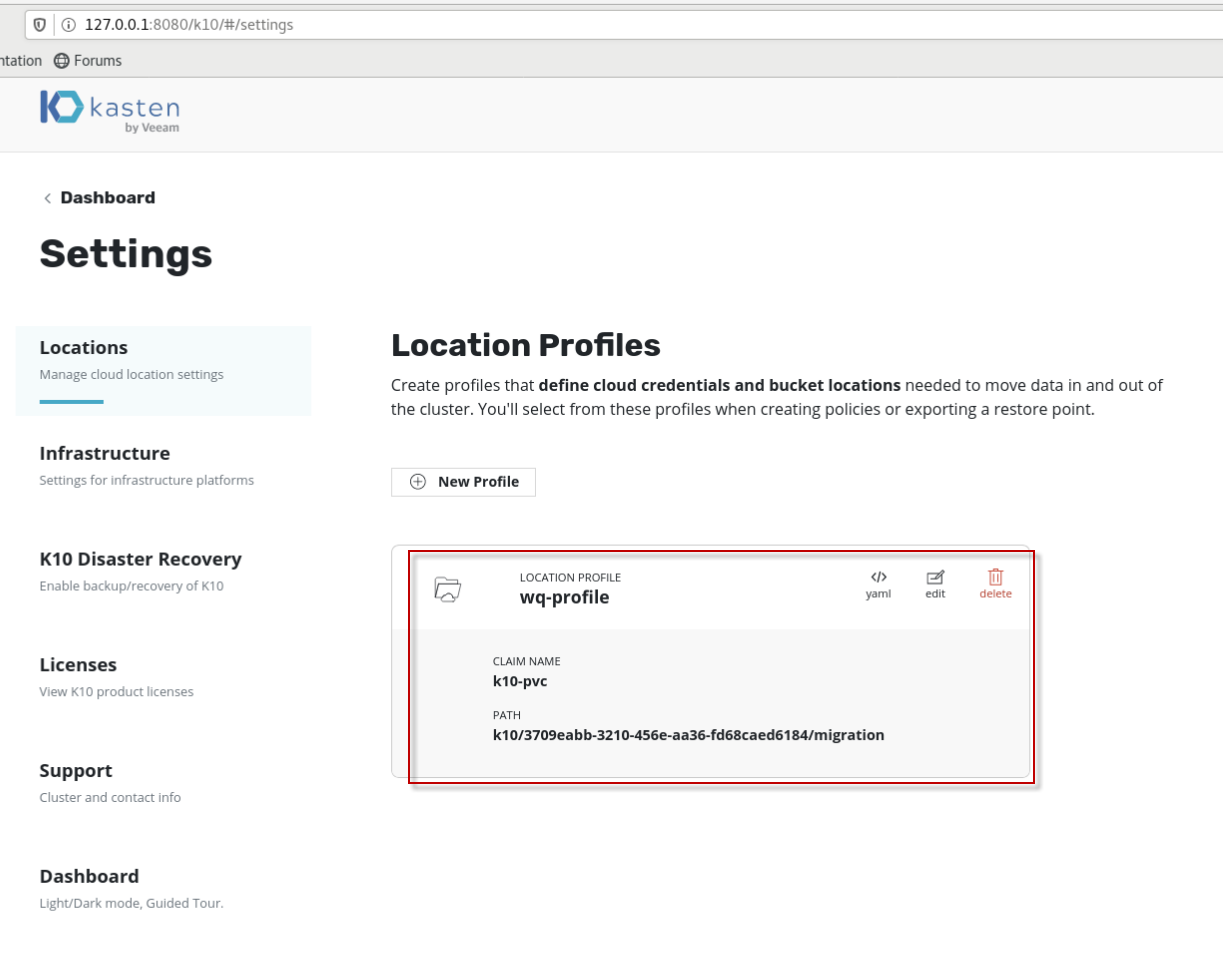
上图显示,locatiion profile创建成功。
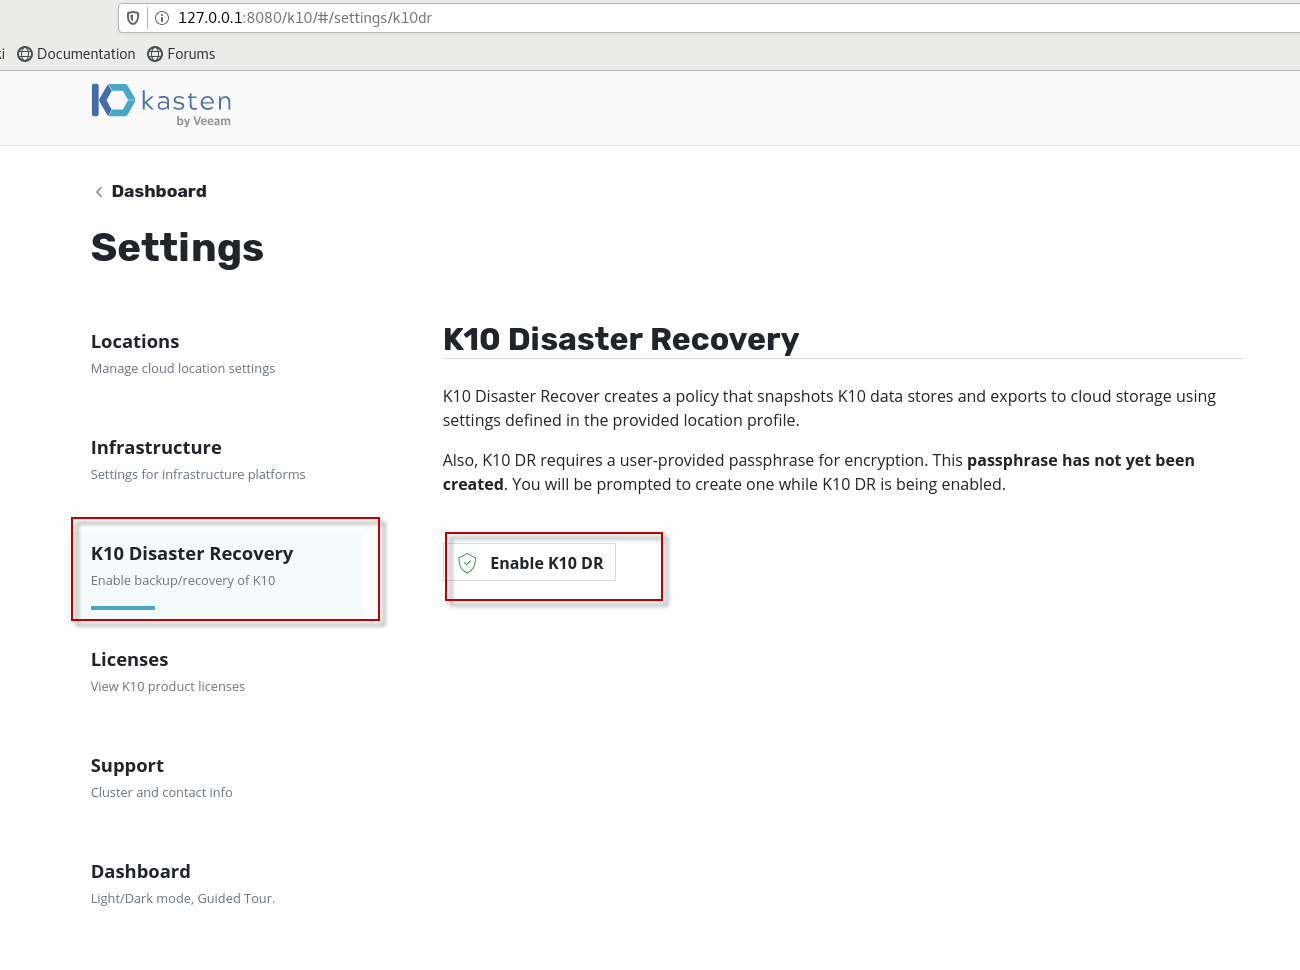
在setting--> k10 Disaster Recovery ,点击Enable K10 DR按钮,
确认Cloud Location Profile里,选择的是刚创建的wq-profile, 点击Enable K10 DR按钮。

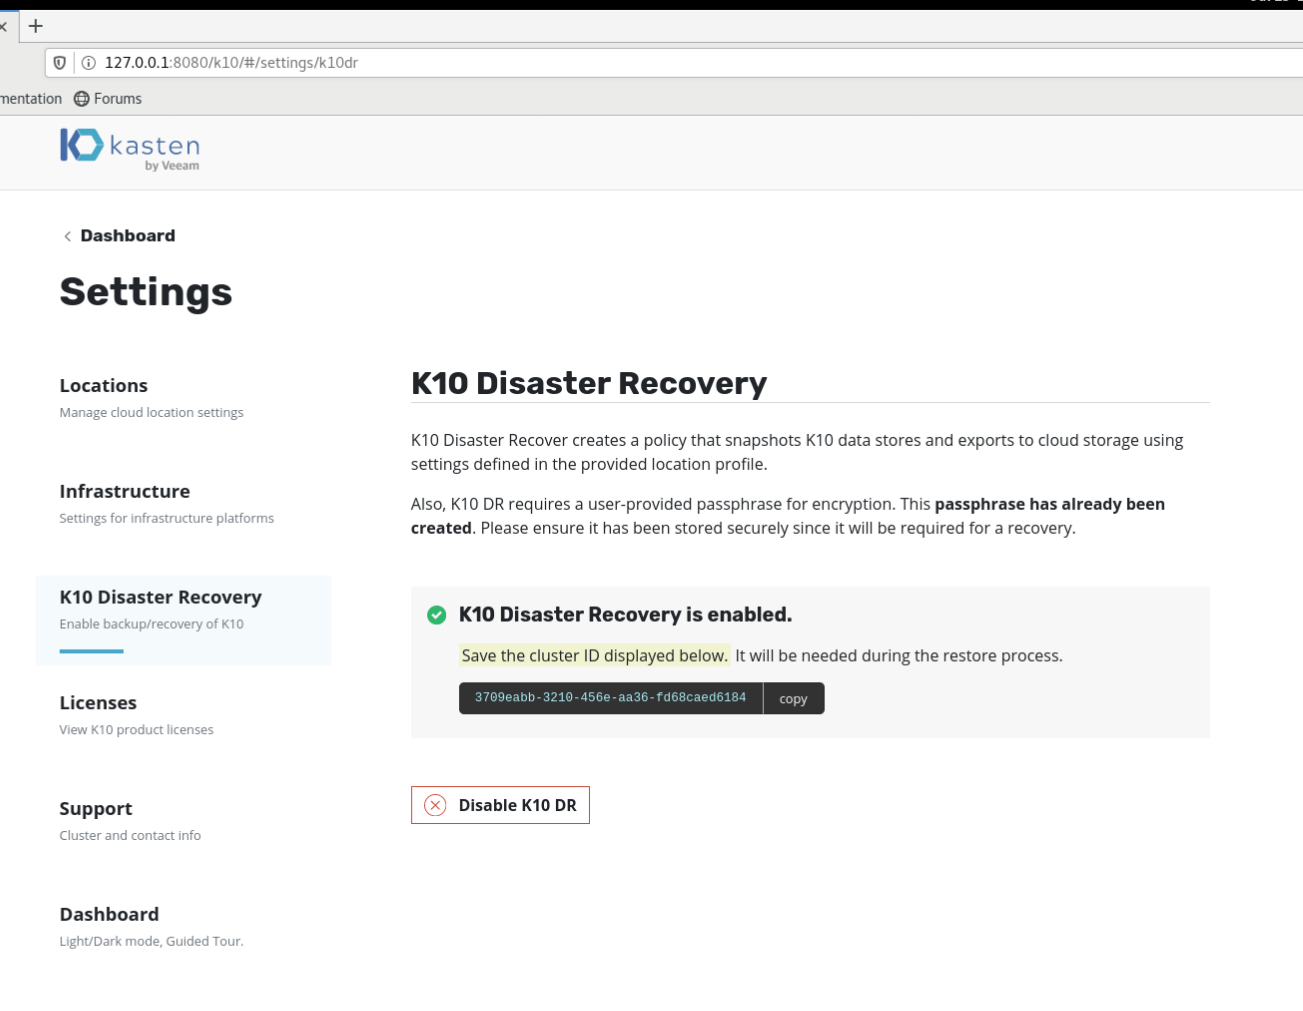
上图显示,K10 DR Enable成功。
点击以上页面copy按钮,把Cluster ID 粘贴保存在文档中,以备恢复时使用。
10. 使用k10备份mysql
创建backup policy:
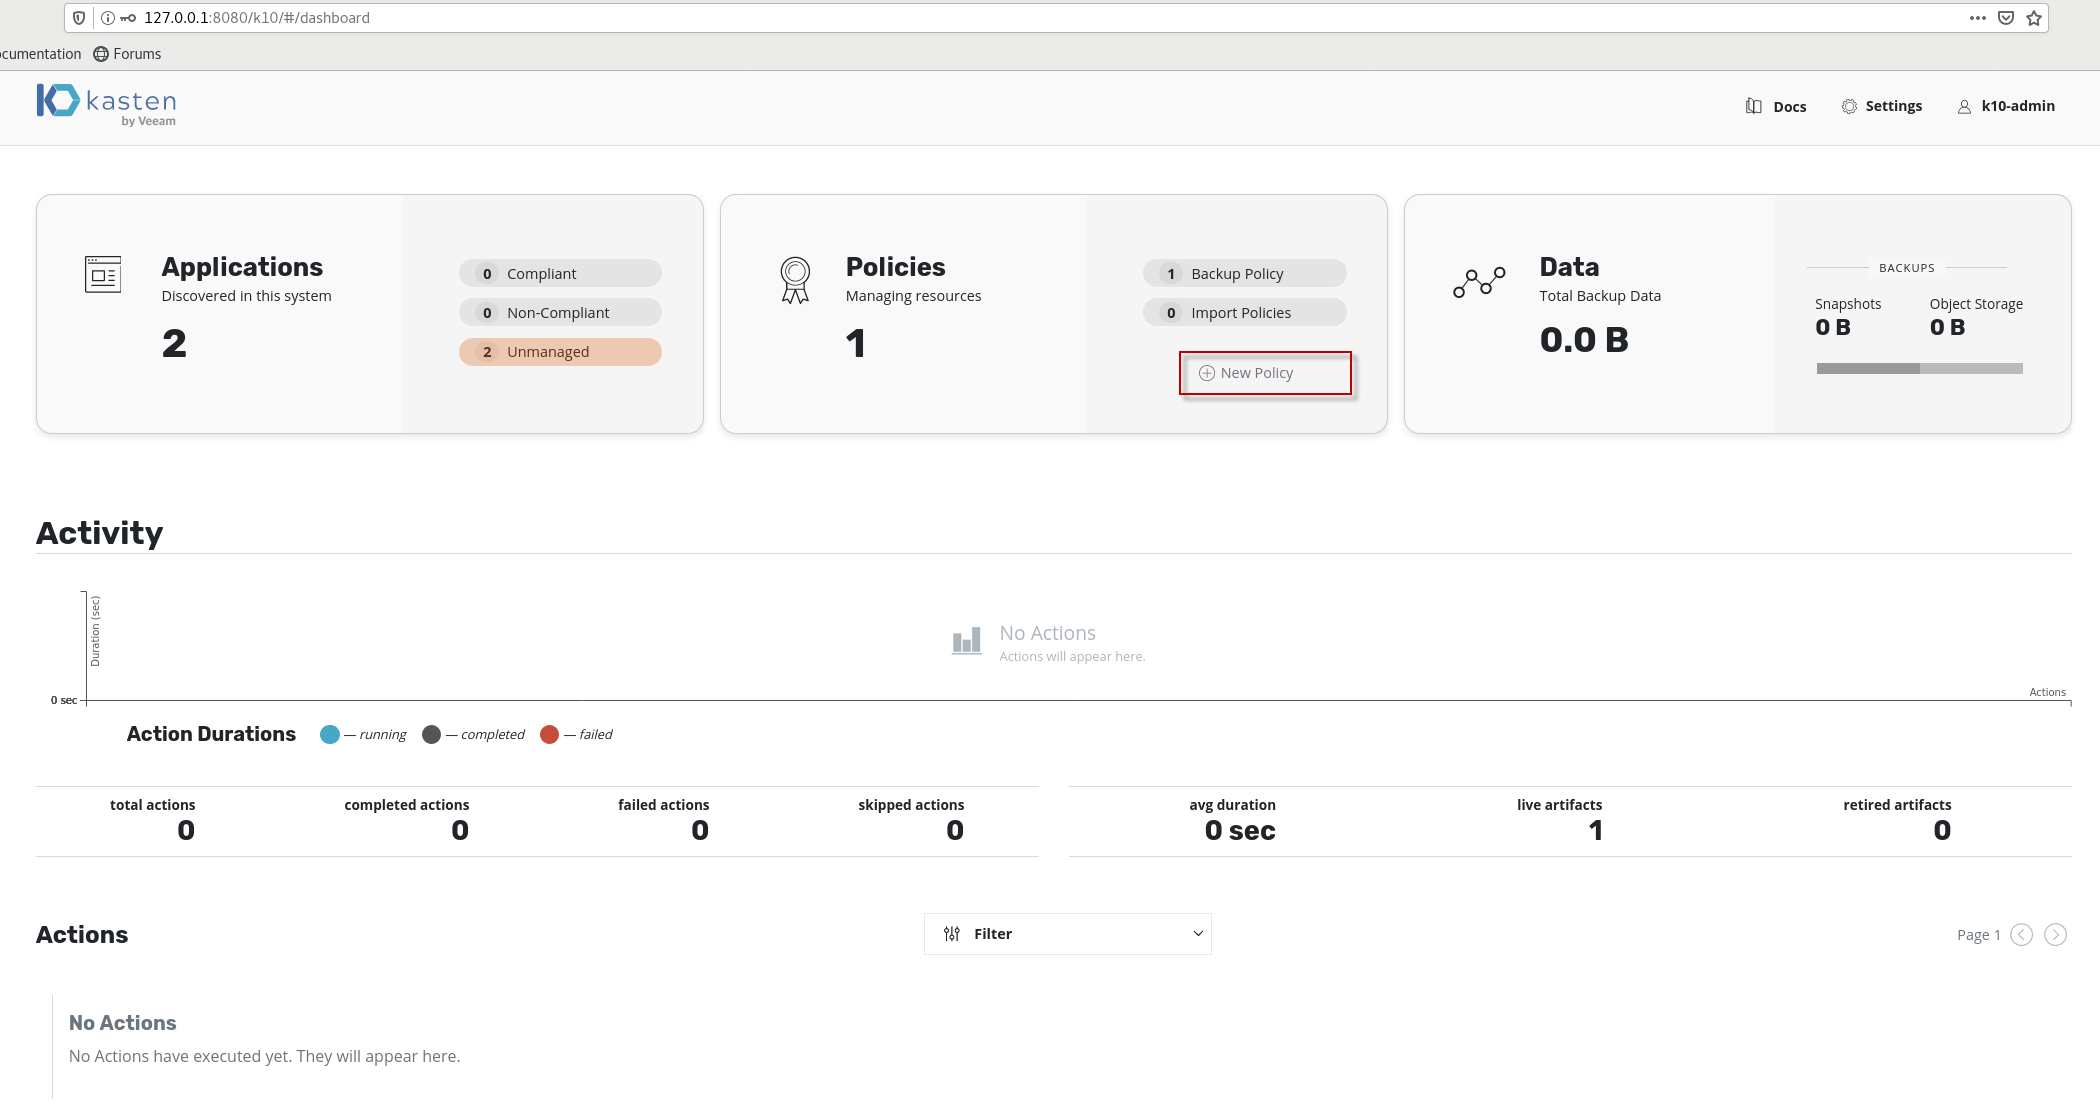
在K10 Dashboard页面,点击Policies下的new policy按钮
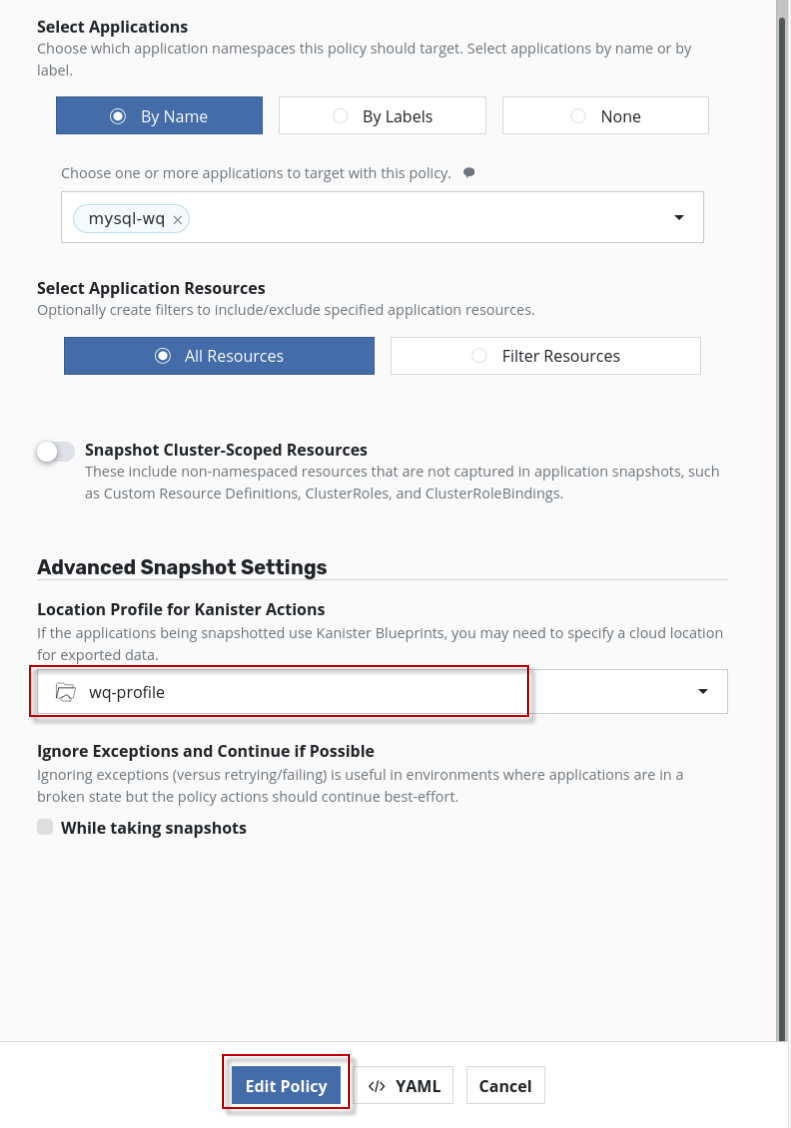
在action里选择snapshot, 选择daily和 snapshot retention, 在Select Application里选择by name, 然后在下拉框里选择mysql-wq,
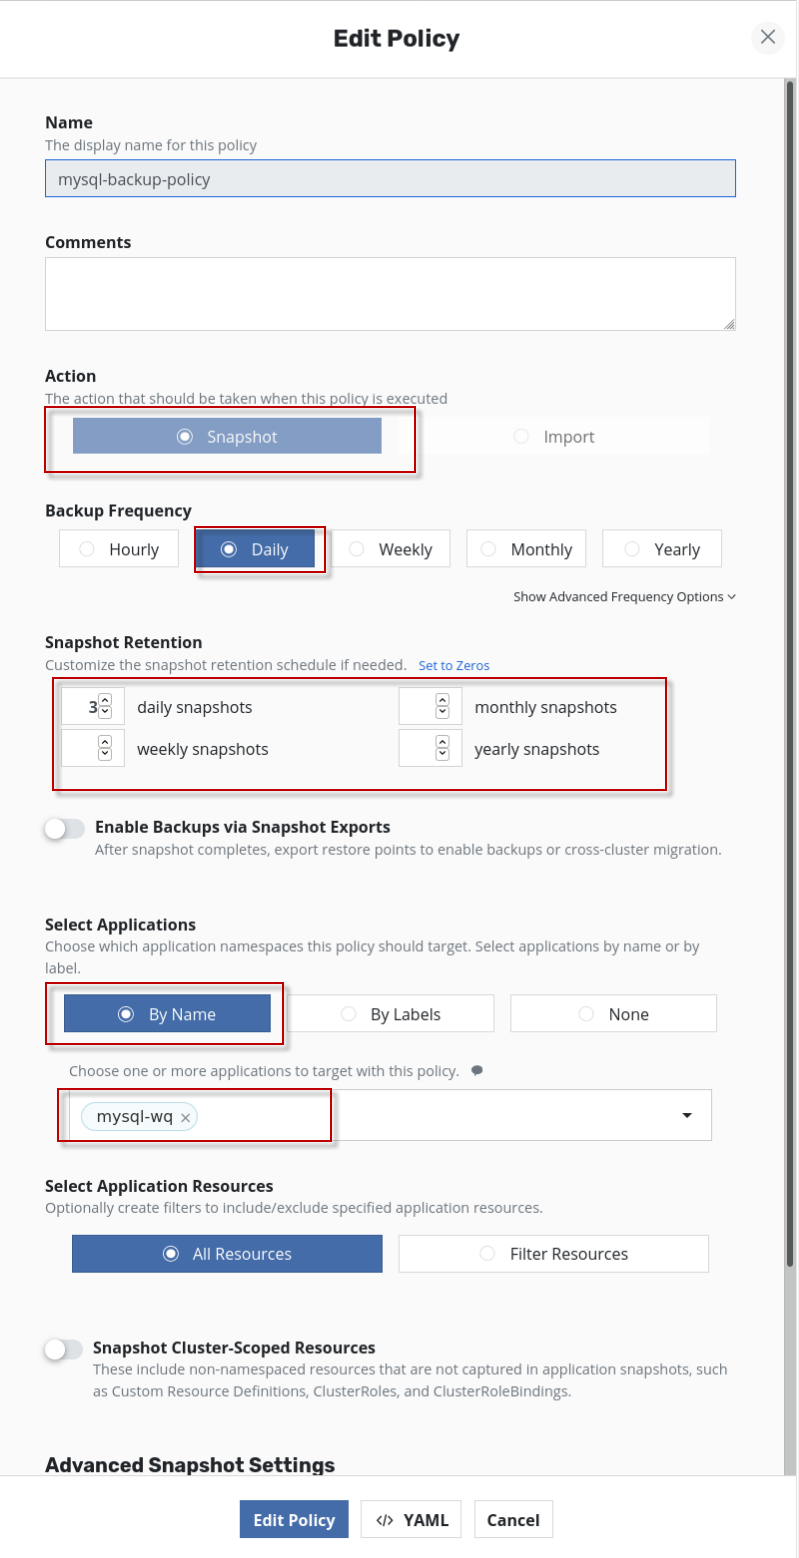
在Advanced snapshot settings里,确认Location profile for Kanister actions里选择的是刚创建的wq-profile, 点击save policy或edit policy按钮,保存policy.
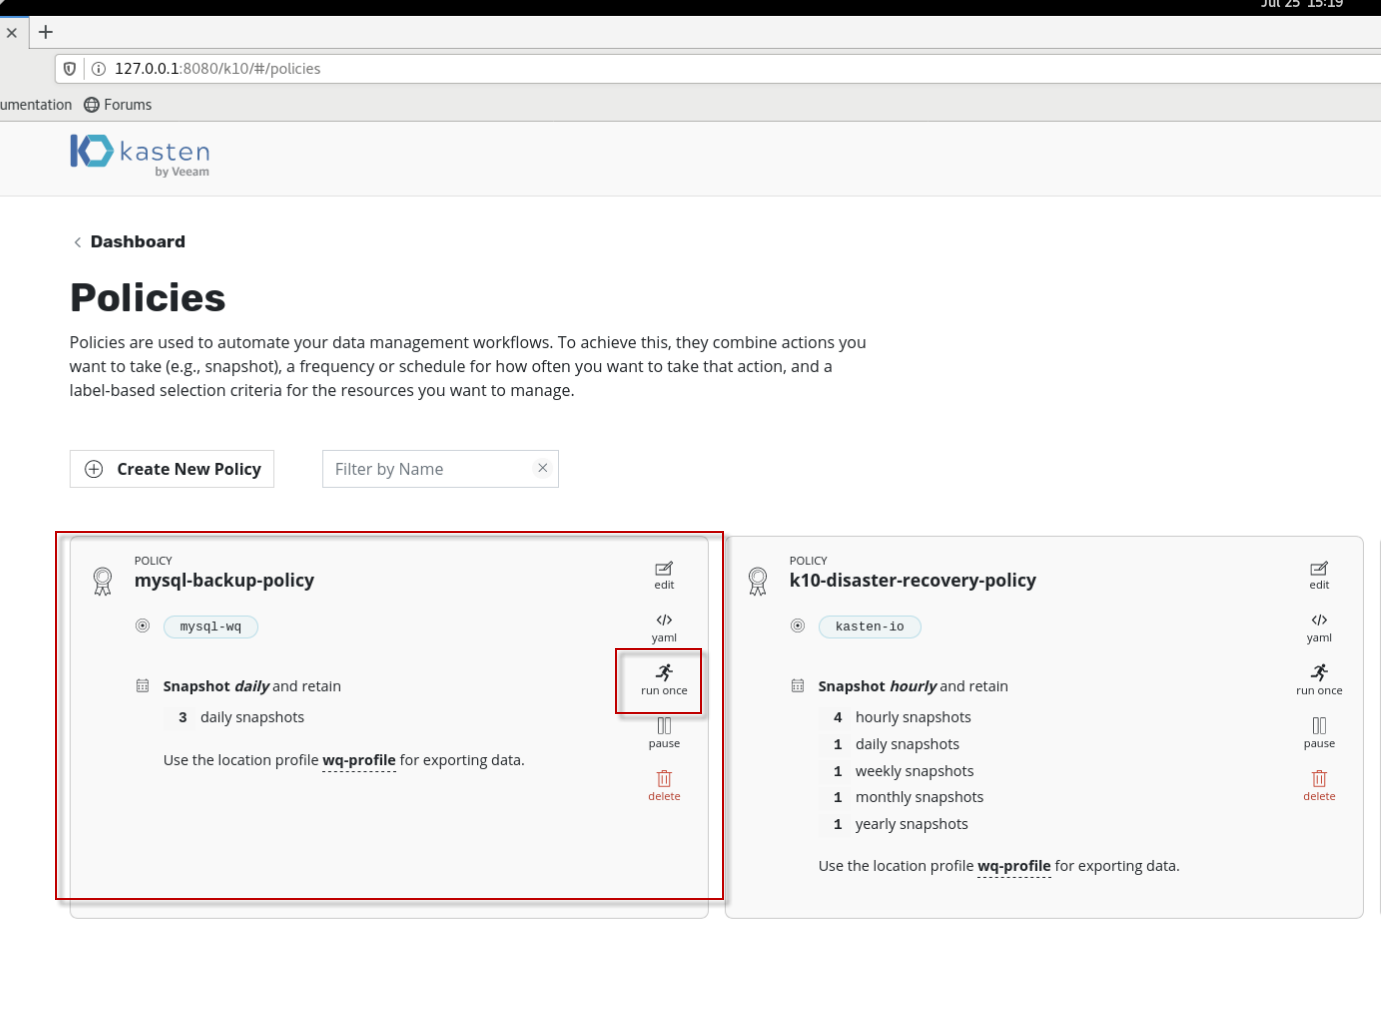
在刚创建的mysql-backup-policy里,点击位于policy右侧的run once按钮,执行备份。
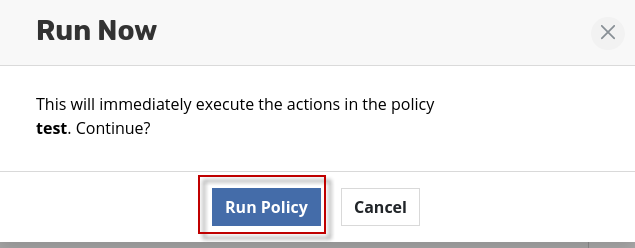
点击Run Policy按钮,

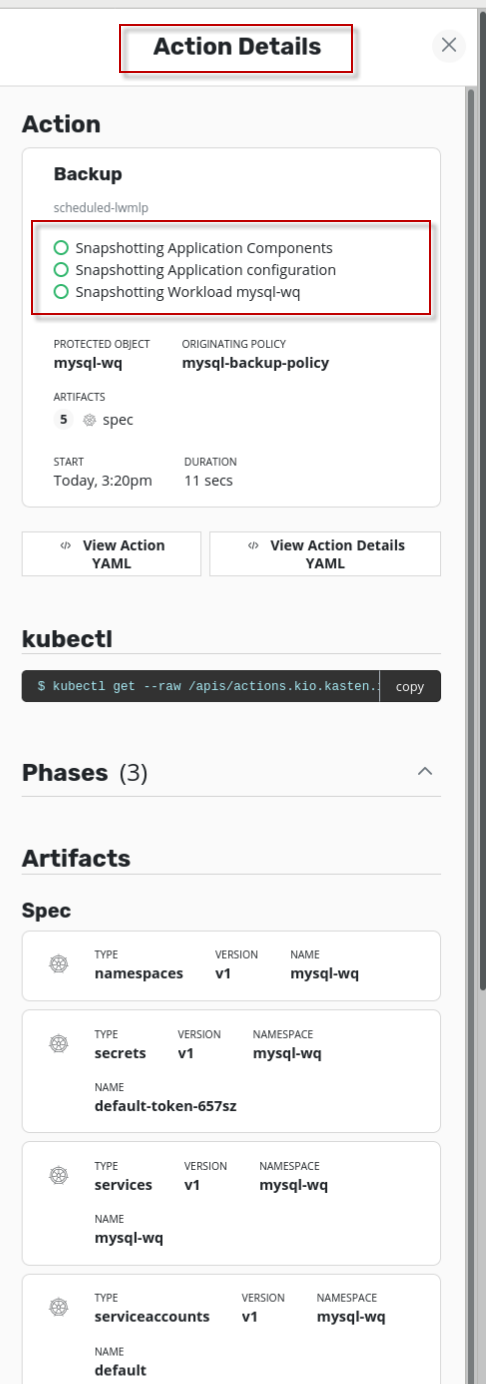
可以看到Actions栏该backup行前面是有打勾,且上面直方图是黑色的,表示“Completed”, 即针对mysql的备份成功。双击Action栏该backup行,可以查看Action detail,
11. 使用k10恢复mysql
在之前创建的mysql 容器里,运行use mysql; 然后创建MyClass表,并插入3条记录。
mysql> use mysql;
Reading table information for completion of table and column names
You can turn off this feature to get a quicker startup with -A
Database changed
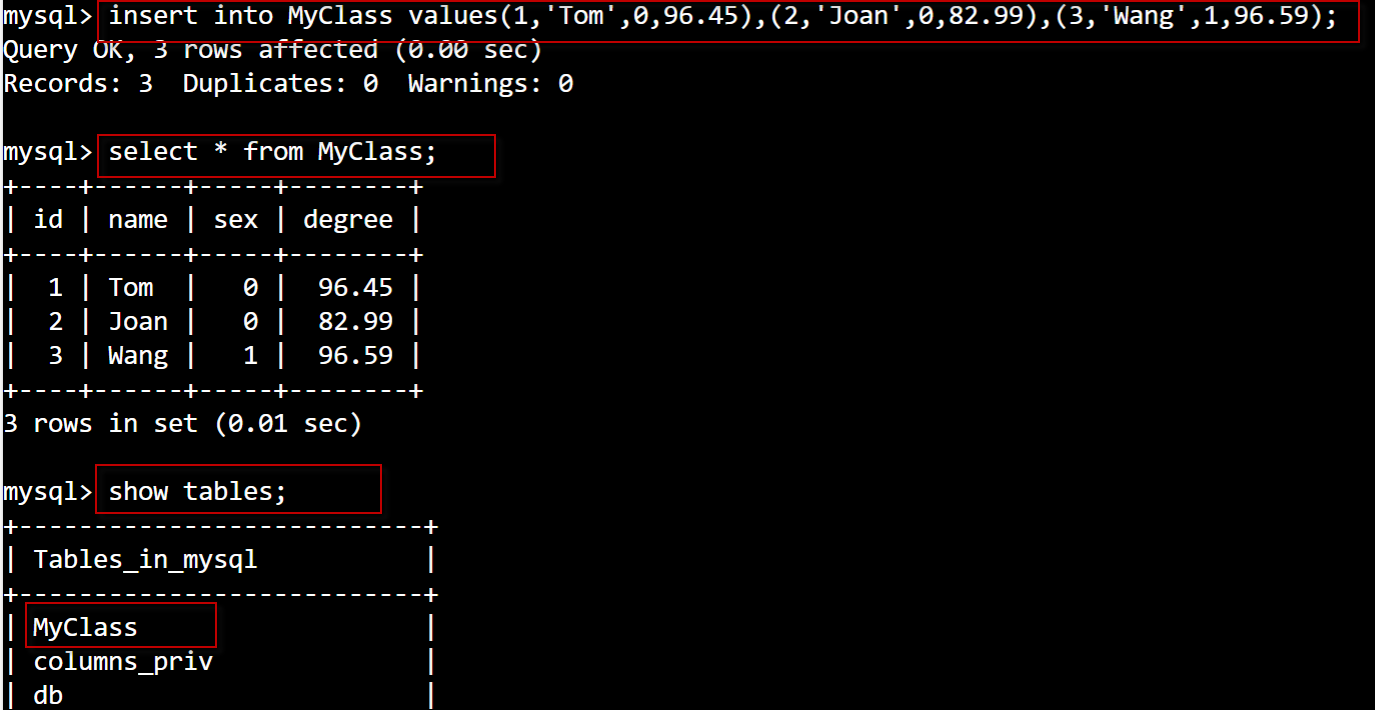
mysql> show tables;
mysql> create table MyClass( id int(4) not null primary key auto_increment, name char(20) not null, sex int(4) not null default '0', degree double(16,2));
Query OK, 0 rows affected (0.01 sec)
mysql> insert into MyClass values(1,'Tom',0,96.45),(2,'Joan',0,82.99),(3,'Wang',1,96.59);
Query OK, 3 rows affected (0.00 sec)
Records: 3 Duplicates: 0 Warnings: 0
mysql> select * from MyClass;


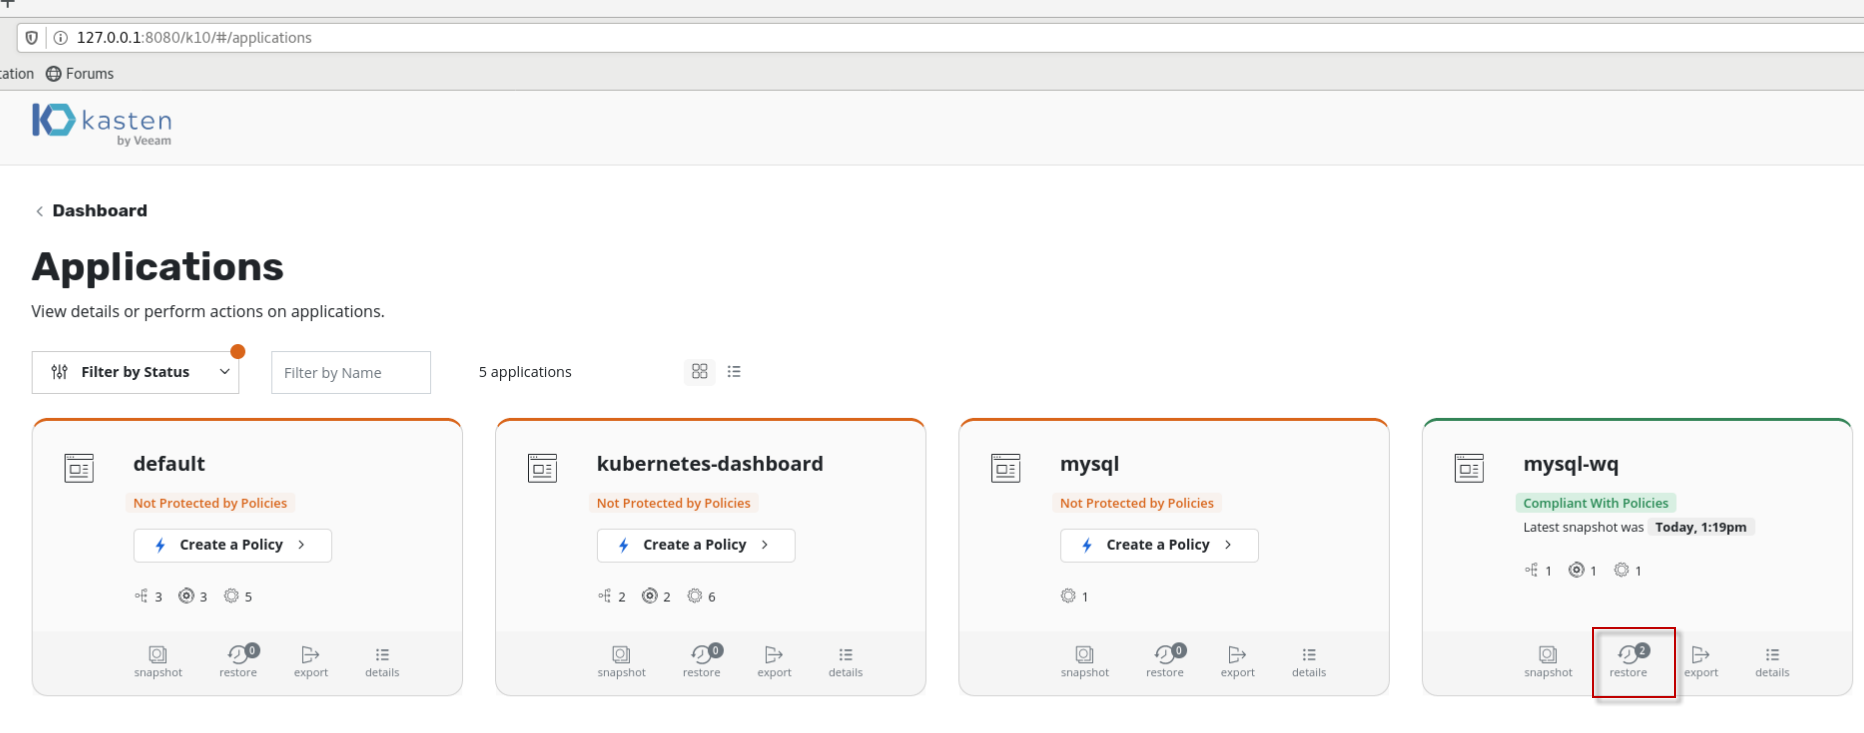
在K10 Dashboard点击Application:,找到上面备份的mysql-wq应用,点击restore按钮。
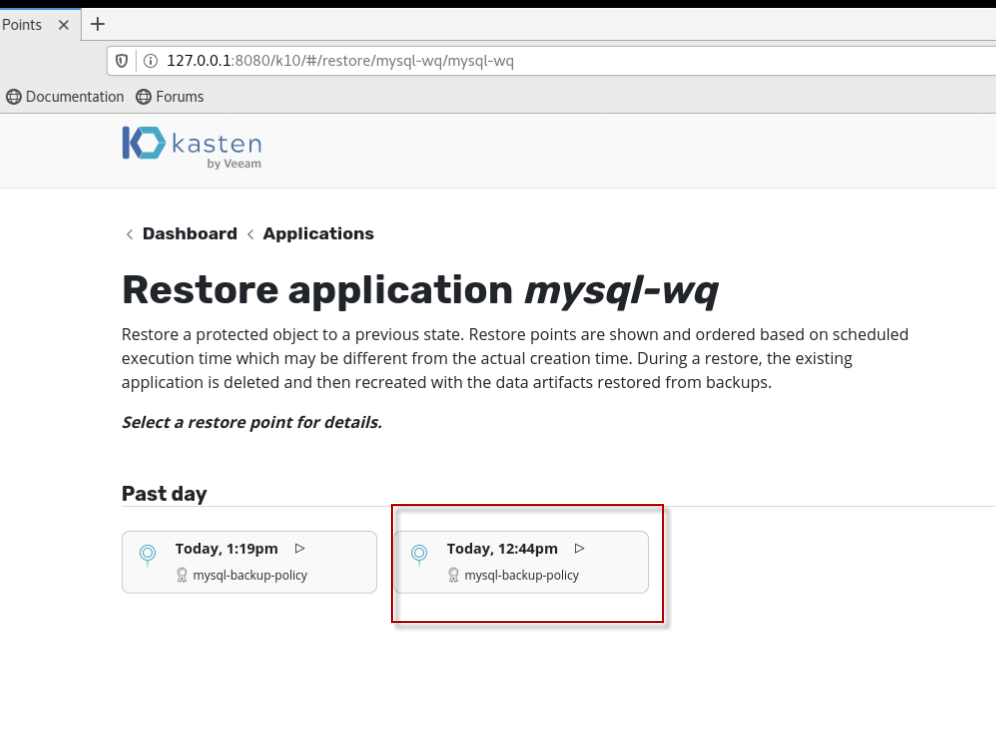
选择restore point进行恢复,在这里选择插入MyClass表之前的备份时间点,
使用缺省属性设置,直接点击restore按钮。
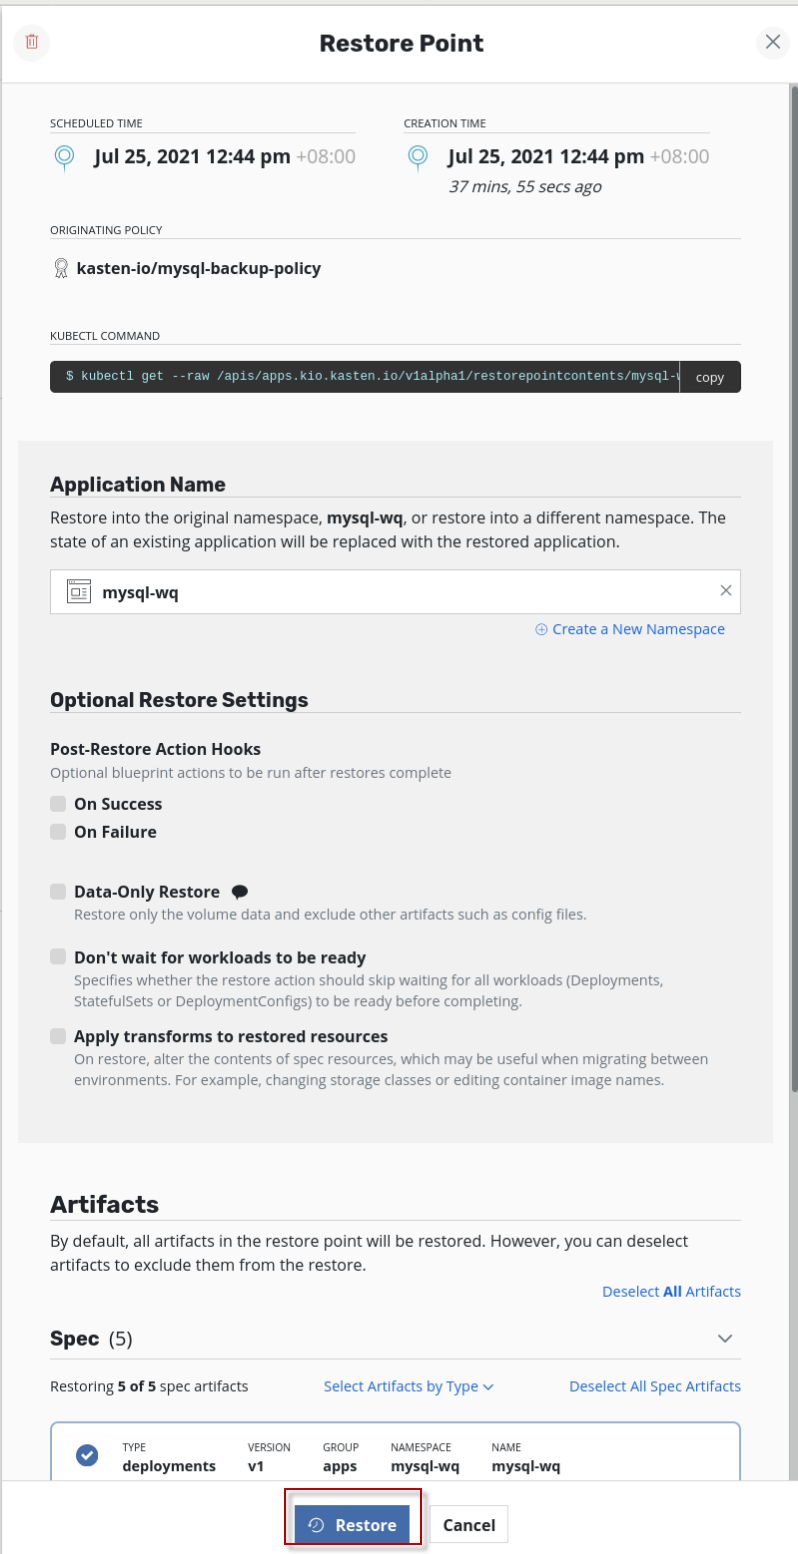
确认点击restore按钮。

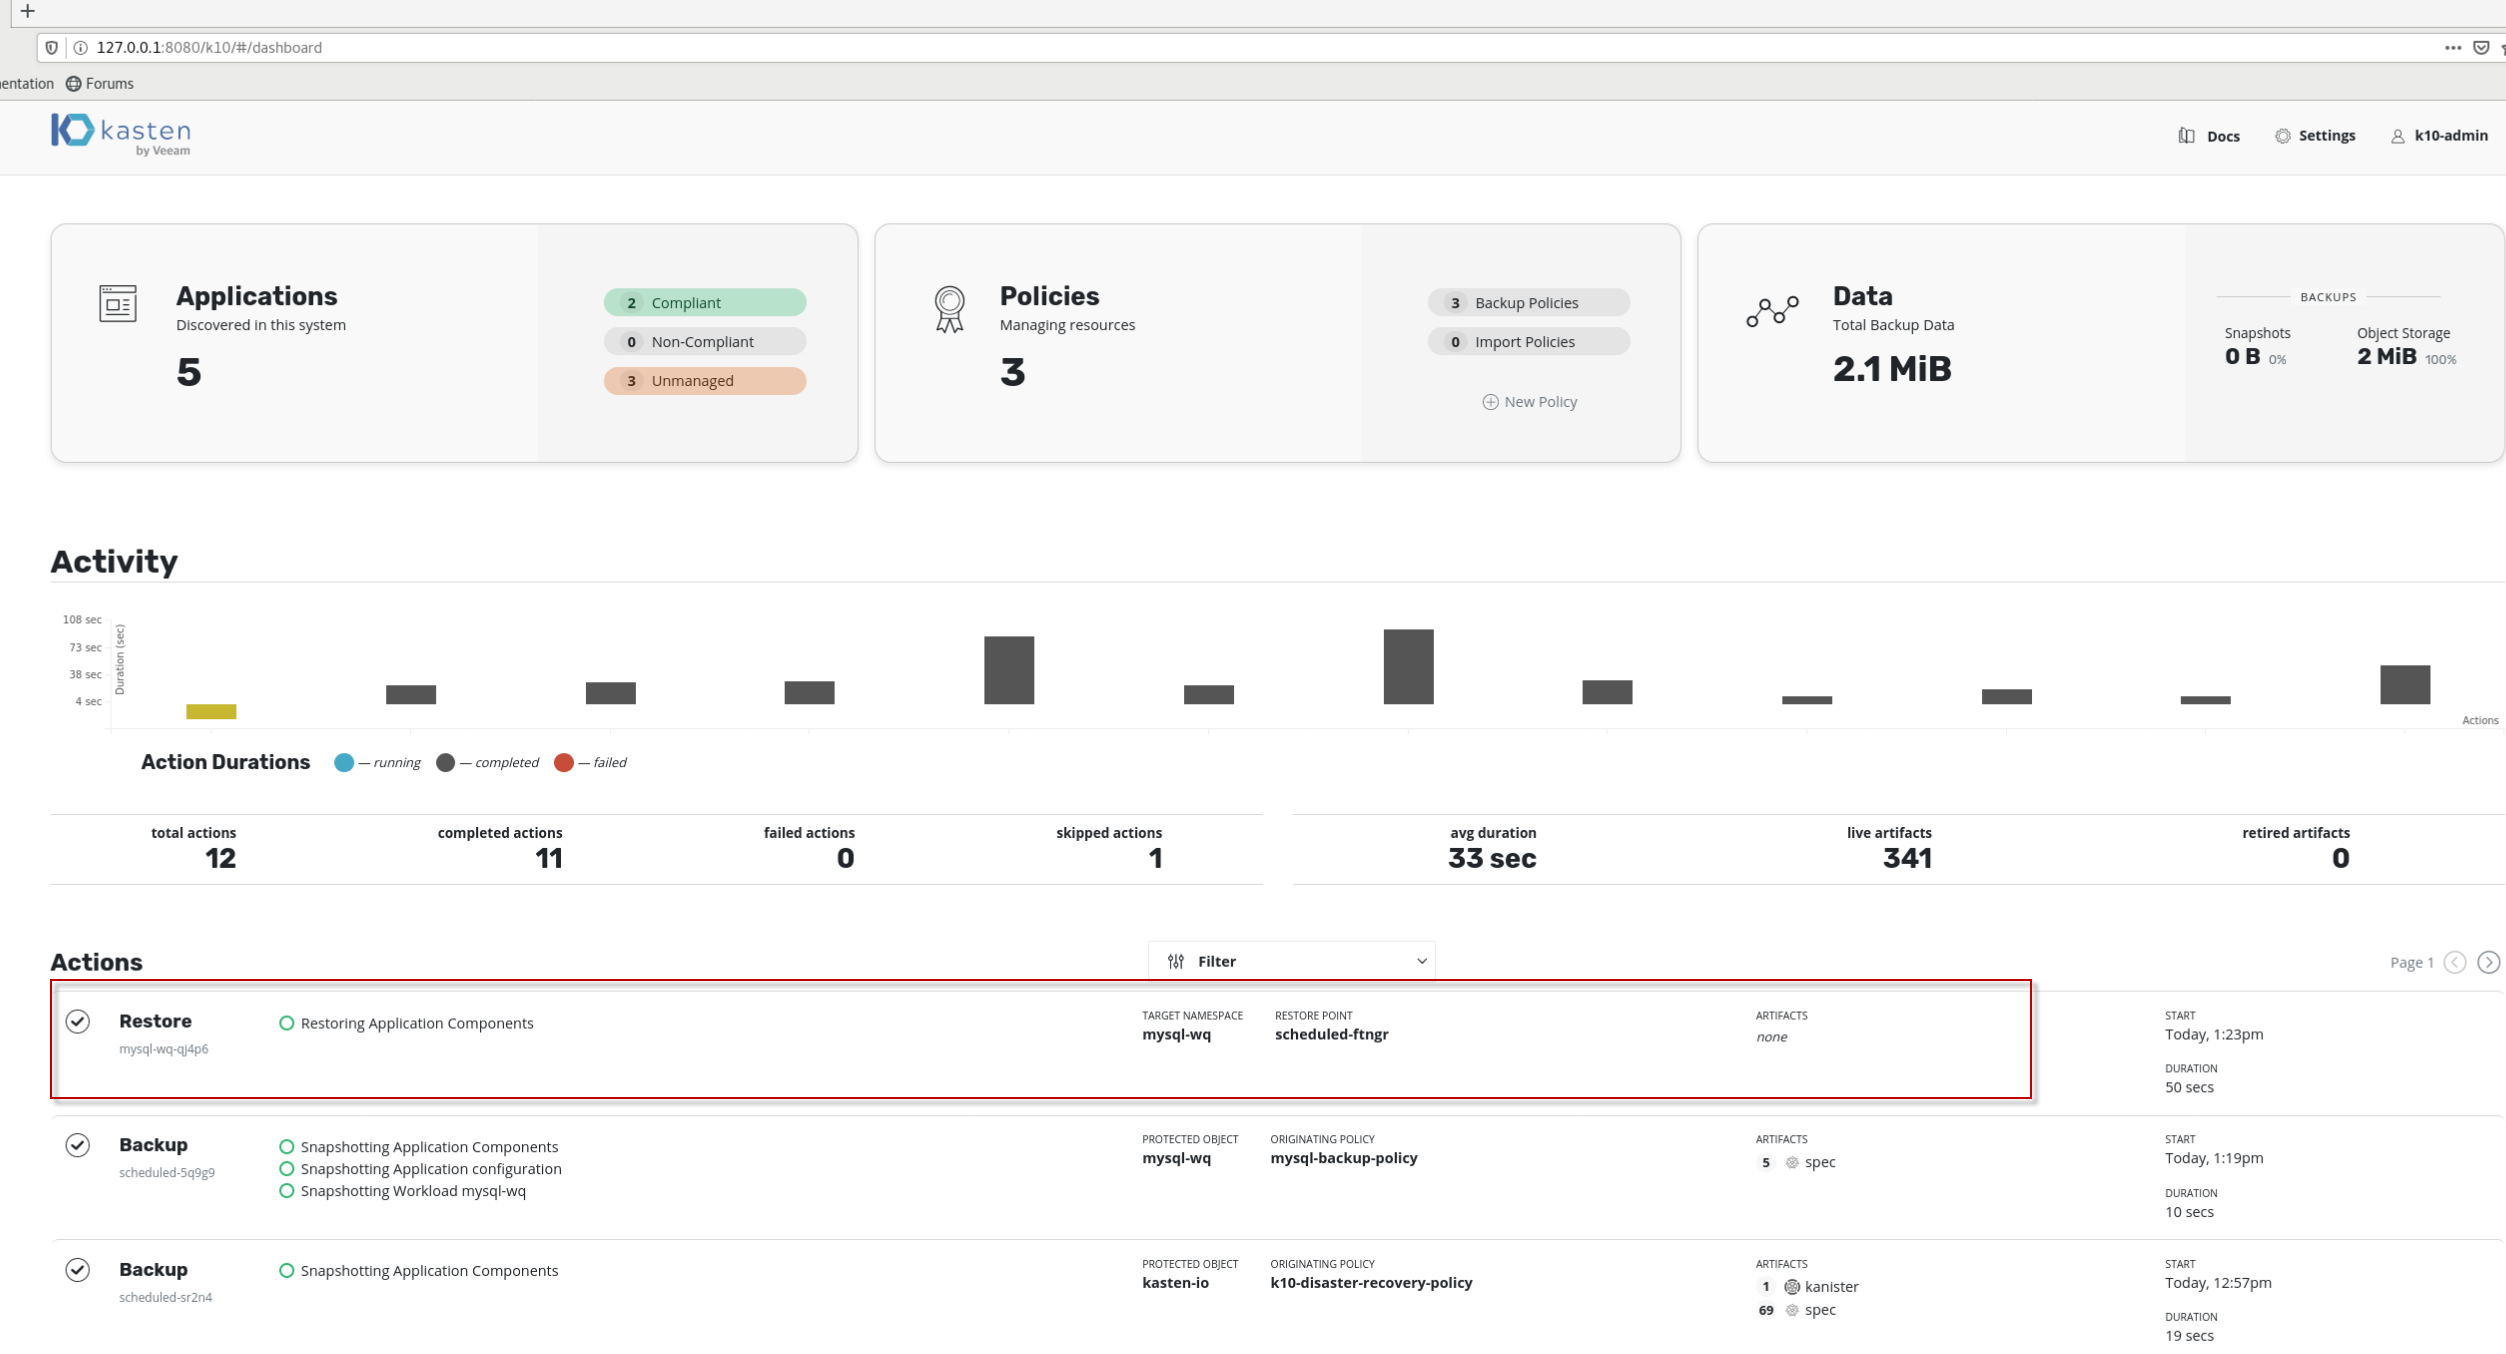
可以看到Actions栏该restore行前面是有打勾,且上面直方图是黑色的,表示“Completed”, 即针对mysql的恢复成功。
为了验证mysql是否恢复成功,进入k8s Dashboard,选择命名空间为mysql-wq,点击mysql-wq的pod行最右边“三个点”,在弹出的菜单项中选择“执行”

运行#mysql -uroot -p, 然后输入密码,
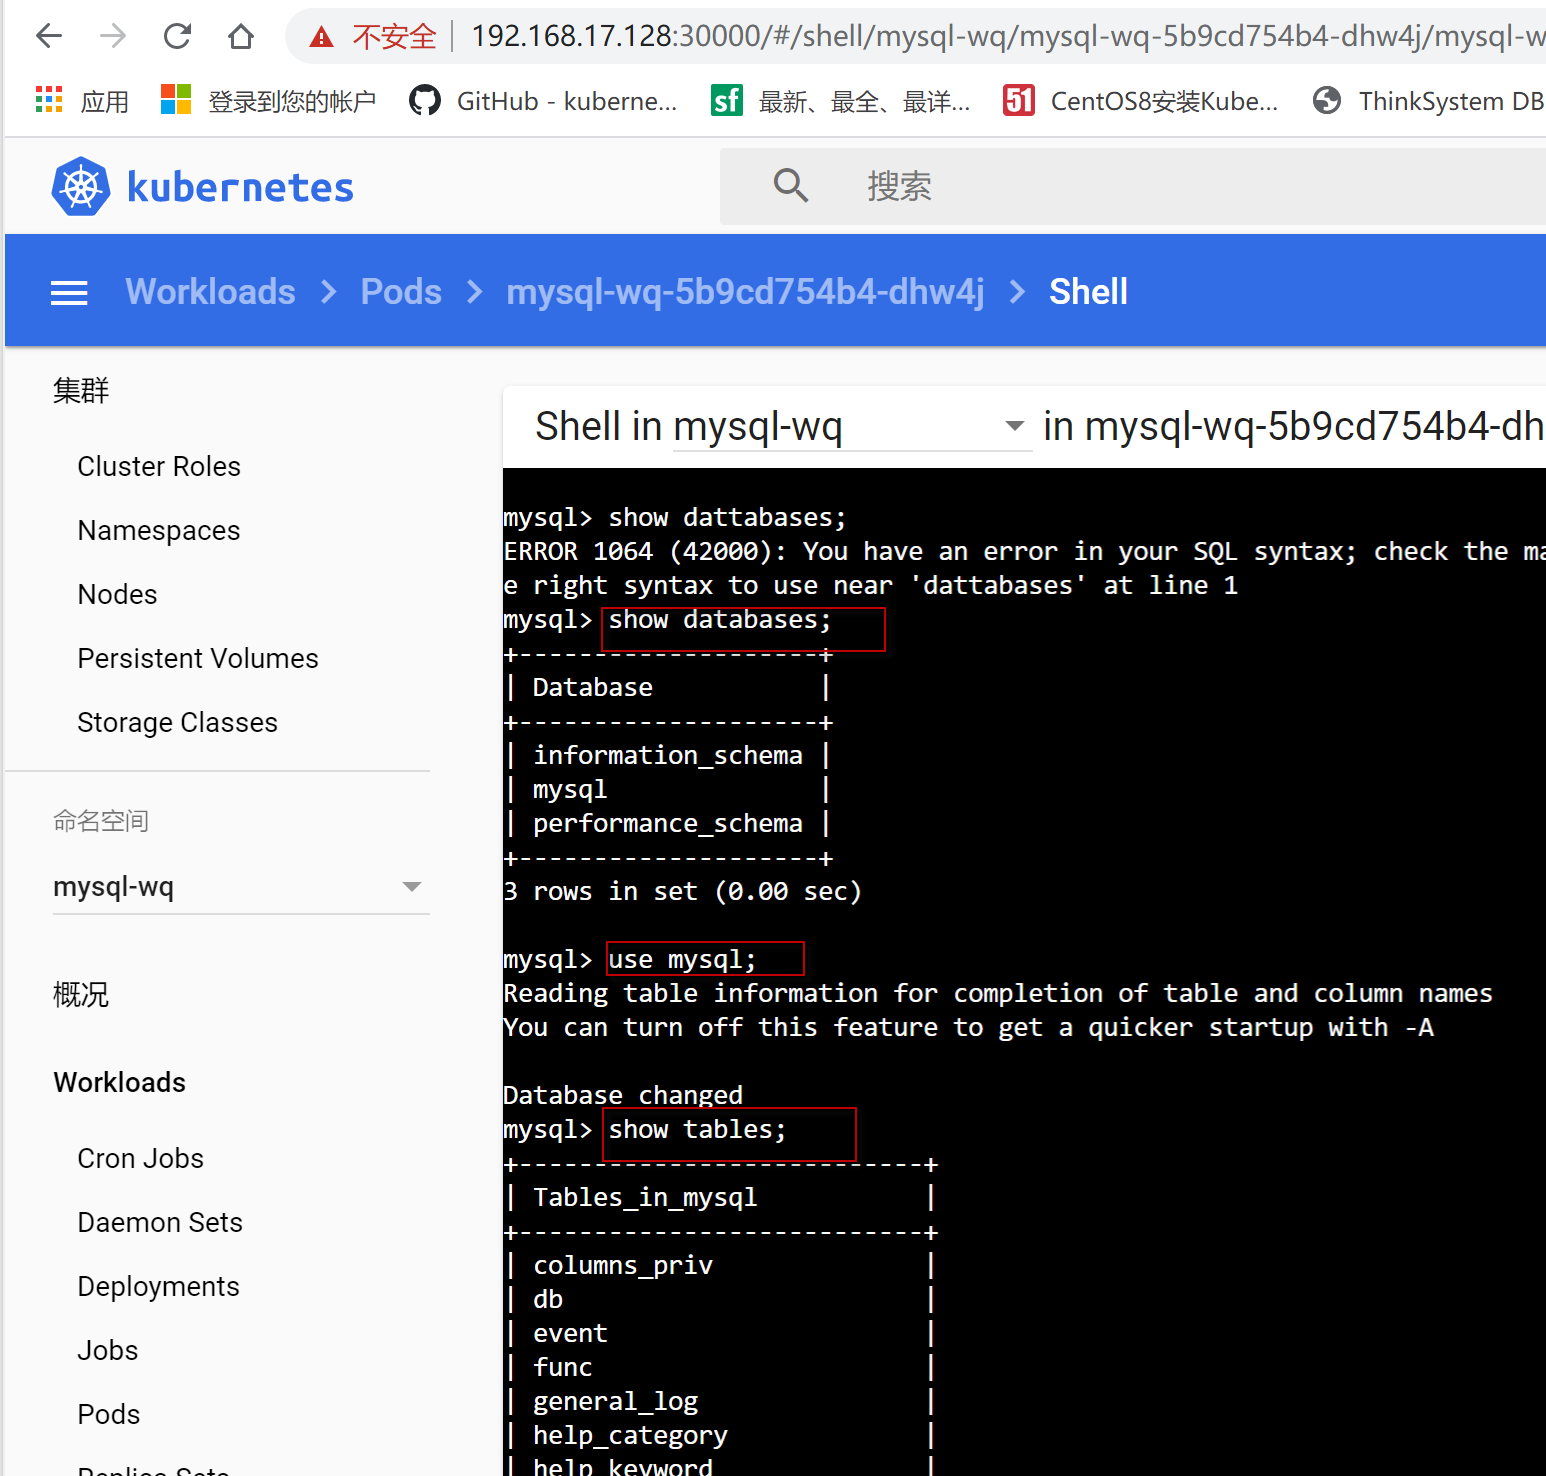
进入mysql数据库,通过show tables命令查看,发现之前创建的MyClass表已经不在了,表明k10针对mysql的恢复确实成功了。