

Hello all!
As you saw in the post tittle, today I am bringing this awesome functionality that Veeam offers which is the cross-cloud platform restores. The is one of the great advantages of using Veeam rather than AWS native backups.
You can basically restore your AWS workload into Azure or the other way around, or even to/from Google Cloud, as well as on-premises. This becomes handy for a Disaster Recovery or if you need to migrate some application to another cloud platform.
In this specific post I am showing the process to restore an AWS EC2 instance to the Microsoft Azure using Veaam Backup for AWS backups and Veeam Backup and Replication.
In the following guide I will restore an Ubuntu EC2 instance and a Windows EC2 instance as well. When restoring a Linux VM in Azure, Veeam Backup and Replication uses a Helper appliance which is pretty much the same as the VB for AWS worker. It is used to mount the backups and prepare the disks for the restore.
In case you are restoring a Windows VM the helper appliance is not needed.
Requisites
I will assume for this guide that you already have the VB for AWS appliance integrated with Veeam Backup and Replication (VBR) and also have the Azure Compute Account added to VBR.
Step-By-Step
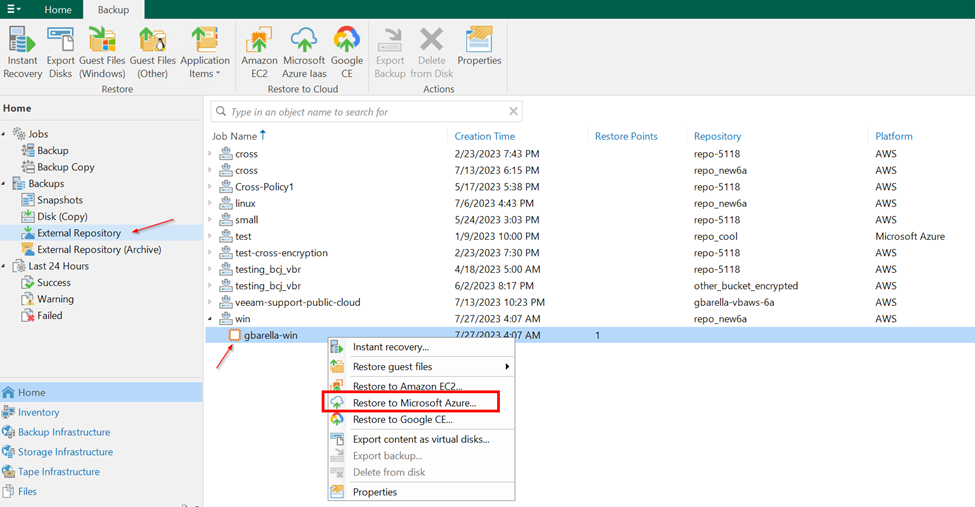
Once you have the appliance integrated your VB for AWS repositories will show up under Backups > External Repositories, so you just need to navigate to the backup policy the VM was protected by, expand the policy, right click on the VM and Select Restore to Microsoft Azure
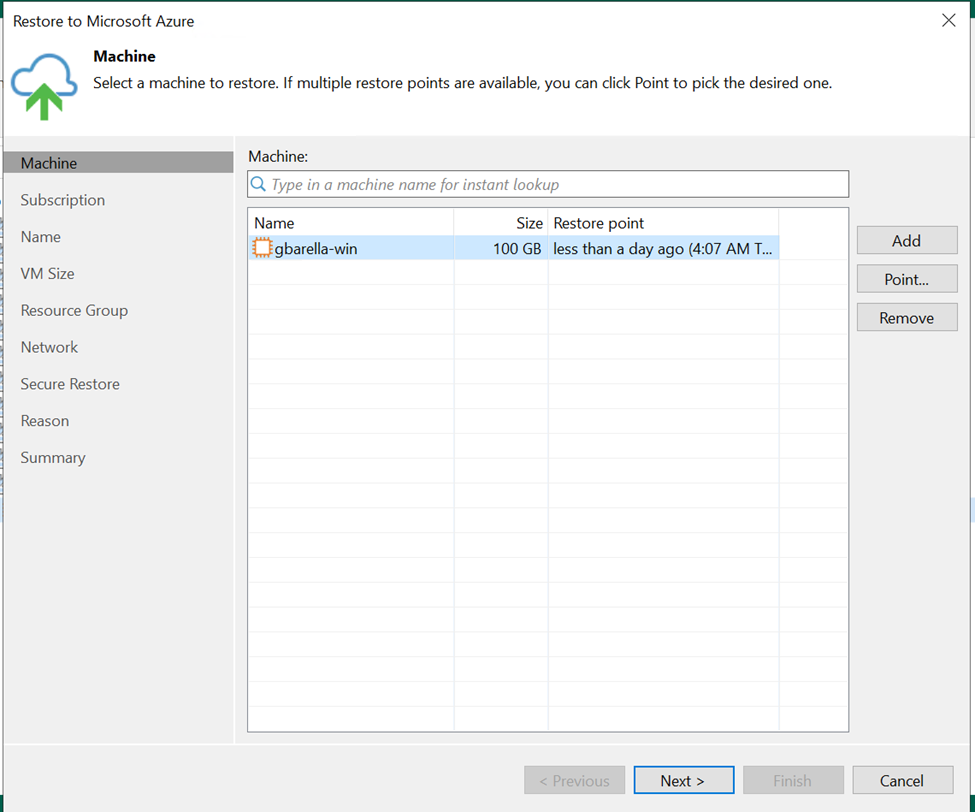
The wizard will open and the first thing you need to do is select the restore point you want to restore.
I’m using a VM that is hosted in AWS in US-EAST-1 and the TARGET location in Azure is East US.
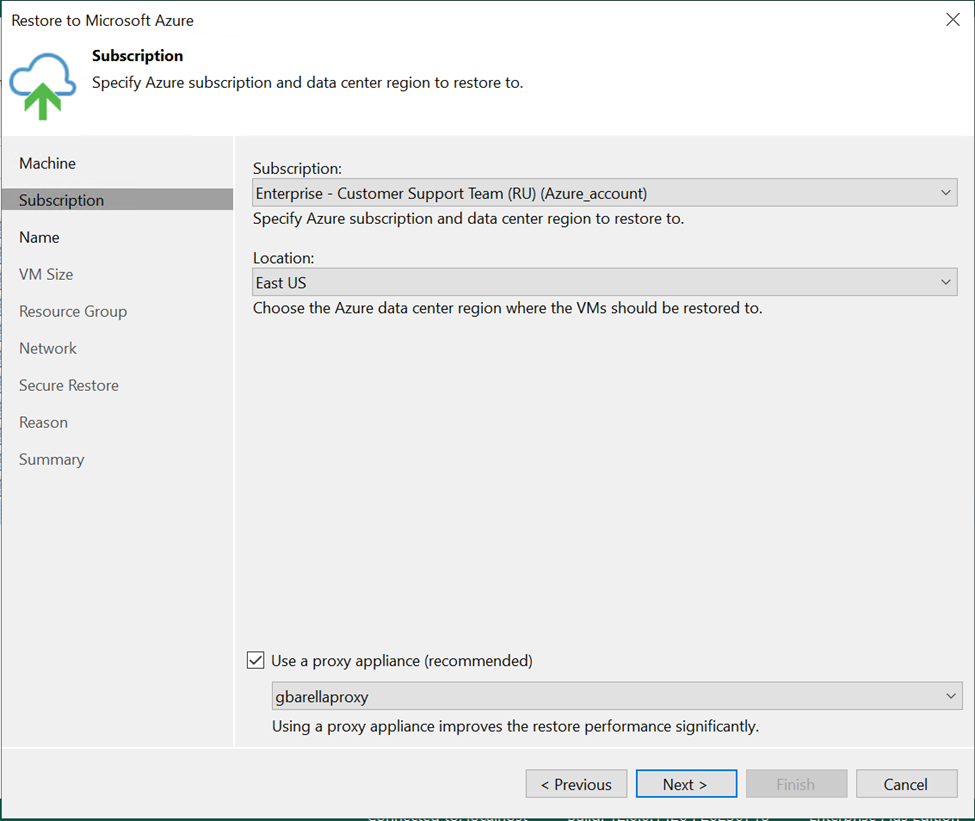
As you can see, I selected the Use a proxy appliance checkbox to improve the restore performance. It is recommended that you configure the Azure restore proxy appliance in the same location to which you plan to restore the workload.
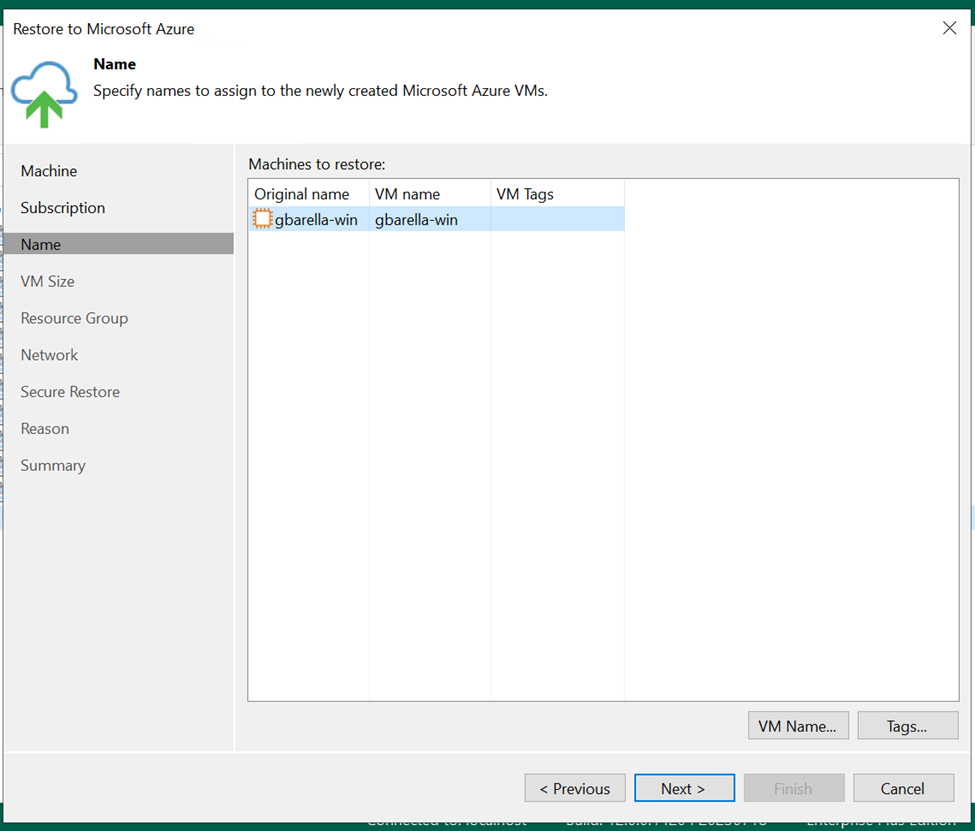
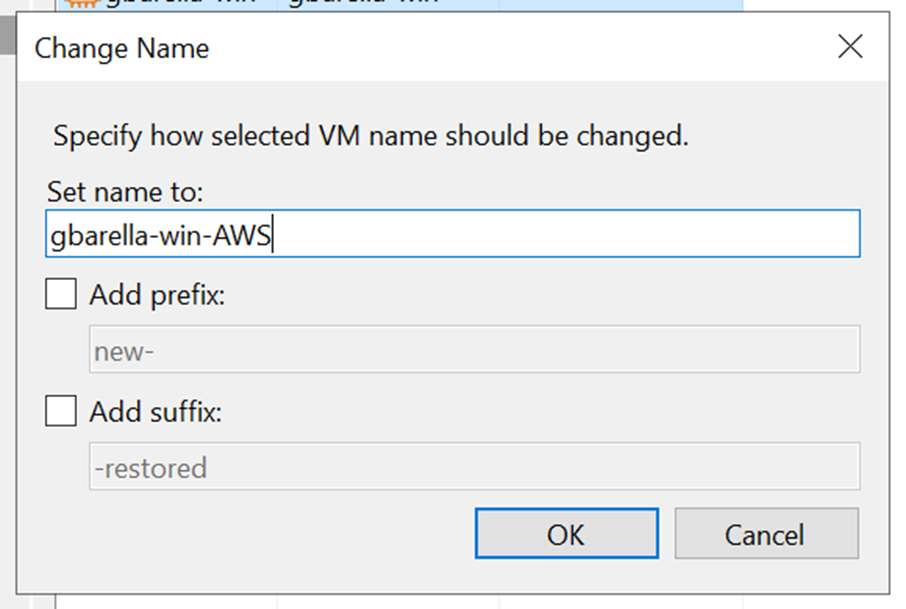
In the Name section you will have the chance to change the VM name and also associate some tags
At this point you will choose the VM size you want to use for this VM in Azure
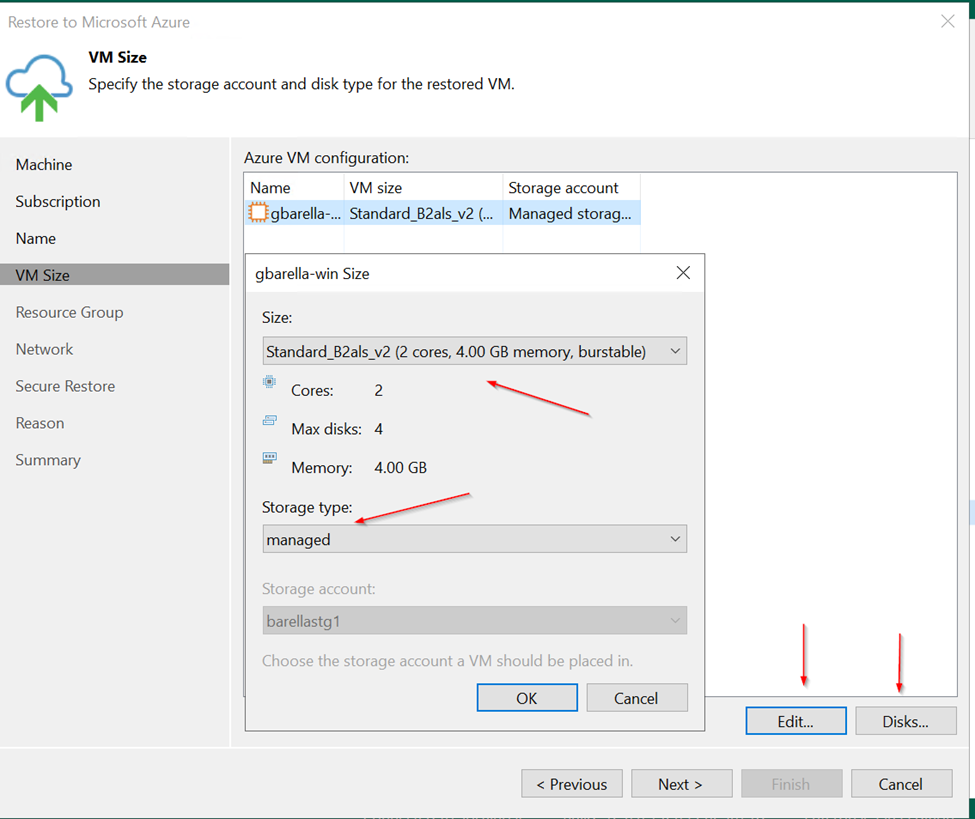
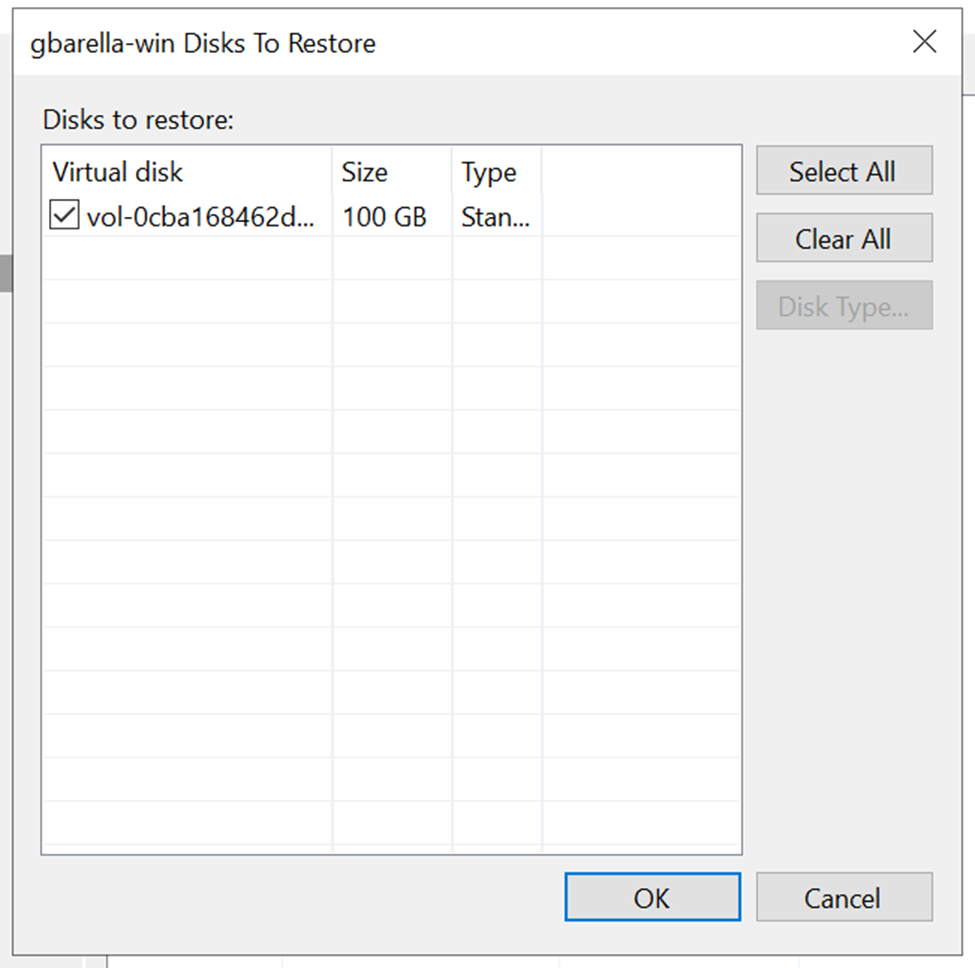
You can also choose if the VM will have managed or unmanaged disks and even if you want to restore all VM disks or only specific ones
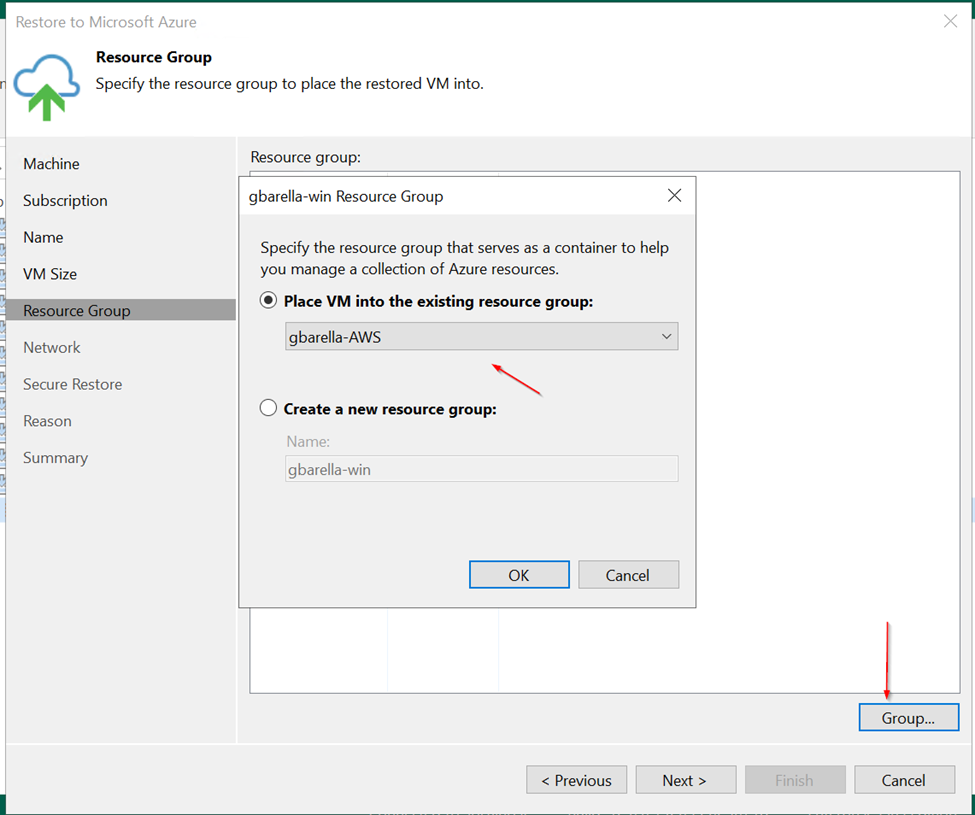
Select if you want to create a new resource group or if you want to use an existing one, I selected one called gbarella-AWS so I can see the VMs that were migrated from AWS
Now it is time to select which VNET, subnet, if it will have a public IP or not and a security group for our restored VM.

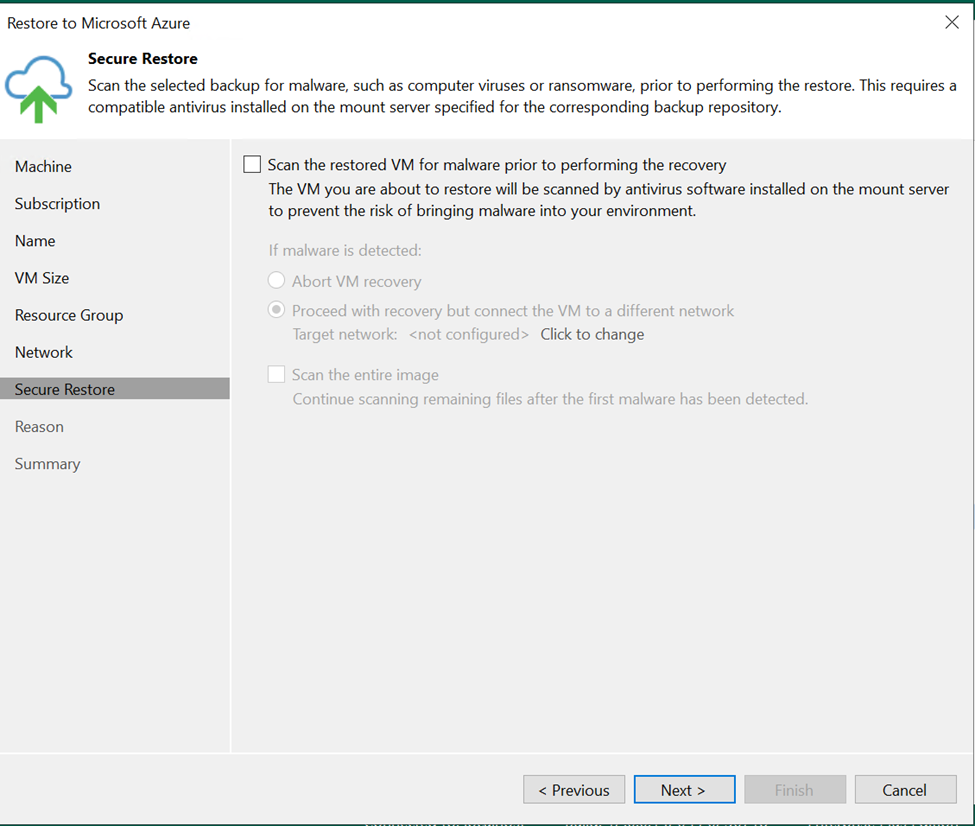
You can scan the VM for malware, I will not do it now since I deployed this VM just for this post, but you have this option
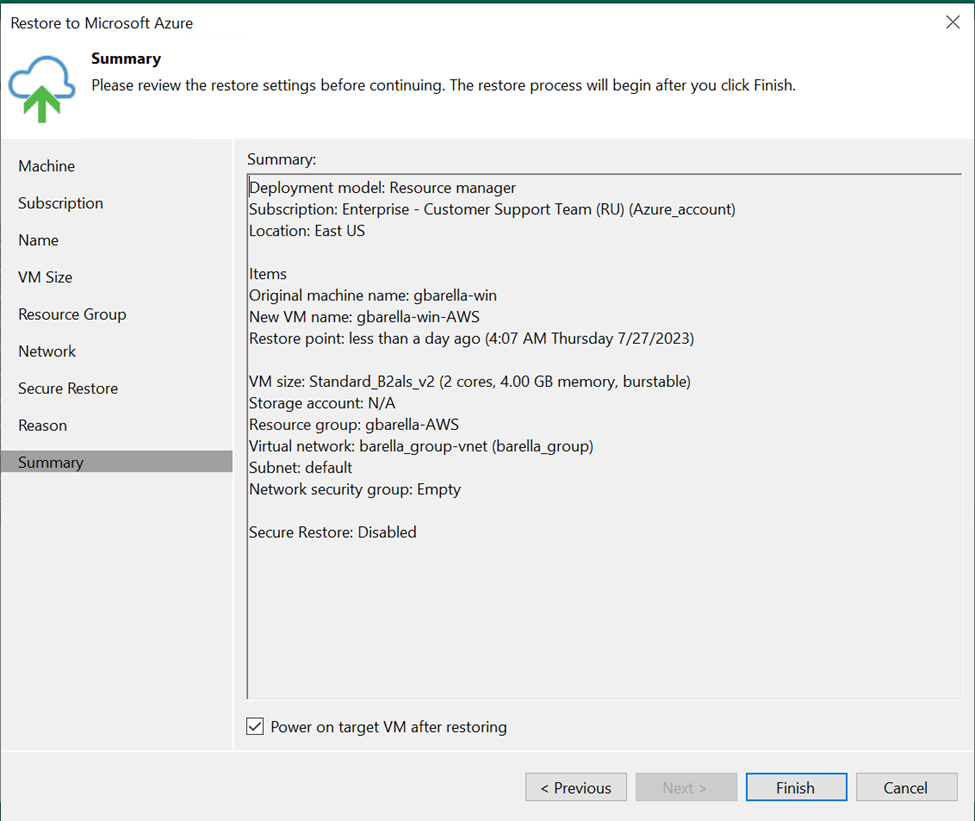
You can type a reason and you can see the summary of the restore. If everything is OK including the Power ON the machine checkbox, click Finish
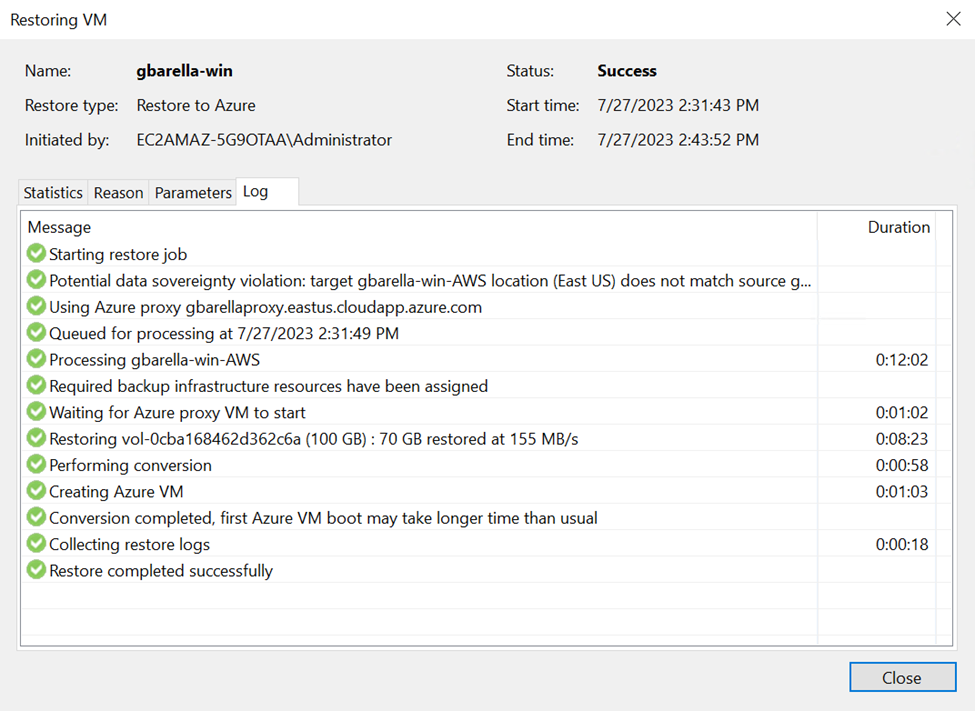
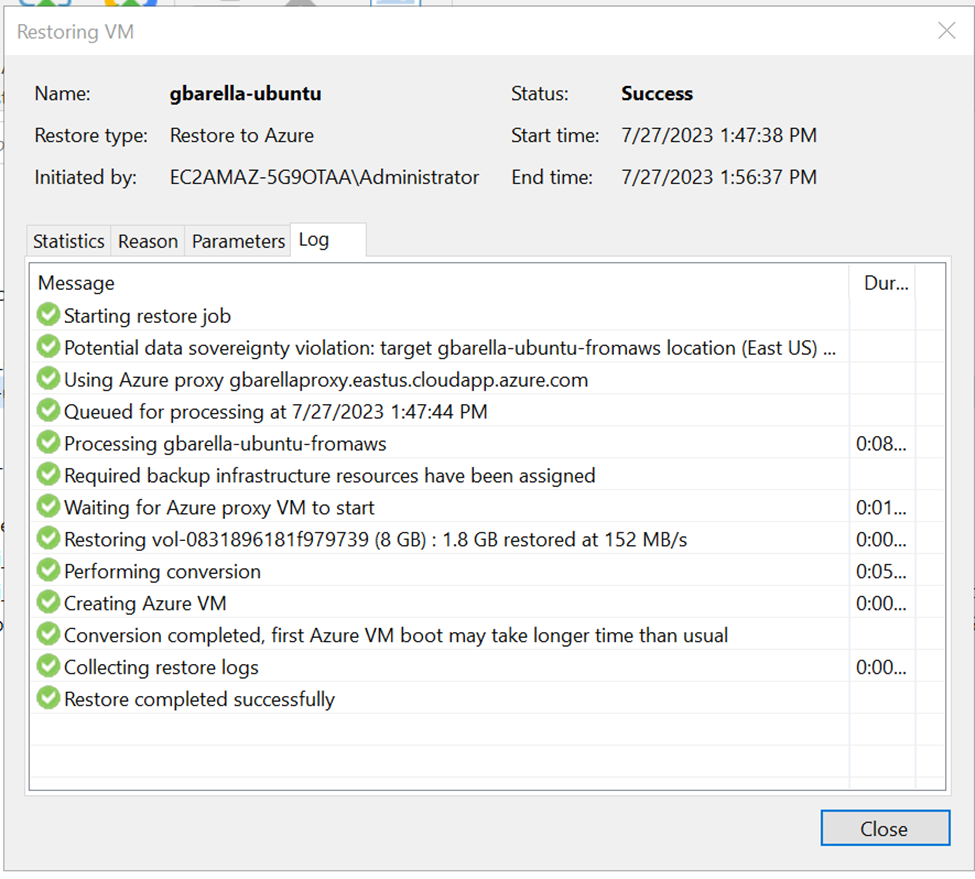
The process took less than 9 minutes to complete for the Windows VM and the Ubuntu
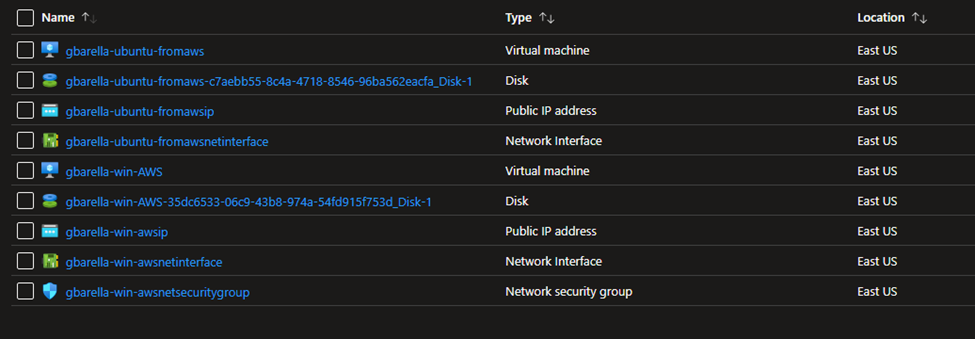
You can then check the target resource group in Azure to see the VMs
You can access the former EC2 instance using the same ssh key you have for AWS, as you can see below in the putty session the VM running in Azure

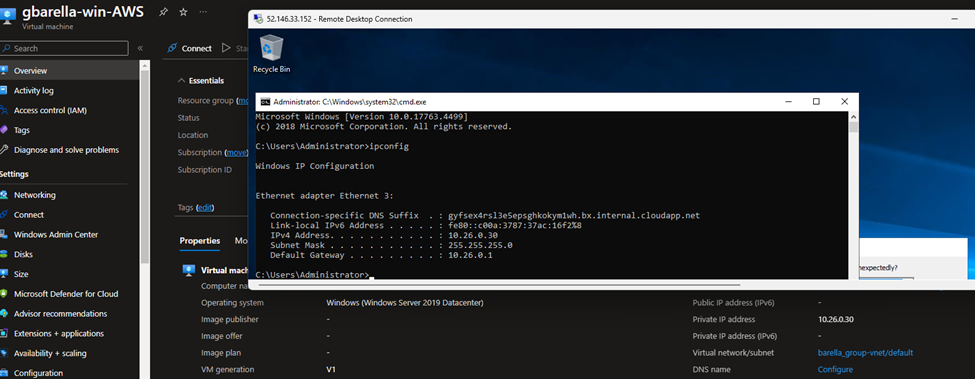
As well as the Windows VM
And that is it!
I hope this is helpful to you.
See you!


