

After revisiting Minikube last week via Podman Desktop I decided to take a peak at what was going on over at Docker Desktop.
I have to admit I was annoyed a few years ago when they made their license changes. I realize companies need to make money but it just seemed disingenuous at the time. Mind you Docker Desktop is still free from education, personal use, testing and you only need to buy a subscription if your company is over a certain number of employees or revenue. Also to be fair it is not that expensive either. You can checkout the pricing here: https://www.docker.com/pricing/?utm_source=google&utm_medium=cpc&utm_campaign=search_na_brand&utm_term=docker_desktop_license_exact&gad_source=1&gclid=EAIaIQobChMIgLiL7fHNgwMVD01HAR2qUAl-EAAYASAAEgKLe_D_BwE
I am not going to sign up but just download the personal edition. I believe if you sign up you get access to more tools for development among other things.
You can download for Windows, Linux and Mac here: https://www.docker.com/products/docker-desktop/
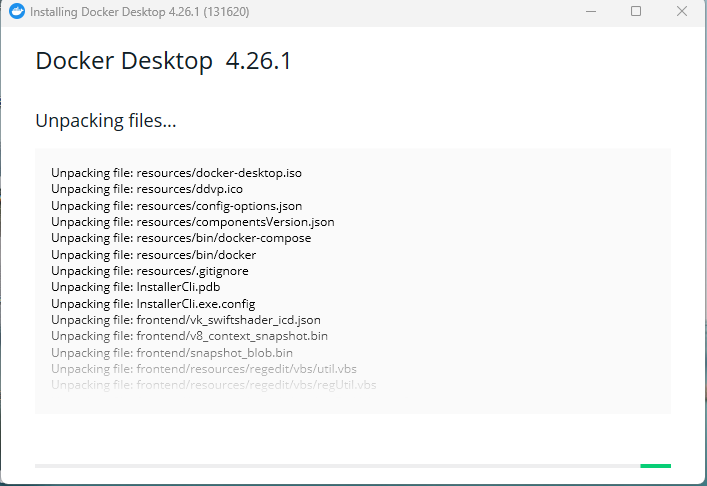
I am installing in windows on top of WSL2 which requires just a few clicks and the process takes off
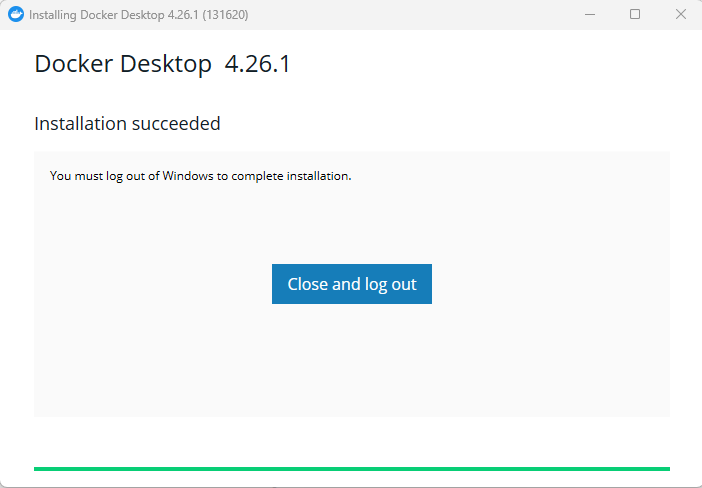
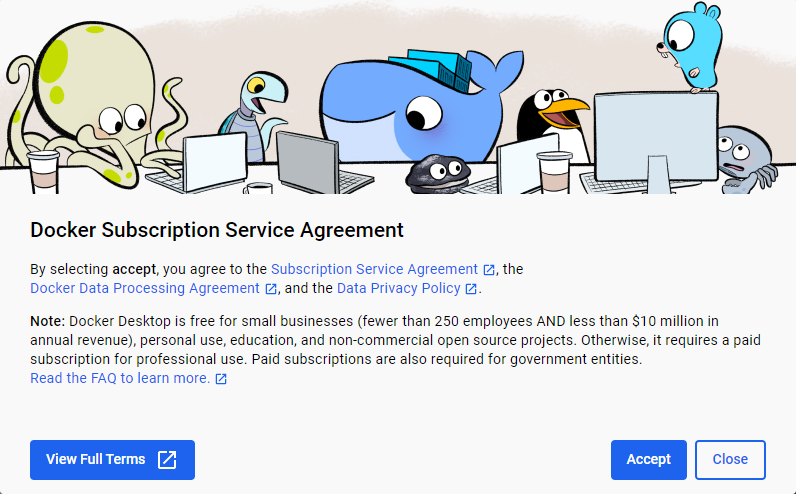
You must logout after completing the installation. After logging back in you will get more information on the Licensing rules:
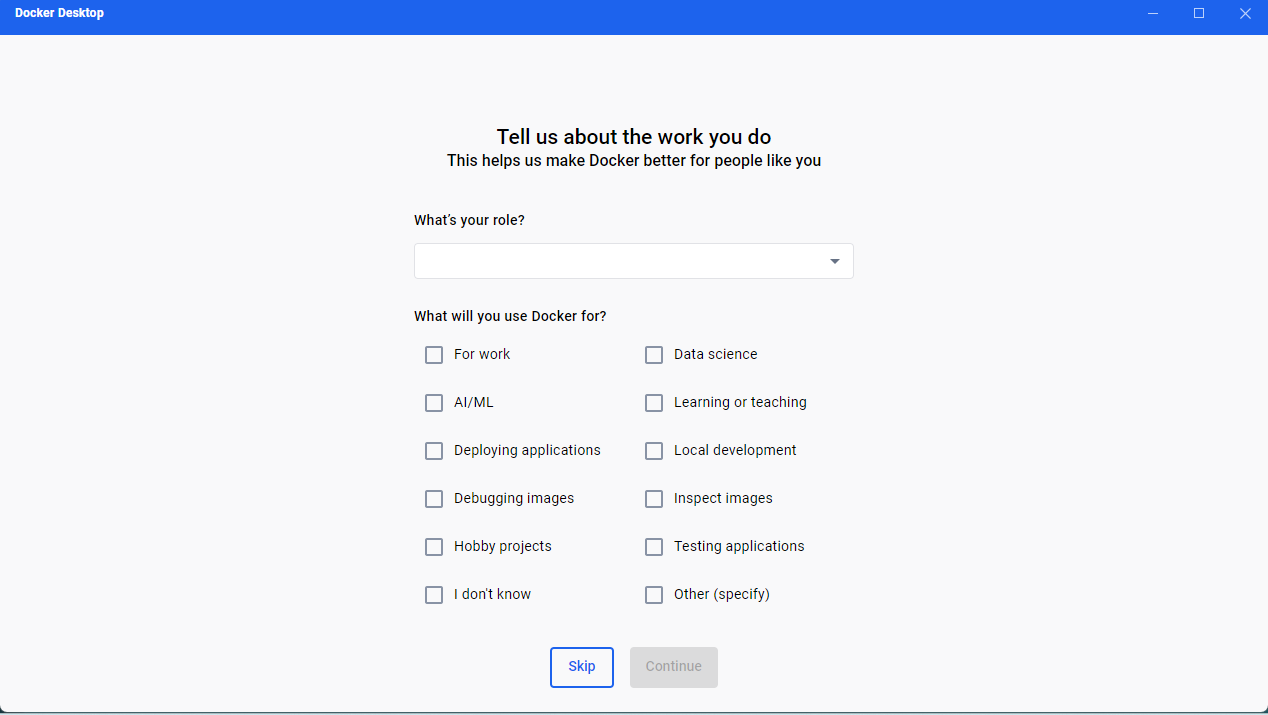
It will also ask for some feedback which you can skip:
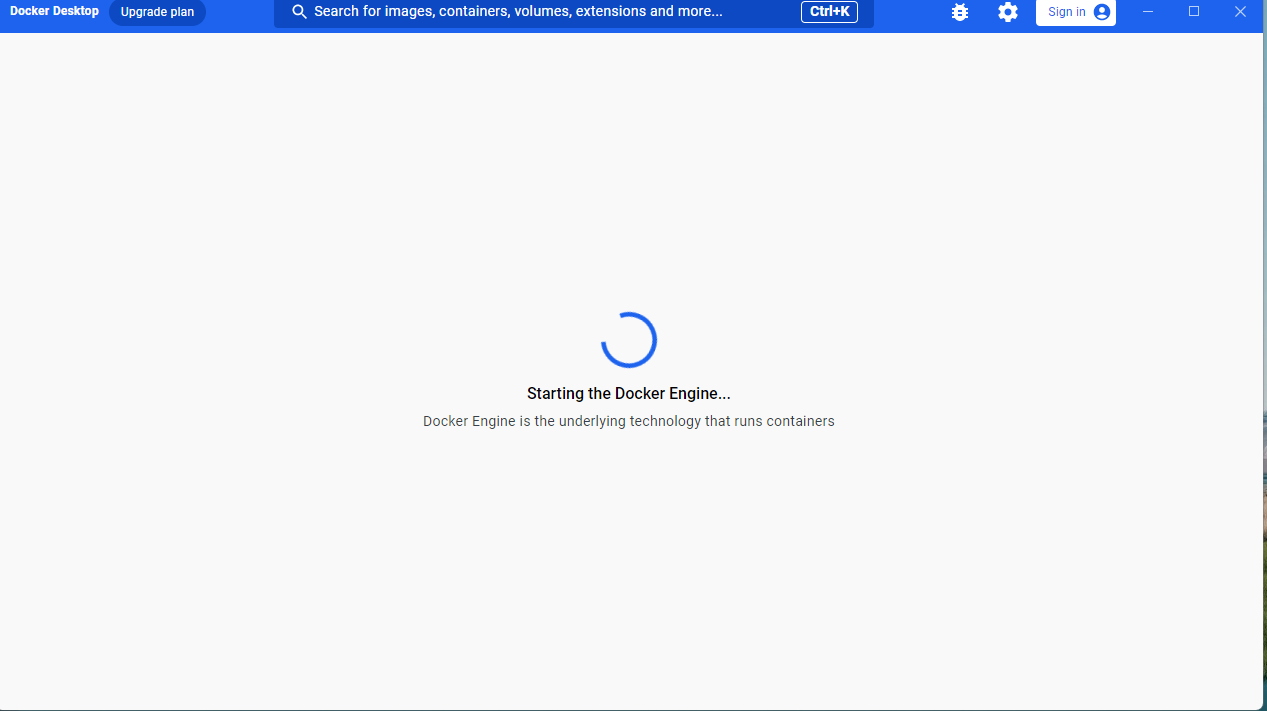
At this point it will start the Docker Engine:
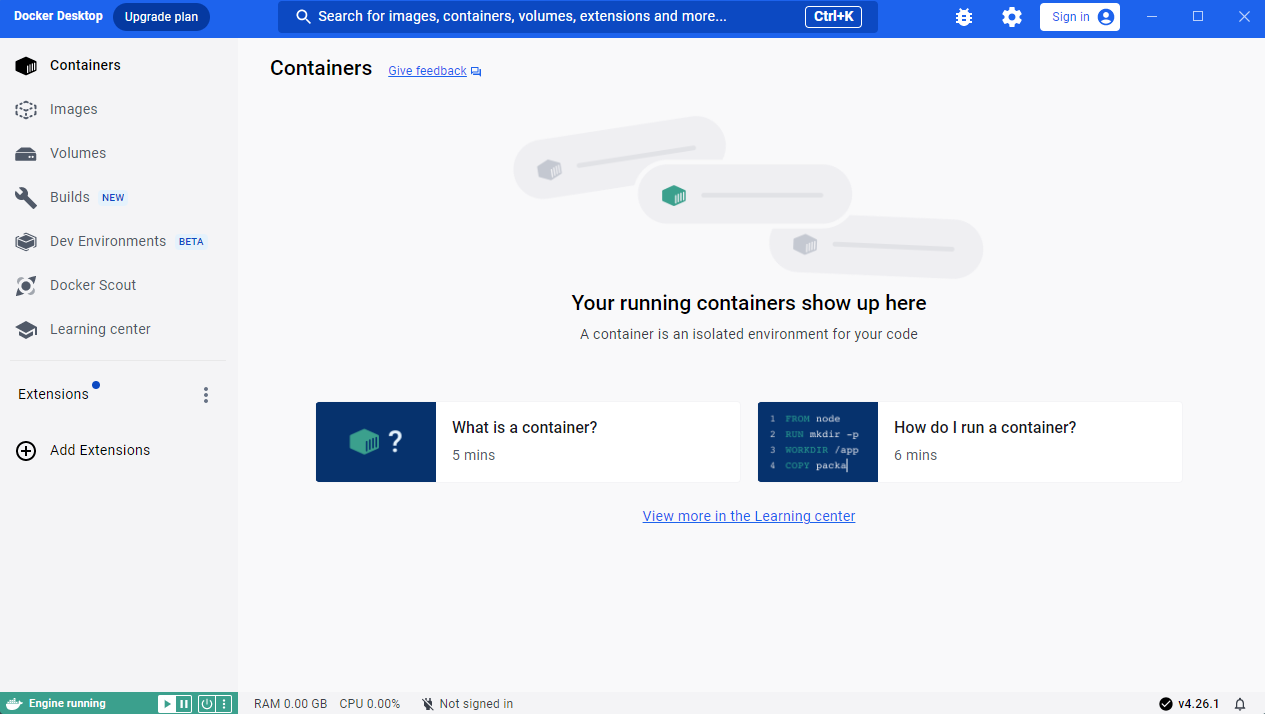
Right away it starts you on your educational journey:
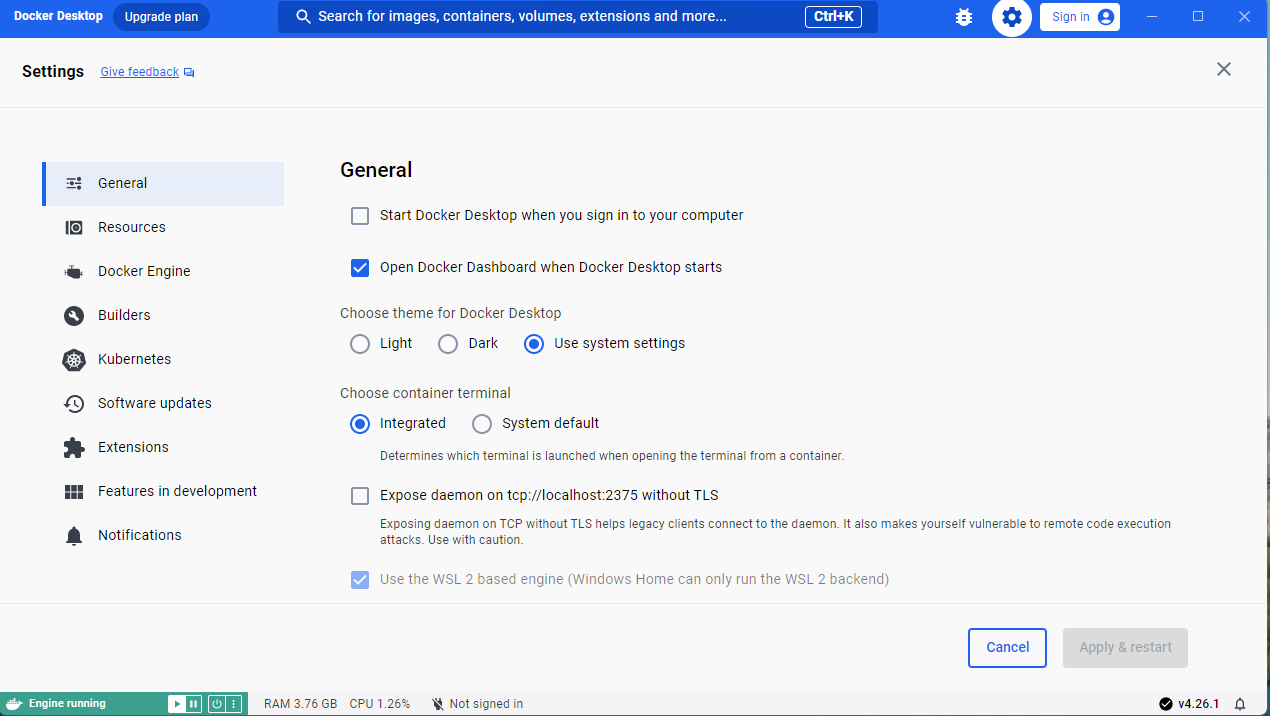
In the General part of the settings you can choose how you want things to look:
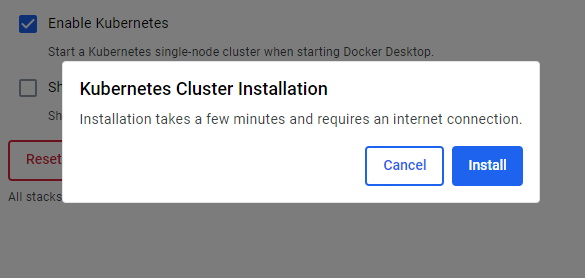
We know where we want to go immediately “Kubernetes”

It would seem that you can’t choose the version which could be an issue for some folks as it forces you to use v.128.2
Off we go!
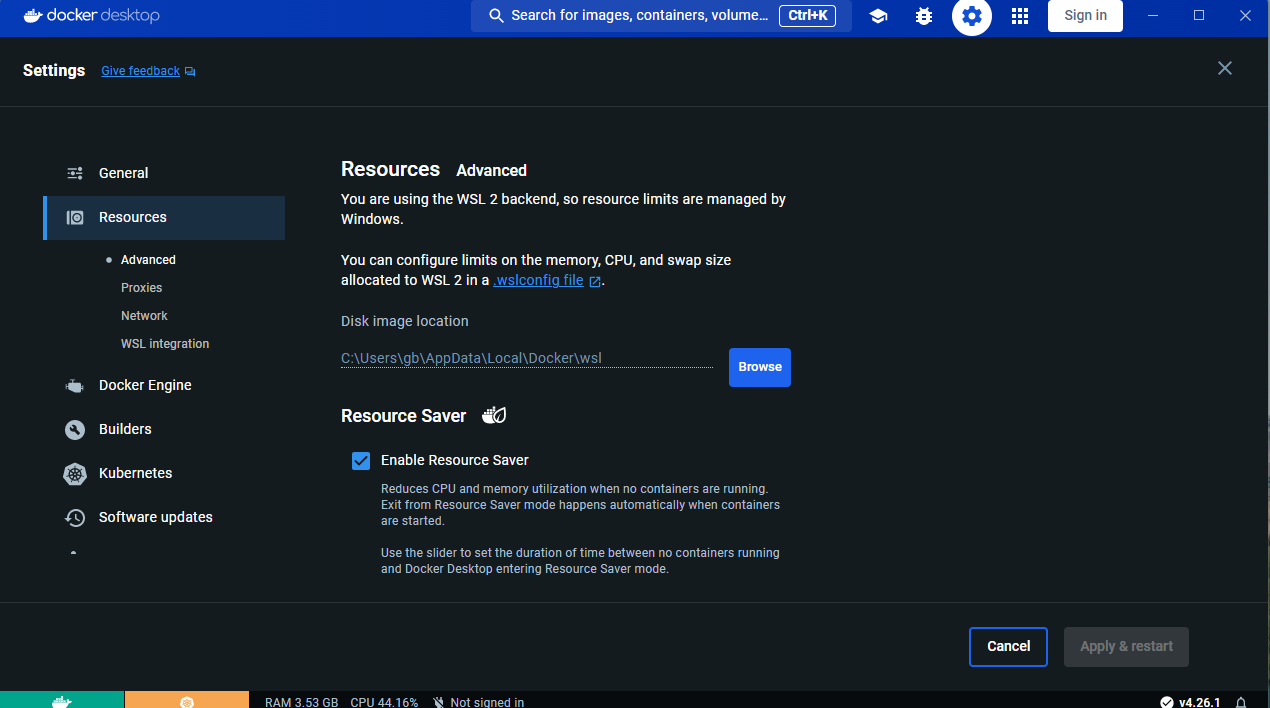
While waiting for the cluster we can head over to resources, quite a lot of things you can configure:
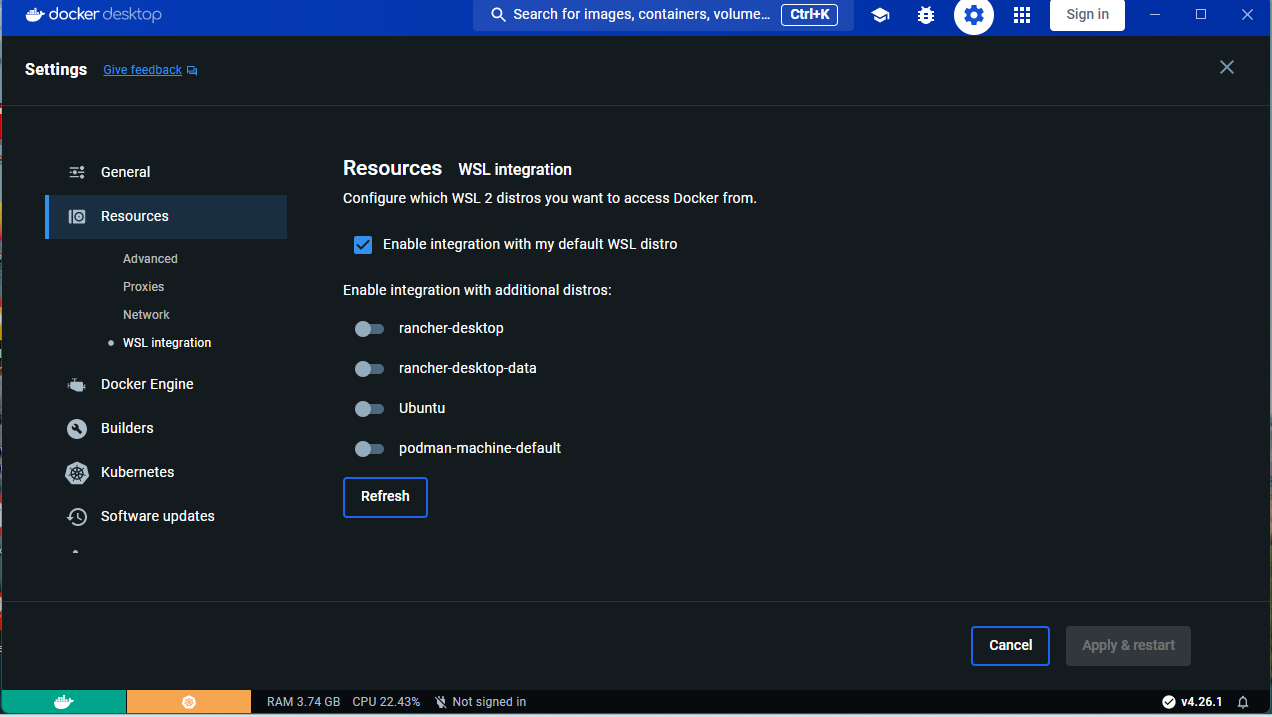
Nice that you can configure which other WSL2 Distros you might want to access Docker from:
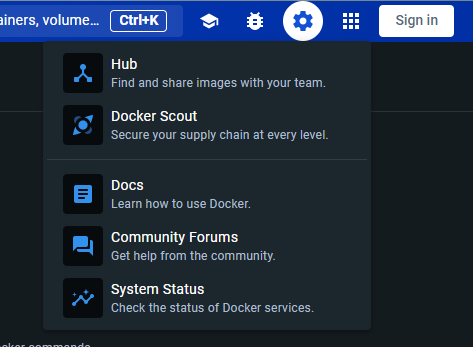
At the top menu bar it is great that you can access everything Hub, Docs, Community Forums, check your system status and use Docker Scout:
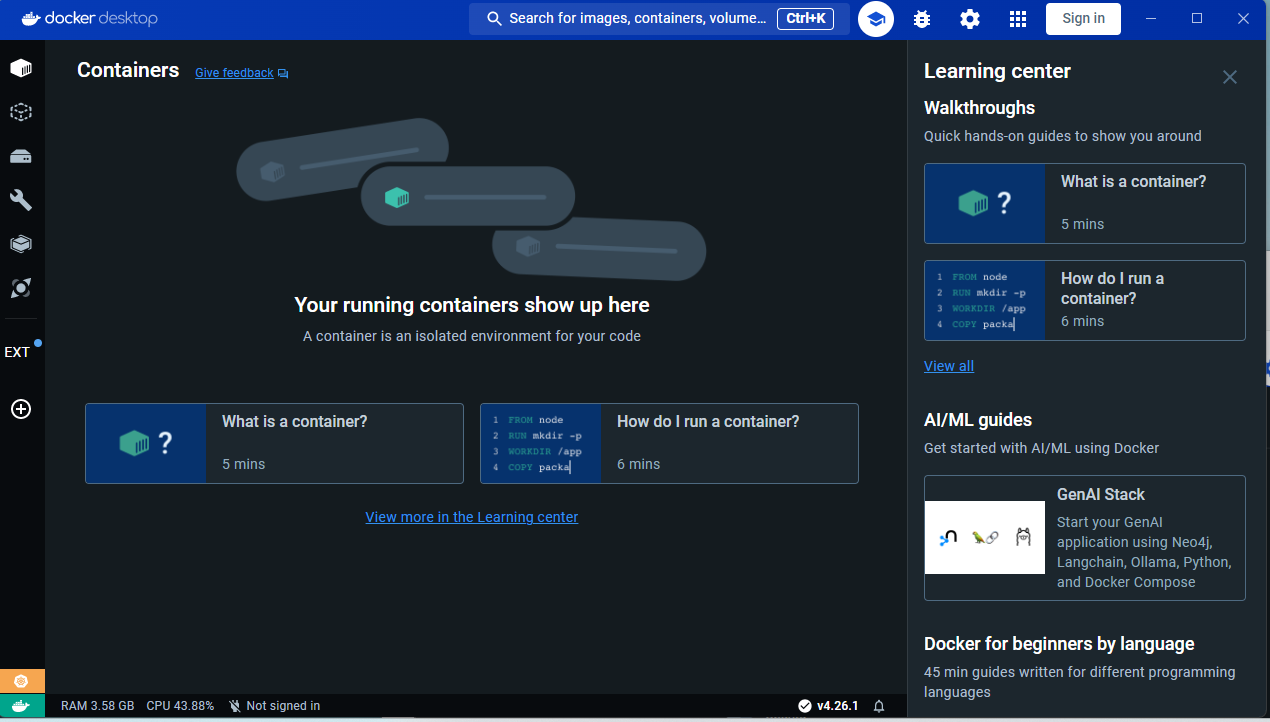
The Learning center is simply cool:
Then there is a well established marketplace with excellent choice extensions:
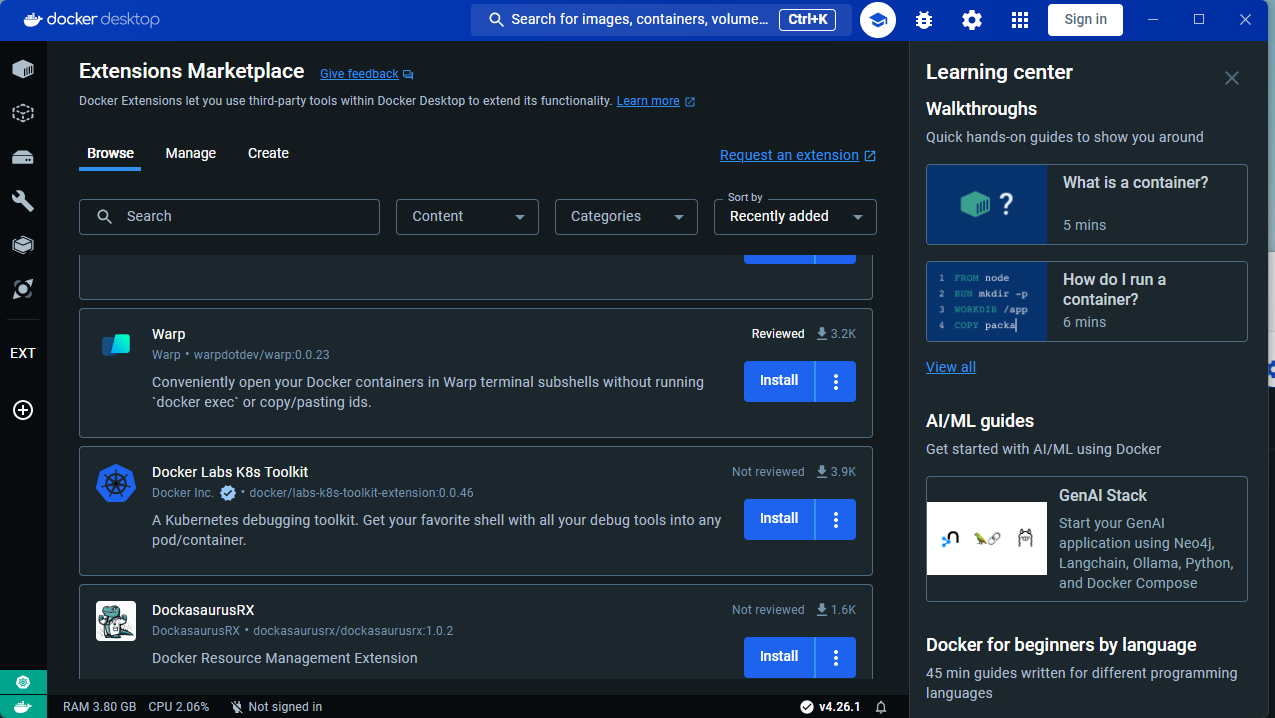
An extension to backup, clone and share Docker Volumes:

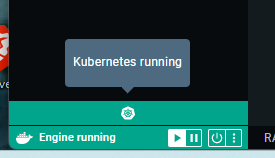
Back to the cluster and it is now running:
Ok so what would be the context name?
kubectl config get-contextsSurprise surprise it is called docker-desktop:

Now time to switch over to that one and give it a try:
kubectl config use-context docker-desktop
kubectl get nodes
Now to run a pod:
kubectl run nginx --image=nginx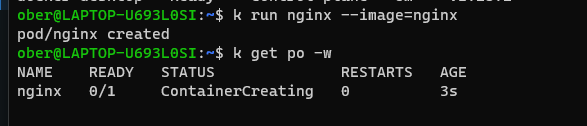

Time to expose it as a NodePort service and see what happens:
kubectl expose pod nginx --port=80 --target-port=80 --type=NodePort
It even wok up my firewall, must be working!
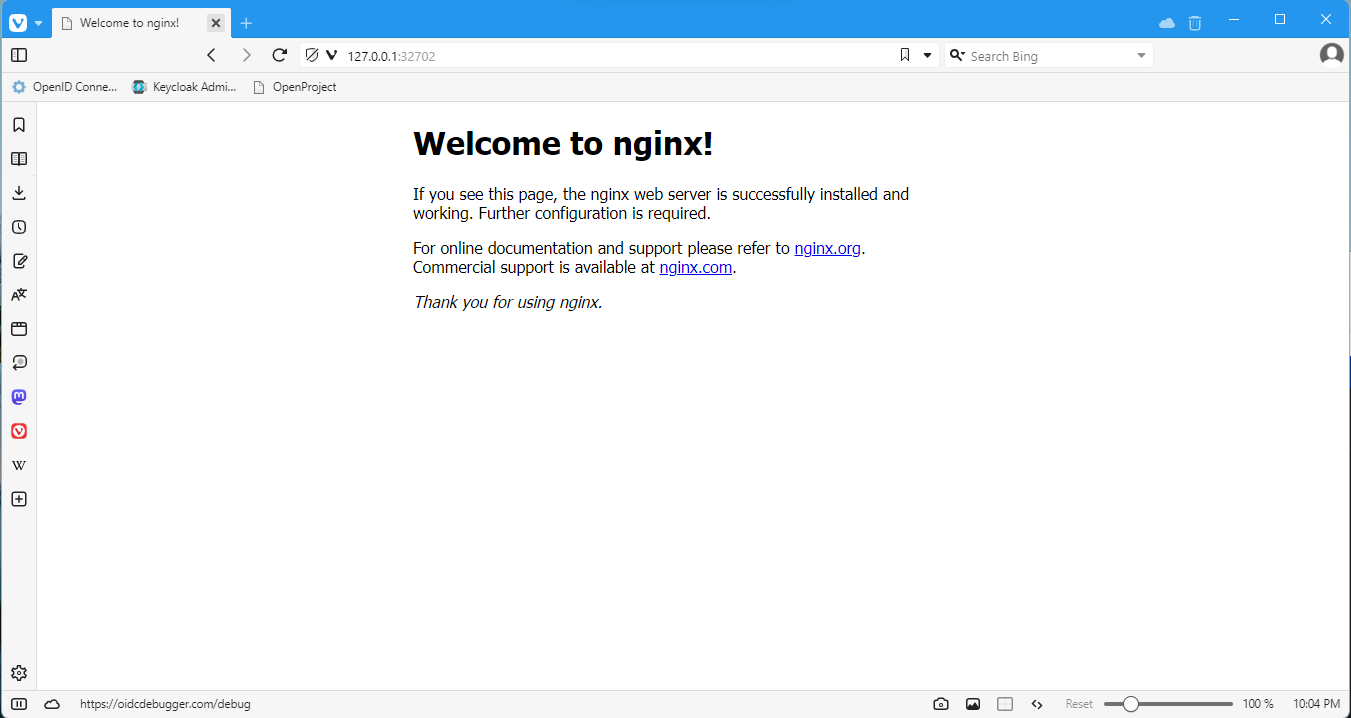
Time to find the NodePort port that it was assigned:
kubectl get svc 
And it works!
Now just for fun what if I try a LoadBalancer type. I can just edit this on the fly. Normally it would be stuck in pending since I don’t have an external Loadbalancer or metallb installed:
kubectl edit svc nginxchange the type from NodePort to LoadBalancer and save

Well this claims on the external-ip that localhost which would mean that docker desktop is putting this out on the loopback address. I tried it and it worked as well.
All in all I was very impressed with Docker Desktop. It has come a long way from a few years ago when I last used it.


