

I have decided to spread my lab out somewhat. My wiki application wikijs was on my Promox server but I decided to move it over to my synology. I wanted to keep things simple and am moving it from a single node k3s setup to a similar setup on synology. The tool of choice to perform the migration of course is Kasten!
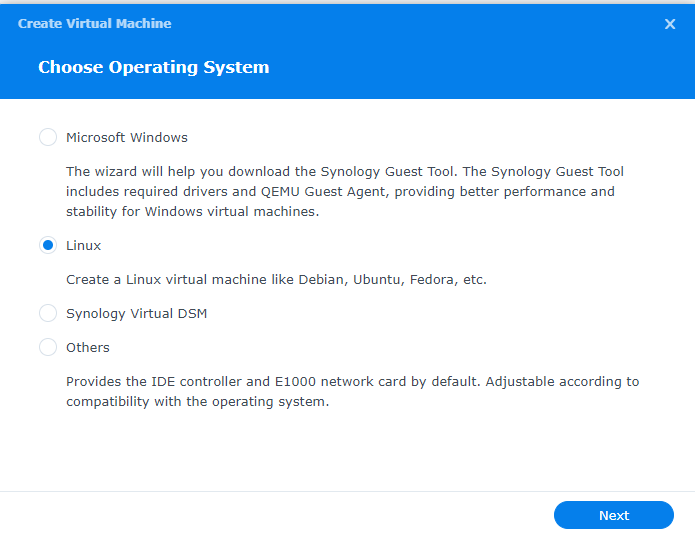
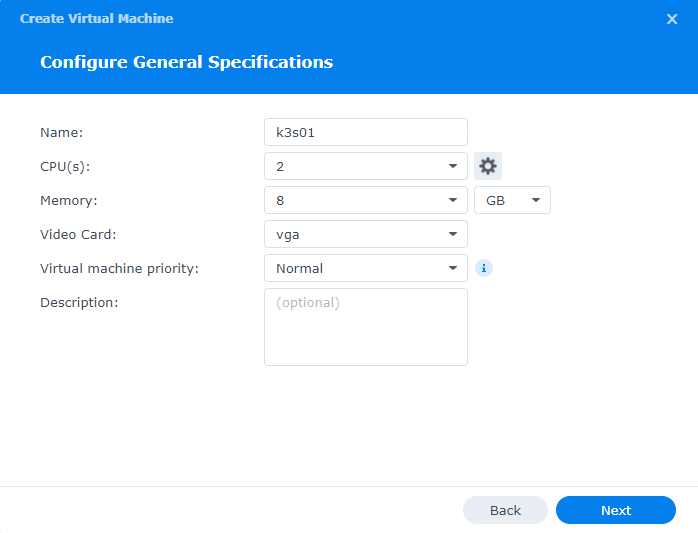
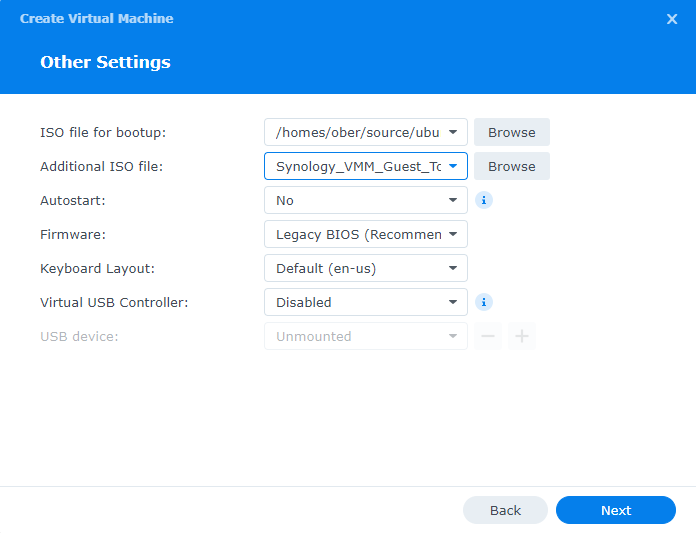
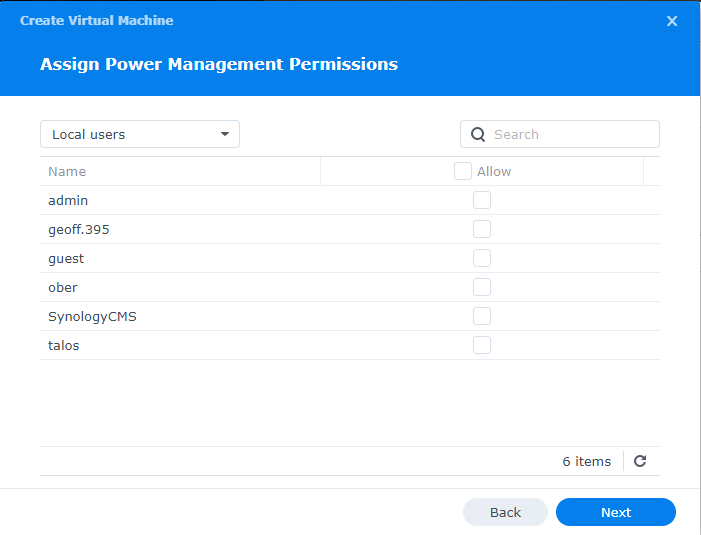
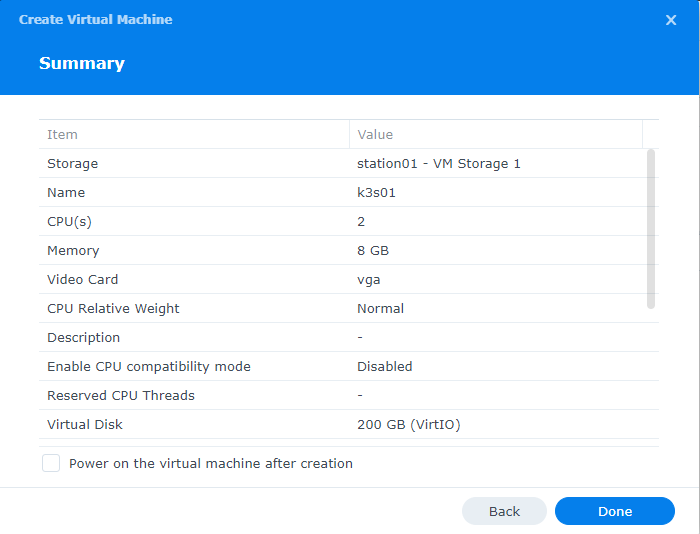
First create a new ubuntu server VM on Synology:


Next perform the OS installation. You can follow my previous post on migrating to Proxmox and the Ubuntu server install will be the same: https://community.veeam.com/kubernetes-korner-90/creating-a-pks-home-lab-proxmox-synology-k3s-6706
Now it is important to get the key for the restore from my Kasten setup on my Proxmox K3S cluster:
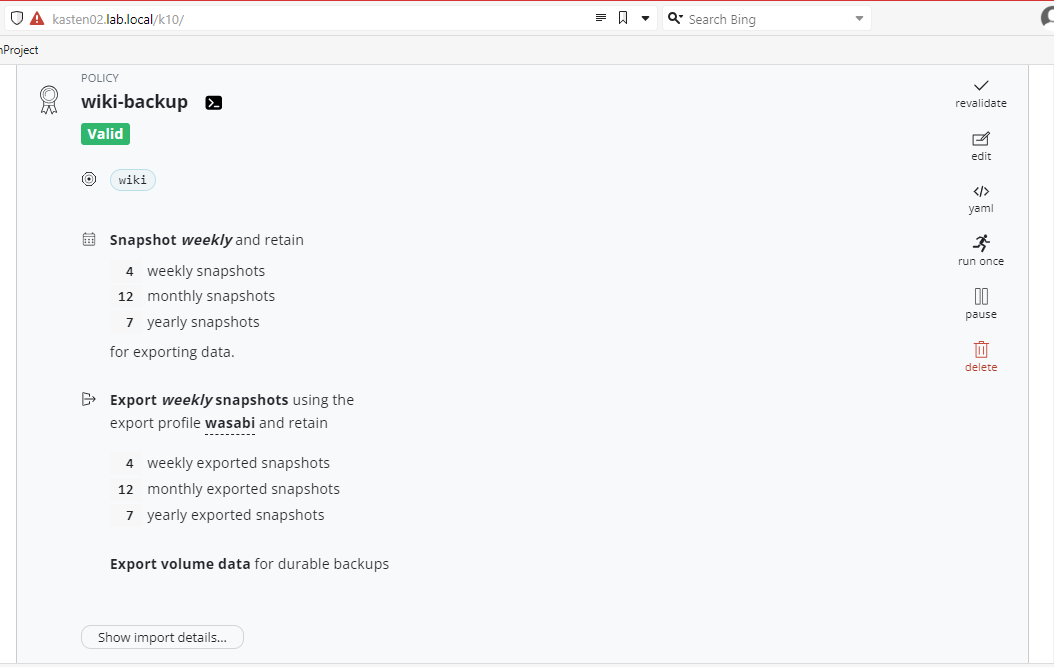
Click the “Show import details” button
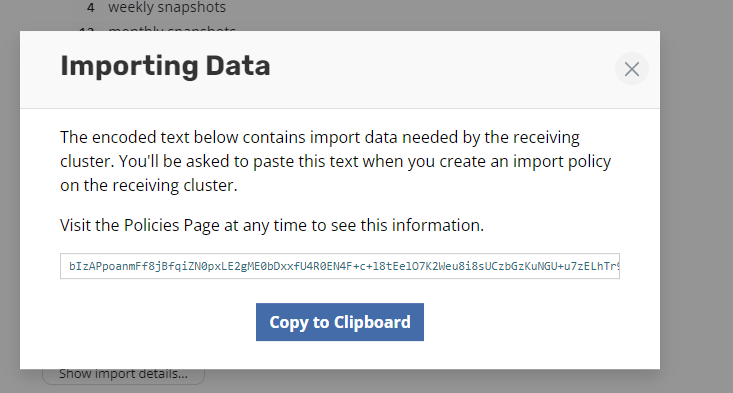
Save this key somewhere (Notepad) as we will need it later when we go to restore.
In our new Ubuntu server VM run the following commands in order to get K3S up and running and to add a kubectl alias and autocompletion
apt-get install qemu-guest-agent

curl -sfL https://get.k3s.io | K3S_KUBECONFIG_MODE="644" INSTALL_K3S_EXEC="server" sh -s - --disable local-storage


sudo cp /etc/rancher/k3s/k3s.yaml /home/yourusername/.kube/config

sudo chown yourusername:yourusername /home/yoursusername/.kube/config

chmod o-r ~/.kube/config
chmod g-r ~/.kube/config

source <(kubectl completion bash)
echo "source <(kubectl completion bash)" >> ~/.bashrc


echo "alias k=kubectl" >> ~/.bashrc
echo "complete -o default -F __start_kubectl k" >> ~/.bashrc
Next we will install the external snapshotter and the csi-hostpath driver
git clone https://github.com/kubernetes-csi/external-snapshotter.git

cd external-snapshotter
kubectl kustomize client/config/crd | kubectl create -f -

kubectl -n kube-system kustomize deploy/kubernetes/snapshot-controller | kubectl create -f -

cd ..

git clone https://github.com/kubernetes-csi/csi-driver-host-path


cd csi-driver-host-path

./deploy/kubernetes-1.27/deploy.sh

cd examples

k apply -f csi-storageclass.yaml

k apply -f csi-volumesnapshotclass.yaml

kubectl patch storageclass csi-hostpath-sc -p '{"metadata": {"annotations":{"storageclass.kubernetes.io/is-default-class":"true"}}}'
Now we want to install Kasten
First we will need to install helm
sudo snap install helm --classicNext Kasten install
helm repo add kasten https://charts.kasten.io/

helm repo update

k create ns kasten-io


kubectl annotate volumesnapshotclass csi-hostpath-snapclass k10.kasten.io/is-snapshot-class=true

###create a values file for the helm install k10-val.yaml with your value for host

auth:
  tokenAuth:
    enabled: true
ingress:
  class: traefik
  create: true
  host: kasten02.lab.local

###

helm install k10 kasten/k10 --namespace=kasten-io -f k10_val.yaml

## create a permanent token

kubectl apply --namespace=kasten-io --filename=- <<EOF
apiVersion: v1
kind: Secret
type: kubernetes.io/service-account-token
metadata:
  name: k10-token
  annotations:
    kubernetes.io/service-account.name: "k10-k10"
EOF

##

kubectl get secret k10-token --namespace kasten-io -ojsonpath="{.data.token}" | base64 --decode
After the Kasten installation has come up. Login using the token from that last command.
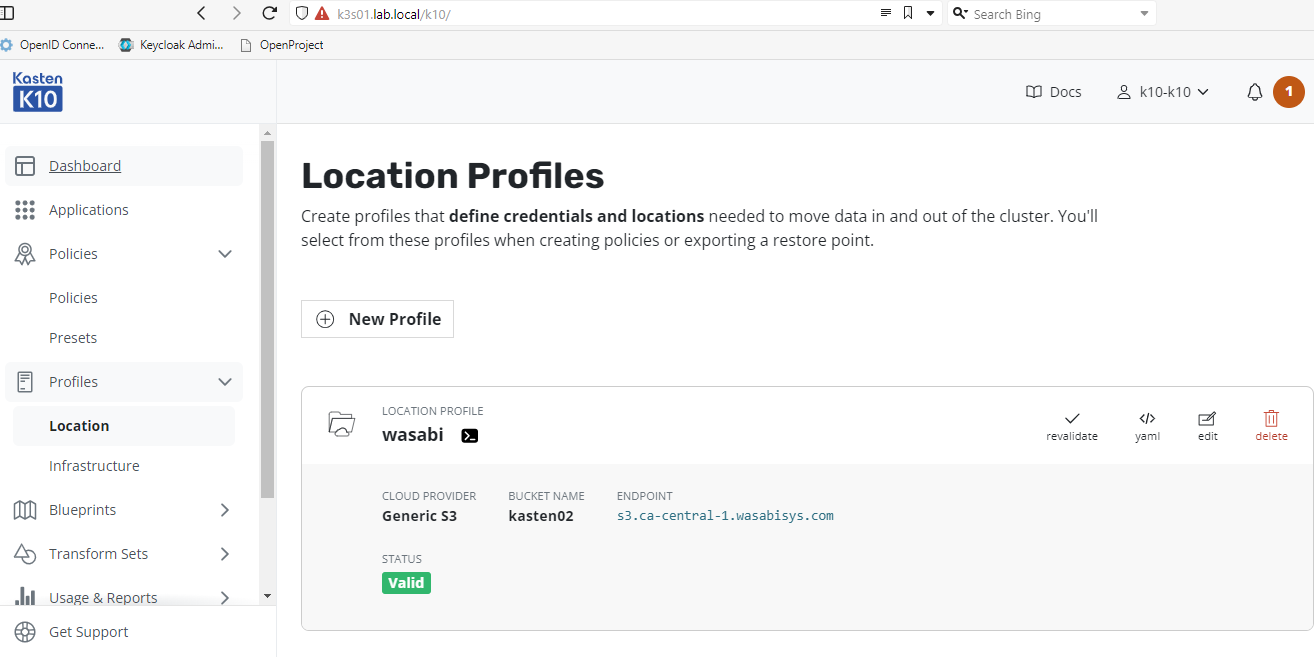
At this point all we want to do is add the Wasabi location profile where our Wiki application exported backup is located.
We need to import the metadata so that we will be able to restore our application. For this we will create a one time import policy
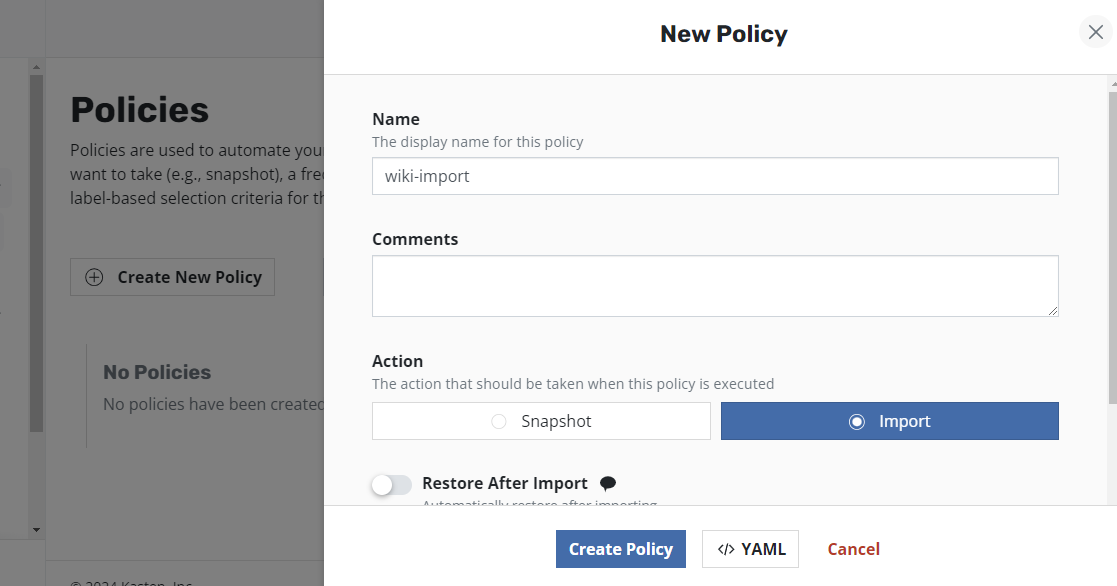
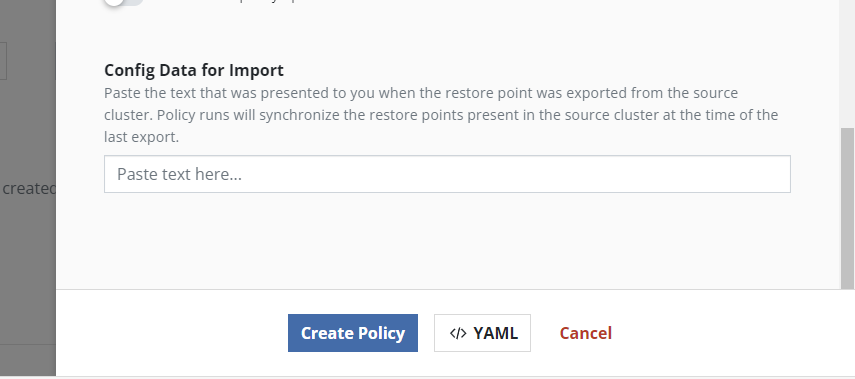
Here is where we need to retrieve that key that we saved in Notepad from the other cluster. Once we paste that in Kasten will have all the details that we need for the restore.
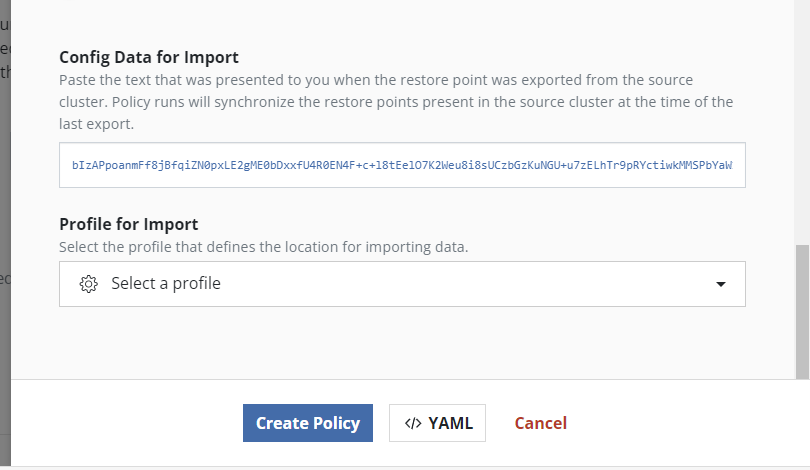
After we have pasted it in the location profile menu will appear and we can select the Wasabi profile
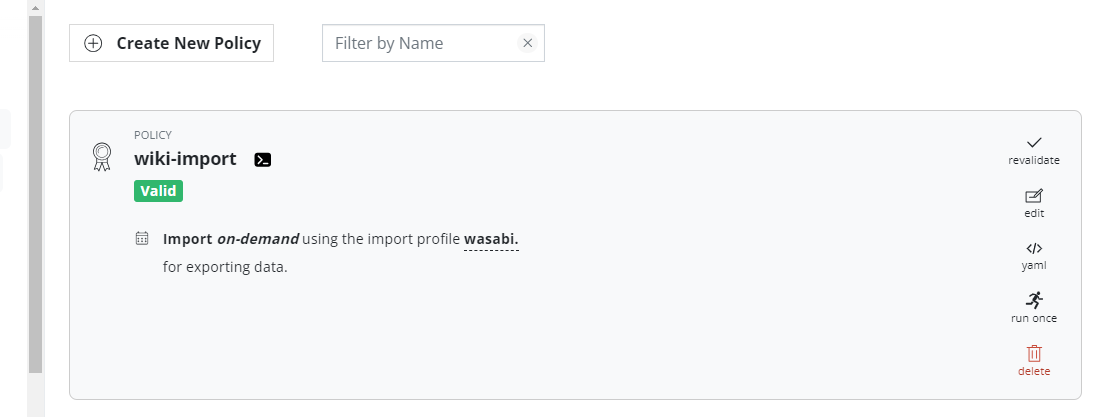
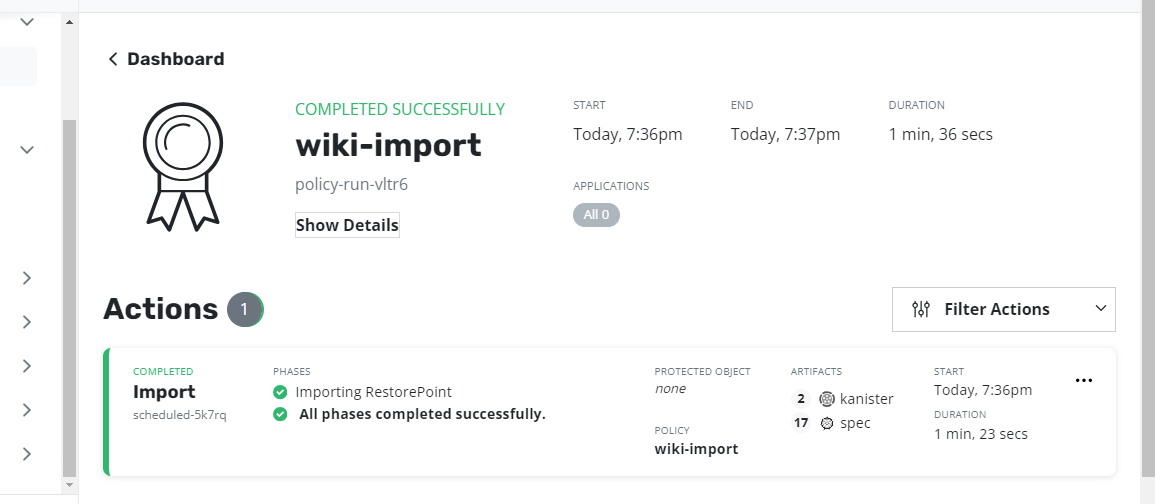
Press run once to run the policy and then go back to the dashboard to watch the progress
Now our Kasten on the new cluster is aware of the exported policy and we can go ahead and restore.
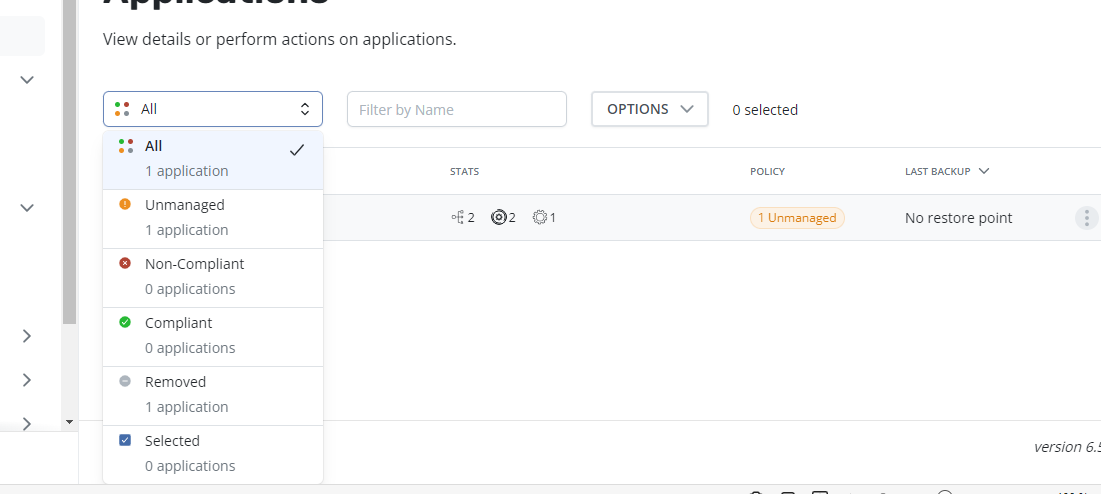
Under policies we will now see one Removed application. This is actually the exported policy from the other Cluster. Click on the Removed application
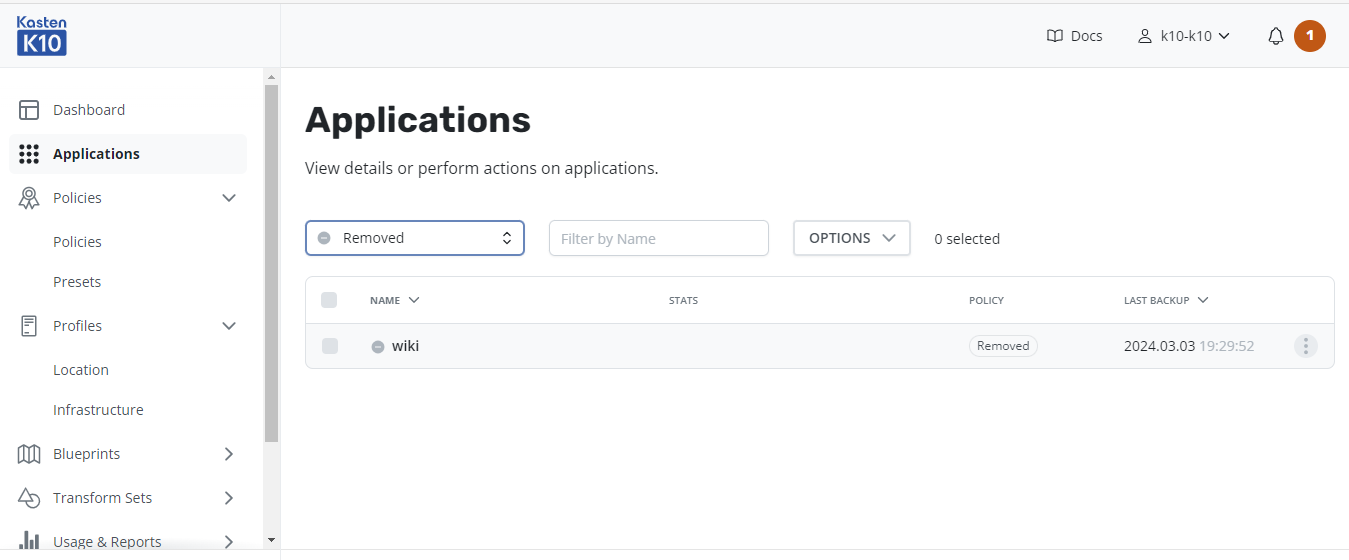
Here we will see that it is our wiki application that we want migrated to the new cluster
Click the menu on the right hand side and press restore.
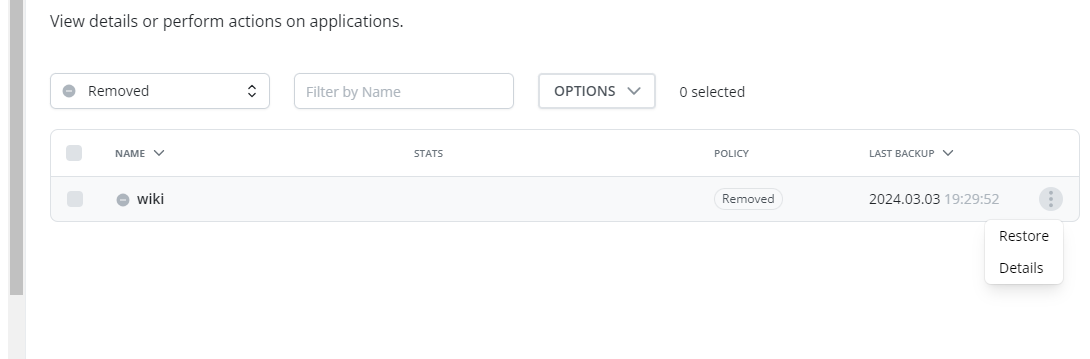
It will present us with a list of exported restore points, in this case just one.

Press on the the restore point and Kasten will warn you that the process could take some time as it is being restored from and exported snapshot
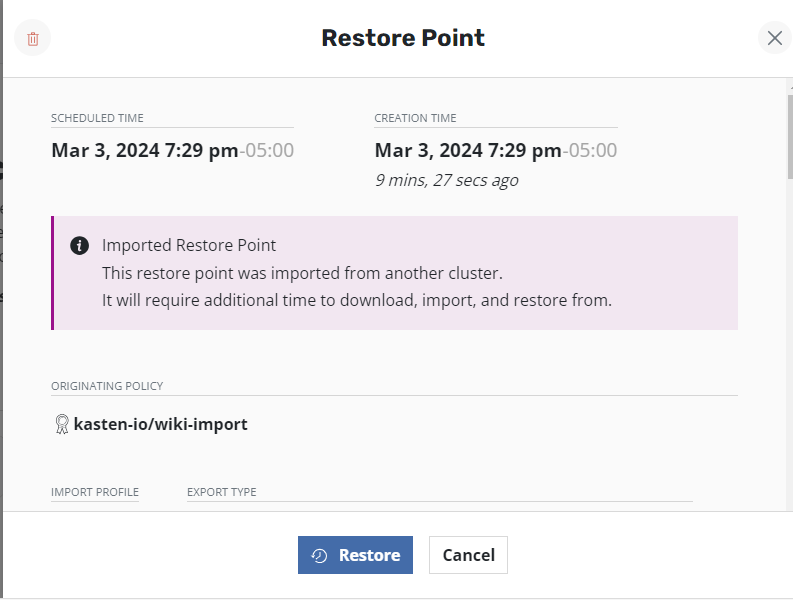
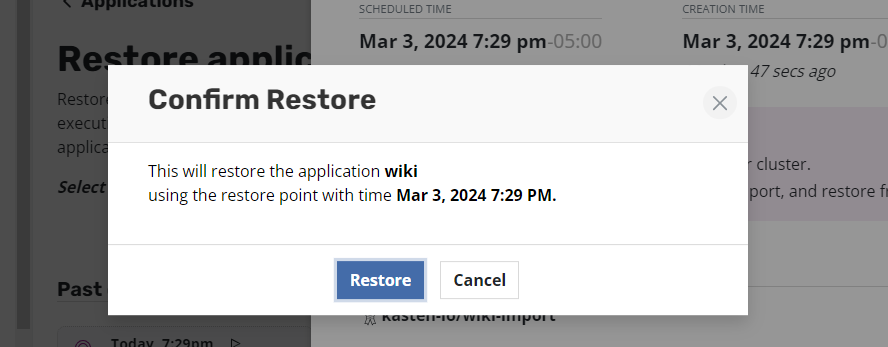
Confirm the restore operation
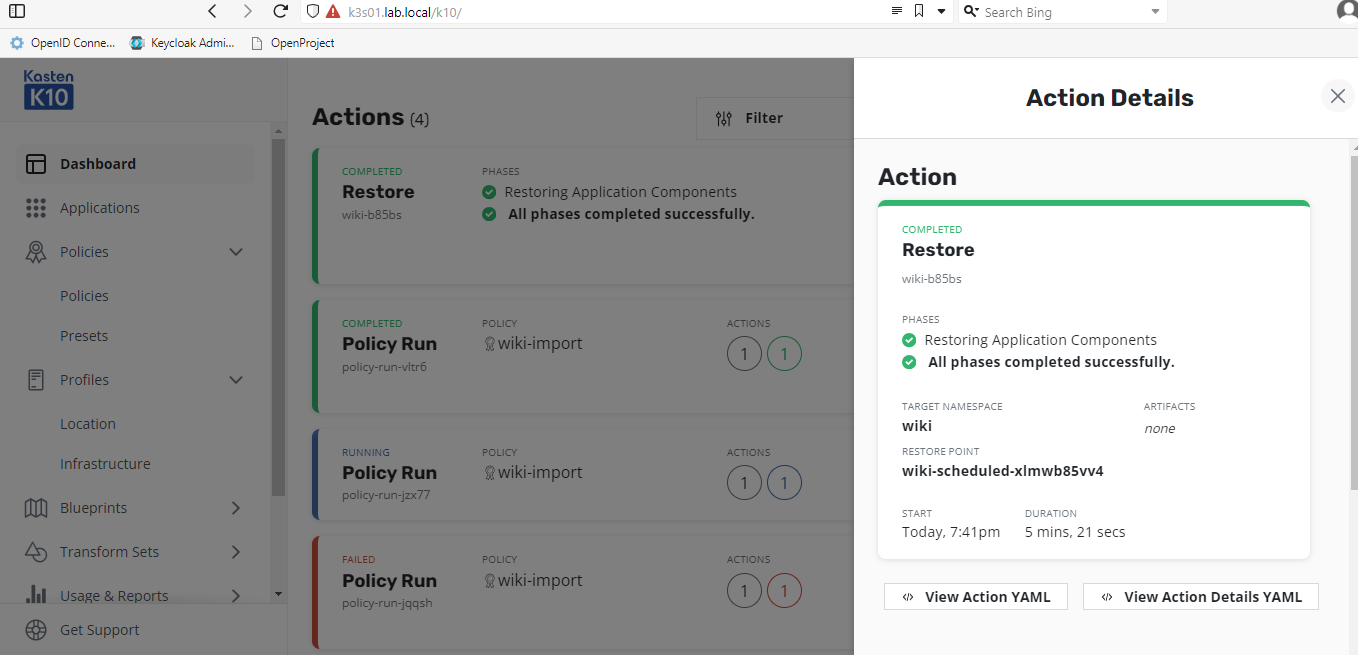
Back at the Dashboard we can monitor the progress
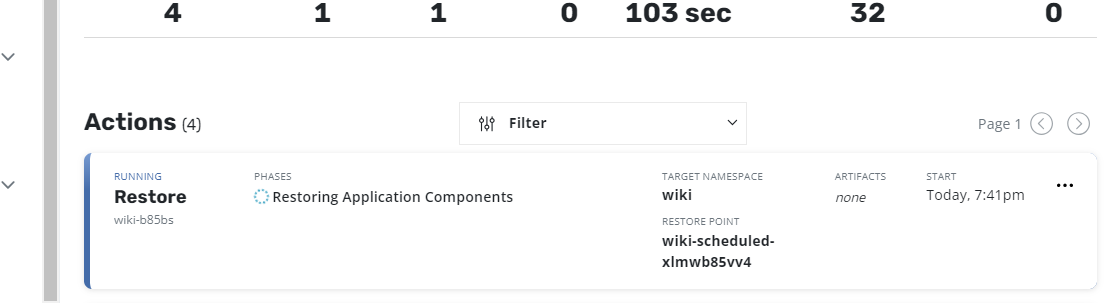
No surprises!

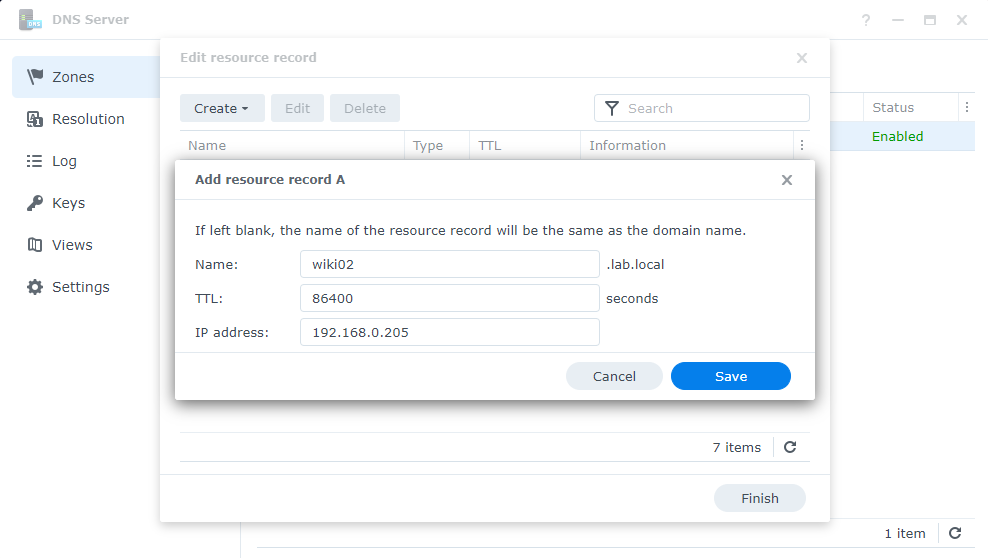
Don’t forget to change the DNS to point to the new ingress IP

Let’s check if we can access the Wiki and if so time to stop being lazy and write down this whole procedure there!!
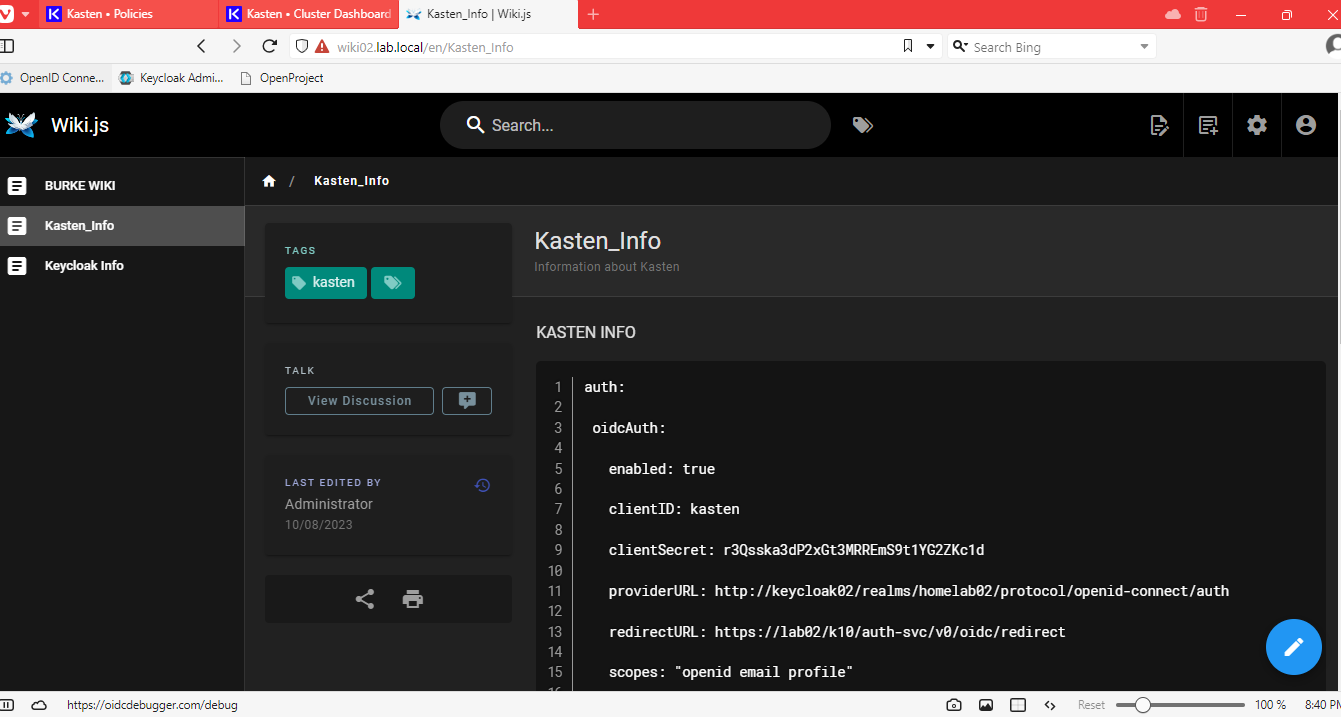
That’s it the wiki has been migrated. The helm uninstall command can be used on the old cluster to remove that instance of the wiki.
