

Hi Folks,
Recently Veeam Vanguard
Feeling pangs of IT conscience I decided to take a look myself. I have known about kubevirt for a while but for some strange reason never wandered into those woods.
So this week I decided it was high time to discover potentially yet another Kubernetes rabbit hole to fall blissfully into!
To my surprise everything was much simpler that I was prepared for.
Here is my step by step set of instructions for getting kubevirt up and running on a 3 node k3s cluster. I might also try this on a Laptop Rancher Desktop install a bit later as well.
First we need to get the current stable version.
export VERSION=$(curl -s https://storage.googleapis.com/kubevirt-prow/release/kubevirt/kubevirt/stable.txt)

echo $VERSION
Now we will deploy the operator.
kubectl create -f https://github.com/kubevirt/kubevirt/releases/download/${VERSION}/kubevirt-operator.yamlYou can check how the deployment is going with this command.
kubectl get kubevirt.kubevirt.io/kubevirt -n kubevirt -o=jsonpath="{.status.phase}"Once the deployment is complete the status should change to Deployed.

You can also check the state of the pods in the kubevirt namespace.
kubectl get po -n kubevirt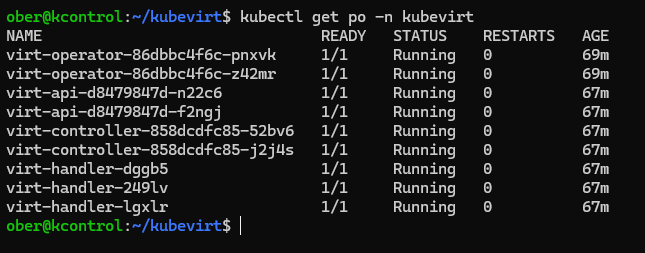
In order to control your virtual machines you will need to install the virtctl command.
VERSION=$(kubectl get kubevirt.kubevirt.io/kubevirt -n kubevirt -o=jsonpath="{.status.observedKubeVirtVersion}")
ARCH=$(uname -s | tr A-Z a-z)-$(uname -m | sed 's/x86_64/amd64/') || windows-amd64.exe
echo ${ARCH}
curl -L -o virtctl https://github.com/kubevirt/kubevirt/releases/download/${VERSION}/virtctl-${VERSION}-${ARCH}
chmod +x virtctl
sudo install virtctl /usr/local/bin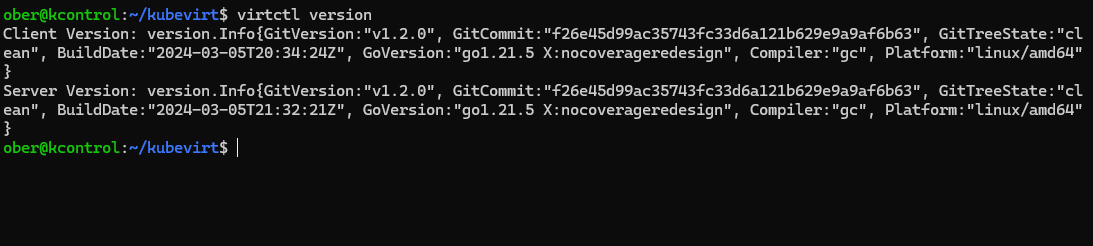
That is it! ready to go, almost!
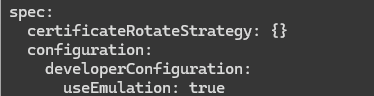
Before we run a vm from the kubevirt Labs we need to make one change and enable software virtualization emulation.
kubectl edit -n kubevirt kubevirt kubevirtUnder spec add useEmulation: true then save and exit your editor.
Now we are ready to run a vm. Kubevirt provides us with some labs and the first one allows us to get a vm running and then login to its console.
Download the vm manifest.
wget https://kubevirt.io/labs/manifests/vm.yamlApply the manifest.
kubectl apply -f https://kubevirt.io/labs/manifests/vm.yamlStart the vm.
virtctl start testvmWe can check the vm’s status.
kubectl get vms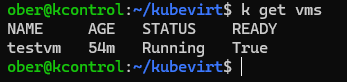
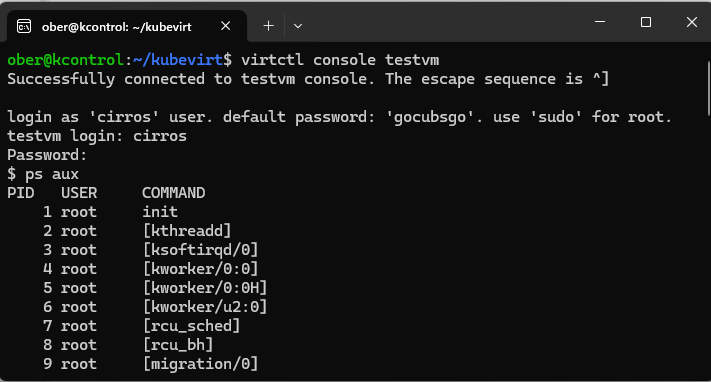
Now as it states in the instructions we should be able to login to the console.
virtctl console testvm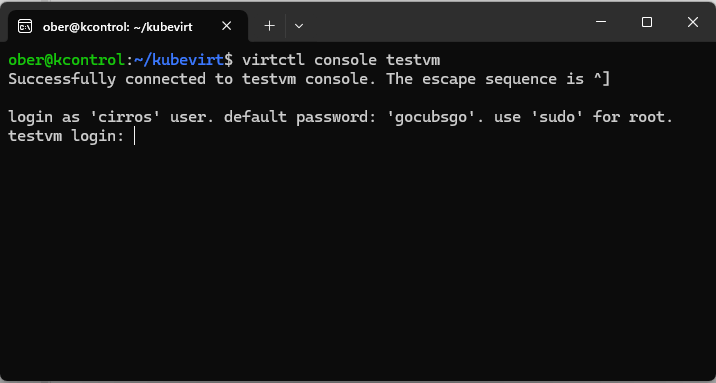
Conveniently the username and password are provided.
Here are the links to the documentation that I followed:
I used the Kind instructions only because they were the closest to k8s/k3s versions:
https://kubevirt.io/quickstart_kind/
https://kubevirt.io/labs/kubernetes/lab1.html
That’s it. Pretty straightforward and fun. Now to see if we can get windows working in Kubevirt 😃 on a Rancher Desktop laptop installation. I know what my fun thrilled weekend will now be like!!!

