

Hello Everyone,
Today we will be installing Veeam Kasten. As a reminder the previous 3 parts of our series involved setting up our testing environment. You can follow that route of if you prefer to use a different distribution or system that is fine as well.
Let’s get going with Veeam Kasten.
There are some pre-checks that we can run but before that we can create the namespace:
k create ns kasten-ioWe will also annotate our volumesnapshotclass that we created in the last part of this series so that Kasten can leverage it:
kubectl annotate volumesnapshotclass longhorn-snapshot-vsc k10.kasten.io/is-snapshot-class=true
Next we need to add the Kasten Helm repository:
helm repo add kasten https://charts.kasten.io/
helm repo update
Run the pre-flight checks:
curl https://docs.kasten.io/tools/k10_primer.sh | bashYou should see the following output without errors:

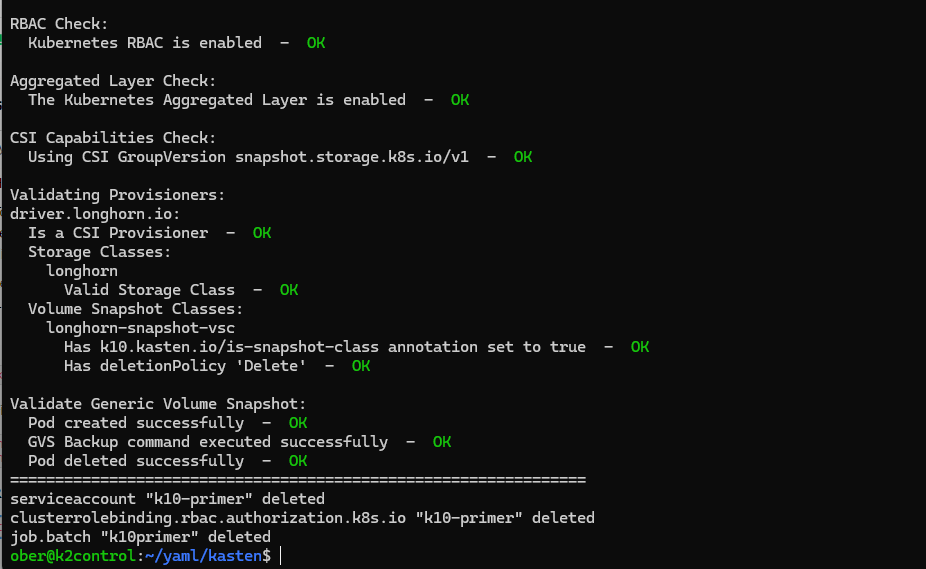
You can also now verify the integrity of helm chart during installation.
Download the Public key:
wget https://repository.veeam.com/keys/RPM-KASTENWe will modify the values during the installation to fit our setup. Create the following k10-values.yaml file and save in the same location Public key that we just downloaded. The k10-values.yaml should contain the following content (be careful with spaces as yaml files are very sensitive to things not being properly spaced, don’t use tabs)
externalGateway:
create: true
auth:
tokenAuth:
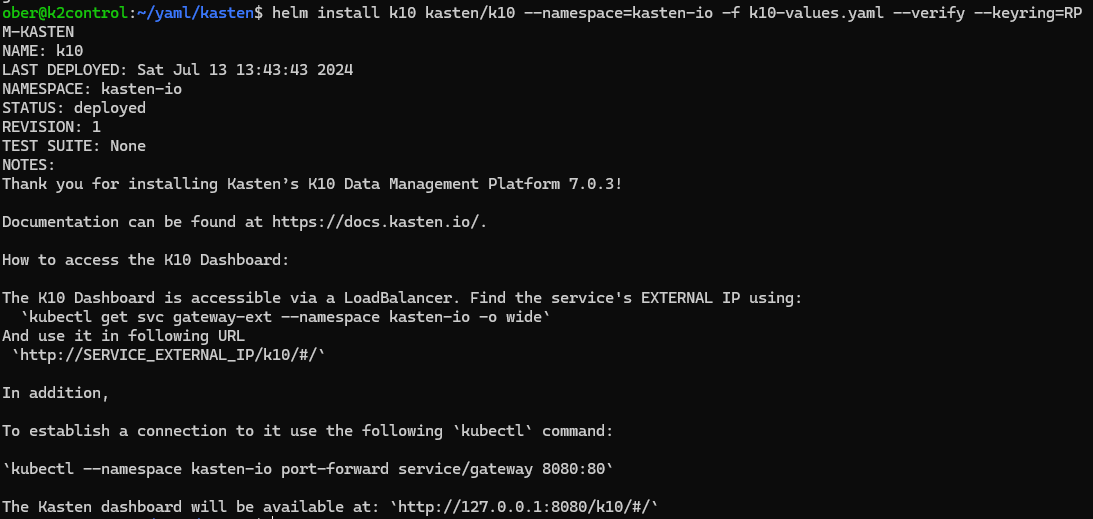
enabled: trueNow in the directory where both of these files are located run the following command:
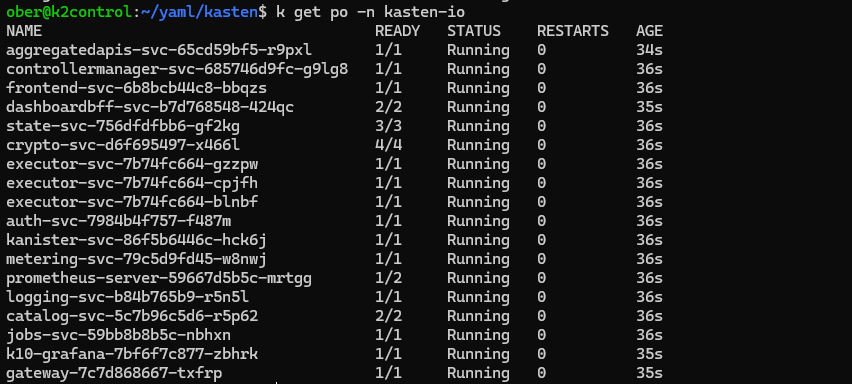
helm install k10 kasten/k10 --namespace=kasten-io -f k10-values.yaml --verify --keyring=RPM-KASTENYou should soon see this but be patient as it will take a few minutes for all of the pods to come up:
k get po -n kasten-io
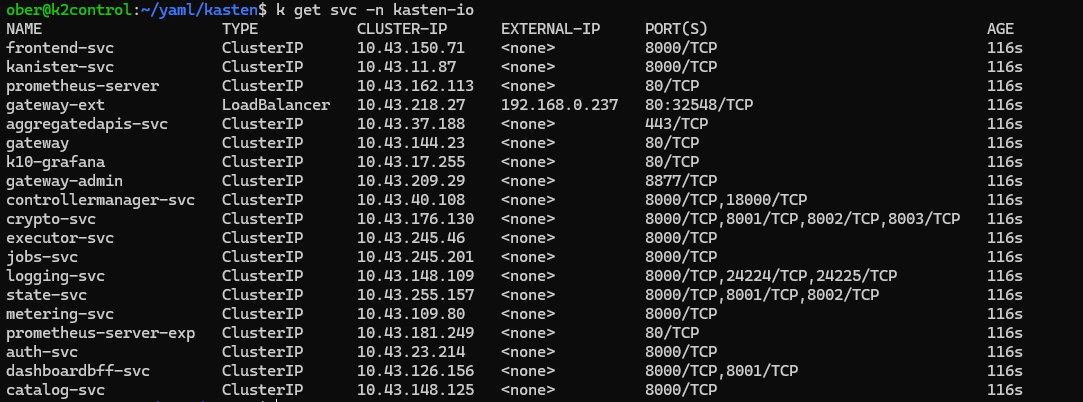
We need to check the service to see what external IP we have received from Metallb.
k get svc -n kasten-ioThe gateway-ex service has an external IP in my case 192.168.0.237
Now time to check our access, go to the browser and type in your external IP with /k10/#/ in the url
In my case this would be https://192.168.0.237/k10/#/
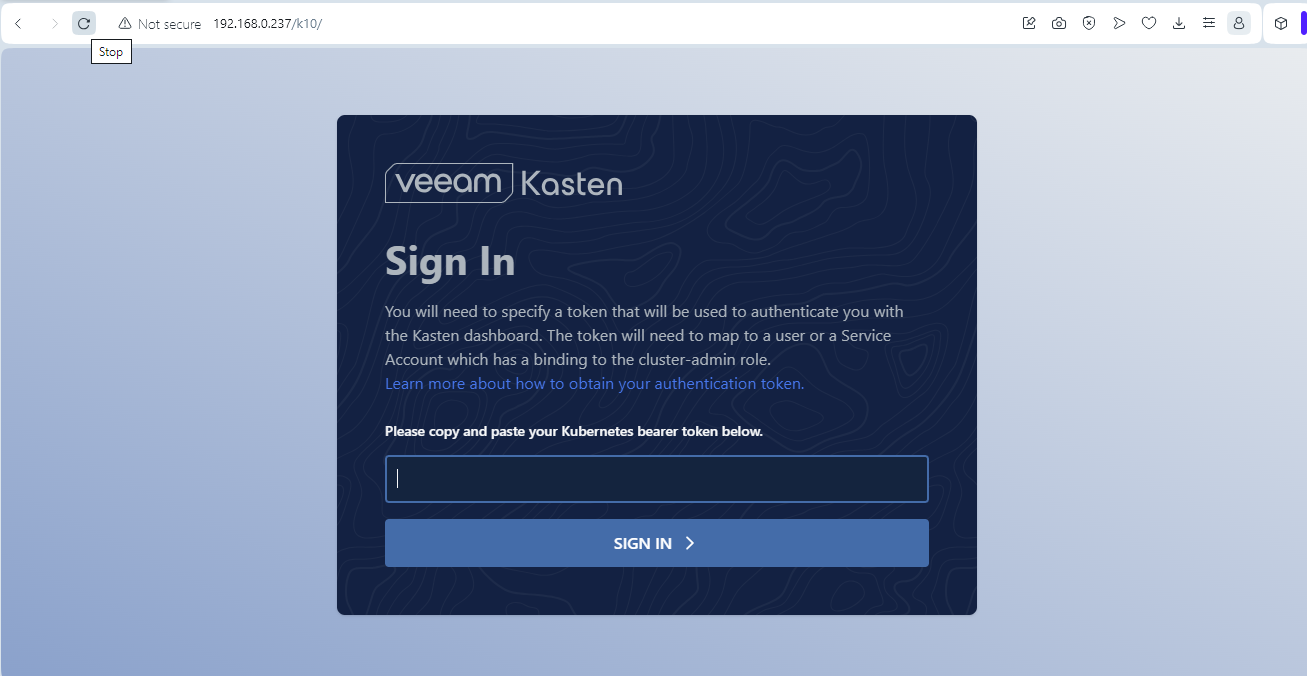
We need to create a token:
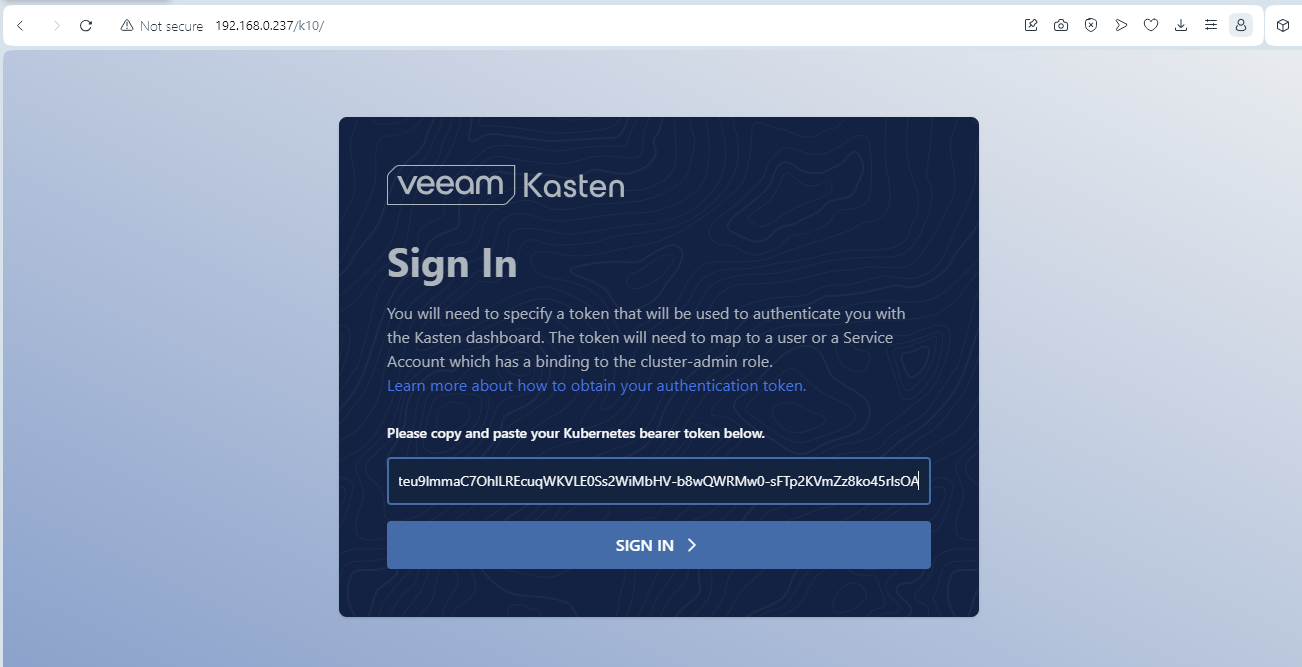
kubectl --namespace kasten-io create token k10-k10 --duration=24hYou can make that duration longer if you wish. The documentation also has instructions on how to create a permanent token if you wish.

Copy that token into the sign in window:
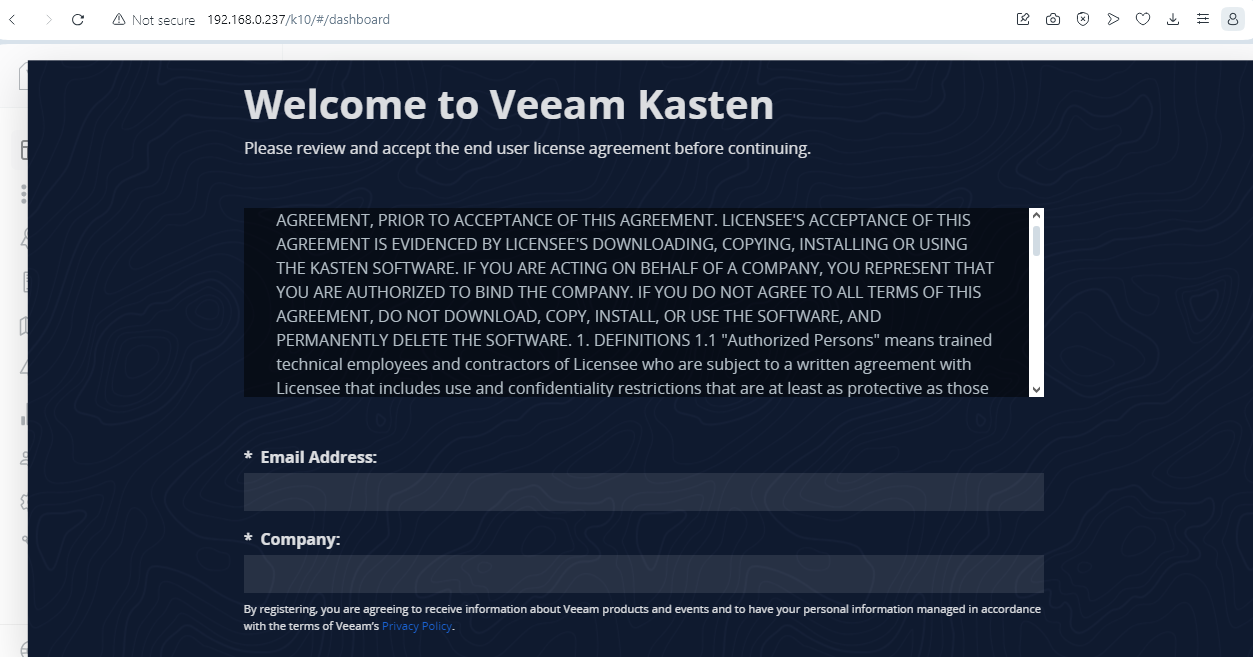
Fill out the first time login information:
There we have it:
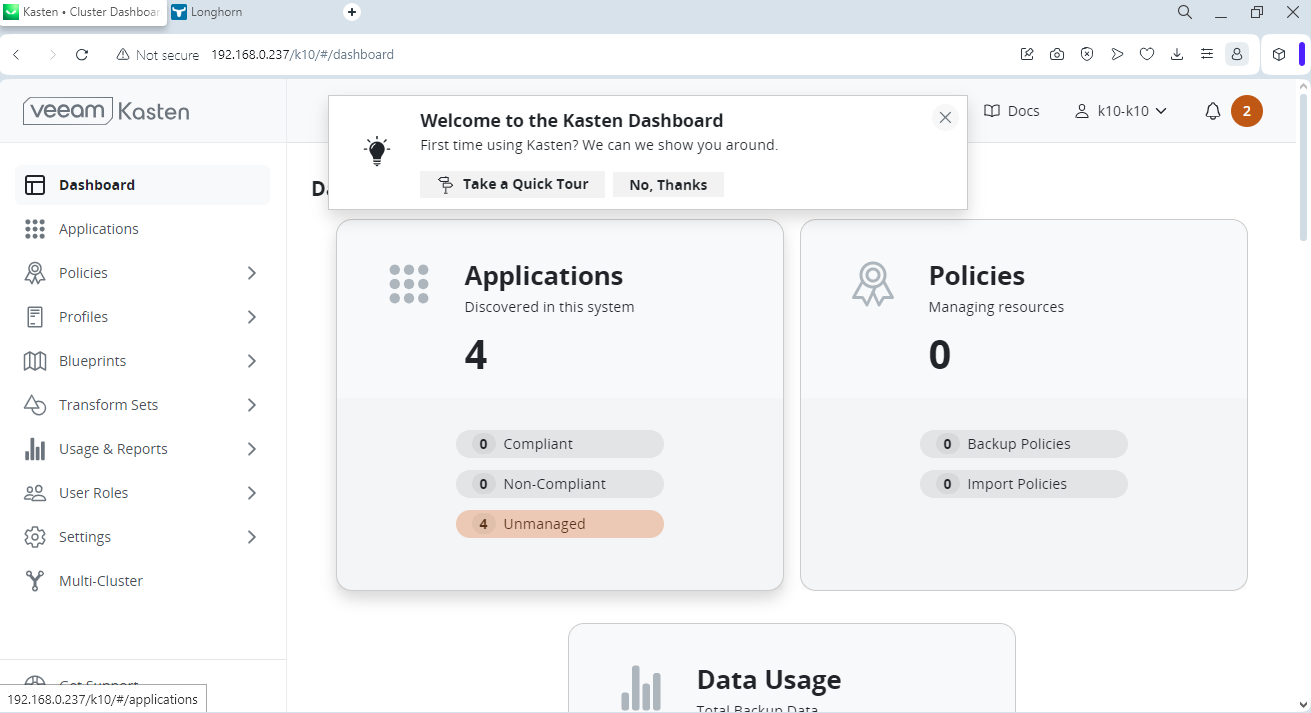
Kasten is installed and running. Next time we will start leveraging Veeam Kasten! Stay Tuned!
