So folks it finally happened. I backed up and restored a Virtual Machine with Kasten!
The Kasten 7.5 announcement stated that they had added Suse Virtualization (Harvester) to the support list. Since I had always wanted to try Harvester this seemed like the perfect time to give this a try.
Setting up Harvester nested in a Proxmox VM turned out to be simpler than simple. Normally with new Kubernetes endeavors I do my yoga deep breathing stuff before starting as you often run in to rabbit holes of new problems and deep tech that you have to do some quick deep dive learning on.
This was not the case with Harvester where everything seemed to follow Veeam’s old Motto: “It Just Works” . Here are the instructions to setup Harverster https://docs.harvesterhci.io/v1.4/install/index
If you are nesting in Proxmox make sure to select a cpu type of Host.
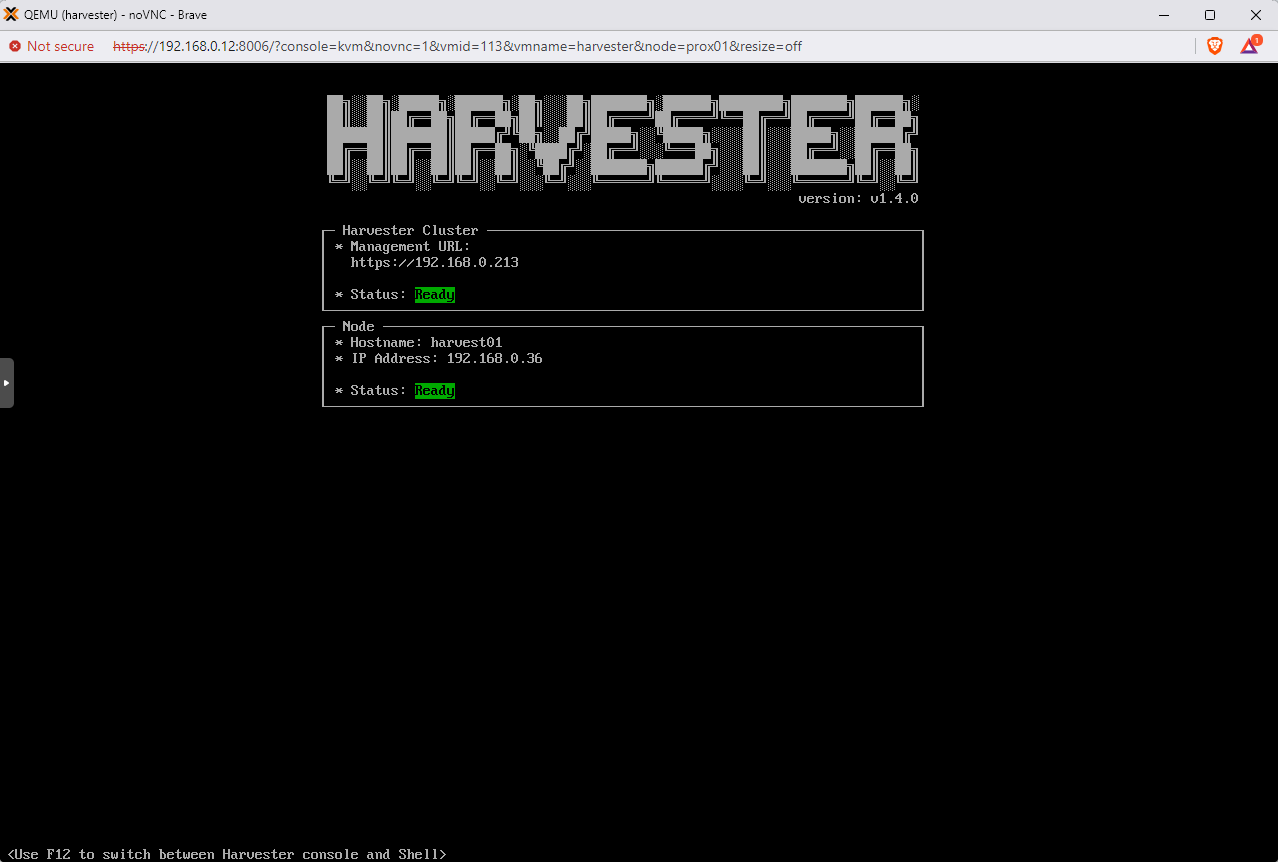
The VM console will look like this when up and ready to go:
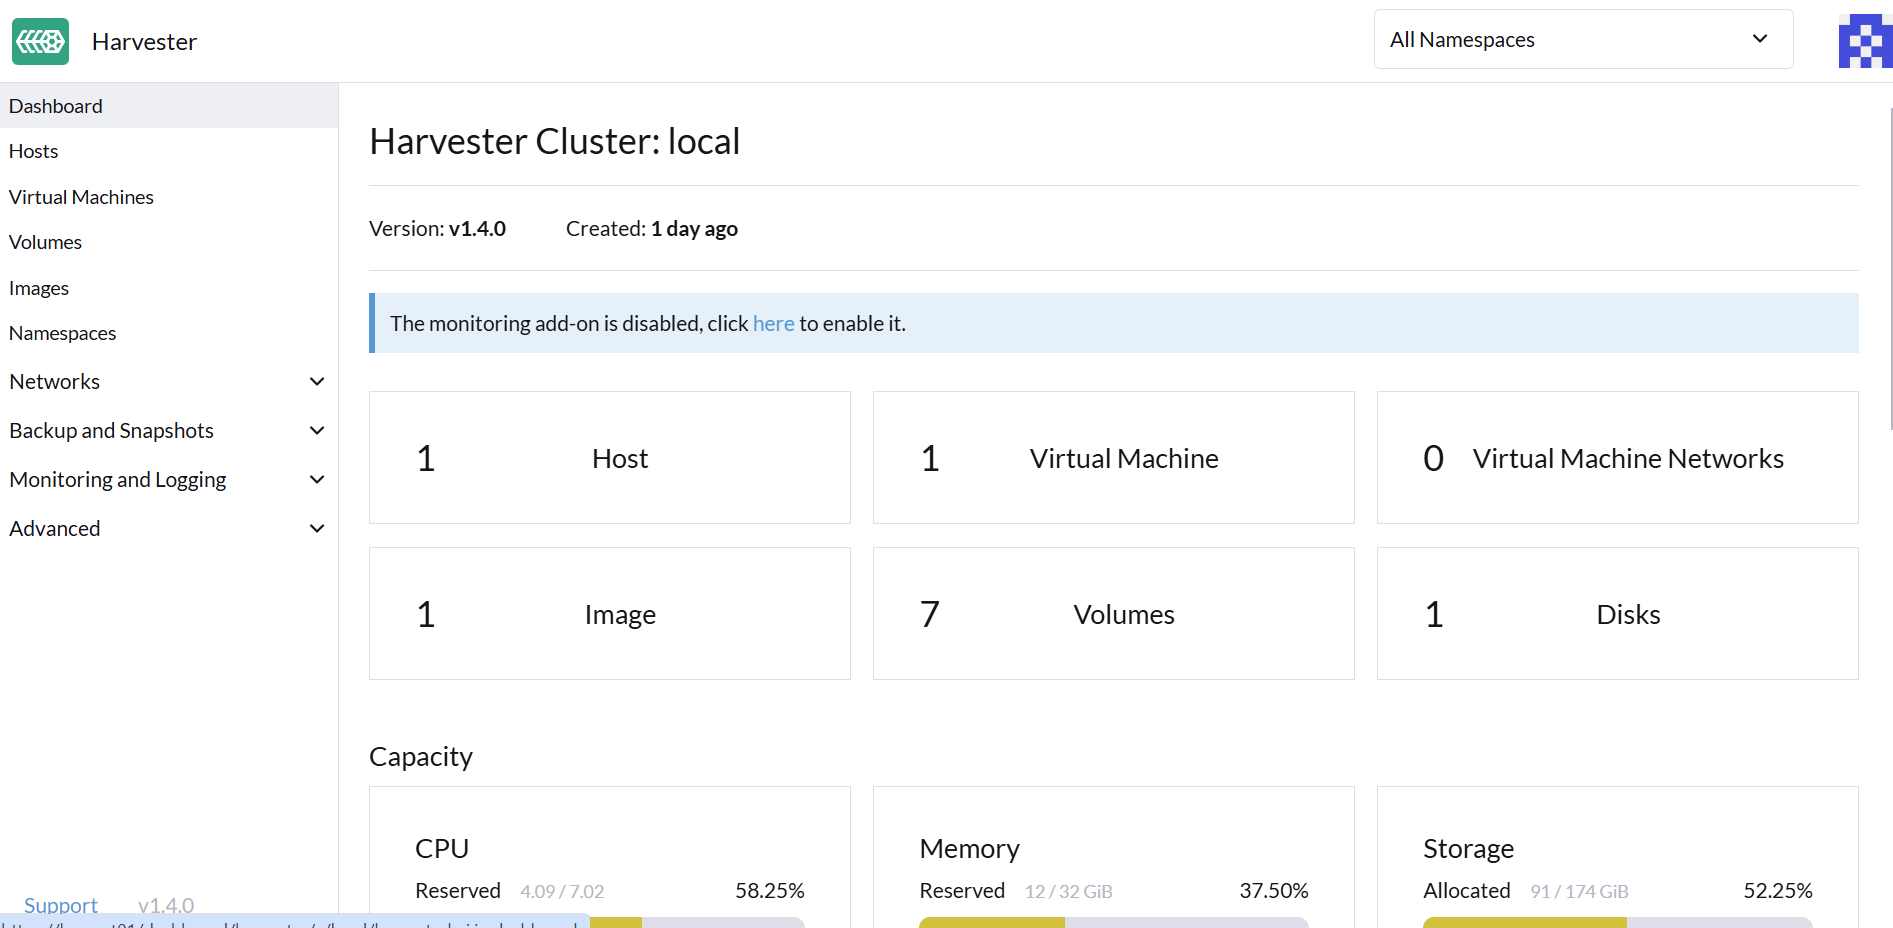
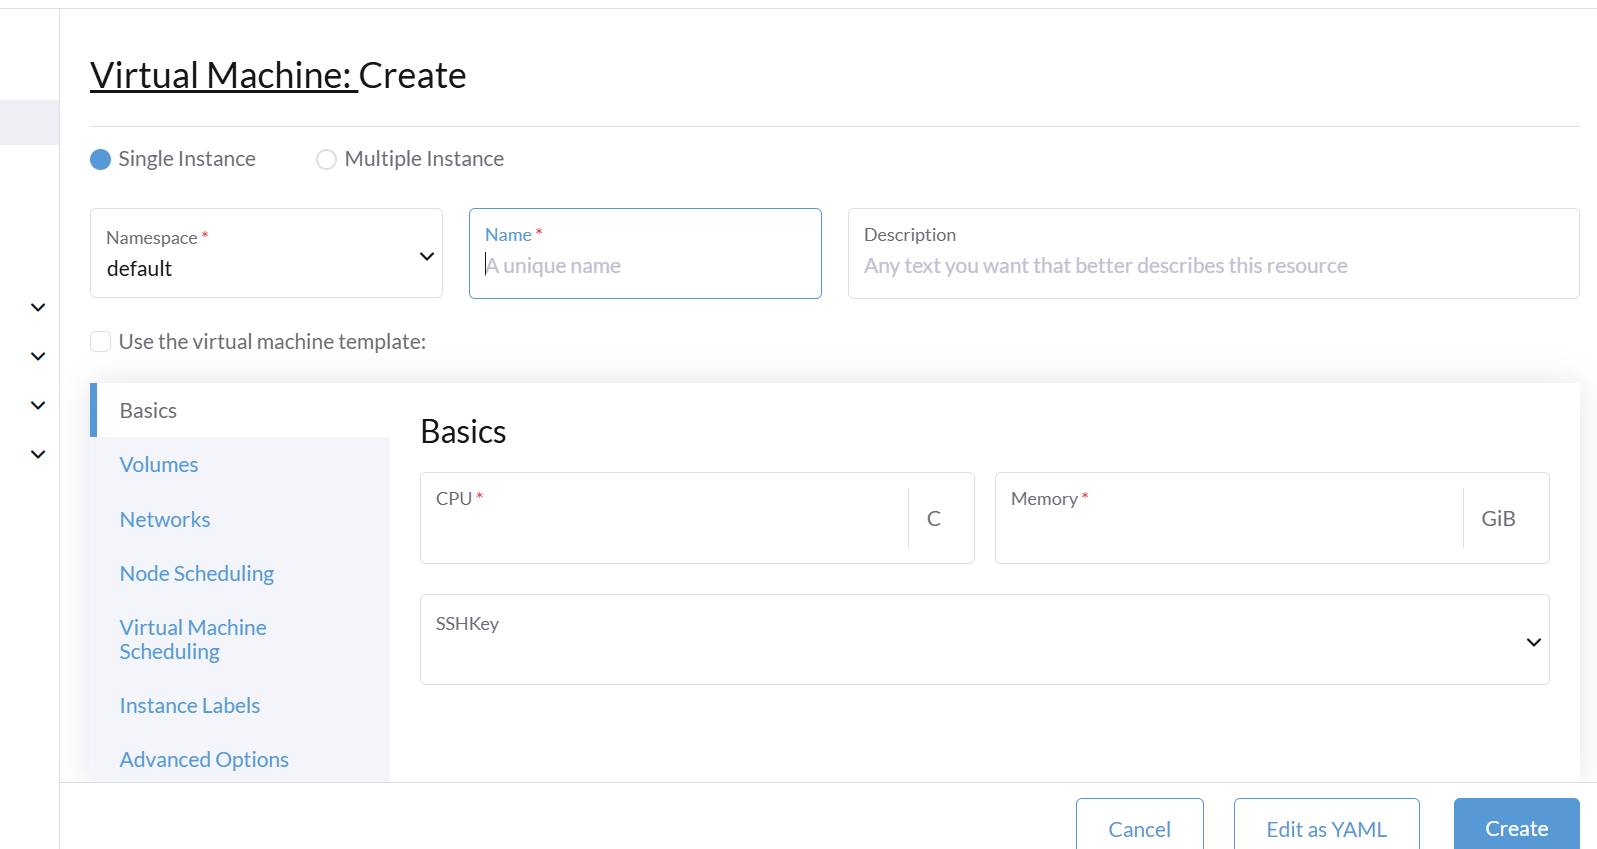
The Harvester Dashboard is slick and creating a Virtual Machine was relatively simple and intuitive
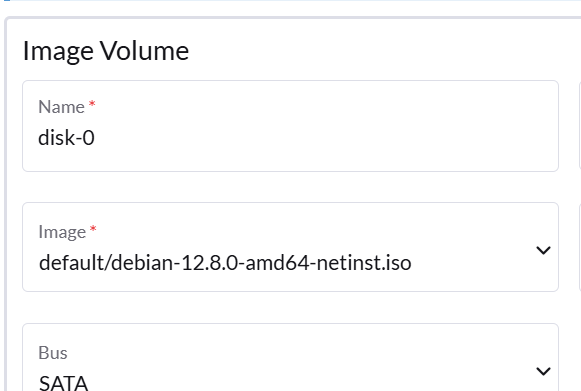
One thing to note is when you go to volumes the image volume is the cdrom and you can select Isos that you have previously uploaded in the drop down menu
Those images you load here by pressing create:
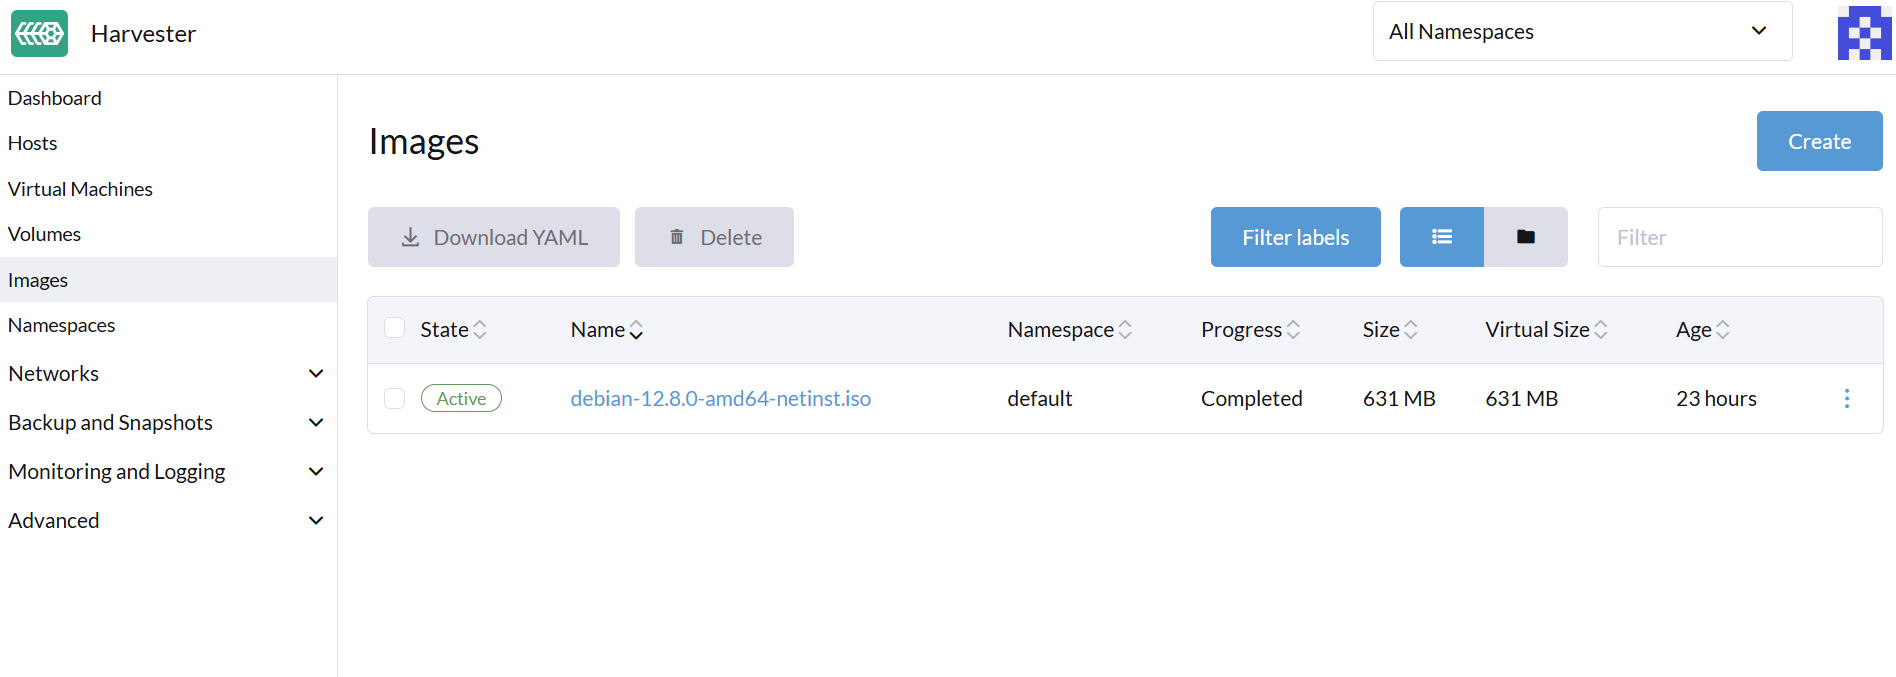
and then are given a few options:
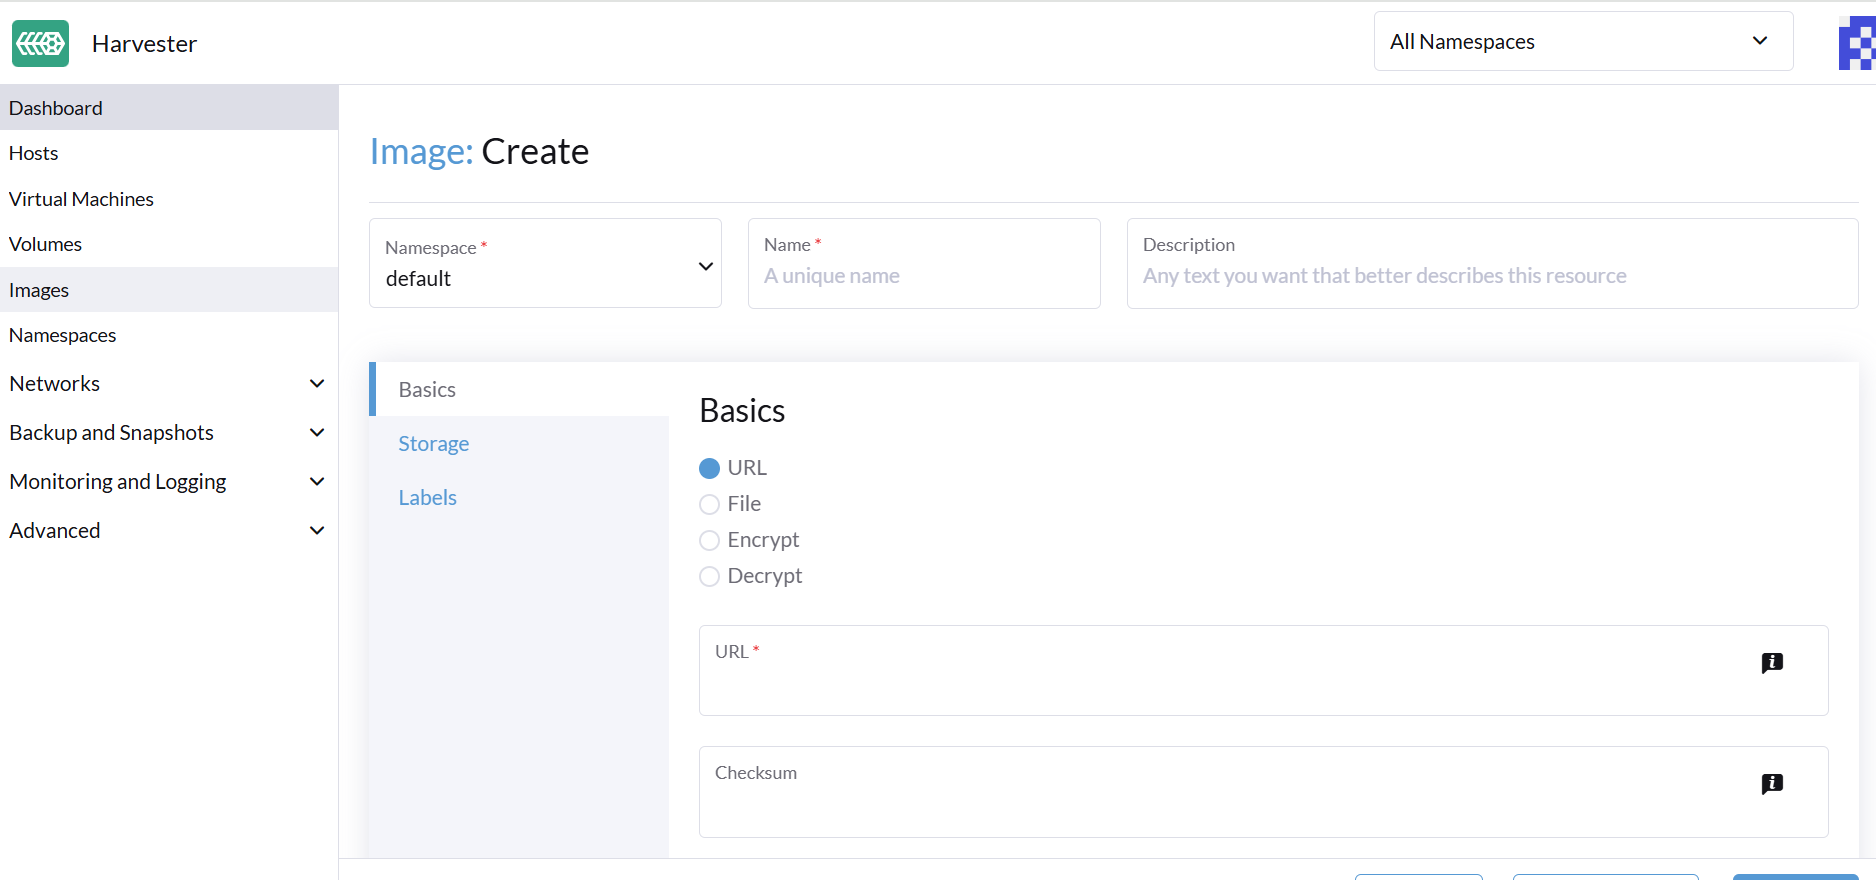
I created a small Debian VM with GUI:

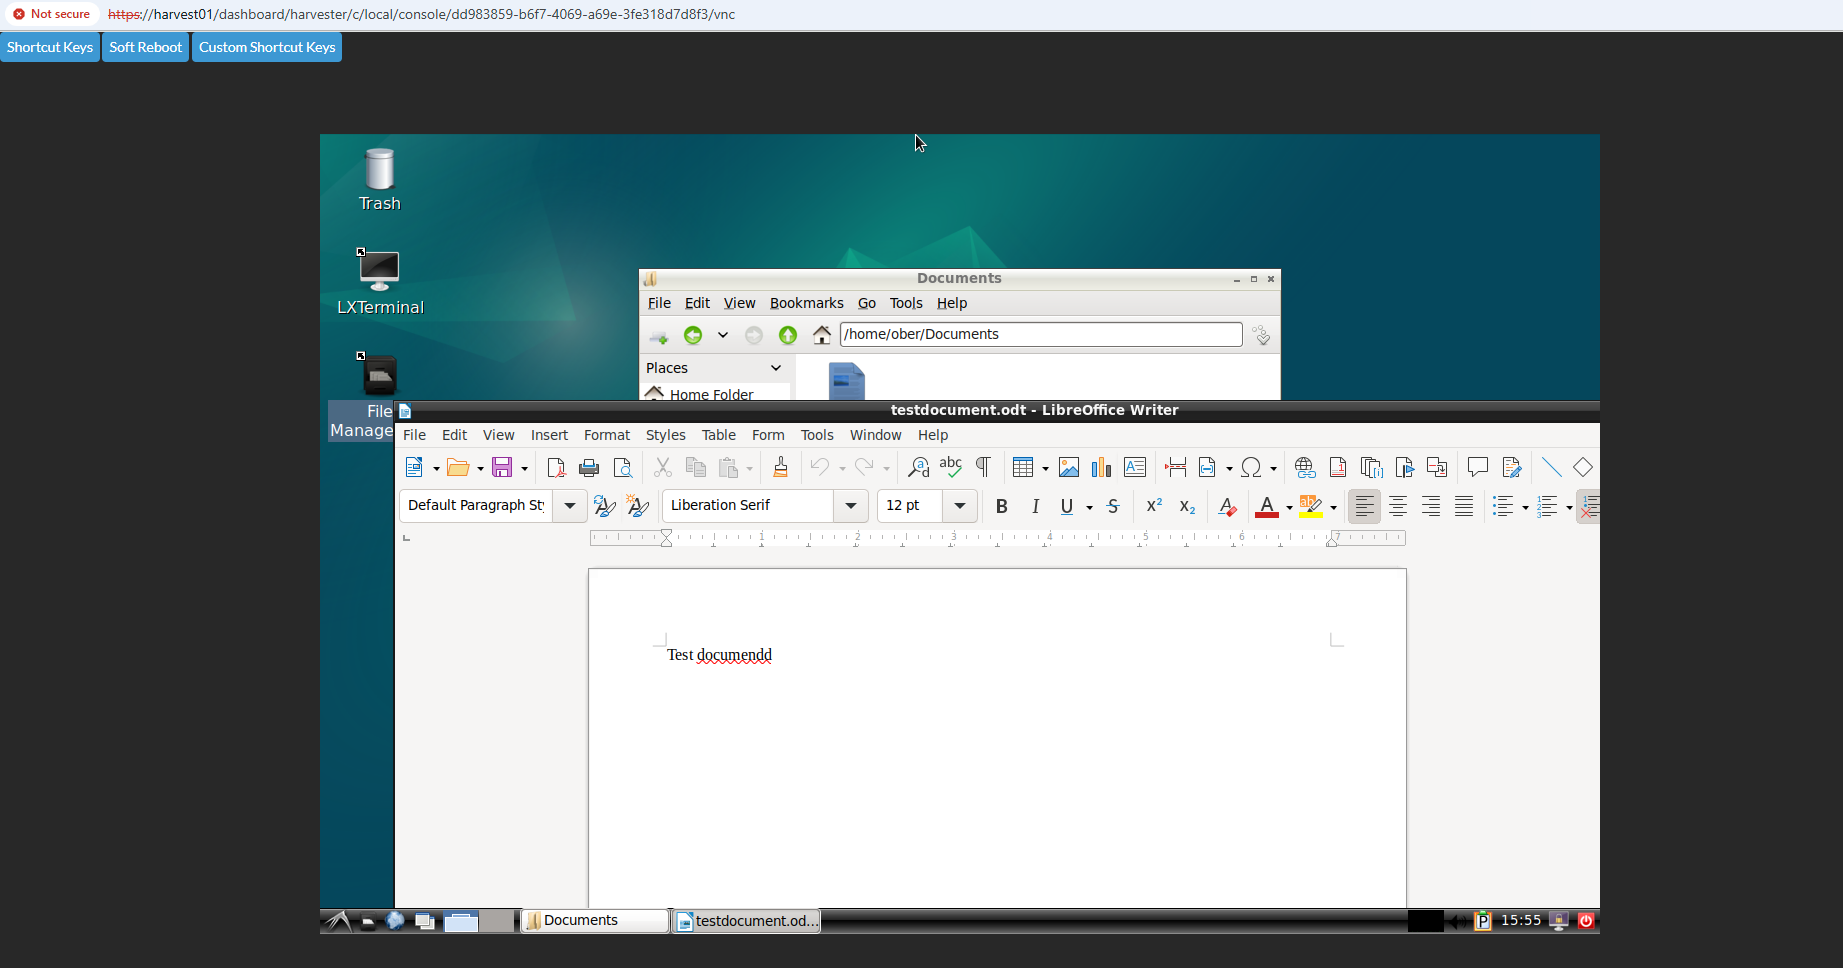
Getting to the console is easy you can choose WebVNC or Serial Console:

I used the WebVNC to login and create a LibreOffice doc to prove that this was the same machine that I nuked further on.
For the Kasten install I used the helm install as I always do, only changing the ingress setting in my Kasten values file to nginx instead of traefik since by default Harvester leverages the nginx ingress controller. For instructions on how to install Kasten check out some of the older example posts here in the Kube Korner.
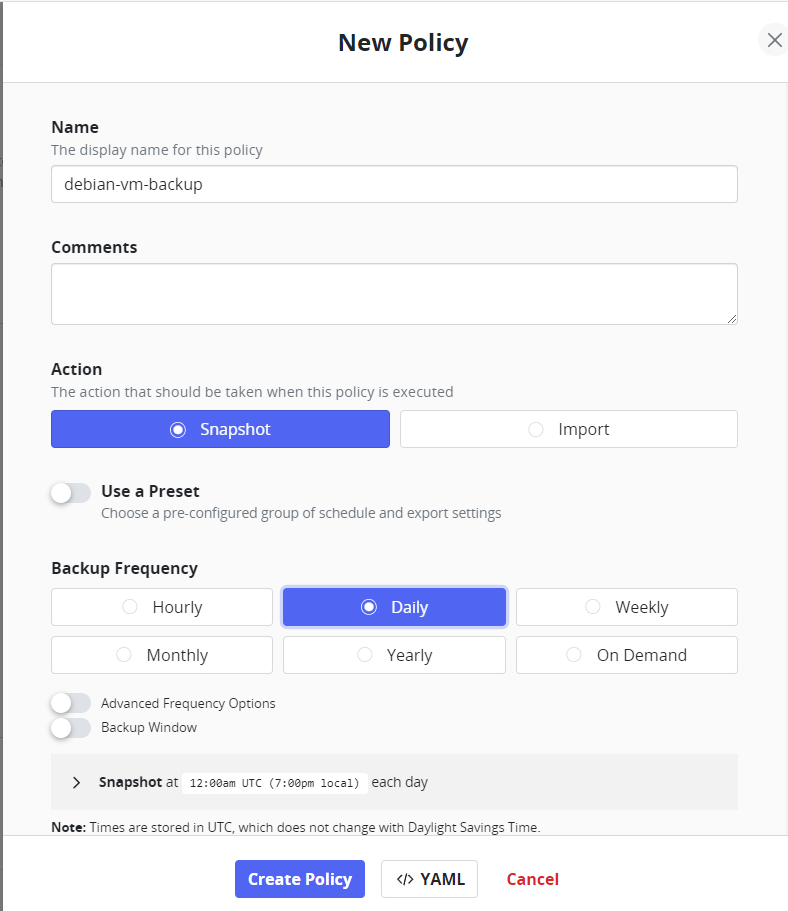
In Kasten you will see your VM just like any other Kubernetes workload. I created this VM in a namespace that I named debian for simplicity sake and then created a policy:
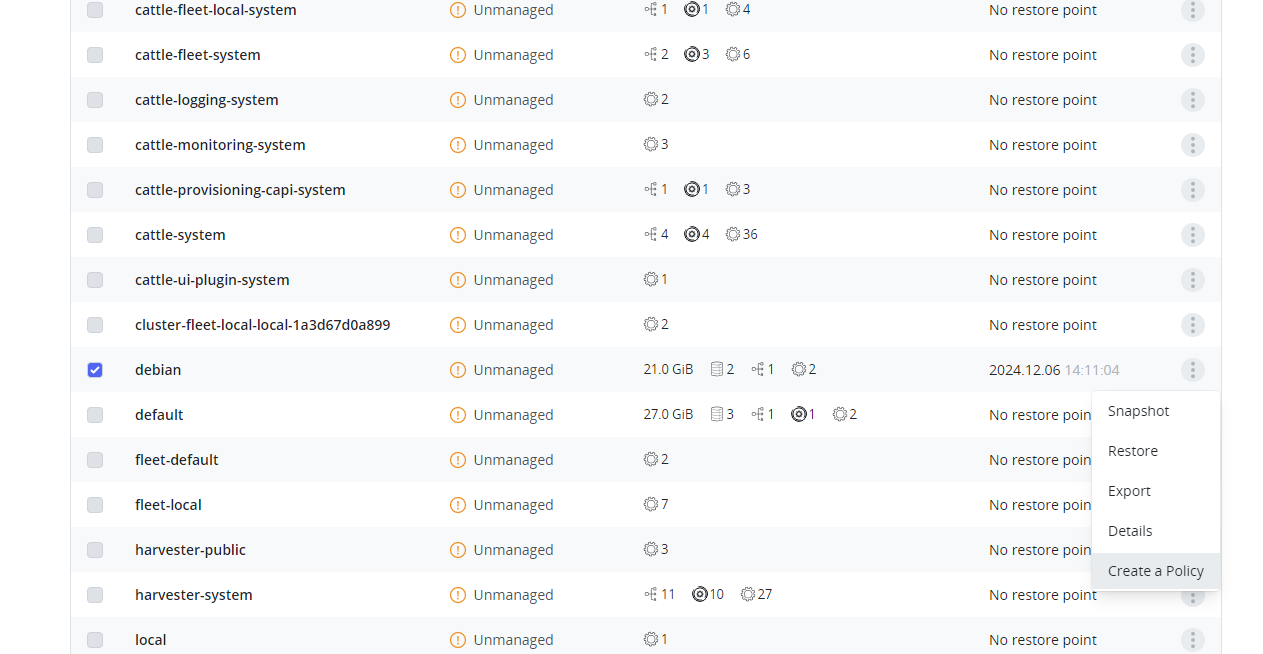
I called it debian-vm-backup:
When it comes to Export location, I want this safe and sound so I choose Ootbi!
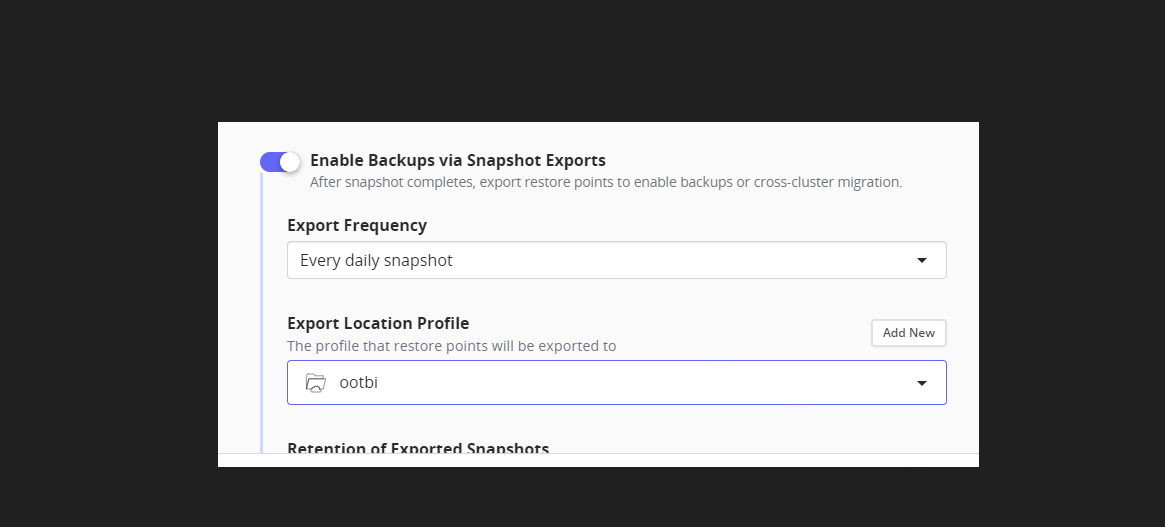
Ready to go:
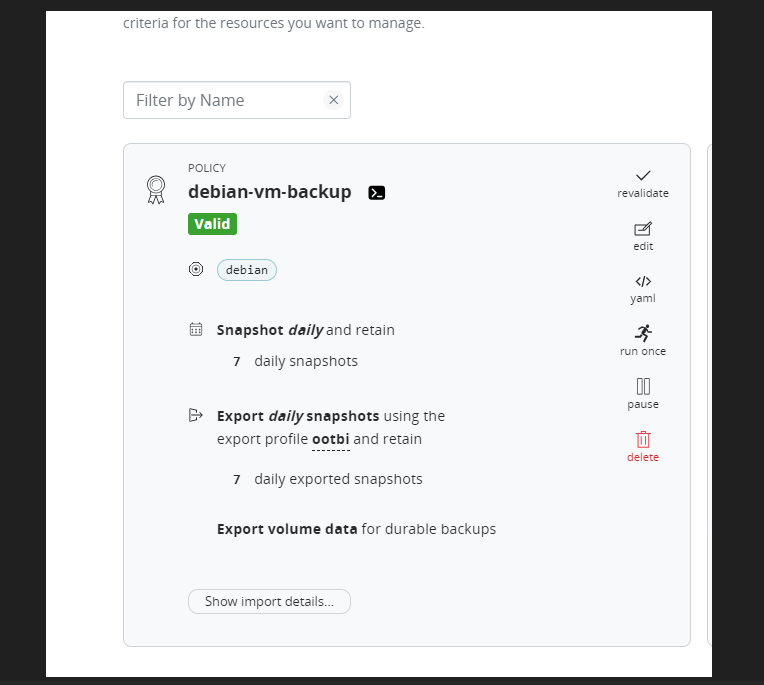
However, not so fast!
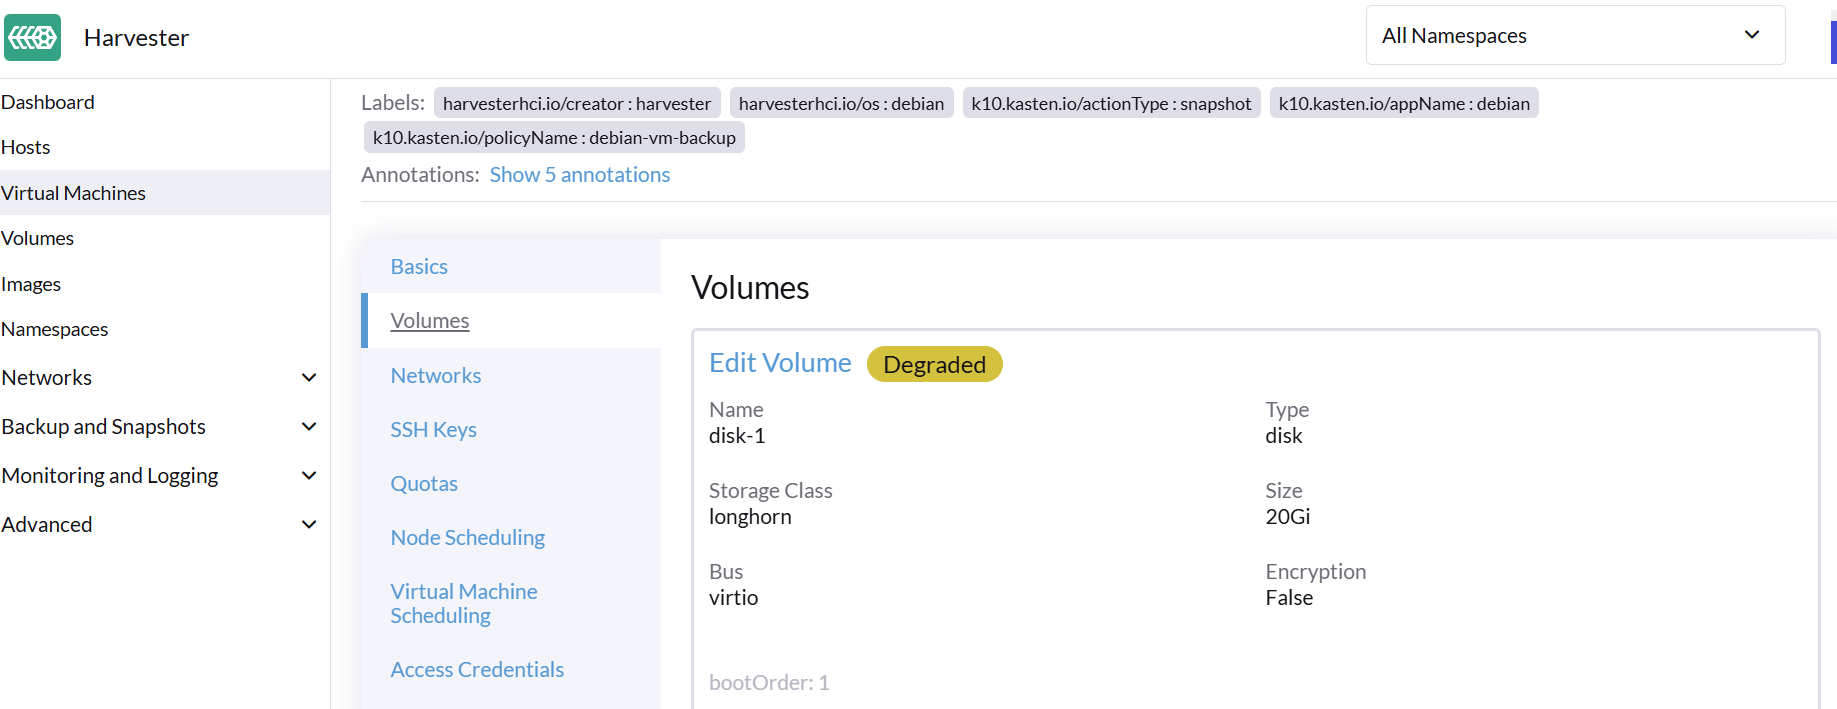
There is one other setting that you must make when it comes to VM backups and their use of Block storageclasses. You need to do some annotating:
kubectl annotate storageclass ${STORAGE_CLASS_NAME} k10.kasten.io/sc-supports-block-mode-exports=trueIn my case with Harvester the storageclass is longhorn.
kubectl annotate storageclass longhorn k10.kasten.io/sc-supports-block-mode-exports=true
NOTE!
you must remove the image cdrom from your VM before backing up. In the VM volumes section simply delete the image cdrom and reboot, you should be left with only the one volume, or more if you added more volumes.
Run the policy and hopefully you will see this:
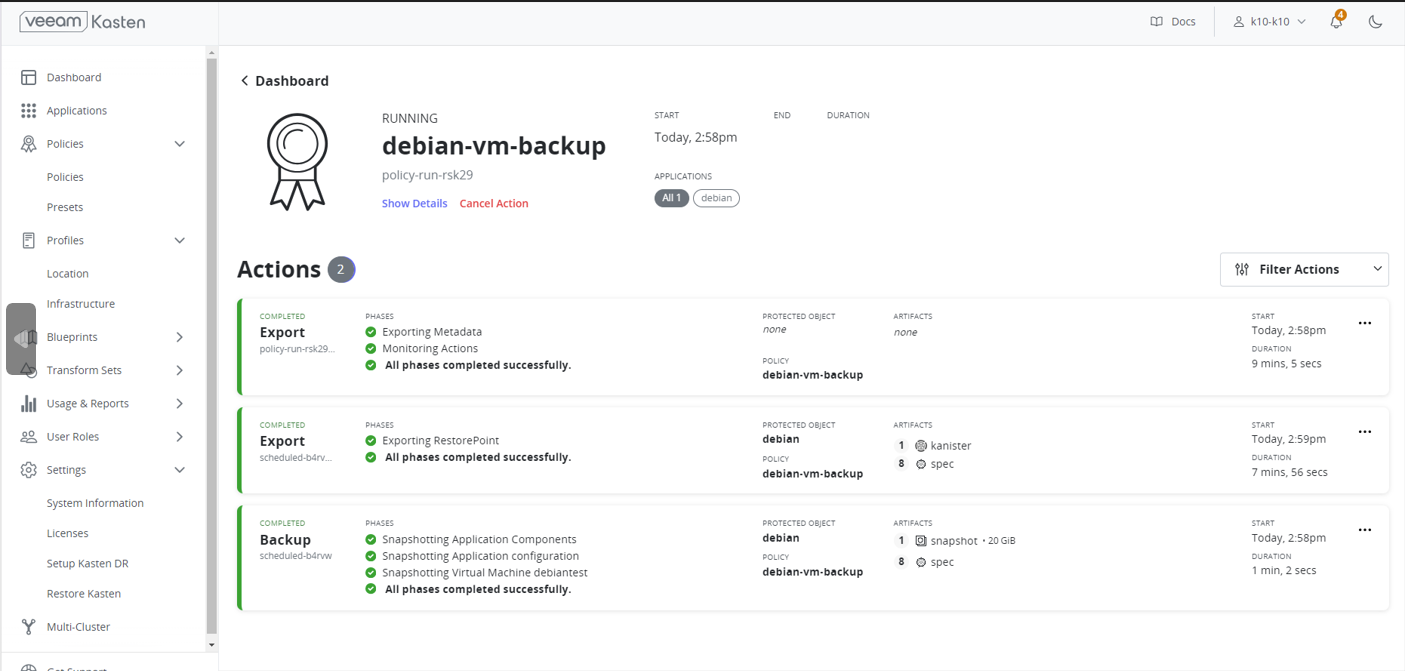
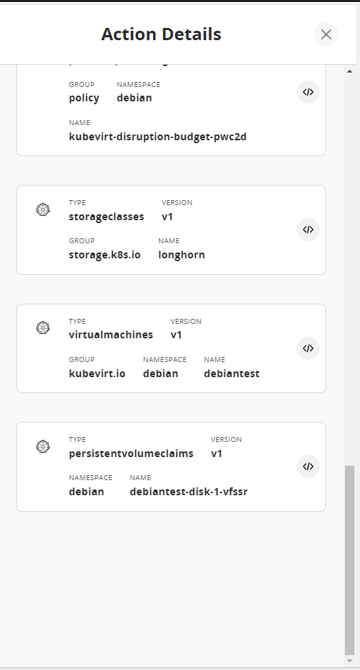
In the details check out the new virtualmachines type:
After a successful backup it is time to get naughty!
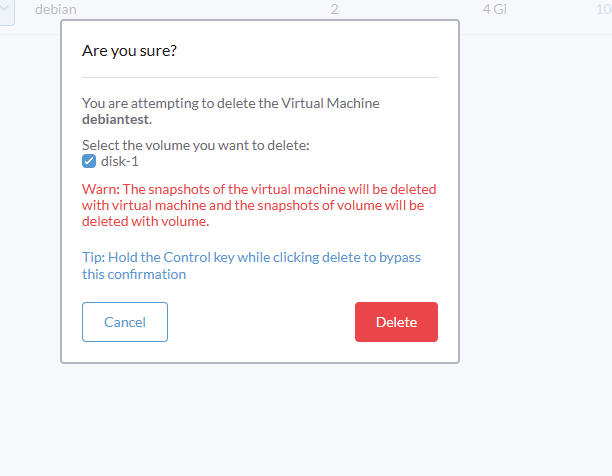
Oops sorry boss I goofed!

Never fear Kasten 7.5 is here!

I like seeing “virtualmachines” in my list of what will be restored:
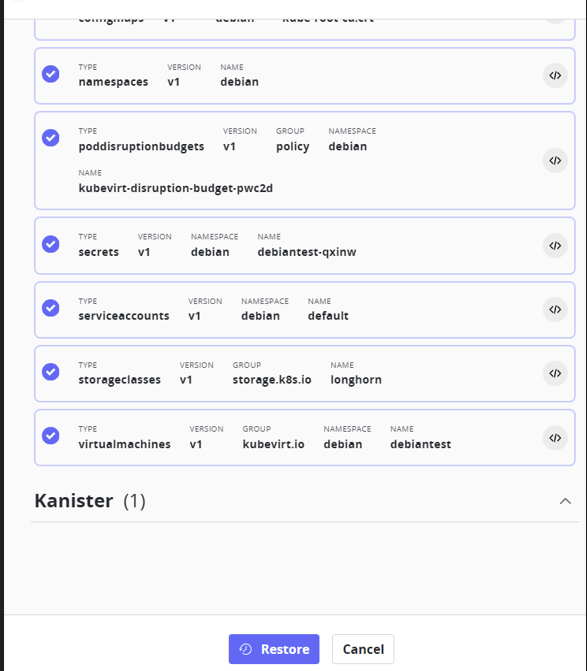
Time to keep my employment:
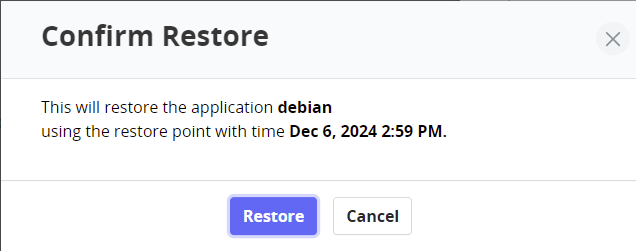
PHEW!

I went back over to Harvester, saw the VM running as before, logged in and opened up my super important document!
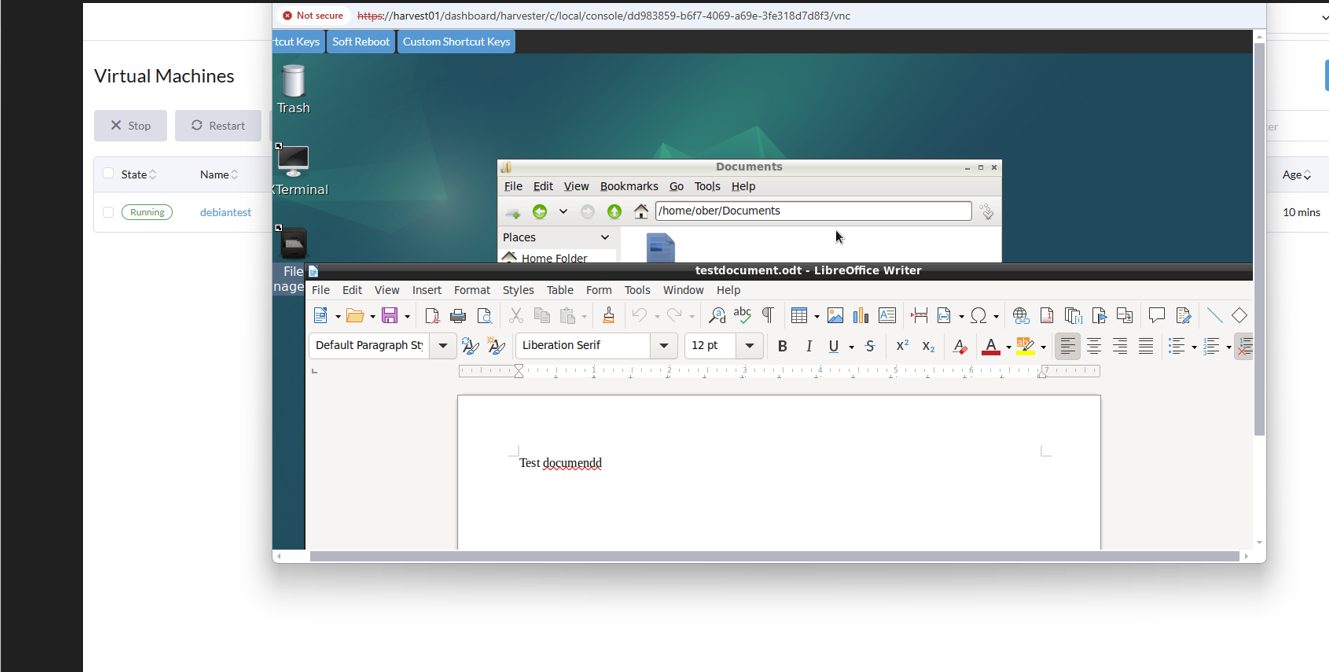
That’s it. Kasten has entered the Virtual Machine Backup chat!
