Requirements:
One of the following licences:
- Azure Active Directory Premium P1 or P2
- Microsoft 365 Business Premium
- Microsoft 365 E3 or E5
What is Device Code Flow authentication?
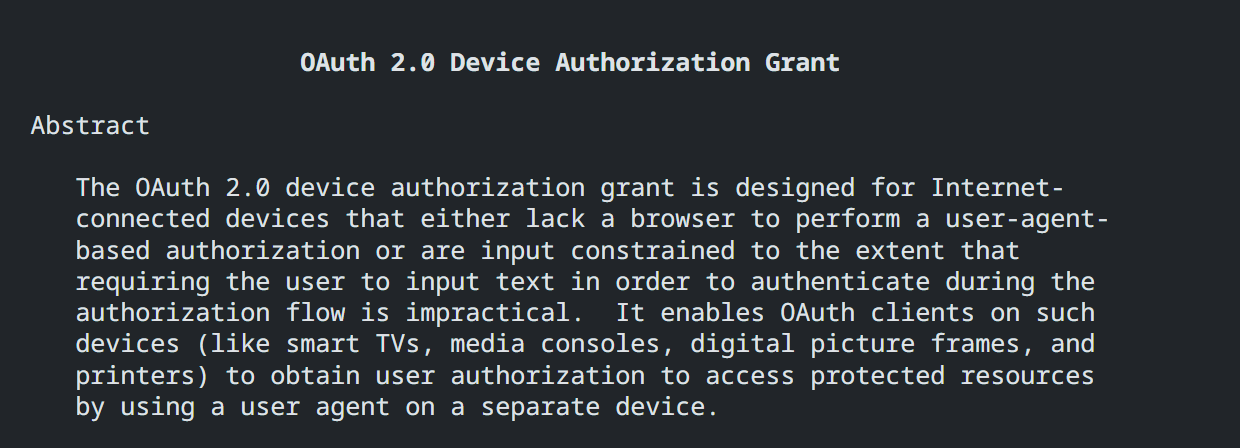
To put it simply, it is a way to authenticate a device that does not have the ability to present a full browser that can be used to enter credentials. For example, devices such as smart TVs that come with Apps. To sign into these Apps, it is possible to enter a code and then complete the authentication on another device.
It is part of the OAuth 2.0 Device Authorisation Grant. RFC here: https://datatracker.ietf.org/doc/html/rfc8628

Currently, Device Code Flow Authentication is increasingly being used in spear phishing campaigns to gain access to authorization tokens and pivot to initial access within a tenant.
To mitigate this risk, it is recommended to disable Device Code Flow Authentication using Conditional Access Policies.
How to using Conditional Access:
- Sign in to the Microsoft Entra admin center as a Conditional Access Administrator.
- Navigate to Protection > Conditional Access > Policies.
- Click New policy.
- Under Assignments, select Users or workload identities.
- In the Include section, choose the users to be included in the policy (all users is recommended).
- Under Exclude, select Users and groups, and choose your organization's emergency access or break-glass accounts, along with any other users to be excluded. Ensure this list is audited regularly.
- Under Target resources > Resources (formerly "cloud apps"), in the Include section, select the apps to be included in the policy (select All resources or All cloud apps, recommended).
- Under Conditions > Authentication Flows, set Configure to Yes.
- Enable the Device code flow.
- Click Done.
- Under Access controls > Grant, select Block access, and then click Select.
- Confirm your settings and set Enable policy to Report-only.
- Click Create to create and enable your policy.
NOTE: Set it as ‘Report-only’ to see if it is being using in your environment. Ensure that a Break Glass account has also been specified as a backup.
Also, be aware, that Microsoft will be creating Microsoft managed Policies with a view to set them as enforced after 45 days
Resource:
- New Microsoft-managed policies to raise your identity security posture | Microsoft Community Hub
- Storm-2372 conducts device code phishing campaign | Microsoft Security Blog

