
By now, you have an operational backup environment, some initial backups finished, a fine‑tuning set and are successfully monitoring and reporting. Congrats!
You’ve also likely tried a test restore (hopefully you haven’t needed to do a real restore, but if you have, we’re glad you had a backup). If you haven’t, or you want to dive a bit deeper, here are some resources to help explain and guide you through the restore process.
You can explore your Microsoft 365 data four key ways:
1. Exploring backup jobs
When exploring backup jobs, Veeam Backup for Microsoft 365 loads the latest restore point that was created by the selected job.
2. Exploring single organizations
When exploring a single organization, Veeam Backup for Microsoft 365 merges and loads the latest restore points that have been created by each backup job of the selected organization, including objects (i.e. users) no longer protected in a job.
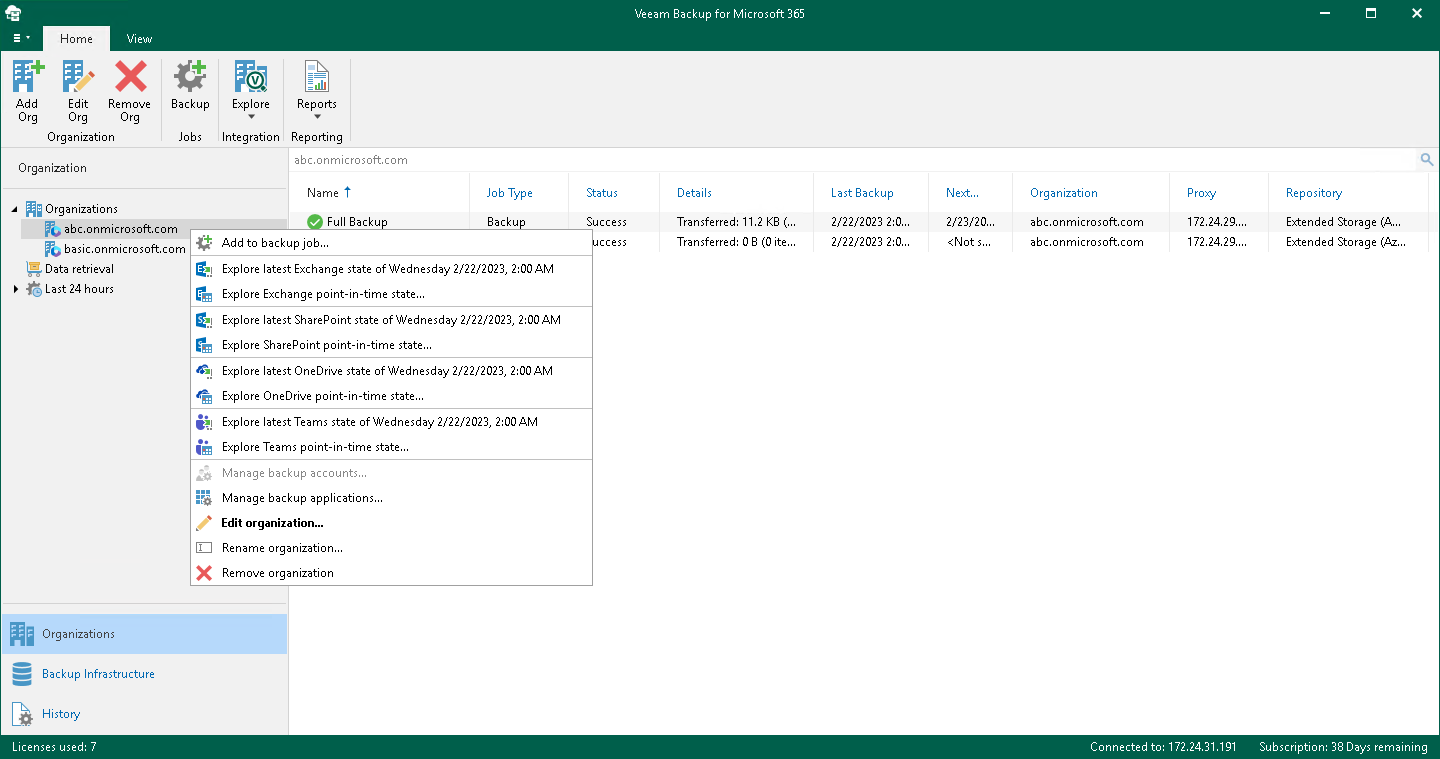
3. Exploring all organizations
When exploring all organizations, Veeam Backup for Microsoft 365 merges and loads the latest restore points of each backup job of every organization.
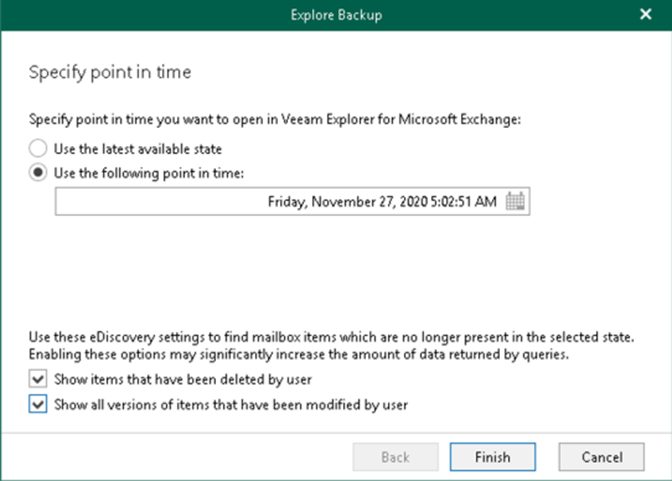
4. Exploring point-in-time
When using eDiscovery, you can restore immutable backups, ensuring that the restore point has remained unmodified. Enhanced search filters are available to help locate deleted or modified items more efficiently. When exploring a point-in-time state, choose a backup state that you want to open:
- Use the latest available state. Select this option to load the latest state of items in the backup file.
- Use the following point in time. Select this option to load a backup as of the selected date.
If you need more help getting started, you can post your question in the comments section below or contact us at any time and someone from the Customer Success team will be there to assist you.