

This is the description of an unusual scenario where Backup Job Files (.vbk and .vib Files) are backed up with a File-to-Tape Job instead a Backup-to-Tape Job. This has several disadvantages, e.g., you must know on which tape your files you want to restore are residing. You cannot find your tape backups under the backups section in the “Home” view of console and many more…
OK, now have a look how we get these files back from tape.
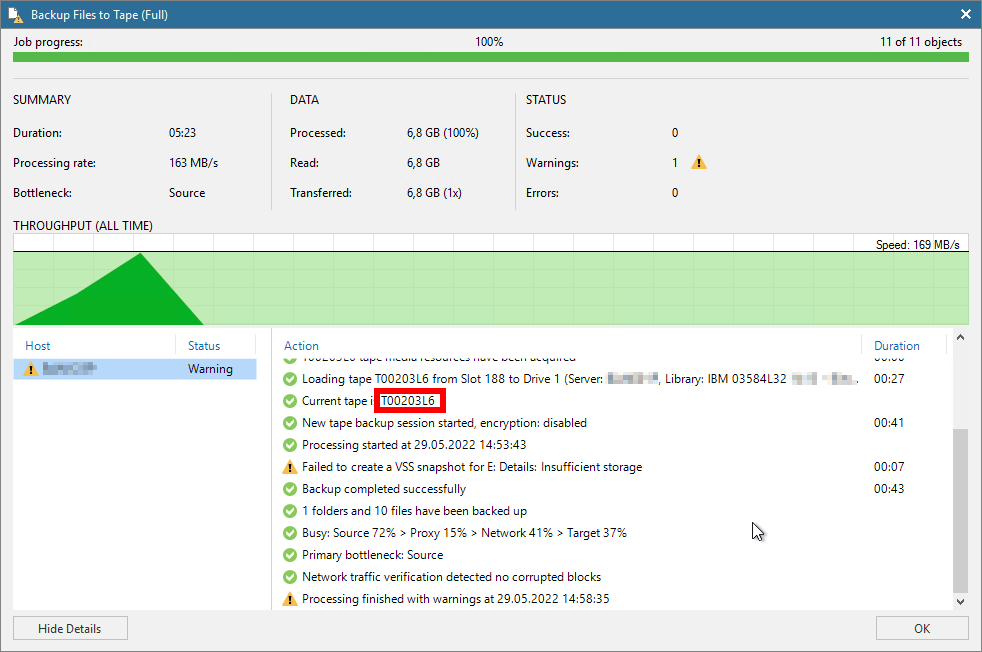
See the results of the File-to-Tape job and find the tape number the files reside on. If you don’t know the tape, read further, and use the search function ( Note: the warning in the screenshot can be ignored. The filesystem is too big for VSS Snapshots, I have forgotten to switch the VSS snapshots off for this test backup job.).
Then go in the Veeam Console to the “Tape Infrastructure” section. Either go to the media pool where the affected tape is in or look for it in the Media section of your tape library.
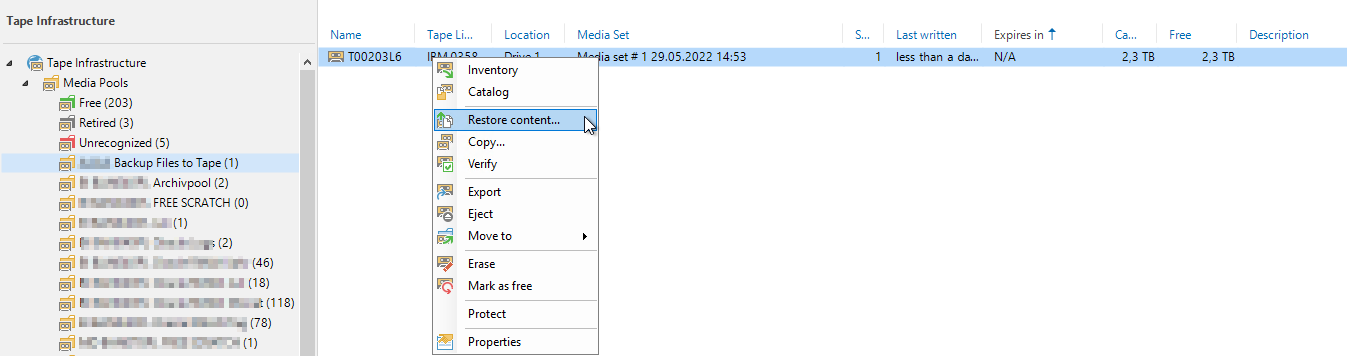
Right click on the tape and select “Restore Content”. This opens a wizard, follow the directions of the dialog to proceed.
If you have right clicked on the affected tape, the correct tape is shown in the list.
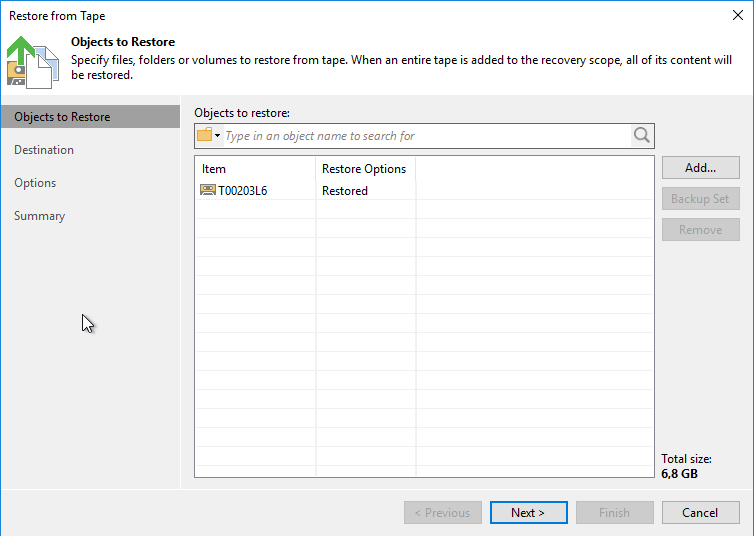
In case you don’t know on which tape your files are, right click on any tape and select “Restore Content”. The use the search field of the wizard and type a part of your filenames you want to find. Then you can select the needed files from the list. Use this search procedure in case you don’t want to restore the whole tape, too.
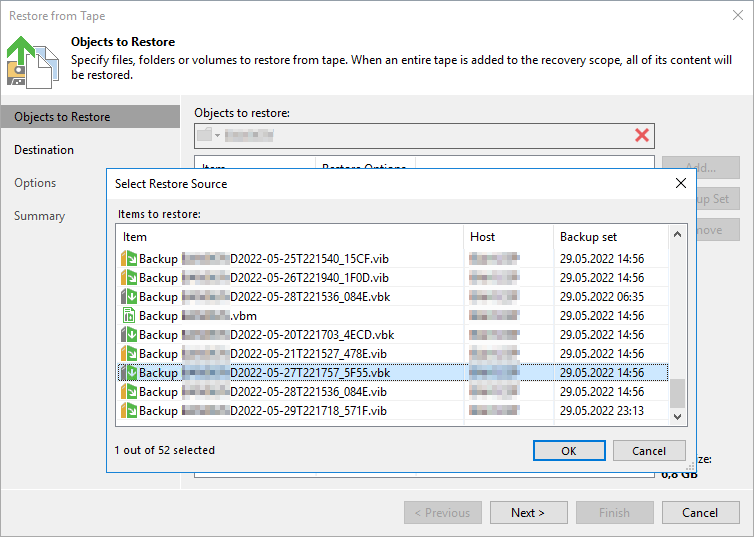
Click on “Next” and follow the next steps of the wizard.
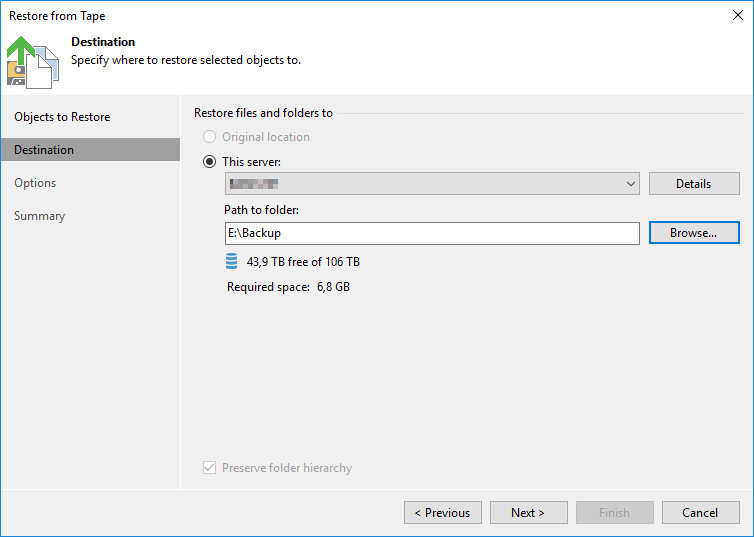
Select the server and the directory you want to restore the files on. The directory should be a directory you have defines a repository on. After that click “Next”.
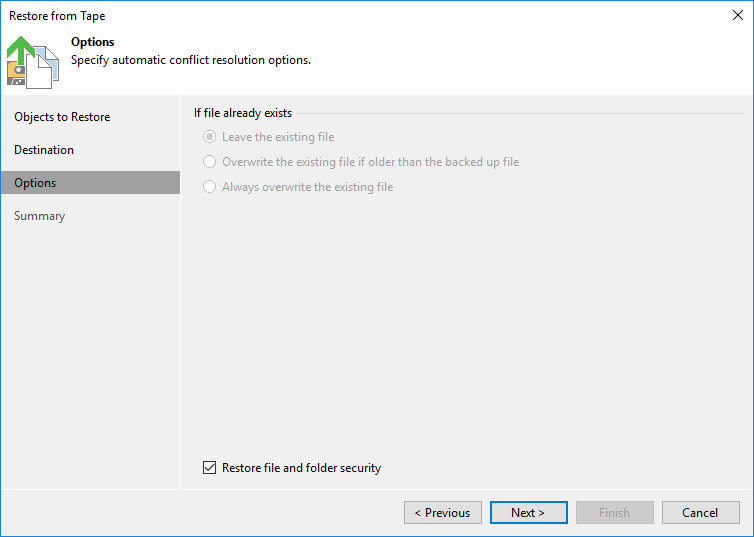
In my case no files are in the target directory. So, I cannot select anything here. Select the correct option for your environment. Keep the checkbox “Restore file and folder security” checked. Click “Next” to proceed.
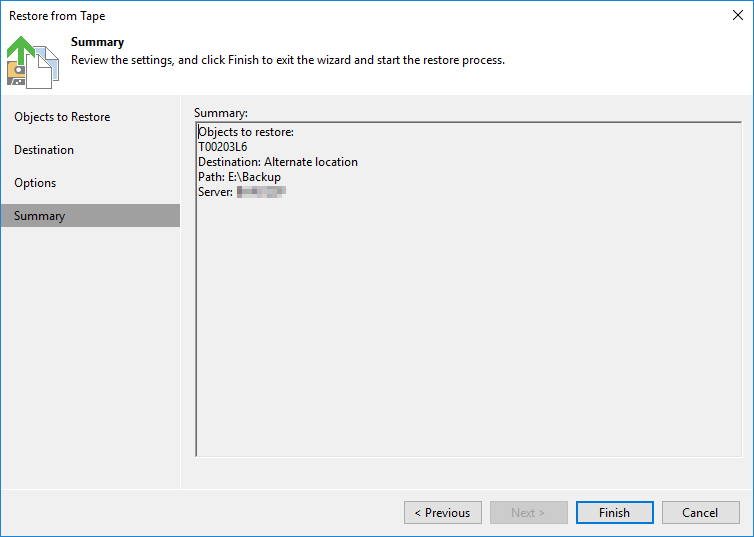
Last chance to change any options. If all is ok, click “Finish” to start the restore.
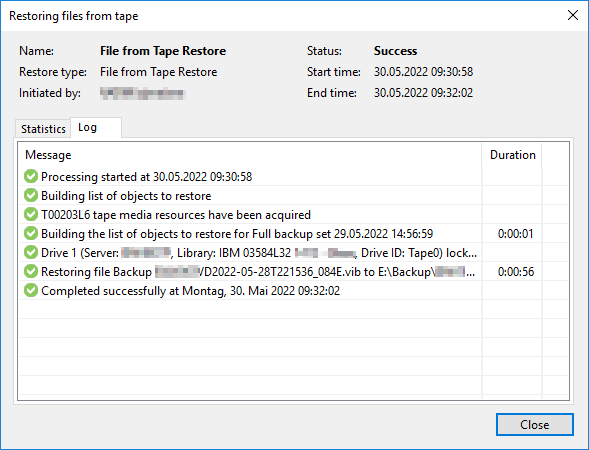
Check the results of the restore. Hopefully there are no errors, and all your files are on disk now. Click “Close” to end the restore wizard.
Now some more steps are necessary to use the restored backup job files.
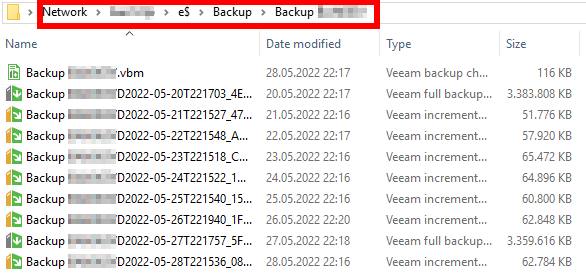
The restore has saved the restored files with the complete original path under the directory you have chosen earlier.

Copy your files to the base repository directory (in my case E:\Backup).
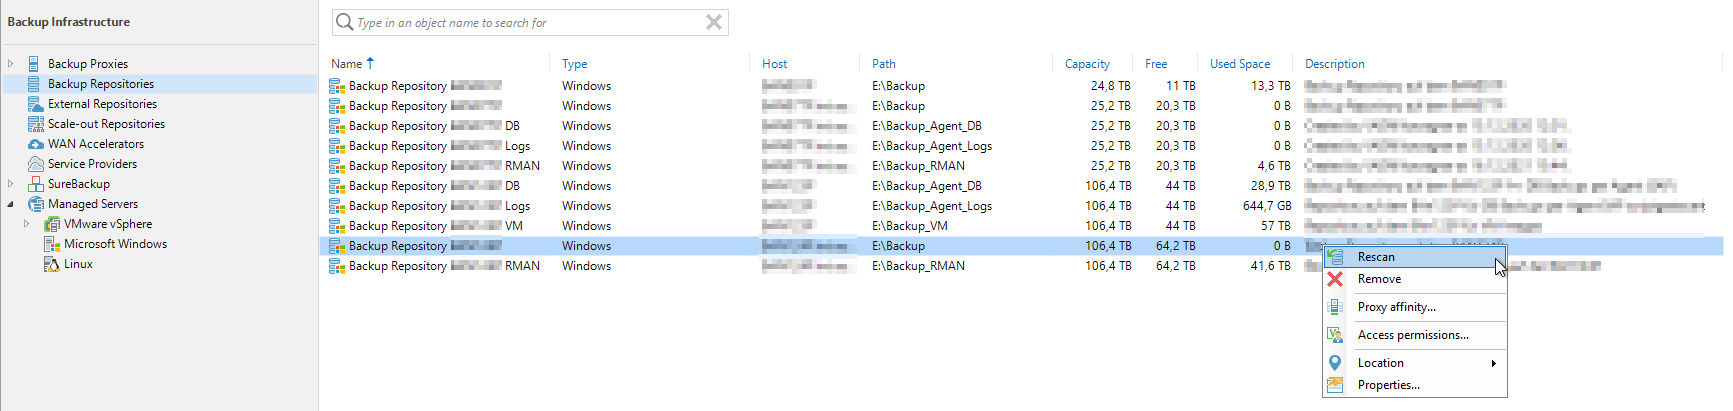
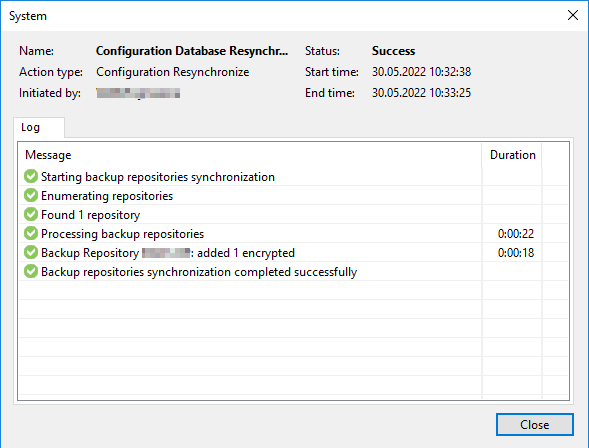
Then rescan your repository
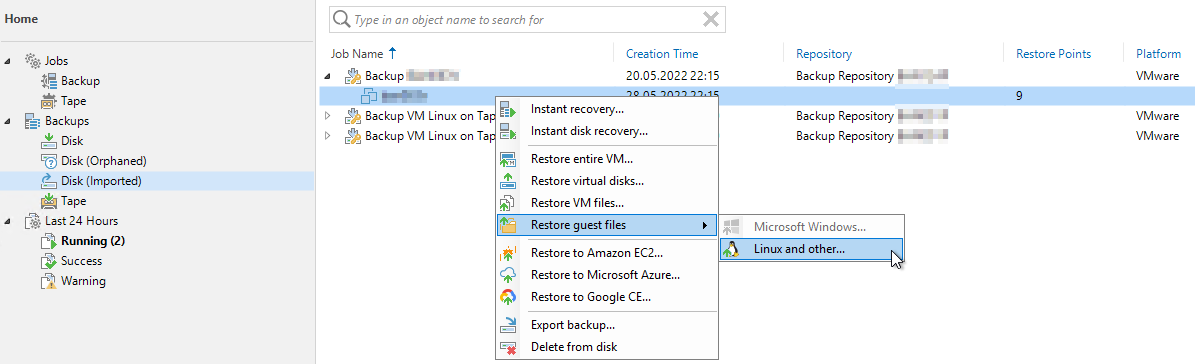
Now you find the backup files in the “Home” section under “Backups” --> “Disk (Imported)”. From here you can restore from these files with all options Veeam offers.
The recommendation for backup job files is to use a Backup-to-Tape job and not a File-to-Tape job. The handling of the files is much easier. I will create a similar tutorial for restore from a Backup-to-Tape job in the next time.
