

Hello Community!
I am in the middle of modifying my Backup/DR environment → adding infrastructure, upgrading VBR servers, etc, etc...basically a refresh cycle as it were. One of my VBR Servers is used for DR purposes using Veeam Replication. I created a new server for it on the newest server OS (2022) and did a Configuration Backup migration. This was the first time I performed a DB migration and was pleasantly surprised by the ease of this task. Well done Veeam! As for my other VBR server, I’m not wanting to do a DB migration. I’m going to recreate most everything from scratch for various reasons. But, out of just under 30 jobs I have on this server, I do want to retain 7 of them. Sadly, as some of you know based off a Hub post from a yr or so ago by
..exporting Jobs isn’t really possible. I really would like a Backup/Copy Job export function in the Console personally. Anybody else concur this would be a useful feature add?
But, I digress. My main purpose here is to provide the Community with a clean step-by-step process to get your Jobs and Hardened Repository disconnected from an original VBR server and onto a new VBR server. Most of the information is in the User Guides, but you can end up doing quite a bit of back-and-forth clicking/navigating there, so I thought a nice clean writeup would be welcomed. The below process is what I did to get Jobs and the associated Hardend Repository I’m using for those jobs onto a new VBR server:
- On Original VBR Server
- First off, in the Console disable all the Jobs which use the Hardened Repository. Let me take a second here and just share most of the information I provide in this post is for most any Repository. It’s just for my particular case, the Repo I wanted to move is Hardened
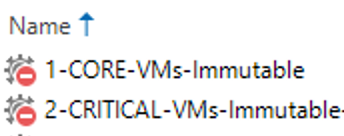
Disabled jobs After disabling the Jobs, document all the settings of the Jobs you want to transfer over to the new VBR Server. Additionally, make sure to document your Repository settings → in using a LHR, immutability period, task concurrency settings, as well as any Advanced settings
- Rt-click > Edit each of the Jobs you’re using the Repo in, go to the Storage step and temporarily modify the Repository to use a different Repository other than the one you’re wanting to remove (transfer), e.g. “Default”. Reason is you cannot remove a Repository which is in use by any Jobs

Edit Backup Job - At this point, if you’re modifying a LHR as I am and assuming you have it also securely configured, you’ll need to connect to it either via Console or remote management tool (e.g. iDRAC) and 1. enable SSH, 2. re-add the single-use credential user to sudoers
- After all of the above has been completed, you can go into the Backup Infrastructure node of the Console and rt-click the Repository > remove. When removing the Repository, you’ll be notified any references to backups will be removed from the Configuration Database. Click Yes to confirm. NOTE: if you have any Proxies used specifically with this Repository and Jobs, this is the time to remove those as well. As with Repository removal, if you have Proxies explicitly assigned to Jobs instead of via “Automatic” (see above screenshot), those explicit references need to be removed in the Jobs before you can remove the Proxies from the Console
- Last, remove the Repository and/or Proxies from Managed Servers
- On New VBR Server
- First, add the Repository and/or Proxies as Managed Servers in the Backup Infrastructure node
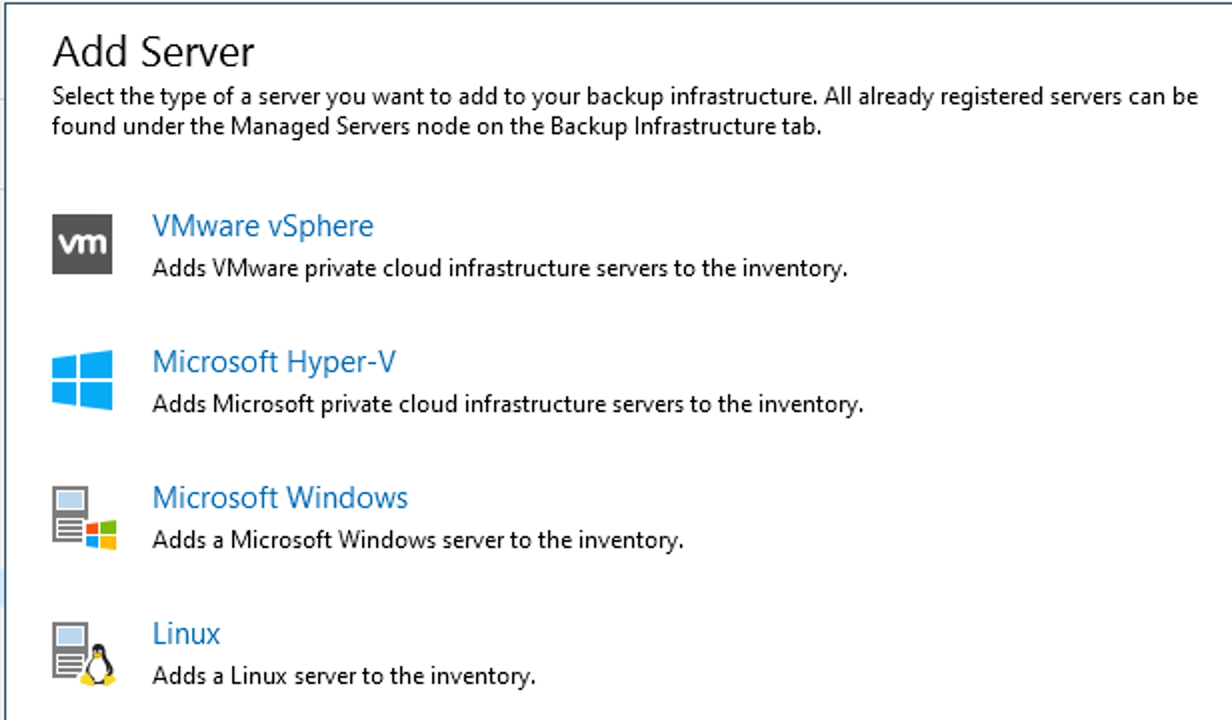
Add Managed Server
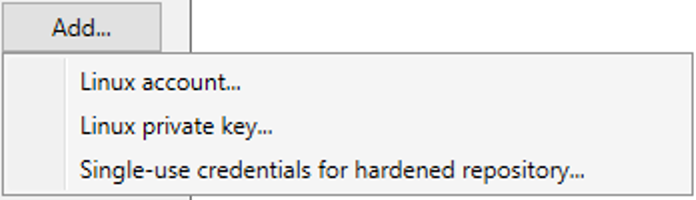
Provide Linux SSH Credentials - When adding the LHR, at the credentials step, click the Add button and choose Single-use credentials...”
- After adding the LHR server to Managed Servers, add any Proxies wanting to transfer to the new VBR server
- Next, add the LHR as a Repository. Reference the settings you documented earlier to configure the Repository appropriately. IMPORTANT: at the Review step of the wizard, click to Search the Repository for existing backups and import them automatically. Initially, the files will show as Imported > Backups under the Backups section of the Home node
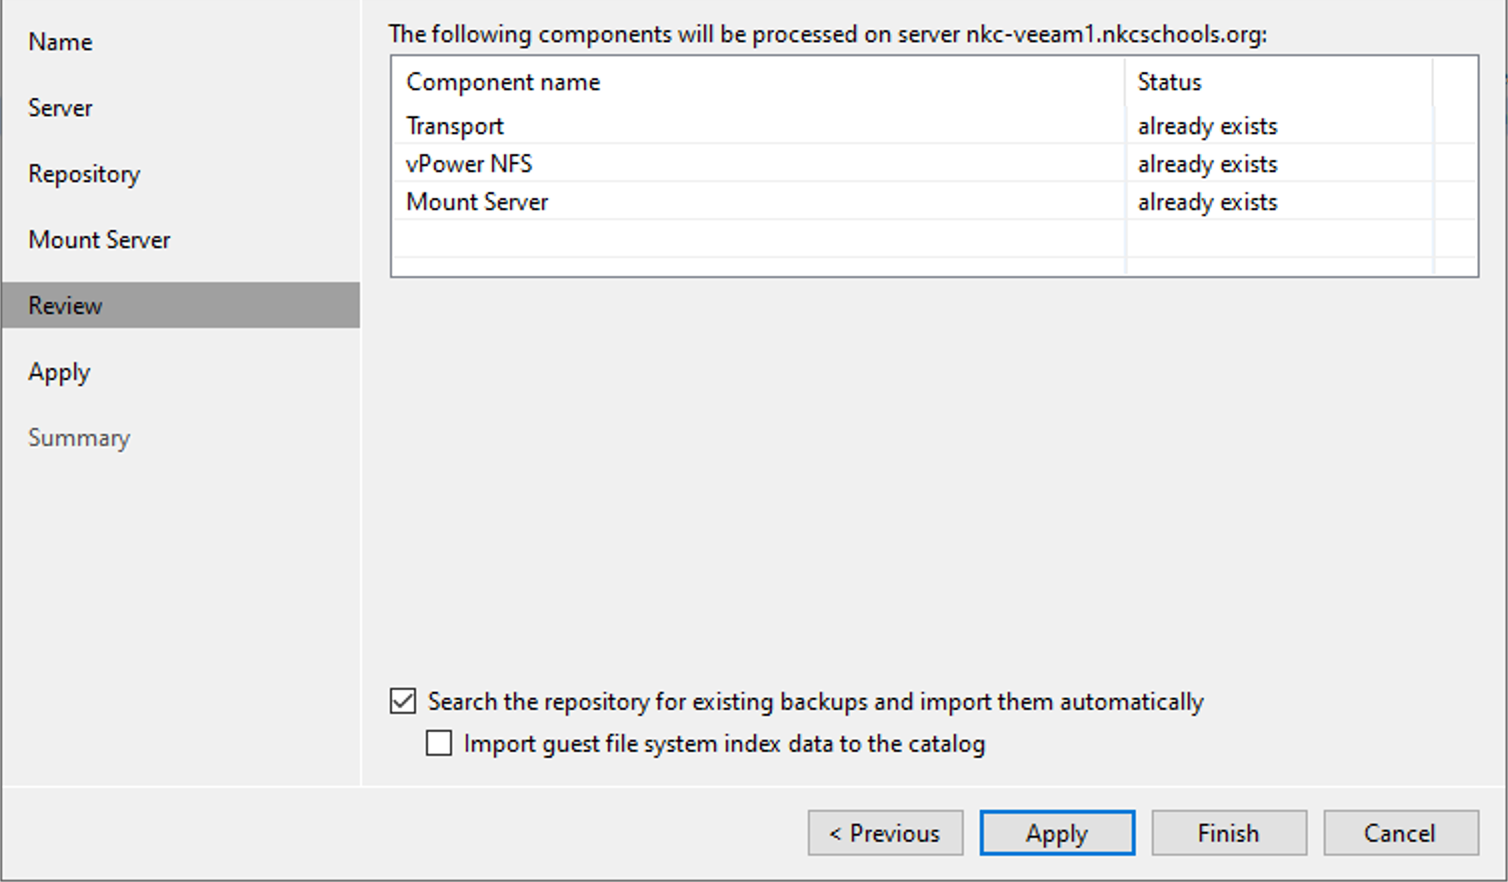
Add Repository - Review Step - Finally, you’re now all set to recreate your Jobs, again referencing the file you used to document Job settings in the first step above. At the Storage step, select the Hardened Repository you just added, then click the Map Backup link and select the Backup files which correspond to the Job you’re now creating. Finish configuring the Job wizard
- Create the additional Jobs to use the Repository as needed, again referencing the settings you documented earlier
- At this point, you’re all set. Run a Job or two to make sure they run successfully, and as expected

Succesful Backup Job Run
And those are the steps from start to finish to get some of your environment migrated from one server to the other when a full Configuration Database restore is not needed or desired. Hope this helps others as it did me.

