
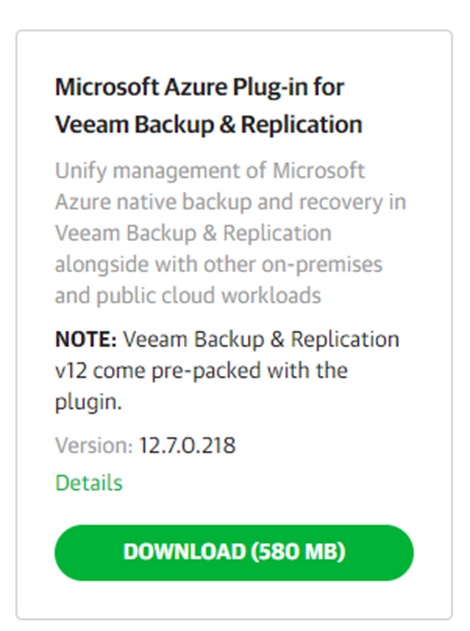
- The first step is to download the Microsoft Azure Plug-in from my.veeam.com and deploy it to Veeam Backup & Replication.
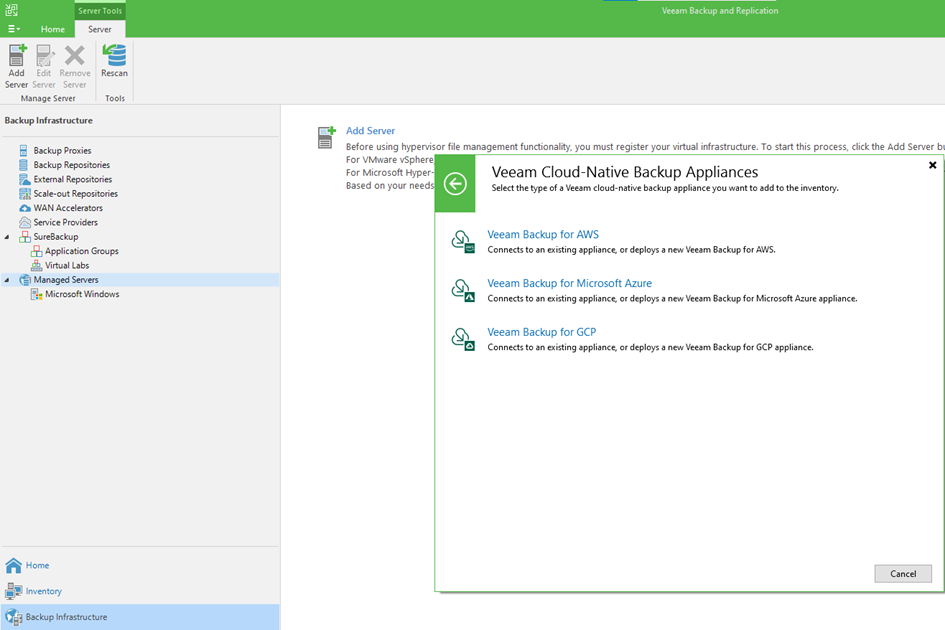
- After the deployment is complete, we need to select Veeam Backup for Microsoft Azure on the Managed Servers side of the “Backup Infrastructure” Tab in Veeam B&R.
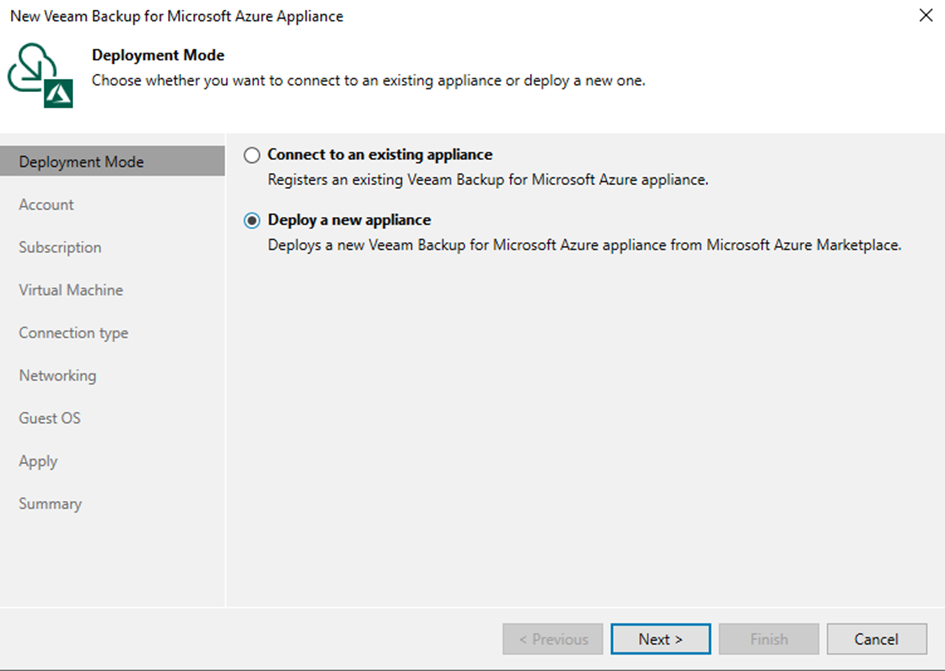
- This step asks if there is a Veeam Backup for Microsoft Azure server on the Azure side. If there is, continue with the existing appliance, otherwise Deploy a new appliance is required.
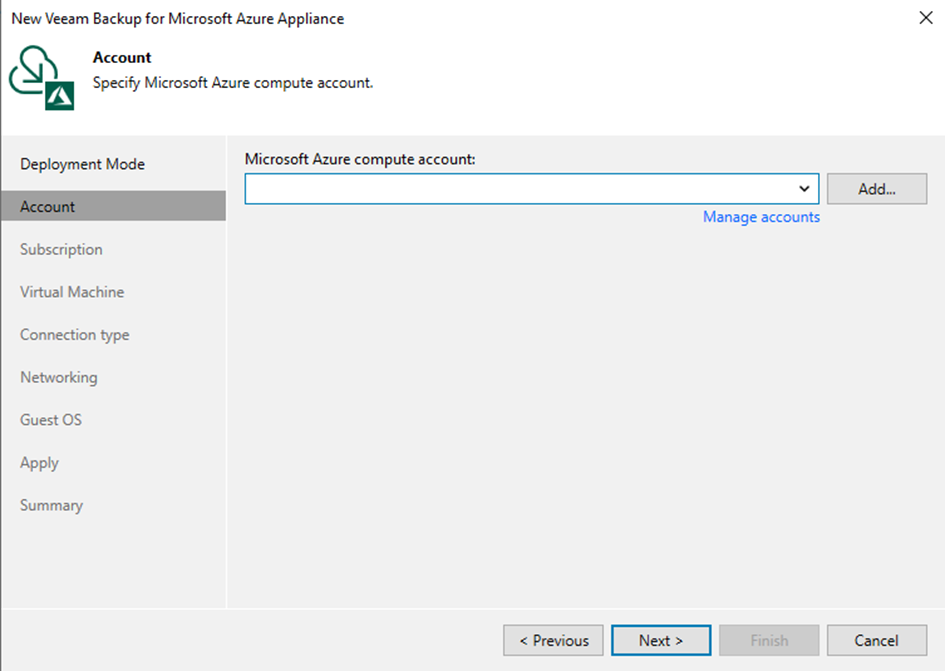
- Azure account must be added in this step.
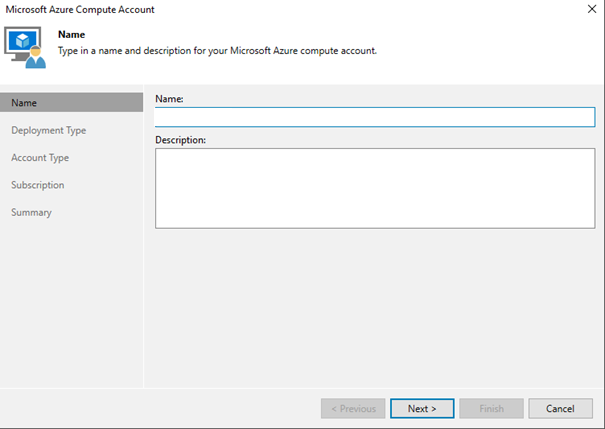
- To add our Azure account here, we first set the name that will appear on the Veeam side.
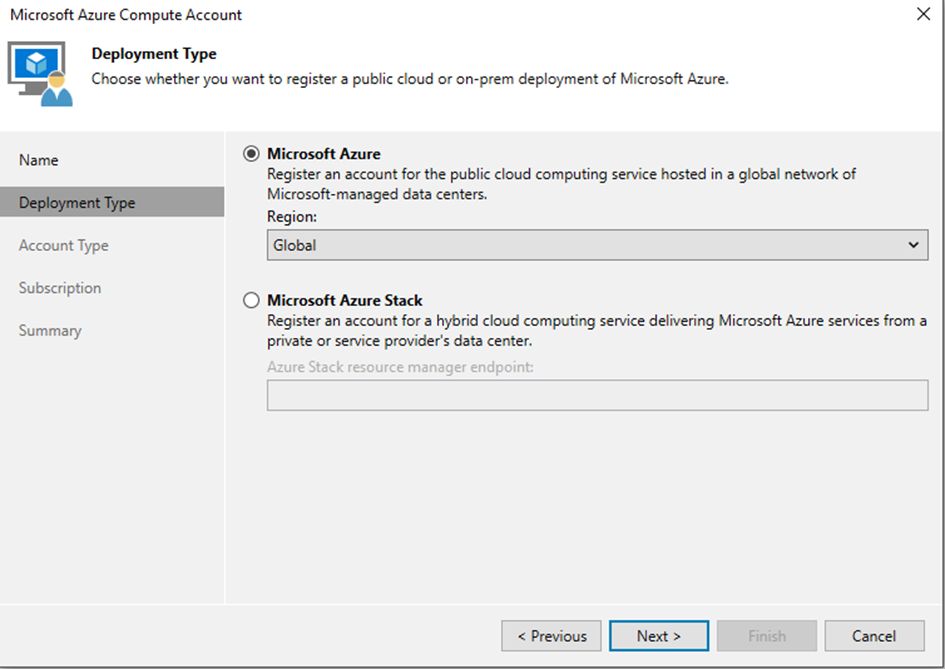
- In this step, we specify the region where our Azure account is located.
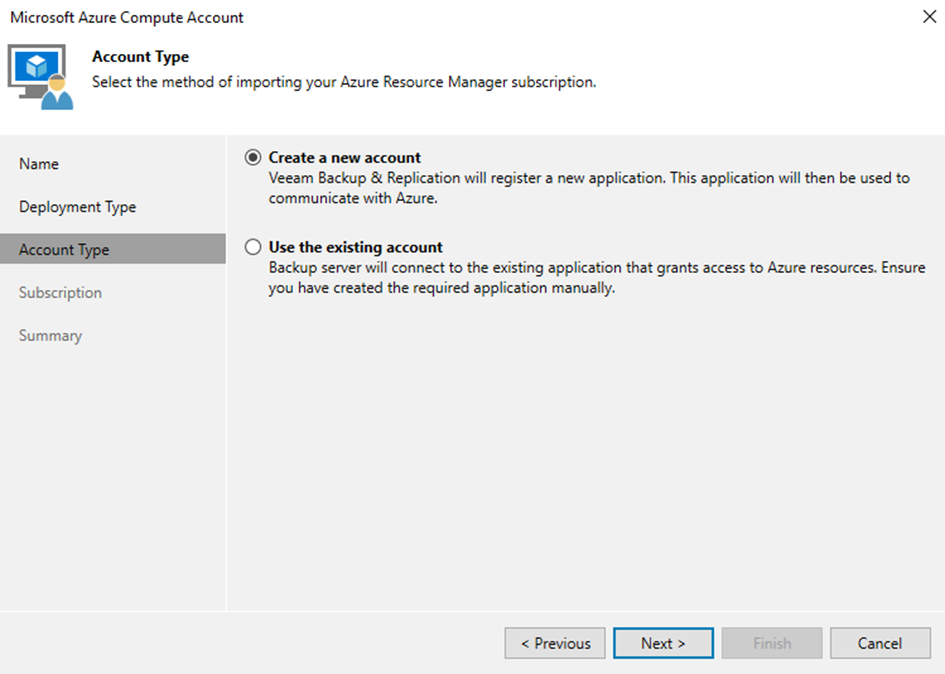
- Since we are doing this for the first time, we continue by saying Create a new account. Since no such integration has been done with our Azure account before, there is nothing registered.
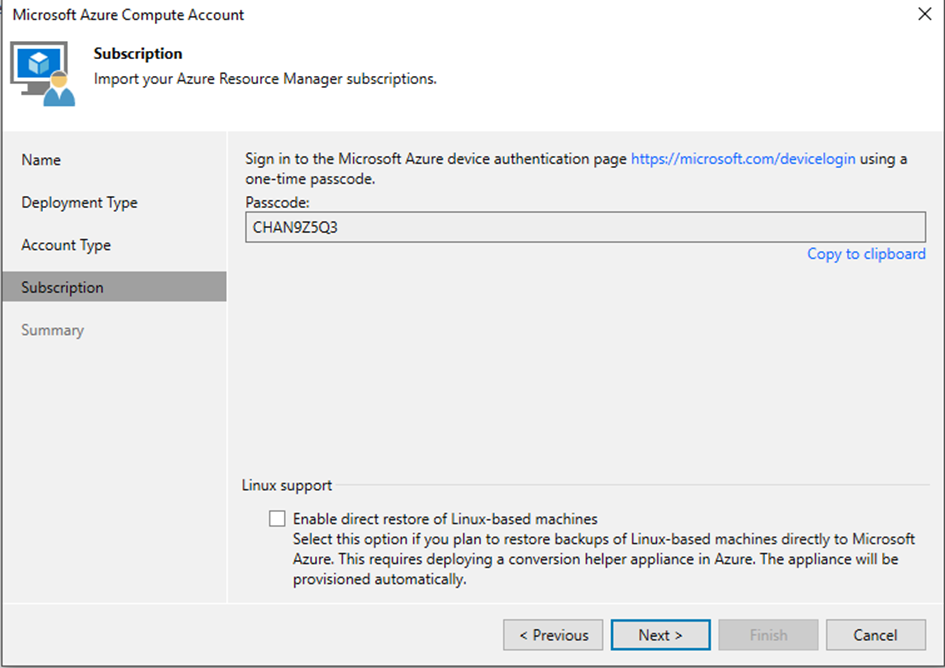
- We log in as a login from the Microsoft page with the given Passcode.
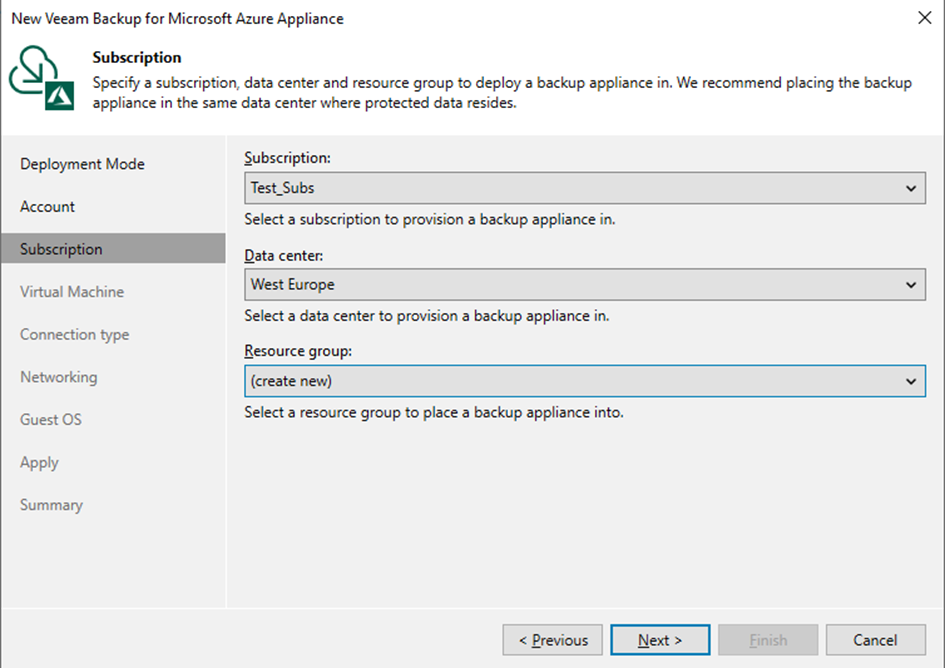
- In this step we define the required Subscription, Data center and Resource groups. The reason we are doing this is to set up a server for Veeam backup for Microsoft 365 backup on Azure side.

- We specify the name of the server it will install on the Azure side.
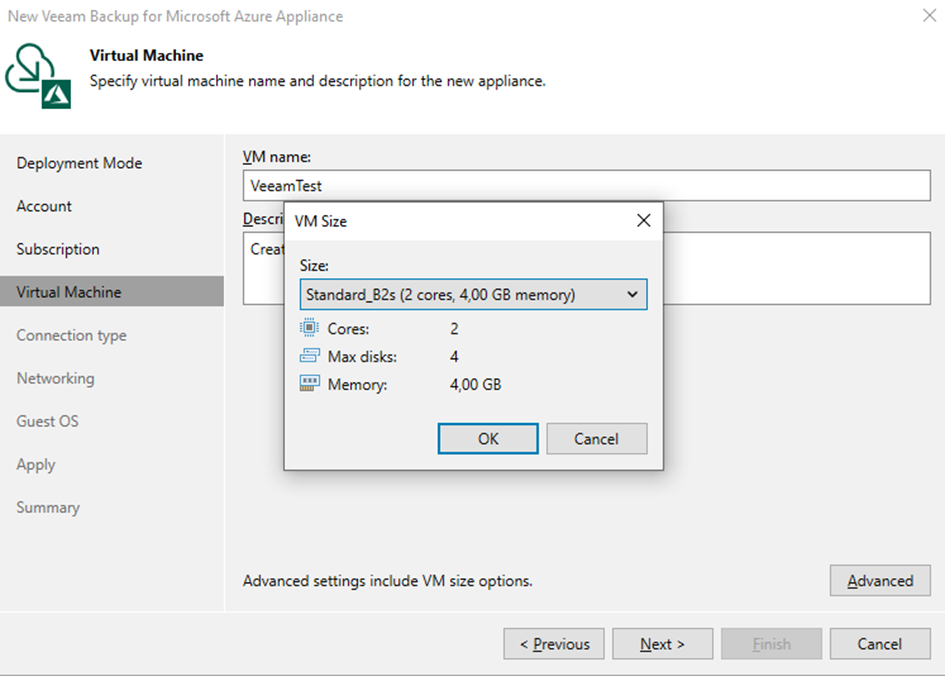
- When we click Advanced, we see the CPU, Memory and Disk information of the server.
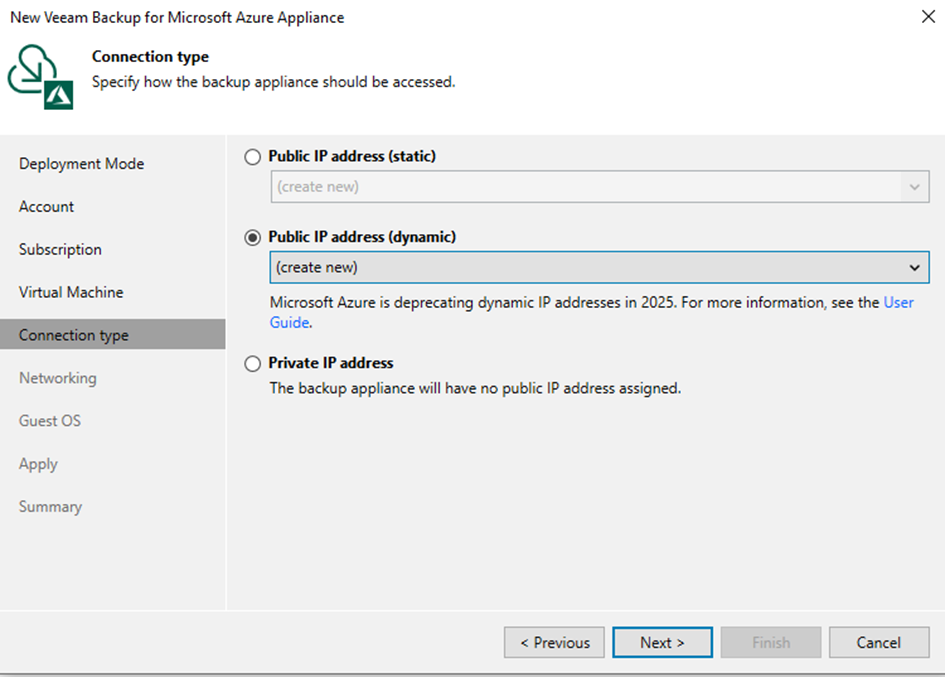
- In this step, the IP address of the server to be installed is determined at the Network layer.
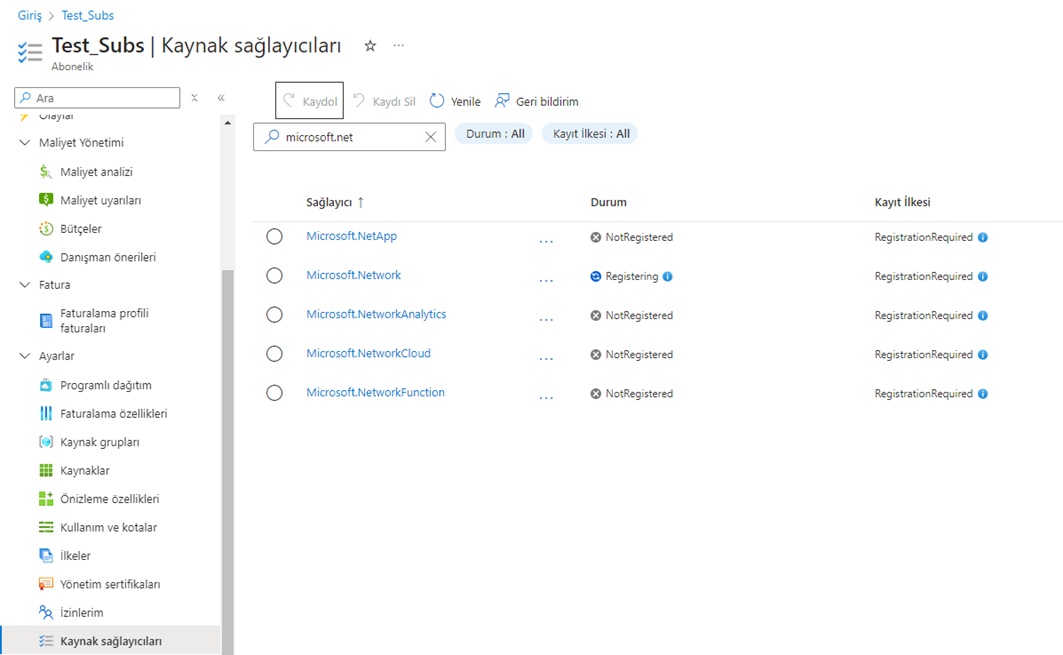
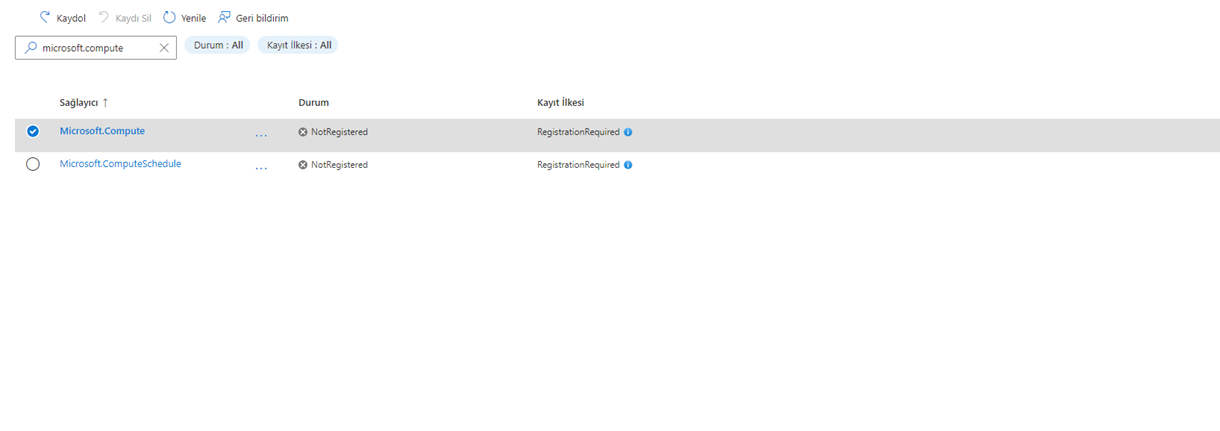
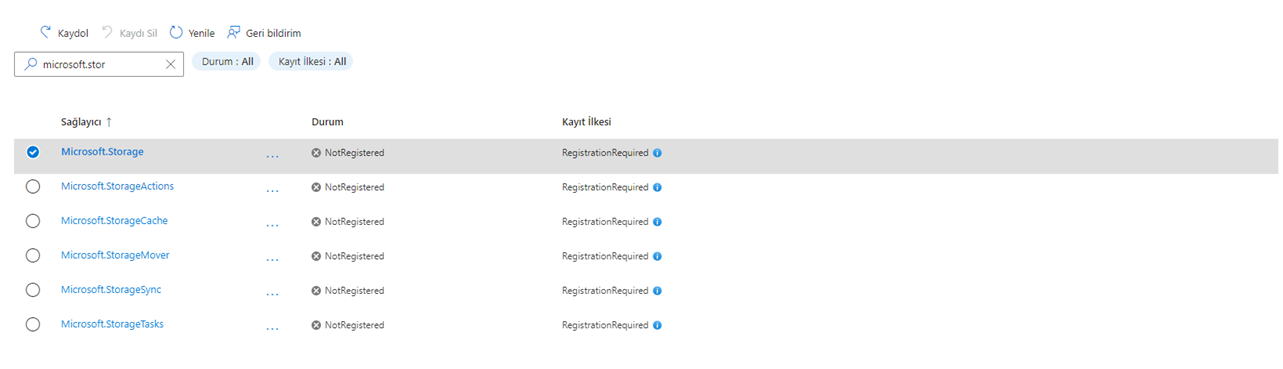
- The Provider records in the images above must be allowed under the Resource providers of your Subscription in Azure. If not allowed, Azure will not allow your Veeam server to perform these installations remotely.
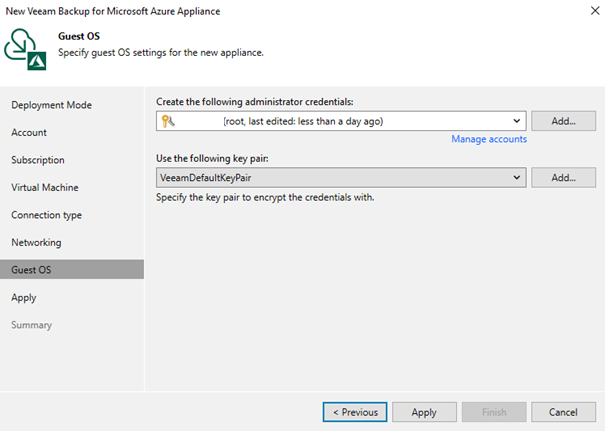
- In this step, we determine the Credential information of our server to be installed. We specify a User and Password as requested.
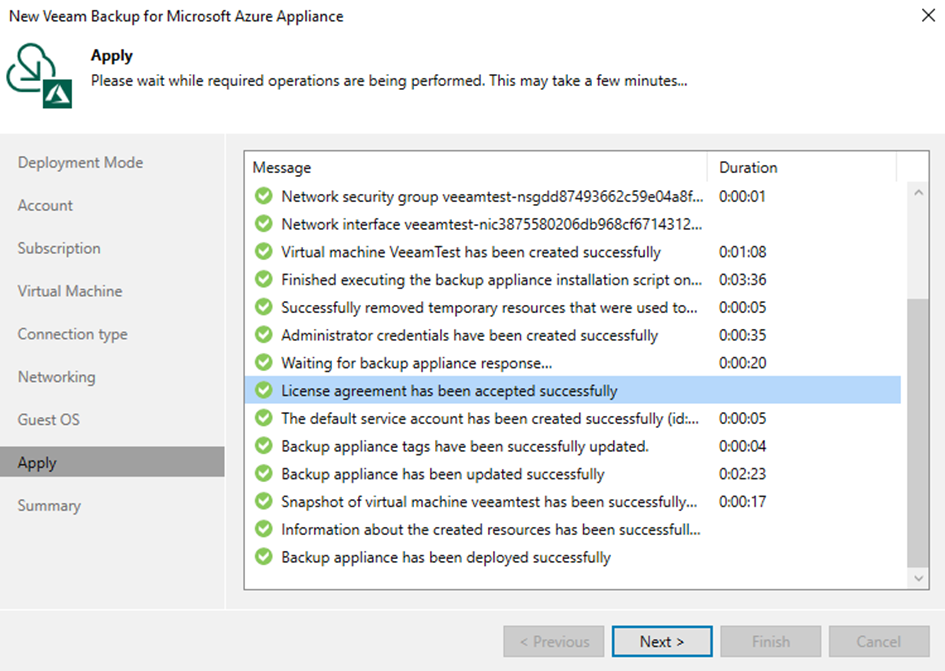
- After the relevant steps are provided, the installations are completed within a few minutes.
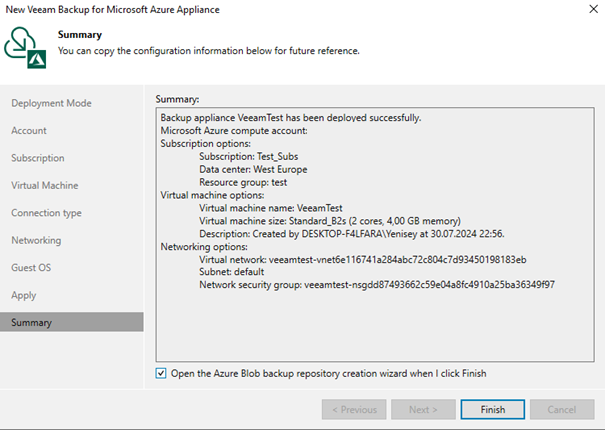
Requests Creation of Azure Blob Storage in the Last Step
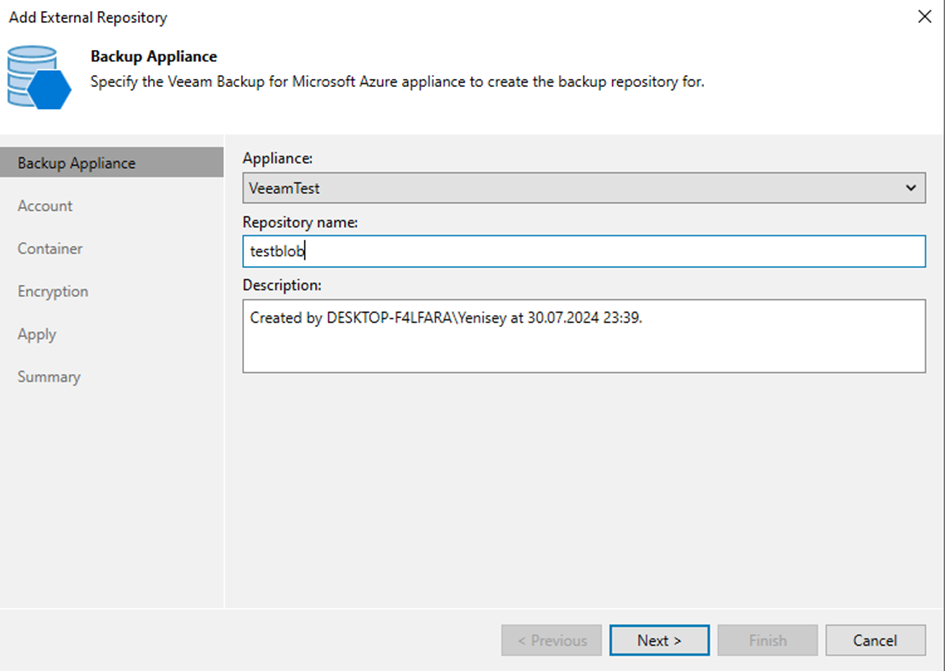
- First of all, this time we log in to the Azure Portal and create our Azure Blob Storage with a Storage Account. On our Veeam server, we first specify how the Repo name will look like and which server to define it to.
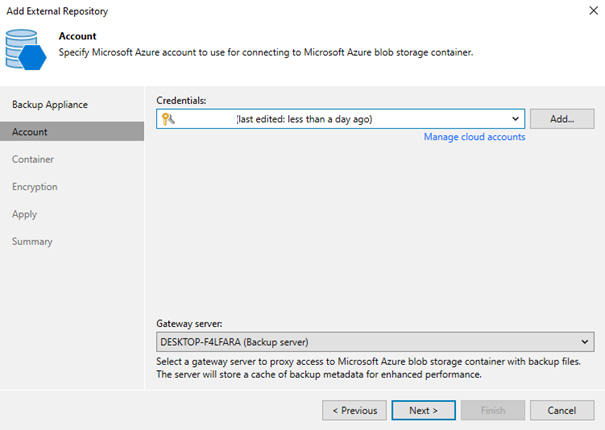
- In this step, we enter the credential information of the Azure Blob Storage we created.
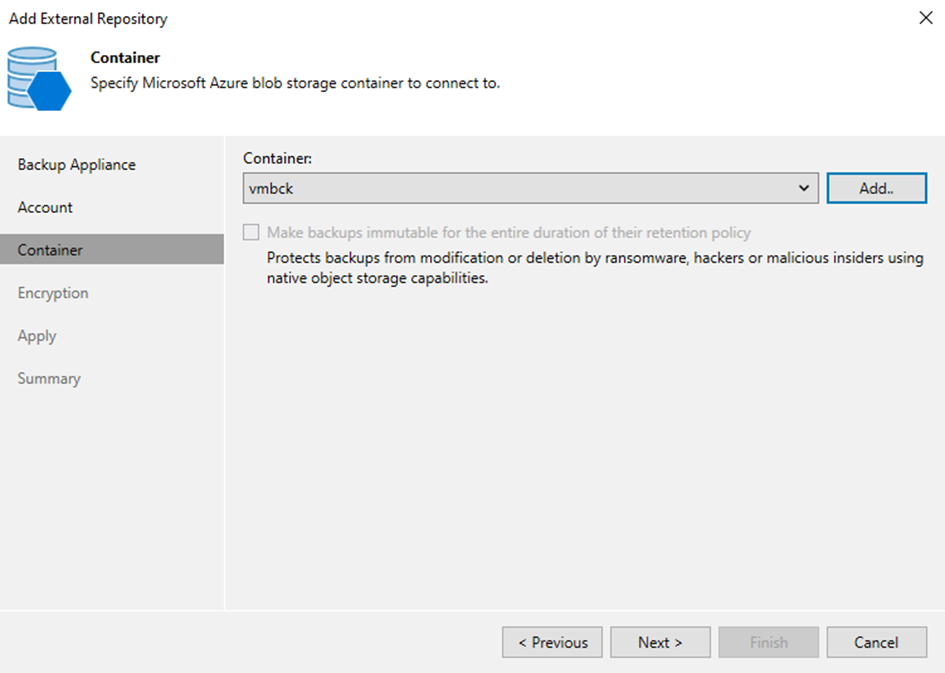
- Select the Container in our Azure Blob Storage. If you create an Immutuble supported Storage Account, you can make your backups Immutuble.
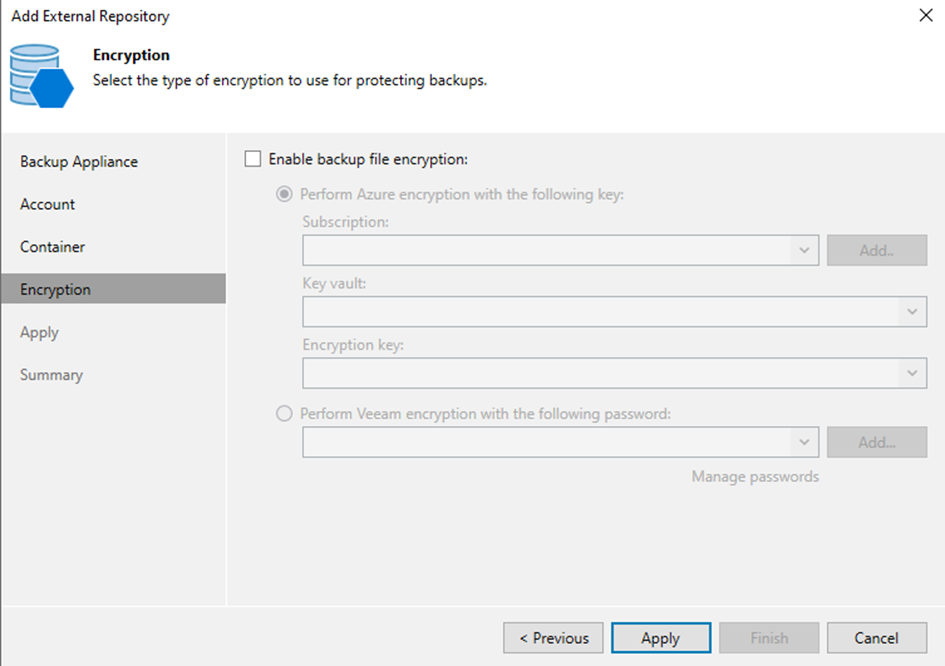
- And you can also encrypt your backups. After these steps, your Veeam Backup for Azure backup environment will be ready.