
Veeam Backup and Replication is comprehensive data protection and disaster recovery solution which is capable of creating image-level backups of virtual, physical servers, cloud machines, and restoration as well. The technology used in the product optimizes data transfer and resource consumption, which helps to minimize storage costs and the recovery time in case of a disaster. Veeam Backup and Replication provides a centralized console for administering backup, restore, and replication operations in all supported platforms (virtual, physical, and cloud environments).
The prerequisite requires you to have a SQL Server already running in your environment. Please see "how to download and install Microsoft SQL Server 2019 Express Edition and Microsoft Management Studio on Windows Server", how to install Microsoft SQL Server 2019 and MsSQL Command line tools on Ubuntu Linux, and how to install MSSQL Server 2019 Developer Edition and SQL Server Management Studio on Windows.
With Veeam Backup & Replication, you can back up and restore the following objects.
1: Virtual machines (VMware vSphere VMs, Microsoft Hyper-V VMs, and Nutanix AHV VMs (requires an additional plug-in)
2: Cloud VMs (AWS EC2 instances, and Microsoft Azure VMs)
3: NAS Share – Veeam Backup and Replication supports backup of file shares from the following sources (Microsoft Windows, Linux-managed server, Enterprise NAS systems such as NetApp Data ONTAP, Lenovo ThinkSystem DM Series, Dell EMC Isilon, NFS file shares, and SMB file shares.
4: Physical machines. To back up machines running Windows, Linux, or macOS operating systems, Veeam Backup and Replication uses backup agents installed on each computer. The agents can also be download from the following link. Veeam Backup and Replication operates as a centralized control center for deploying and managing Veeam Agent for Microsoft Windows, Veeam Agent for Linux, and Veeam Agent for Mac.
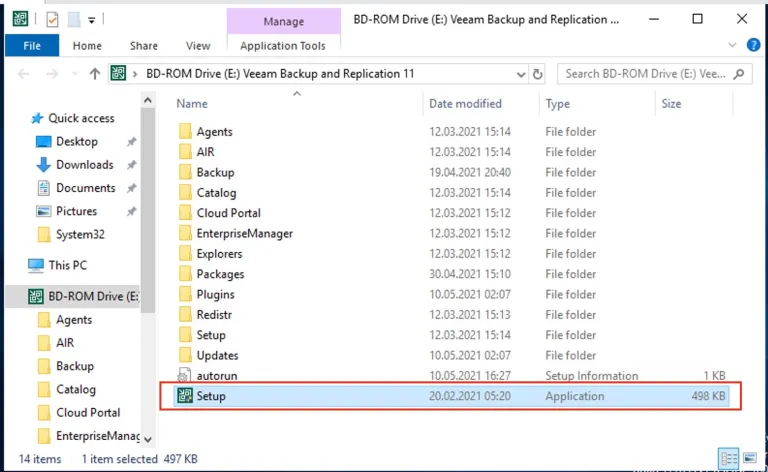
Once you have the .iso file downloaded, you can either mount it on your server or extract it to a folder. Next, you can run the setup as shown below.
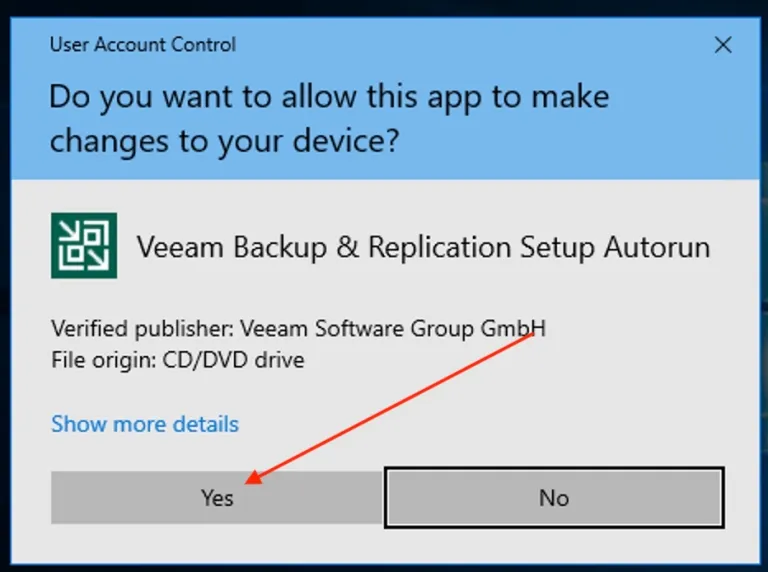
Accept the User Account Control. You may want to read more about this from this link.
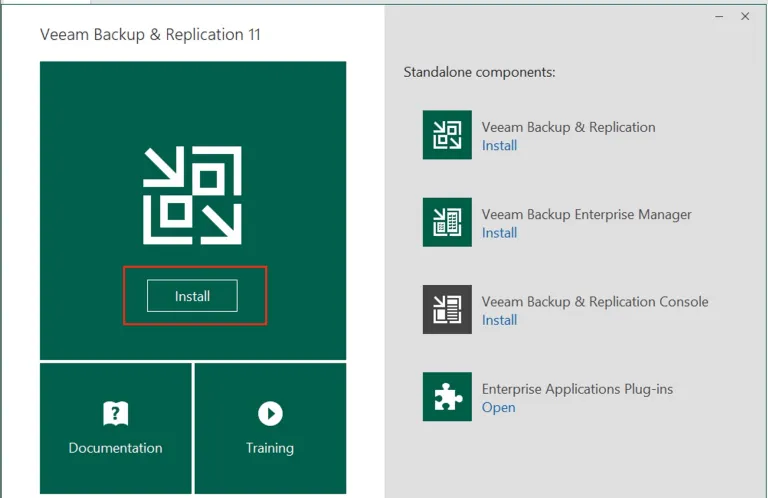
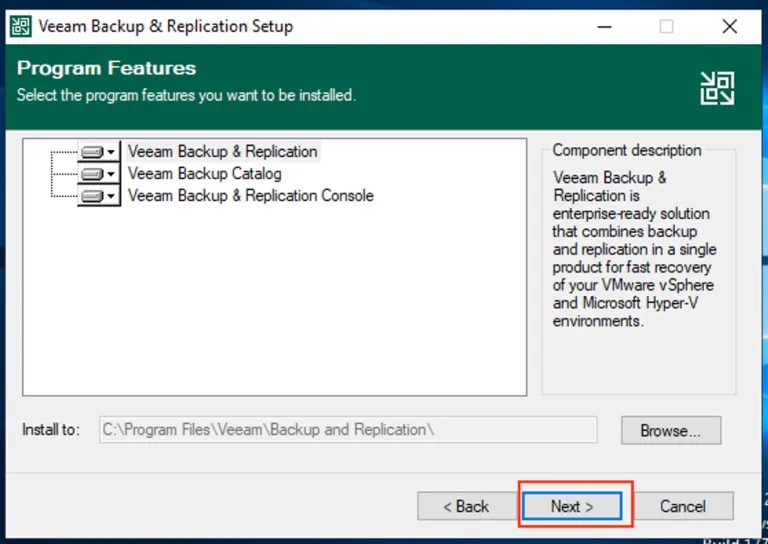
This will open the Veeam Backup and Replication window as sown below. I will recommend to install the entire suite. Because if you install just a single component, you will have to run the setup.exe file gain to install the backup and replication console. I will be installing the Veeam Backup and Replication as shown below.
– Click on Install under Veeam Backup and Replication.
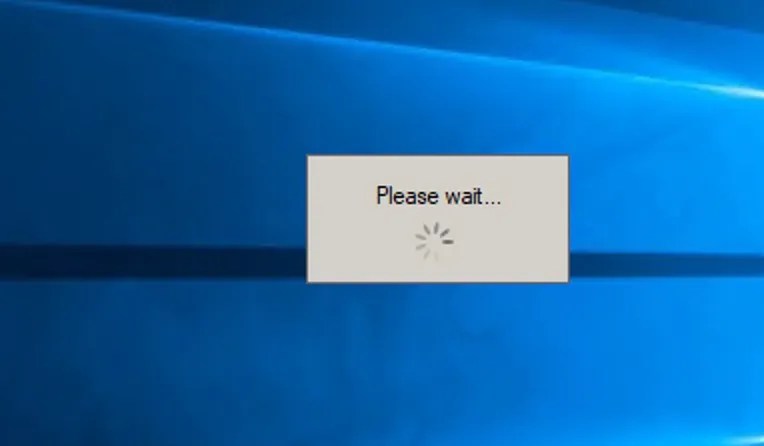
This is currently initializing the setup, please wait for it to complete.
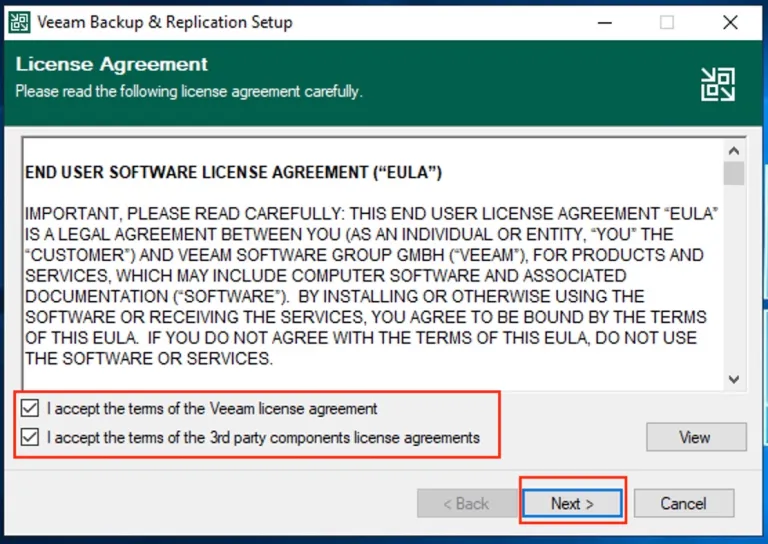
Accept the agreement as shown below and click on Next
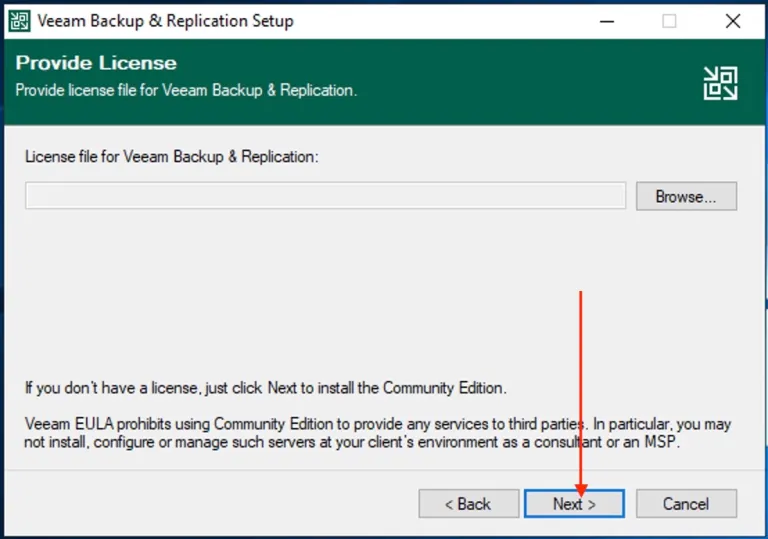
As I am installing the Community edition, I will click on “Next” to operate in Community Edition mode. If you have a license, you can specific the path to the license key.
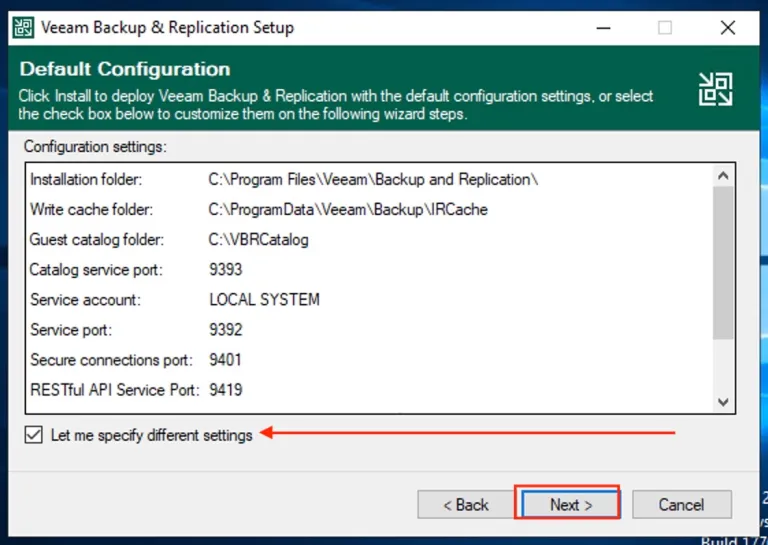
The following window below should be left as default without making any changes.
I am not entirely ok with the default settings. Therefore, I will click on “let me specify different settings“. If you wish to use the custom database, please visit this link.
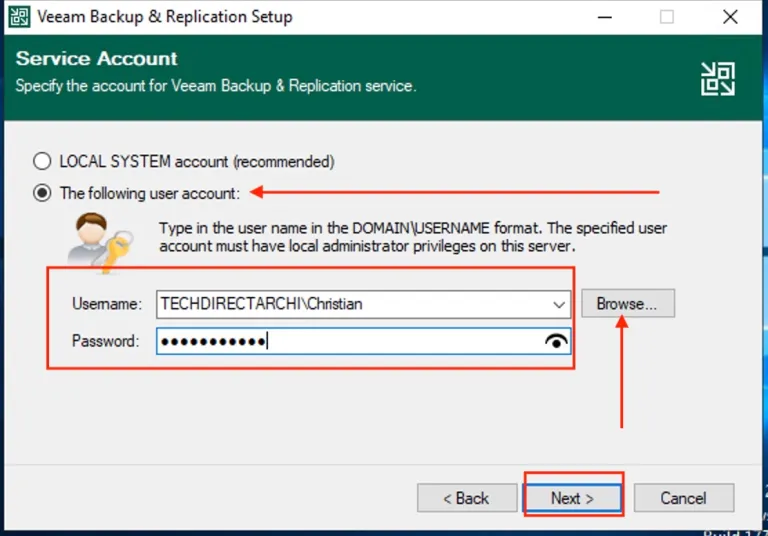
If you select the Local System account, you may not be able to install the database due to privilege issues. This is a lab environment, I will be using my account for this.
– Click on Next to continue.
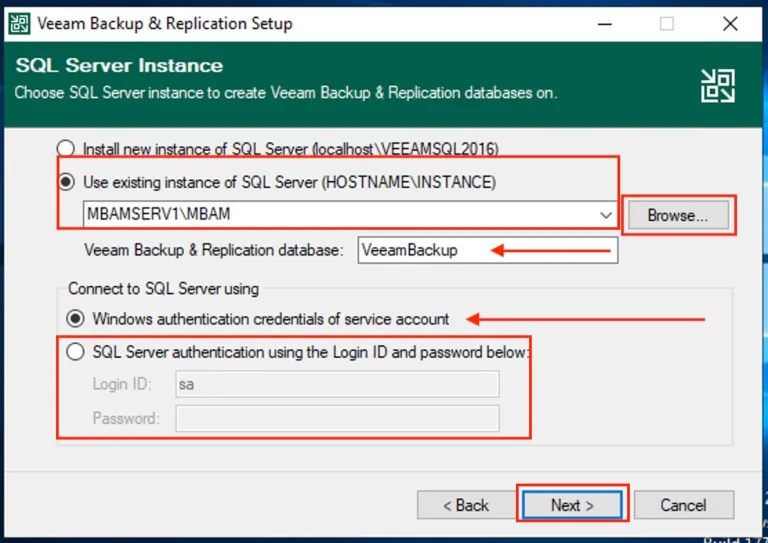
Select your desired SQL Server. I am okay with the Veeam Backup and Replication database name. Click on next to proceed.
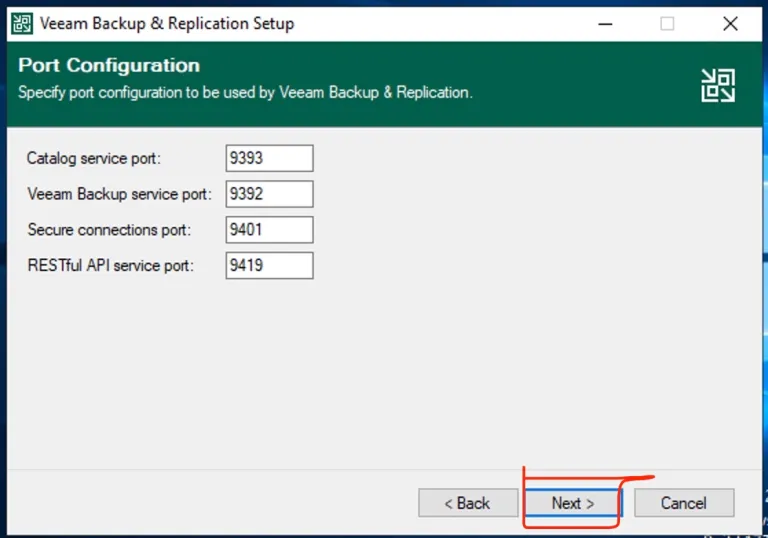
On the Port configuration Window, click on Next.
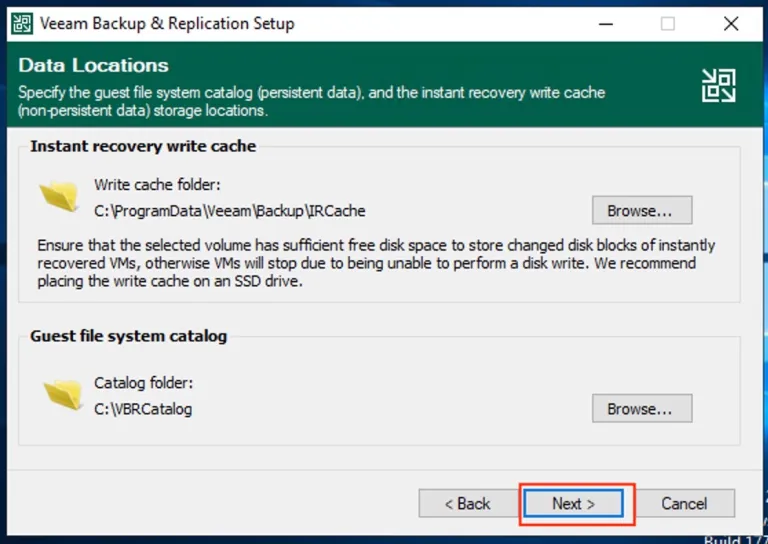
On the Data Locations window, click on Next to proceed.
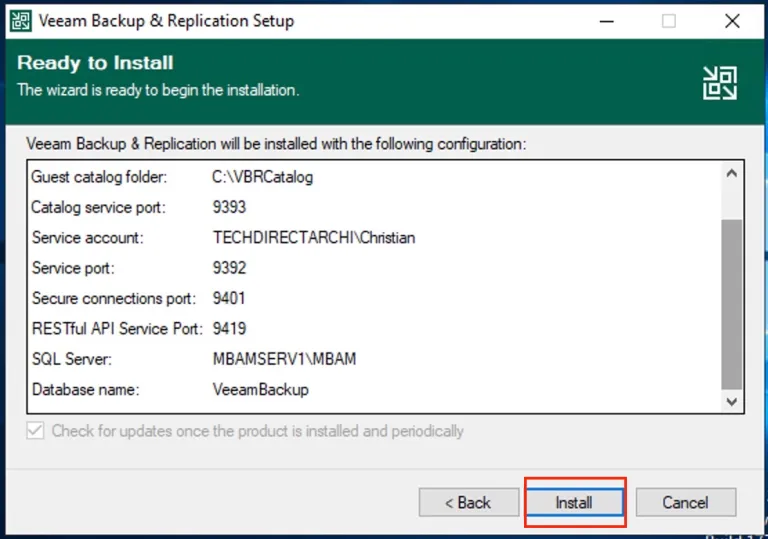
Click on “Install” to install Veeam Backup and Replication onto your Server.
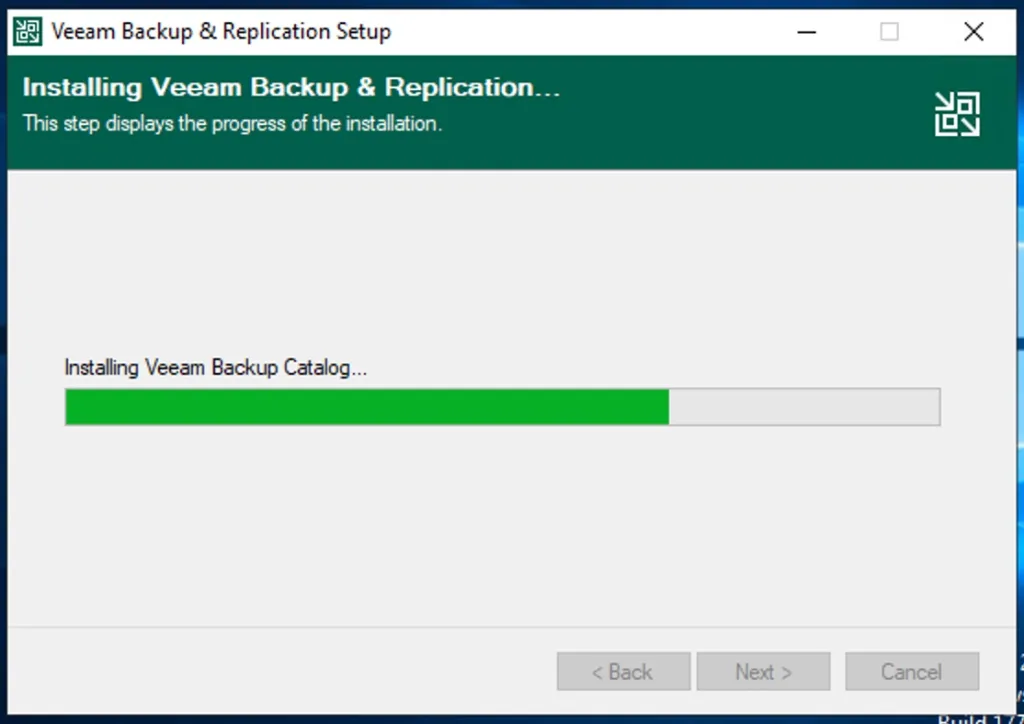
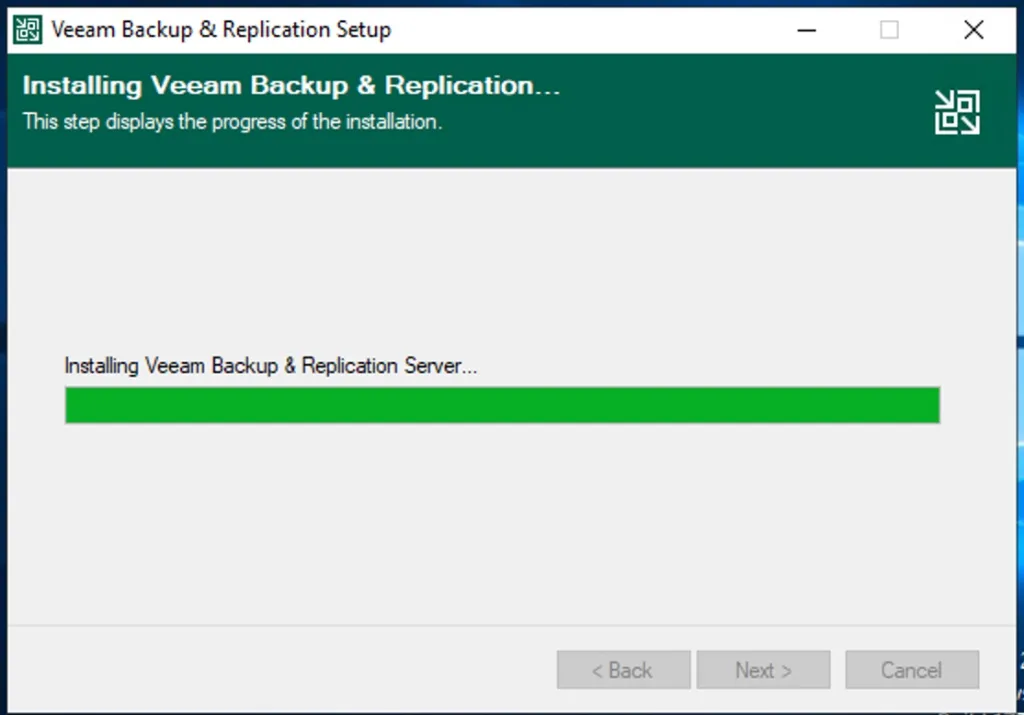
Below are just the installation process. You can ignore these steps!

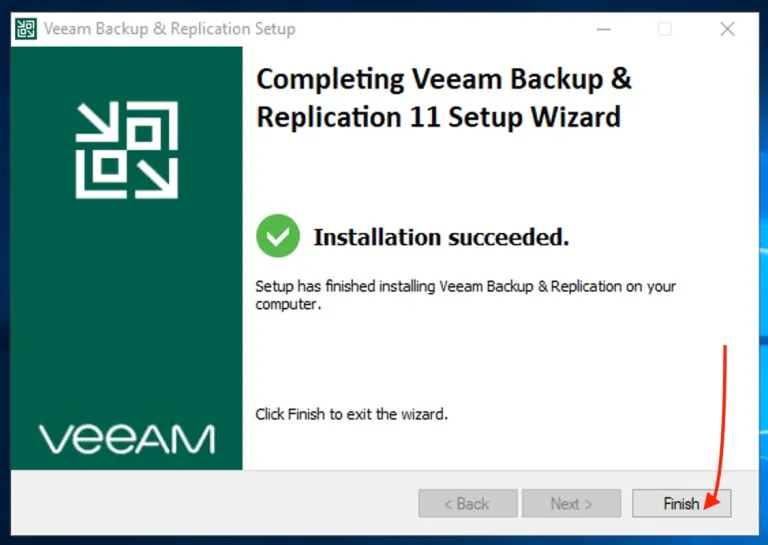
As you can see, the installation did not take time to succeed. Click on finish to complete the installation.
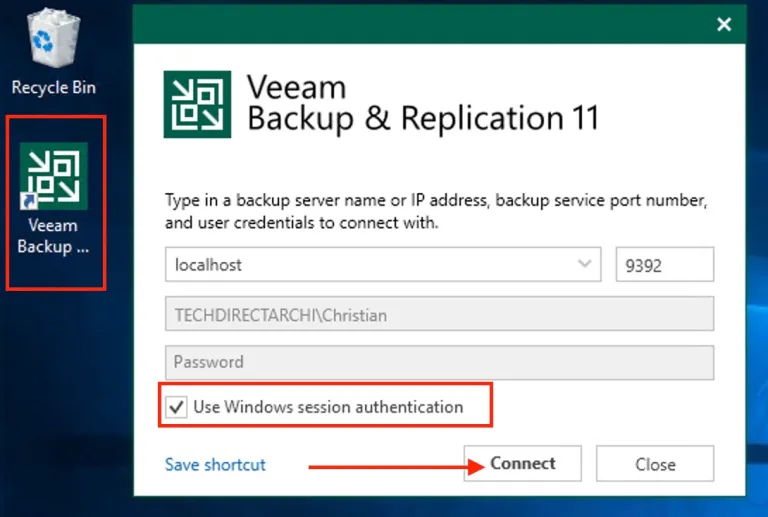
Start the Veeam Backup and Replication Console: In the Windows Start menu, select Apps > Veeam > Veeam Backup & Replication Console. Alternatively, to access the Backup and Replication console, open Veeam using the Veeam Backup and Replication Console shortcut created on your desktop and click on connect as shown below.
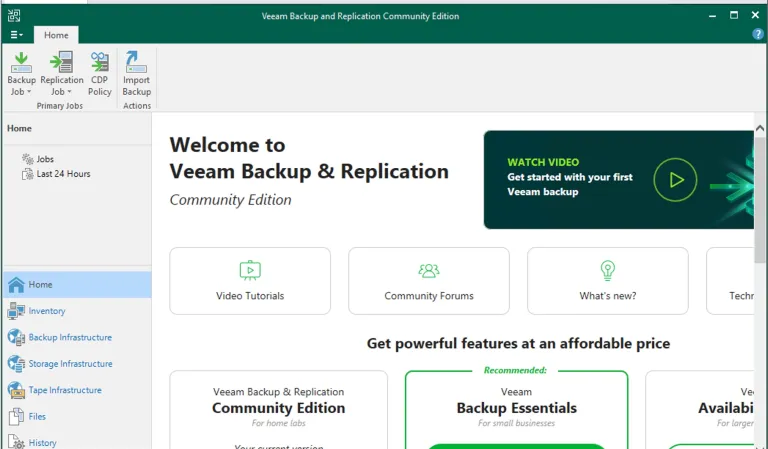
If you wish to configure the Veeam Backup and Replication, Please refer to this guide. I have written on the primary steps you need to configure your Veeam Backup and Replication Tool in your environment.
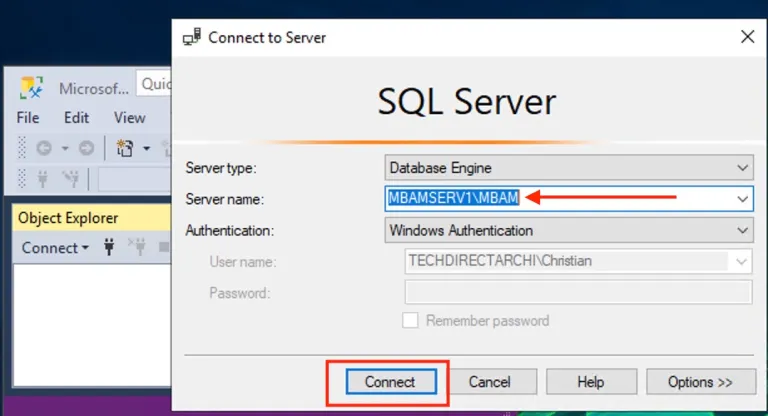
If you wish to view the database created, you will have to launch Management Studio as shown below and connect to it.
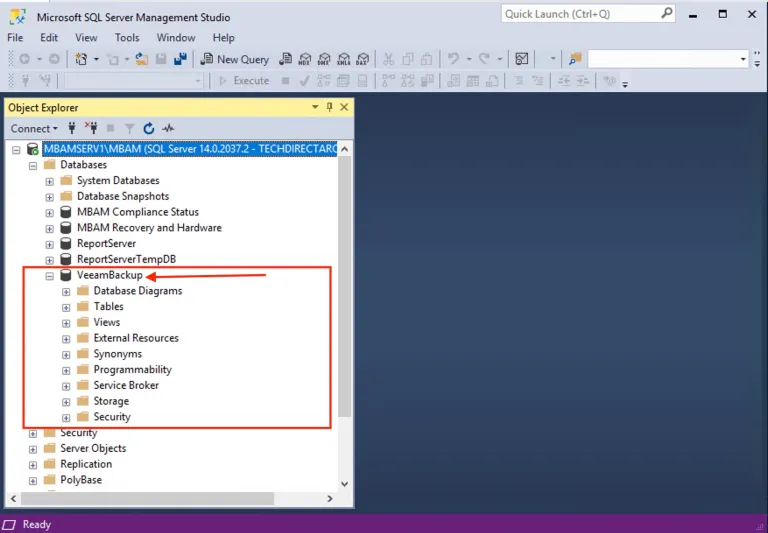
As you can see, below is the database created that Veeam Backup and Replication will consume
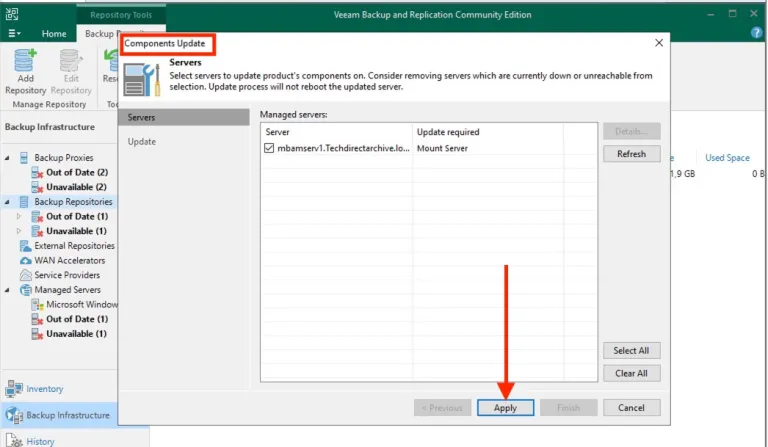
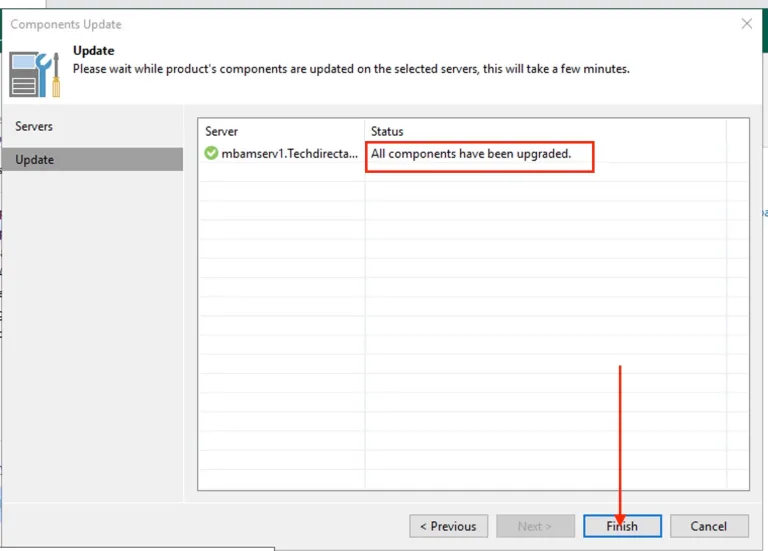
Please ensure you apply the available components update as shown below. If you are promoted to apply updates, please apply these updates and when complete. Now the Veeam Backup & Replication is completely installed and patched with the latest update
Next, click on Finish to complete the update process.
You can now start your configuration. Refer to this guide for more information. Please refer to this guide. I have written on the primary steps you need to configure your Veeam Backup and Replication Tool in your environment.
If you wish to uninstall Veeam Backup and Replication from your server, please follow the steps discussed in this link.I hope you found this blog post helpful. If you have any questions, please let me know in the comment session.