Hello, everyone,
Taking up the excellent guide on Veeam Plugi-SQL by
I share with you the anatomy of installing and configuring and restoring an MSSQL Database in Always On mode.
Installing and using the Veeam Plug-in for SQL Server | Veeam Community Resource Hub
- Veeam Plug-in for Microsoft SQL Server
Veeam Plug-in for Microsoft SQL Server - Veeam Plug-ins for Enterprise Applications
- How Veeam Plug-in for Microsoft SQL Server Works
How Veeam Plug-in for Microsoft SQL Server Works - Veeam Plug-ins for Enterprise Applications
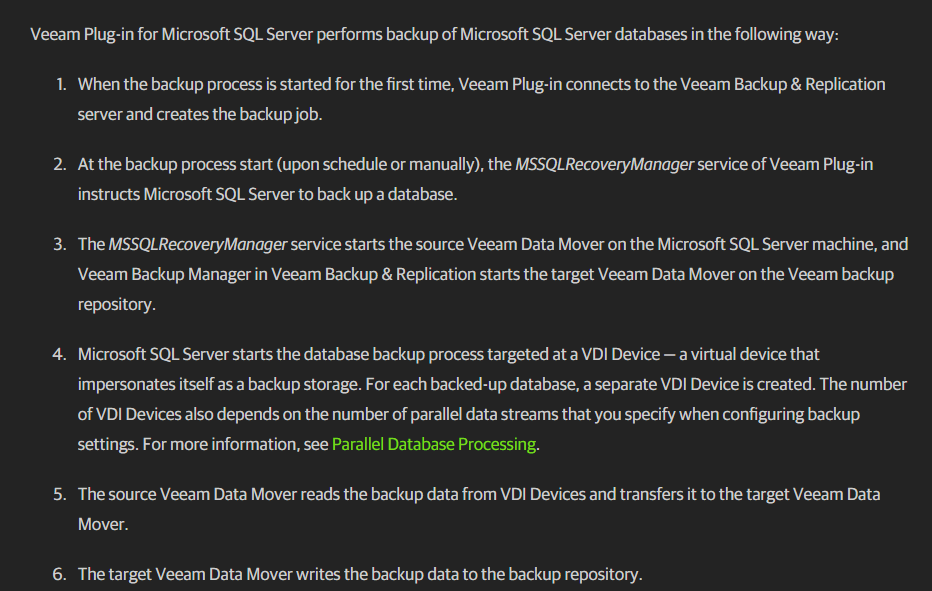
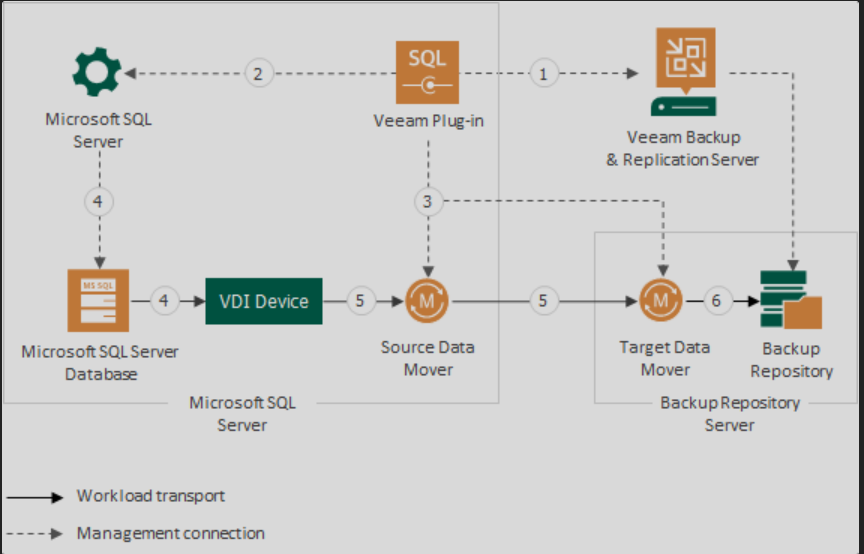
- Parallel Database Processing
- Supported Backup Repositories
Make sure the repository is configured as described in the ExaGrid section in the Veeam Backup & Replication User Guide.
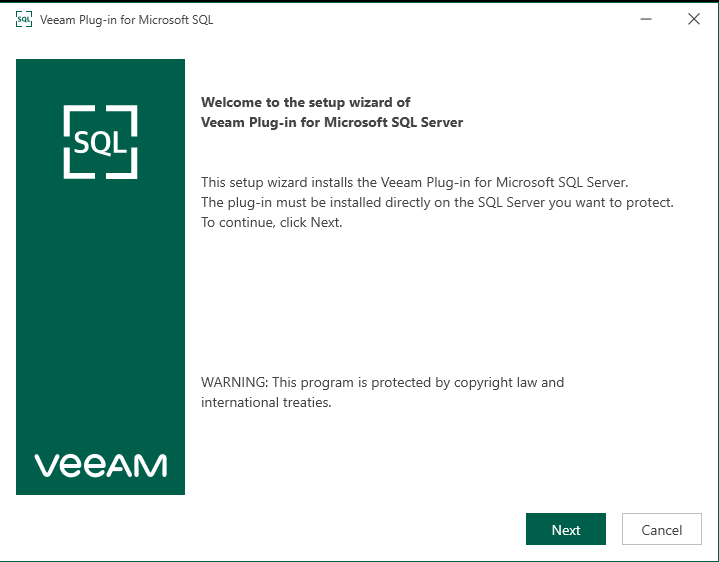
- Installing Veeam Plug-in for Microsoft SQL Server
Installing Veeam Plug-in for Microsoft SQL Server - Veeam Plug-ins for Enterprise Applications
Mount Iso Veeam

D:\Plugins\Microsoft SQL\x64

Installing Veeam Plug-in - Veeam Plug-ins for Enterprise Applications
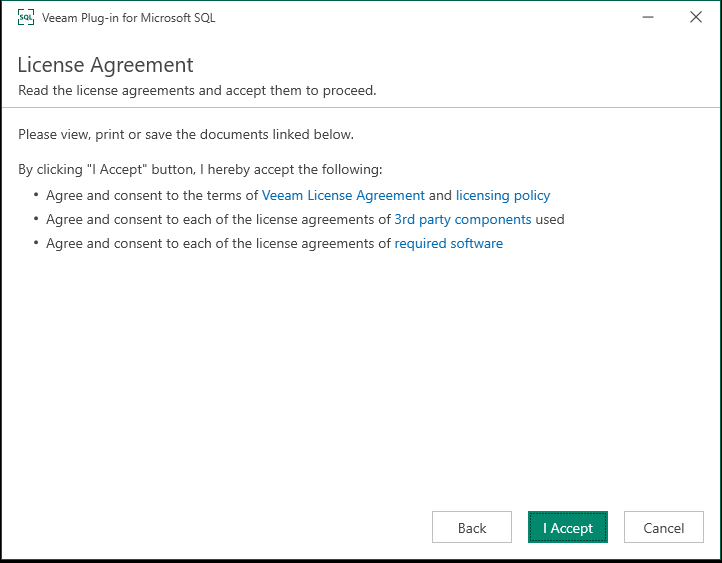
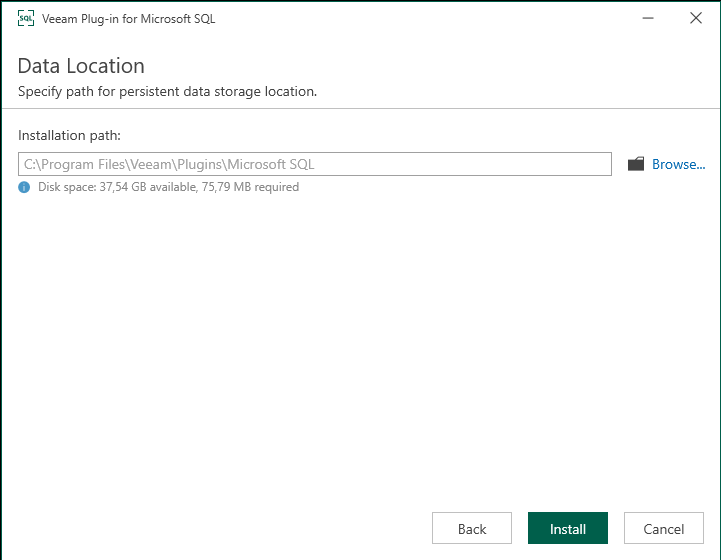
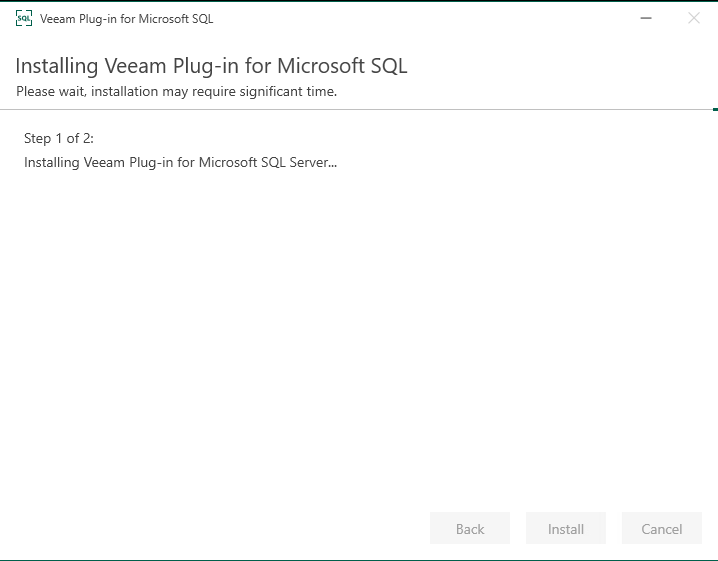
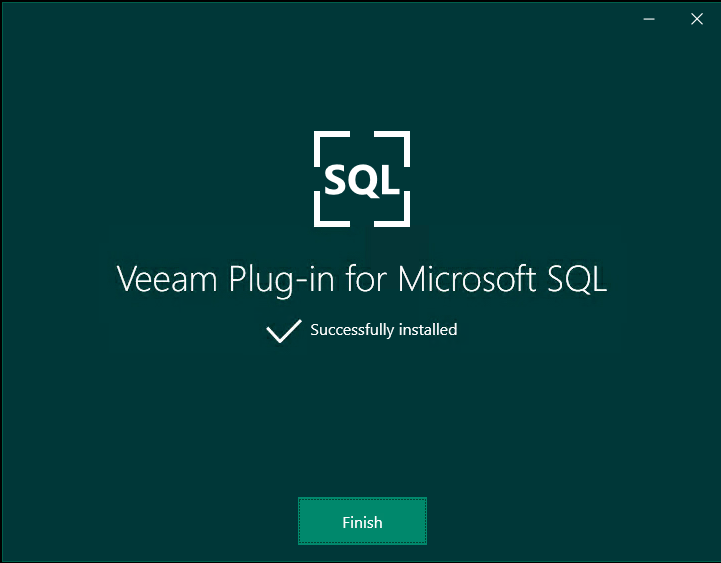
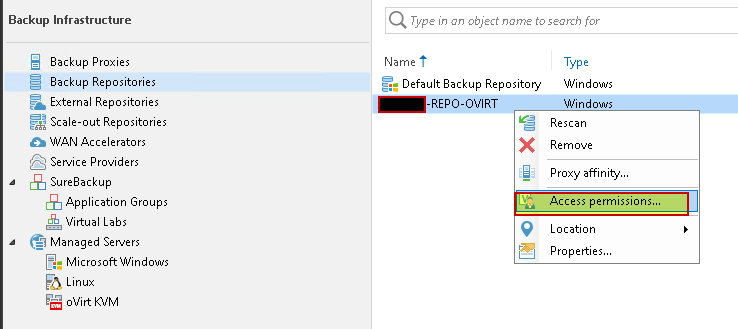
- Access and Encryption Settings on Backup Repositories
Access and Encryption Settings on Backup Repositories - Veeam Plug-ins for Enterprise Applications
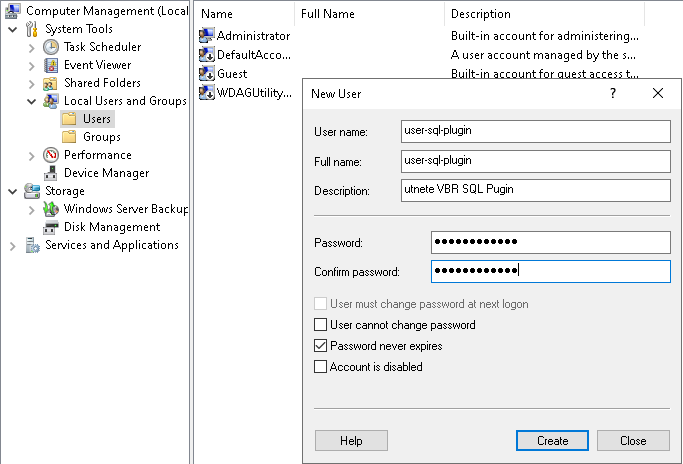
Create dedicated User
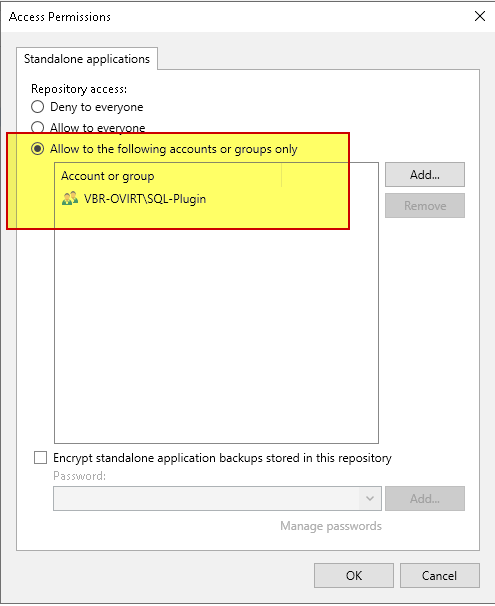
- Granting Permissions to Users


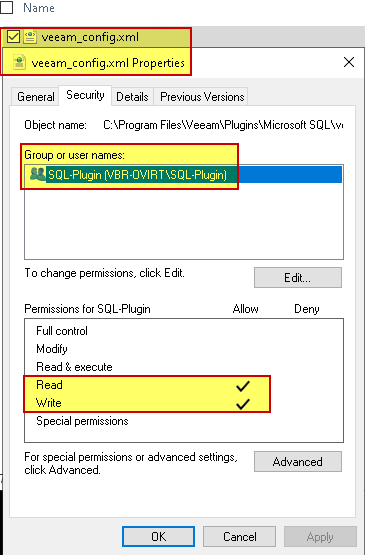
- Create a new access control list (ACL) with Read and Write permissions using this set of commands:
-
$newACL = New-Object System.Security.AccessControl.FileSecurity #creates a dedicated ACL
$newACL.SetAccessRuleProtection($true,$false) #disables inheritance and deletes all inherited permissions
$newACL.AddAccessRule( (New-Object System.Security.AccessControl.FileSystemAccessRule("SQL-Plugin","Read","Allow"))) # allows read
$newACL.AddAccessRule( (New-Object System.Security.AccessControl.FileSystemAccessRule("SQL-Plugin","Write","Allow")))# allows write - Assign ownership of the new ACL to the previously created user group by running the following command:
$newACL.SetOwner([System.Security.Principal.NTAccount]"SQL-Plugin") #sets owner for the ACLPrima di lanciare questo comando è necessario configurare il Veeam Plug-in MS SQL per la creazione del file veeam_config.xml
set-acl -Path:%PROGRAMFILES%\Veeam\Plugins\Microsoft SQL\veeam_config.xml -AclObject:$newACL #apply ACL to the plug-in configuration file
set-acl -Path:"C:\Program Files\Veeam\Plugins\Microsoft SQL" -AclObject:$newACL #apply ACL to the plug-in configuration file

- Configuring Veeam Plug-in for Microsoft SQL Server - Support for Always On Availability Groups
Configuring Veeam Plug-in for Microsoft SQL Server - Veeam Plug-ins for Enterprise Applications

https://helpcenter.veeam.com/docs/backup/plugins/repository_permissions_mssql.html

https://helpcenter.veeam.com/docs/backup/plugins/configuring_mssql_plugin.html?ver=120#utility
- Launch the %PROGRAMFILES%\Veeam\Plugins\Microsoft SQL\Veeam.Backup.MSSQLPlugin.UI.Configuration.exe file.

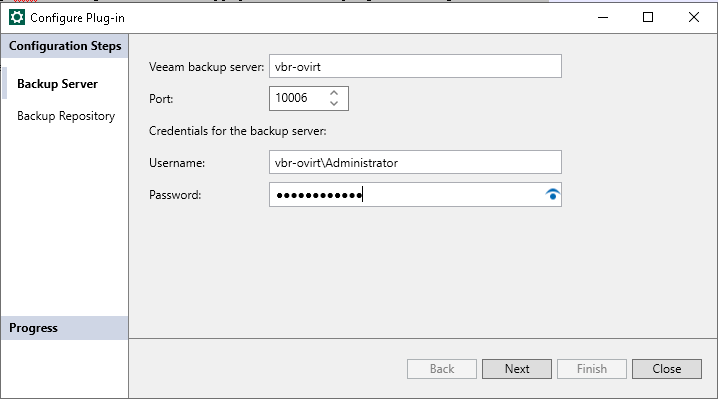
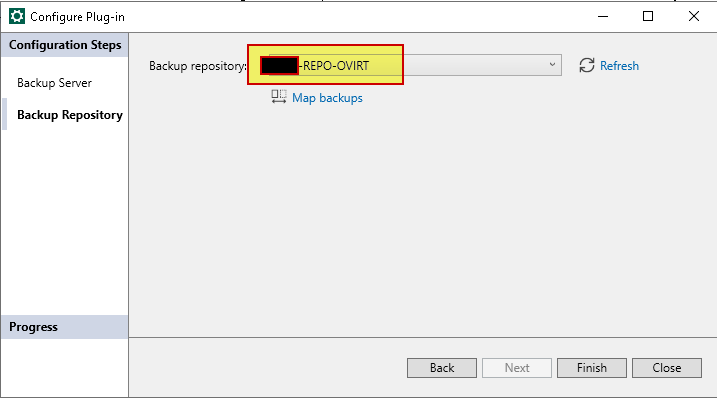

- It is now possible to set ACLs with the command


- Specifying the Version of Microsoft ODBC Driver for SQL Server
- Download ODBC driver 18 & install if you need it


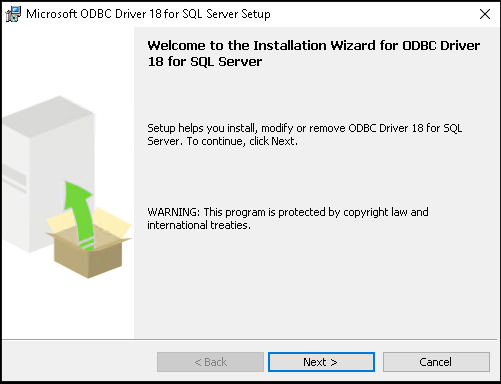
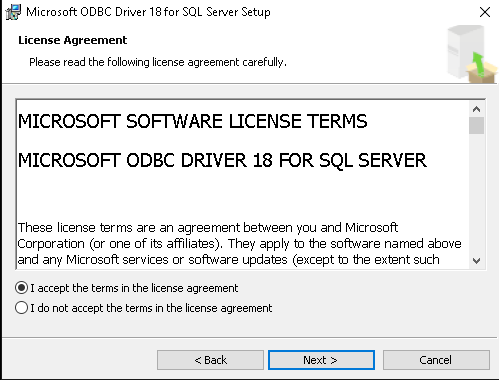
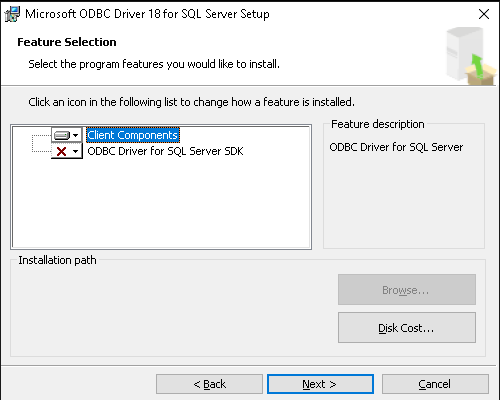
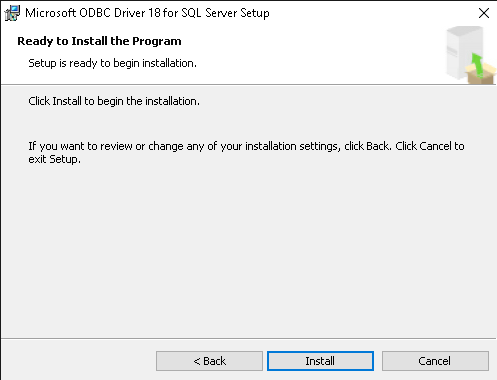
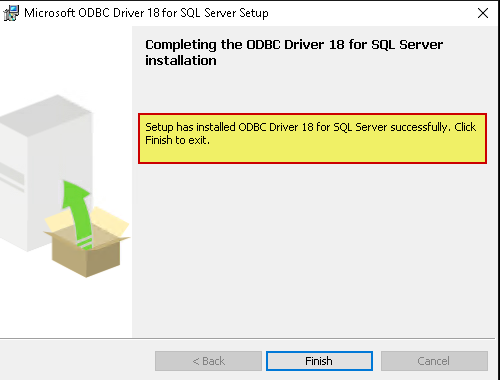
- Specifying the Version of Microsoft ODBC Driver for SQL Server
Add the following parameter to the <PluginParameters /> line in the Veeam configuration XML file:
C:\Program Files\Veeam\Plugins\Microsoft SQL\veeam_config.xml

- Support for Always On Availability Groups
Support for Always On Availability Groups - Veeam Plug-ins for Enterprise Applications
Copiare eseguibile su entrambi inodi AlwaysON
- Install and configure Veeam Plug-in for Microsoft SQL Server on each node of the cluster that runs Always On Availability Groups
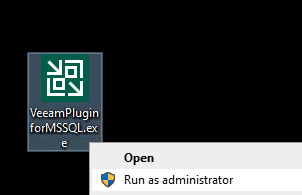
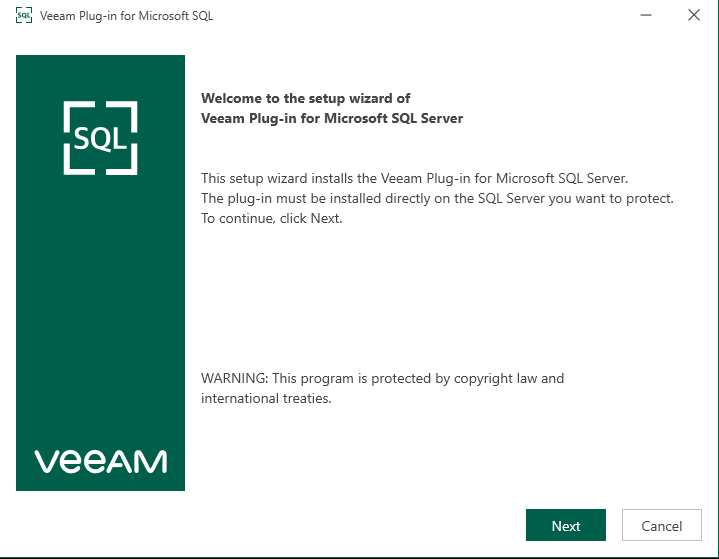
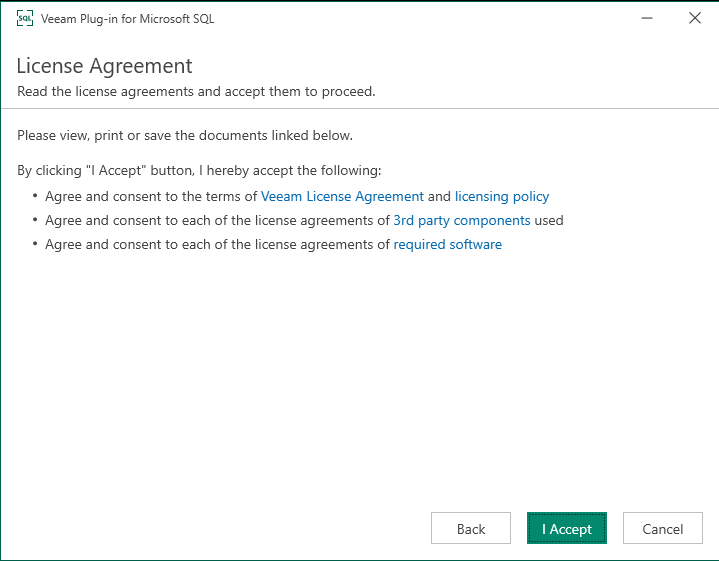
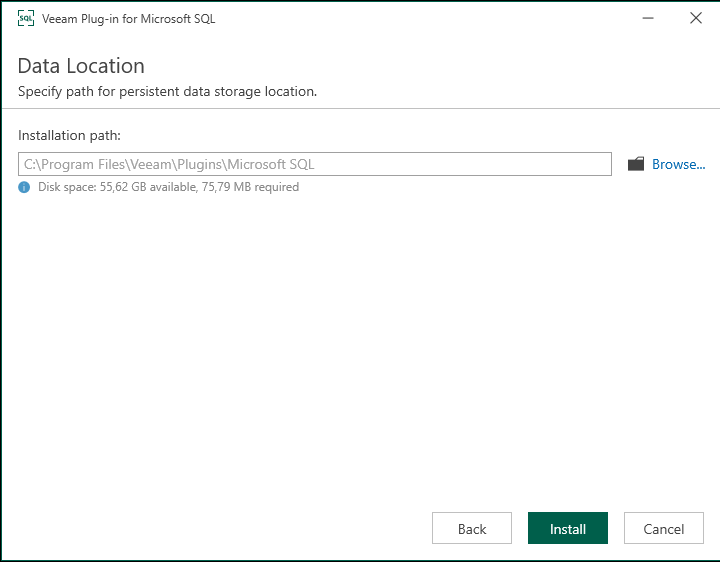
- Configuring Veeam Plug-in for Microsoft SQL Server - Support for Always On Availability Groups
Configuring Veeam Plug-in for Microsoft SQL Server - Veeam Plug-ins for Enterprise Applications

https://helpcenter.veeam.com/docs/backup/plugins/repository_permissions_mssql.html

https://helpcenter.veeam.com/docs/backup/plugins/configuring_mssql_plugin.html?ver=120#utility
- Launch the %PROGRAMFILES%\Veeam\Plugins\Microsoft SQL\Veeam.Backup.MSSQLPlugin.UI.Configuration.exe file.


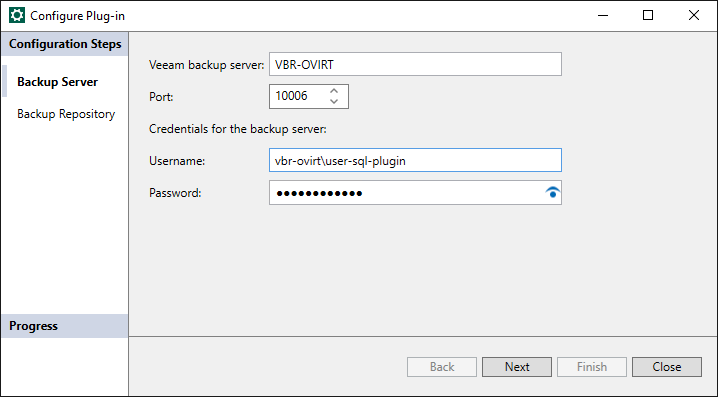
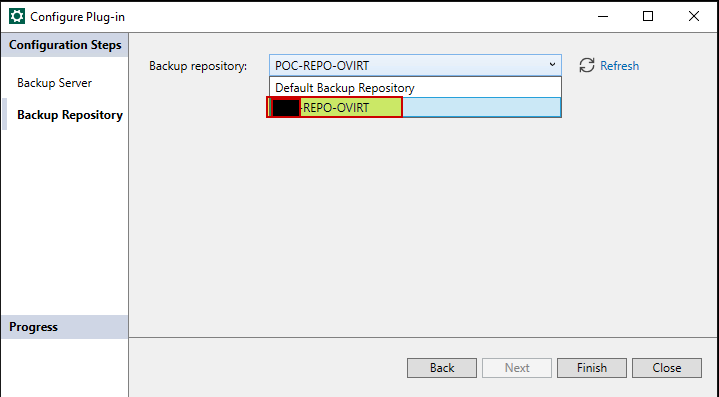

- Configure backup settings in Veeam Plug-in on each node and save backup settings as SQL Agent jobs in Microsoft SQL Server Management Studio
- Configuring Backup Settings
https://helpcenter.veeam.com/docs/backup/plugins/mssql_configure_backup.html
- Or lunch SQL Server Management Studio 19 from primary node AlwaysOn

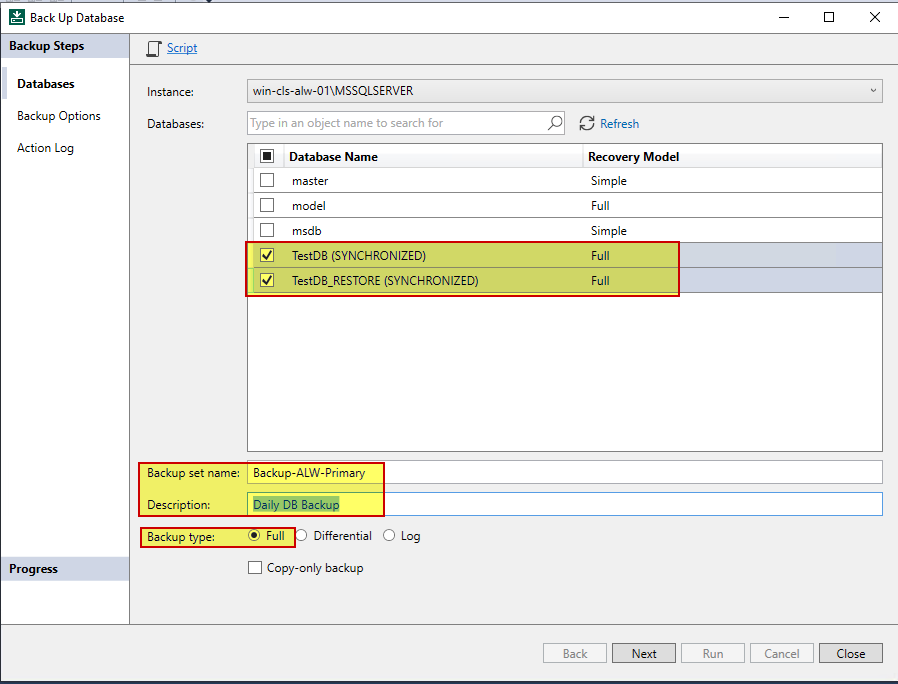
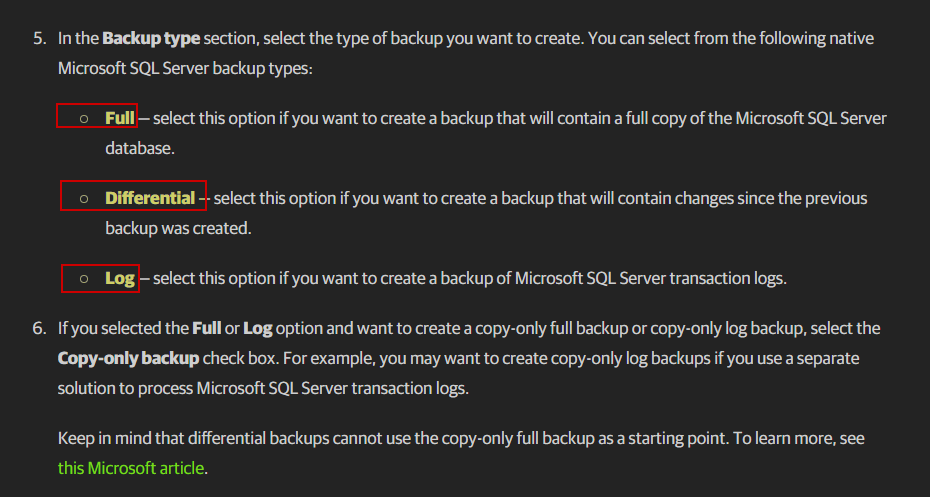
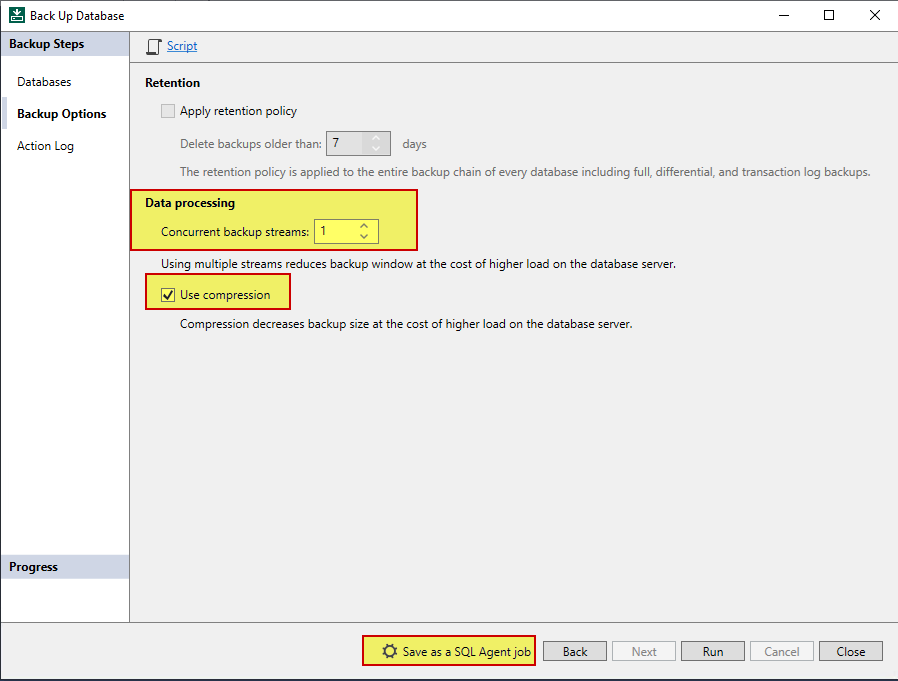
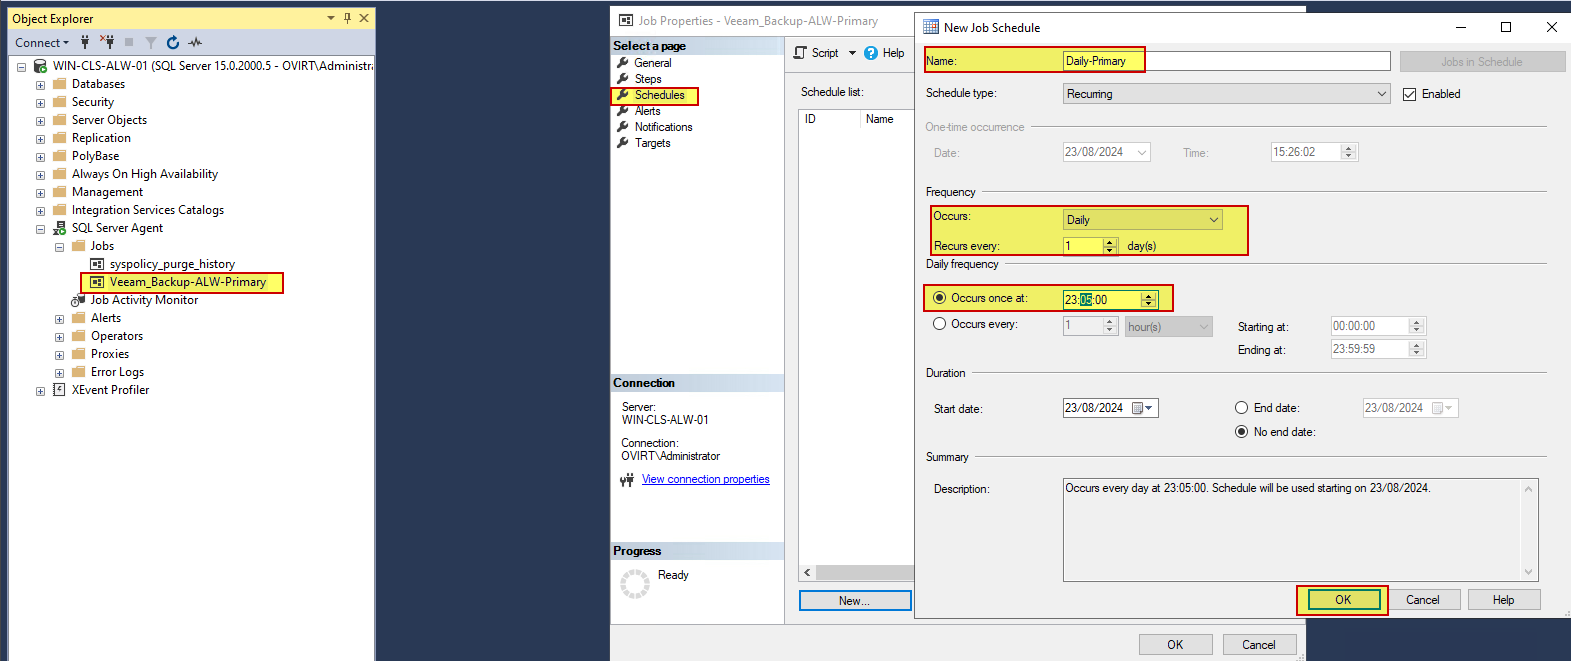
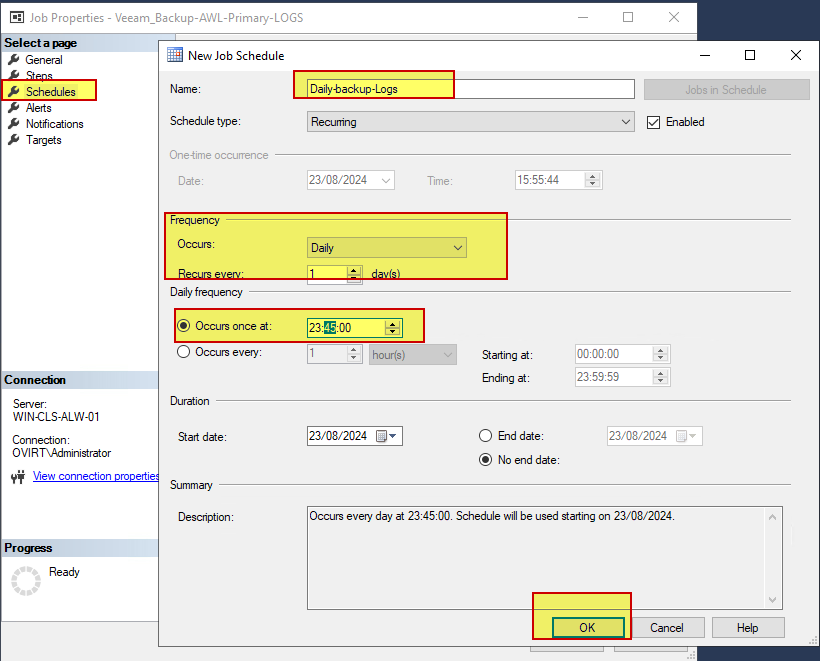
- In Microsoft SQL Server Management Studio on each node, configure the same schedule settings for SQL Agent jobs so that database backup will start at the same time on each node.
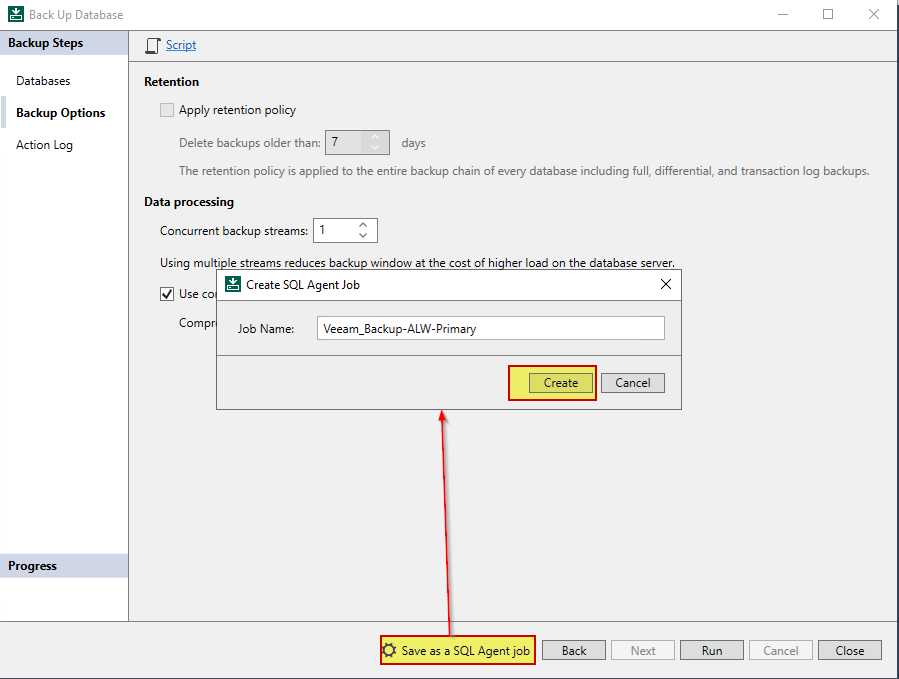
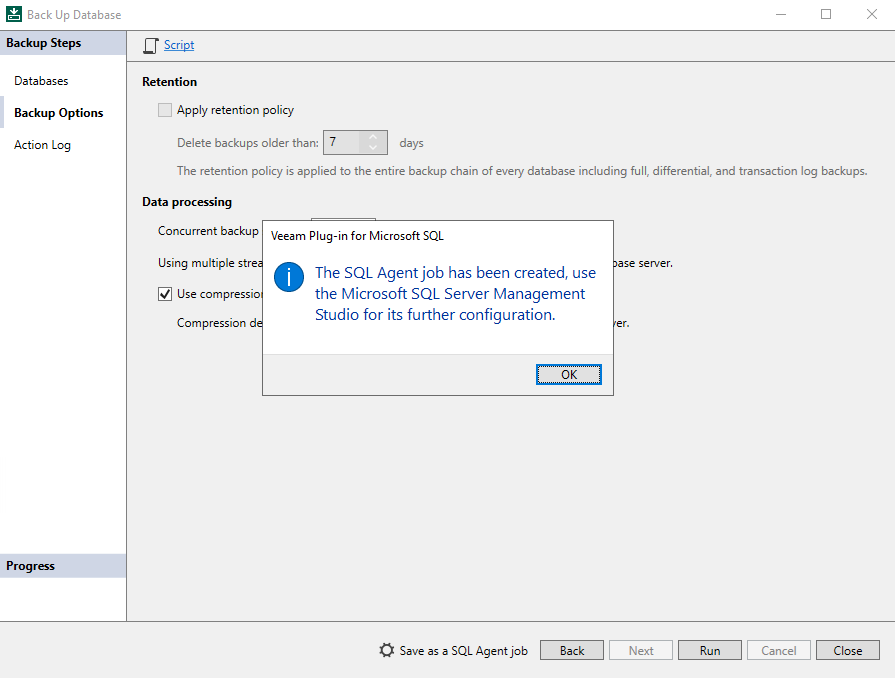
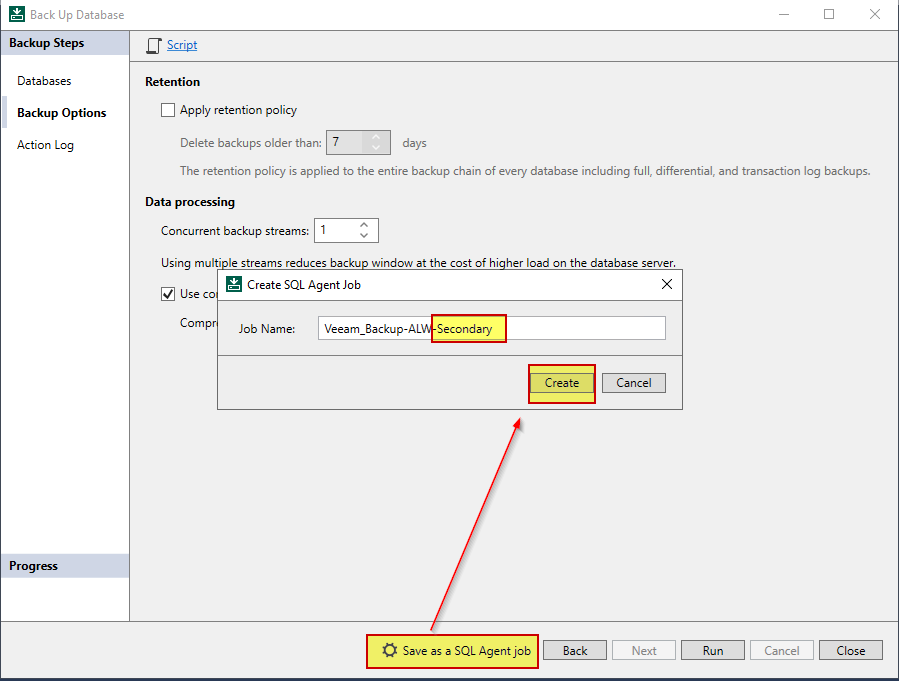
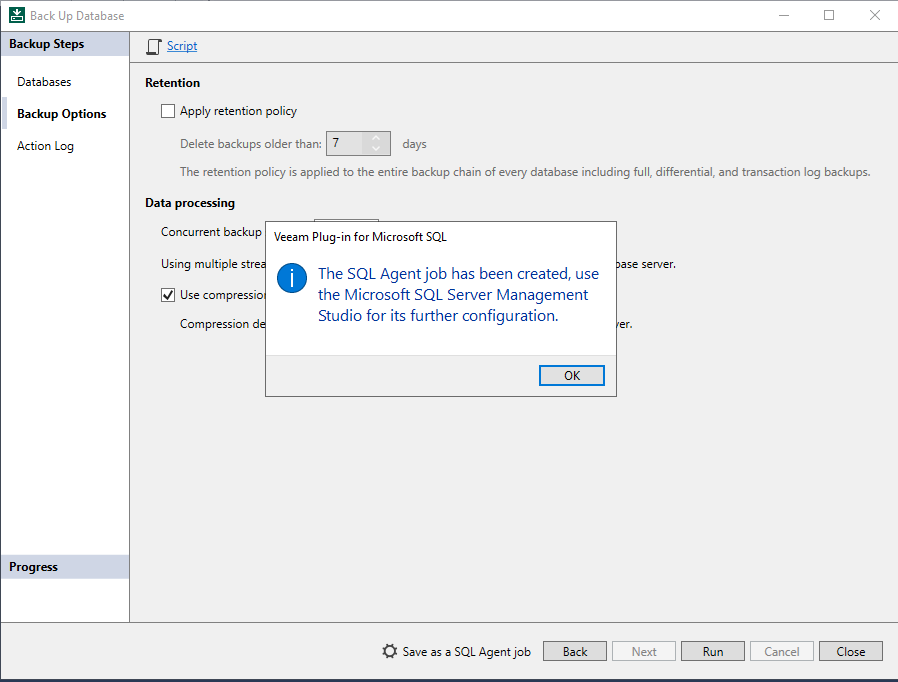
- Monitor Backup Process

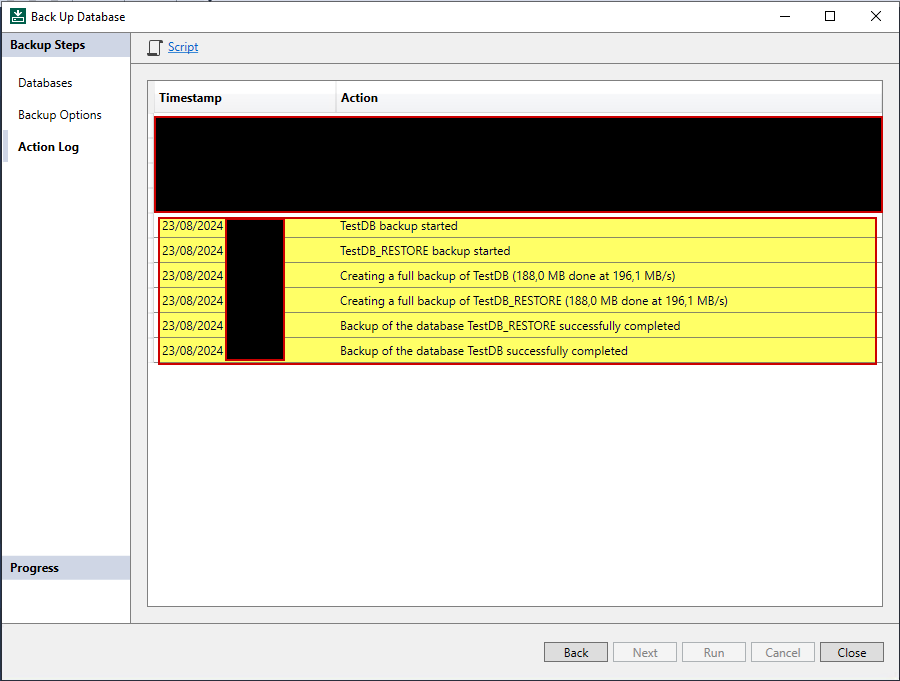
https://helpcenter.veeam.com/docs/backup/plugins/mssql_backup_script.html
- Schedule job agent
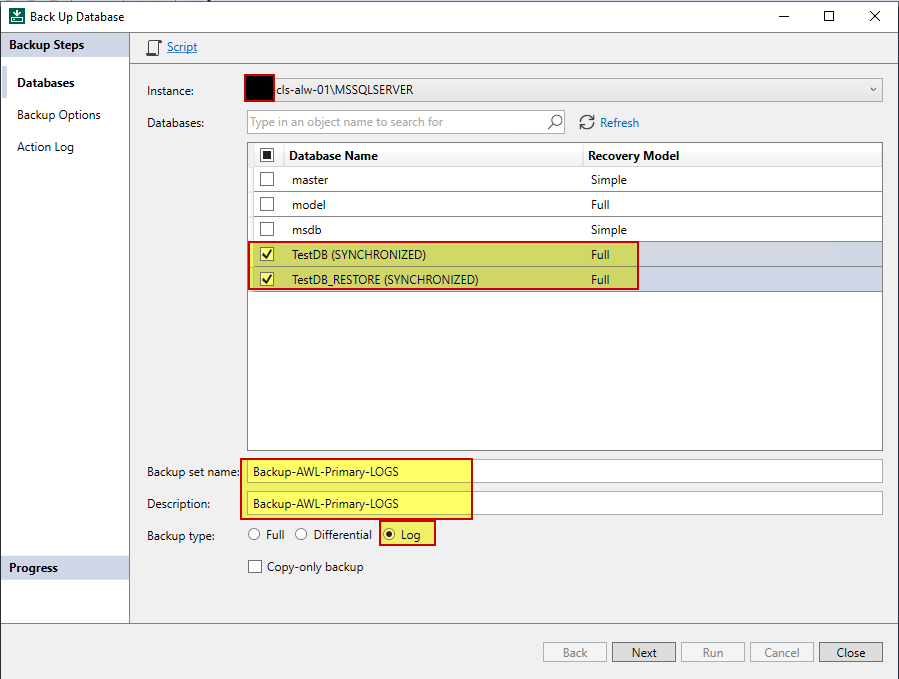
- Create backup jon for Logs
- Primary Node Log

Secondary node Log there is no backup log as it is skipped.
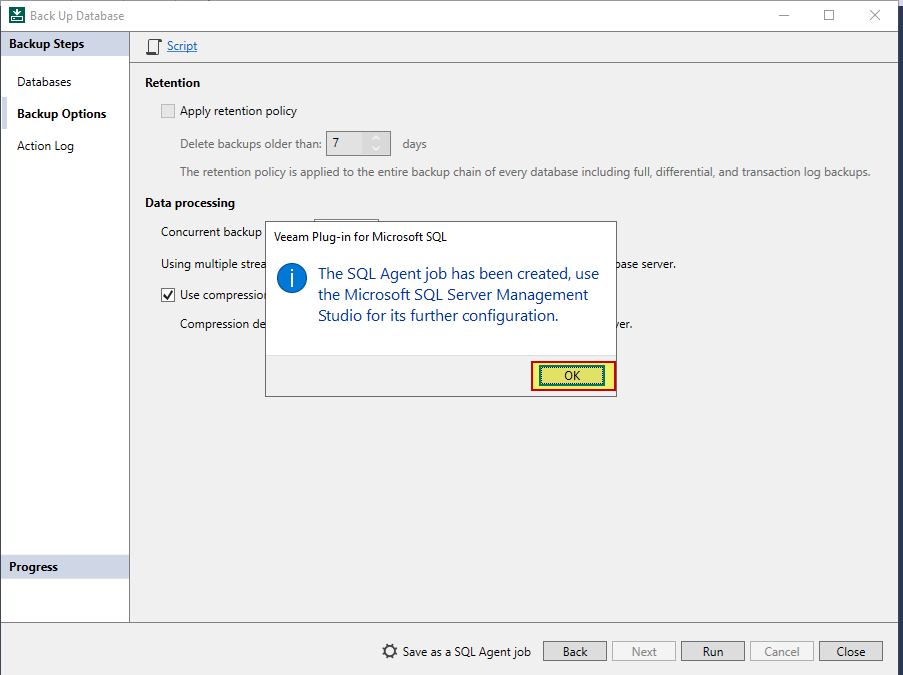
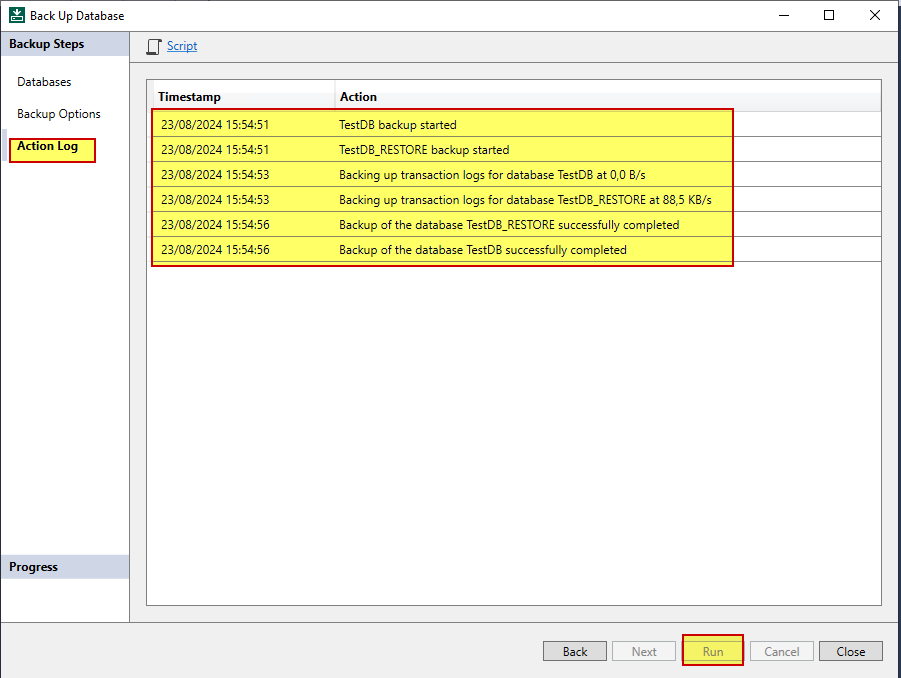
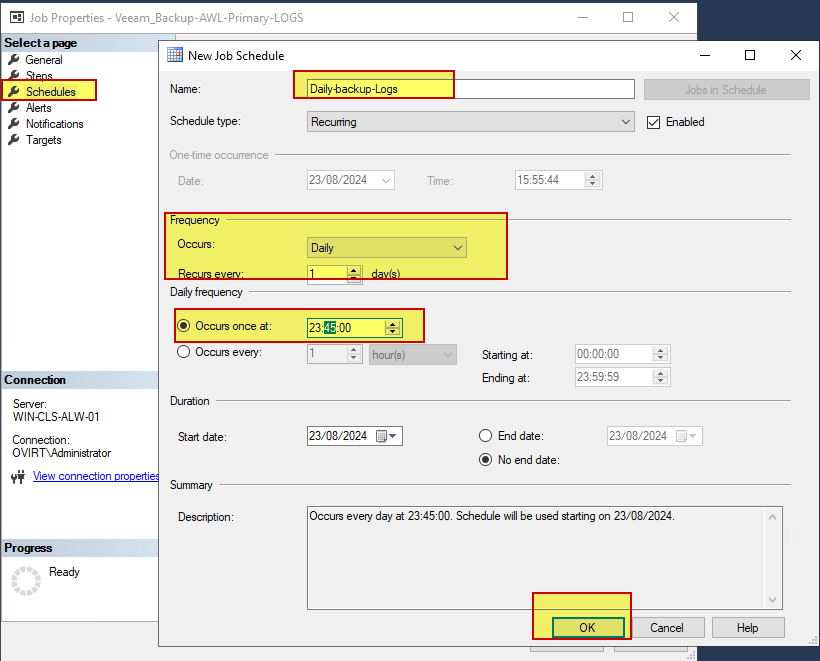
- Managing Backup Job in Veeam Backup & Replication
Managing Backup Job in Veeam Backup & Replication - Veeam Plug-ins for Enterprise Applications


- Generating Backup Job Reports & Disabling Backup Job & Disabling BackupJobhttps://helpcenter.veeam.com/docs/backup/plugins/mssql_job_vbr.html?ver=120#generating-backup-job-reports
https://helpcenter.veeam.com/docs/backup/plugins/mssql_job_vbr.html?ver=120#disabling-backup-job
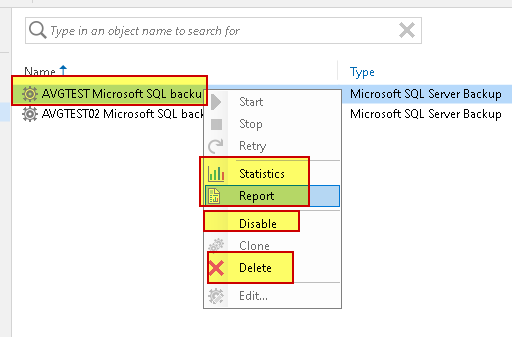
- Deleting Backup
Deleting Backup - Veeam Plug-ins for Enterprise Applications
- Press and hold the [CTRL] key, right-click the backup and select Remove from configuration &“Repair”

- Repairing Backup
Repairing Backup - Veeam Plug-ins for Enterprise Applications

- Performing Restore
Performing Restore - Veeam Plug-ins for Enterprise Applications

Support for Always On Availability Groups - Veeam Plug-ins for Enterprise Applications
- Restore of Always On Availability Groups
To restore a database that operates as part of an Always On availability group, complete the following steps:
- Restore the database on the primary replica. During the restore process, Veeam Plug-in will remove the original database from the availability group and delete it from Microsoft SQL Server.
- Perform log backup for the restored database.
- Remove the original database from the secondary replica.
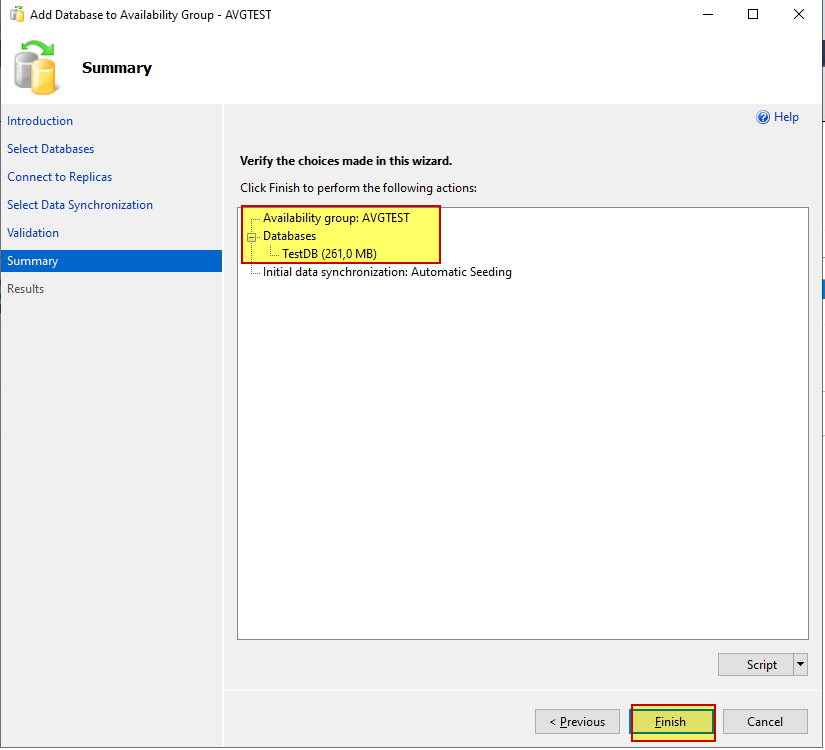
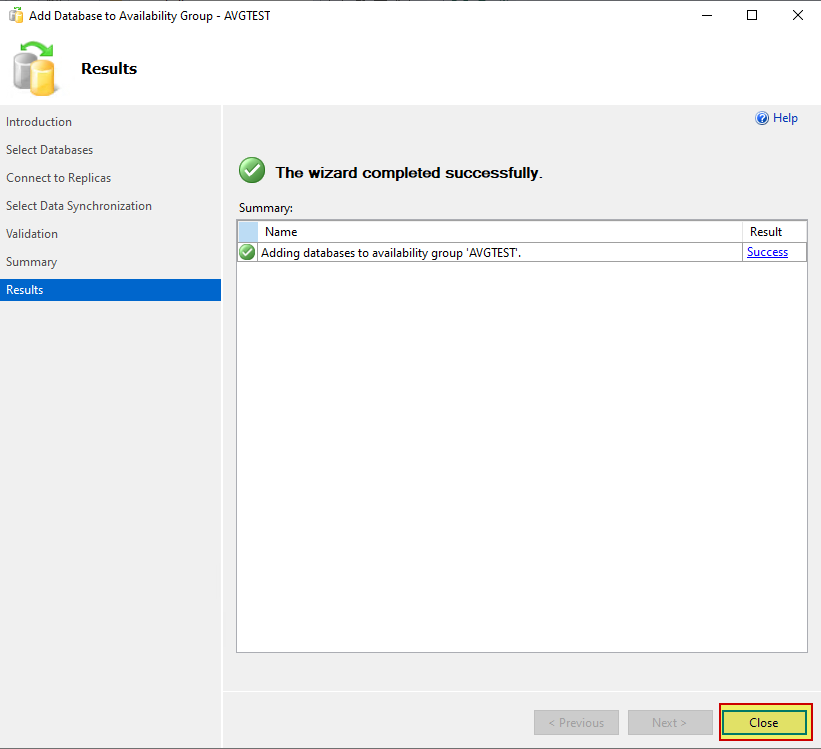
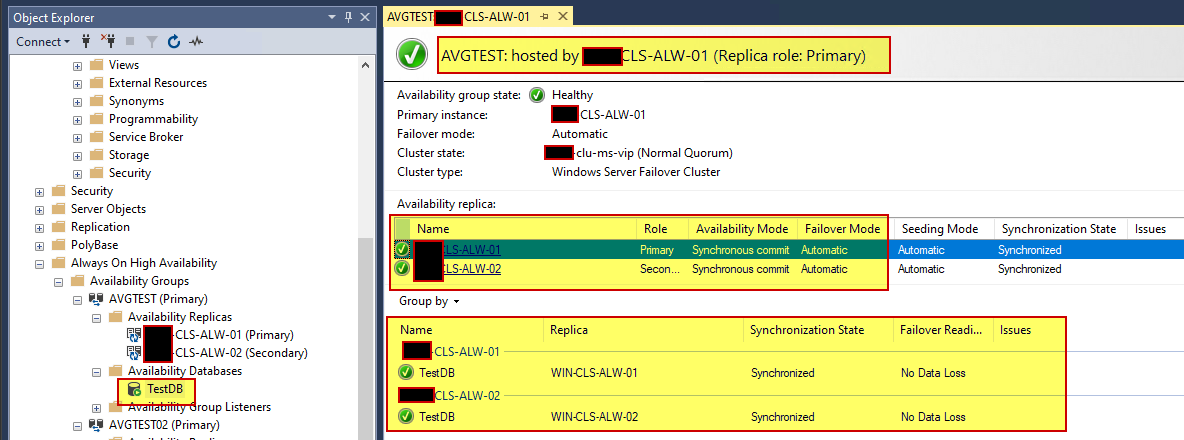
- Add the restored database to the availability group.
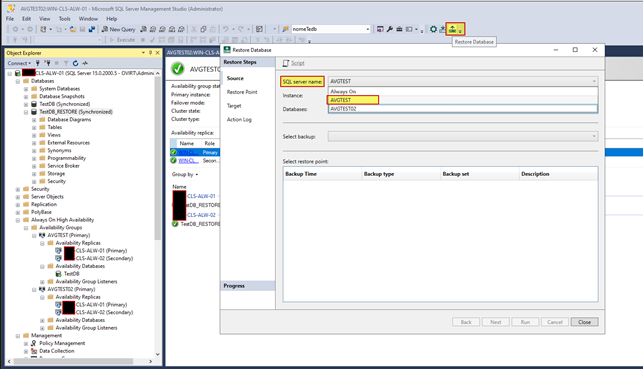
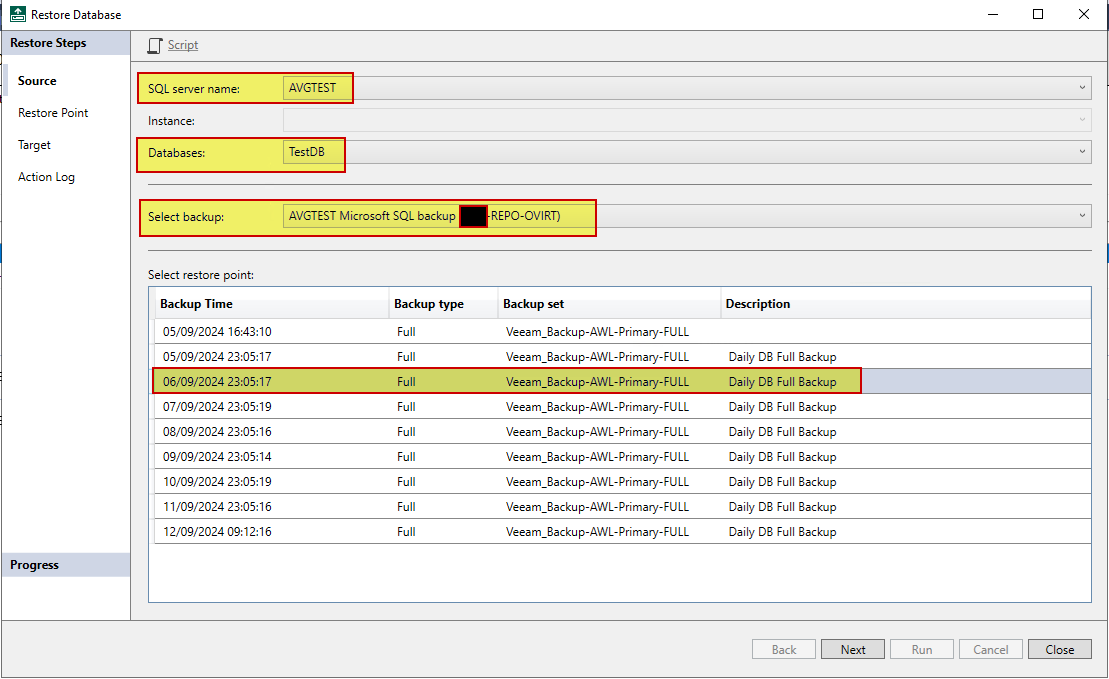
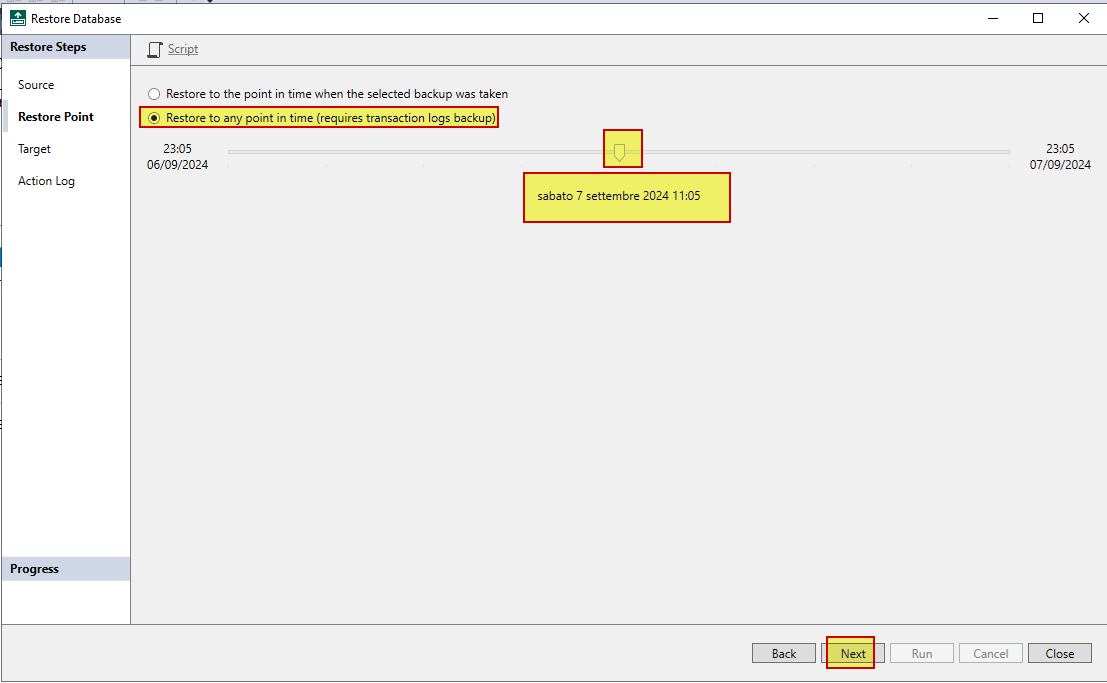
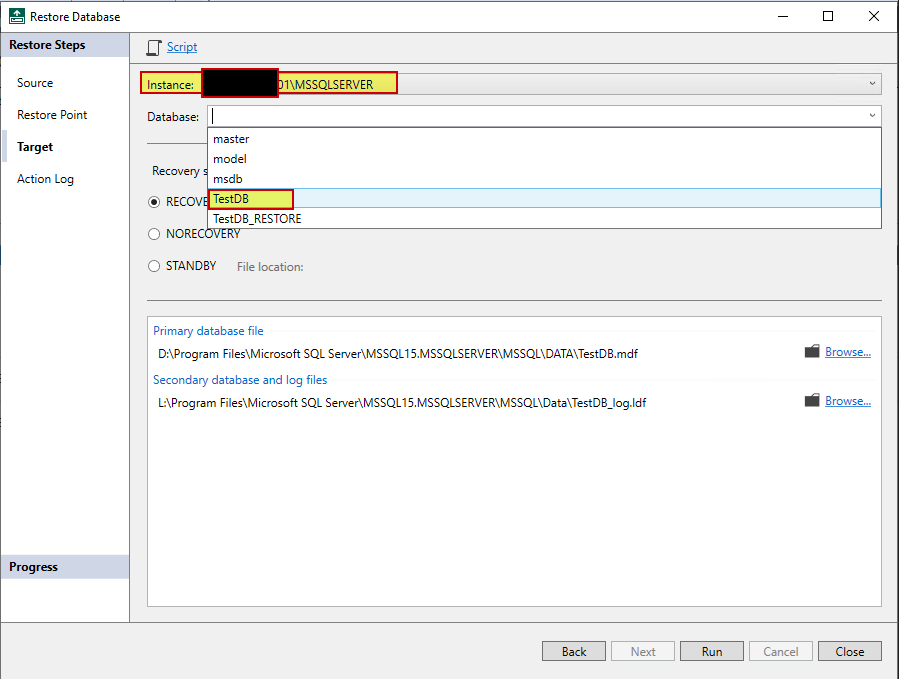
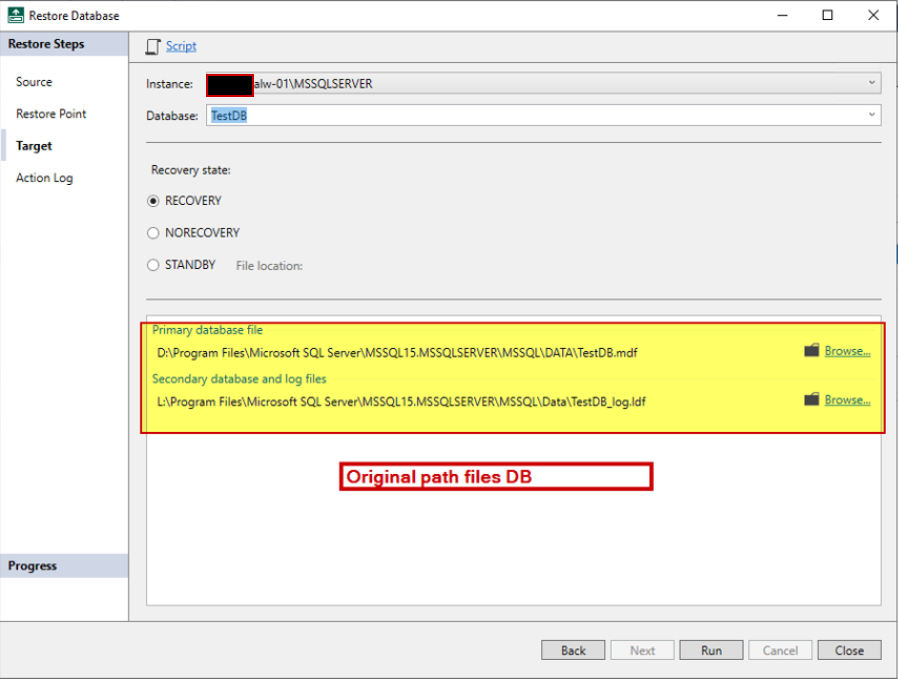
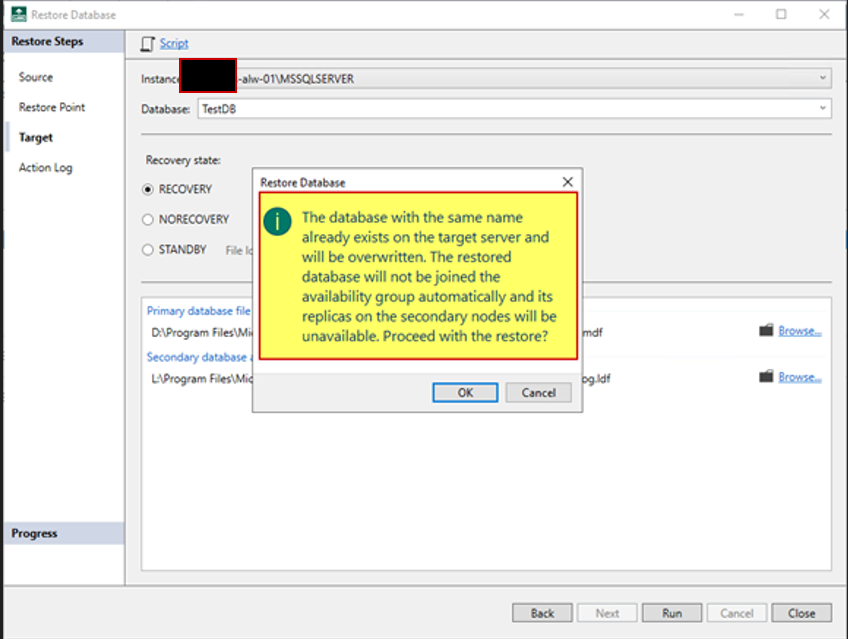
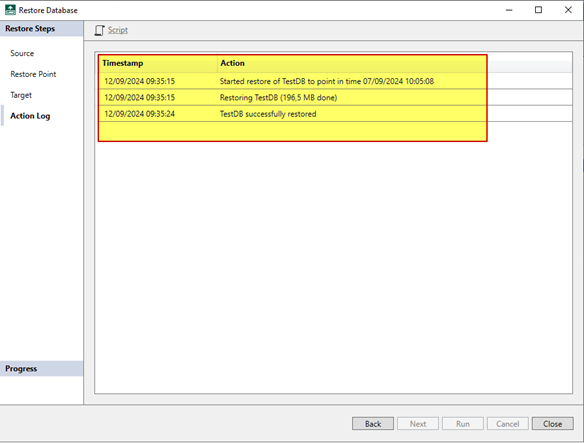

- Primary node check the DB was dropped from the Alwayson instance
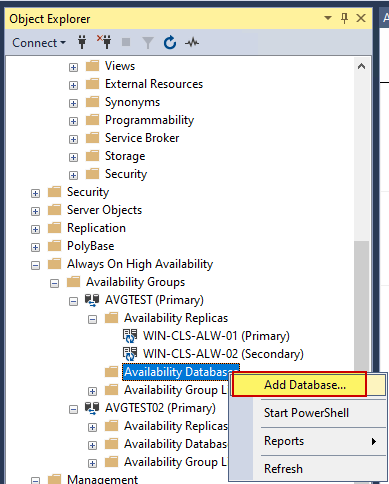
- Go to the secondary node and drop the DB
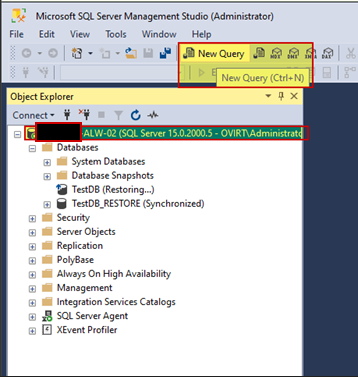
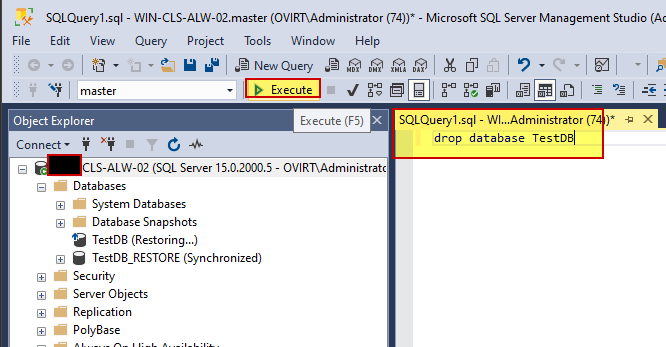
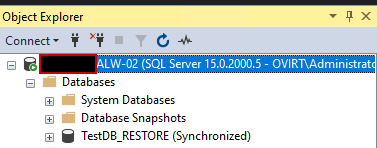
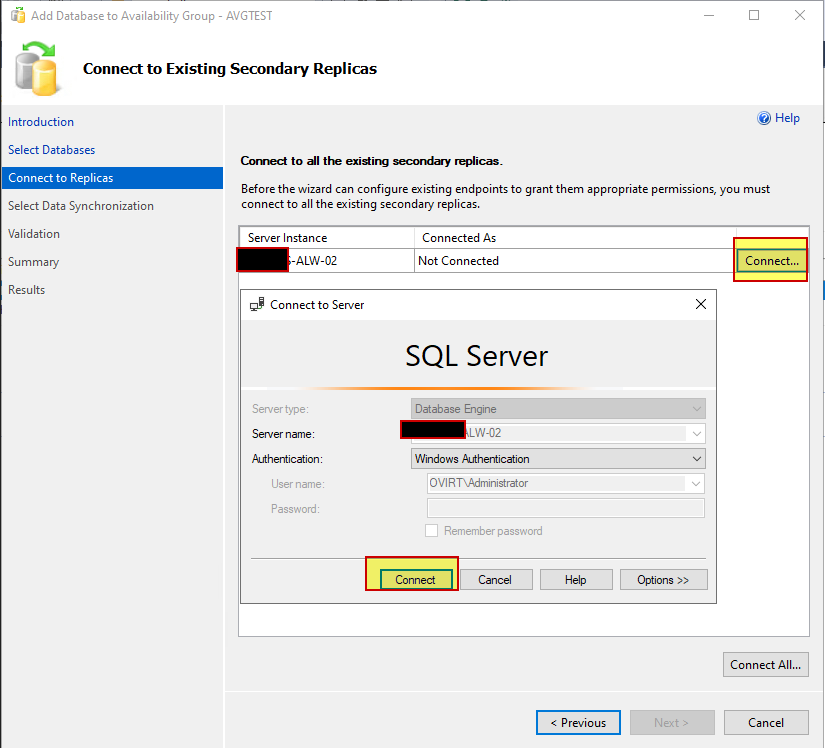
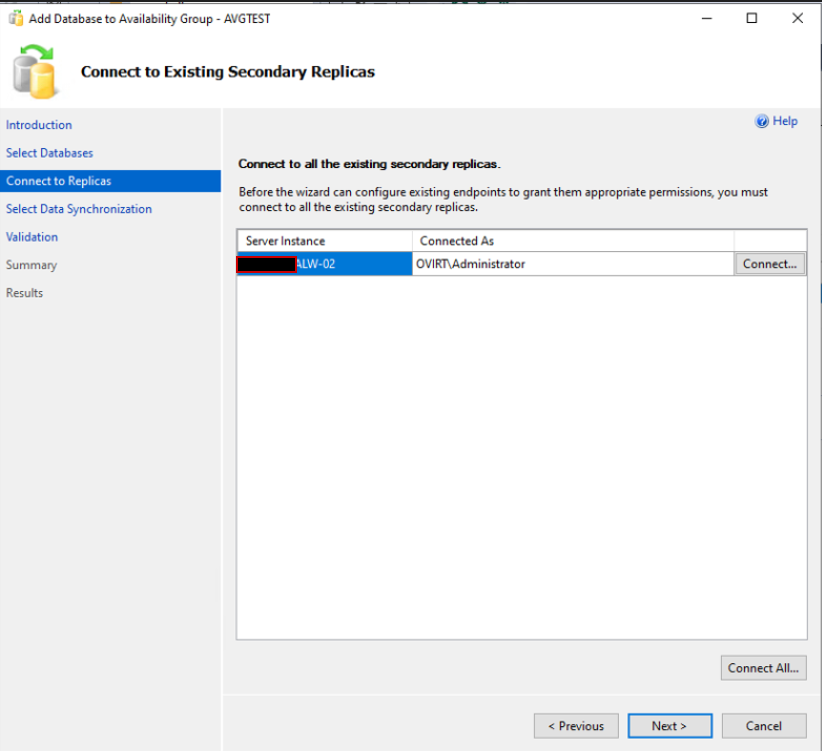
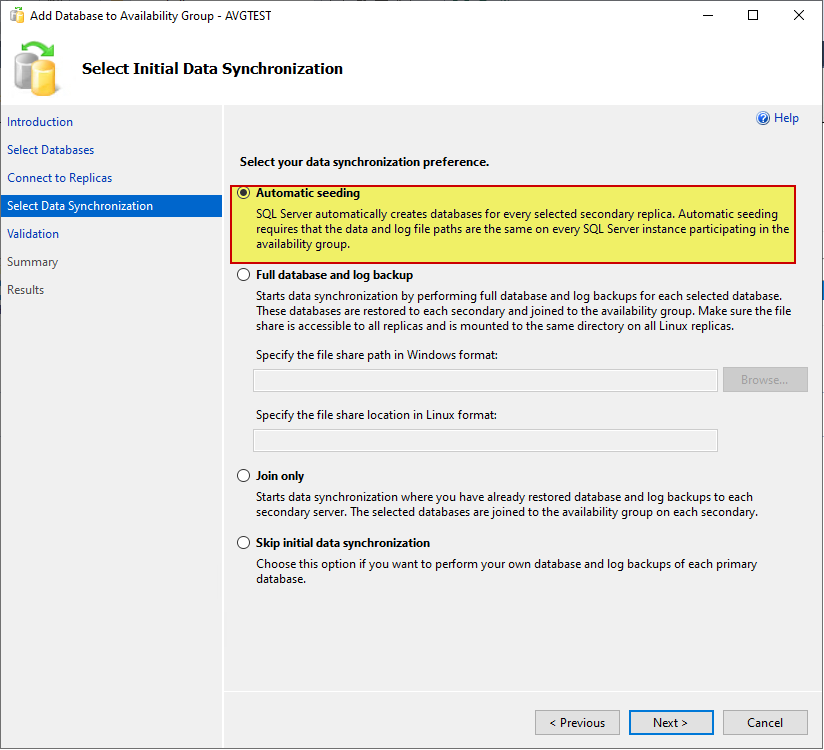
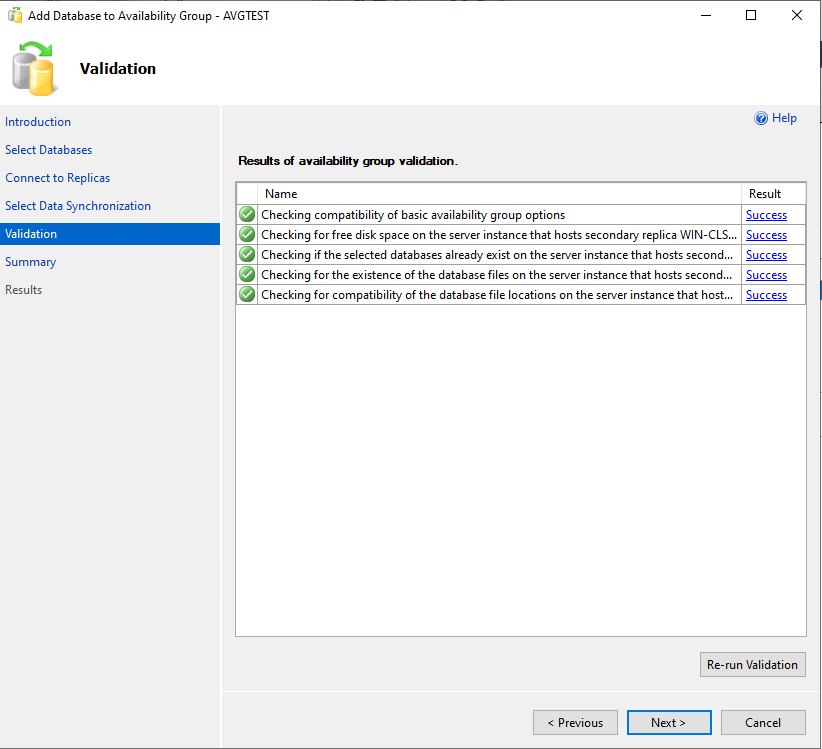
- Re-insert the rewritten DB via the Alwayson wizard
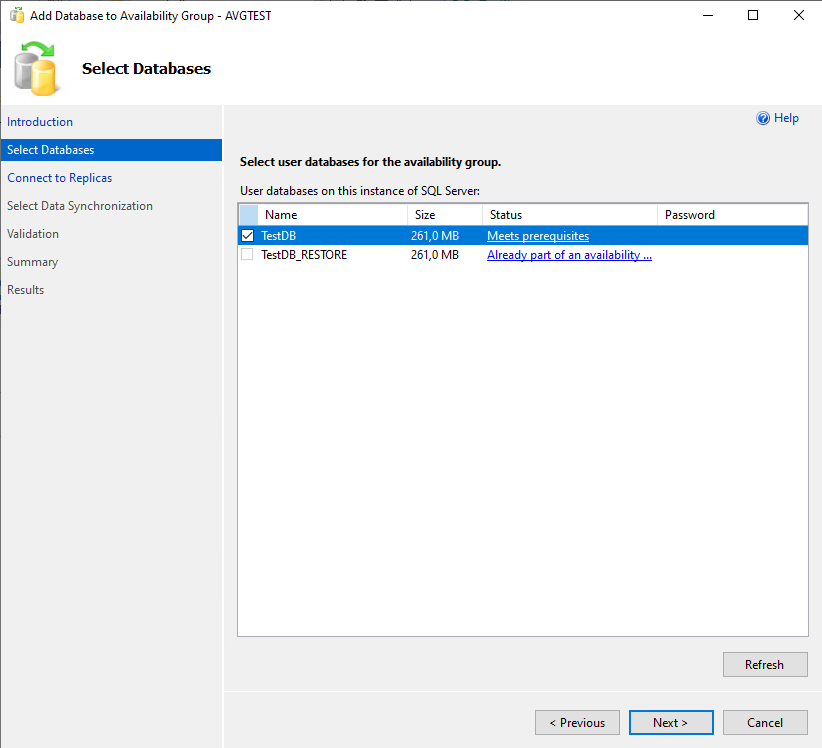
Done 😋


