Veeam for Mac is a data protection and disaster recovery solution designed for endpoints and virtual machines running macOS. With Veeam Backup for Mac, you can back up all user profiles data or individual files and folders. When disaster strikes, you can restore individual files and folders from backups to their original location or a new location.
Why use Veeam Agent for Mac?
Using Veeam Agent for Mac and not the default “Time machine” offers numerous benefits as mentioned above. But, let us look critically into some of the core benefits.
- Veeam Agent for Mac supports various backup destinations, including local storage, network shares, and cloud storage thereby providing users with the flexibility to choose the most suitable option based on their needs in order to adhere to the 3-2-1 Rule.
- With Veeam Agent for Mac, you can continue an interrupted backup session from where it stopped. Regardless of whether this is due to a network outage or someone closing your laptop while your backup job was still running
- Veeam Agent for Mac offers encryption options to secure your backups, ensuring that your data remains safe from unauthorized access.
- Veeam Agent for Mac integrates with Veeam Backup & Replication. This enables you to manage and monitor your Mac backups alongside your Windows or Linux backups from a centralized console making it easier for IT administrators to monitor and manage backups across multiple Mac endpoints.
- Users can schedule automated backups to run at convenient times. This ensures that backups are performed regularly without manual intervention.
- In the event of data loss or system failure, Veeam Agent for Mac enables quick and efficient recovery of files, folders, or entire systems, minimizing downtime and productivity loss.
- With the built-in encryption capabilities, Veeam Agent for Mac helps ensure that backup data remains secure and protected from unauthorized access.
Overall, Veeam Agent for Mac is a valuable tool for individuals and organizations seeking robust data protection and recovery solutions for their Mac endpoints.
Download Veeam Agent for Mac
You can just navigate to the official Veeam website and download the installer for Veeam Agent for Mac.
Once the download is complete, you can find the installer file and double-click on it. Upon installation, Veeam Agent will deploy the following components. Please take a look at the User guide for more information
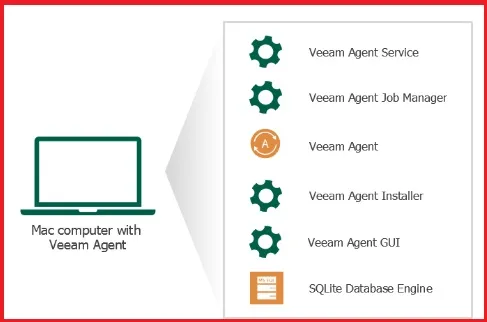
Now that we know what components will be installed on our device. Let us proceed with the installation. You will mainly interact with the Veeam Agent for Mac GUI Application. This is a component responsible for the Veeam Agent control panel, status bar and tray menus, as well as Backup Job and Import wizards.
Install Veeam Agent for Mac
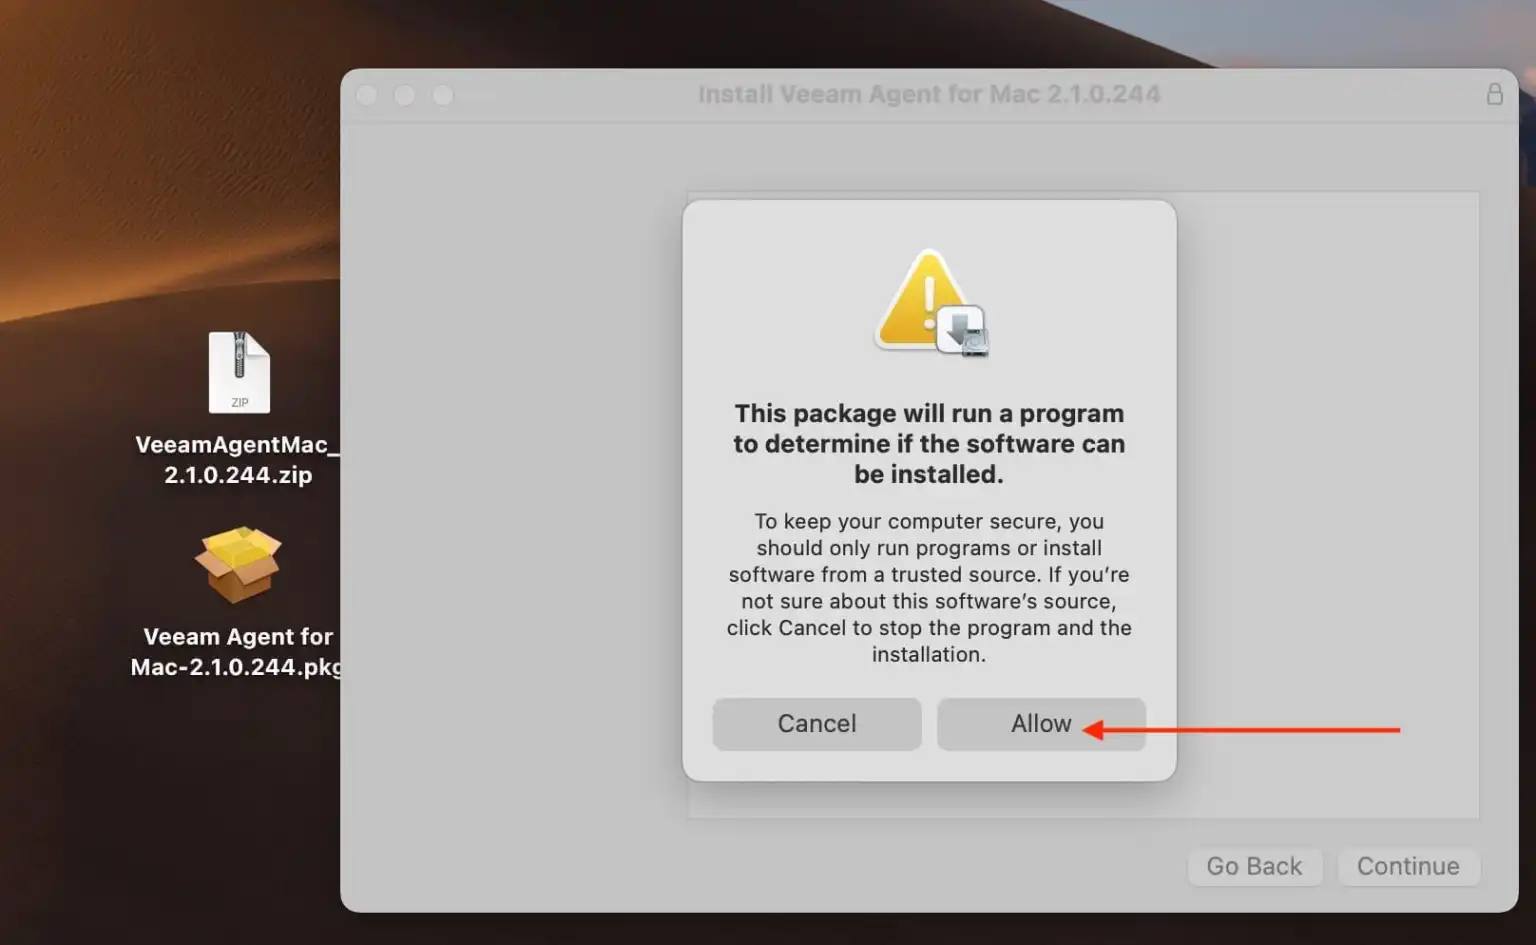
Double-click the downloaded setup archive as shown in the image below. Next, you will have to double-click on the .pkg setup file in the open archive to launch the installation wizard. When prompted as shown below, click on Allow.
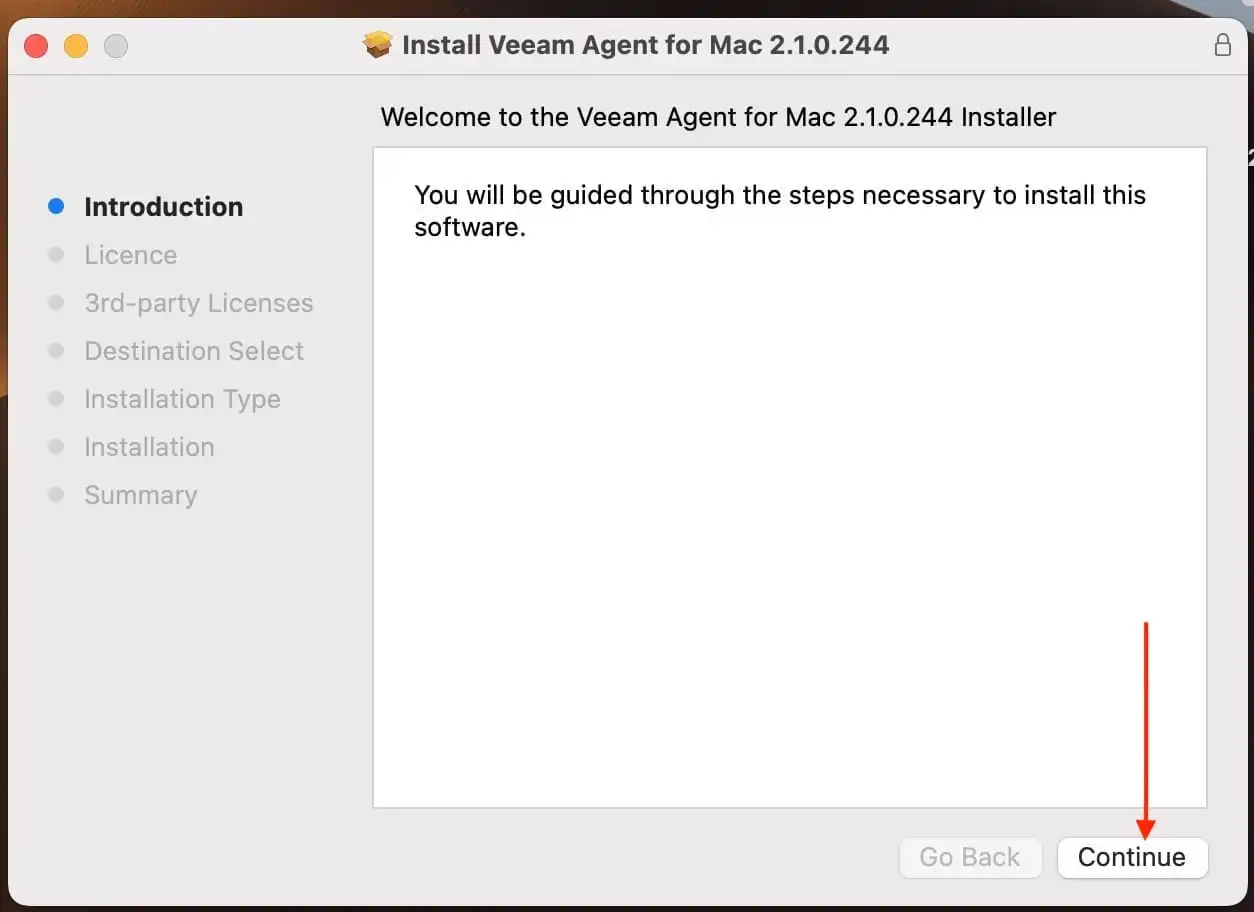
Click Next on the introduction page
Read the Software License Agreement
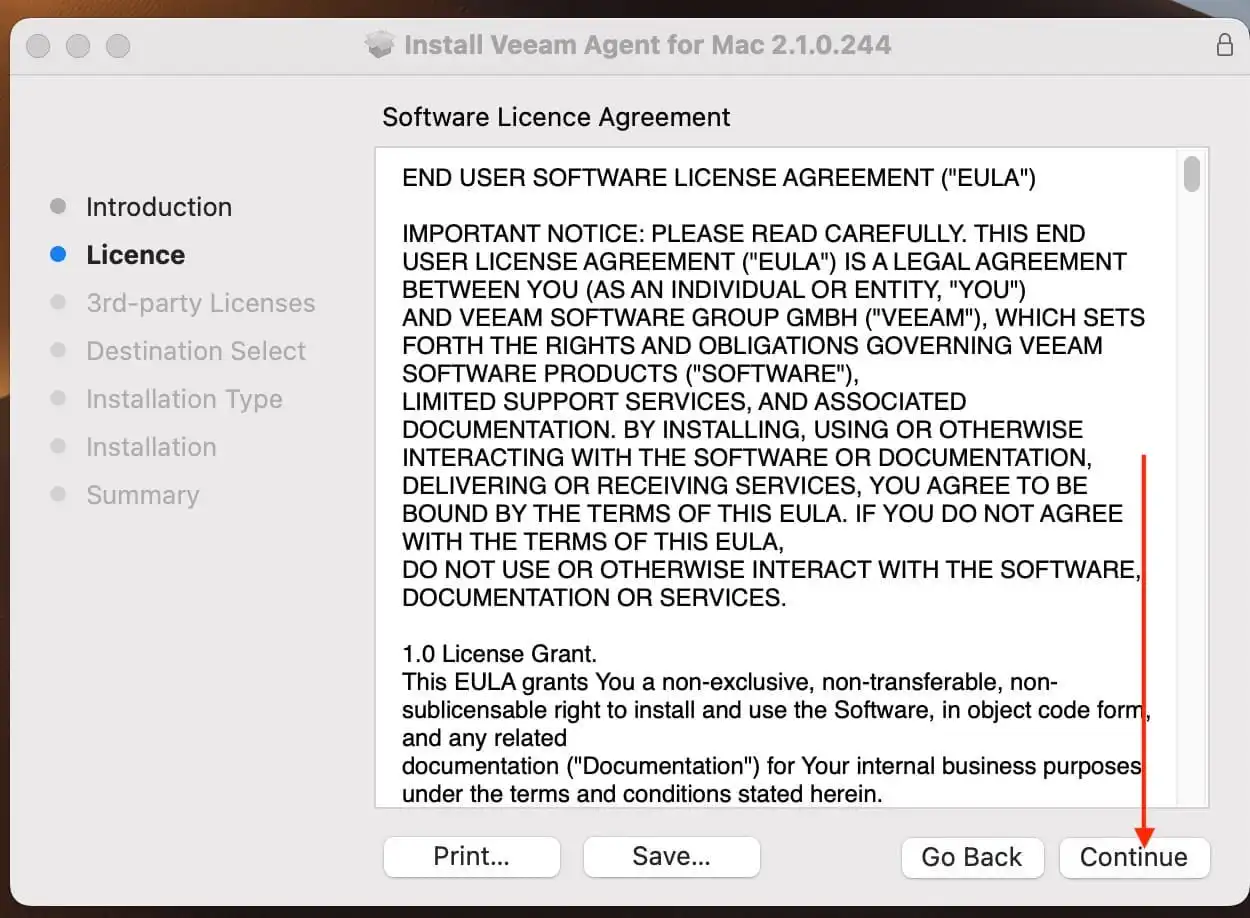
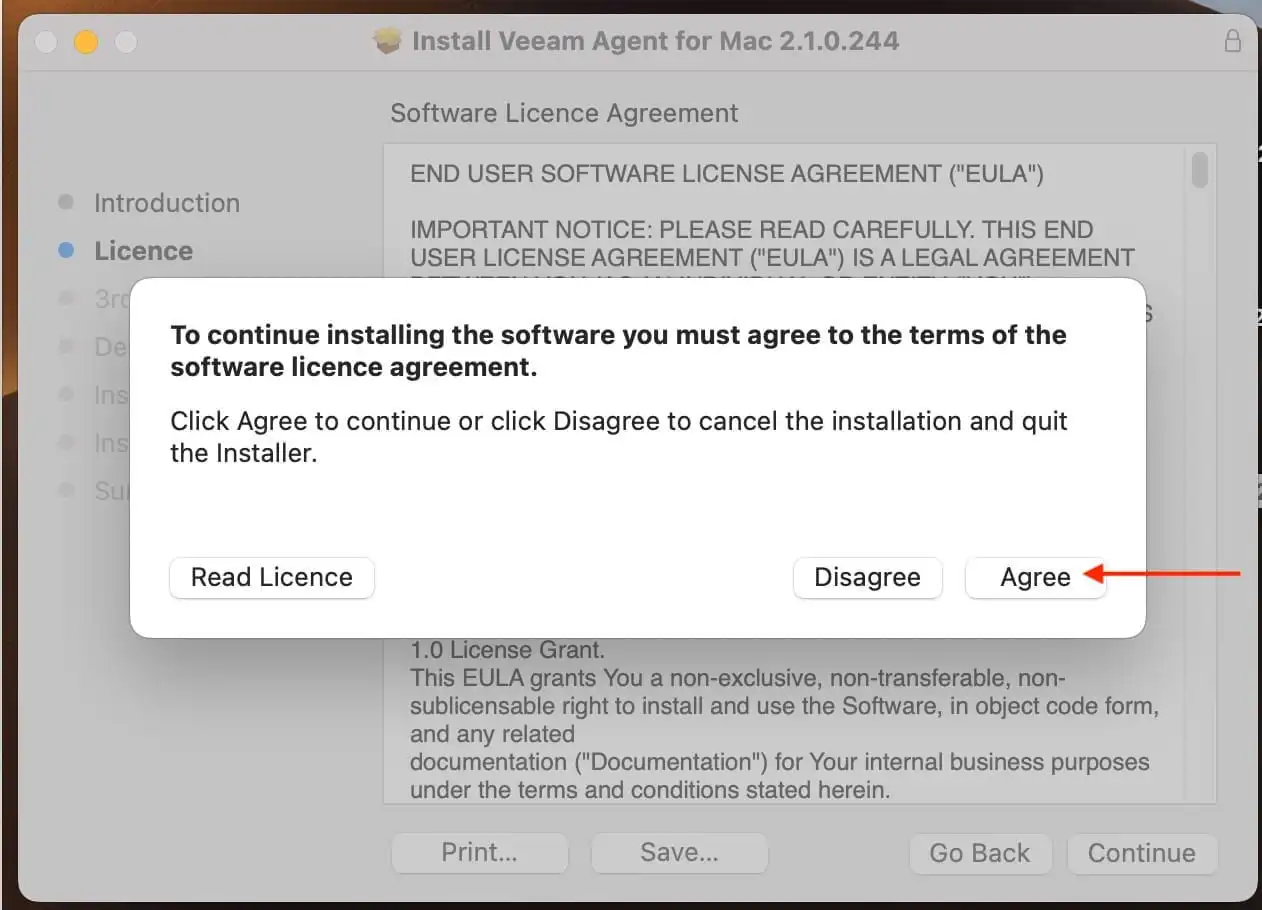
To accept the End User License Agreement, click on “Agree”.
Review the 3rd Party Components License Agreement as displayed below.
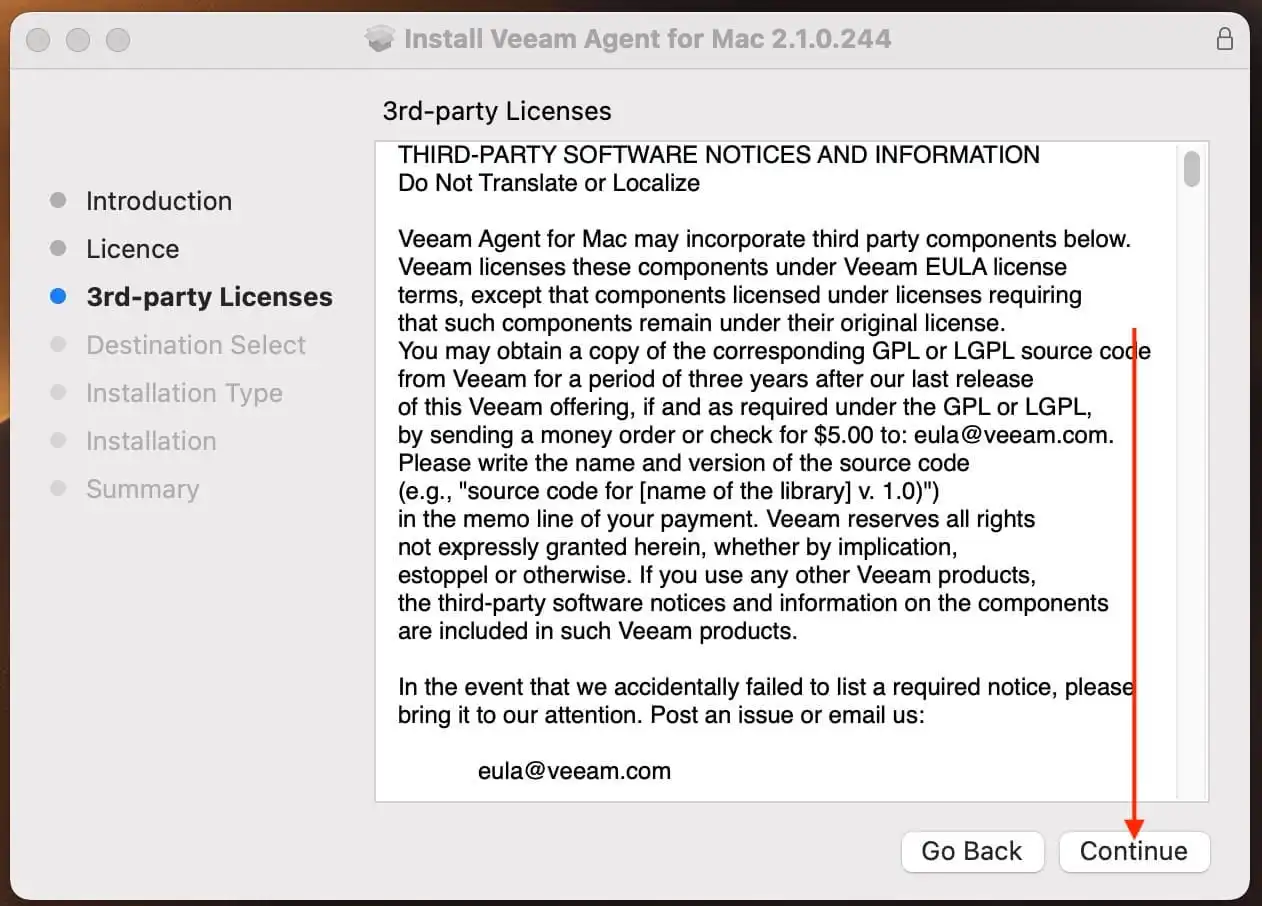
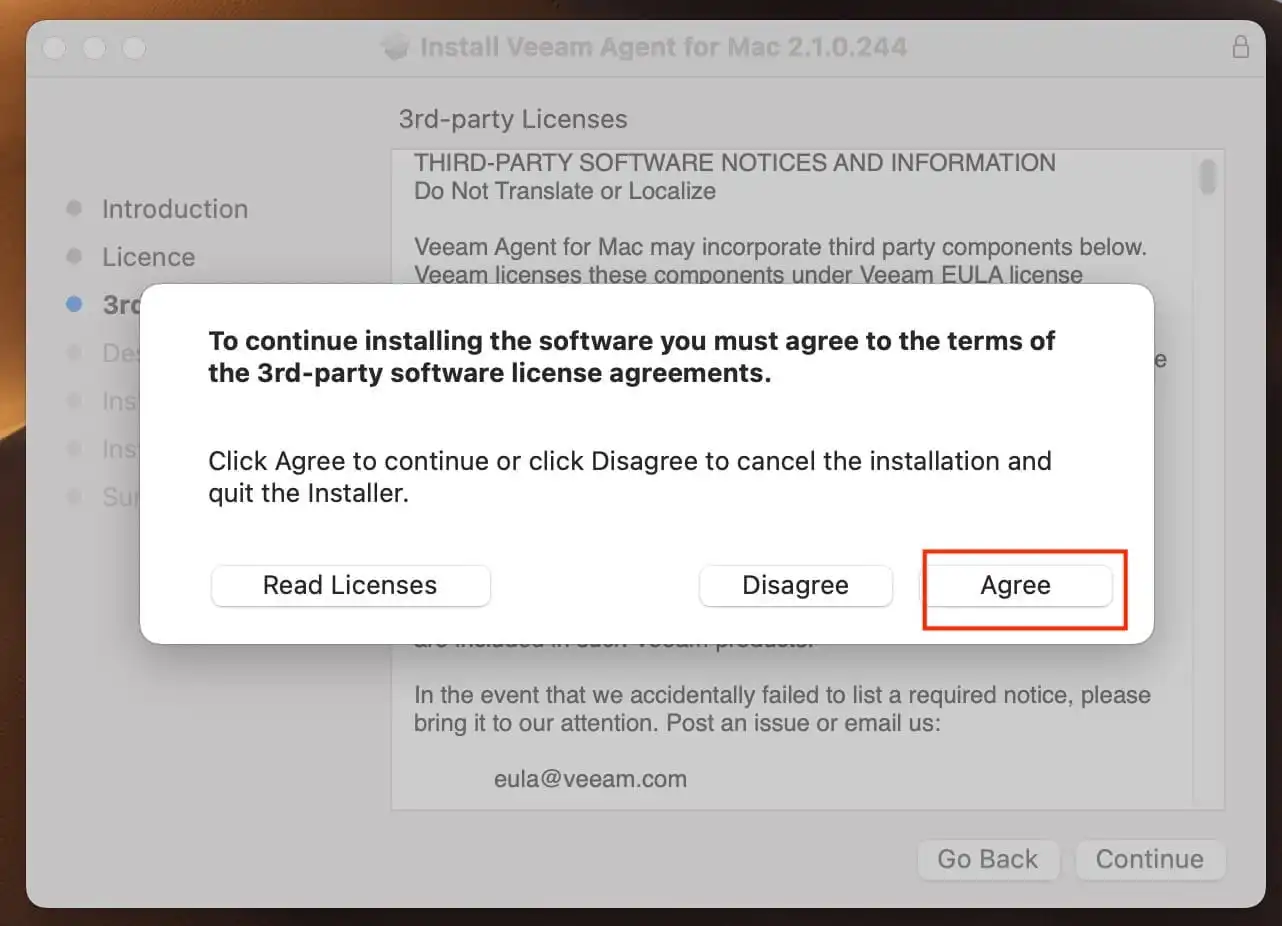
Accept the 3rd party agreement as well.
ClickNext to continue
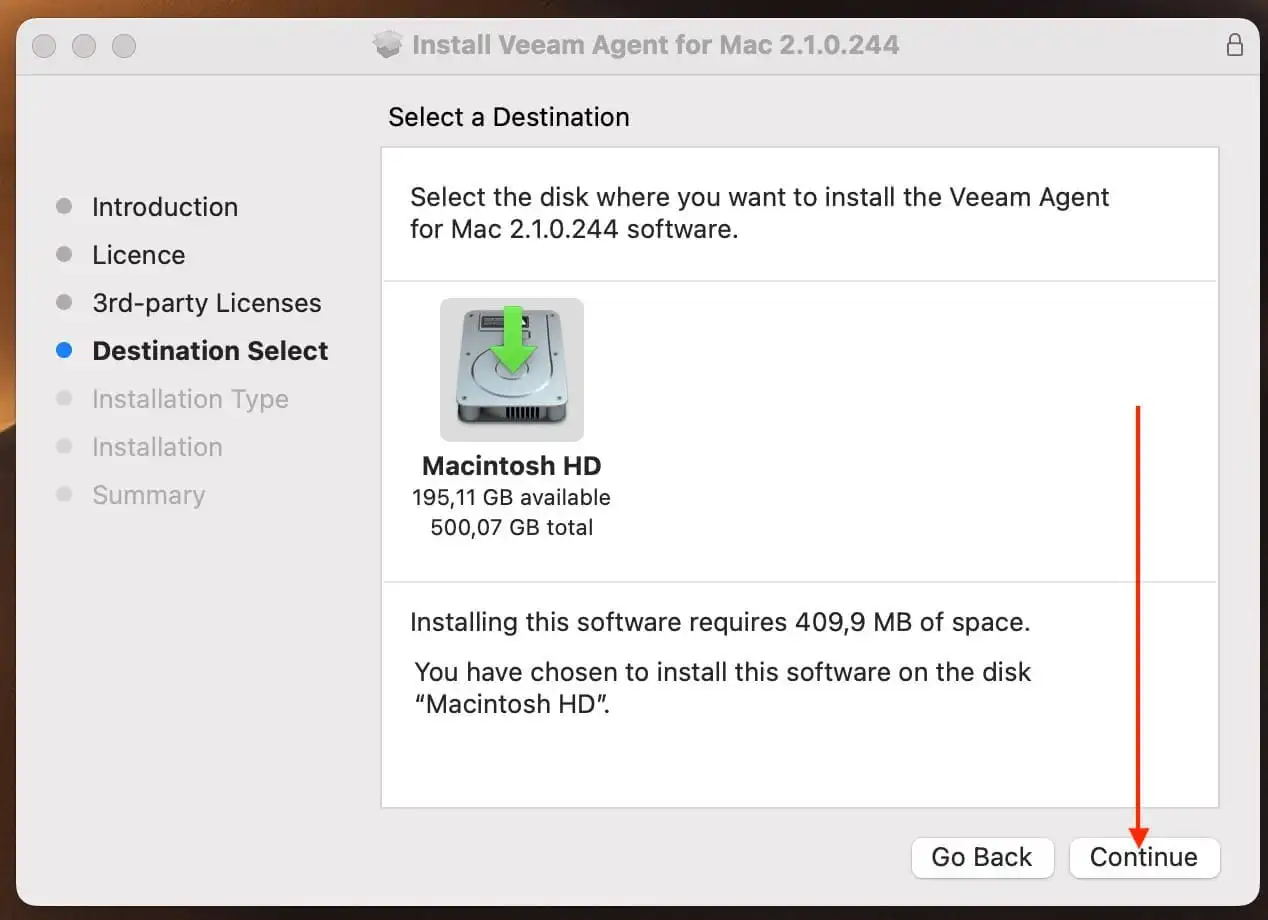
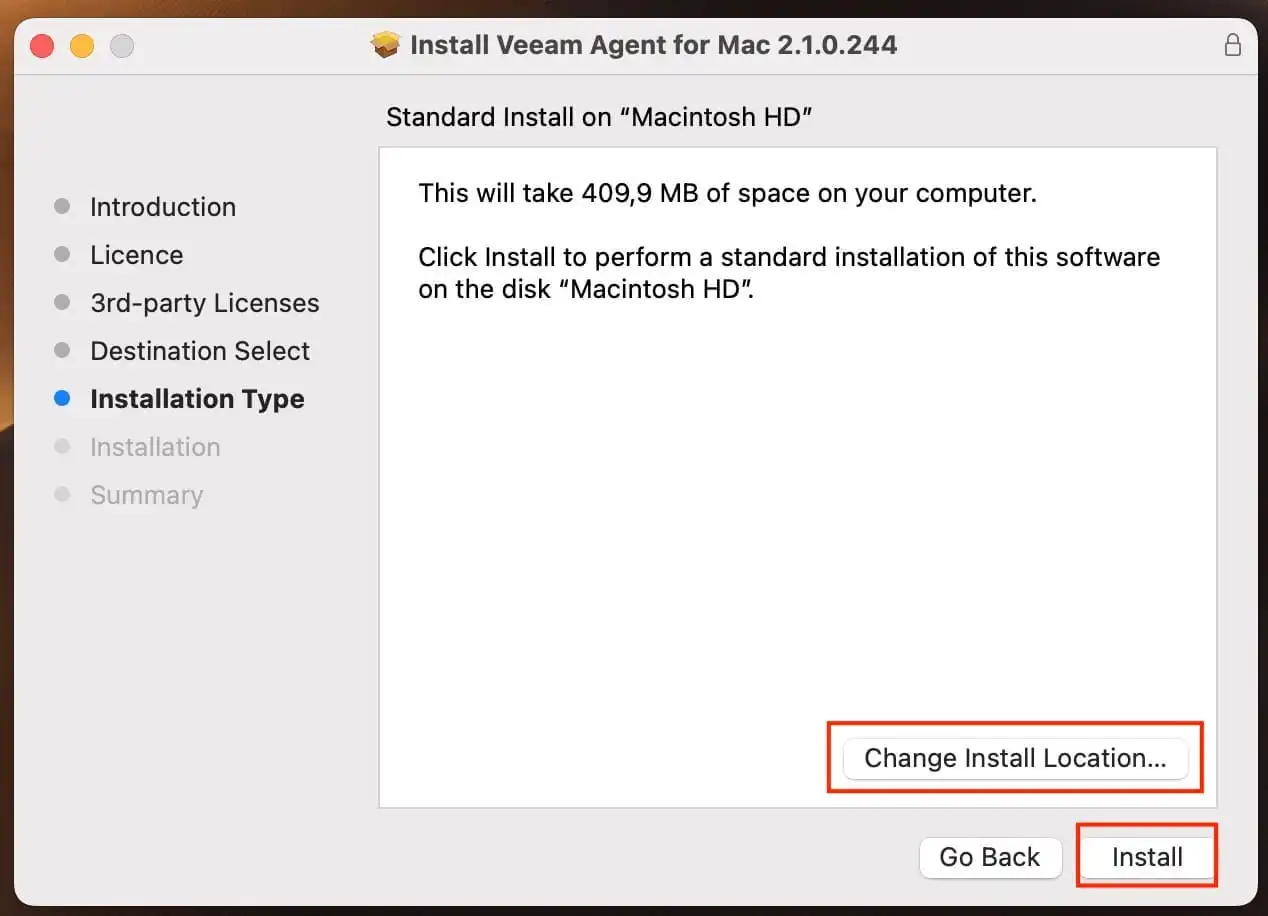
I am not interested in changing the Install location. I will click on Install.
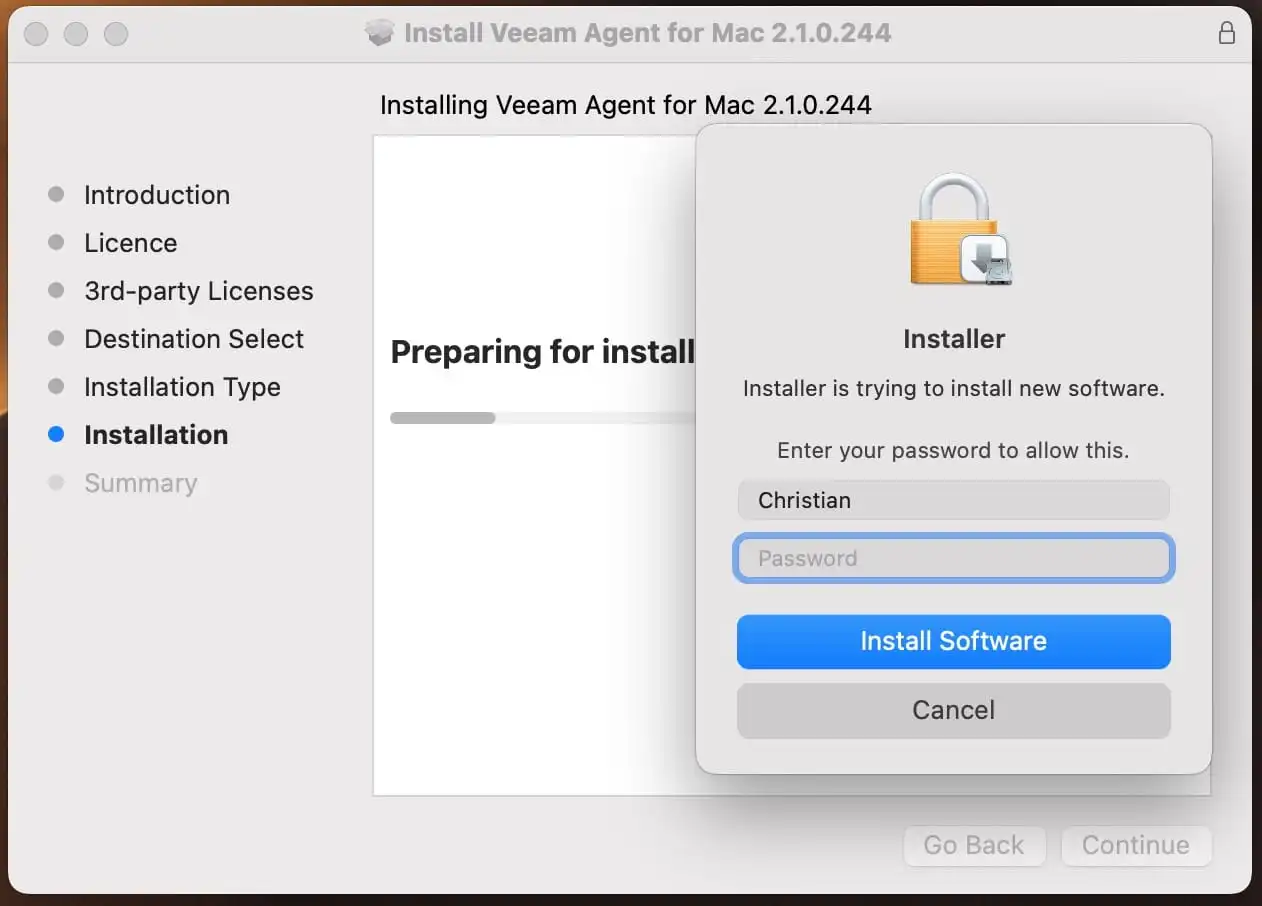
Enter your password in order to install the agent.
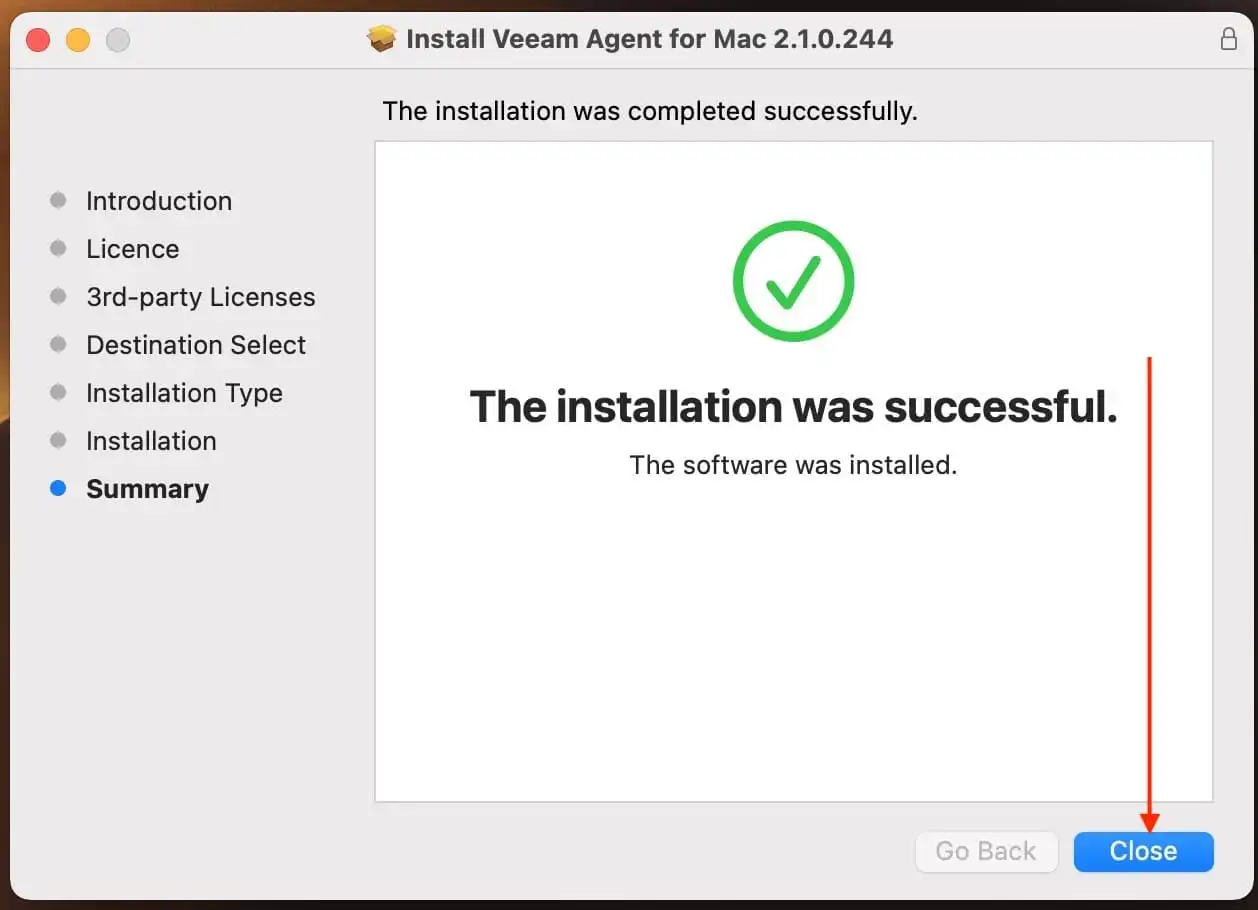
As you can see, the installation of Veeam Agent for Mac is successful
Launch Veeam Agent For Mac
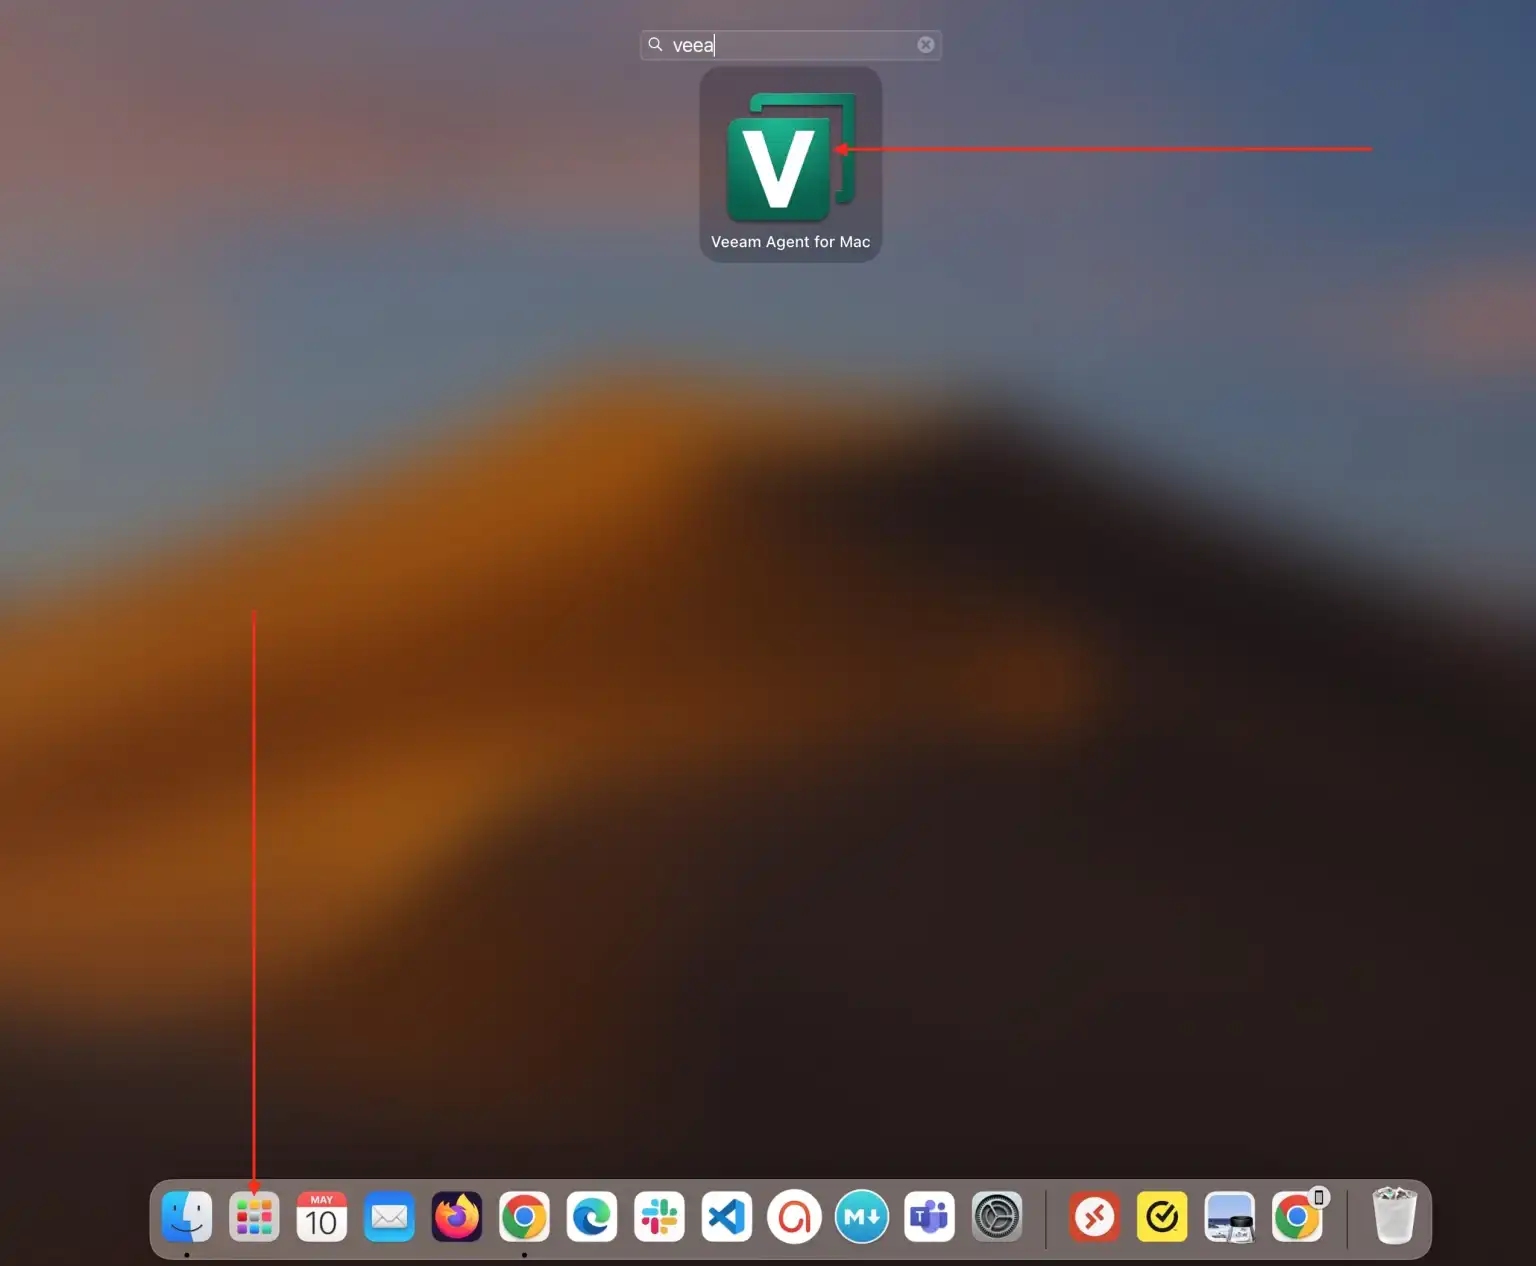
Double click on the Agent as shown below.
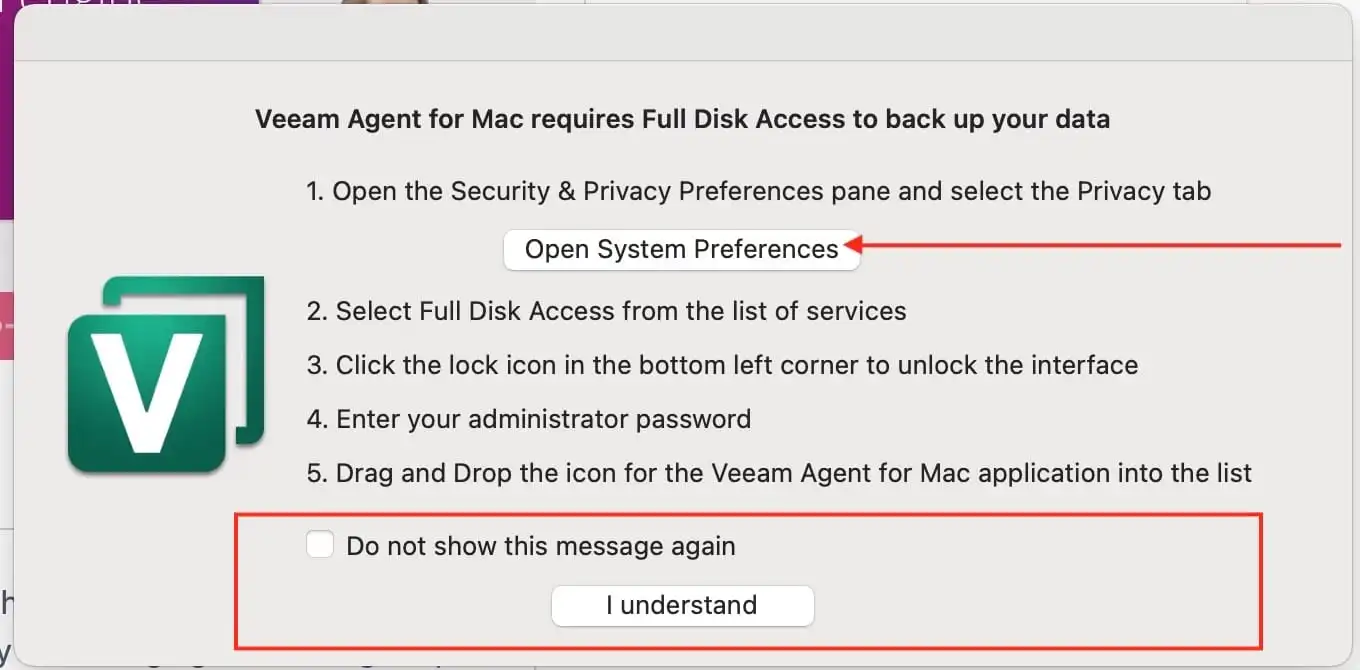
You will be prompted to enable Full Disk Access for the Veeam Agent. Click on “Open System Preferences” as shown below. This will open the System Preference pane.
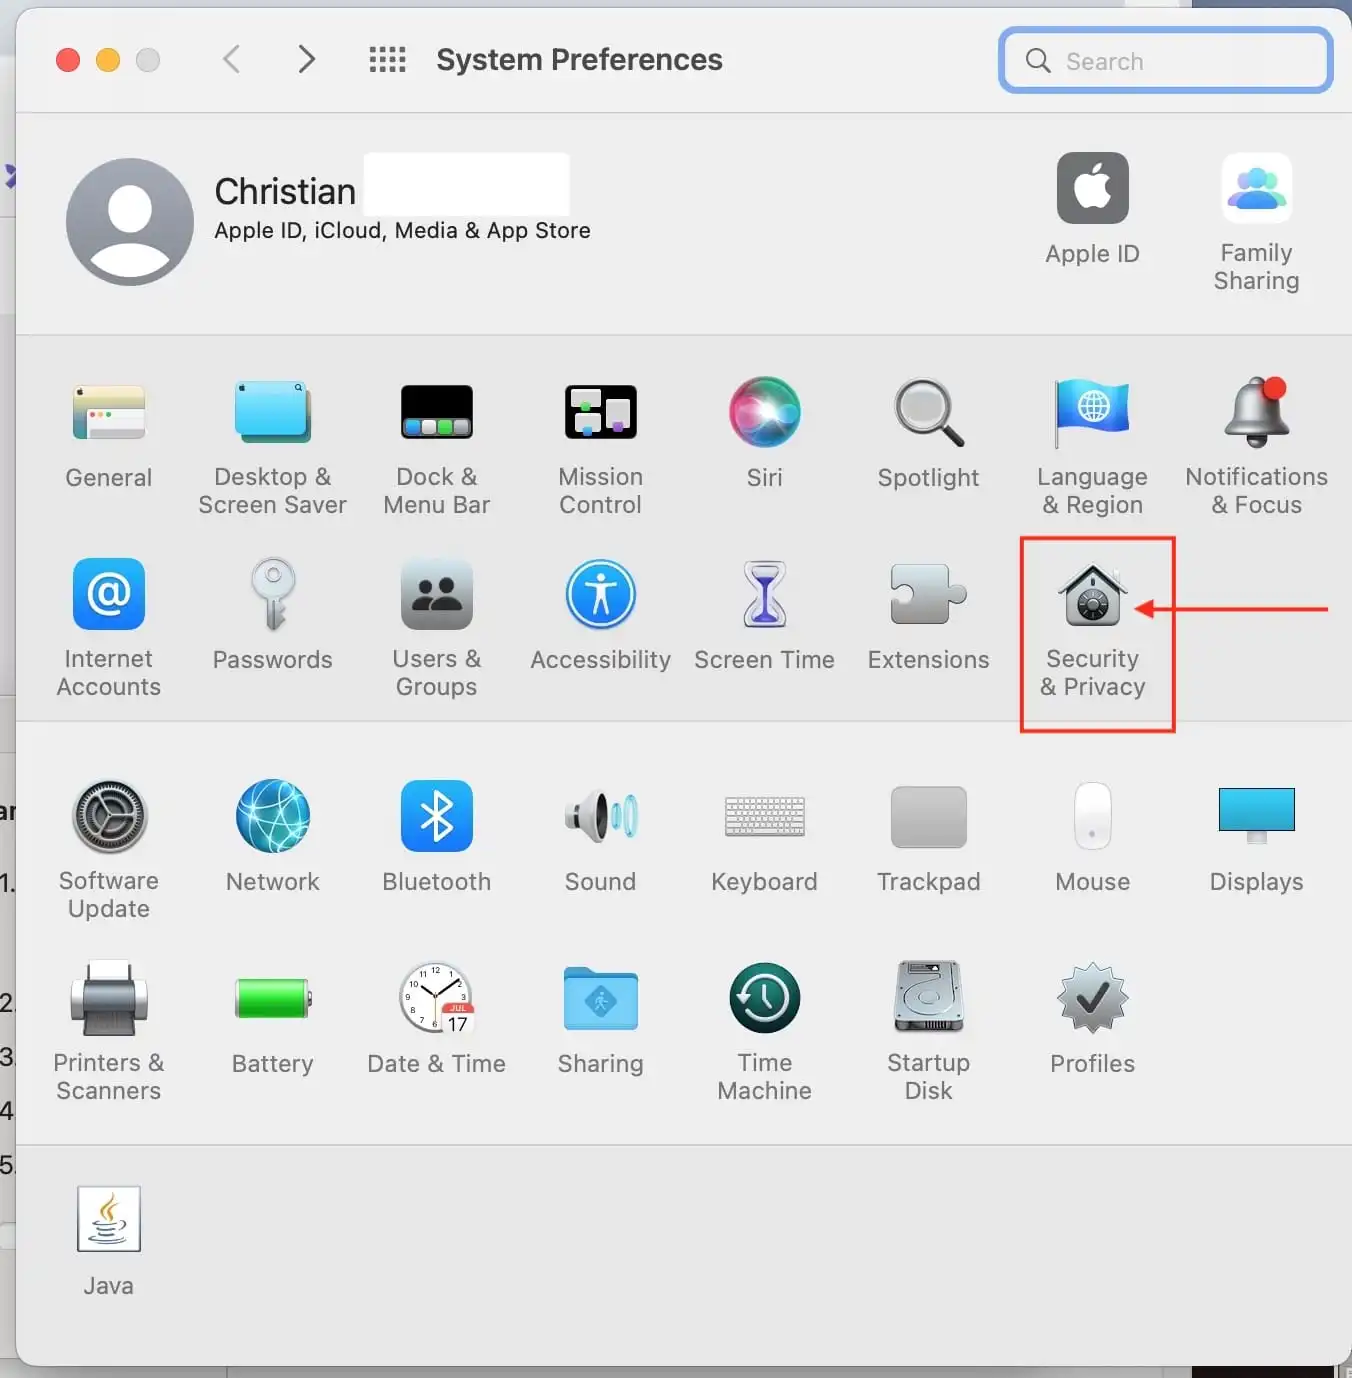
In System Preferences, click Security & Privacy
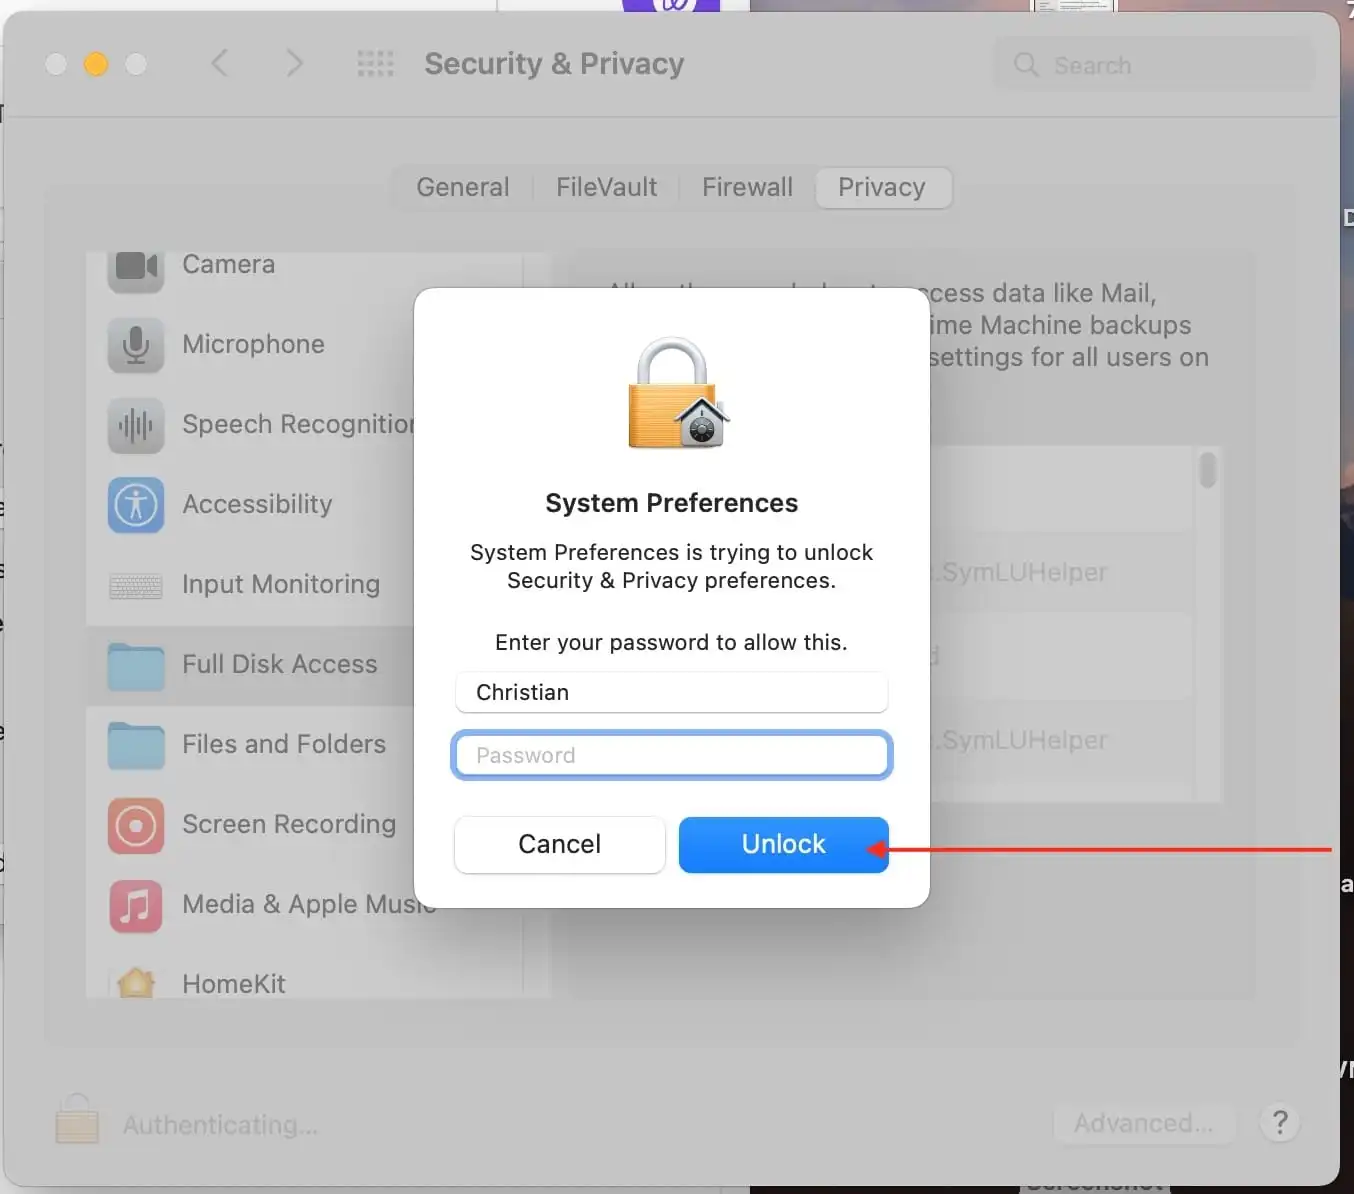
Select the Privacy tab. From the list of services, select Full Disk Access. In the bottom-left corner, click the lock icon
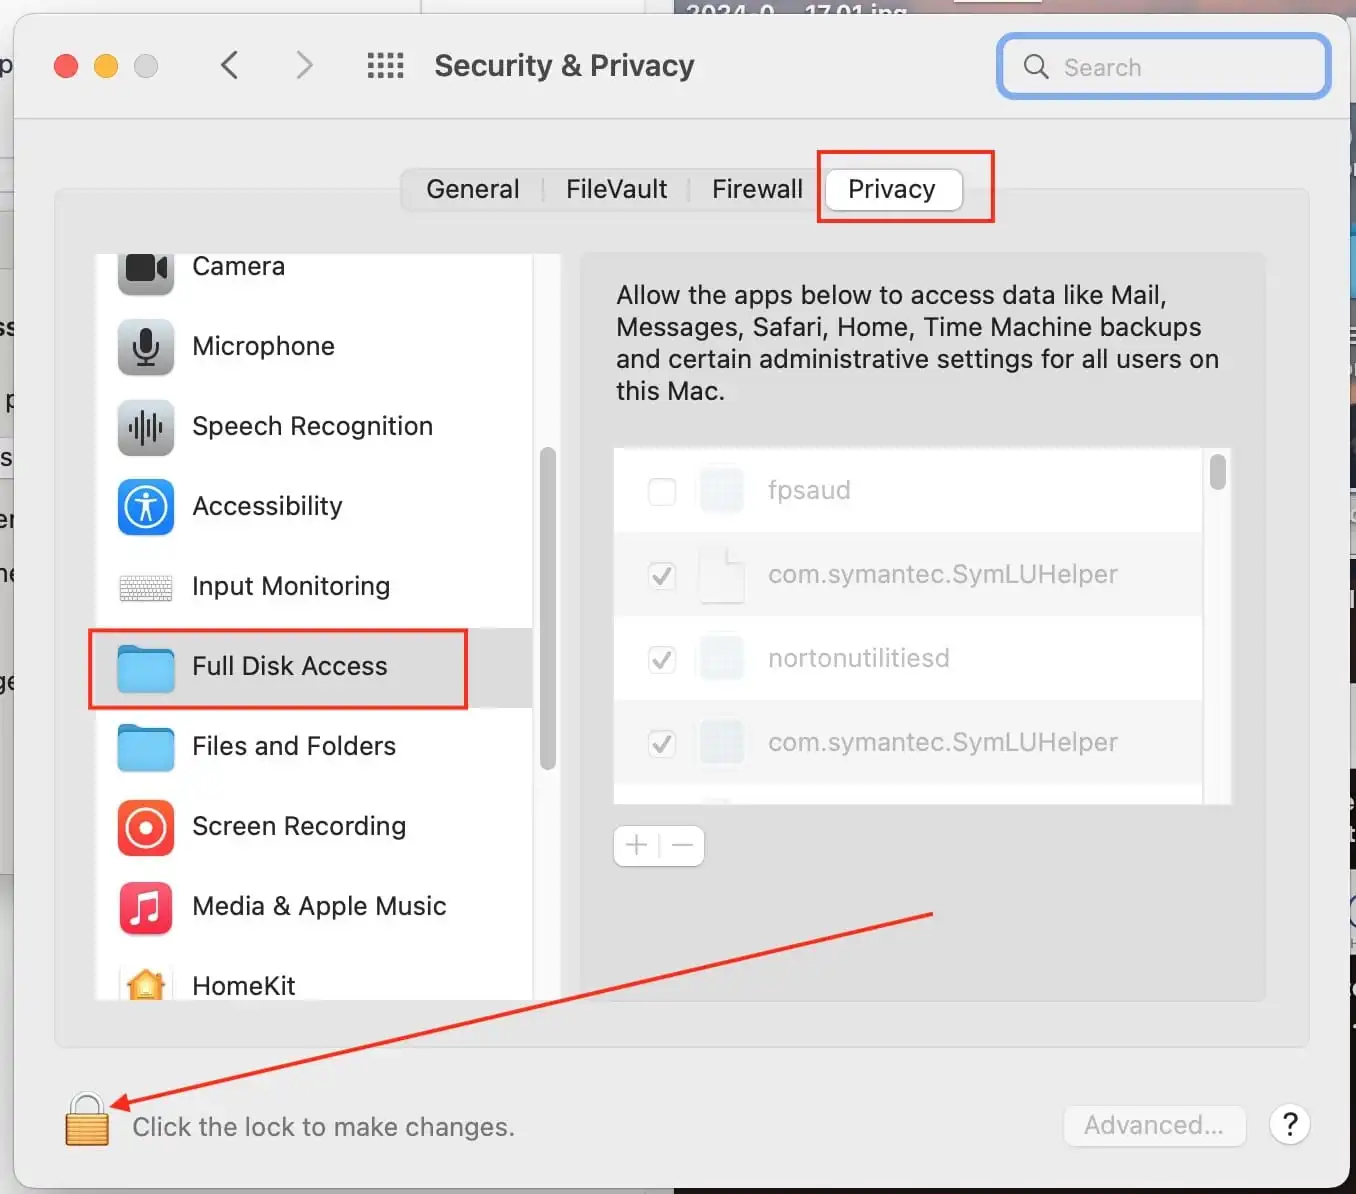
Enter the Administrator password to unlock.
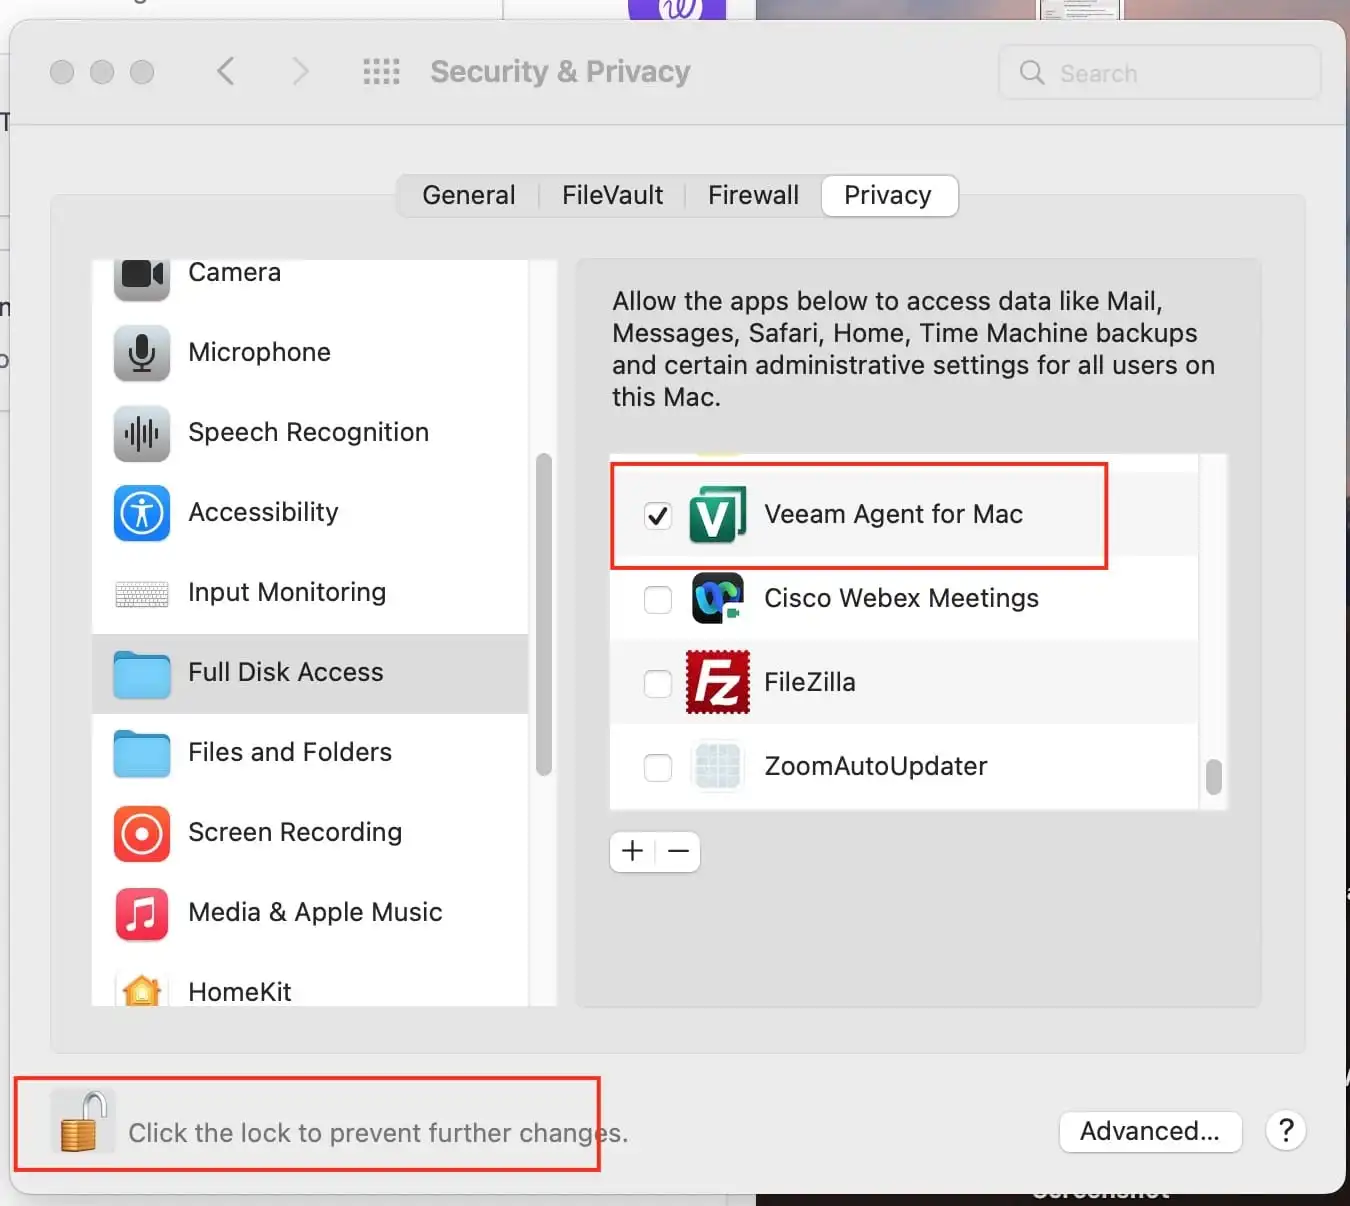
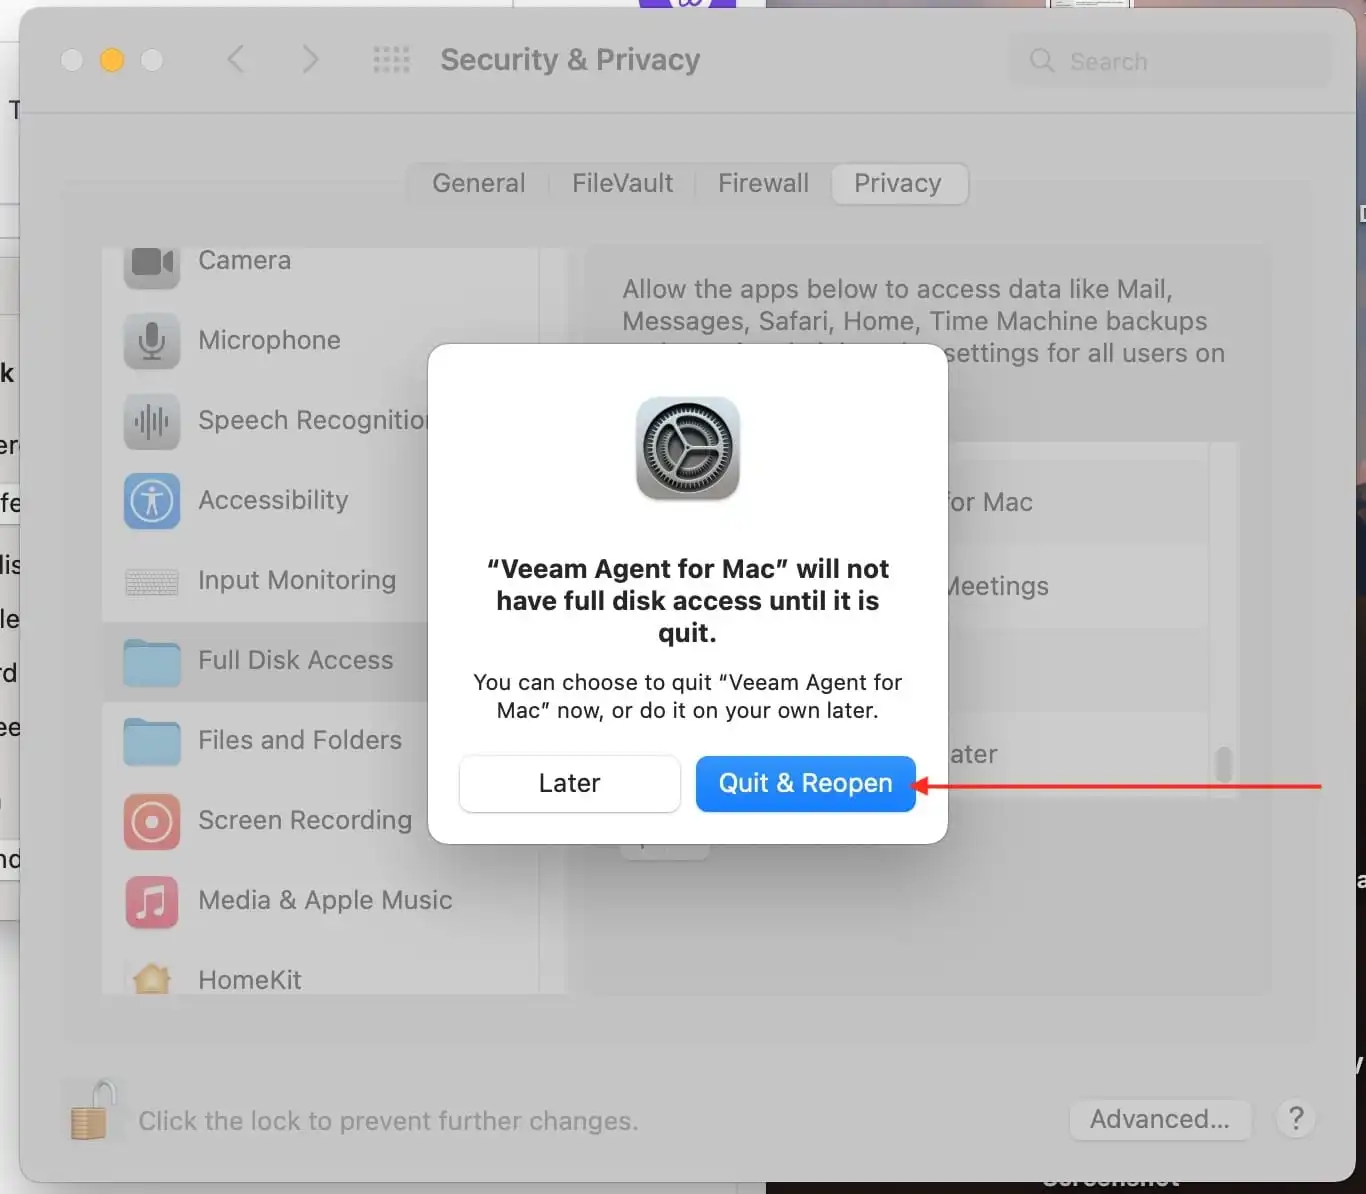
In the list of apps, select the check box next to Veeam Agent for Mac.
Veeam Agent Notification
Note: When you launch Veeam Agent for Mac for the first time after installation, Veeam Agent will offer to configure Veeam Agent notifications.
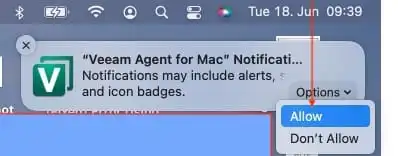
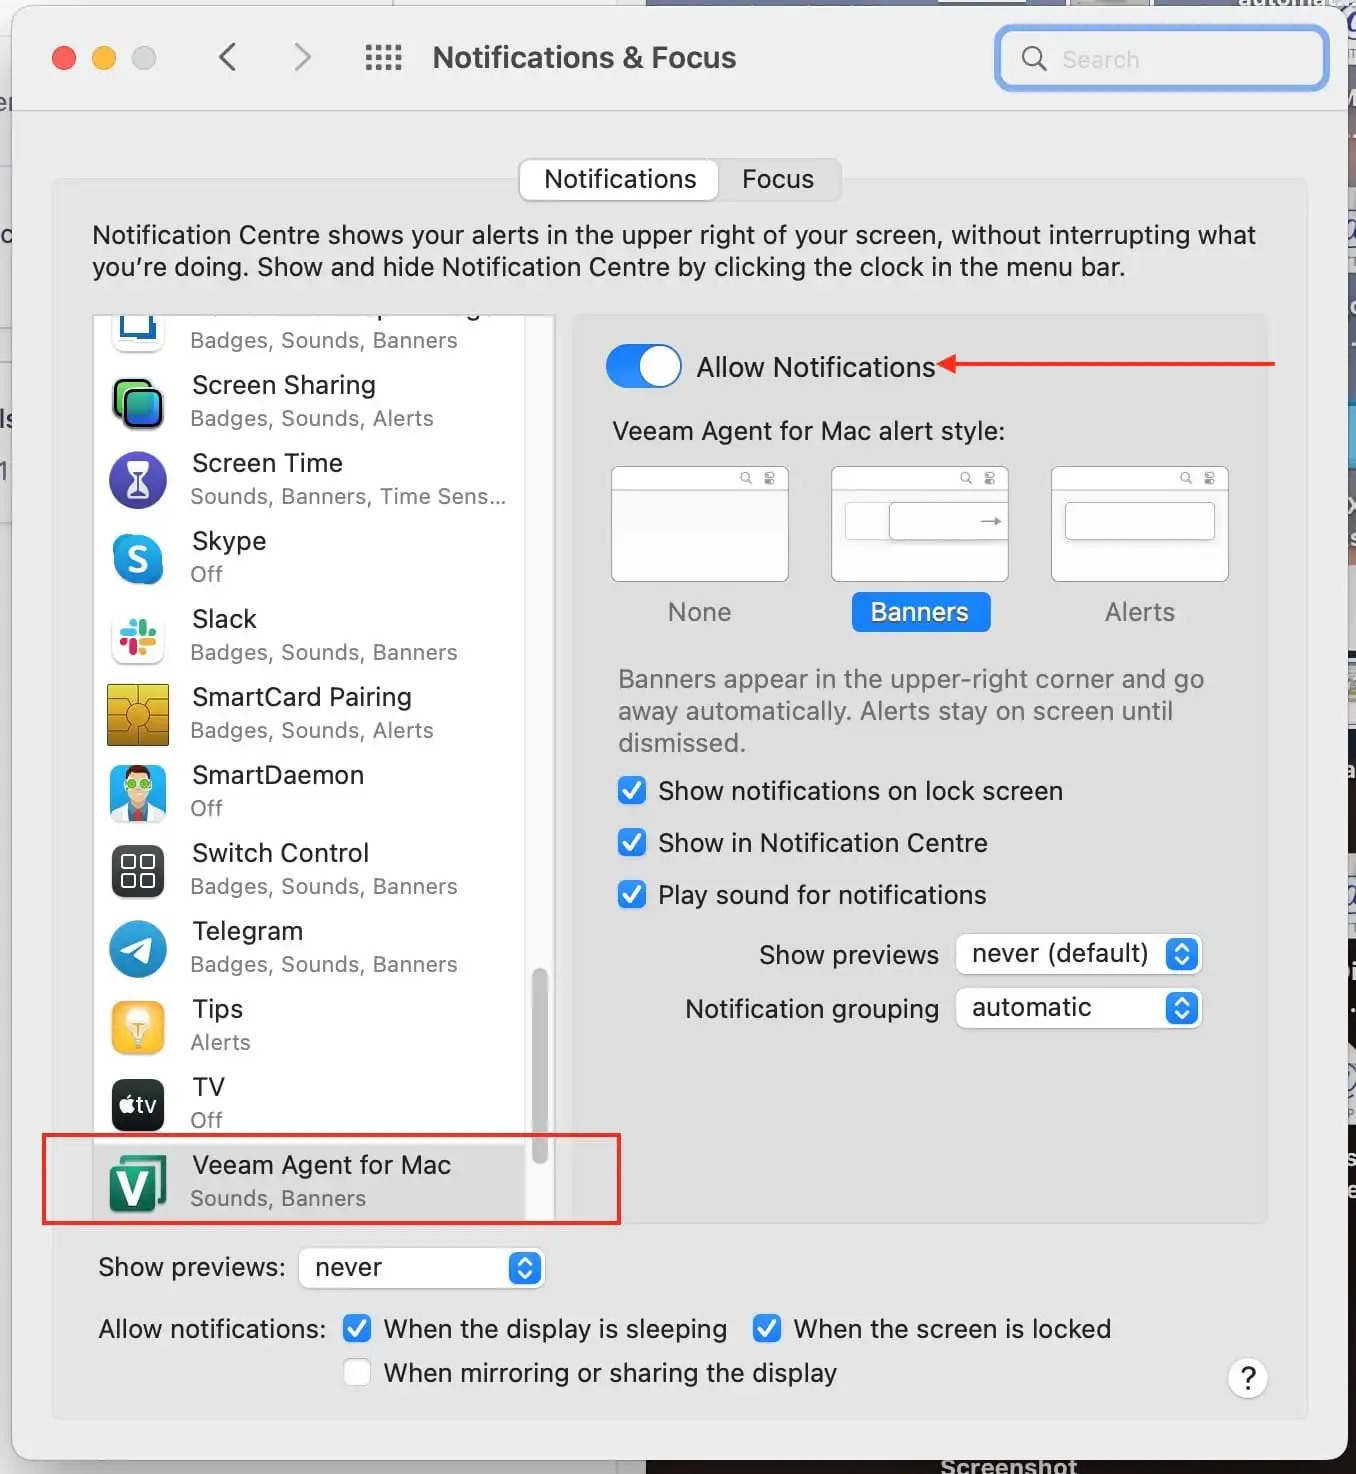
If you missed the step above, I would like to show you how you can configure Veeam Agent to send notifications through the Mac Notification Center for every successful and failed backup etc.
To do this, select the Veeam Agent for Mac and toggle the switch to “Allow Notification” as shown below. Conversely, if these alerts are annoying, you can disable Veeam Agent notifications in the System Preferences by toggling the switch off.
1: Configure Backup Jobs to Synology NAS
In the past, we have discussed various ways to create a backup repo on DS923+ NAS. I will assume you already have a repository in place and as such, I will not be showing you the steps.
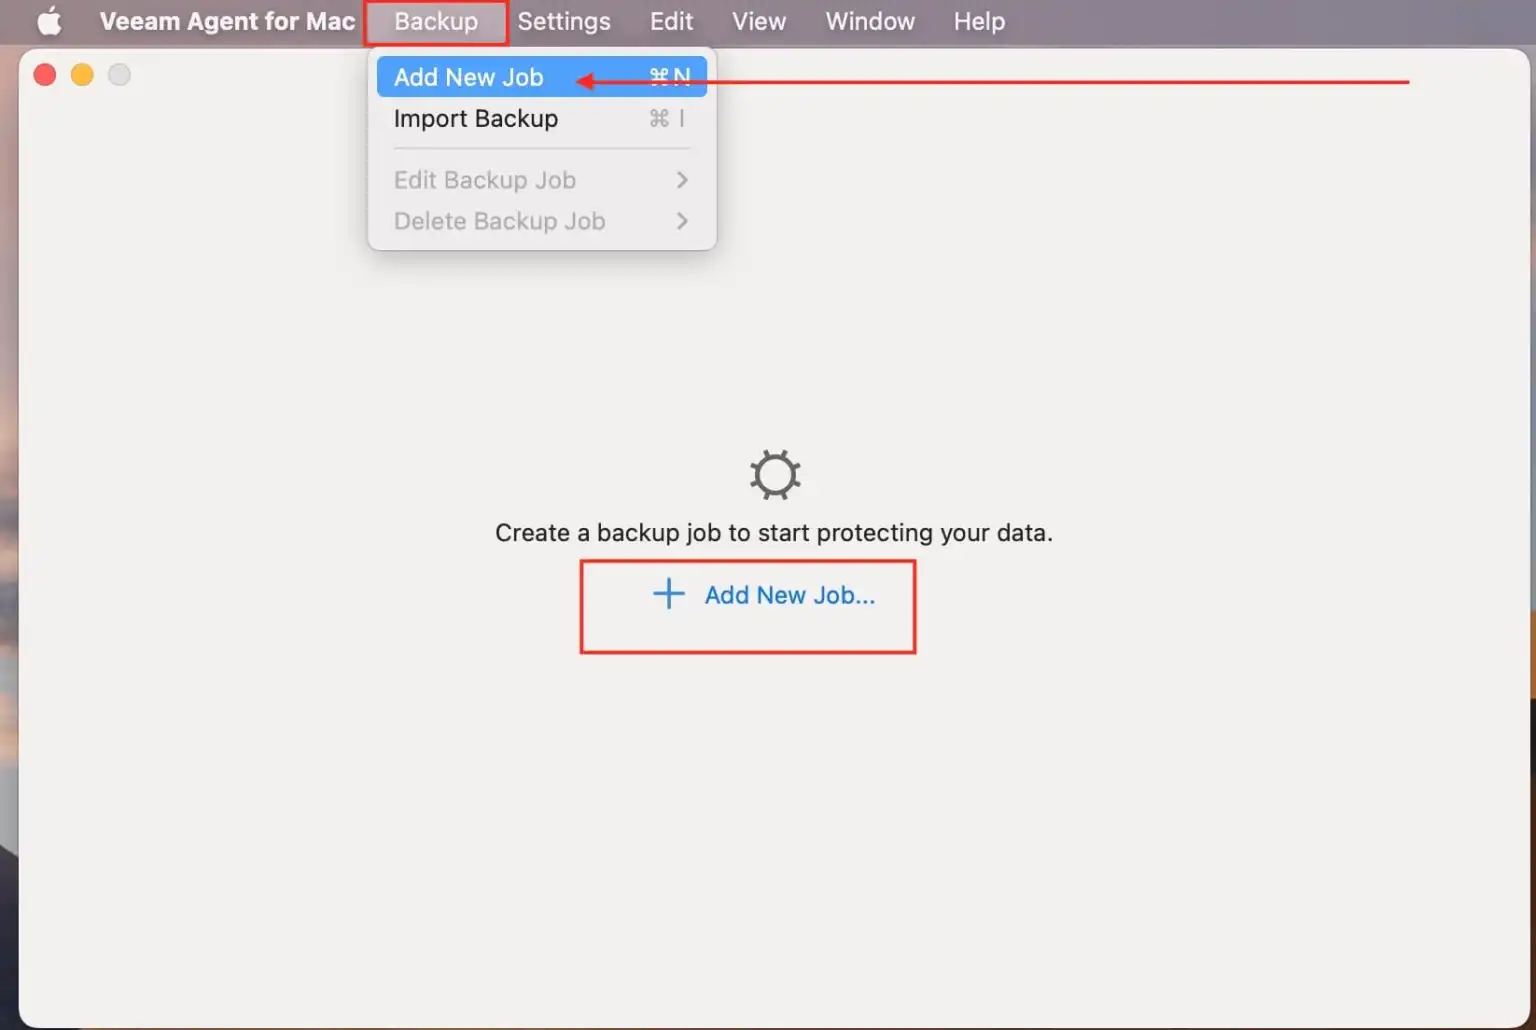
In the Veeam Agent for Mac application menu, select Backup and then click “Add New Job”.
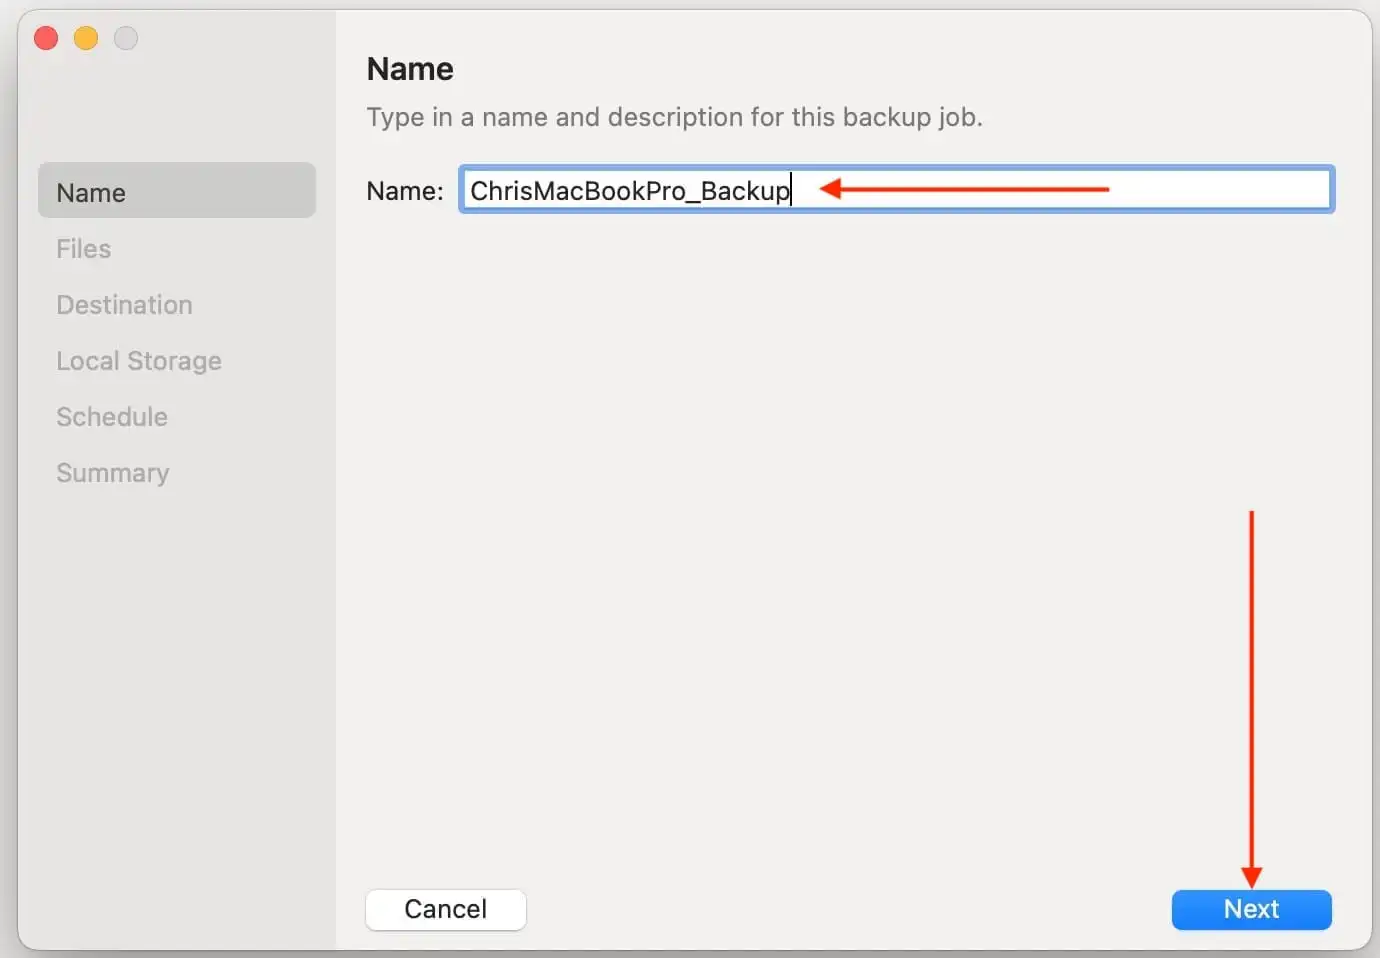
Enter the backup job name and click on Next
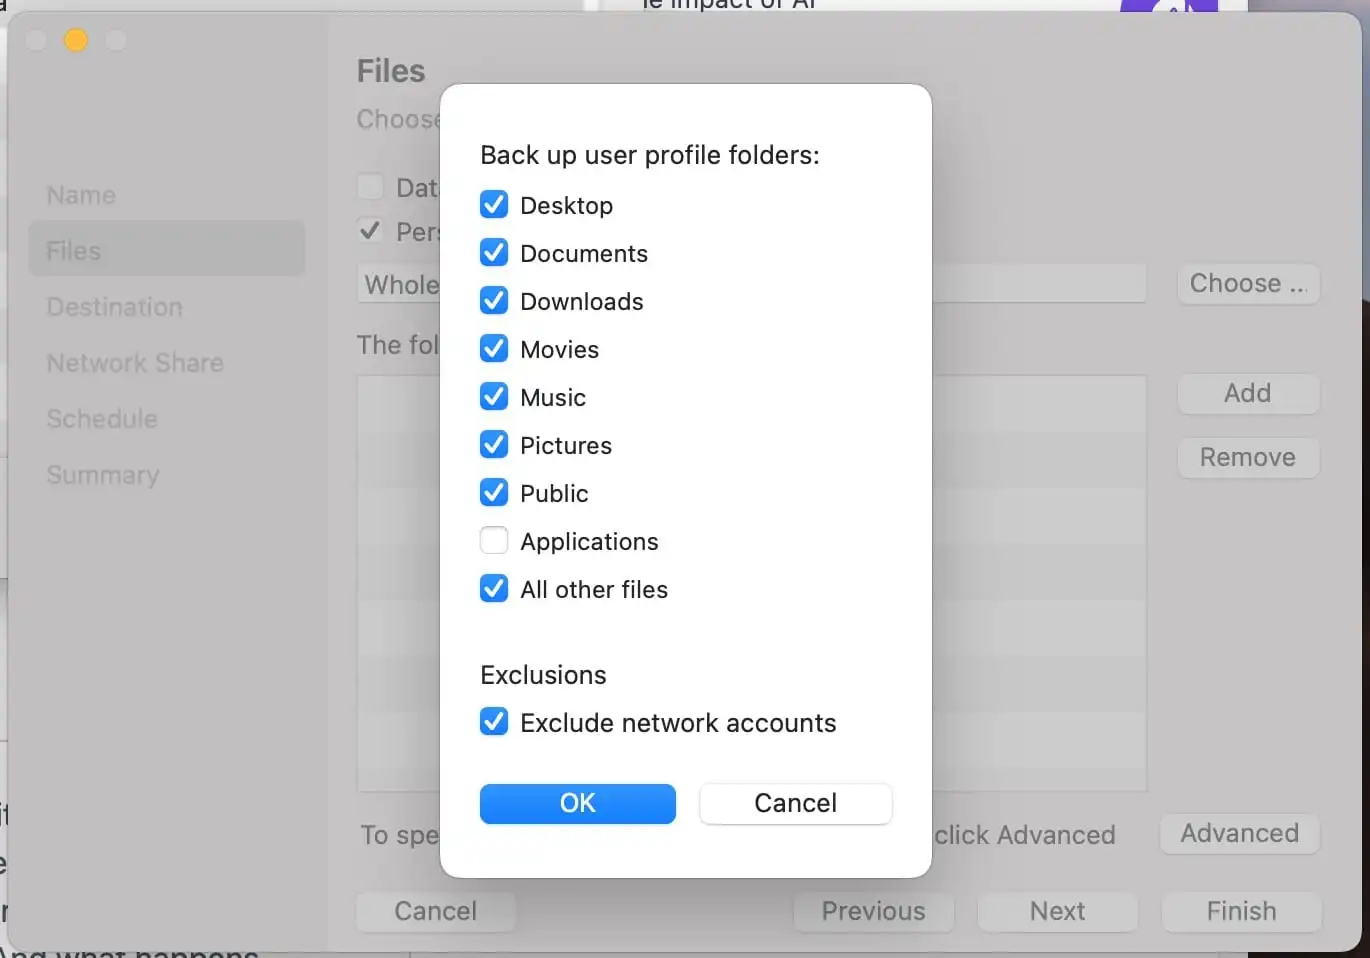
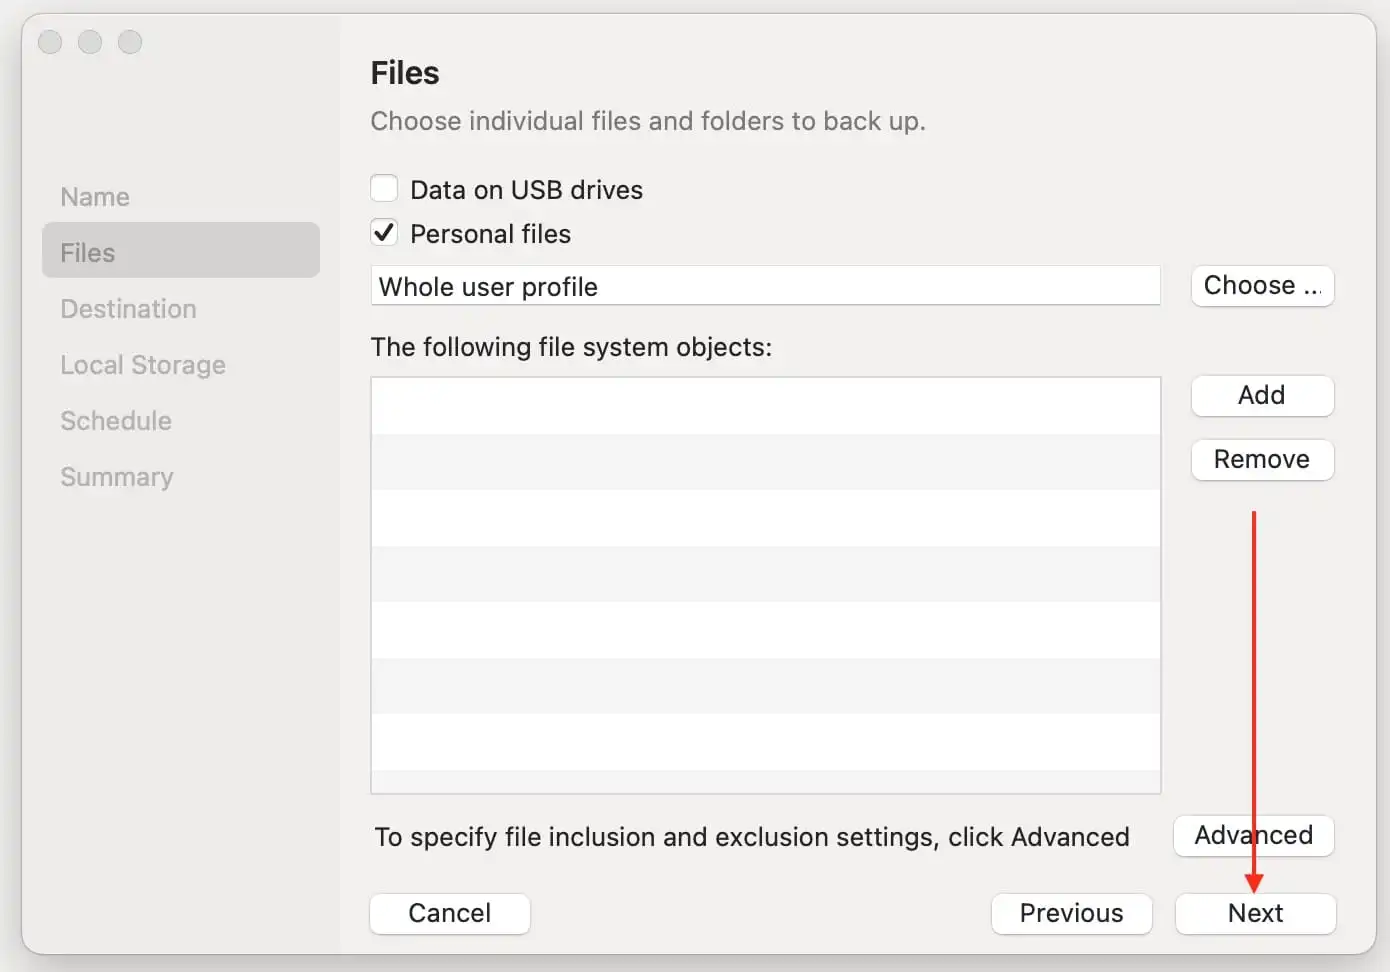
You can define the backup scope as shown below. Here, you have to define what folders with files you want to include in the backup.
Note: You can specify what personal data to include in the backup and choose whether to exclude network accounts from the backup. To include personal data in the backup, select the Personal files option
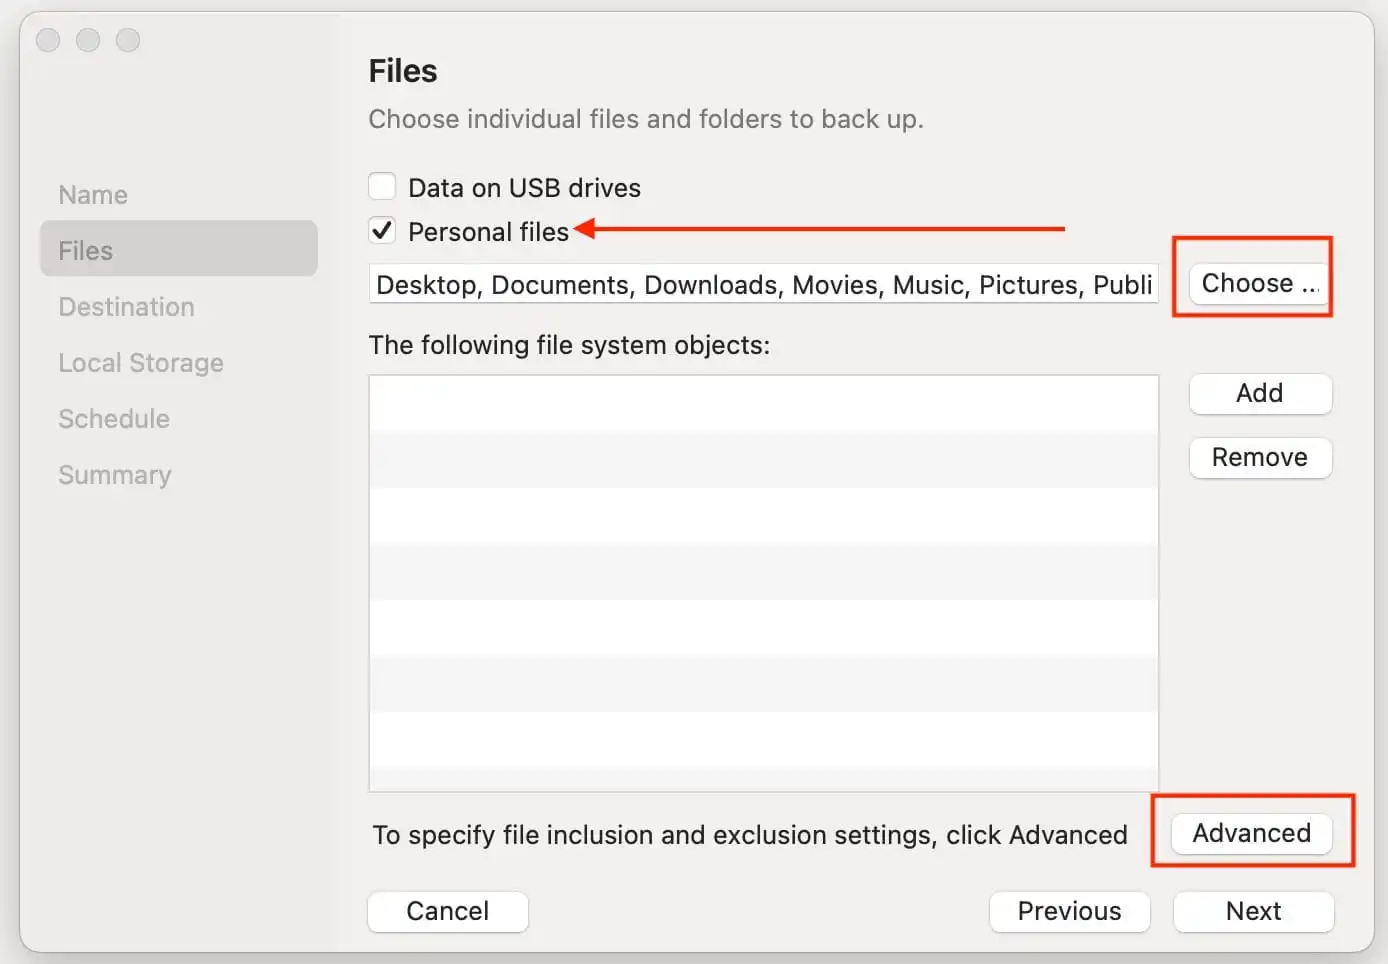
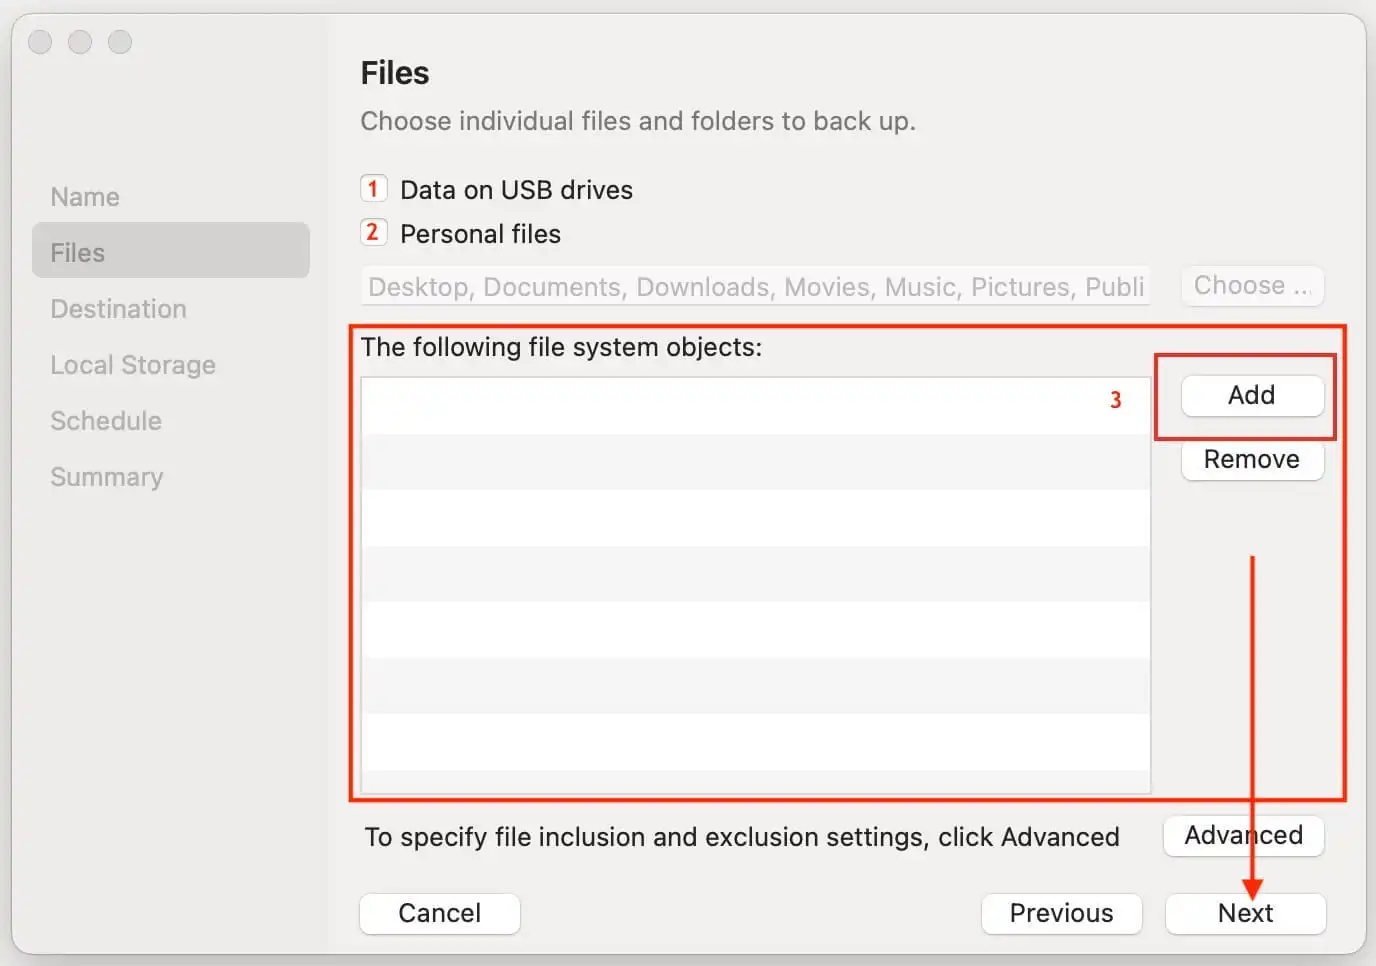
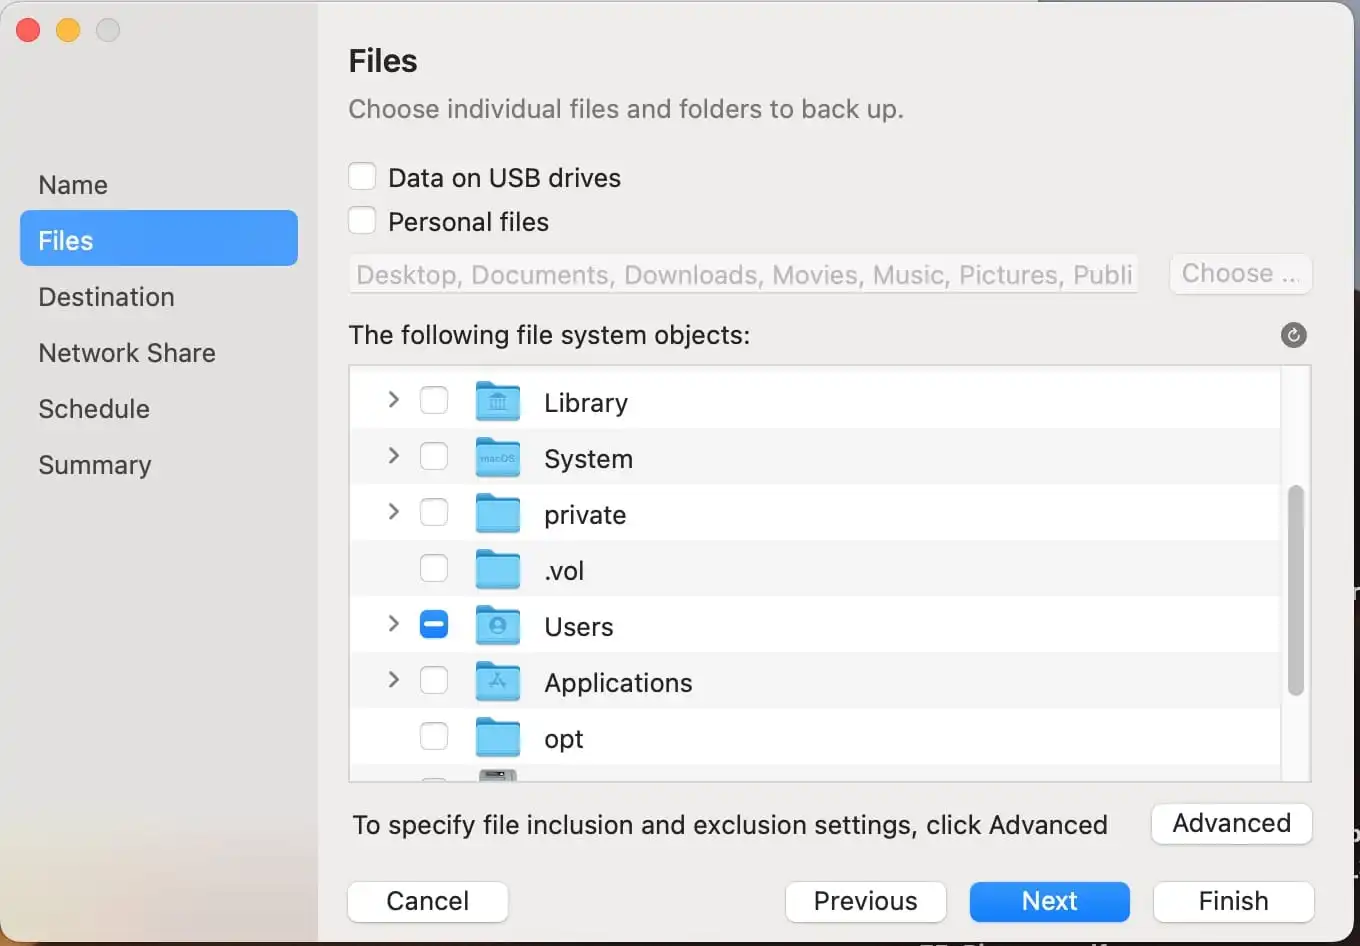
Alternatively, starting from Veeam Agent version 2.1.2. You can select the folders you want to back up from the file system objects section by using the “Add” button. Just select the check box next to each folder that you want to back up. You can read more here.
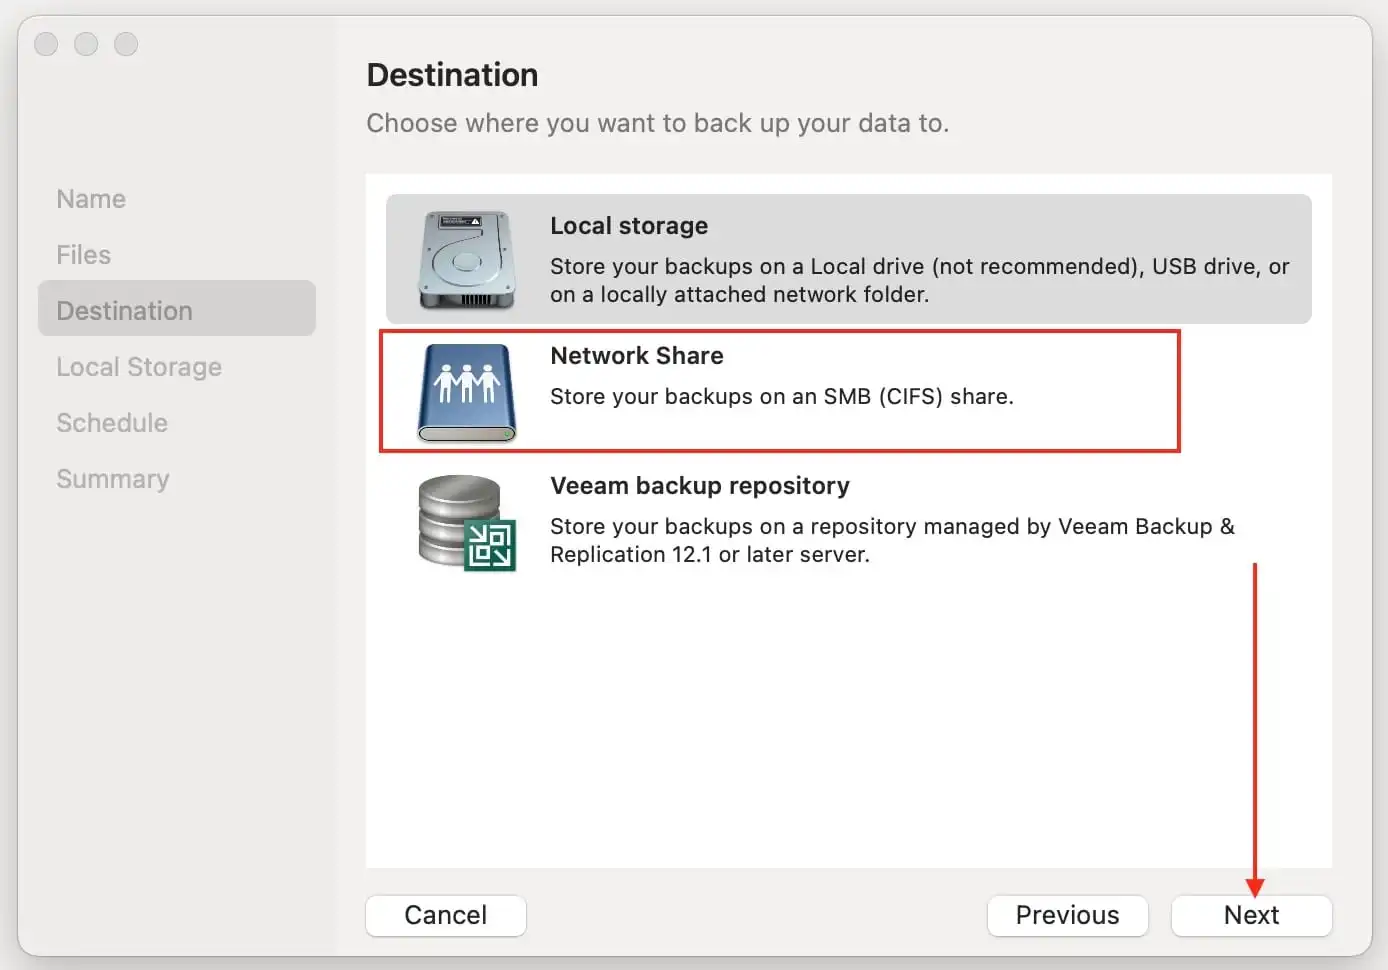
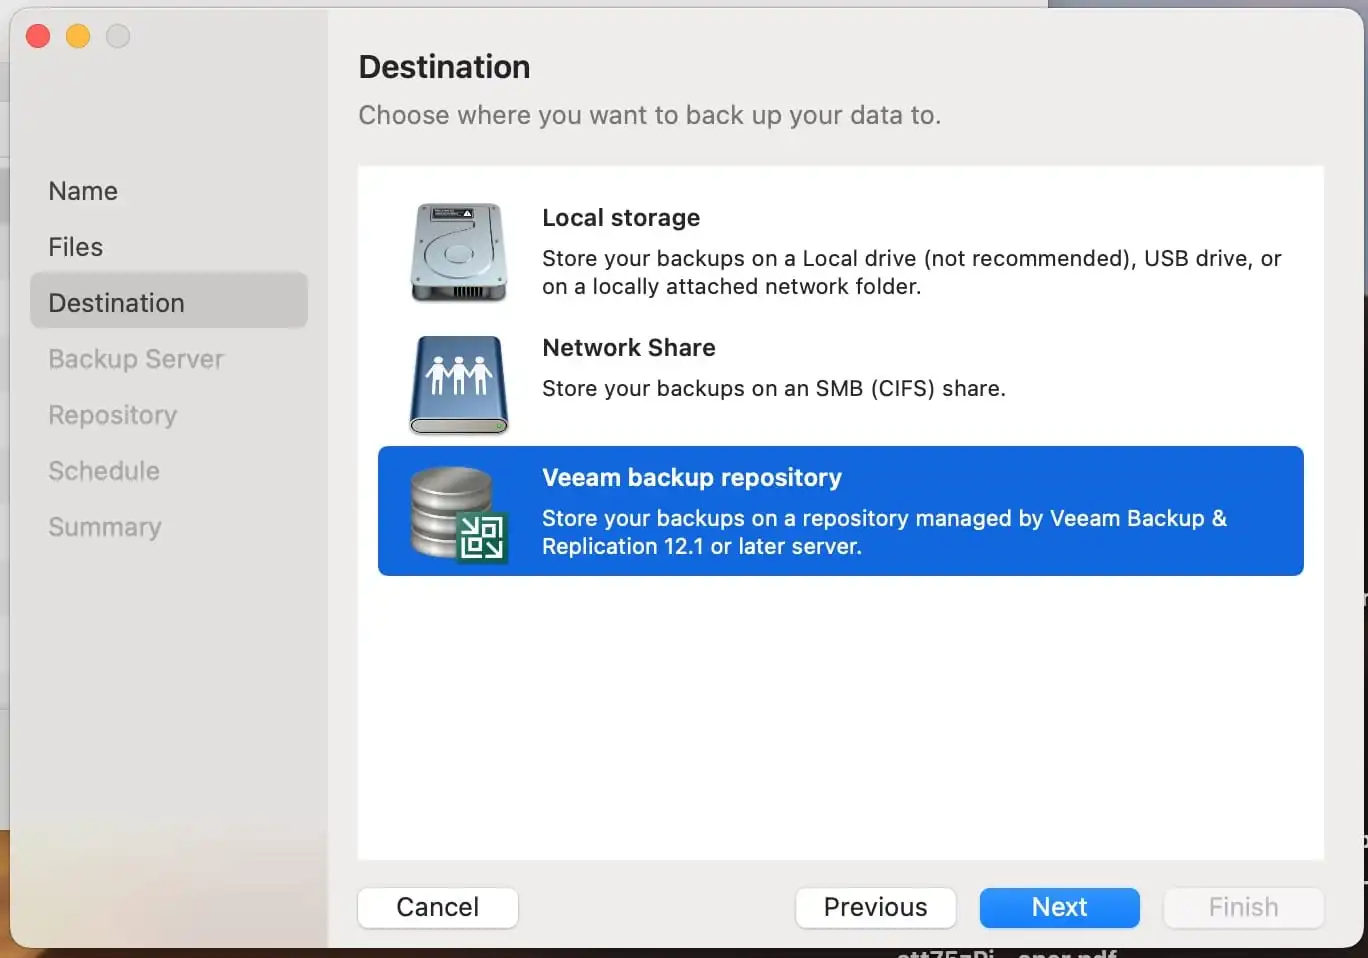
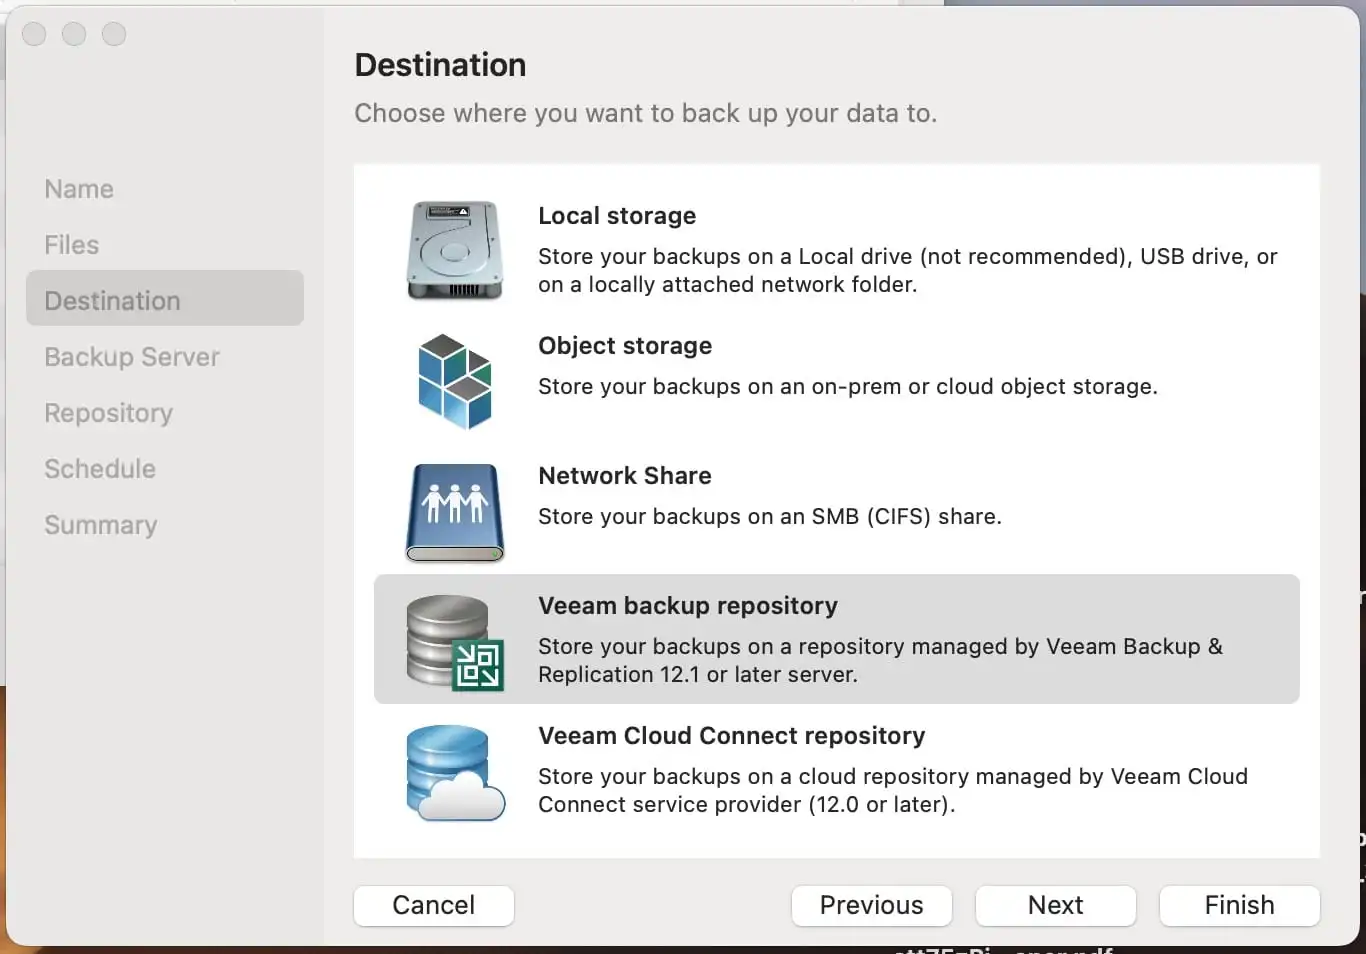
At the Destination step of the wizard, select a target location for the created backup
Populate the Veeam Agent for Mac with the shared folder information.
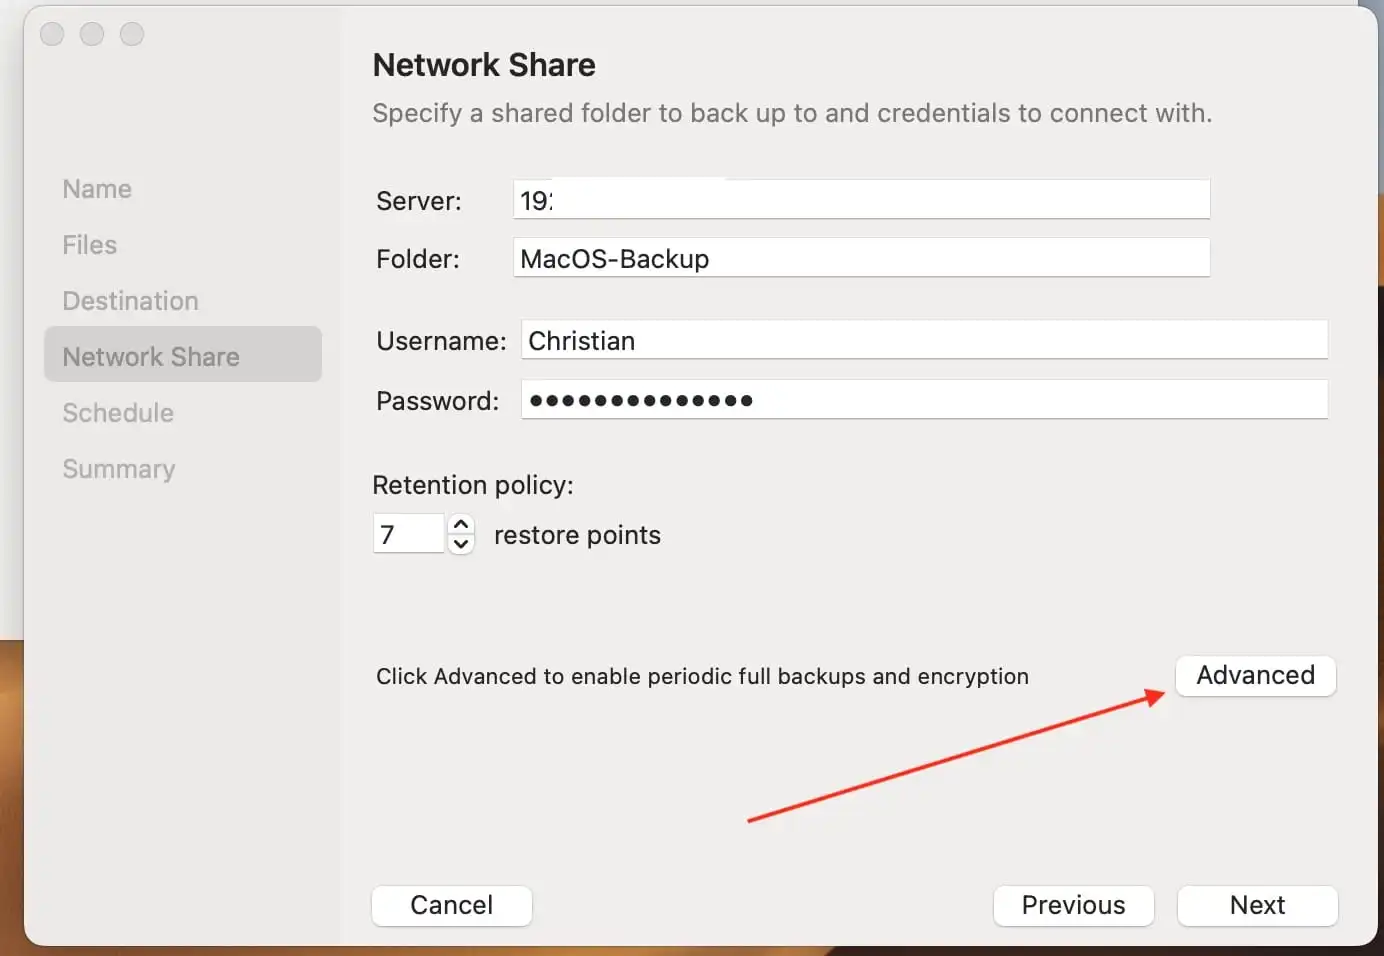
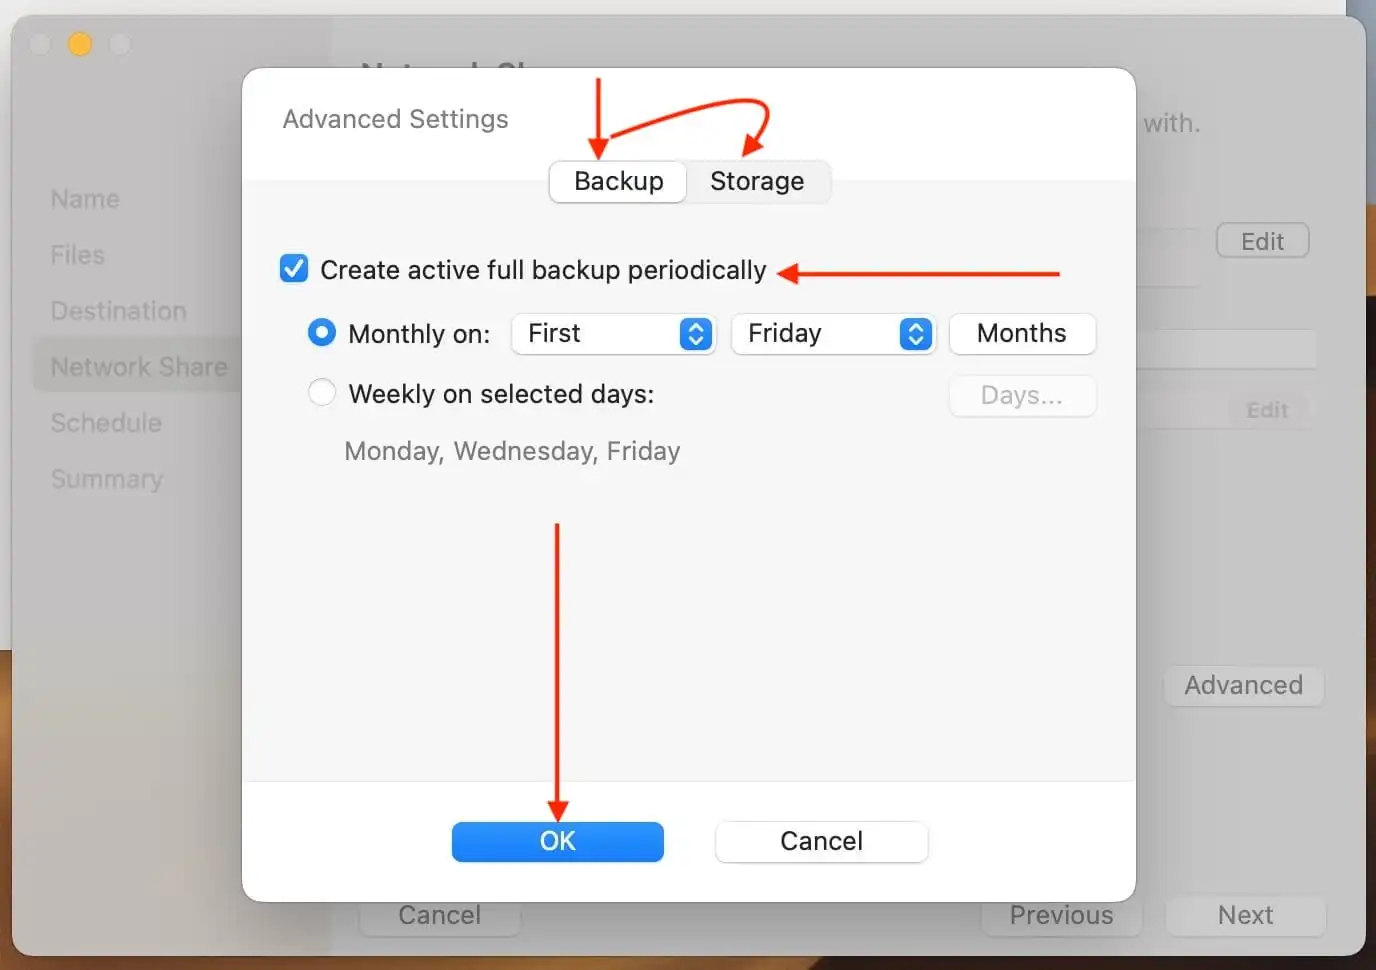
You can also define some advanced settings as shared below.
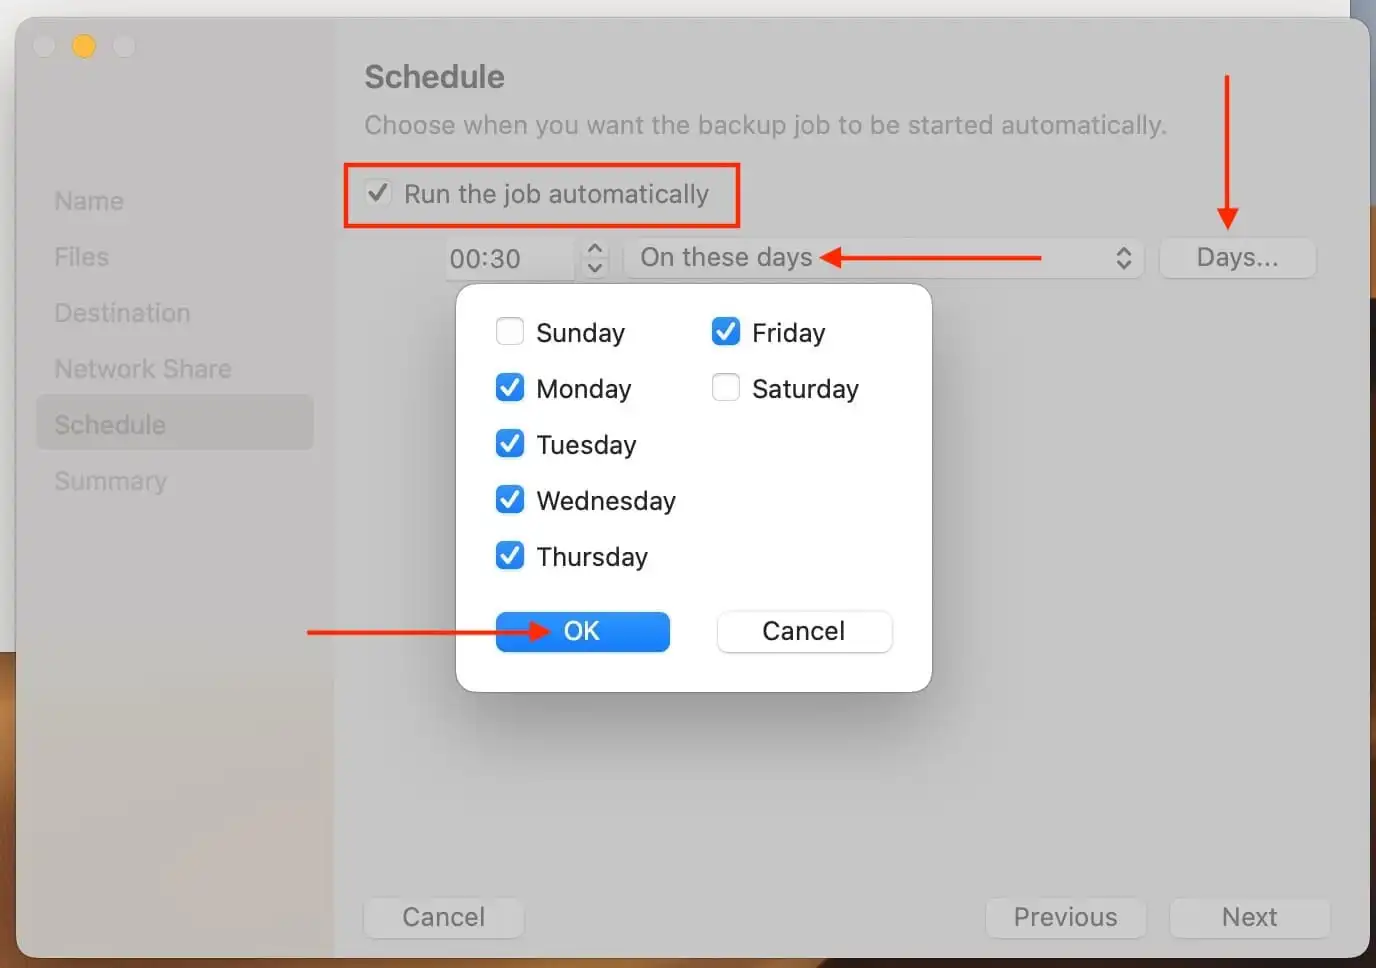
Define the backup schedule based on your need and decide if you wish to run the backup automatically without manual intervention.
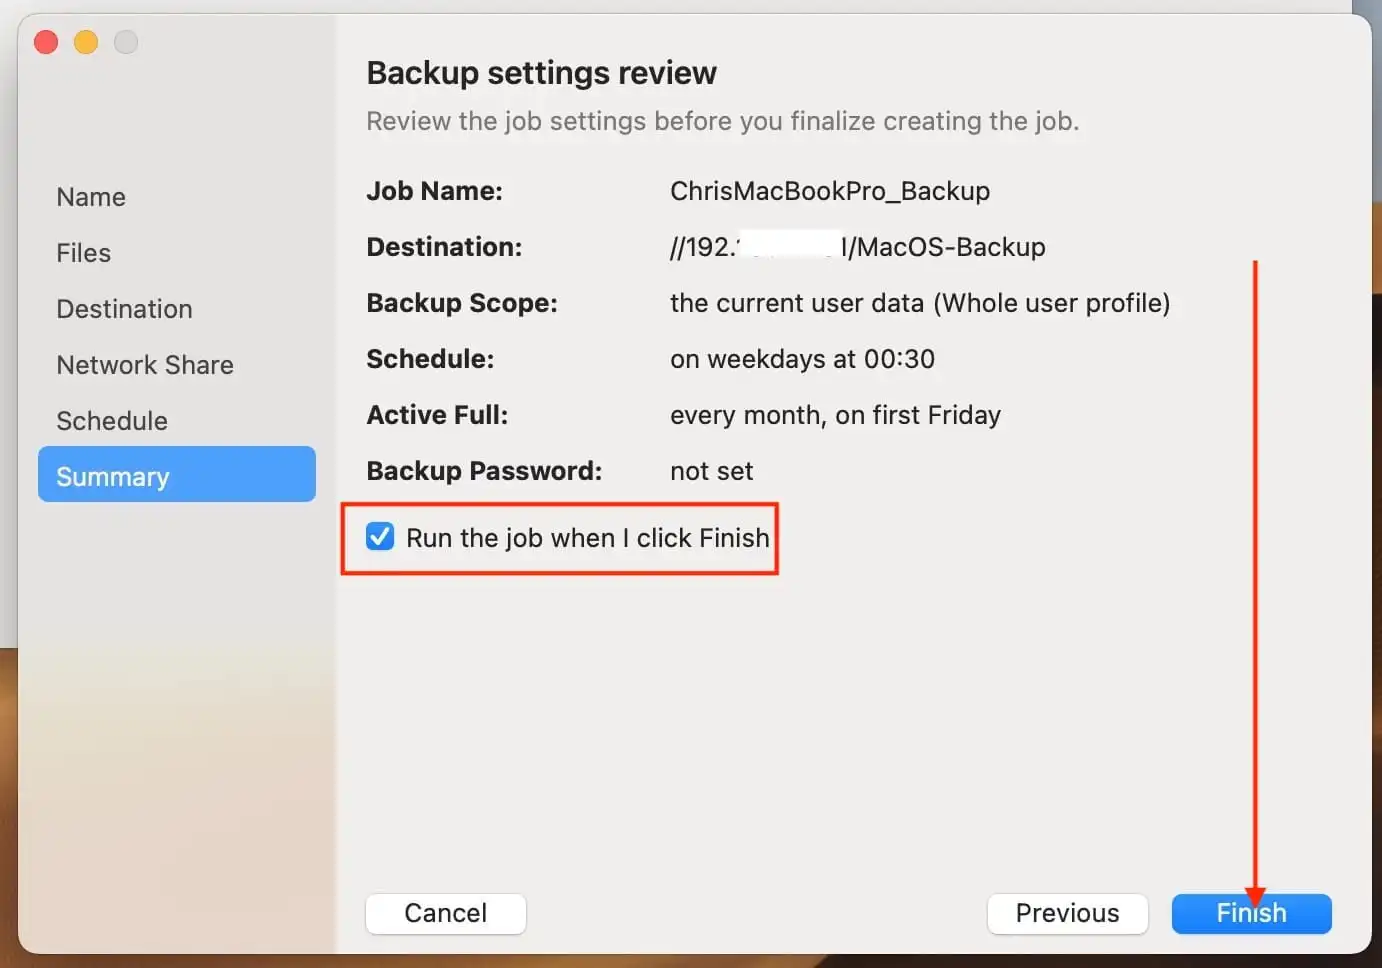
Please review the Backup Settings as shown below and decide if you wish to run the job when you click the “Finish” button
To avoid errors, ensure that you have the right permission in place.
Veeam Backup Repository as Backup Destination
Select this option if you want to save the backup on a backup repository managed by the Veeam backup server and click on Next.
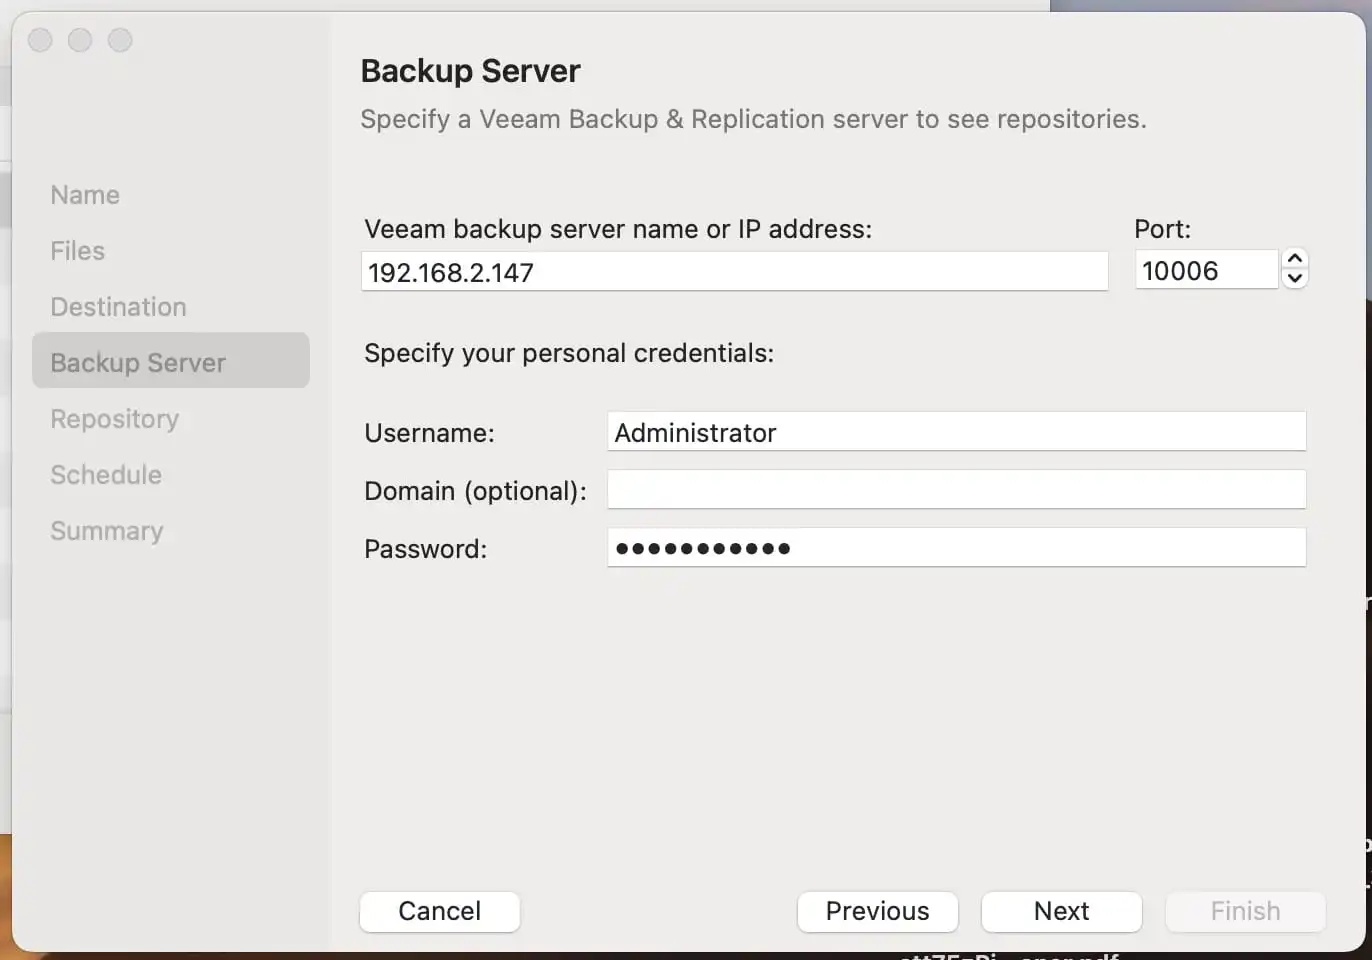
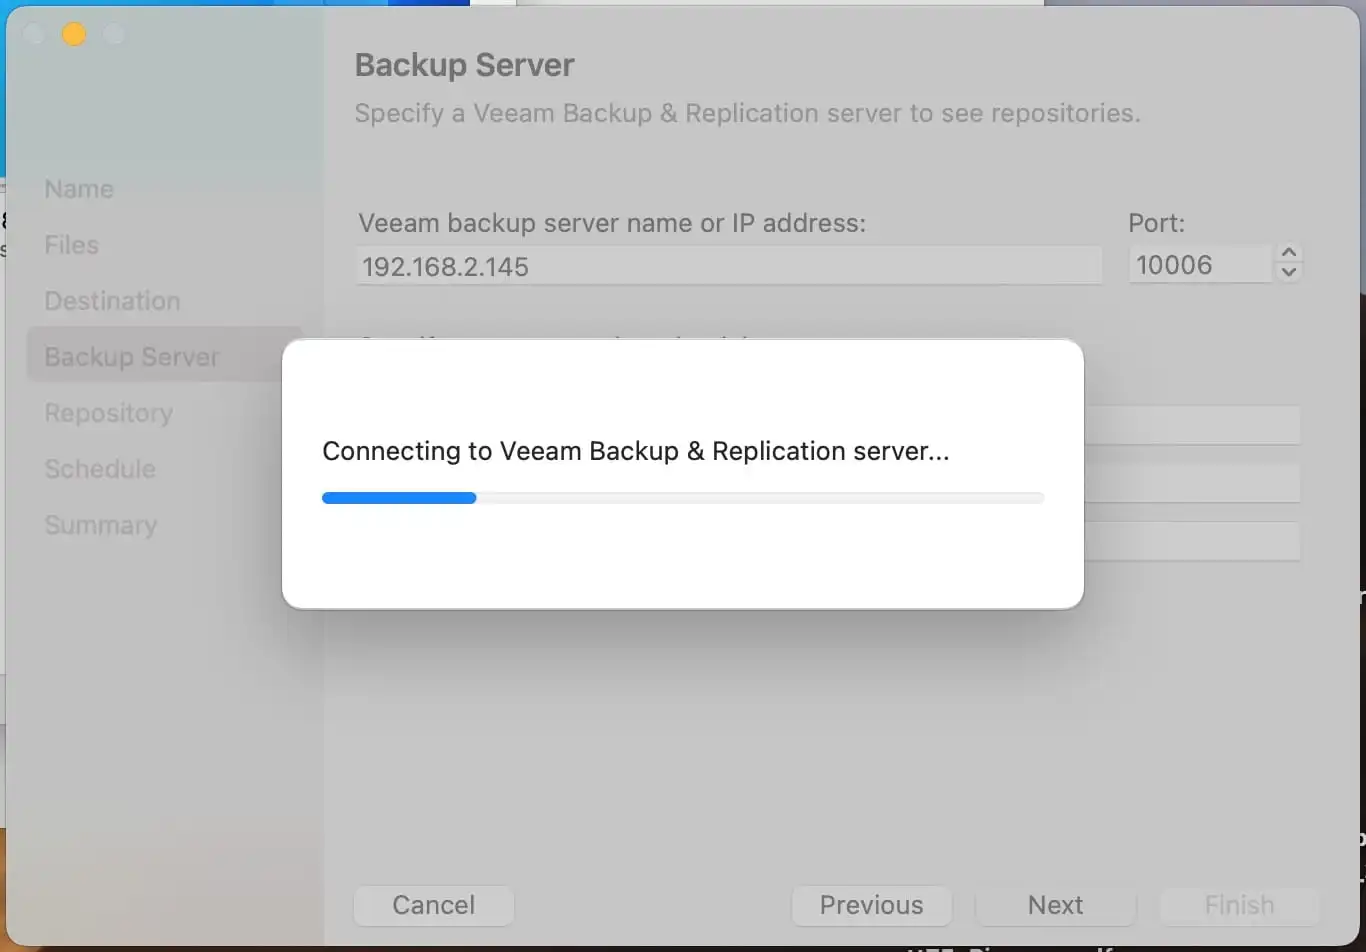
Enter the Backup Server Name or IP Address, and do not forget to speciify the name and password for your VBR as well.
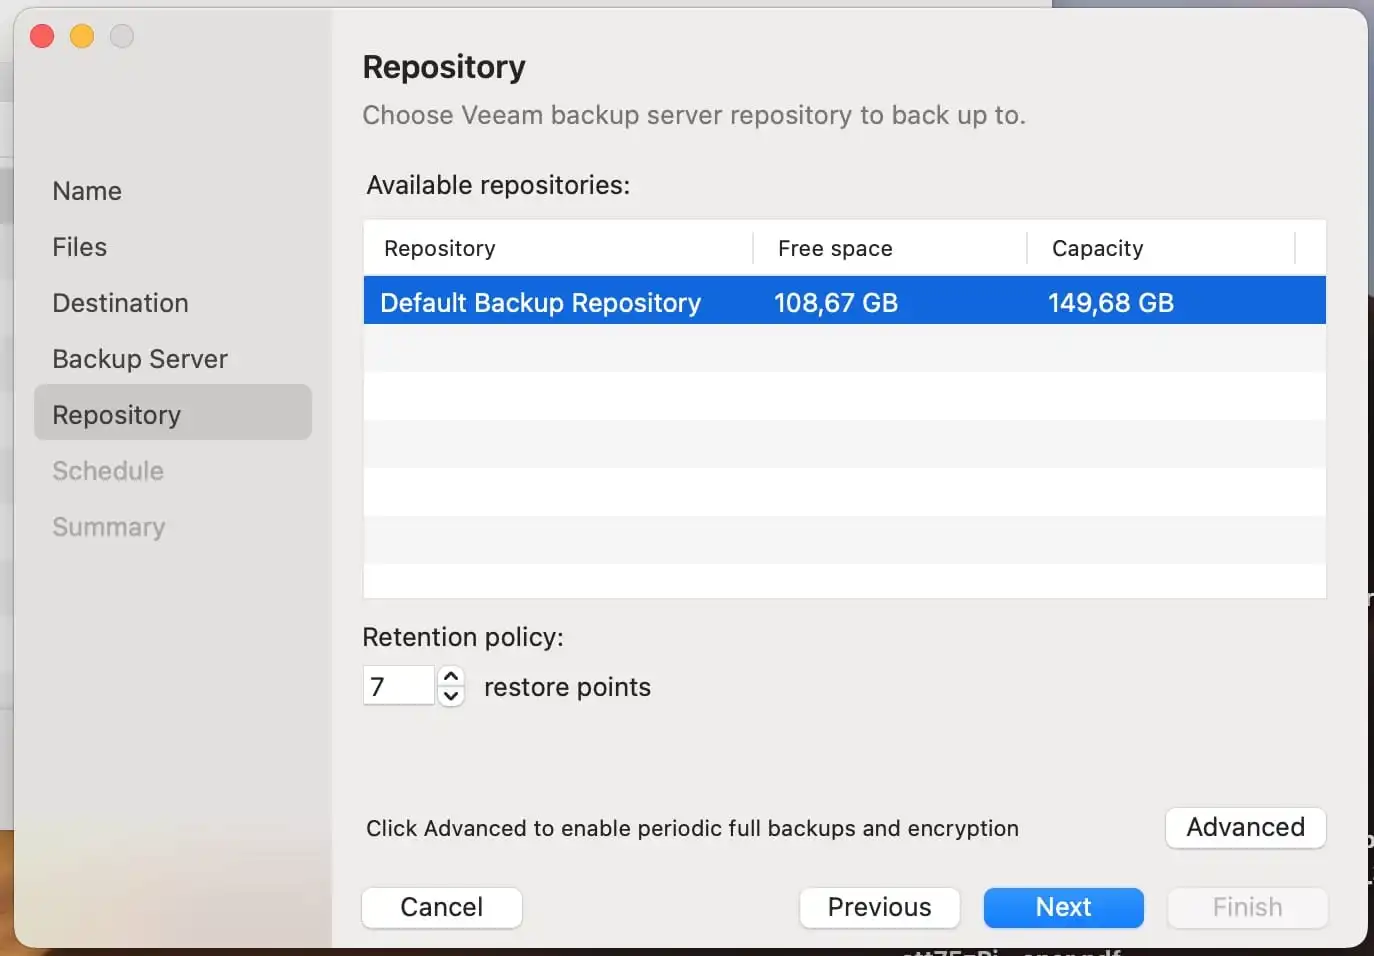
From the available repositories, select your desired repository to store your backup.
Note: I do have other repositories currently not available this time. This is because, the list of backup repositories displays only those backup repositories on which you have permissions to store data. So I will be using the default Repo at this time for the creation of this guide only.

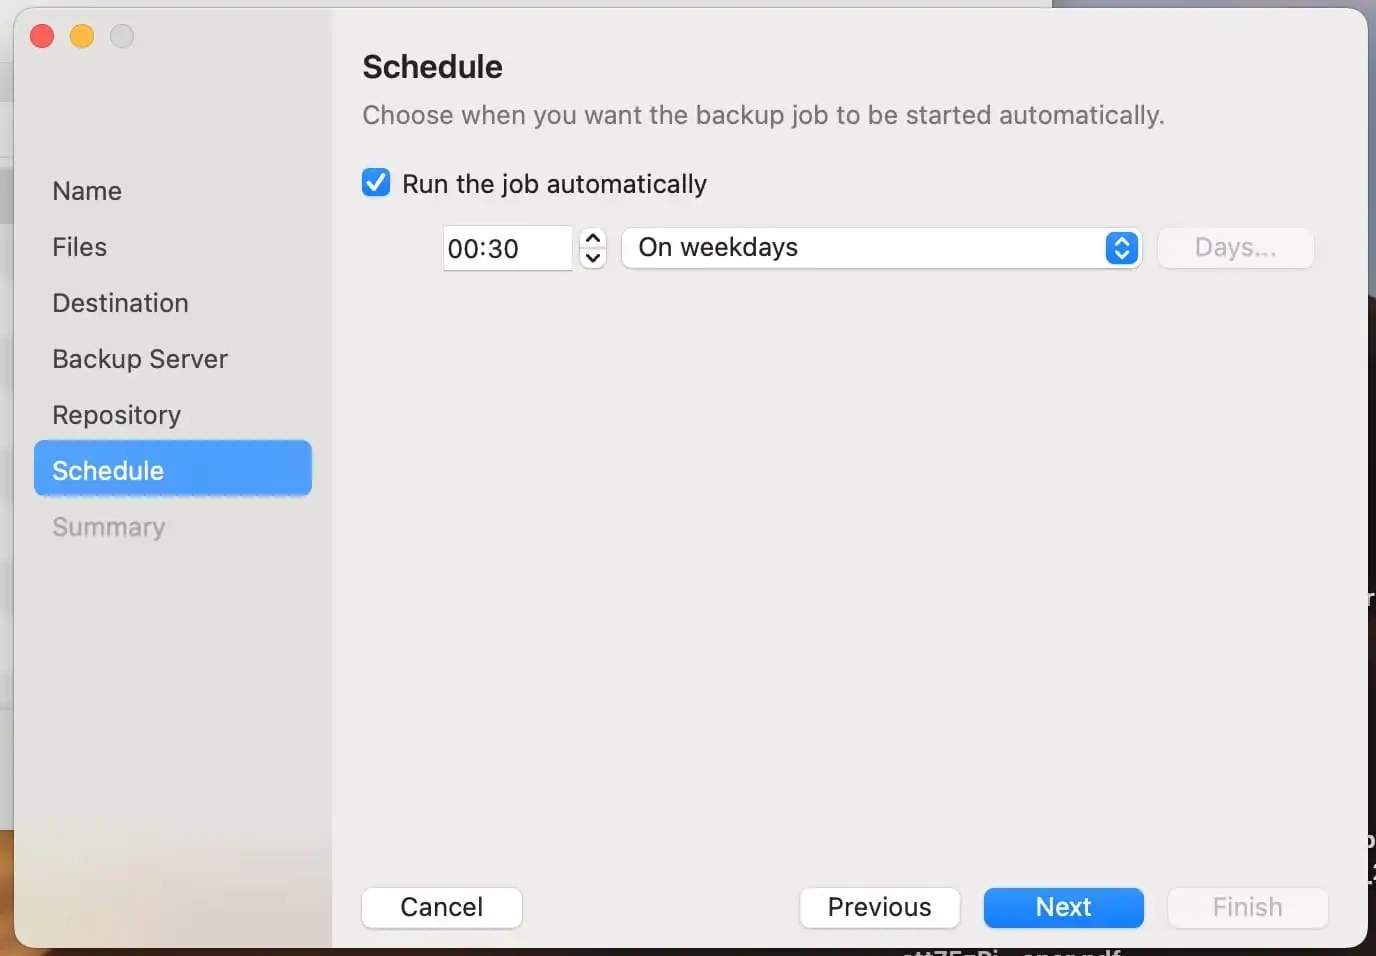
Please select your schedule and specify to run the job automatically.
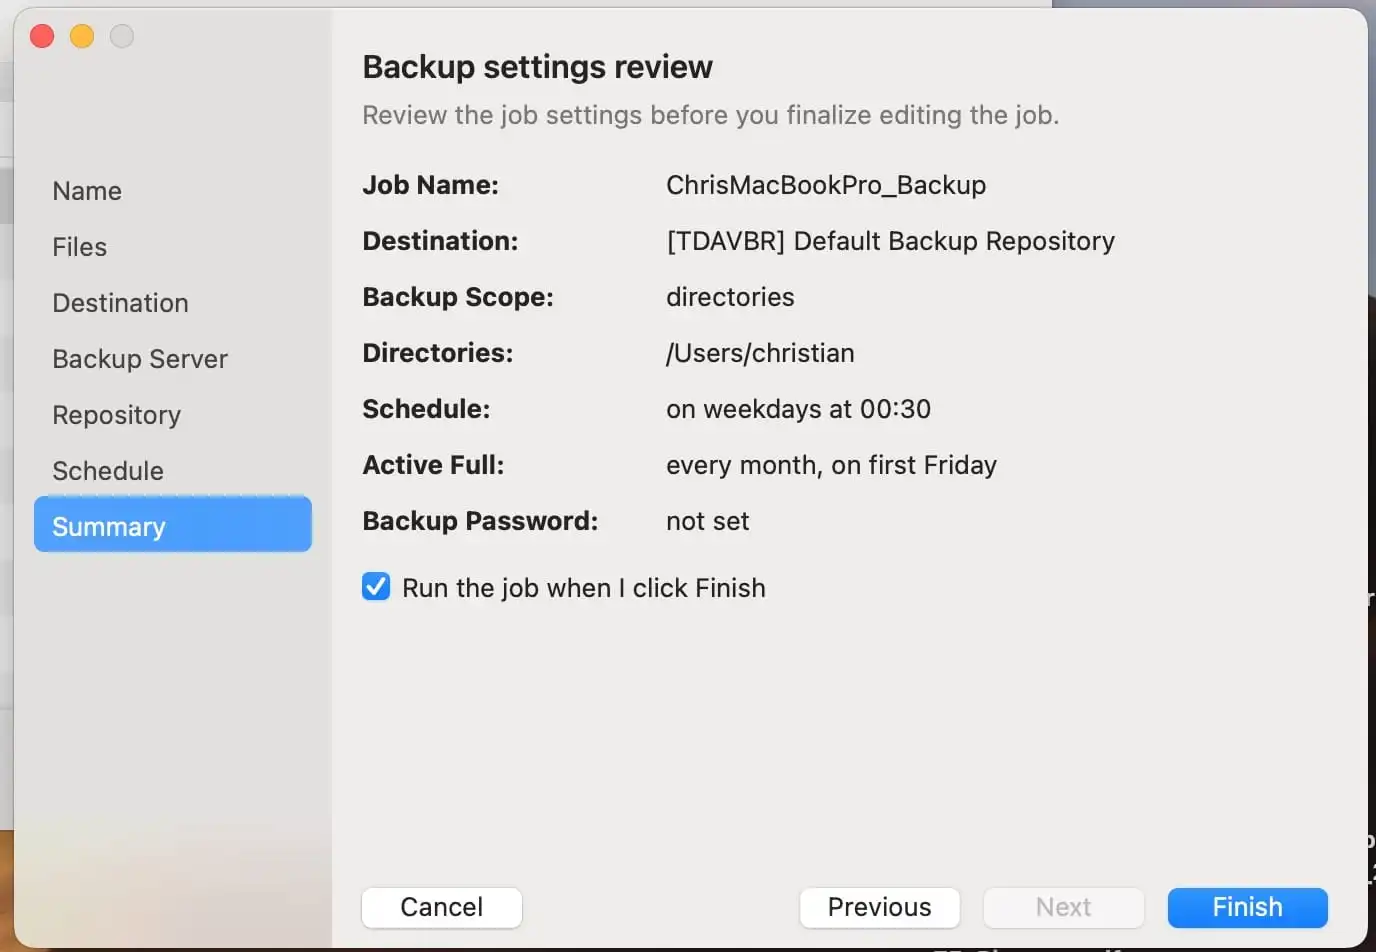
Kindly review the Backup Settings as shown below.
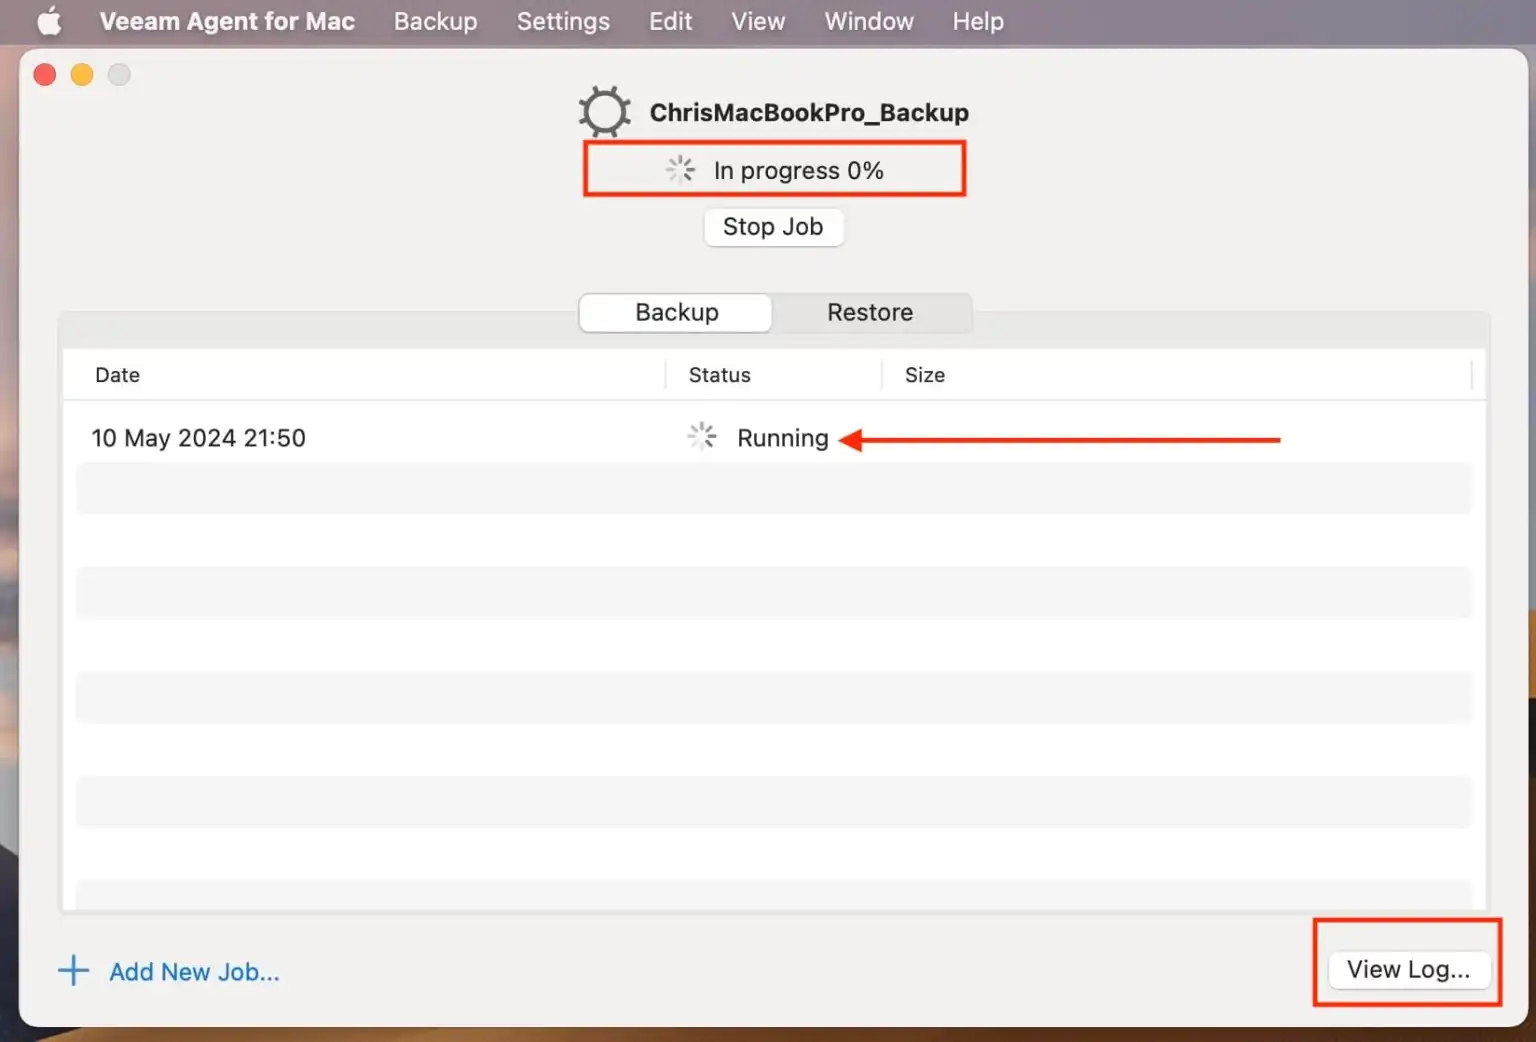
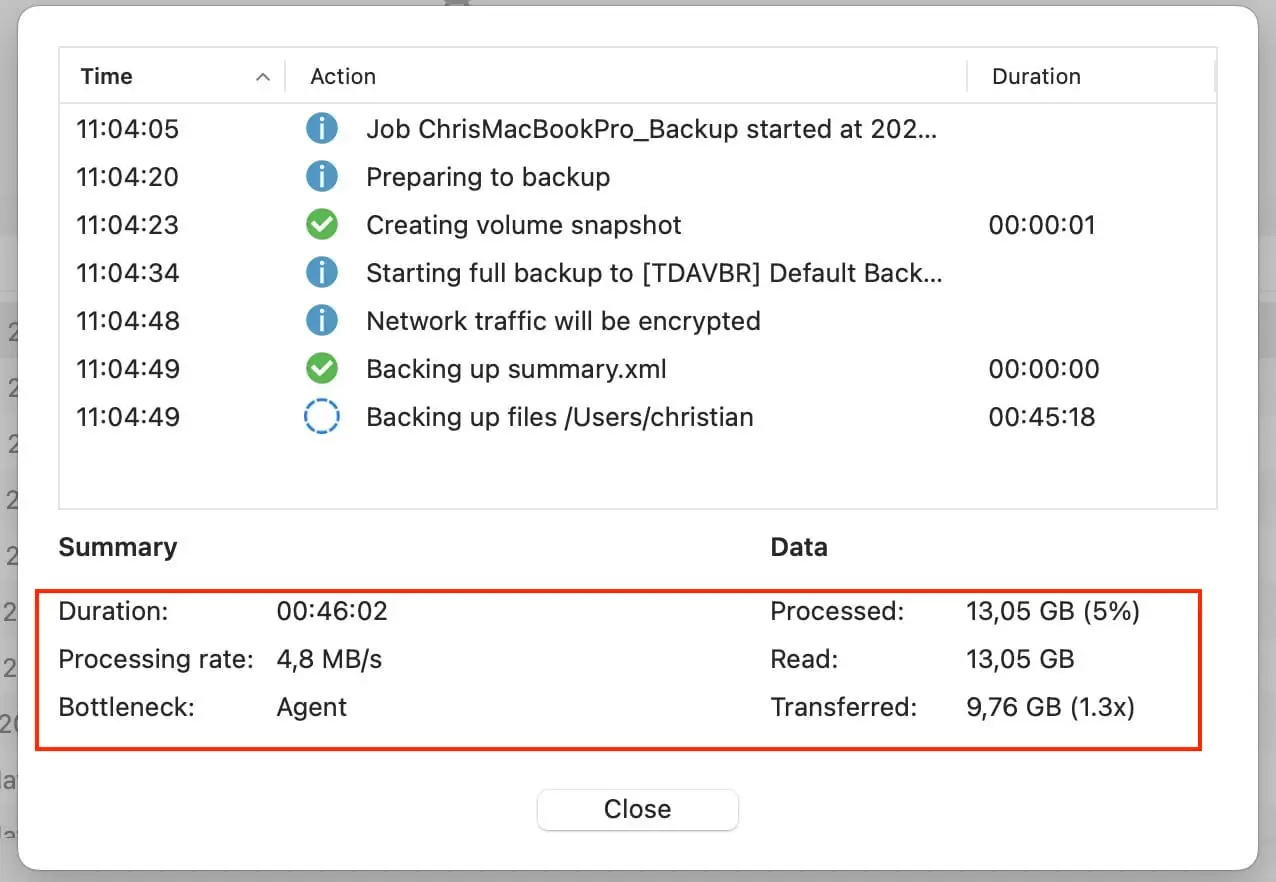
When the backup job is started, you can view the logs as shown below or discussed above already.
Note: When you select the Veeam Backup Repository as a backup destination, you will have other Backup Destinations available as shown below when you edit your job and will be available henceforth.
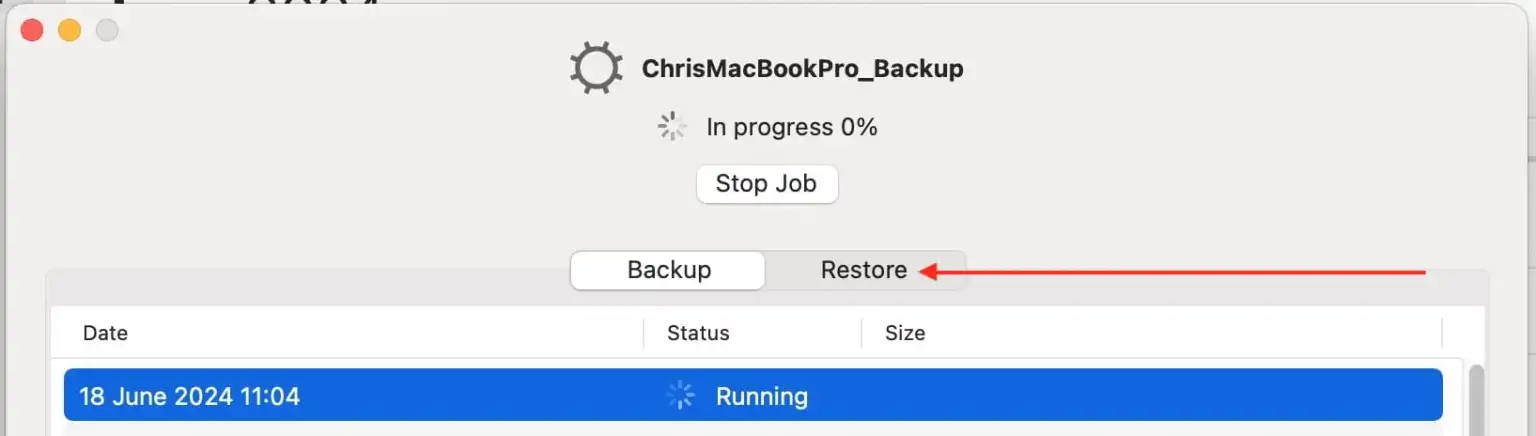
Veeam Agent for Mac Restore
In this section, we will be showing you the steps to perform individual or user profile data restoration. Select the Restore tab as shown below.
Importing Backup
Note: If the backup file from which you need to restore data is not available in Veeam Agent on your PC. You can import the necessary backup file created by Veeam Agent for Mac into the Veeam Agent database. You can use the command-line or the Veeam agent status bar menu to achieve this.
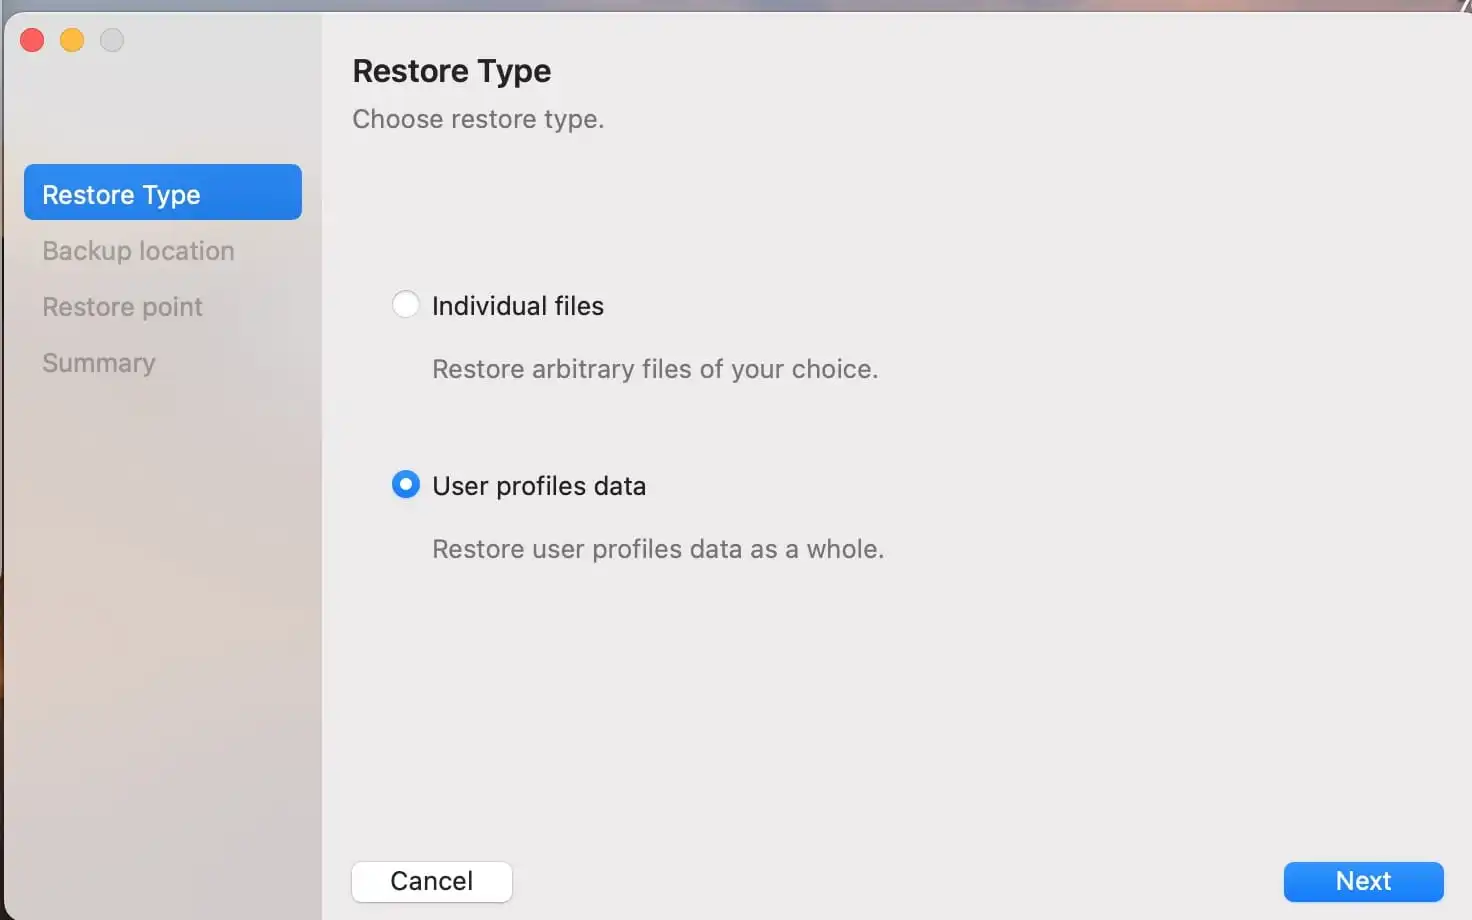
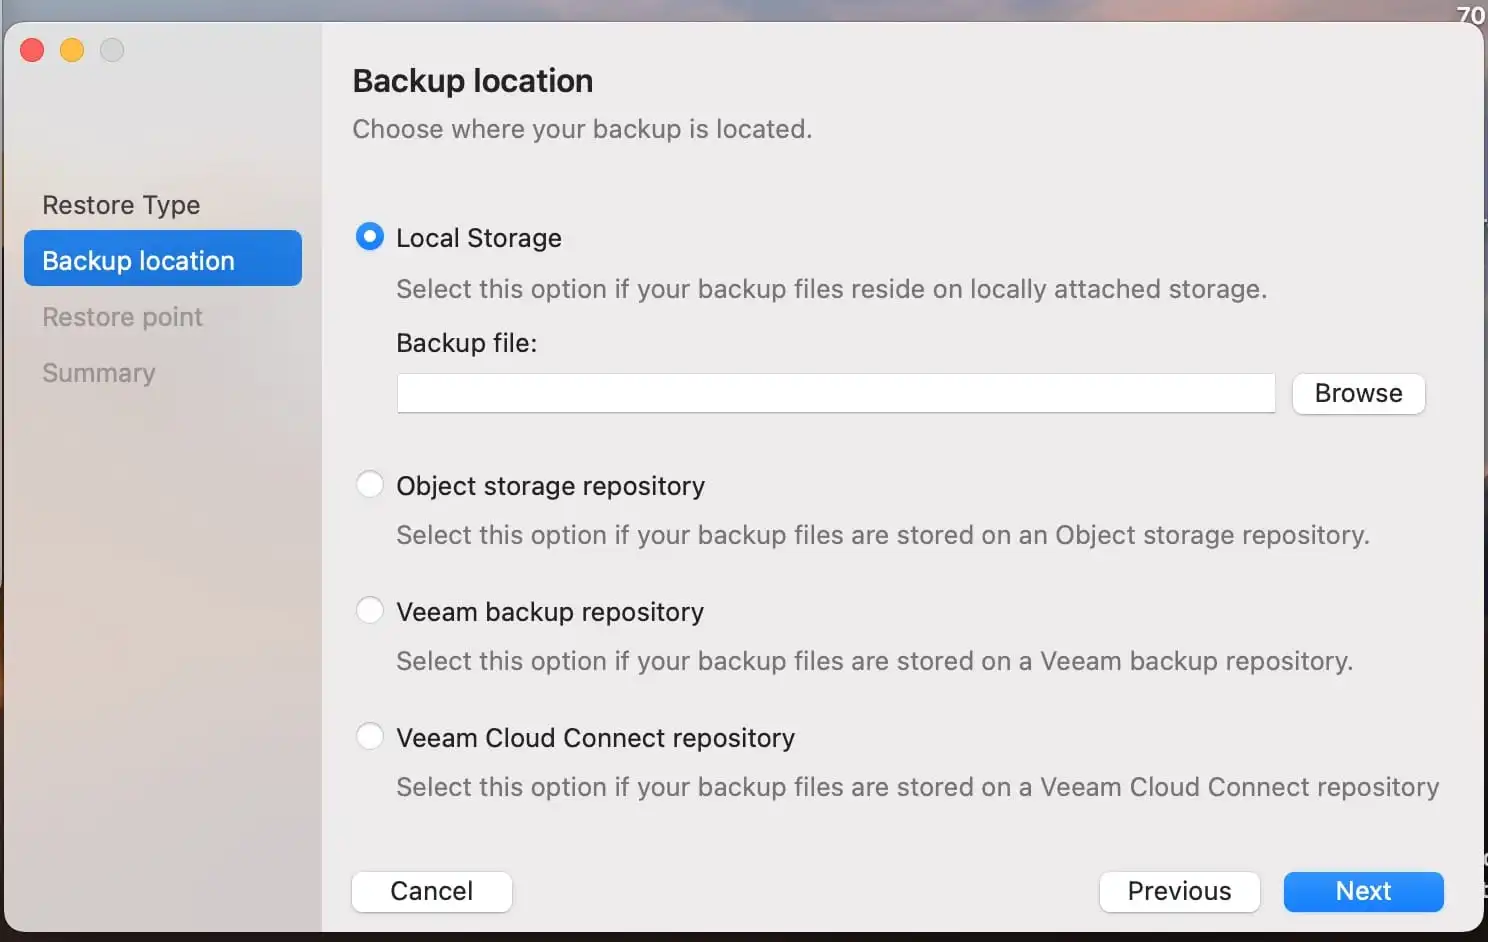
To perform the backup import, launch the Veeam Agent for Mac application menu. Select Backup and then Import Backup and select the “Restore Type”.
Select the backup location repository for the backup you want to restore users and continue with the prompts.
Veeam Agent for Mac Log Export
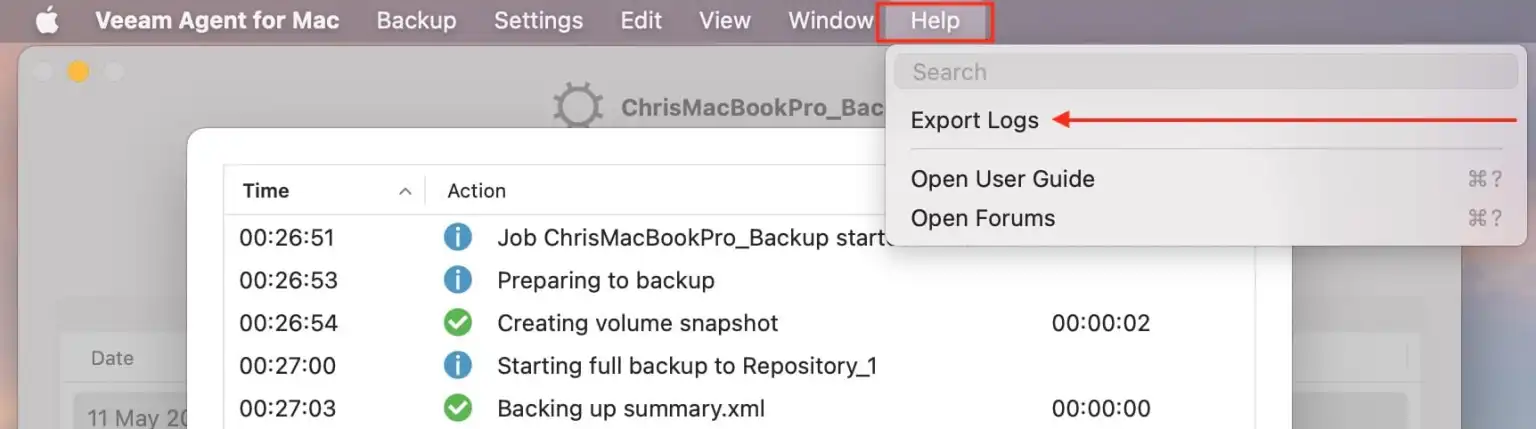
When you run into diverse issues and ant to troubleshoot the root cause or get external support from the Veeam Support Team. You would likely perform this operation. To do this, click the Help Menu and select “Export Log”.
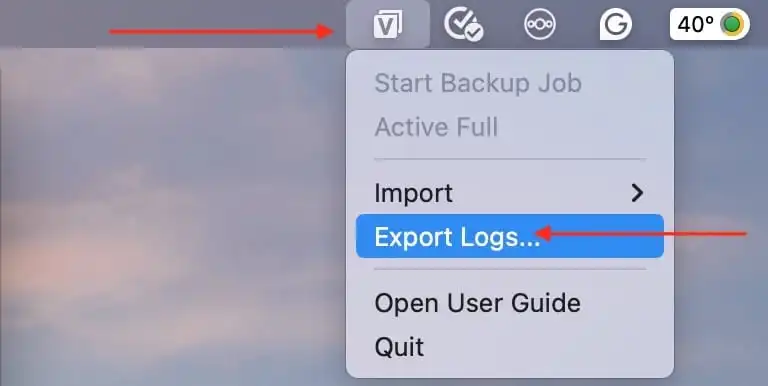
Alternatively, you could click on the Veeam Agent for Mac icon and select “Export Logs” as shown below.
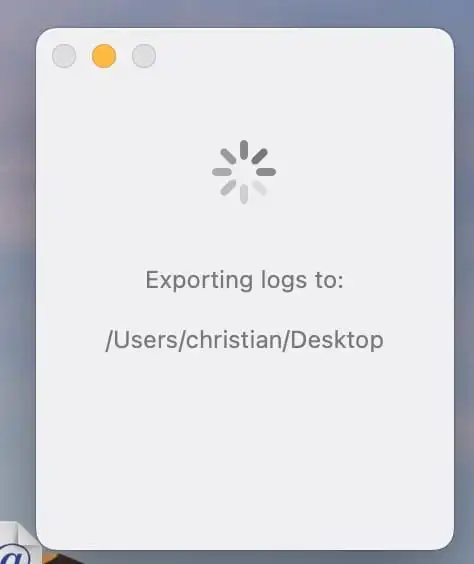
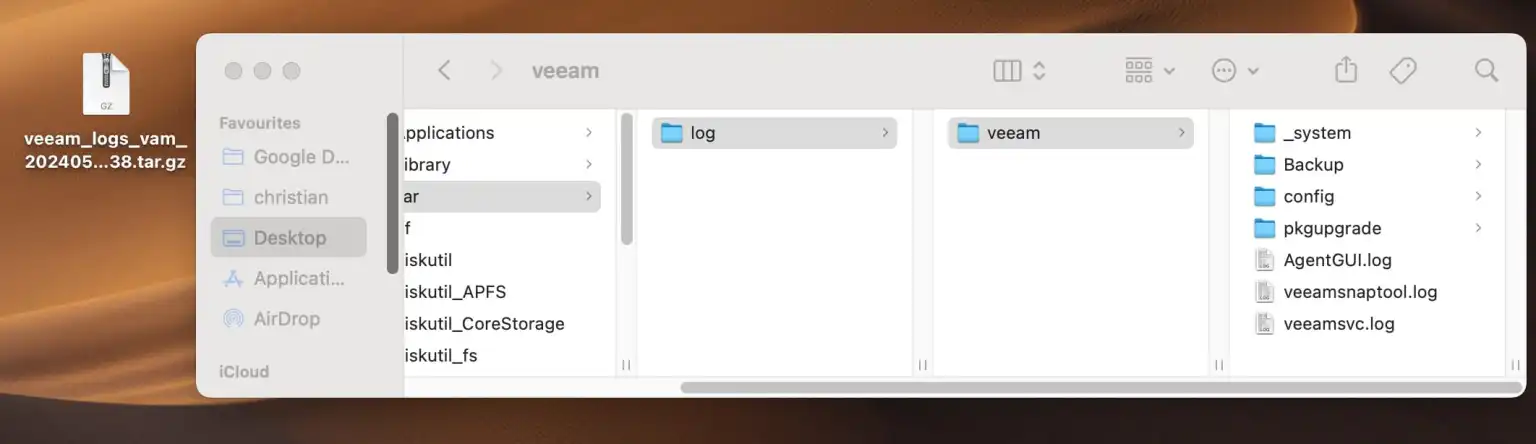
As you can see below, the logs are being exported.
Uninstall Veeam Agent for Mac
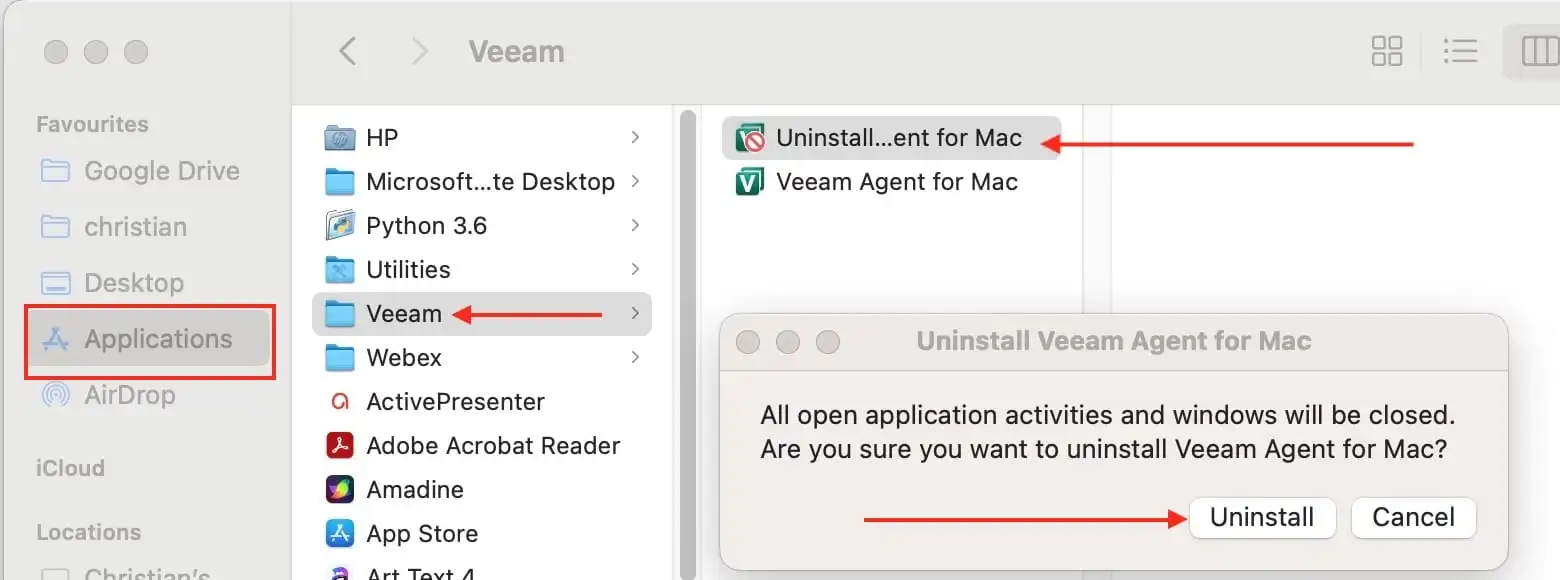
For some reason you may want to uninstall Veeam Agent for Mac which I advise against except for troubleshooting and reinstallation. To do this, launch the Finder, then click Applications in the sidebar of the Finder window.
Select the Veeam folder, and double-click the Uninstall Agent for Mac application. On the prompt, click Uninstall.
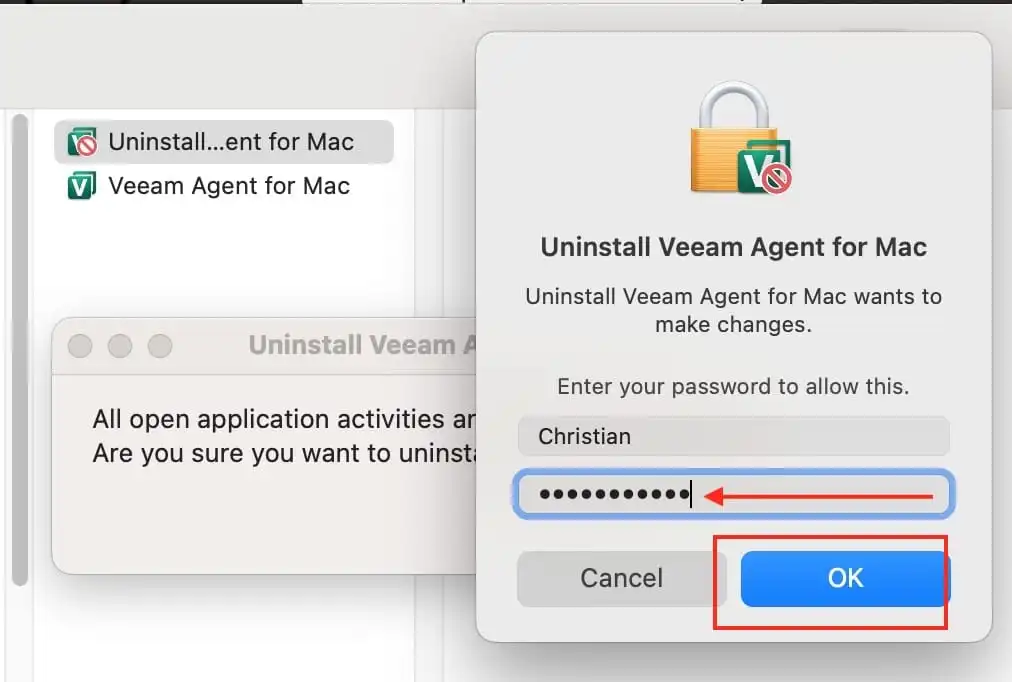
Enter your password
Shortly, the Veeam Agent for Mac and Uninstall Agent for Mac applications will be removed from your device.