This is part four of the blogpost. If you want to read it from the beginning, head here: SOBR Archive Tier – Explained and Configured – Part 1 of 4 | Veeam Community Resource Hub
In this last part, we will cover the free section of our feat and put things together in VBR.
Setup within VBR
Now it’s time to create the new object storage inside your VBR console. Add a backup repository of the type “Object storage”.
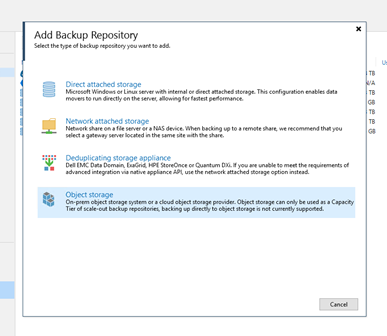
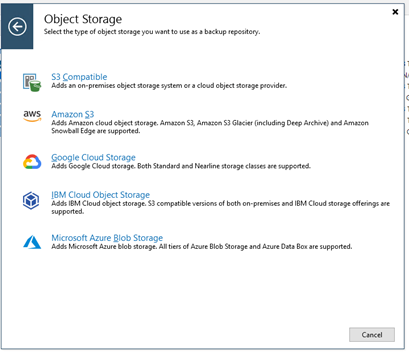
Choose the appropriate hyperscaler. For the archive tier currently only AWS and Azure are supported. We’ve used Azure in the example.
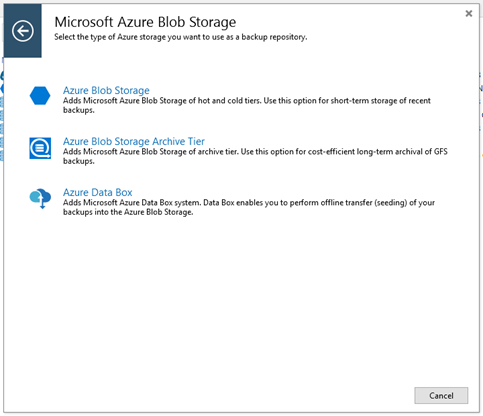
Now the differentiation from capacity tier is made by selecting “Azure Blob Storage Archive Tier” instead of just “Azure Blob Storage”.
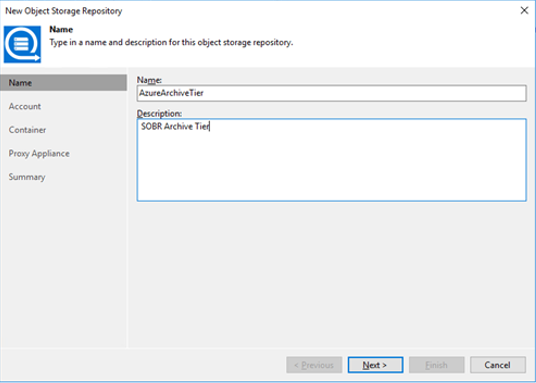
Give the new repository a nice name and description within VBR.
And provide your storage account name and the shared key collected in part 3. This will be added into the credentials database of your VBR installation.
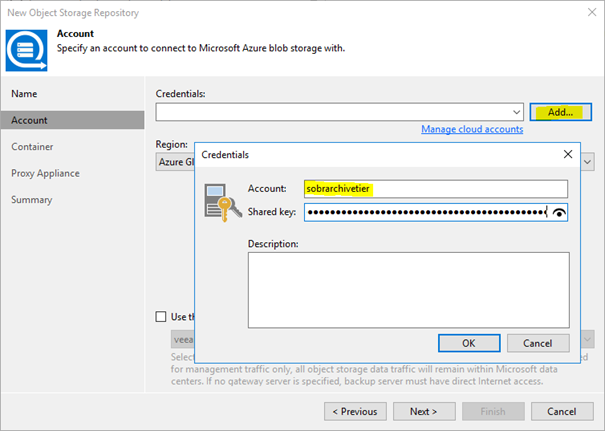
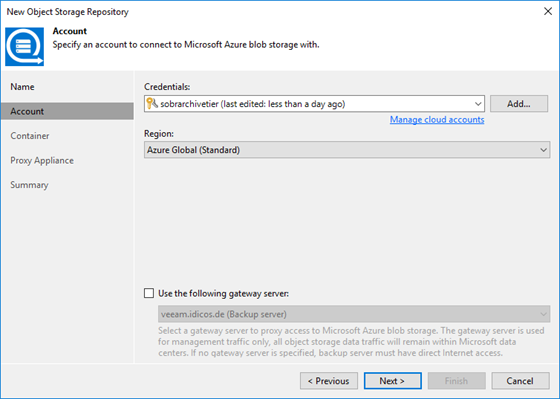
Use “Azure Global” as your region. Other options as of now are only meant for governmental use or for the China region.
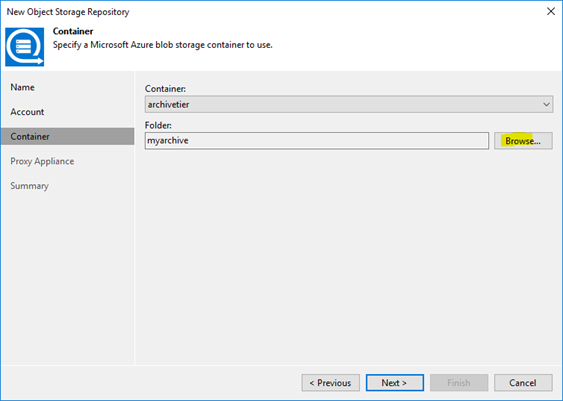
On the next dialog you can select the container we defined before and generate a folder inside by clicking “Browse…”…
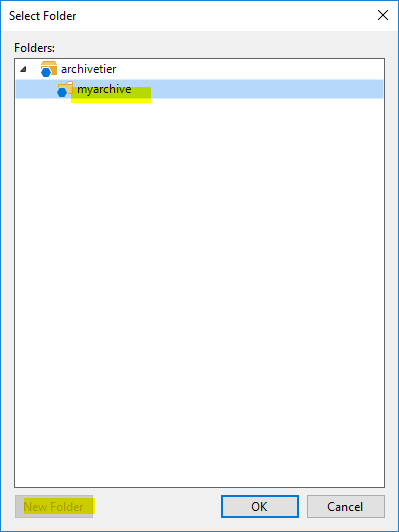
…and “New Folder“ in the dialog appearing.
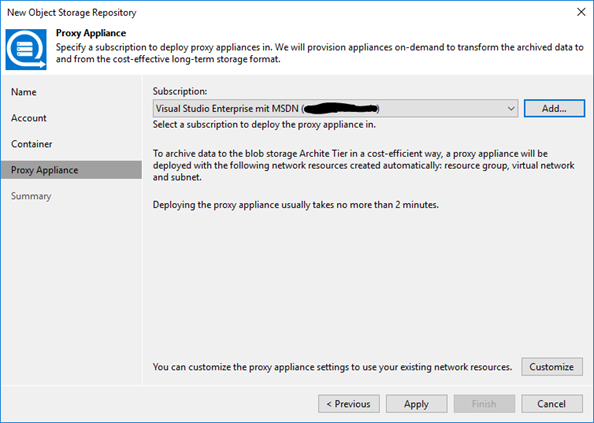
I already mentioned that we cannot directly push data to the archive tier. So, we need some help from a workload inside our hyperscaler’s environment. As our VBR installation has to deploy this workload, it needs access to your subscription. In my example I have to provide the credentials to the Azure subscription the archive bucket resides in. These credentials will later be used to deploy the proxy appliance inside Azure which is needed to migrate the data from the capacity tier to the archive tier.
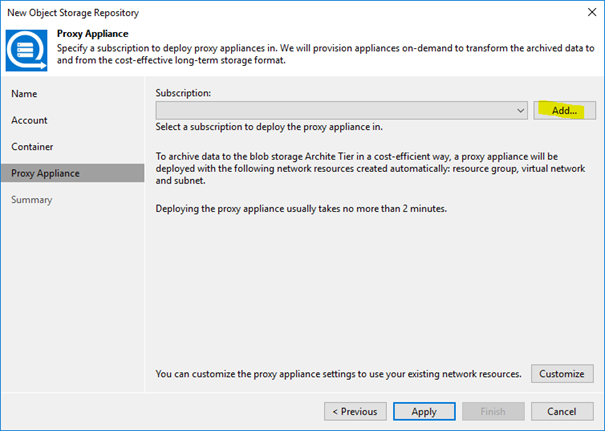
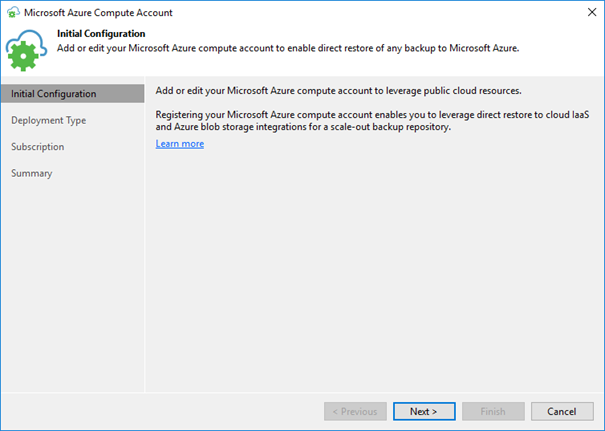
Once you clicked „Add…“ you will be driven through a wizard collecting the data needed.
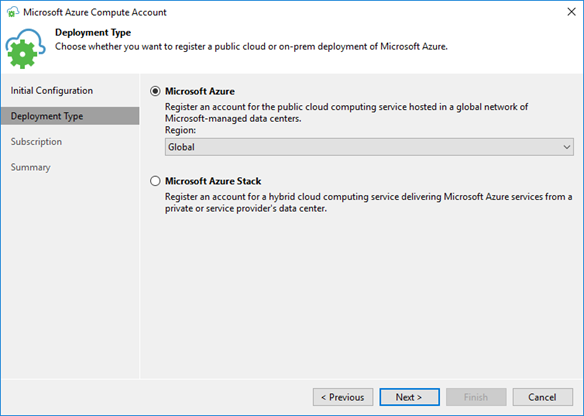
Choose „Global“ again…
…and create a new account with “Configure account” if you do not have it in your Veeam credentials store already.
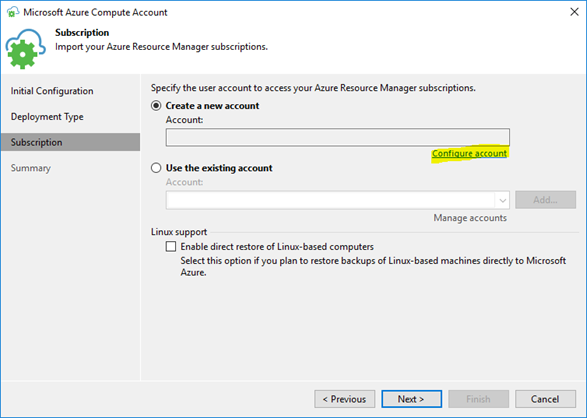
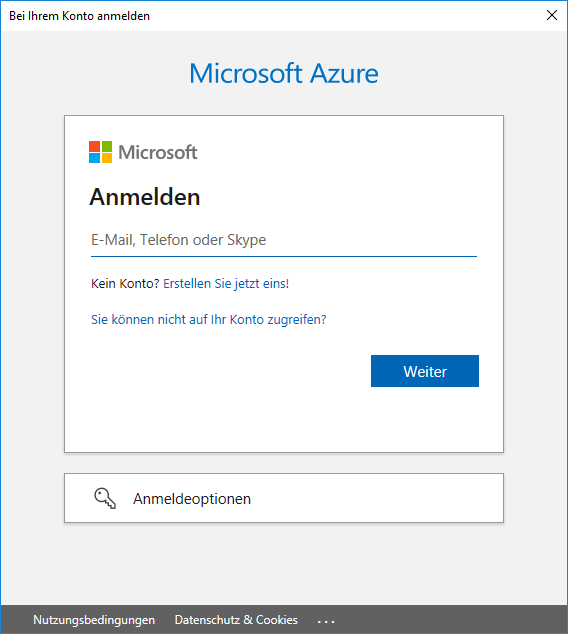
Now you can enter your Microsoft account name and password to access Azure.
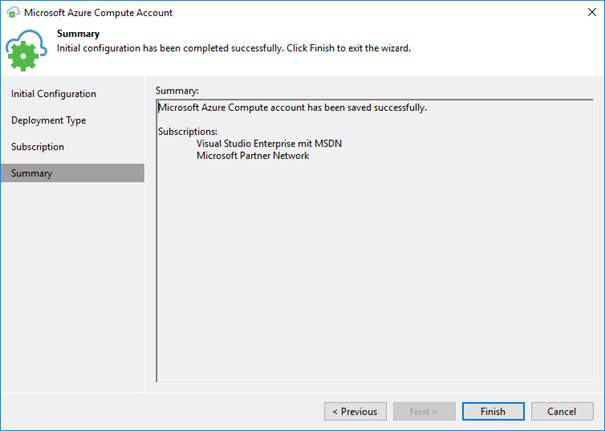
Veeam will read the subscription details from Azure.
This finalizes the process to add the “Azure Compute Account”.
We can now continue adding the object storage repository for the archive tier with customizing the proxy appliance. Hit “Customize” to do so.
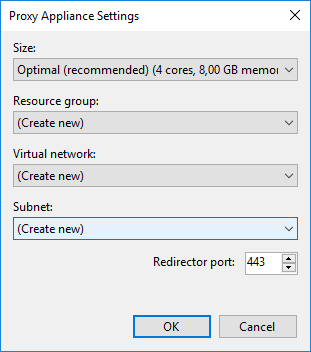
I kept the default settings provided which is the recommended size (“Optimal”) and “Create new” for resource group, virtual network and subnet. Also the redirector port I kept on 443.
This ends the process of defining the repository with a summary.
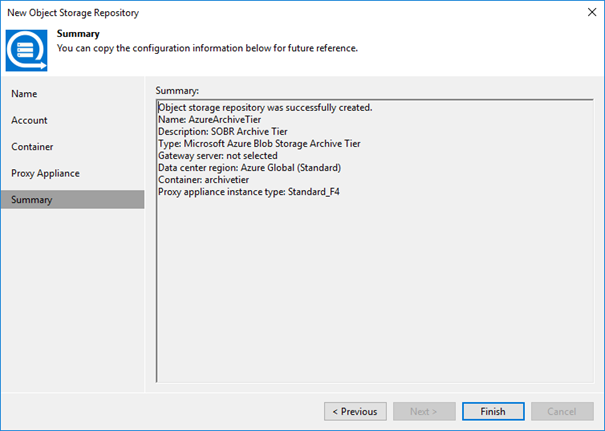
We now have created another object storage repository besides the one we use as a capacity tier of our SOBR. Take note of the different type here.
Now we can include the new repository into our SOBR. Edit your SOBR and head to the “Archive tier” tab to do so. Here we can also define the threshold of days after which we want to offload the backups from capacity to archive tier. Of course, you have to have backups of that age in the SOBR before it will happen. Make sure your backup jobs have retentions that long.
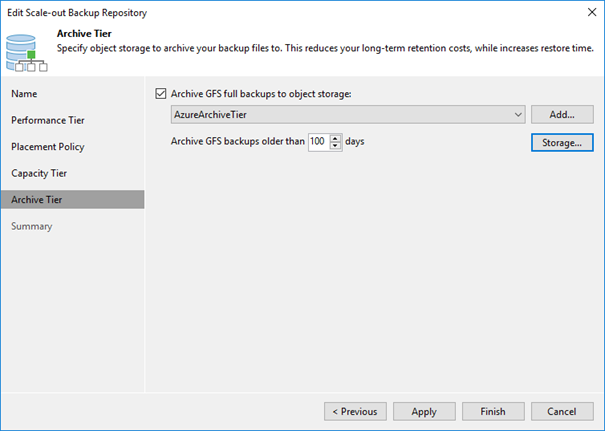
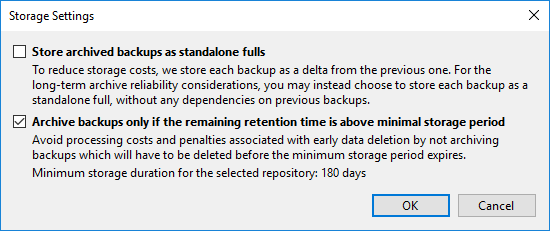
The button “Storage…“ allows us to fine tune the offload further. Archived backups will always be full backups. But they can leverage block re-usage which is comparable to fast cloning inside a ReFS repository. Without setting the checkbox at “Store archived backups as standalone fulls”, we will generate synthetic fulls in the archive tier that re-use blocks already ingested. This results in a deduped archive tier. For data security and long-term stability reasons one might opt to set the checkbox. This results in fully independent fulls in the archive tier. No block re-usage will occur.
The next checkbox should be checked to prevent unnecessary ingests to the archive tier. The migration from capacity to archive uses compute resources in the proxy appliance discussed. As we have to pay for this, we should not migrate data that will be deleted soon anyways. This setting makes sure the migrated data will be kept in the archive tier for a minimum amount of time that justifies for the migration cost. If your primary jobs have shorter retention periods, no data will ever flow to the archive tier.
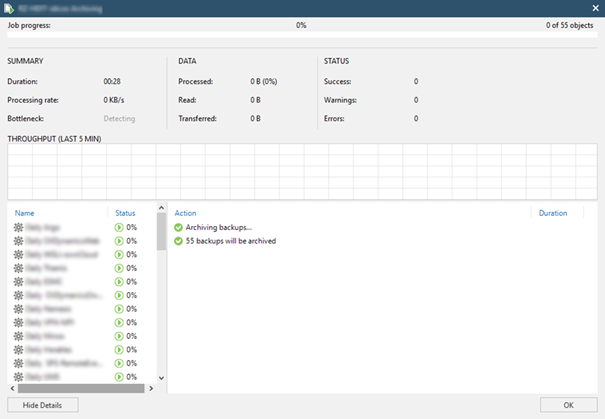
Once defined, we will right away see the offloading job appear if the policy dictates to shift backups from capacity to archive already.
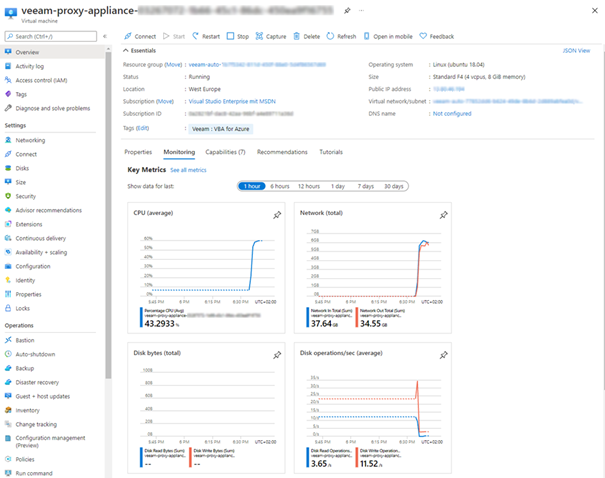
If we now jump back to Azure portal, we see the proxy appliance(s) appear and vanish again.

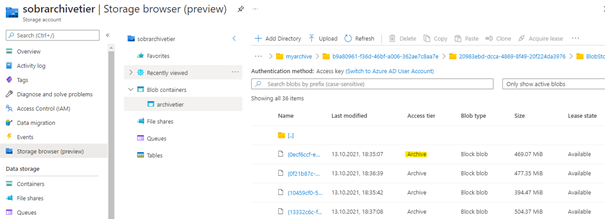
Inside the container we can see archive blobs of up to 0.5GB of size appear.
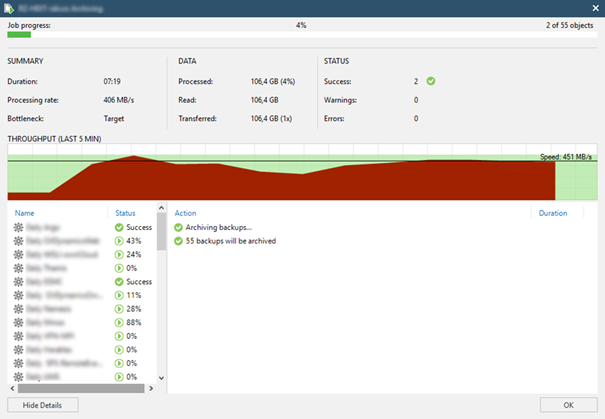
According to the amount of data VBR spawns several proxy VMs inside Azure. So the transfer speed reaches quite attractive values.
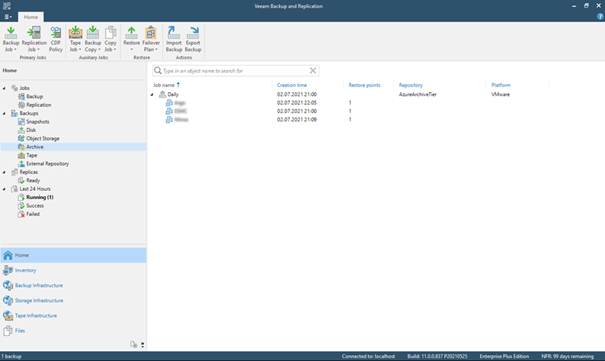
The nice thing about the SOBR is the full transparency inside the console. VMs migrated appear within the Archive hive of the backup tree.
Inside Azure you can scrutinize the work of your proxies if curiosity demands.
Summary
The archive tier nicely complements the great flexibility of the Scale-Out-Backup-Repository.
With the capacity tier allowing us to copy and maybe offload data to a cloud tier to have a secondary backup in a (maybe) less expensive storage layer, the archive tier allows for even cheaper long term storage.
Just to give an example from my demo environment. There I backup VMs worth 7TB of gross VM data resulting in VBKs for one full backup of roughly 3.5TB of size due to the ~50% compression we achieve.
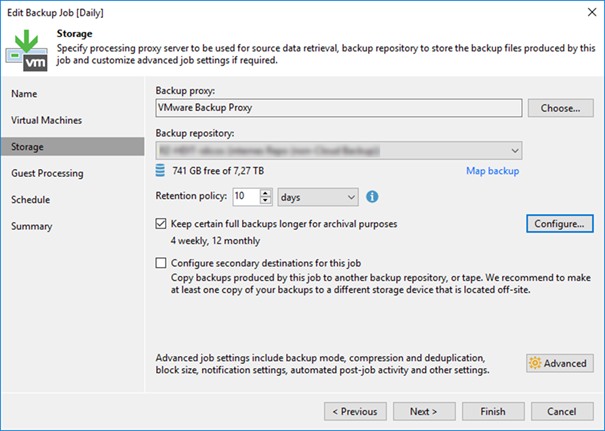
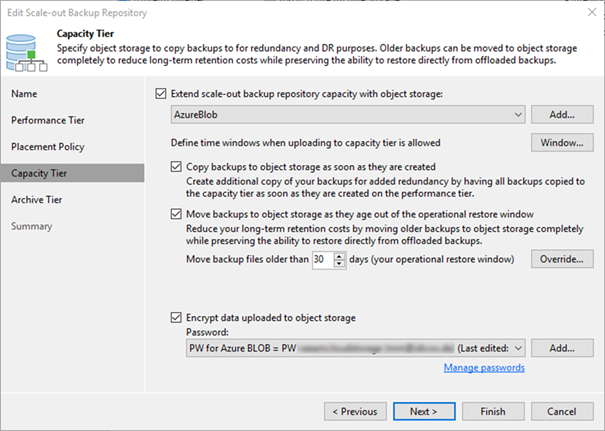
To satisfy the 3-2-1 rule, the SOBR’s capacity tier does immediately copy all restore points to the capacity tier.
After 30 days the restore points will be removed in the on-prem repo to free up space there. But they will be kept in the capacity tier. This is achieved by the operational restore window of the “move” option.
Finally, our new archive tier makes sure the restore points are again moved from capacity to archive tier once older than 100 days. As the primary job keeps the backups for a full year (GFS: 12 months), they will stay in the archive tier for 265 more days.
To give an estimate the costs for Azure storage in the example sum up as follows:
- VMs gross data - ~7 TB
- On-Prem Storage – ~12 TB, excluding ReFS savings
- Capacity Tier Storage – ~5 TB (Azure: 120 EUR/month)
- Archive Tier Storage – ~4 TB (Azure: 7 EUR/month)
- Migration Capacity->Archive – 1 EUR/month
Your milage of course will vary. You might have different pricing for Azure and also different dedupe ratios in the BLOB layer. Also, daily changes add to the capacity tier costs as we copy all increments for the sake of 3-2-1 as well.
The price difference is quite remarkable though. But keep in mind that if you need to recover the data from the archive tier, it first has to be rehydrated to the capacity tier. This is quite expensive for archive data and increases your RTO for these restore points as well.
Make sure the data is very rarely needed again, once pushed into the archive tier.
Then you will greatly benefit from the cost savings the archive tier provides.


