Hi Everyone as promised a short post about the new systemd on WSL.
As usual when it comes to Microsoft this will only work on the latest, i.e. Windows 11. One of my beefs with MS has always been that they push and nudge you forward even if there is no practical reason to do so. Just my two cents of course.
I ended up having to do this on a VM but even that is not without its issues as during the install you have to go into the registry to be able to install Windows 11 in order to disable TPM.
There are some instructions on how to do this here: https://michlstechblog.info/blog/windows-11-on-vsphere-bypass-tpm-2-0-check/
I found this great blog that helped me get past the issues with updating your WSL and getting stystemd working: https://devblogs.microsoft.com/commandline/systemd-support-is-now-available-in-wsl/
Maybe there is a better way to do this but it worked for my test setup.
As always you will want to do all of the windows updates.
Next you need to check what version of WSL you are running.
wsl --versionIf that command does not work you are not on the right version .
Next try:
wsl --updateMost likely however you have the in-windows version of WSL so you would need to install the Windows Store version (sorry this process is … simply. well. no comment).

After installing that try the update command again:
wsl --updateIn the end though I had to go to the MS WSL github page and download the latest version from there:
https://github.com/microsoft/WSL/releases
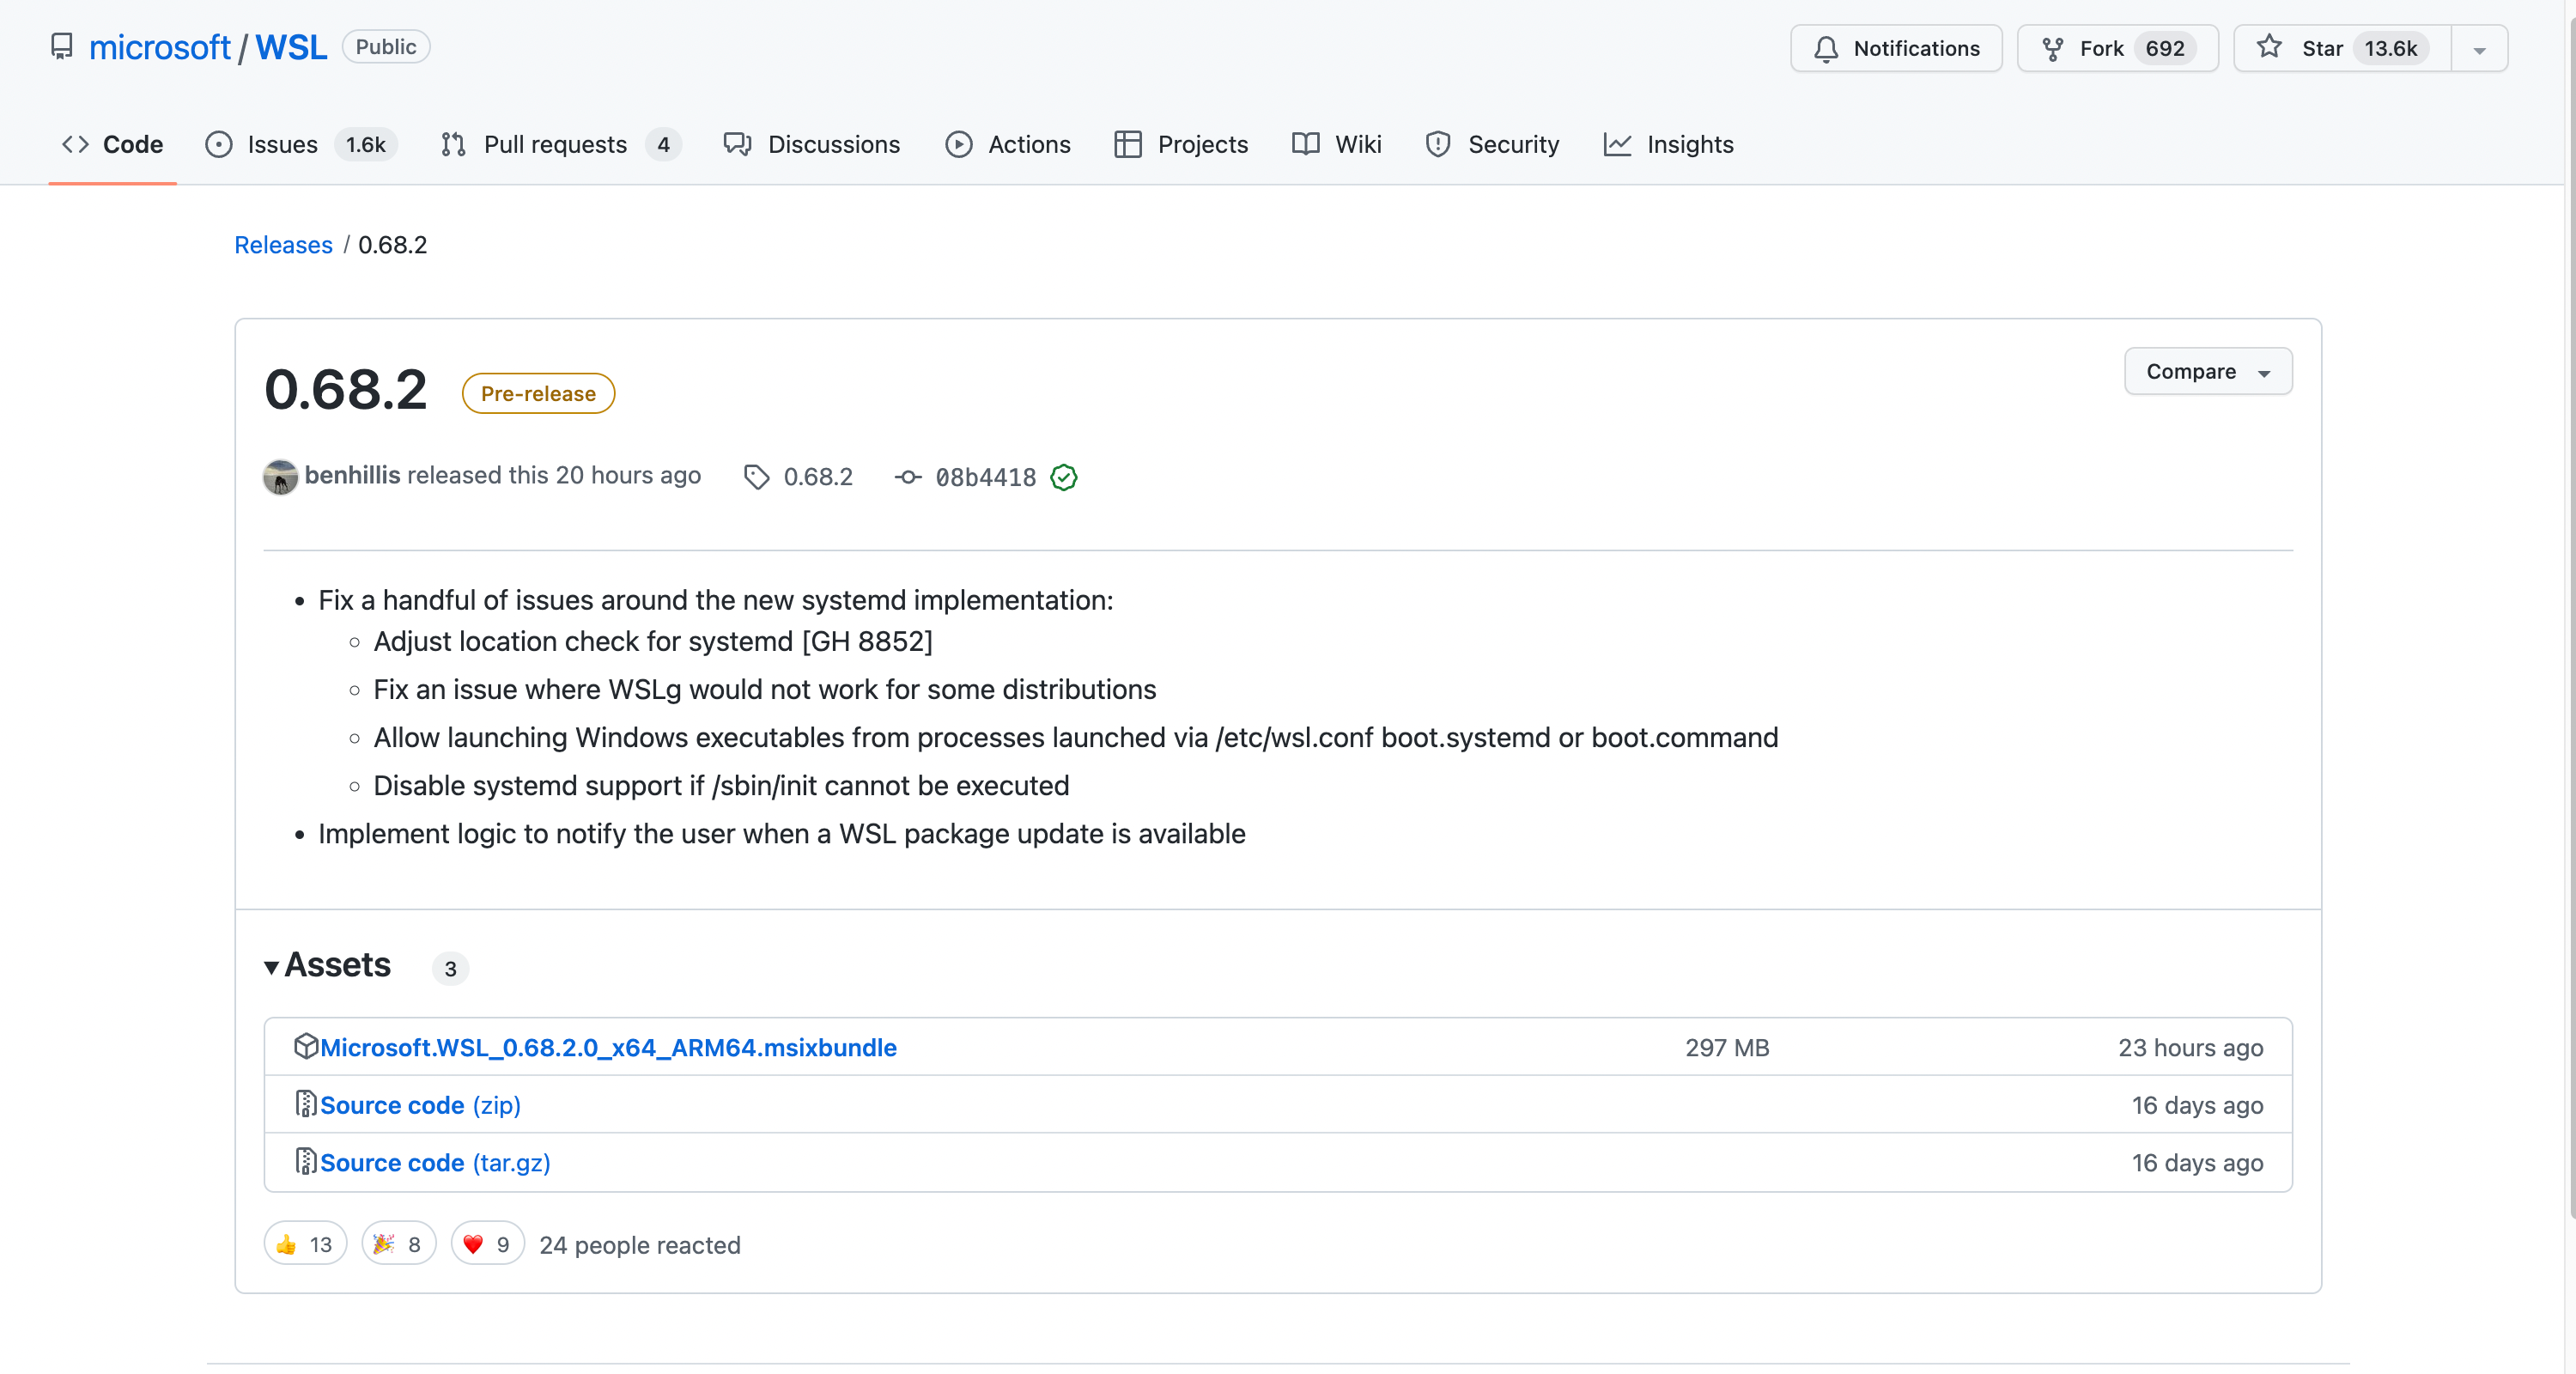
As I am writing this I see a new 0.68.2 release is out with fixes:
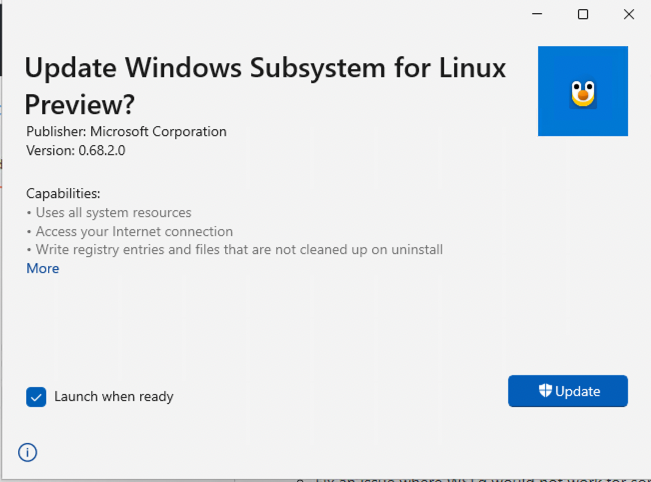
I will install the update:
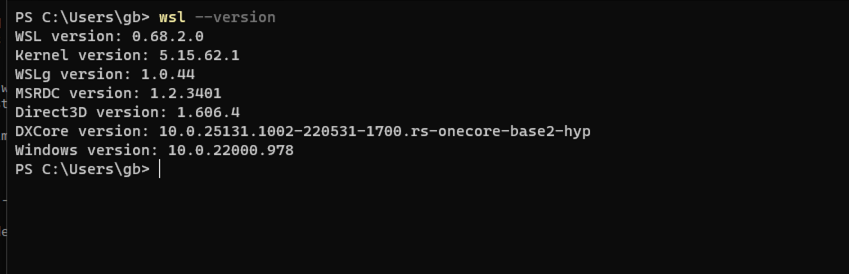
Ok now all should work “more or less” well:
To enable systemd we need to open up our chosen distribution (I took the default ubuntu) and create a wsl.conf file in etc with the following content:

To get it initialized restart wls but doing a shutdown command:
wsl --shutdown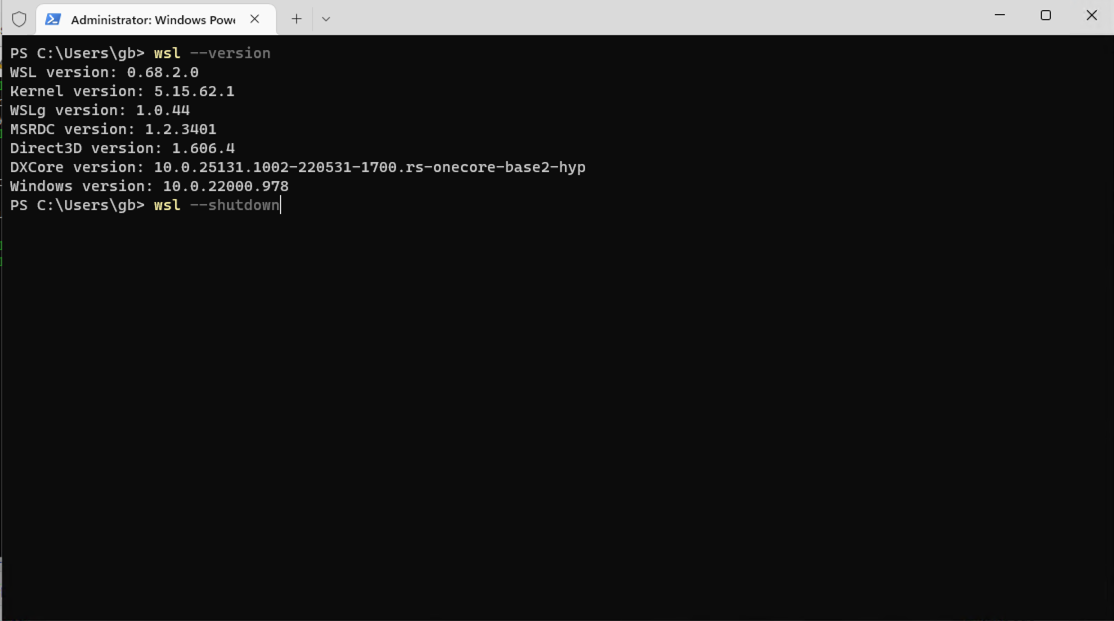
Now restart your distribution:
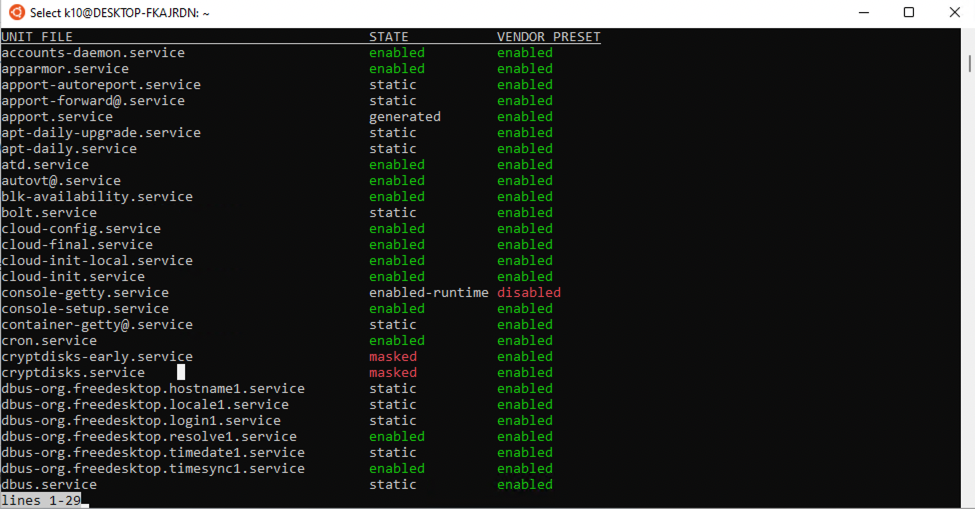
Try the following command:
systemctl list-unit-files --type-serviceYou should see something like this:
Now let’s try to install microk8s via snap:
sudo snap install microk8s --classicNext we need to change some permissions to be able to run microk8s as a normal user, my username is k10
sudo usermod -aG microk8s k10
sudo chown -f -R ~/.kube
You can now either reboot or run:
newgrp microk8sNow lets give it a try:
microk8s status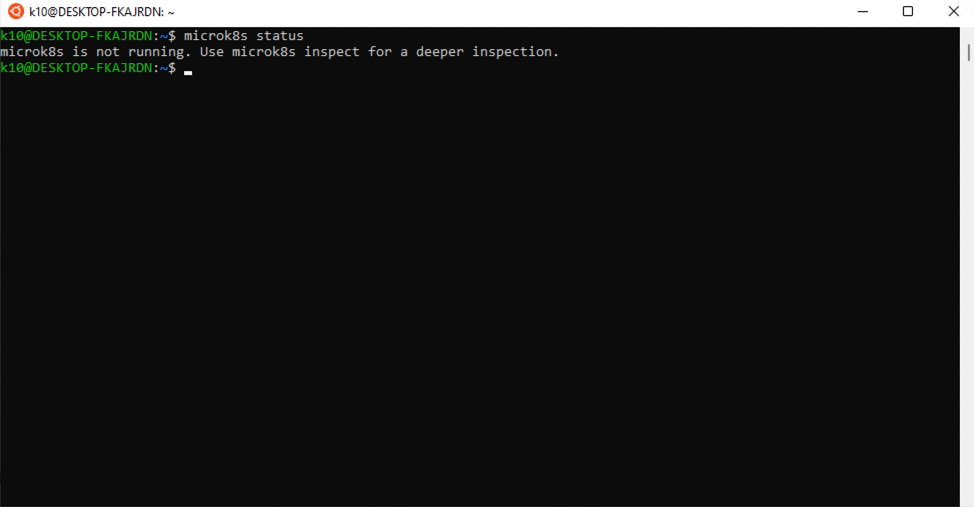
Lets’s create a cluster:
microk8s add-node
There is other house work that would be needed to carve this setup to your liking like create an alias kubectl for the microk8s.kubectl command and adding more nodes, a cni and so one, but that can be for another post.
For now we will just check to see if the node is up:
microk8s.kubectl get nodes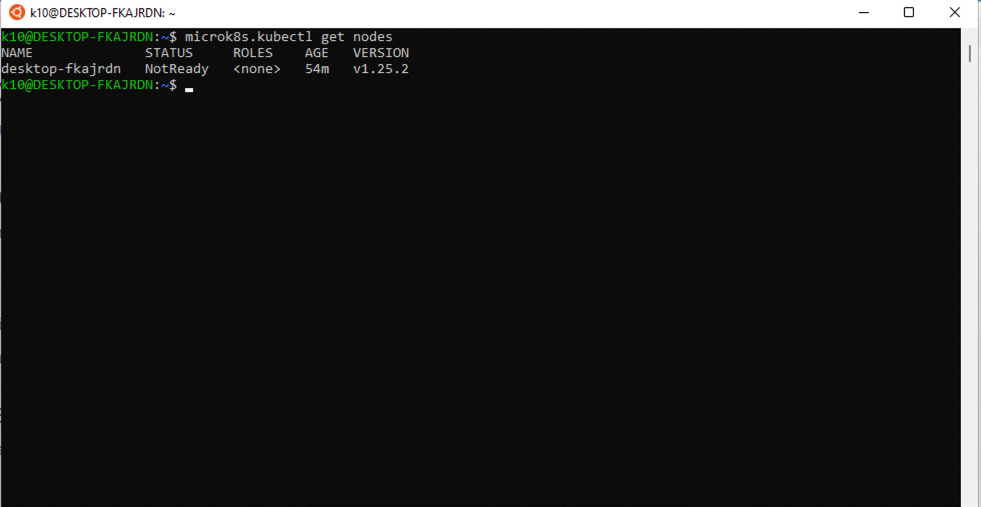
To get the cluster in a ready you would need to install a CNI.
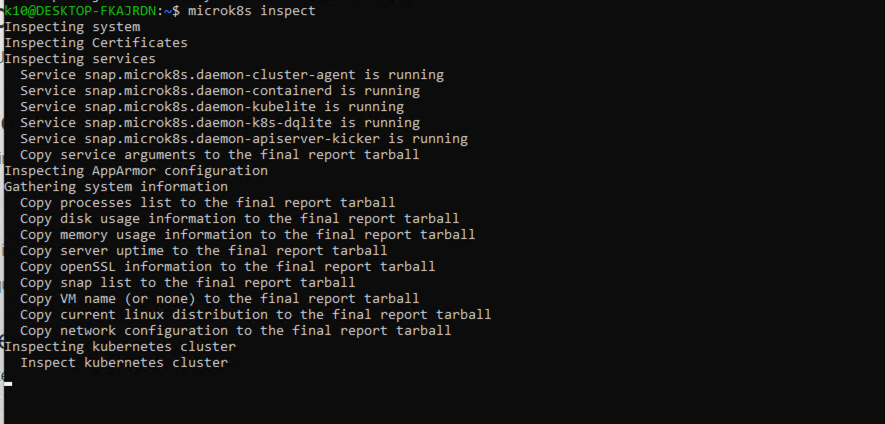
You can also run an inspect command to give you more information on the state of your cluster:
microk8s inspect