

To make our life in the command line easier we can setup aliases. So instead of typing kubectl all the time we could simply change that to k.
Working in windows you need to install the Windows Subsystem for Linux so that you can take advantage of the immense power that the linux command line provides. On Windows 11 this is very simple. Open a cmd box and type
wsl --install -d UbuntuNow you could choose a different distribution like debian etc but ubuntu seems to be the most popular.
You will need to reboot then set a password but after that you will be all set.
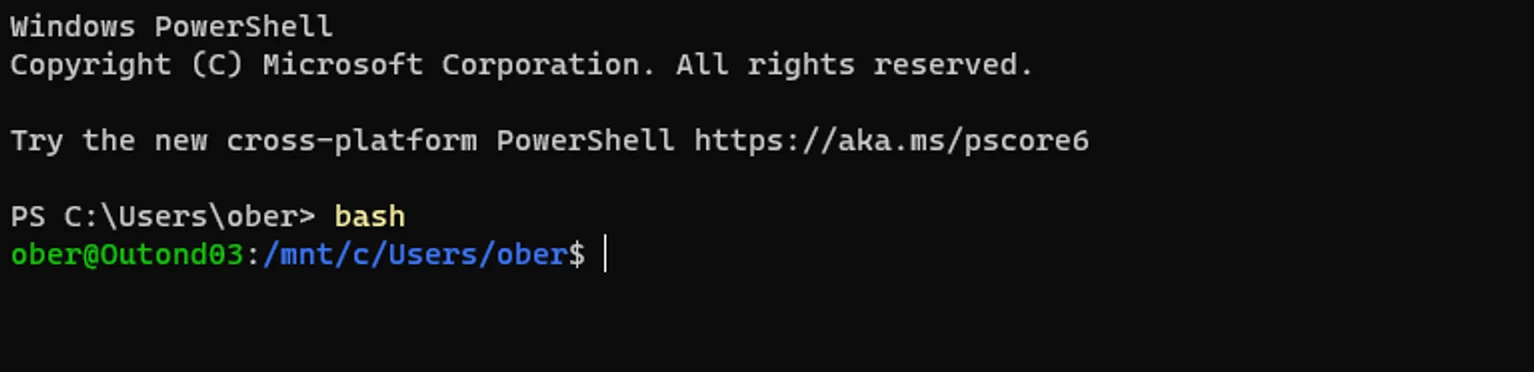
In your cmd or windows terminal type
bashand you will be greeted by the your bash shell
Now type cd
cdso that you end up in your user directory.
First of all lets make sure autocompletion is enabled for kubectl, type the following in the bash command line:
echo "source <(kubectl completion bash)" >> ~/.bashrcNext we are going to leverage vim to edit our .bashrc file. Vim is an enhance text editor derived from vi and is well worth learning since it is installed by default on every *nix type of system.
vi .bashrchere will will go to the end of the file by pressing the esc key then shfit and g then to start editing type shift A and press return to start on a new line. Copy or type the following:
alias kubectl='kubectl.exe'
alias helm='helm.exe'
alias k=kubectl
complete -o default -F __start_kubectl k
then press the esc key and type : then w q (which writes to the file and exists).
Now you can either type exit then bash again to re-enter the bash shell or type
exec bashand the changes will be implemented.
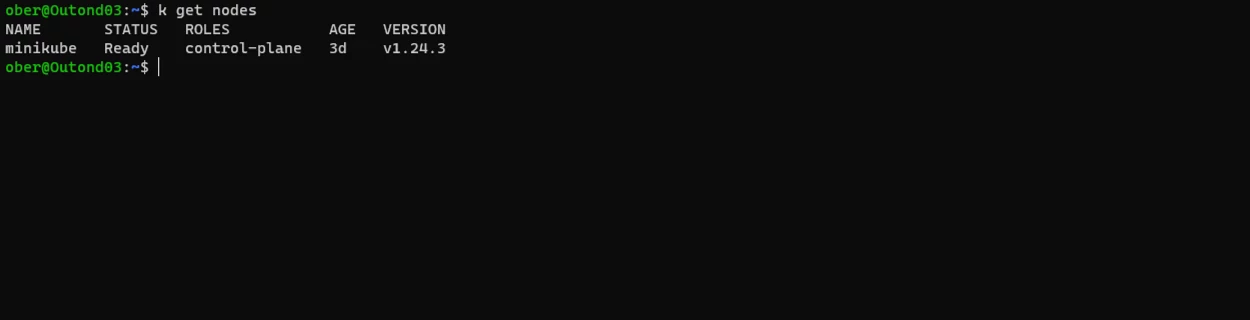
Now type
k get nodes
and you should see something like this:
That is it for our short task today.
