Hello everyone!
In this post, I will explain how to utilize one of the key features of Veeam Backup & Replication, which is the ability to test the integrity of created backups.
Introduction
SureBackup uses created backups to initiate VMs in an isolated environment within the hypervisor and then perform tests like heartbeat, ping, and application validation using scripts. It's a fantastic functionality to ensure that your backups are intact when needed.
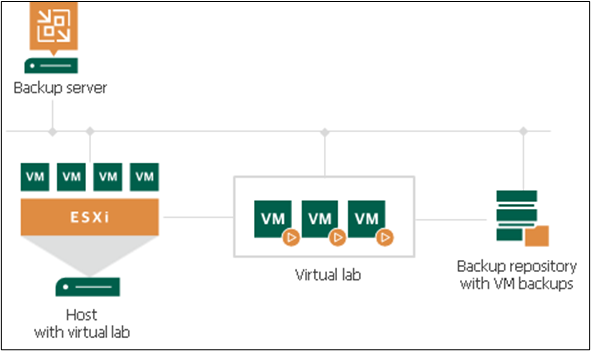
SureBackup utilizes the following components:
- Application Group - Group of VMs to be tested together. With the Application Group, we can define the startup order of VMs and set tests for each of them.
- Virtual Lab - The Virtual Lab is an appliance created by Veeam B&R on the hypervisor to act as the gateway of the isolated network that will be created.
- SureBackup job - The SureBackup job where you can schedule when the backup test should occur.
In my Lab environment, I have the following components:
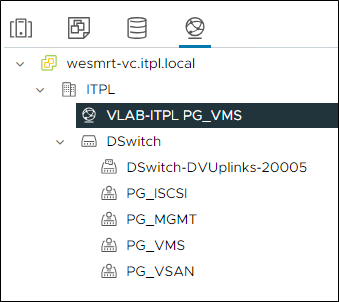
- Management network: 10.10.10.0/24 (PG_MGMT)
- VM network: 10.10.11.0/24 (PG_VMS)
- vCenter with two hosts:
- wesmrt-esx01.itpl.local
- wesmrt-esx02.itpl.local
- Linux VM on the PG_VMS network with IP 10.10.11.5
- VBR on the PG_MGMT network with IP 10.10.10.4
In this example, I'll create the Virtual Lab on ESX02 and initiate backups for testing on this host.
Creating the Virtual Lab
First, let's create the Virtual Lab, which is responsible for routing between the production network and the isolated network.
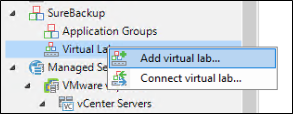
In the VBR console, navigate to "SureBackup" and choose the "Add virtual lab" option:
Choose a name and a description for the Virtual Lab:
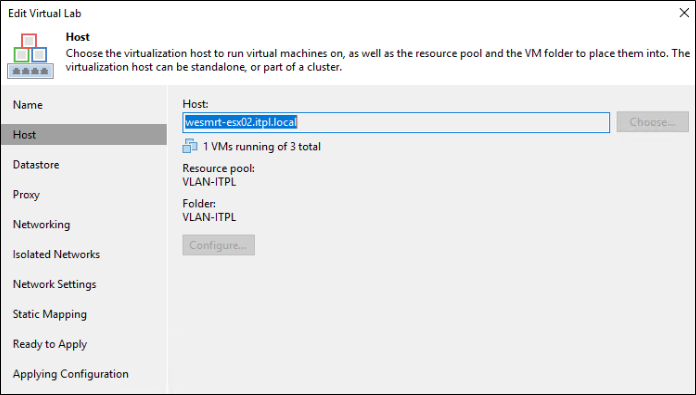
Select the host where the Virtual Lab will be created. A Resource Pool and a Folder will be automatically created on this host, named after the Virtual Lab. You can modify the name if necessary:
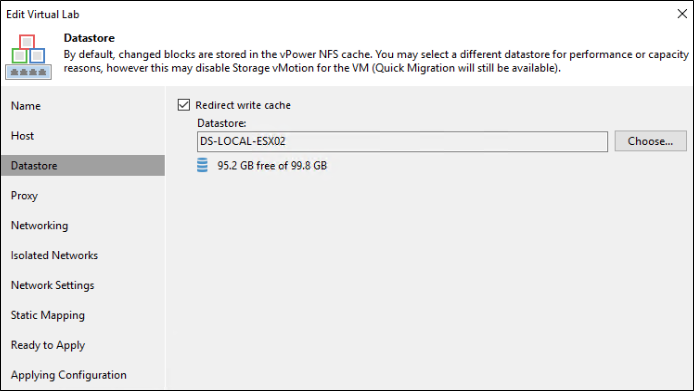
You can choose a Datastore to redirect the write cache during SureBackup execution. This is optional but can make the process more efficient as VM writes during testing will go directly to a host's datastore instead of the backup repository.

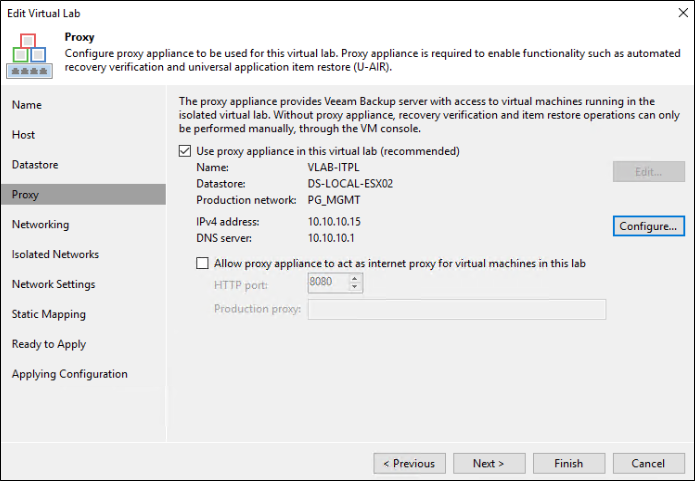
Next, we need to define the network settings for the Virtual Lab. At this step, we're only setting the management IP for the Virtual Lab. Clicking on Edit allows us to choose the VM name for the Virtual Lab, the datastore to be used, and the network. In my example, I'm selecting the "PG_MGMT" port group, which is my management port group.

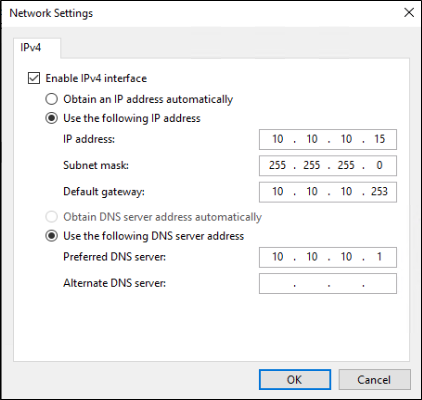
Clicking on "Configure," we can set network information. In my example, I'm using a static IP:
You can also check the "Allow proxy appliance to act as an internet proxy..." option. By using this option, VMs tested in the isolated environment can utilize the Virtual Lab as a proxy to access the internet. Since it doesn't apply to my test, I'll leave this option unchecked.
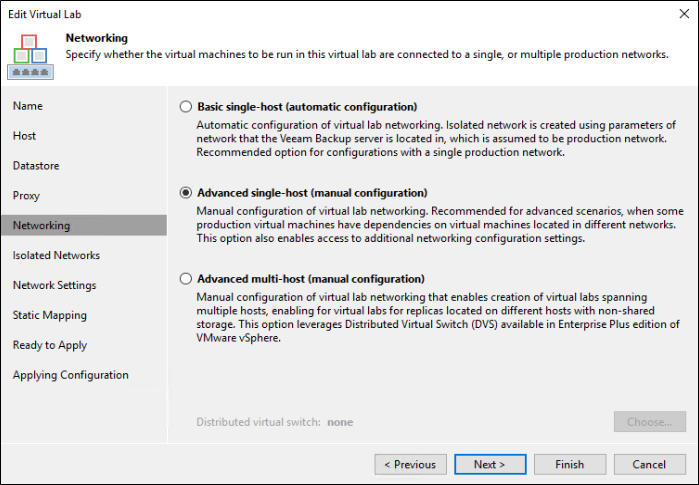
Next, we need to select how the Virtual Lab will operate. In most cases, we'll use the "Advanced single-host" option since the production environment usually has multiple networks. The "Basic single-host" option is for a single-network environment, and the "Advanced multi-host" is used when testing replicas with SureReplica, requiring a Distributed Virtual Switch.
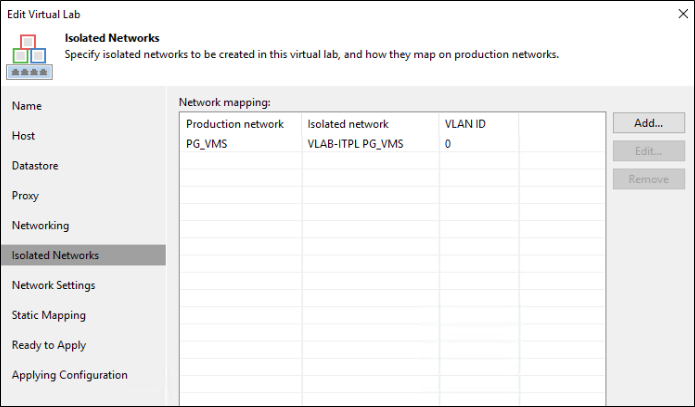
Under "Isolated Networks," we need to map the networks used by the VMs in production to the isolated network that will be created. In my example, I'm using only the "PG_VMS" network in the VMs. The VLAN ID is used for isolating the networks and doesn't have to match the production network's ID.
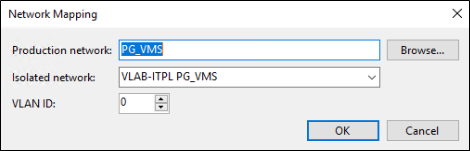
If there are more networks in the VMs to be tested, add them in this step.
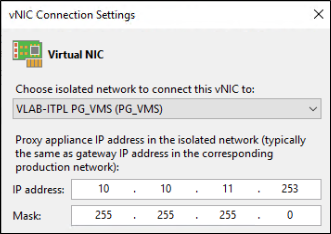
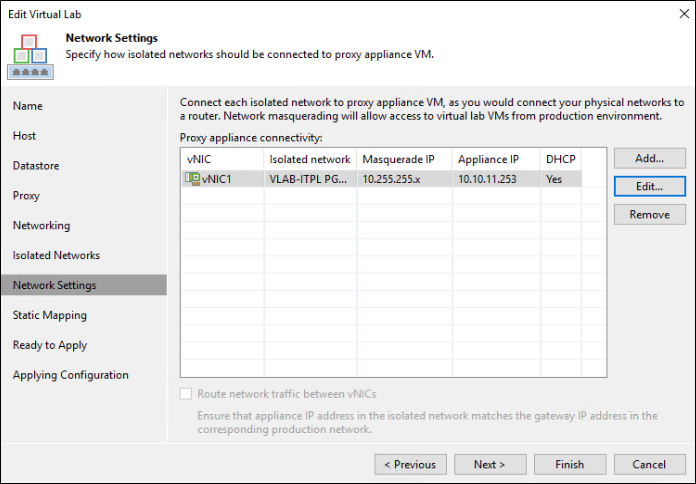
In "Network Settings," we'll define the IP of the isolated network connected to the Virtual Lab. In my example, I only have one network. The IP to be configured here is the gateway IP of that network. This is crucial because the VMs will start with their original IPs and search for the gateway. Since they're in the isolated network, the gateway will be the Virtual Lab. In my lab, the gateway IP for the "PG_VM" network is 10.10.11.253/24.
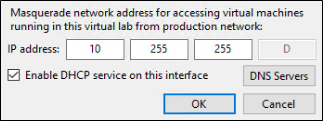
For "Masquerade network," the IP is automatically filled. This is the IP VBR will use to access the VM and perform the tests. Leave the "Enable DHCP" option enabled to assign IPs automatically during tests.
Repeat this configuration for each network the VMs use, always remembering to configure the IP of each network with the production gateway's IP.
In the "Static Mapping" section, you can define routes so that VMs starting in the isolated network are accessible from the production network for other users. For backup testing, this option isn't necessary; it's useful only if you need users from the network to access the VM for specific tests.

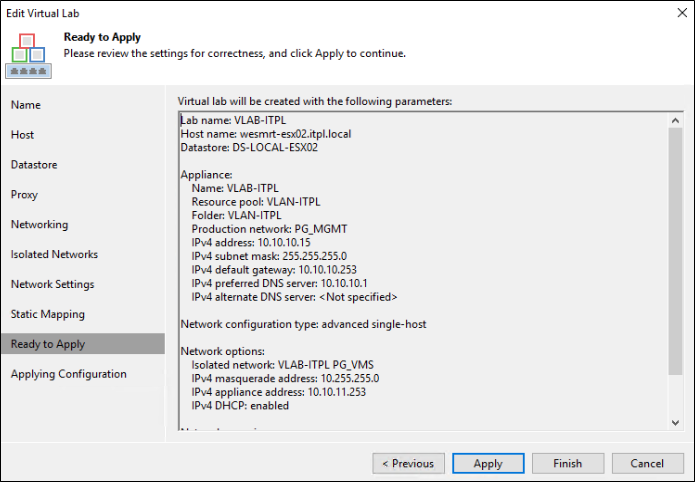
At the end, there will be a summary of the Virtual Lab settings:
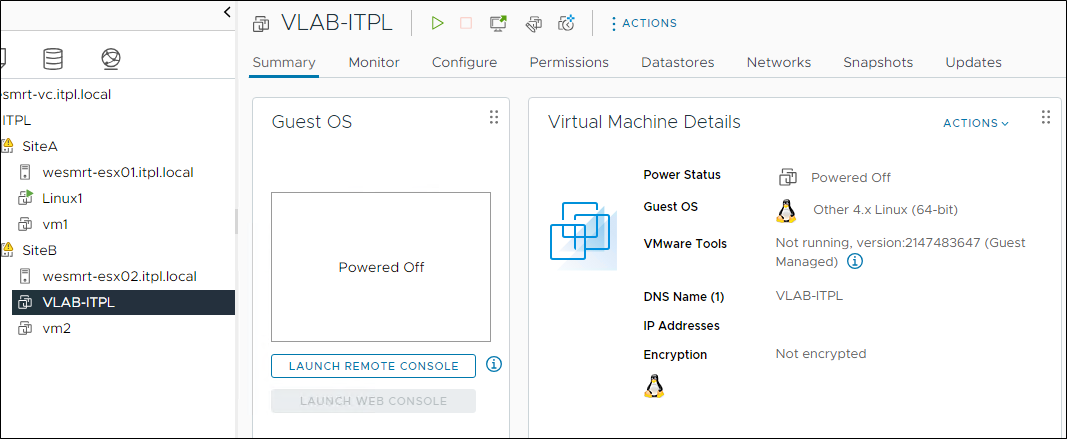
At the end of the process, the Virtual Lab will be created on the host and remain powered off until a SureBackup job is initiated:
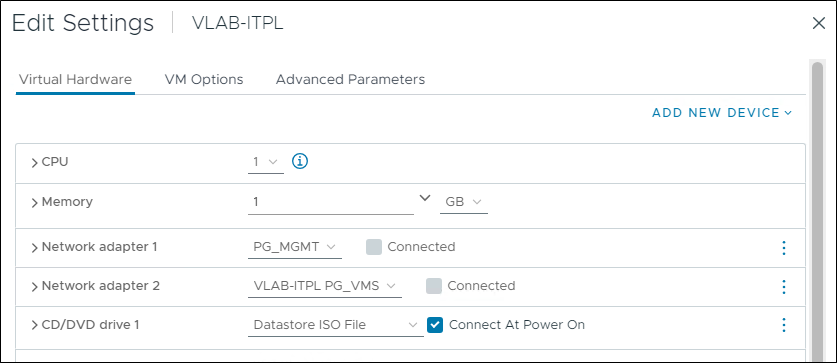
When checking the VM's configuration, you'll see it's connected to two networks: the management network and the isolated network created for SureBackup.
In vCenter, you can see that the Virtual Network for the isolated network has been created.
Creating the Application Group
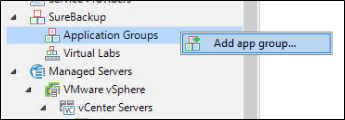
Now that the Virtual Lab is created, we can create the Application Group with the VMs that will be part of SureBackup. In "Application Groups," choose the "Add app group" option.
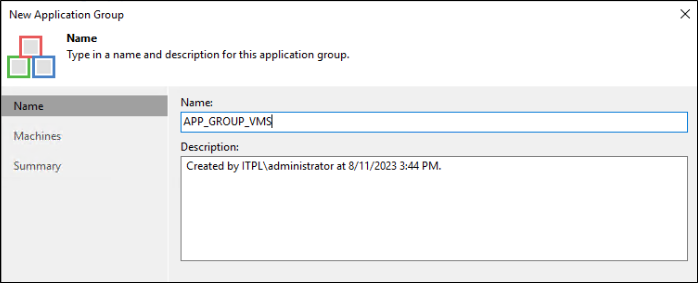
Provide a name and description.
You can add backups, replicas, or storage snapshots.
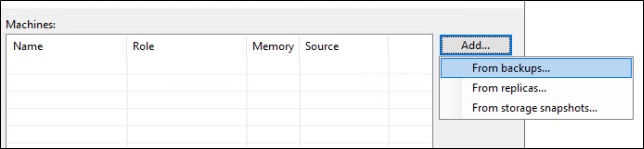
When choosing the backups option, the jobs will be displayed, and you can select the entire job or the specific VMs for this group.
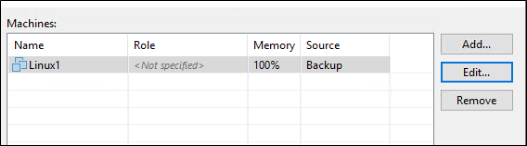
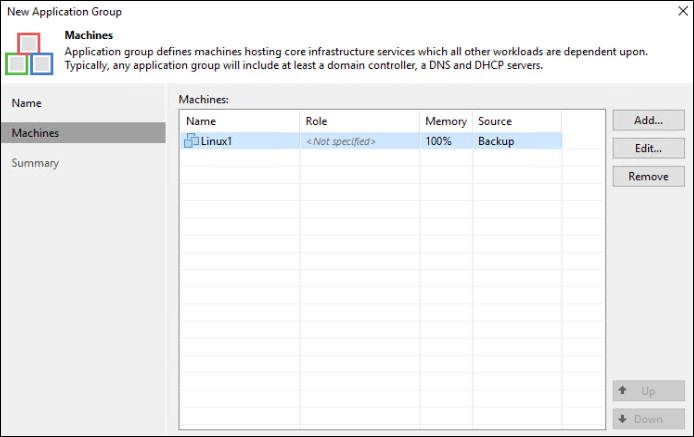
When adding VMs, you can edit each one to define verification options.
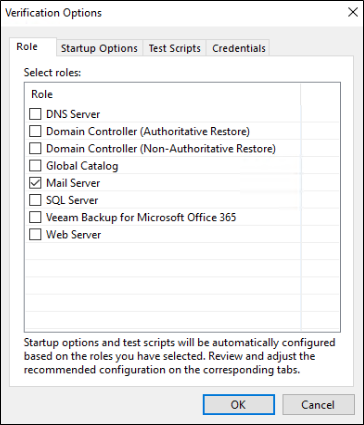
In the "Role" tab, you can define the VM's role. Selecting one of these roles will trigger predefined tests. For instance, selecting "Mail Server" will test connectivity on port 25 during the SureBackup job.
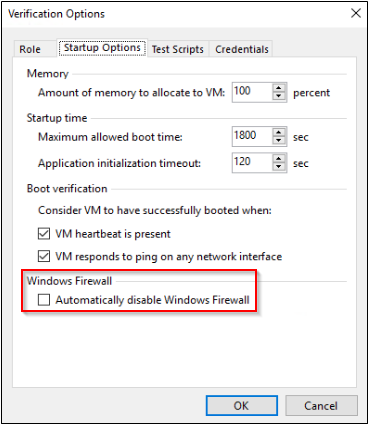
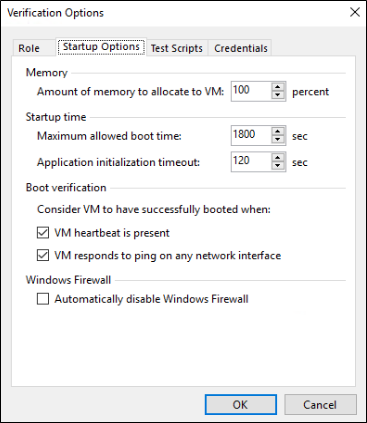
Under "Startup Options," you can define various settings:
- Memory - The amount of memory allocated to the VM during the test, defaulting to 100%.
- Maximum allowed boot time - How long SureBackup waits for the VM to boot before initiating tests.
- Application initialization timeout - Time for SureBackup to wait after the VM responds to a ping before conducting specific tests for the chosen role.
- VM heartbeat is present - Whether SureBackup tests VM heartbeat, waiting for VMware Tools' response to verify VM startup.
- VM responds to ping - Whether SureBackup tests ping to verify VM functionality.
- Windows Firewall - Automatically disabling the Windows firewall.
In my example, my VM is a Linux instance with no applications, so I'll enable VM heartbeat and Ping.
In "Test Scripts," you'll find the tests executed for the selected applications in the Role tab. You can also edit these tests and add specific scripts to run.
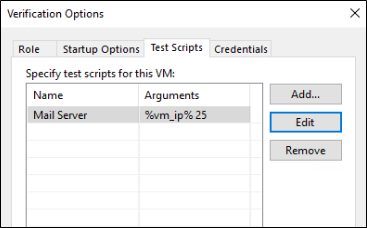
When adding a new test, you can choose predefined options or use a custom script.
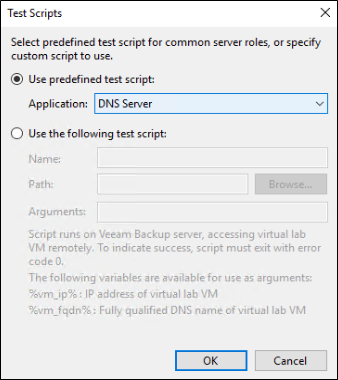
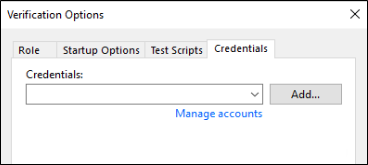
When selecting a script to run, it's important to define the user to execute the script in the "Credentials" tab.
At the end, all VMs to be tested are listed under "Machines," where you can define their startup order using "Up" and "Down" options. Keep in mind that some services might have dependencies, such as starting Active Directory alongside a SQL Server for authentication.
Creating the SureBackup Job
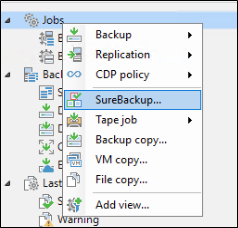
Now we can create the SureBackup Job. In the Jobs section, choose SureBackup.
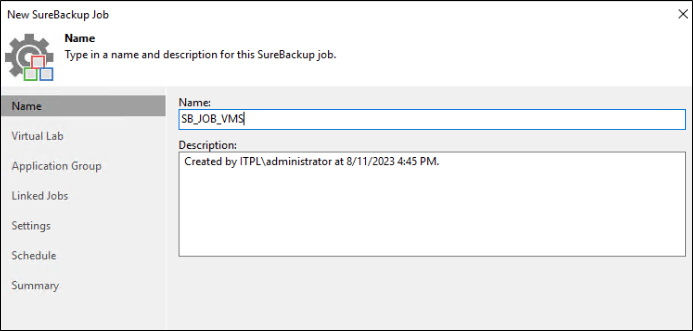
Provide a name and description for the job.
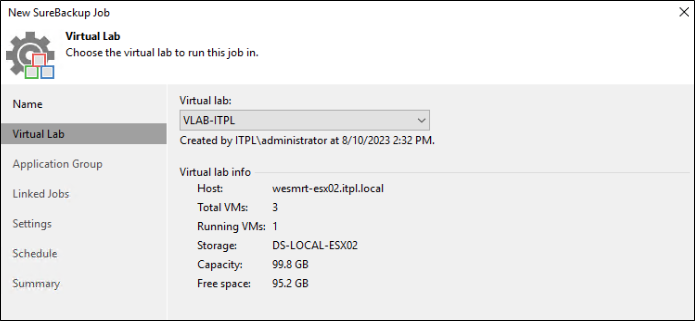
Choose the Virtual Lab you want to use.
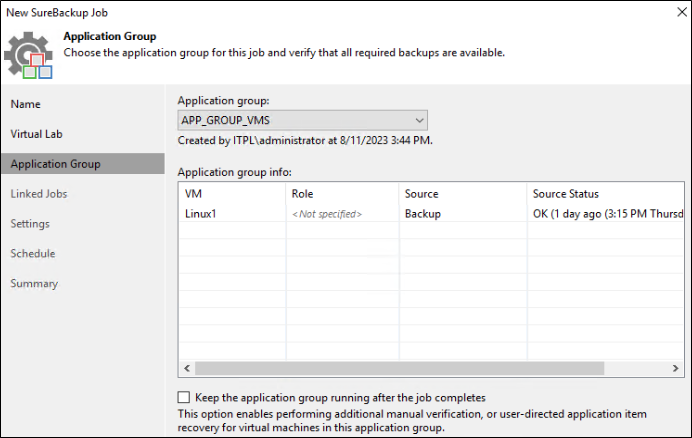
Select the Application Group.
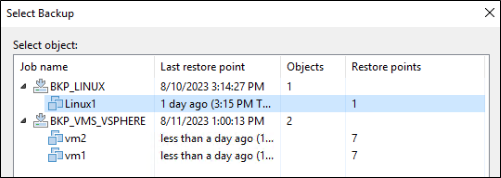
The VMs included and the last backup date will be displayed under "Source Status."
You can also check the option "Keep the application group running after the job completes" if you want the VMs from the backup to continue running after the job finishes.
Under "Linked Jobs," you can associate a backup job with the SureBackup job. Since we're using the Application Group, there's no need to configure this section.

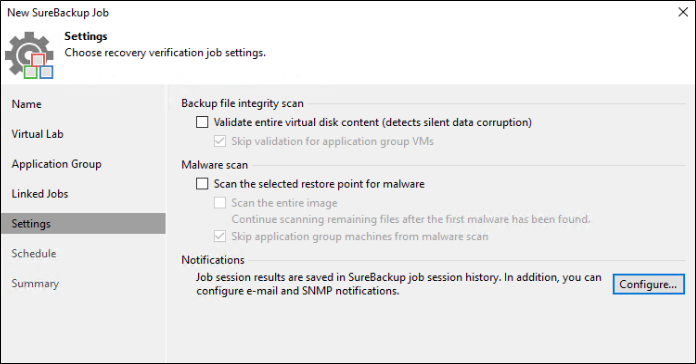
In the "Settings" section, you can mark additional options such as checking backup file integrity and performing a Malware Scan, as well as configuring notifications.
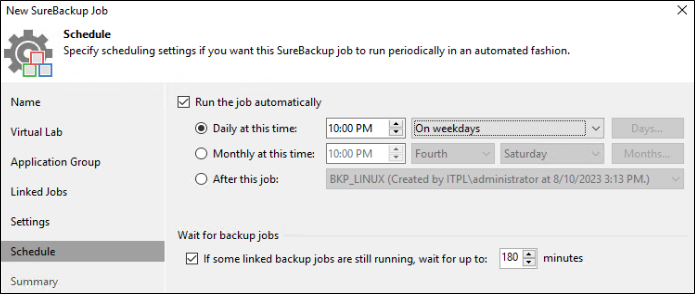
In the "Schedule" section, define the time and day for the job to run.
Testing the SureBackup Job
Let's start the job and step-by-step validate the execution.
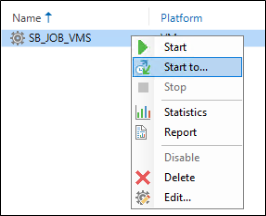
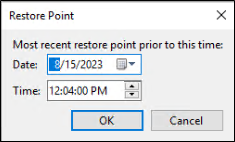
When choosing the "Start" option, SureBackup will use the most recent restore point created by the backup job. If you want to choose a specific restore point for testing, use the "Start to" option and select the day when the restore point was created.
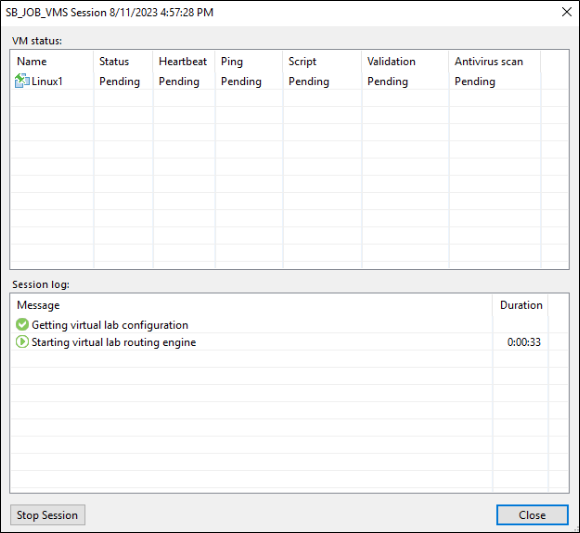
Upon starting the job, the first step is to start the VM in the Virtual Lab.
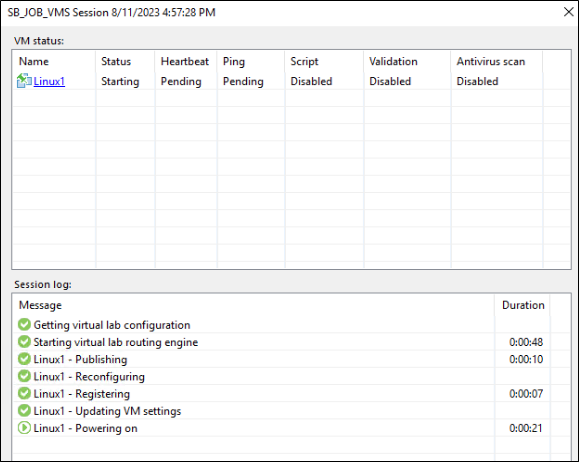
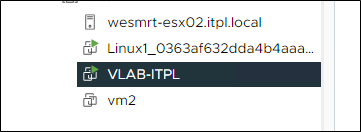
After it's started, we'll mount the backup and add the VM for testing.
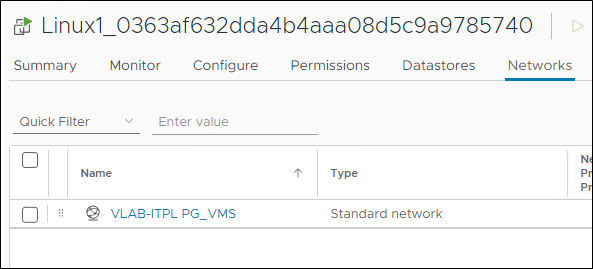
When checking the VM's network configuration, you'll see that it's connected to the isolated network.
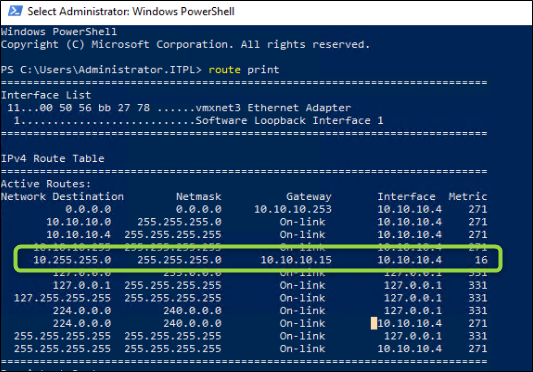
By running a "Route print" on the VBR server, you'll see a route created for IPs in the "10.255.255.0/24" network with Gateway "10.10.10.15." This is the route VBR uses to access VMs in the isolated network through the Virtual Lab's IP.
After the VM starts, we verify if the network is properly mapped; in other words, if the production network is mapped to an isolated network.
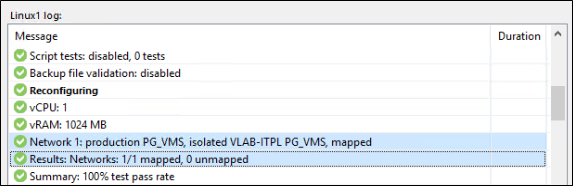
Next, we check the production IP of the VM and associate it with the isolated network IP. The backup VM isn't modified at any point; all changes are made within the Virtual Lab to ensure proper routing

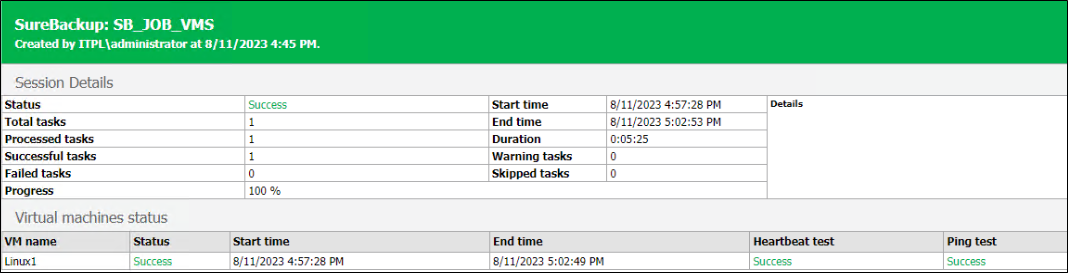
After this step, we perform the configured tests. In my case, it's Heartbeat and Ping.

Finally, since all tests were successful, the VM is powered off, removed from the host, and the Virtual Lab is powered off.

In the job report, you'll find details about the tested VMs and the executed tests.
With that, we've completed the entire SureBackup configuration. You can create different Application Groups to test different sets of VMs, increasing flexibility when testing backups.
For more details about Sure Backup, refer to the official documentation: