

For those looking to set up a straightforward and easily configurable VPN solution for remote access to your NAS or PCs, here's a comprehensive guide on deploying Tailscale, which leverages WireGuard for secure and efficient networking with minimal configuration. Below are some interesting articles on this topic by Luis.
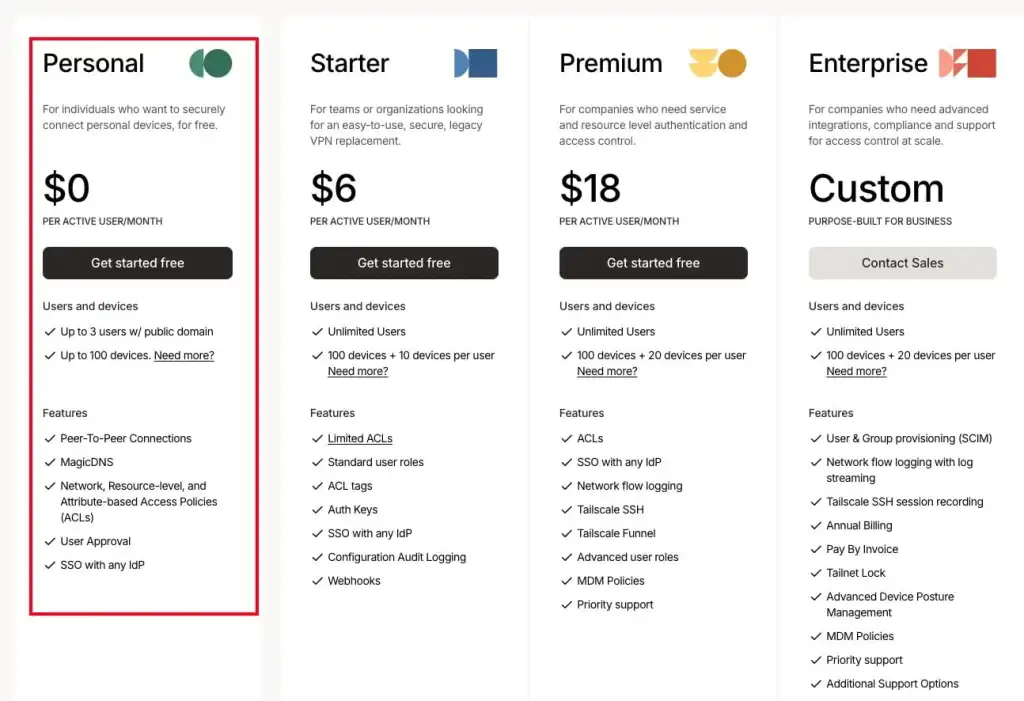
Below is an image showing the various prices available on their website. The personal offer is more than suitable as it offers up to 100 device connections without any associated cost.
Run Tailscale on DS923+ Synology NAS
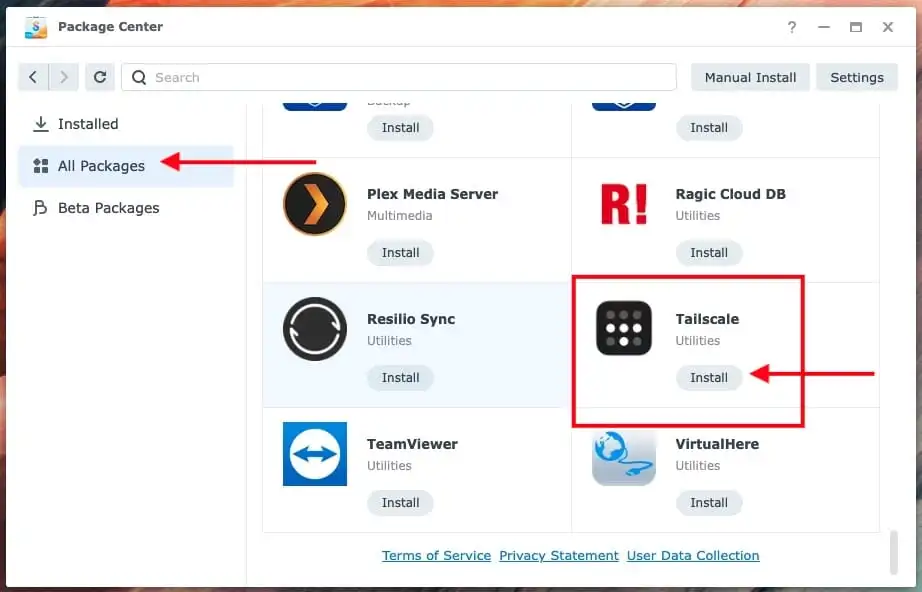
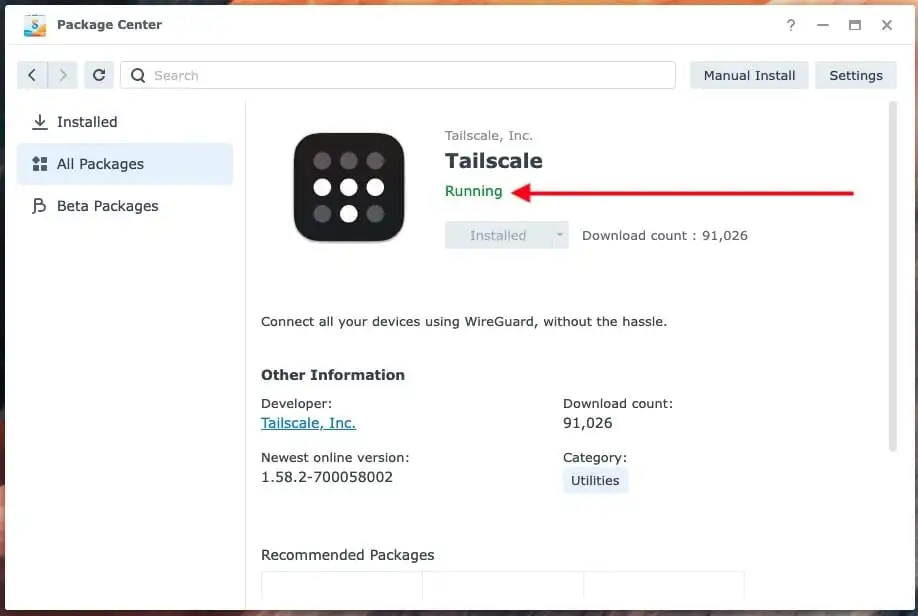
To do this, navigate to the Synology Package Center and search for the Tailscale App as shown below.
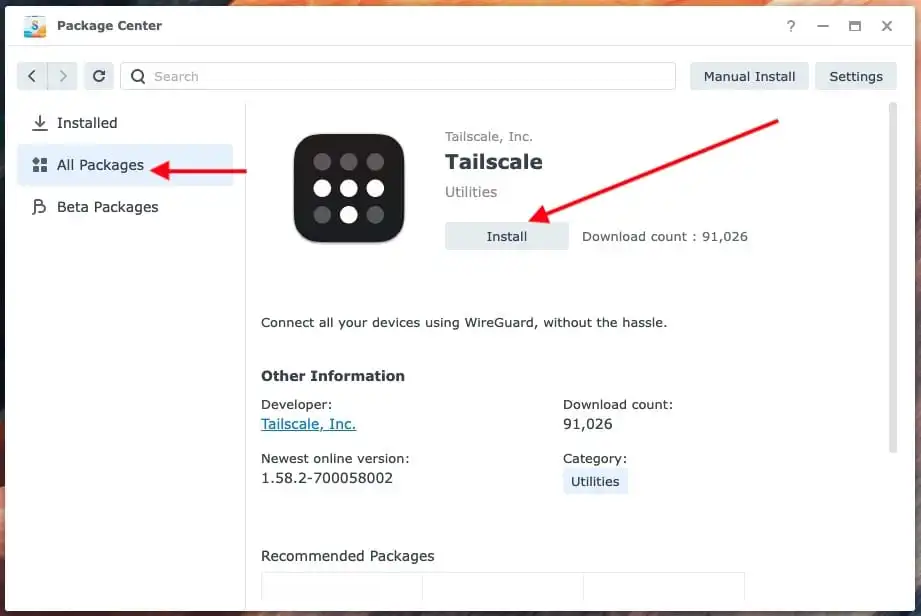
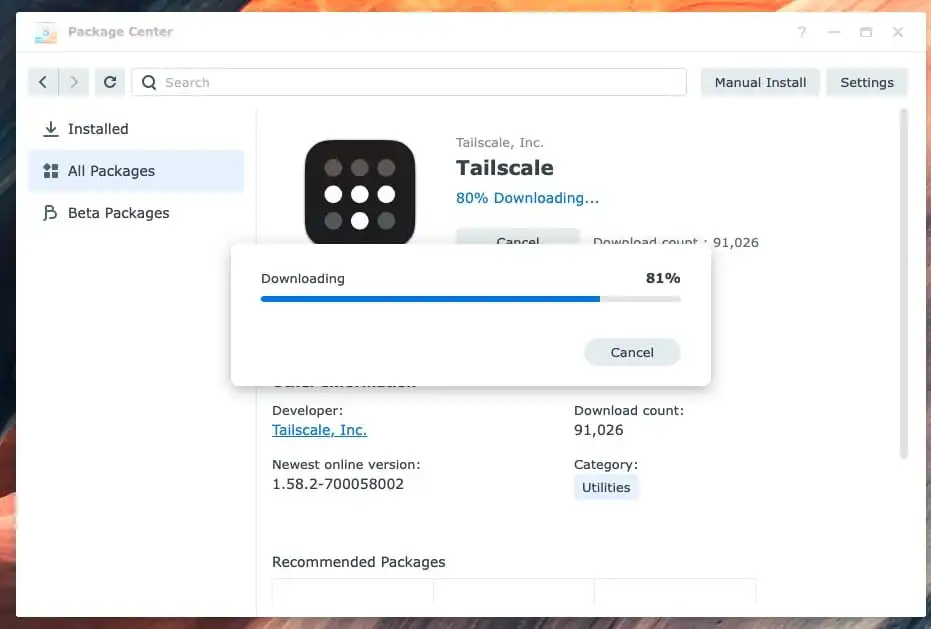
Click on install
Tailscale is installed and running.
Note: When connected via QuickConnect, the Tailscale package is not accessible. To resolve this, connect to your Synology NAS using its IP address. If you’ve forgotten the IP address and port number, you can retrieve them while connected via QuickConnect or by visiting “find.synology.com.”
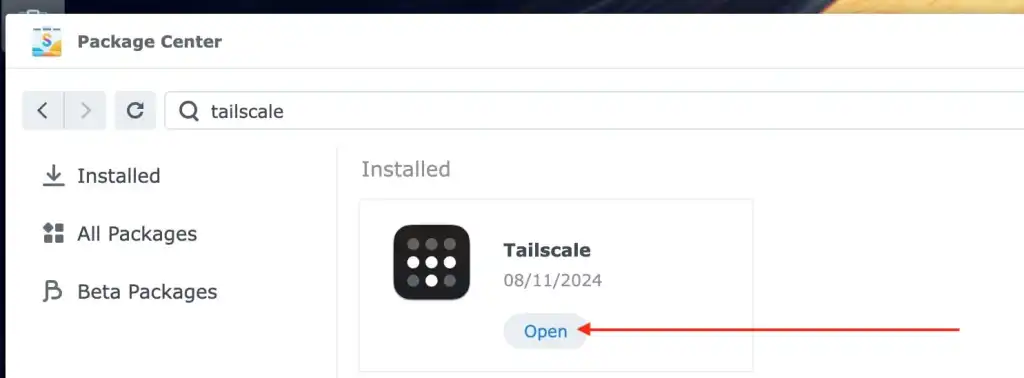
After the Tailscale app is installed, click on “Open”.
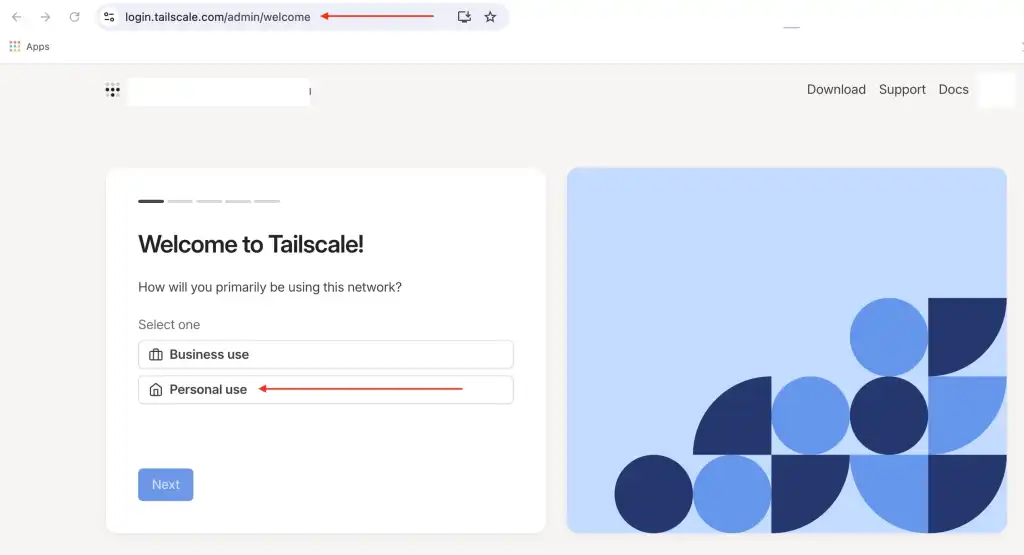
Upon redirection, if the device key has expired, you can simply authenticate. Please sign-up into Tailscale network (known as a tailnet) using your preferred identity provider.
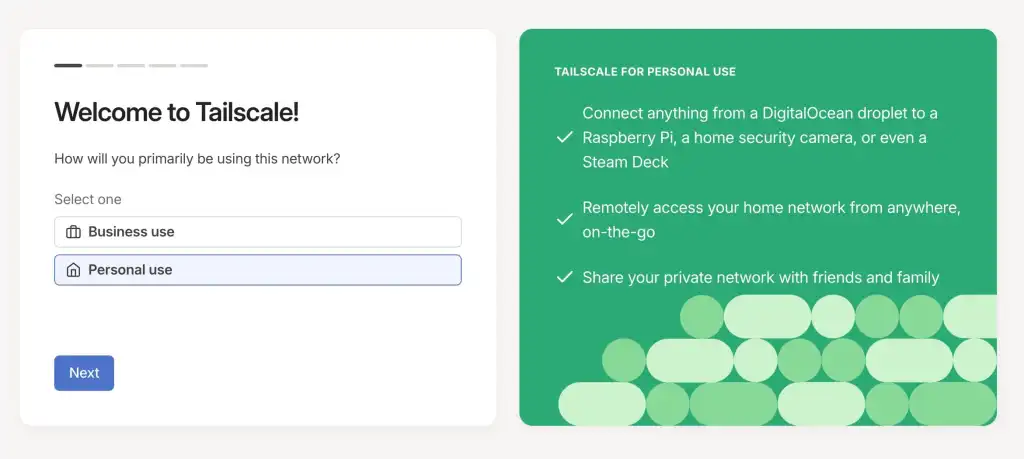
On the Welcome to Tailscale page, I will select “Personal Use”
Click on “Connect” to connect your Synology NAS to the Tailscale Network also referred to as Tailnet.
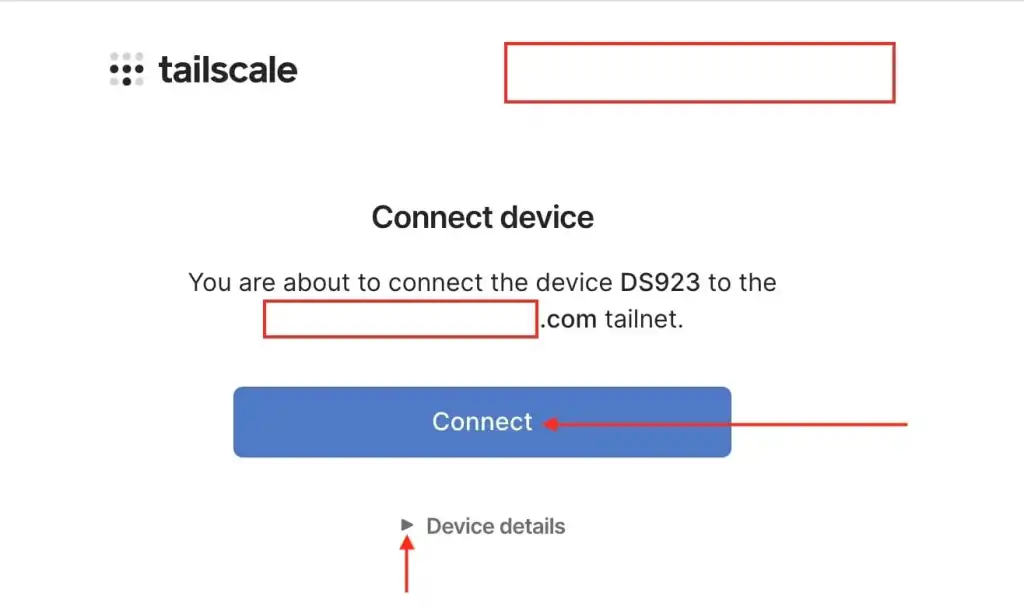
As you can see below, the login is successful.
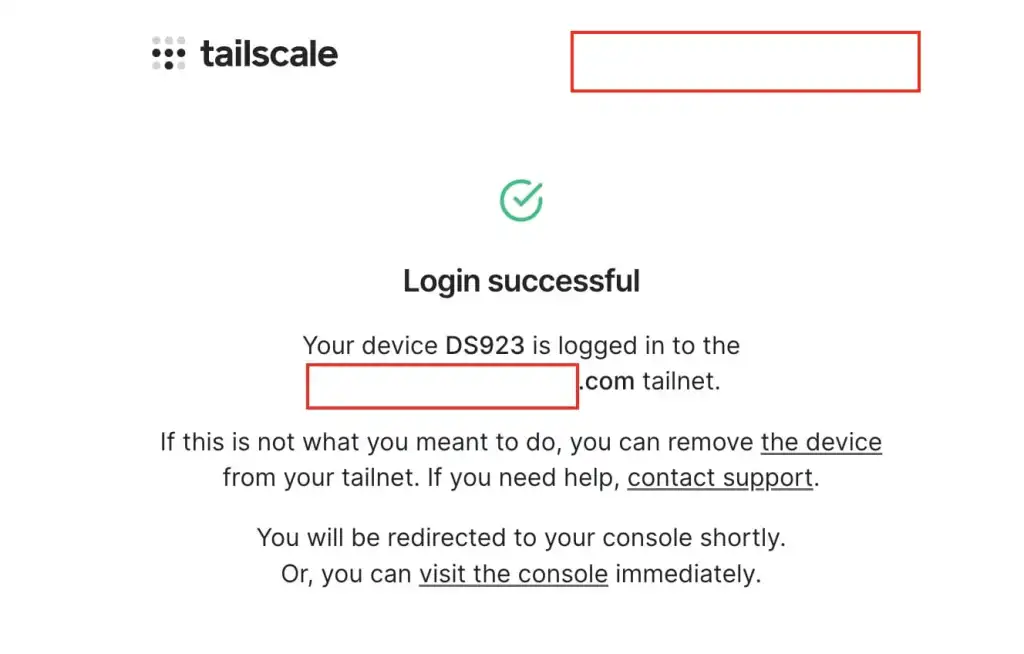
Click Next to proceed.
Tailscale allows you to create a private network, often called a “mesh network,” where your devices can securely connect as if they were on the same local network, no matter where they are physically located.
Tailscale works across different platforms including macOS, Windows, Linux, iOS, and Android, making it an excellent choice if you work across multiple devices
We will have to add another device. This is because Tailscale connects multiple devices.
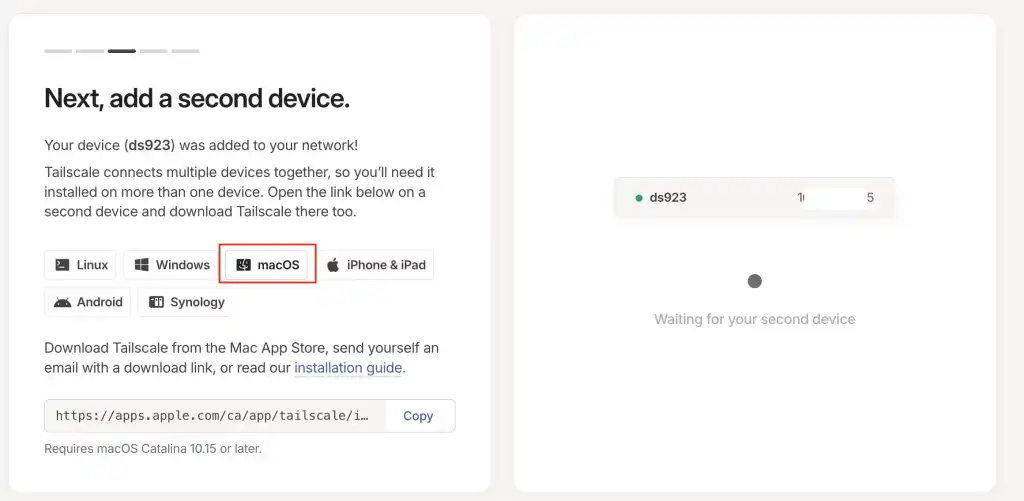
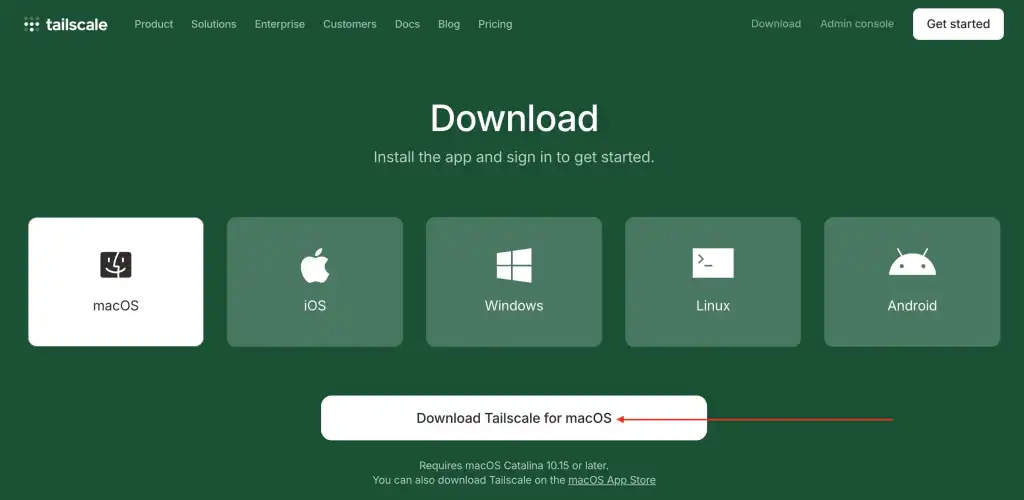
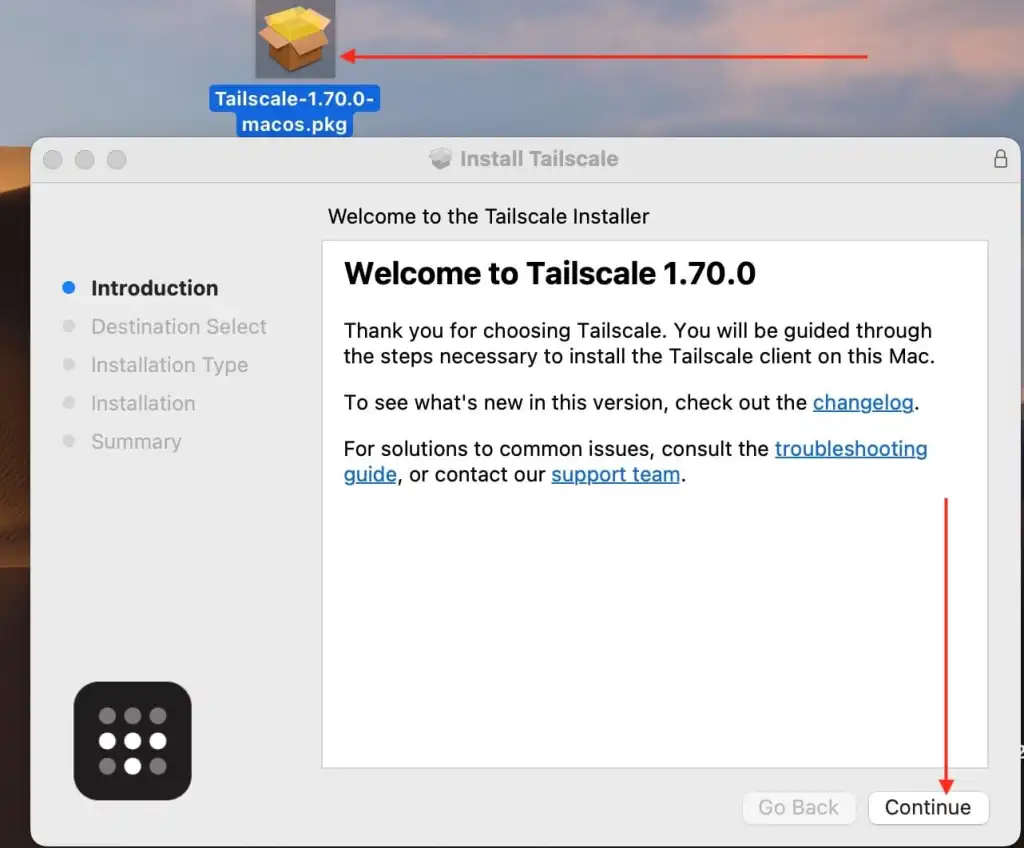
Download Tailscale for Mac, Windows or Linux etc from this link.
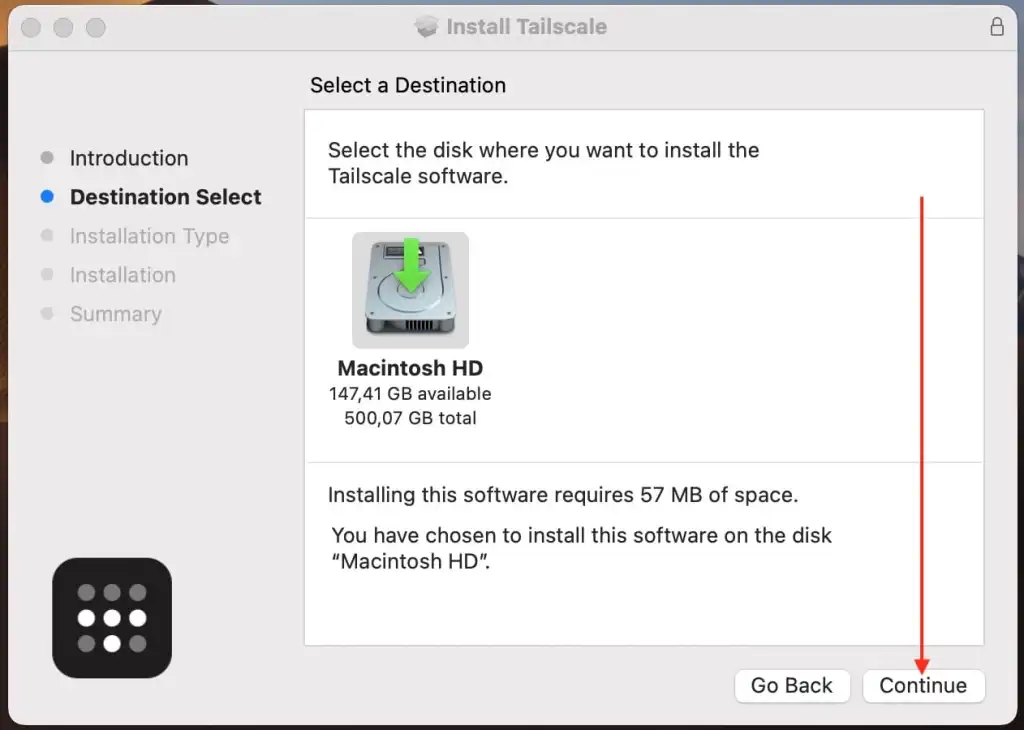
After downloading the installer, double-click on it as shown below and click Next.
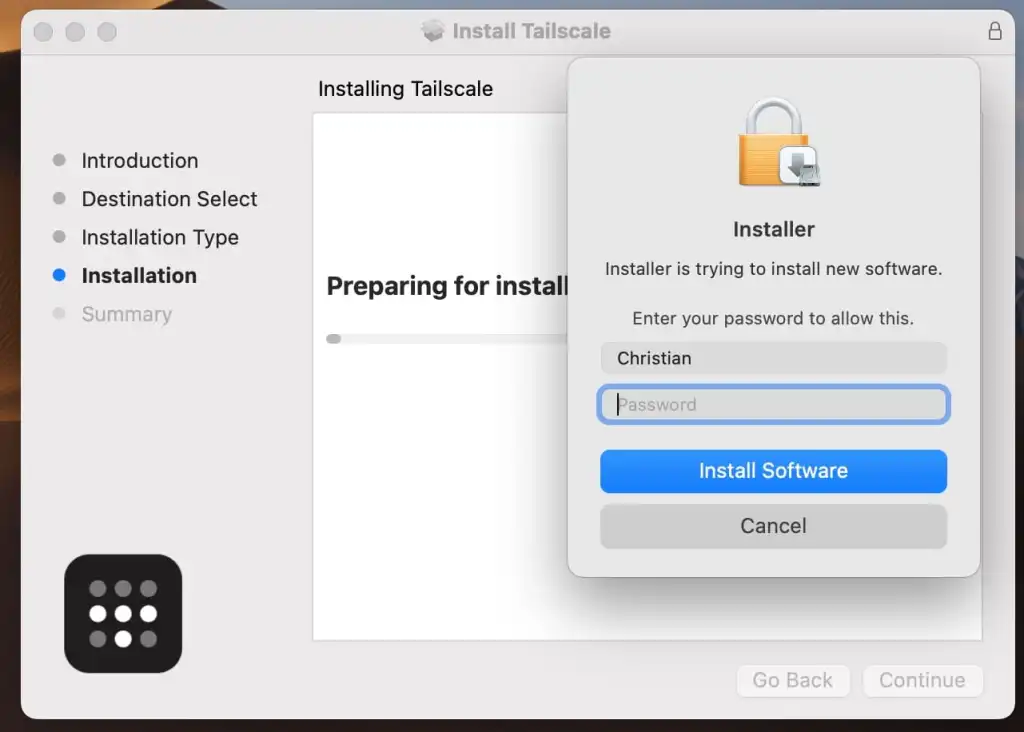
Please enter your password to install Tailscale.
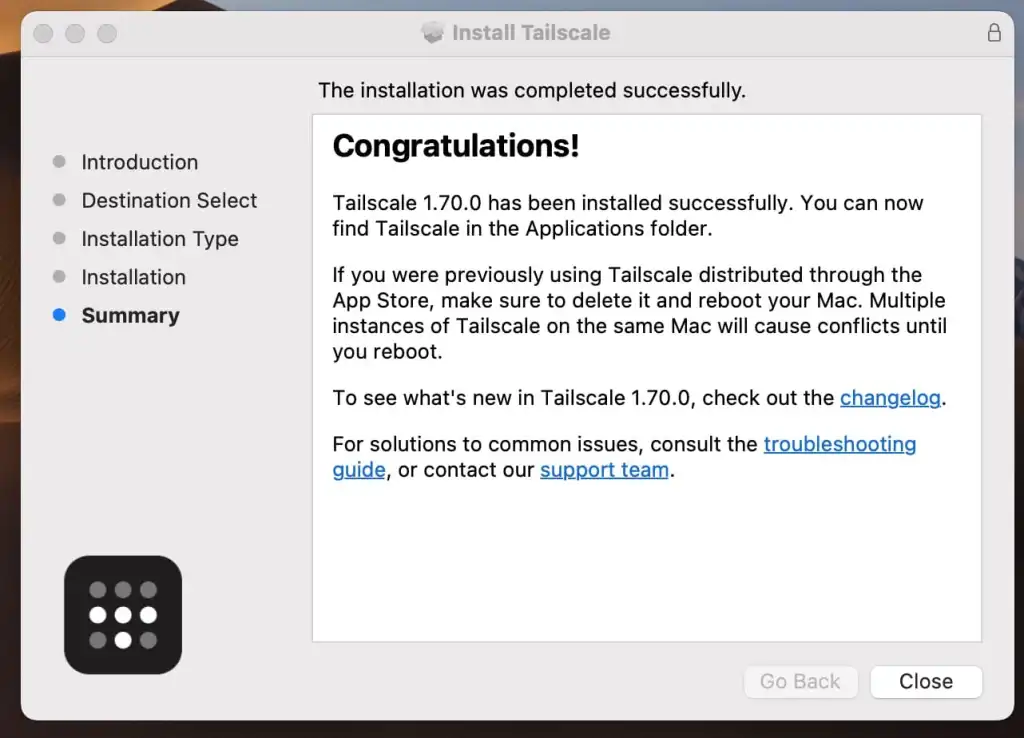
We have successfully installed Tailscale on Mac.
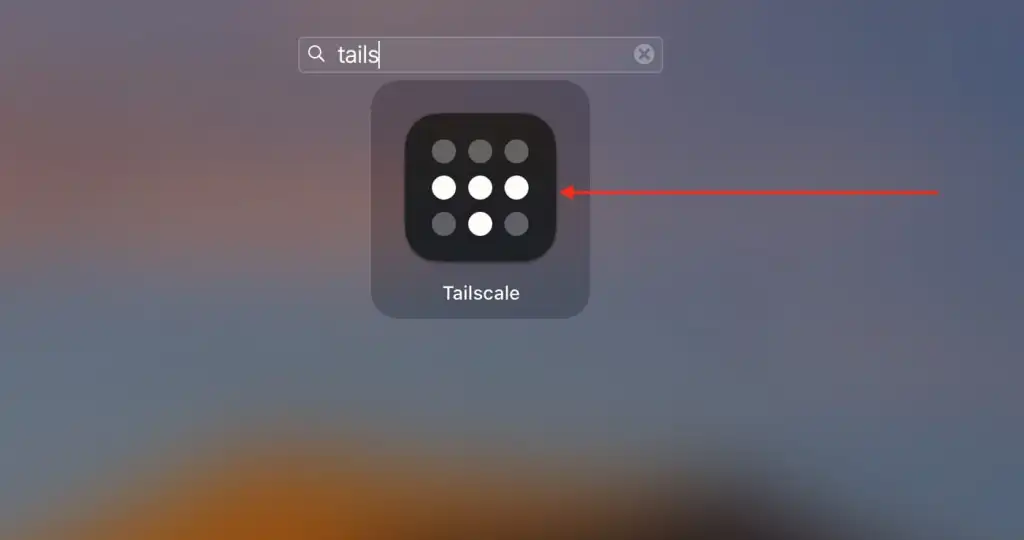
Navigate to the Launchpad and search for Tailscale to open it.
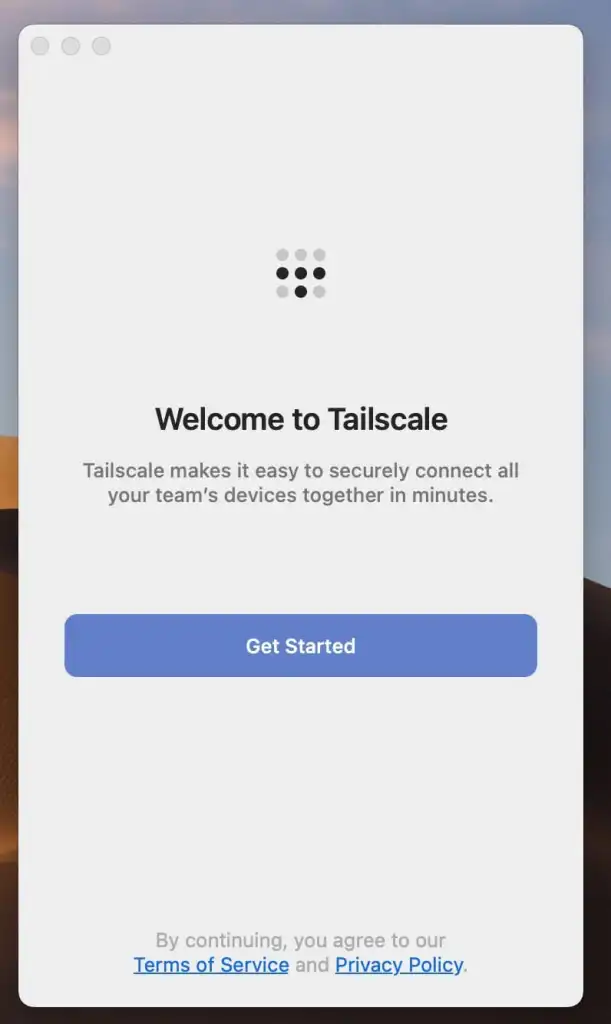
Click on “Get Started”. To view the comprehensive guide and also how to uninstall Tailscale, please take a look at this article “How to create a Tailscale VPN connection to my Synology NAS”.
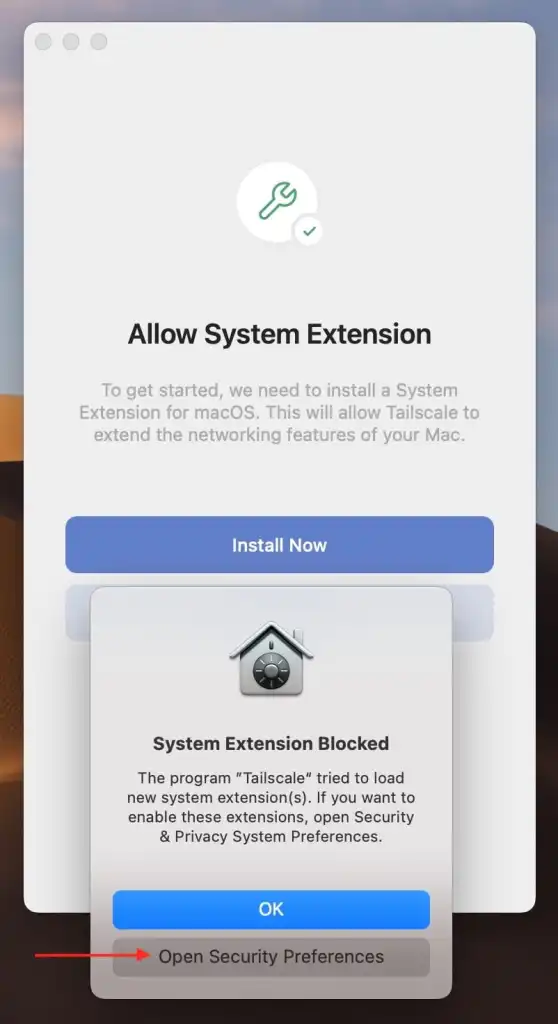
Click on install now to install “System Extension”.
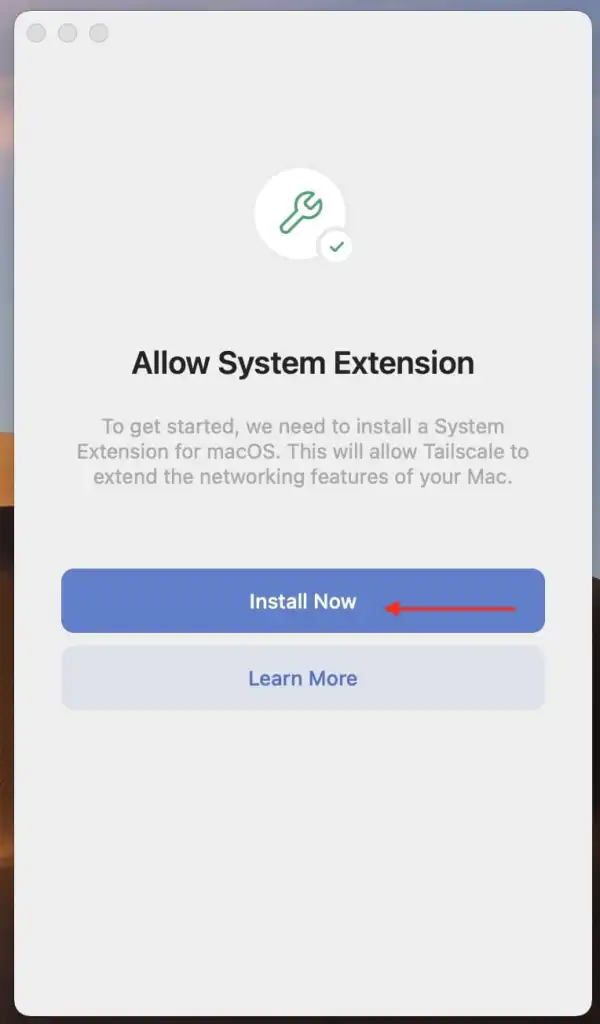
By default, macOS has built-in security measures designed to protect users from potentially harmful software. One of these measures involves blocking extensions and applications that are not from “identified developers” or the Mac App Store.
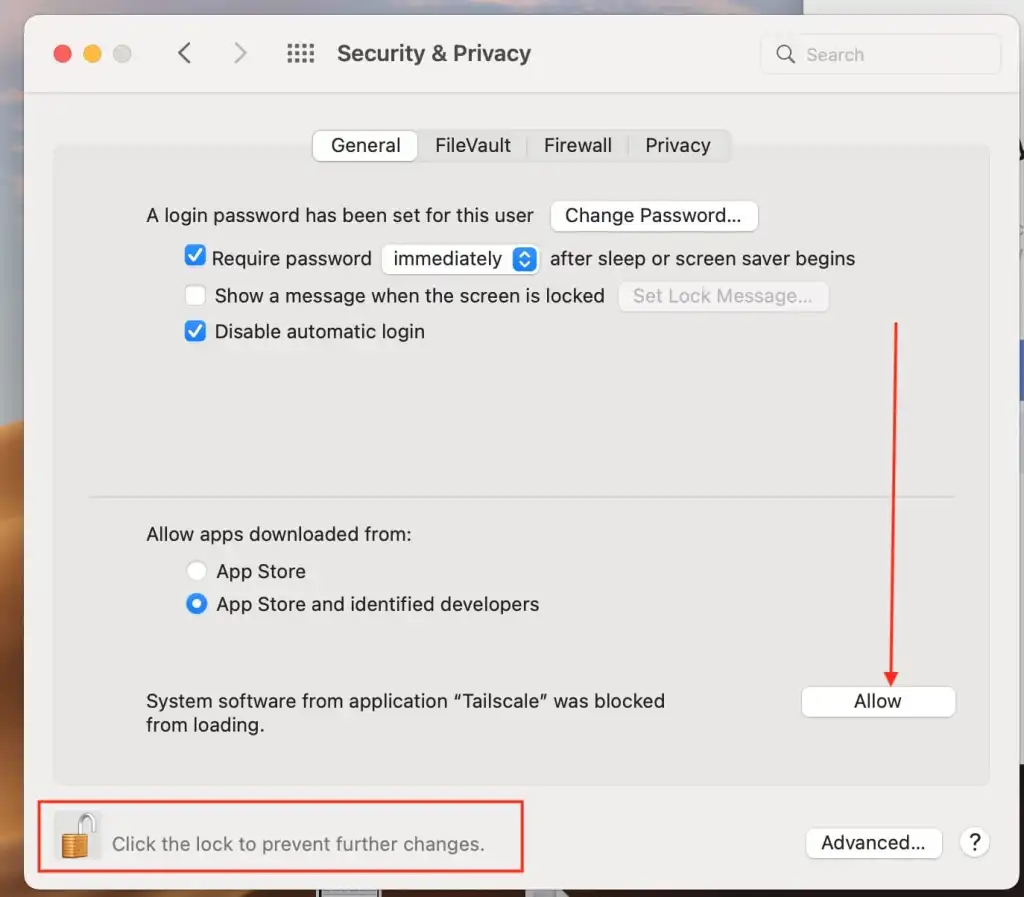
Click the lock to make changes. Enter your password to make this possible and click on unlock. Click on “Allow” and do not forget to click on the lock again to prevent further changes.
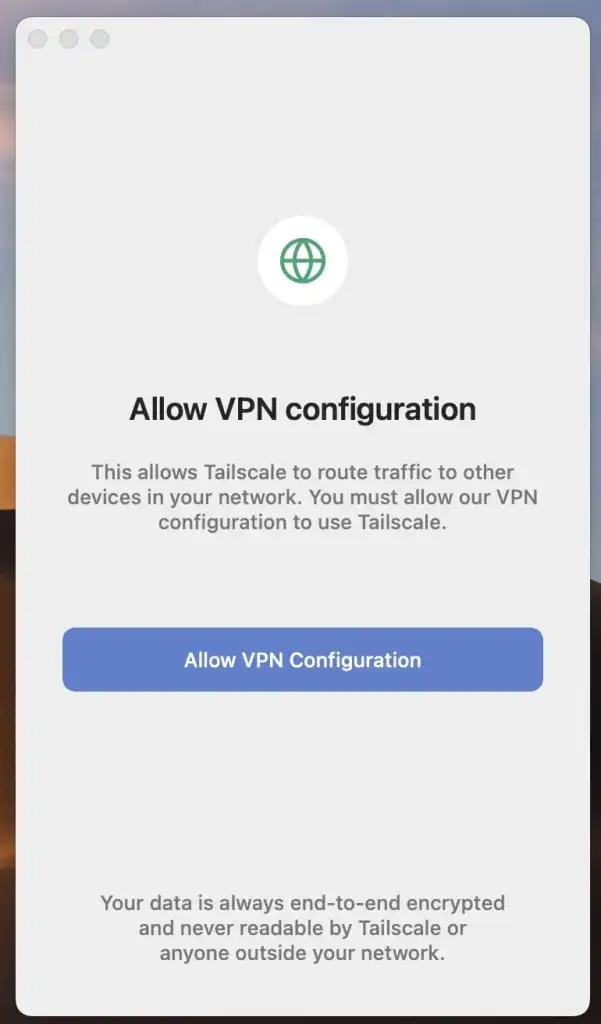
Click on “Allow VPN Configuration”.
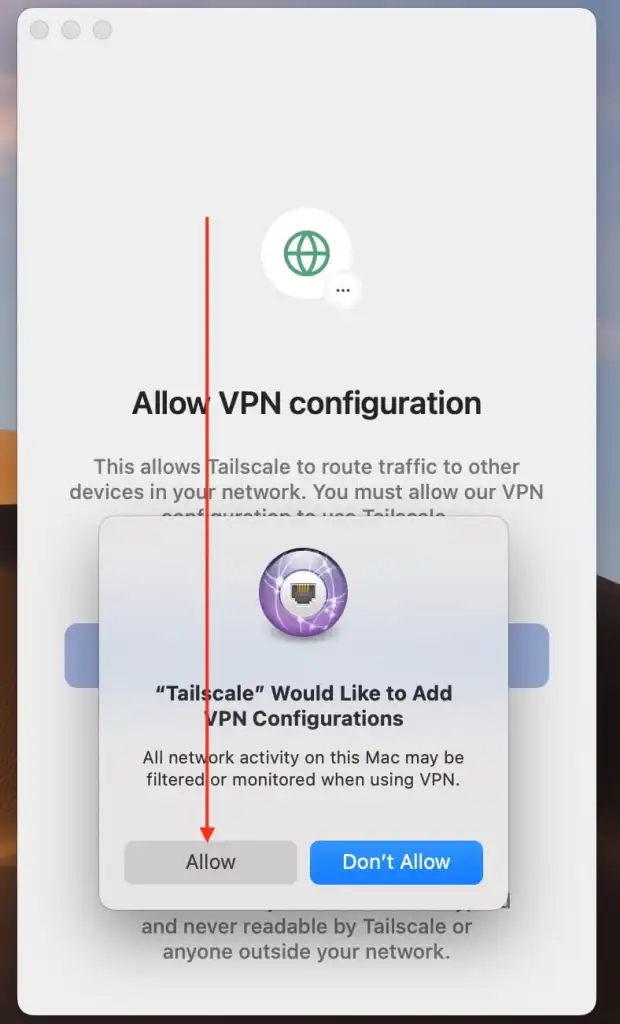
Please confirm by clicking on “Allow”.
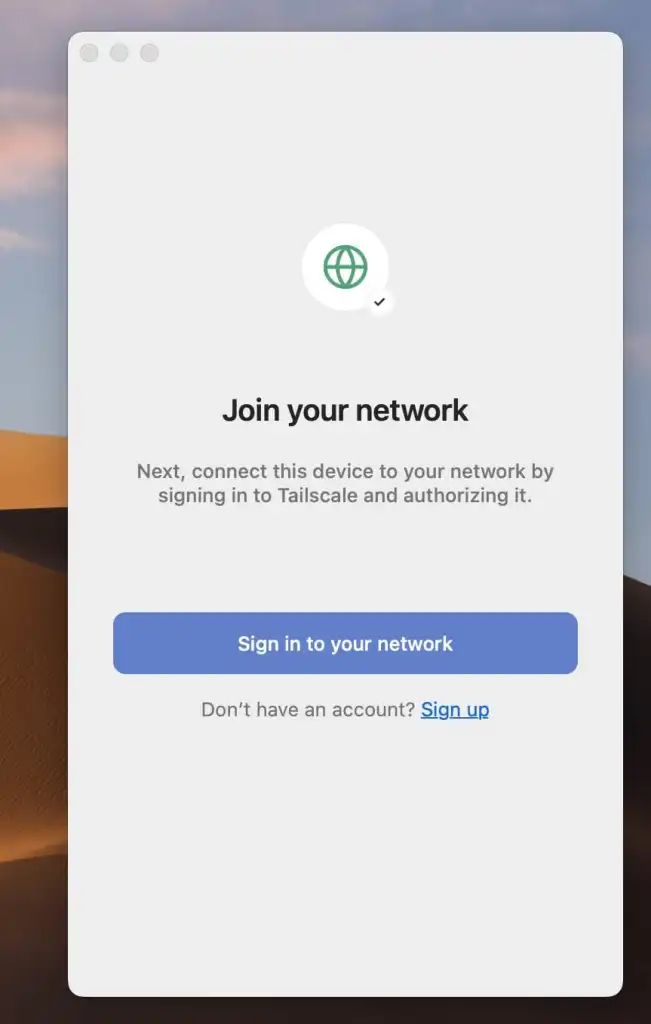
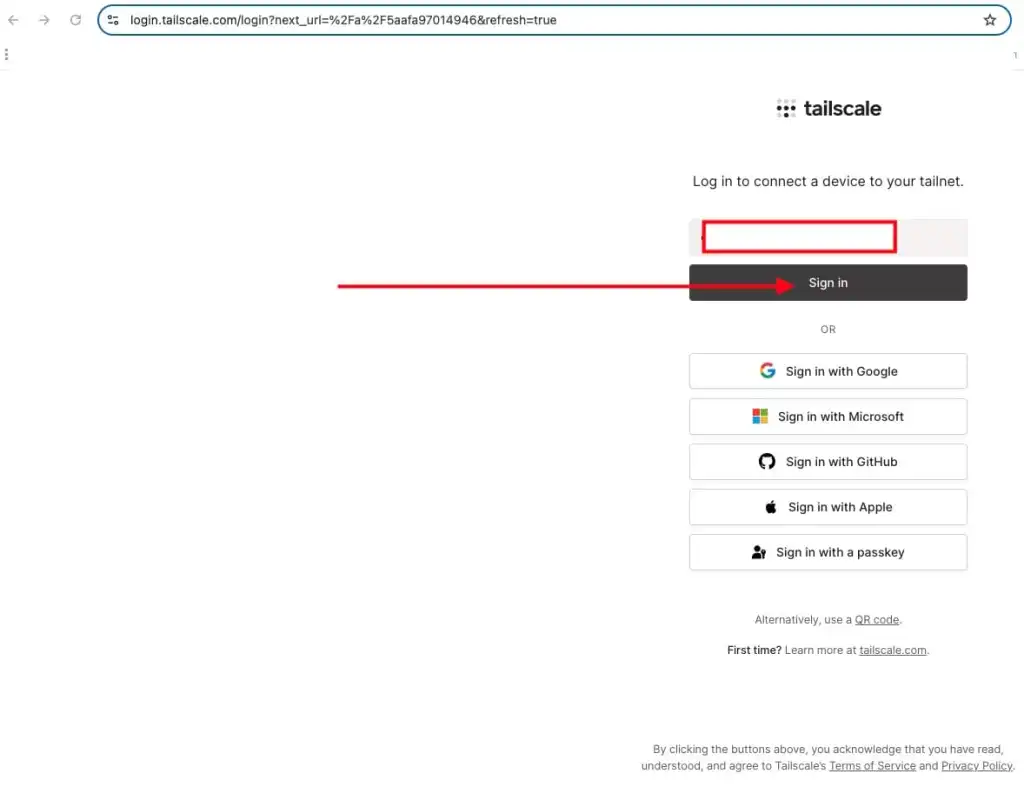
Next, you will be redirected to sign-in. When this does not happen automatically, please click Sign-in to your network
Enter your email and click on sign in.
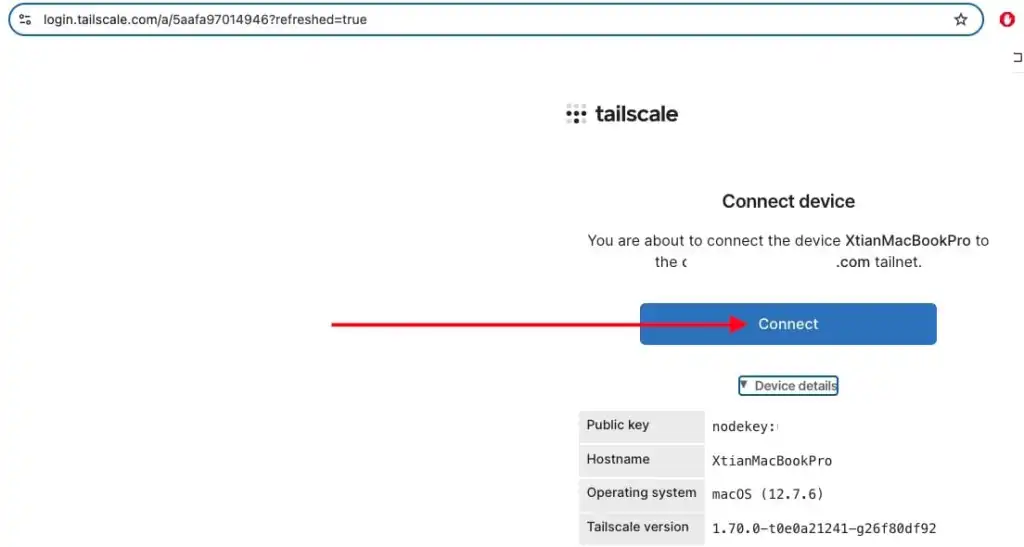
Click on “Connect” to connect your macOS to the Tailnet
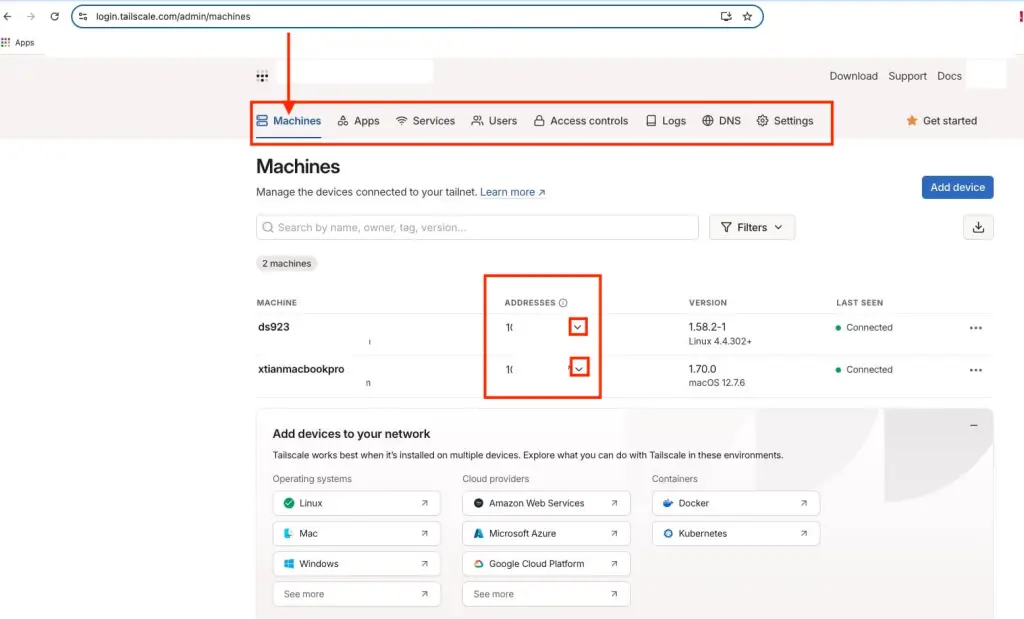
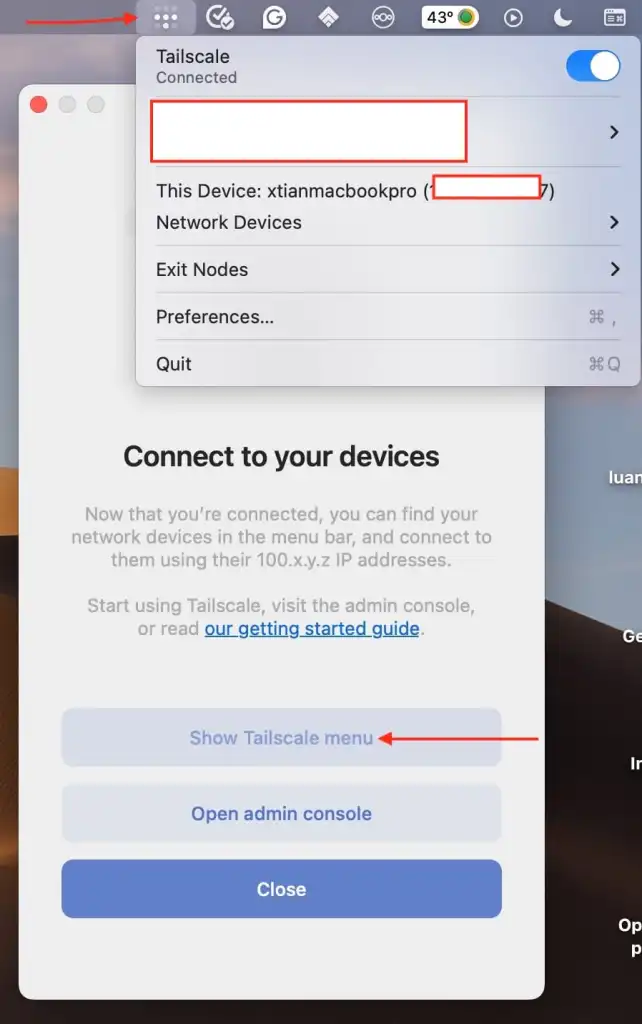
From the Tailscale account, under machines. You will be able to see the connected machines, versions, and addresses. With this address, you can connect to your devices securely from any network.
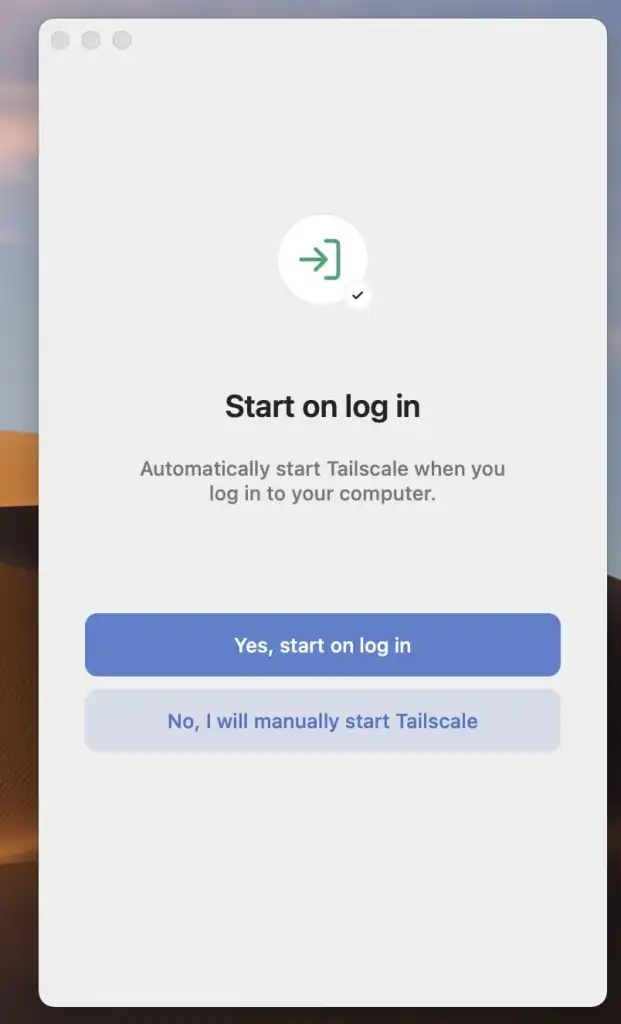
You can decide to manually start or start Tailscale automatically when you logon to your device
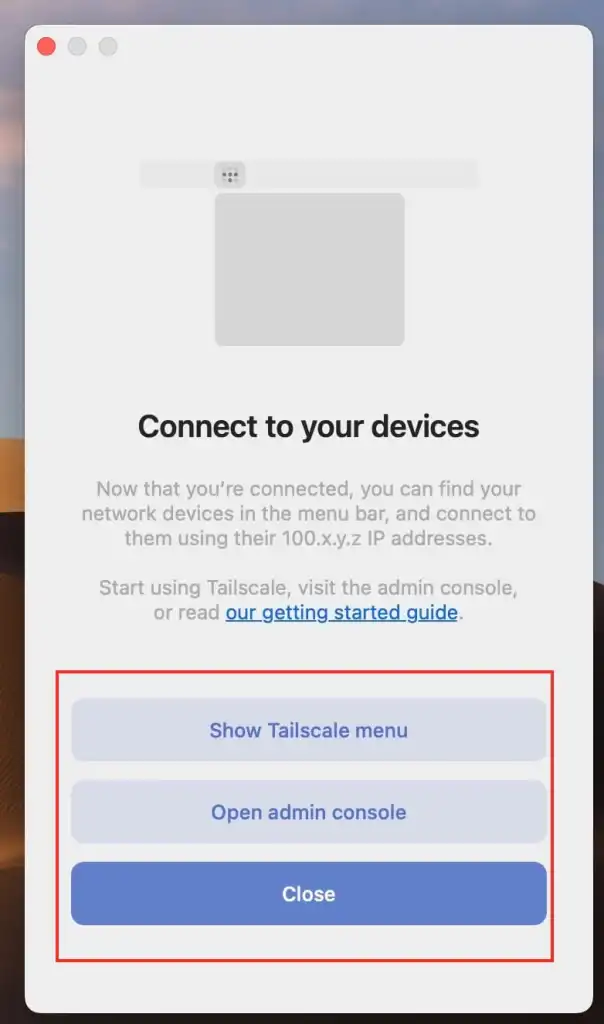
As you can see, we are connected and as such can access Synology NAS remotely. I will recommend configuring a Jump server to get to other devices remotely in your network.
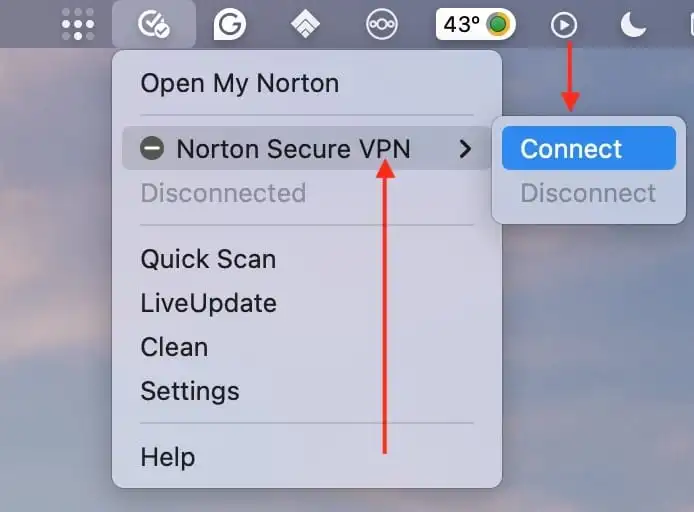
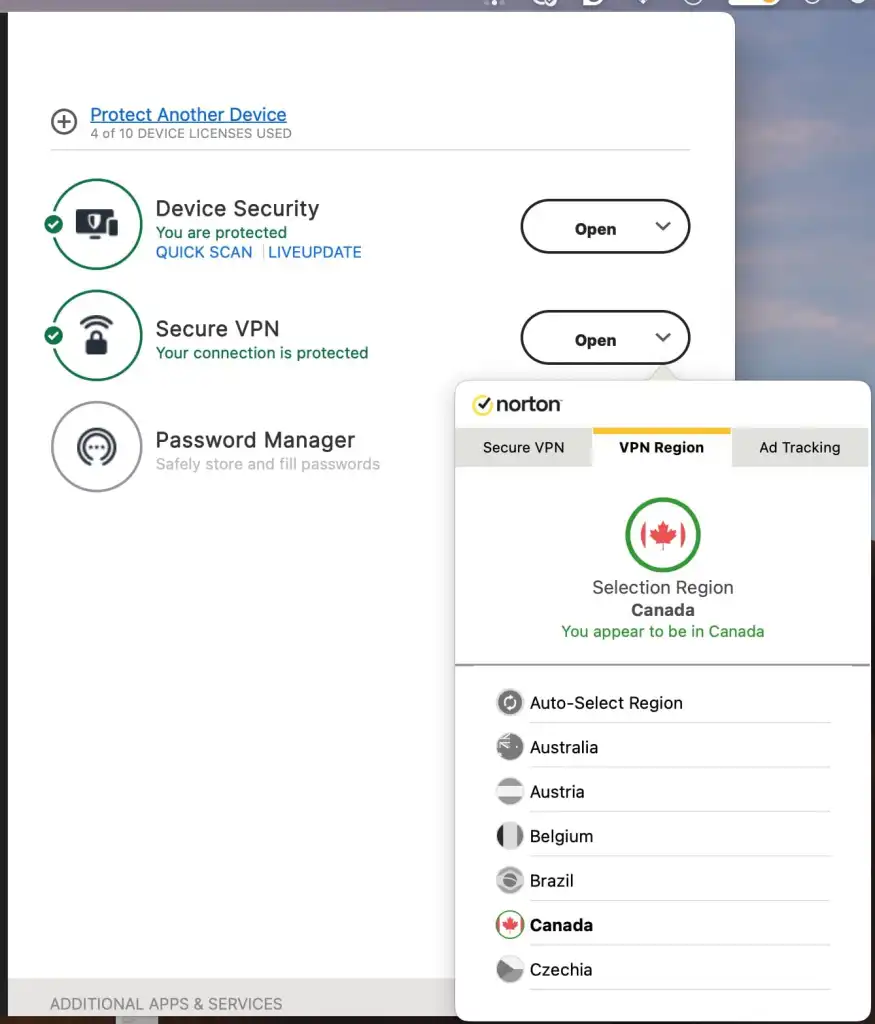
Connect your device to a VPN, choosing the Canada region as your location. I have Norton Secure VPN, therefore, I will connect to it.
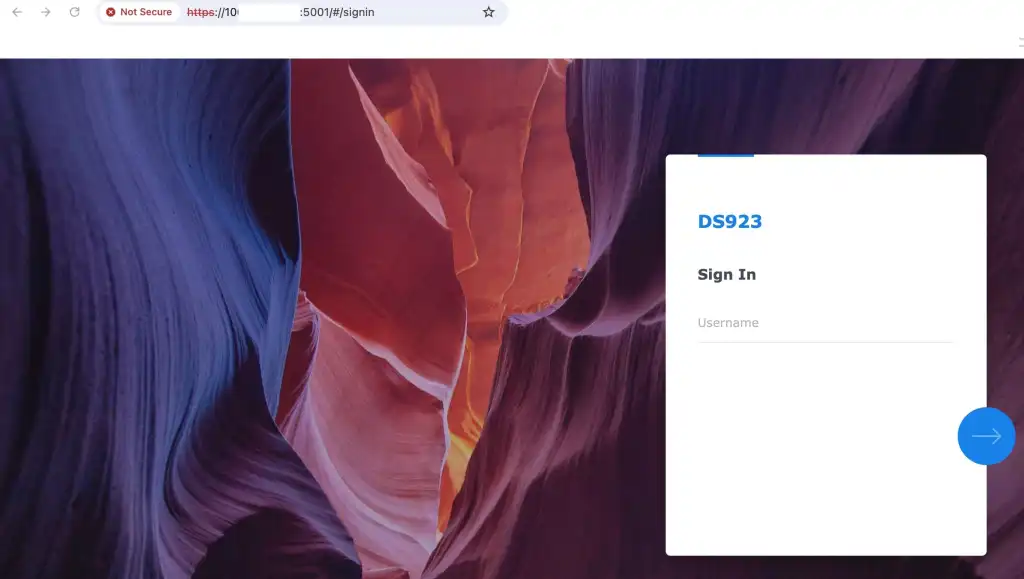
Access your Tailscale dashboard and locate the IP address assigned to your Synology NAS. You can now access other devices on your Tailscale network securely from your Mac.
Enter your Username and Password. That is all! As you can see, it is very simple and easy to set up Tailscale VPN in order to remotely access your device and in my case, Synology NAS.
This completes the steps on how to create a Tailscale VPN connection to my Synology NAS.

