

Nutanix has been around for sometime but I have only recently decided to take a peak at it.
I am going to install a single node cluster nested in my Proxmox homelab.
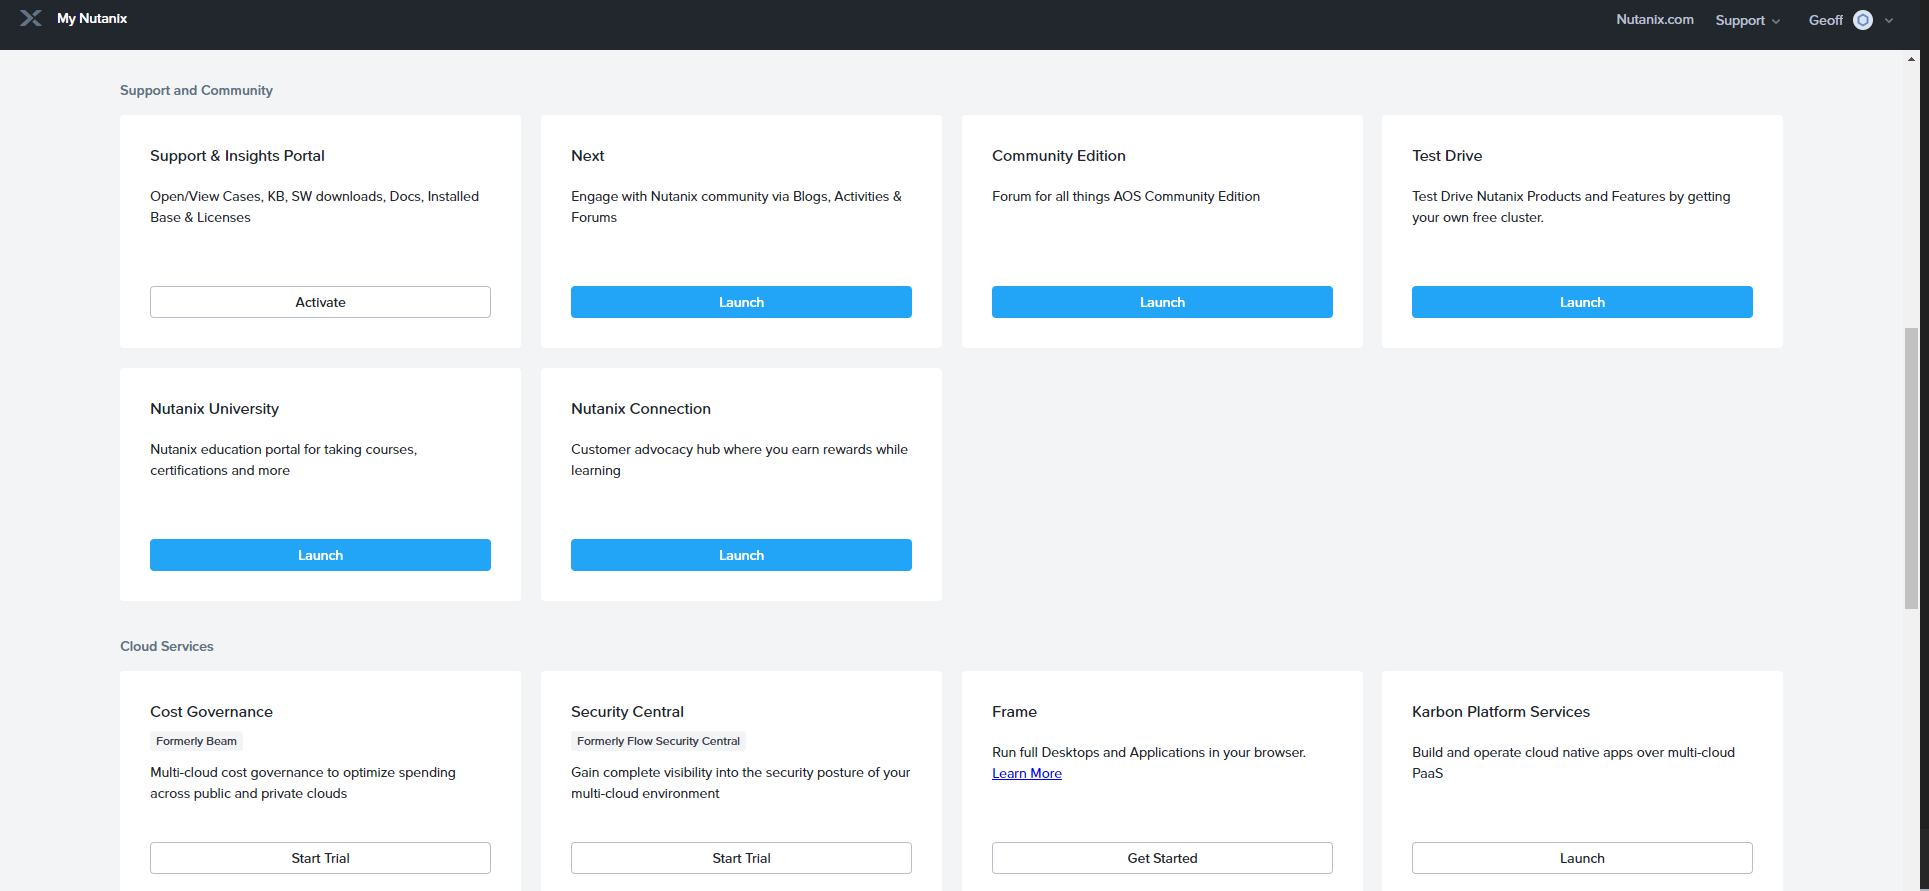
First step is to create your Nutanix account (free) and login. Head to the Nutanix Community Edition page by pressing launch.
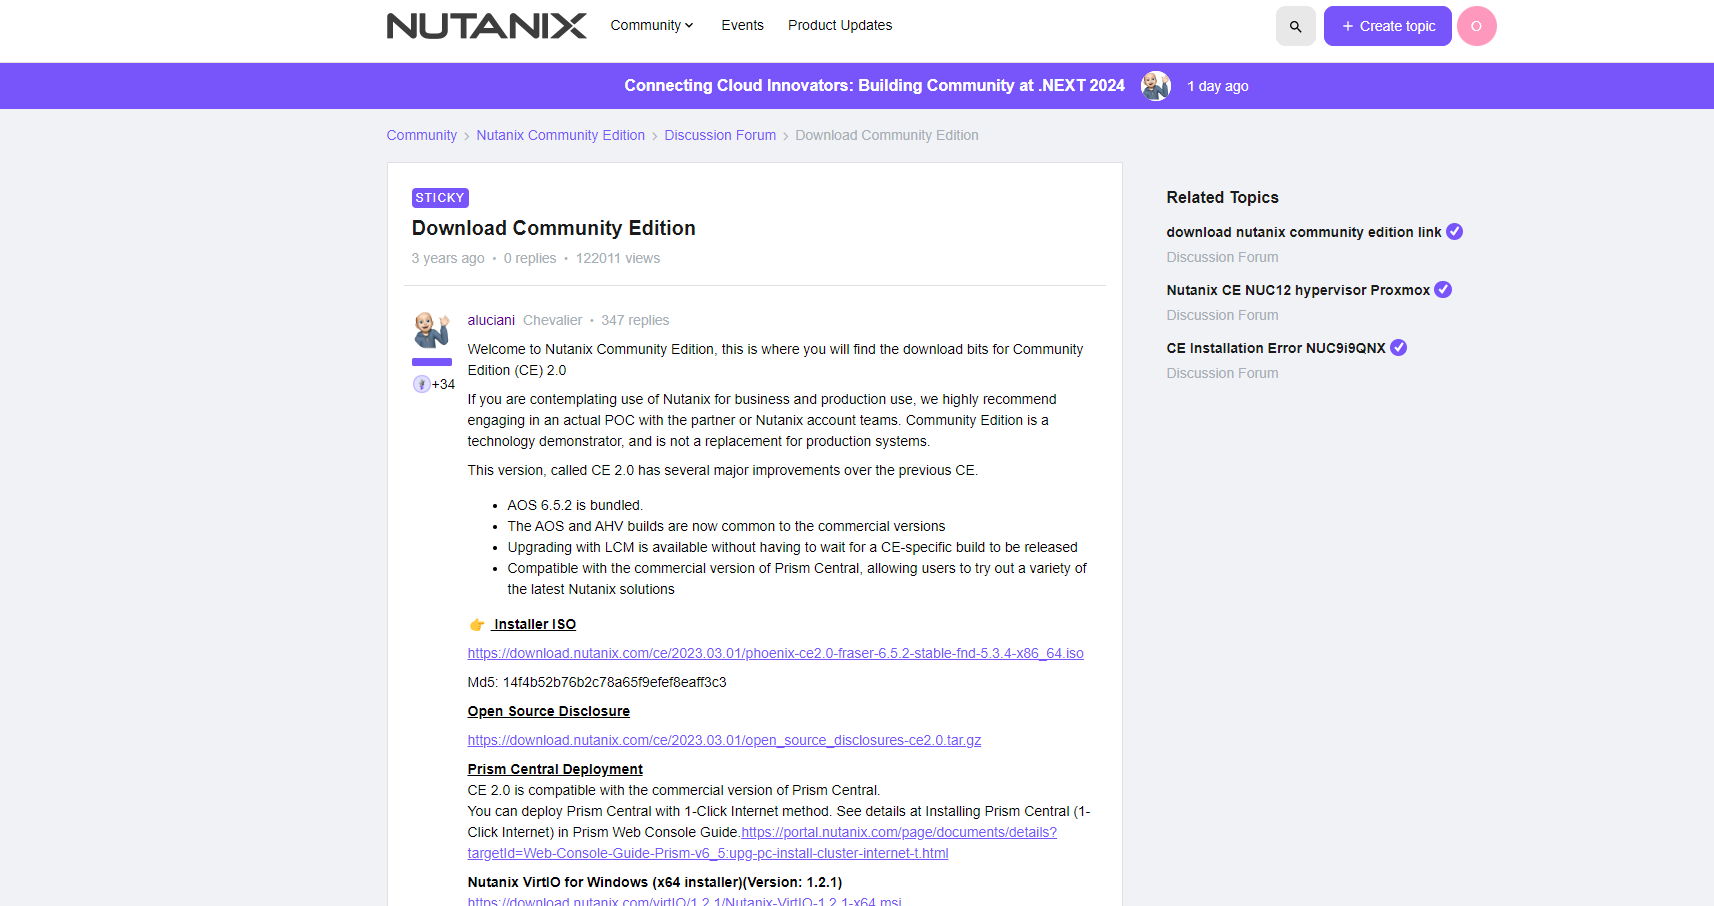
Download the ISO and then upload into your Proxmox.
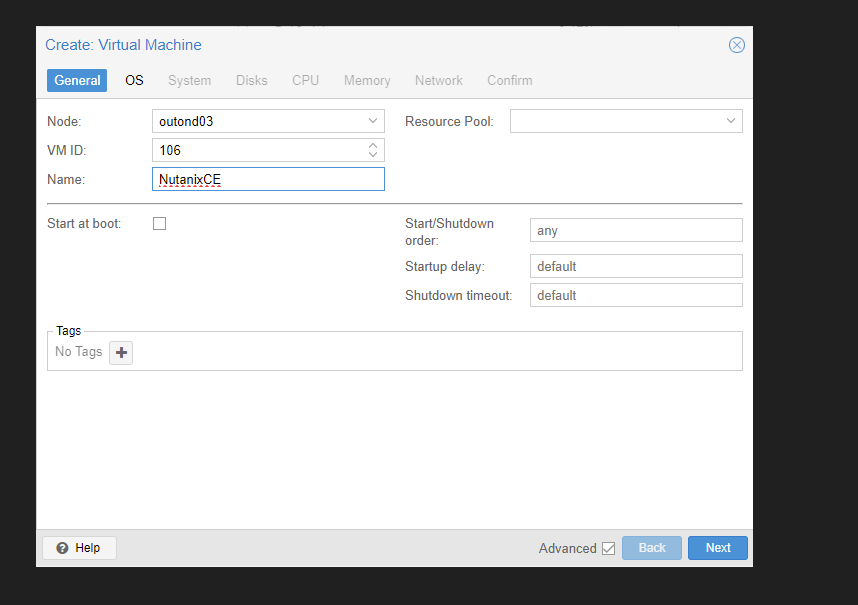
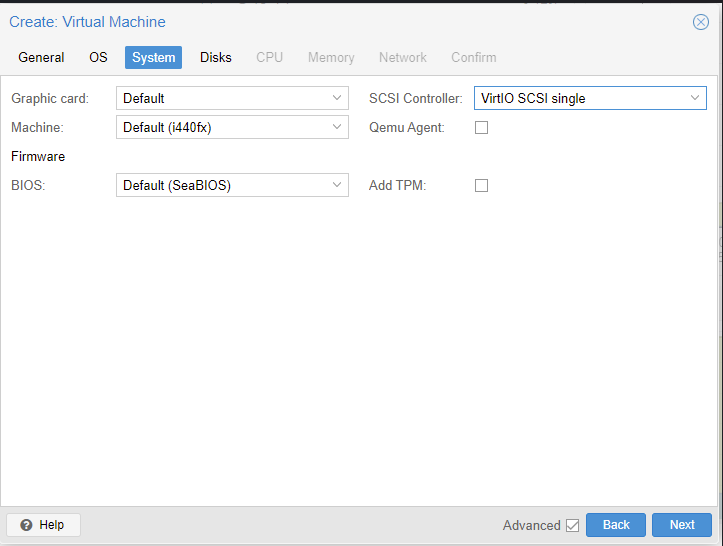
Now time to setup the VM.
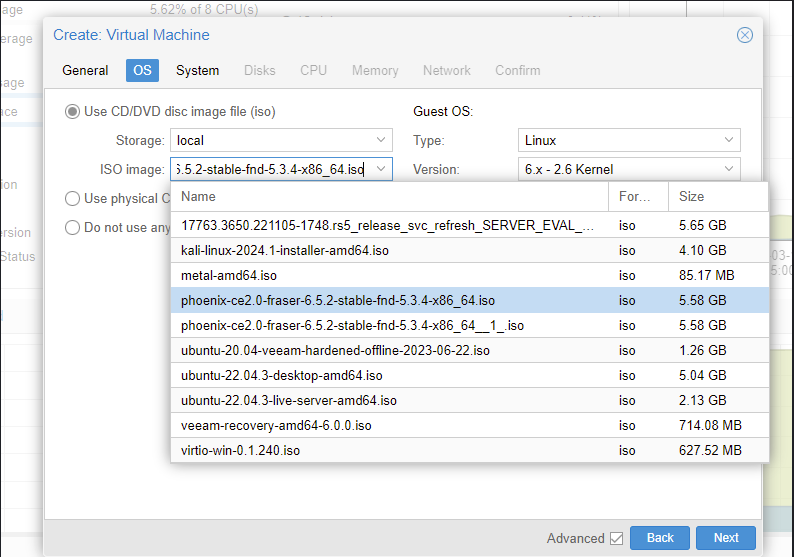
Choose the ISO.
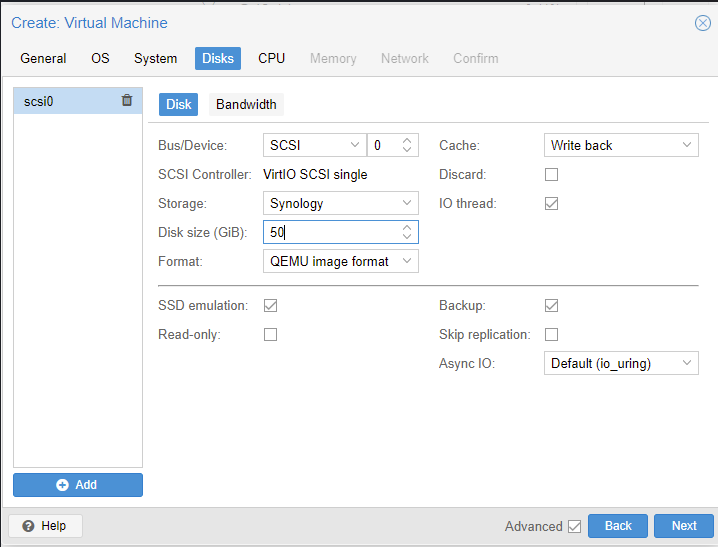
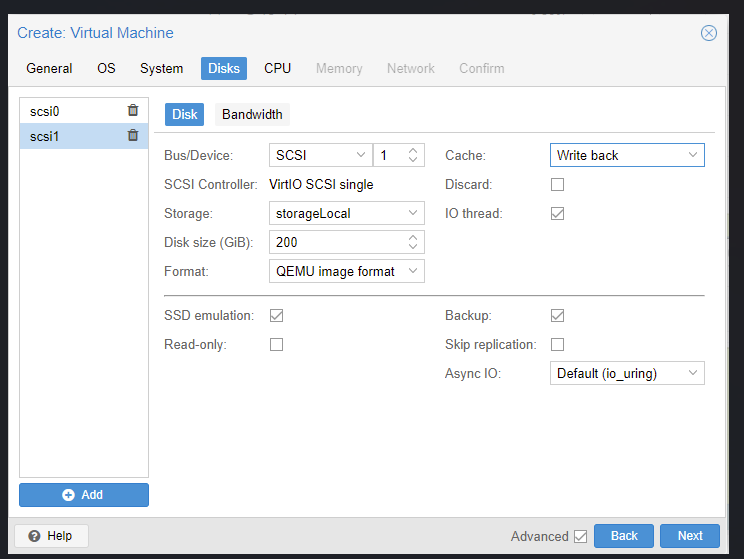
You need at least 3 disks and 2 of them need to have SSD emulation turned on.
The first disk can be relatively small but the other two mush be at least 200GB
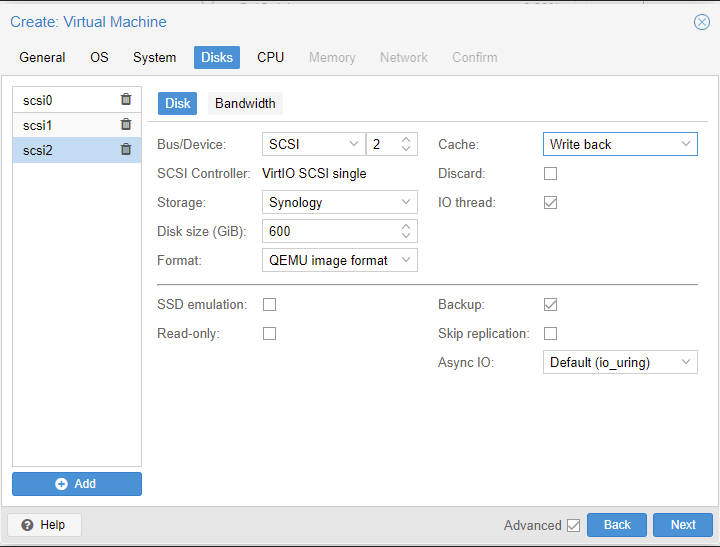
Last disk for data.
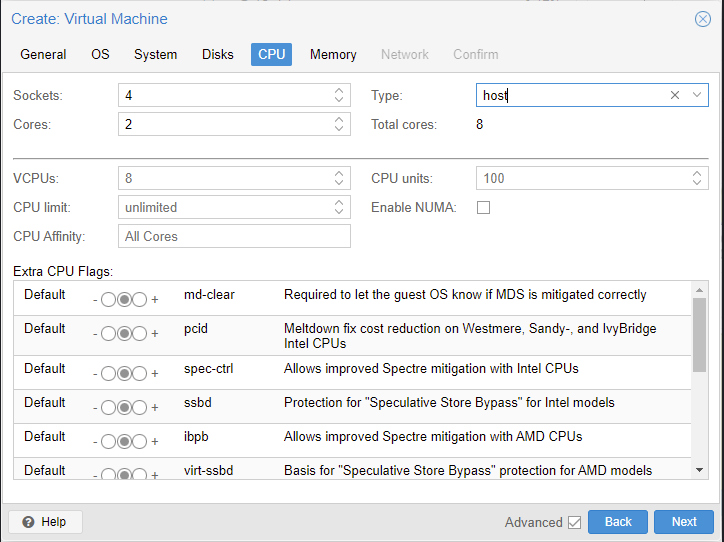
In my case I chose 4 sockets 2 cores for 8 vcpus and processor type host

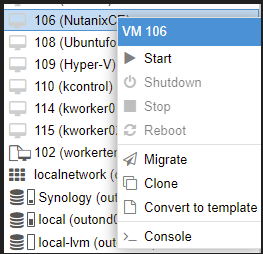
After creating start the VM.
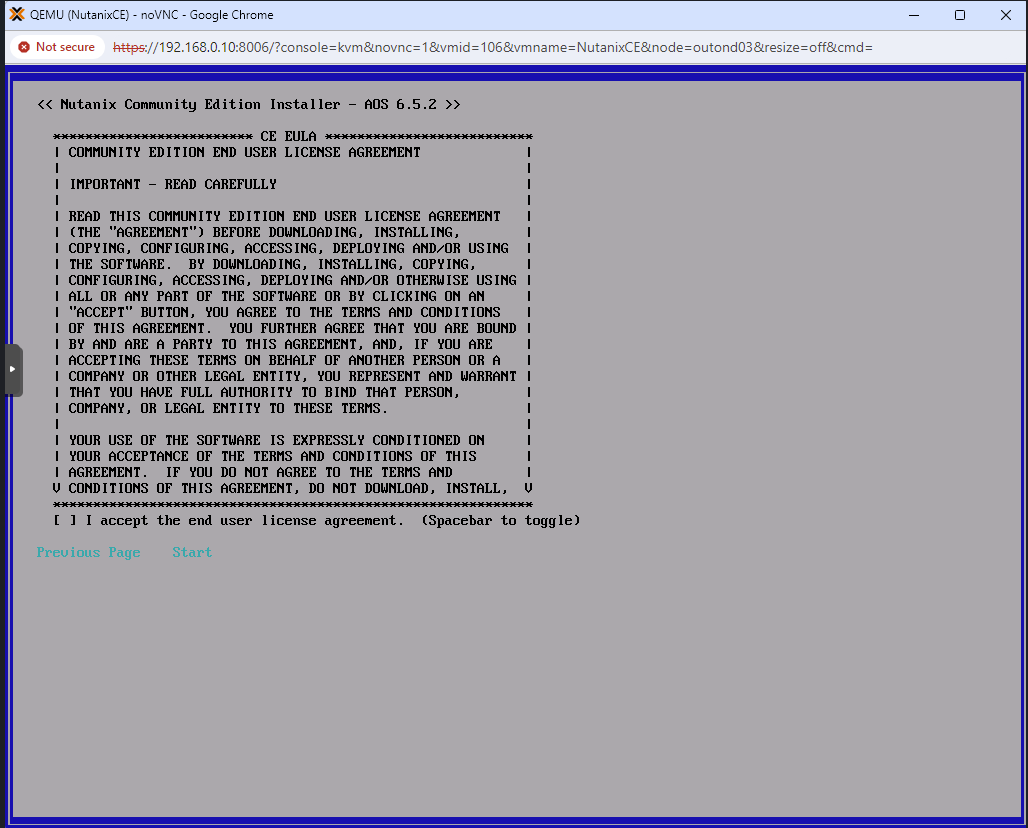
After the boot screen completes eventually the Nutanix CE Installer will appear.
The Use column should fill out automatically but you can edit if need be. Keep in mind that the Hypervisor boot drive and CVM drive must have SSD emulation enabled in Proxmox.

You must scroll down the agreement and agree.
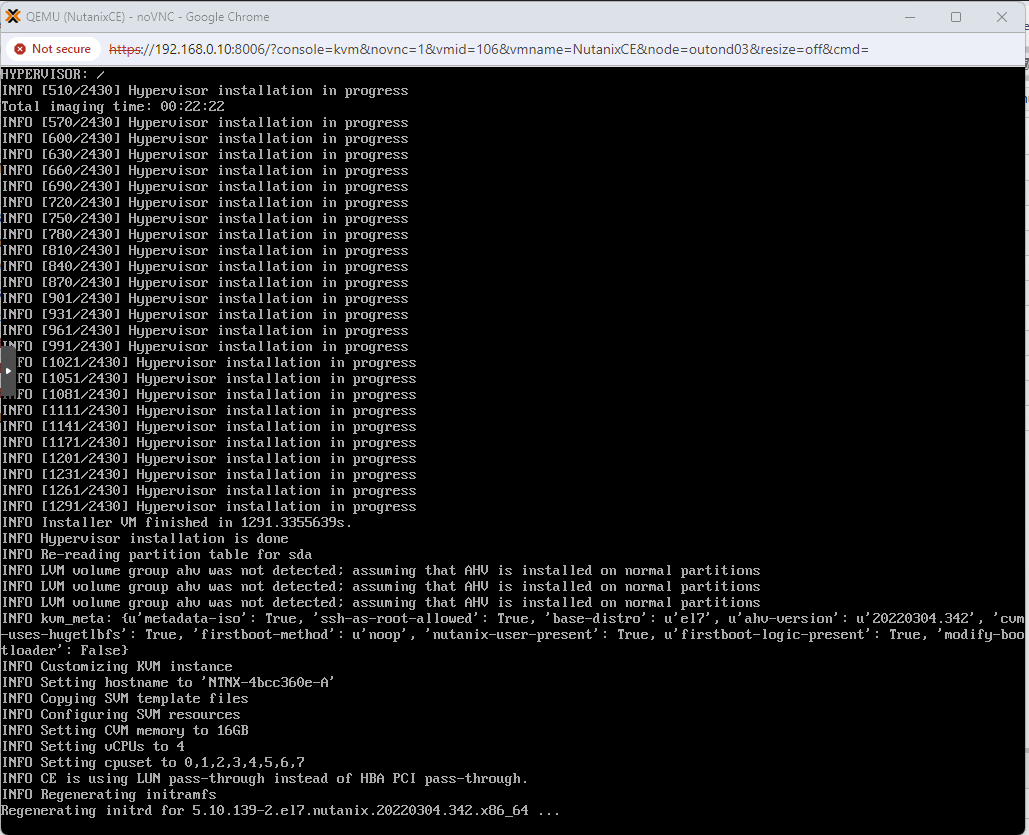
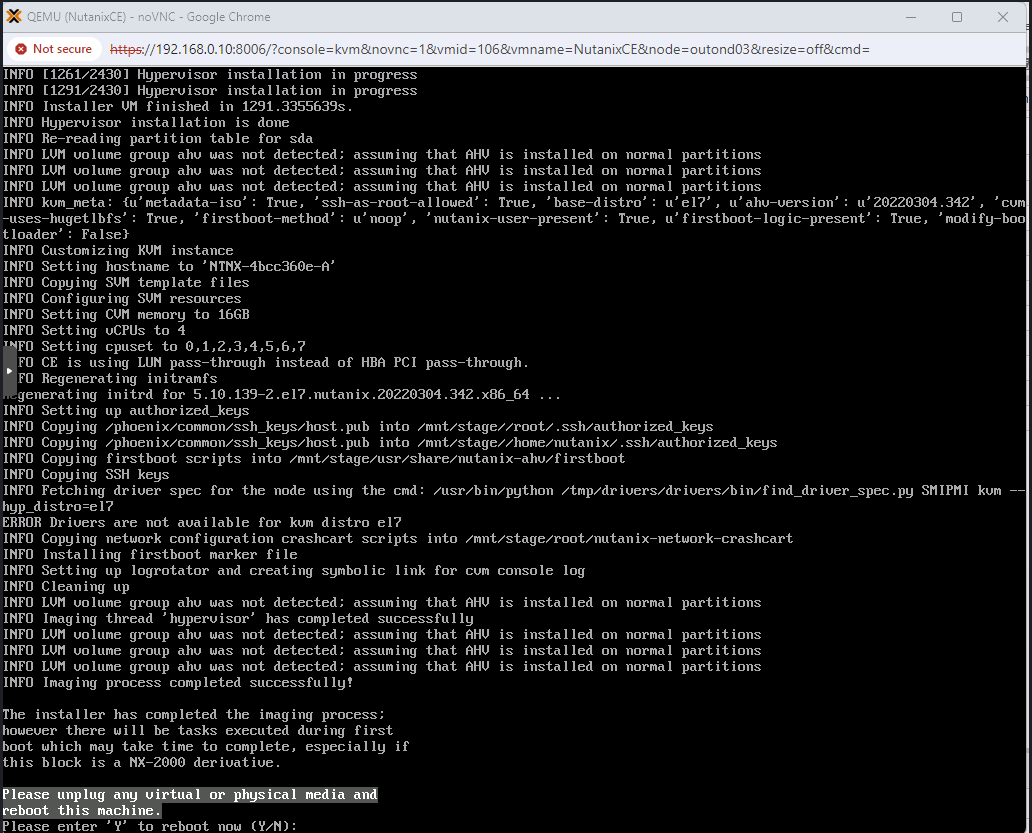
At this point you need to sit back and wait.
After rebooting you can login to the console. The default password is nutanix/4u
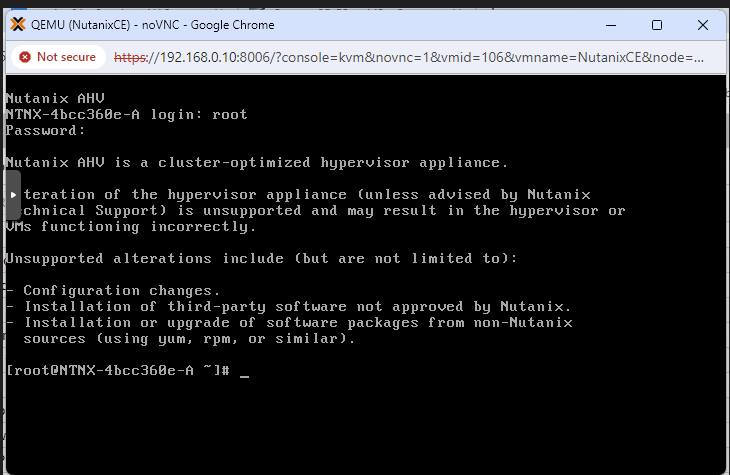
The cluster should automatically be created if you chose single node and process will take place in the background and can take upwards of 15 minutes depending on your hardware and resources.
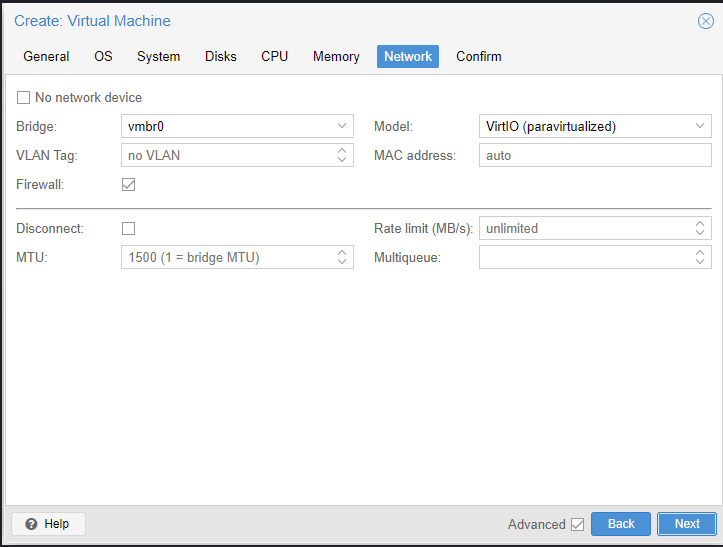
I had an issue where the cluster creation failed so I logged in and removed the .firstboot_fail file and replaced with .firstboot. I then stopped the VM and changed the Network card to E1000.
After booting again the cluster creation worked.
After rebooting you can login to your prism URL and it will ask you to change the pasword.
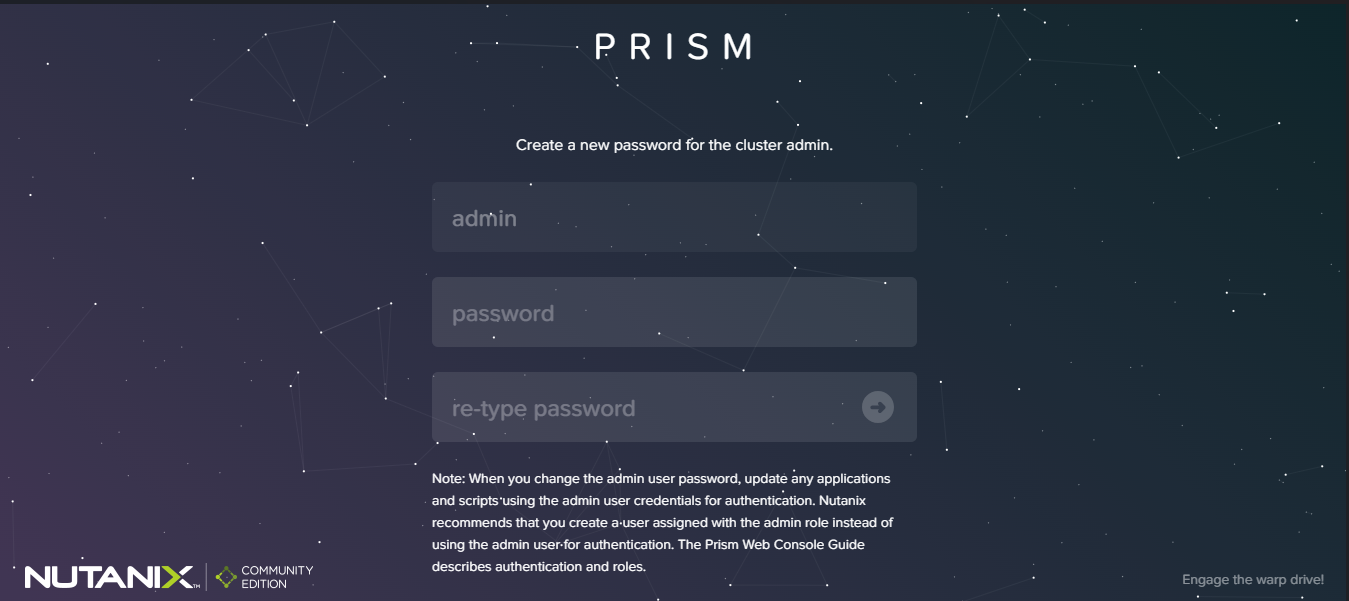
You will also be asked to put your NEXT credentials (these are the credentials that you created when creating your Nutanix account).
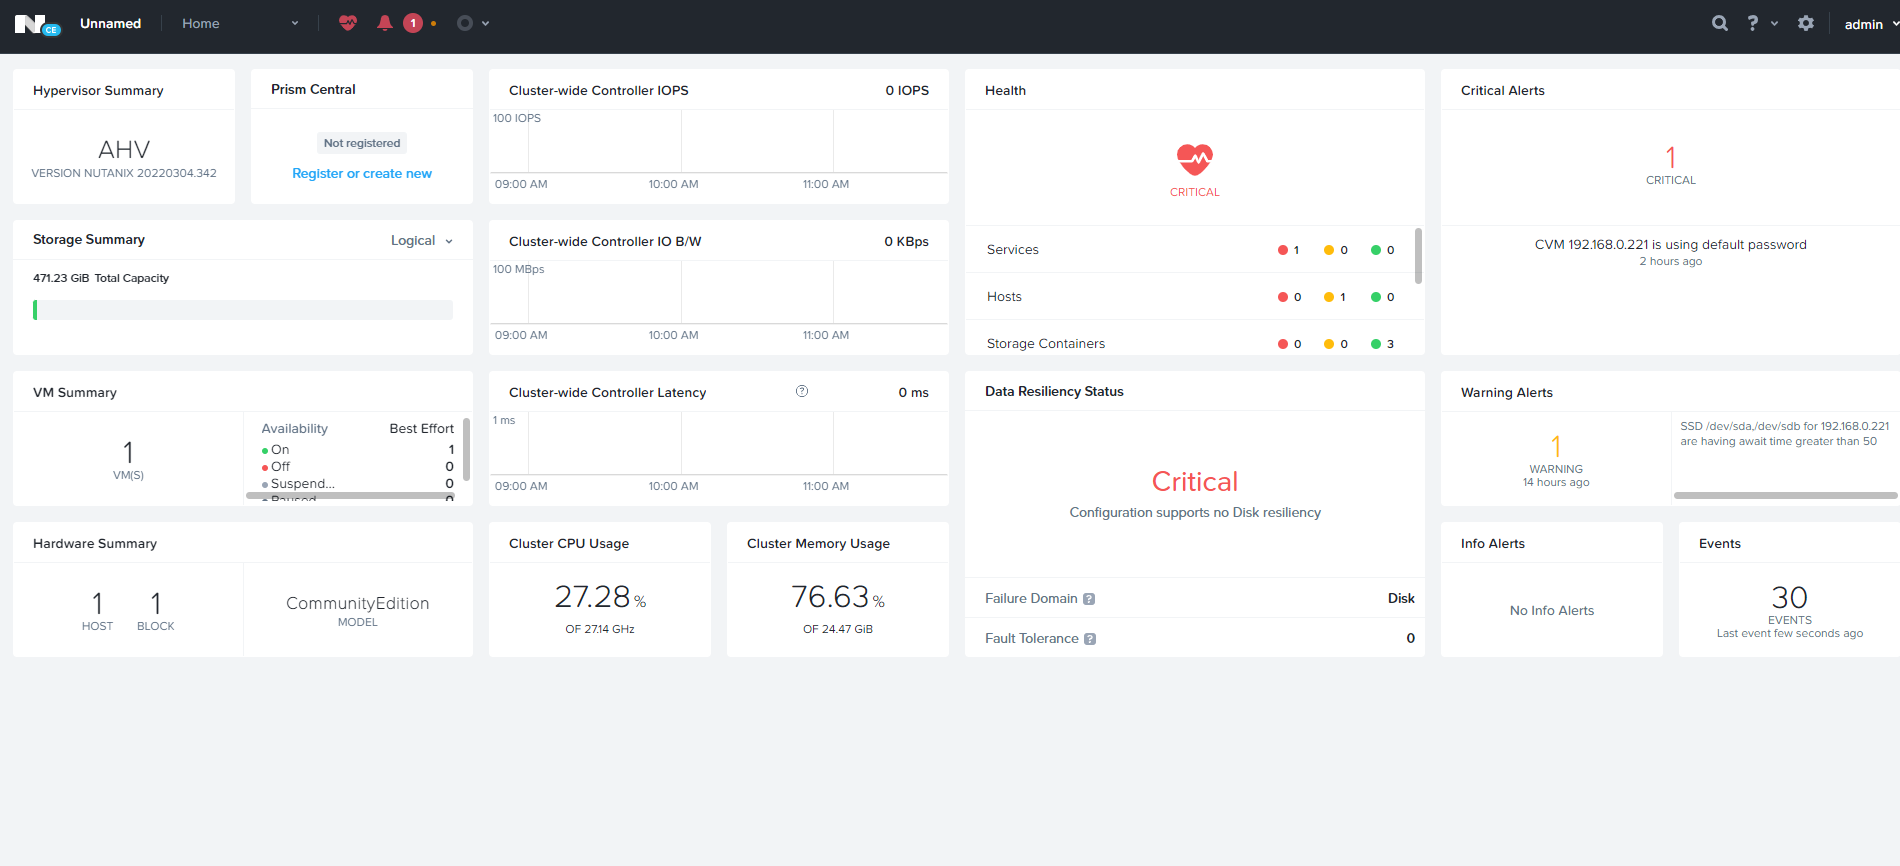
Installation Complete.
In part 2 I will create a VM and then use the Veeam Nutanix Plugin to backup the vm to VBR.


